Happy Happy Thursday y’all! and holy wow, it’s officially a week until Thanksgiving, my how it creeps up on me every year. I would love if I had the power to move the holidays around a bit…you know, put them a little further apart?
We seriously just got done with Halloween, and already Thanksgiving is here? Wouldn’t it be awesome is Halloween could be moved to the beginning of October, maybe bump Thanksgiving up a week or two, so then, maybe it wouldn’t feel like Christmas is about a second from Thanksgiving, what do y’all think?
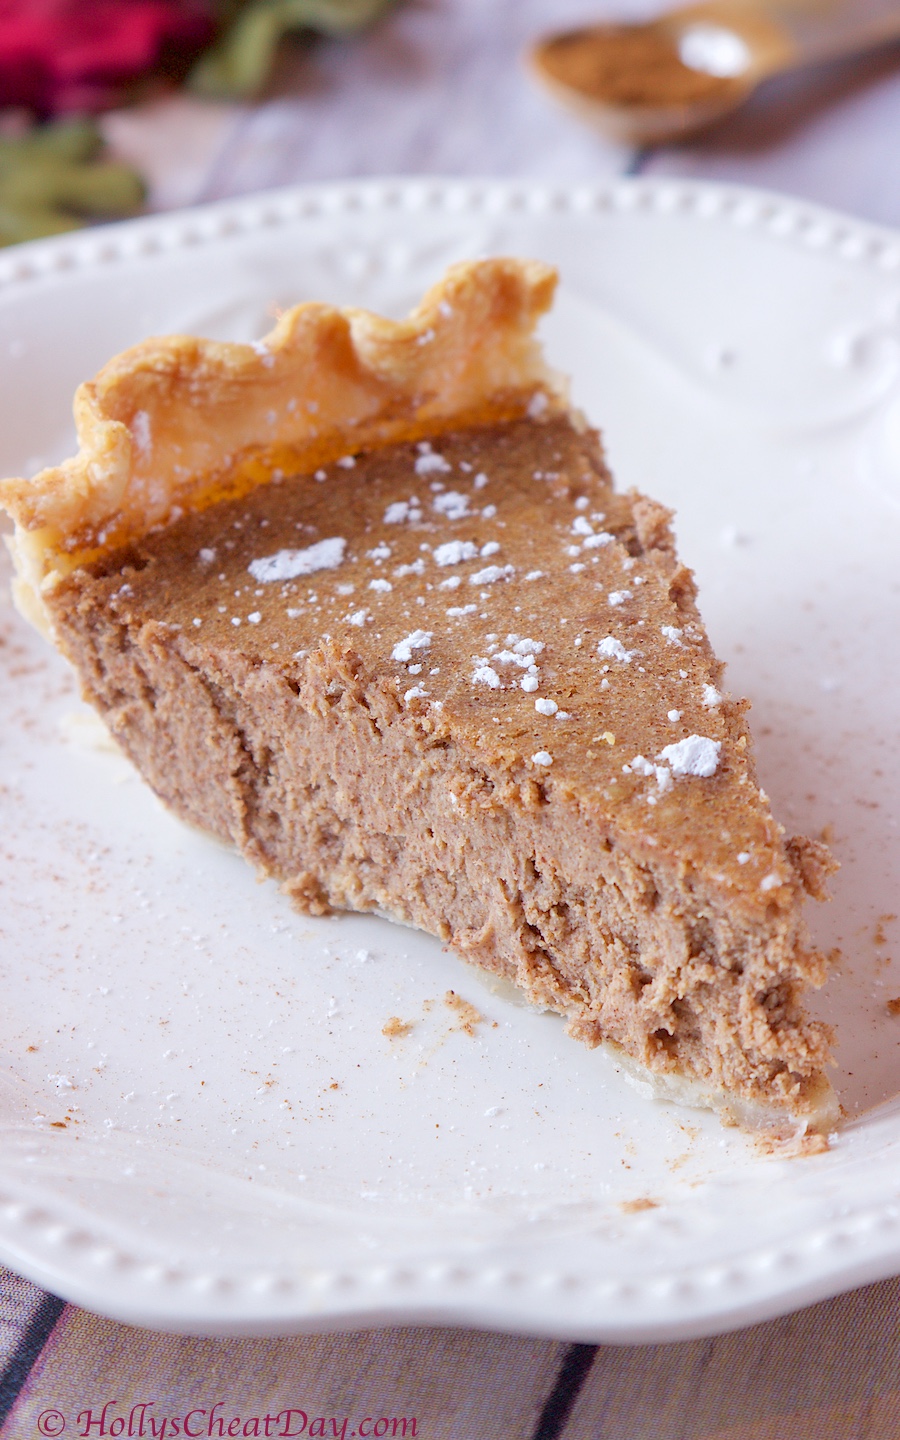
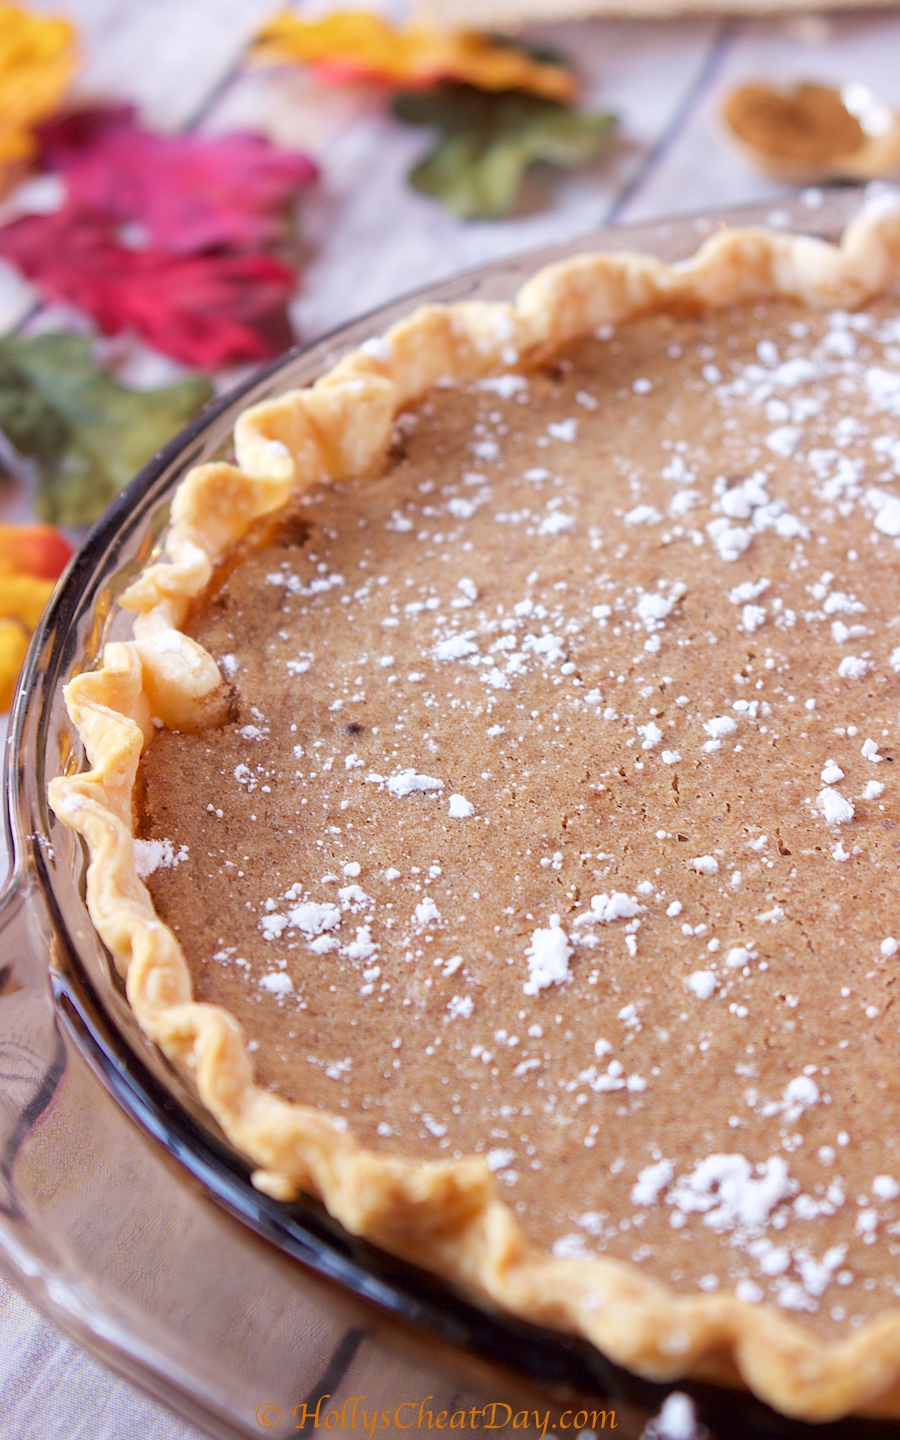
I think it’s genius, but as I stated earlier, I don’t exactly have the pull to make stuff like that happen haha. What I can do, is maybe give y’all some totally awesome, and totally easy desserts for the impending holiday(s). As an avid cinnamon lover, seriously I put it on just about everything, and when I heard about a cinnamon pie, I knew that it was absolutely something that had to be stuffed in my face made.
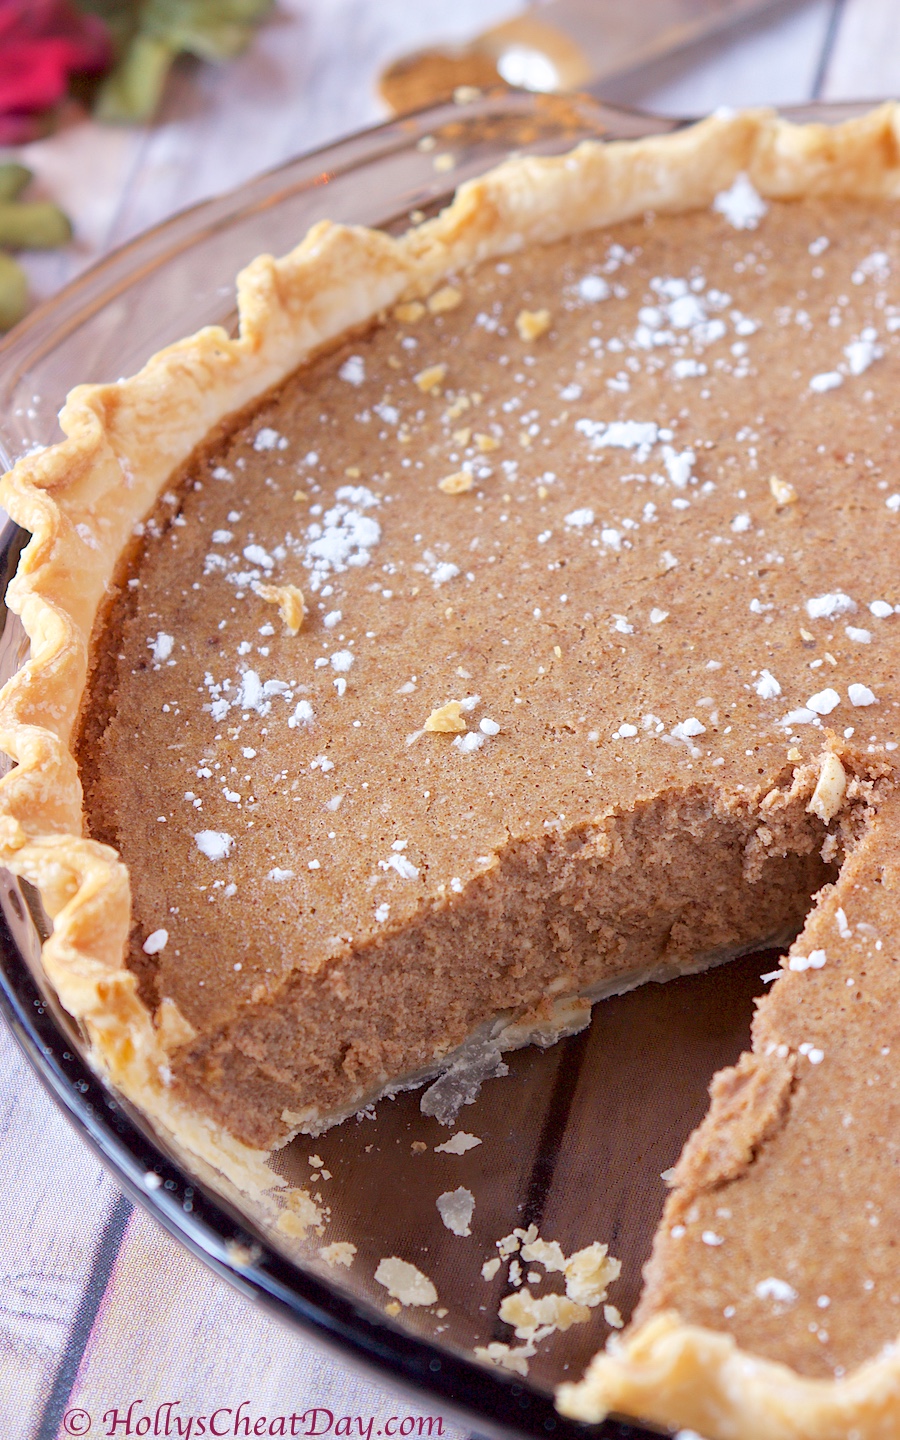
I found a few recipes floating around, and I decided to take the (hopefully) best parts of each. There was a slight hiccup with the first pie that I made, in that I think it had waaaay too much cinnamon, like, it was kind of burning my sinuses while eating it, so I definitely cut that down and then baked it for a little less time and voila! pure yumminess.
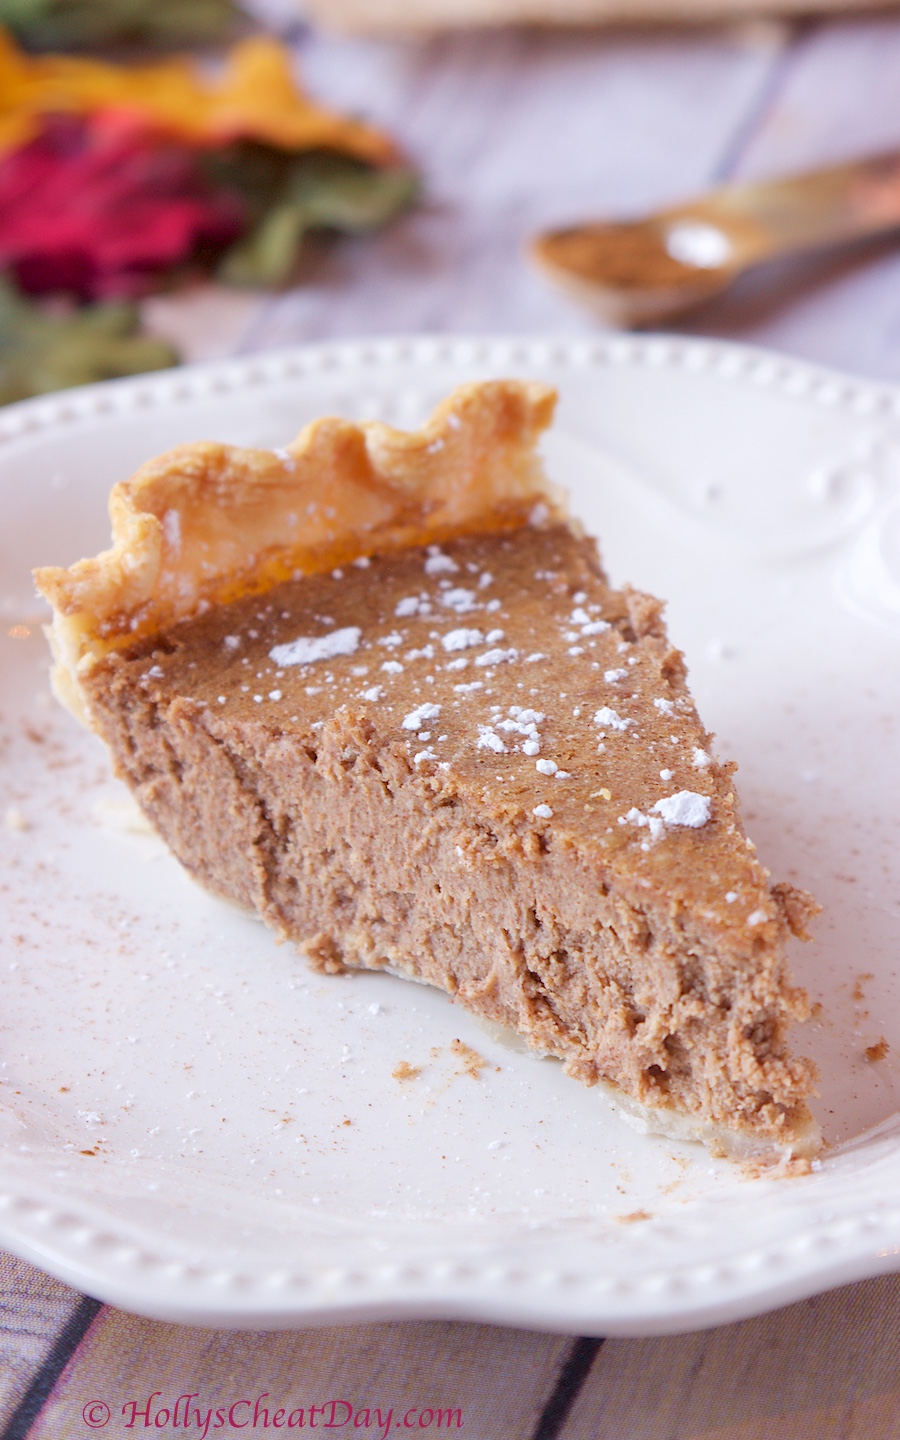
Obviously I cheated and used a store bought pie crust, which you totally can too, but I feel like a homemade pie crust with a tad bit of sweetness to it would be fantastic. I hope this recipe helps if you’re having a slight dilemma of what to make, but this is so perfectly Fall-ish and really really simple to make. Thanks so much for stopping by and have a wonderful day!
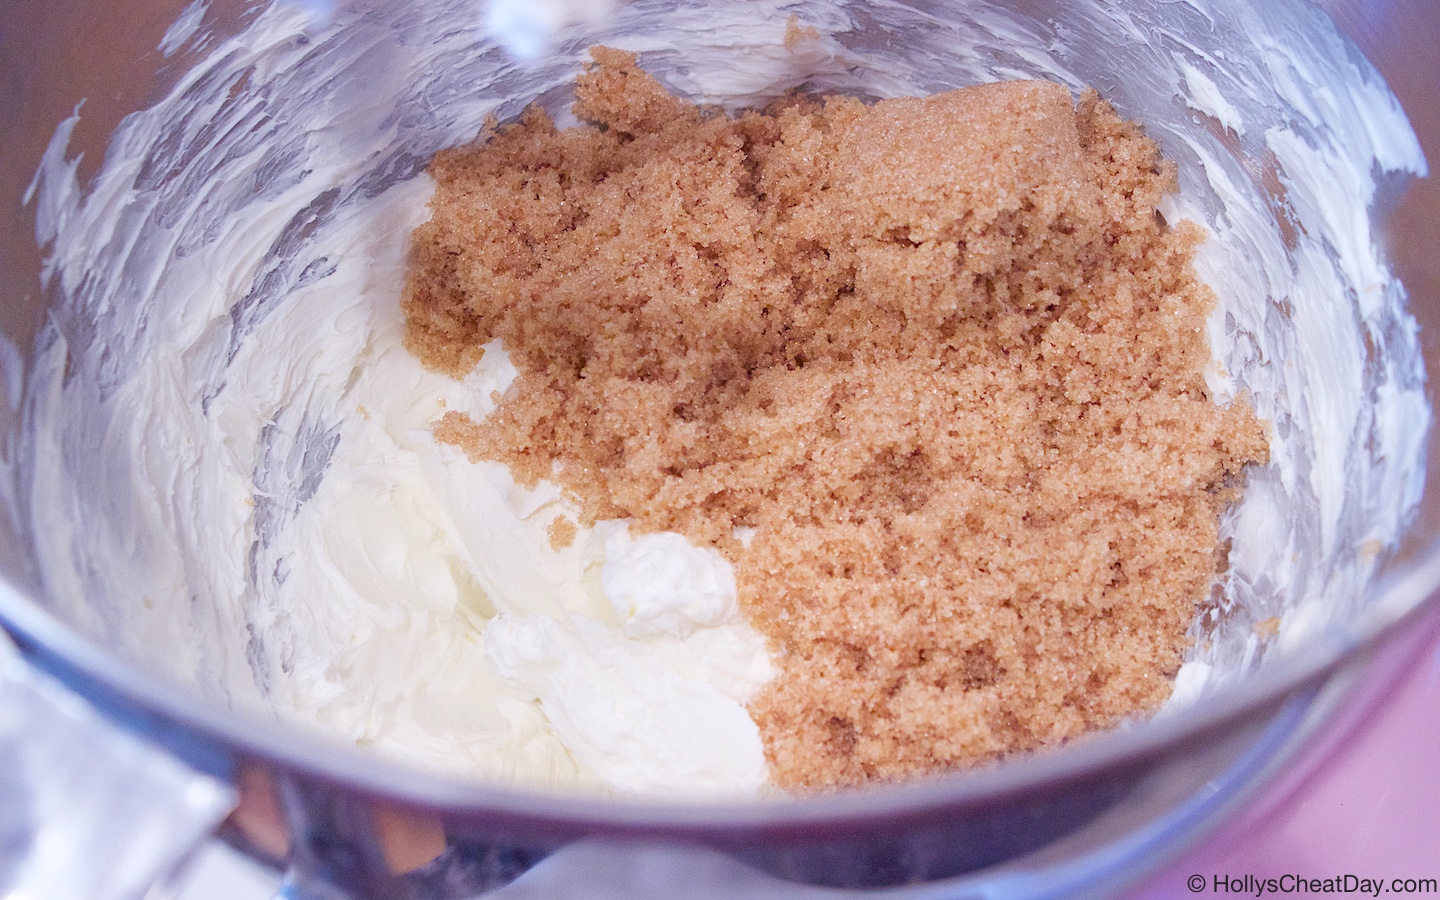
first, cream your cream cheese, then add the brown sugar…
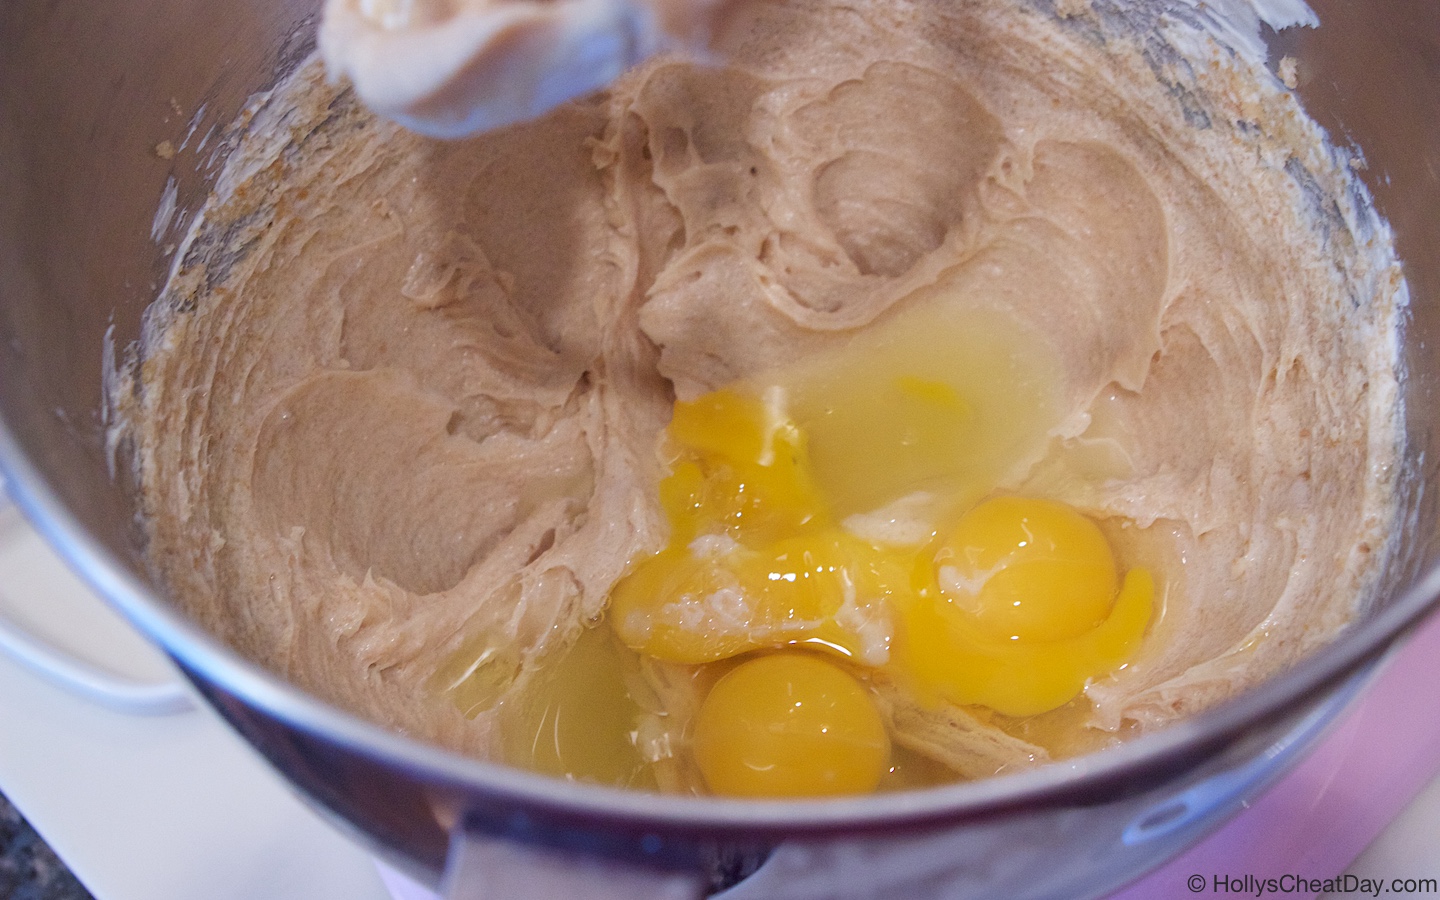
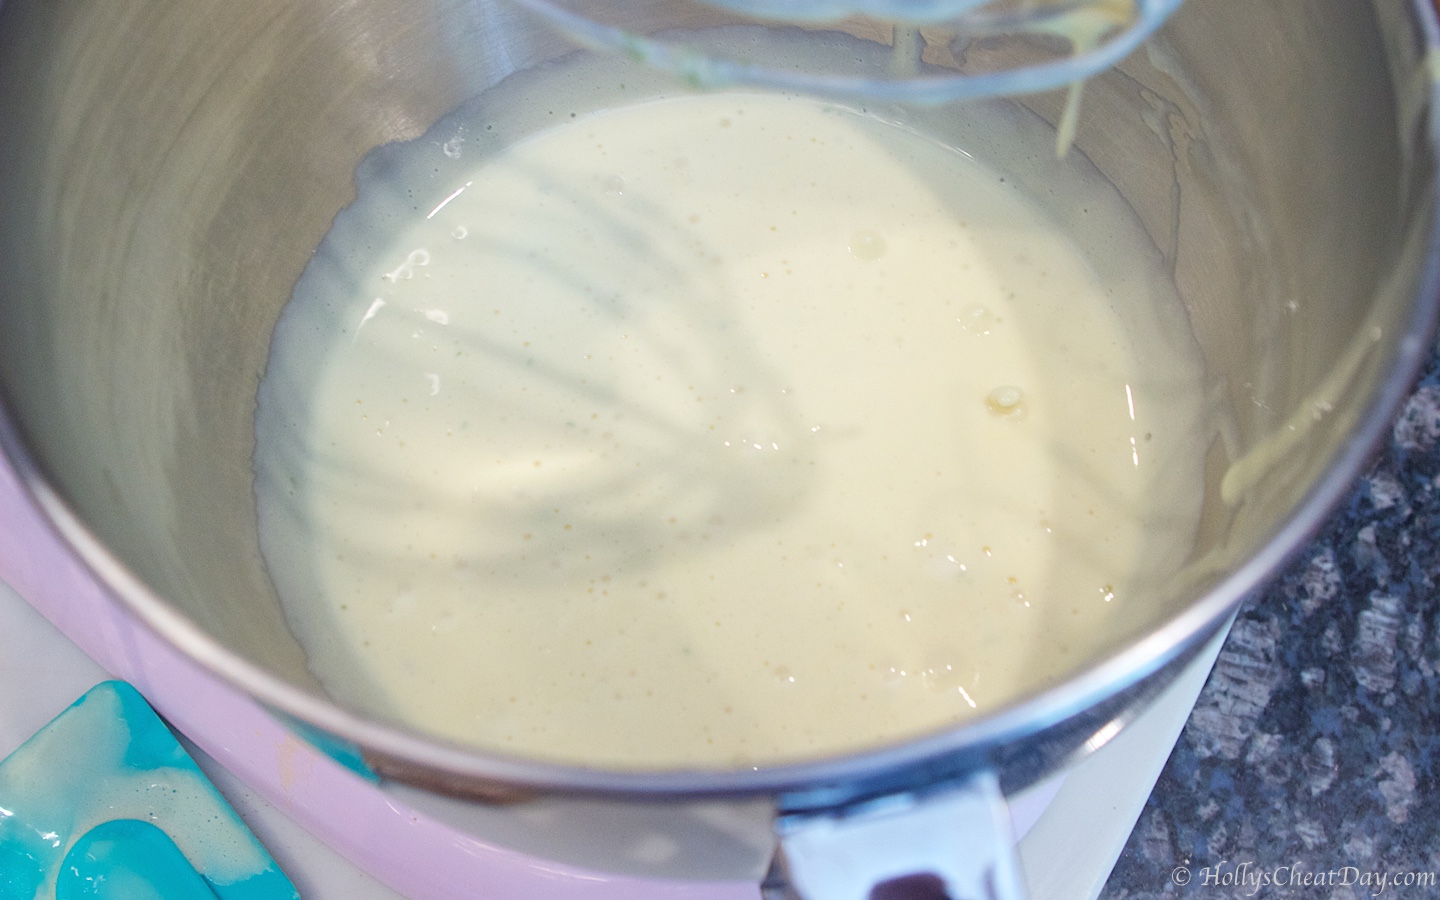
now, add your eggs…
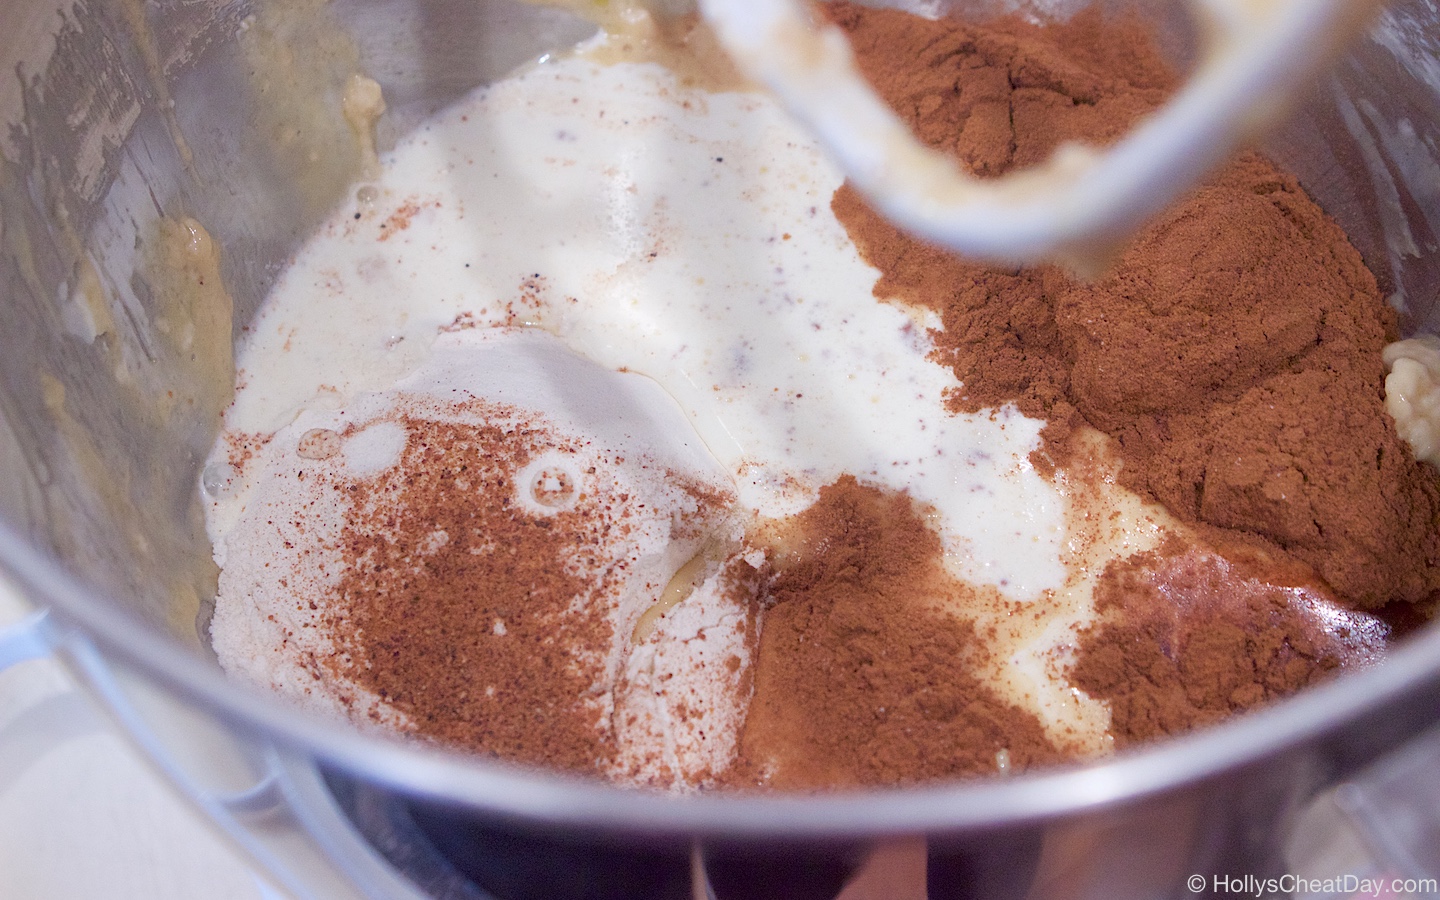
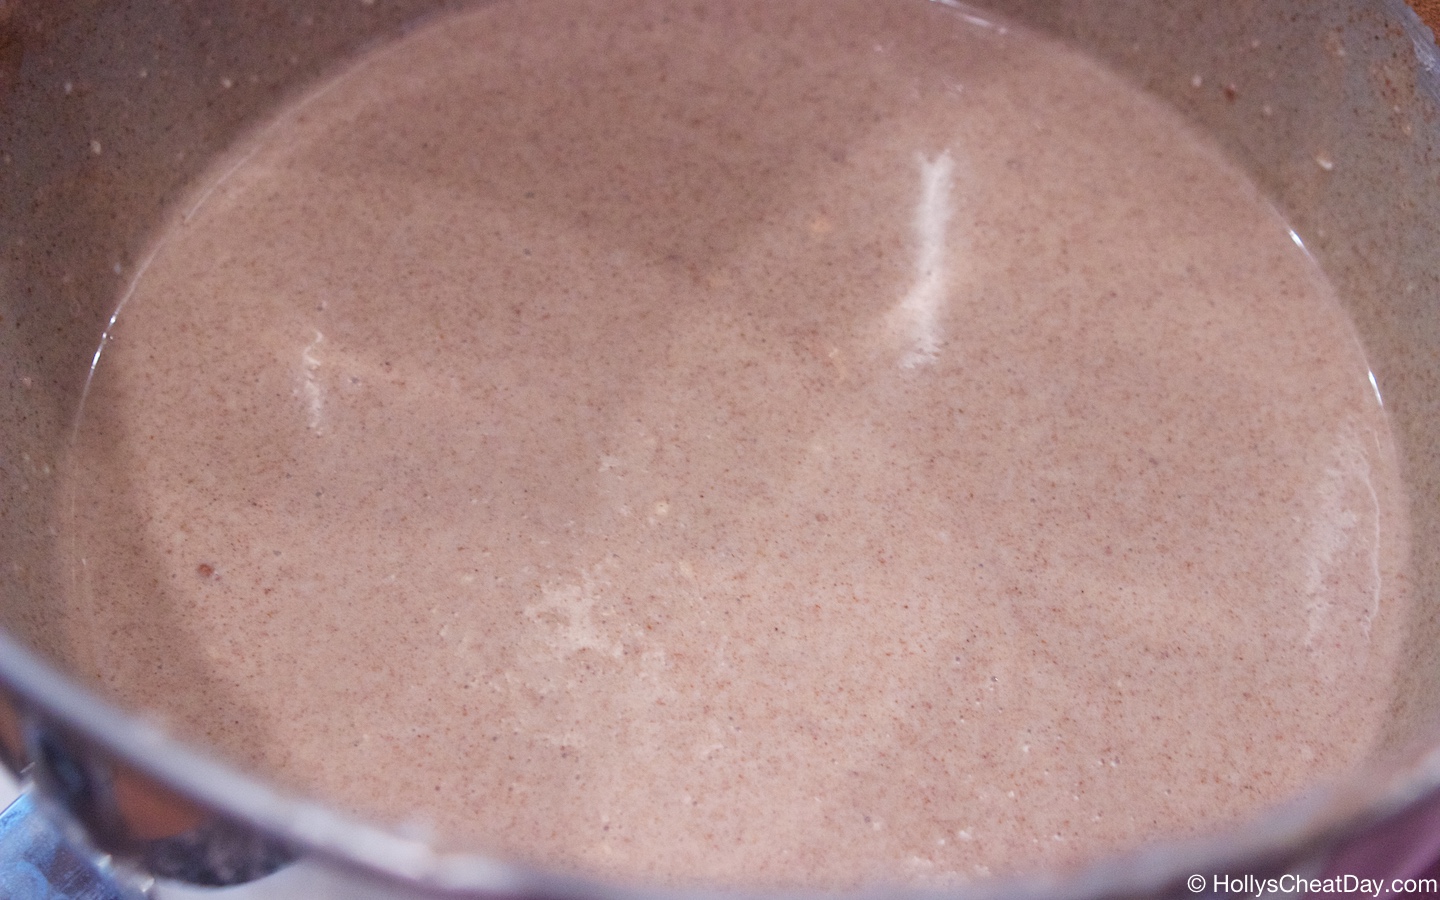
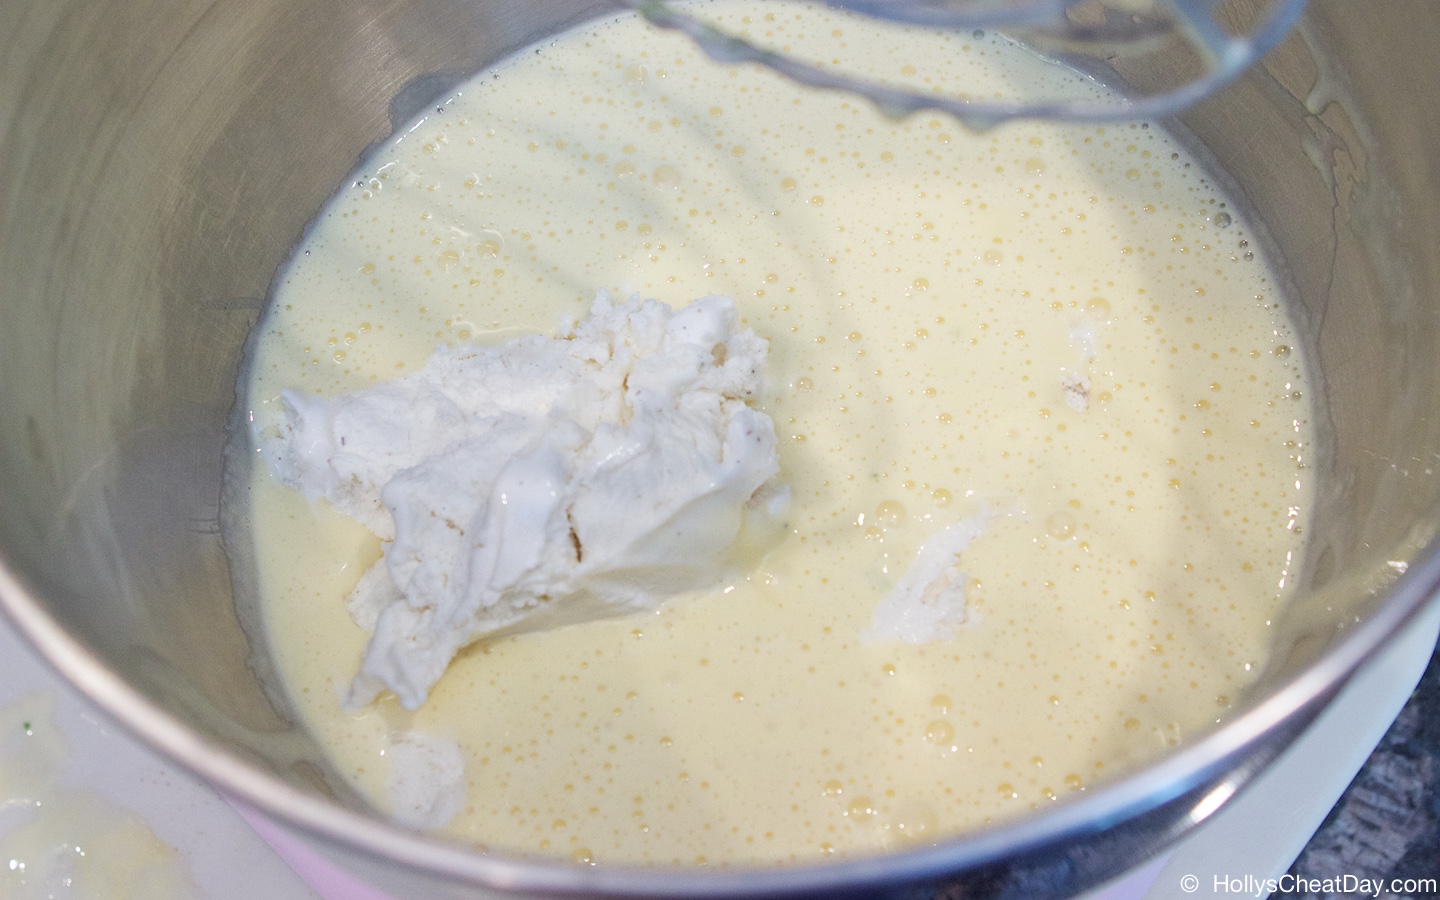
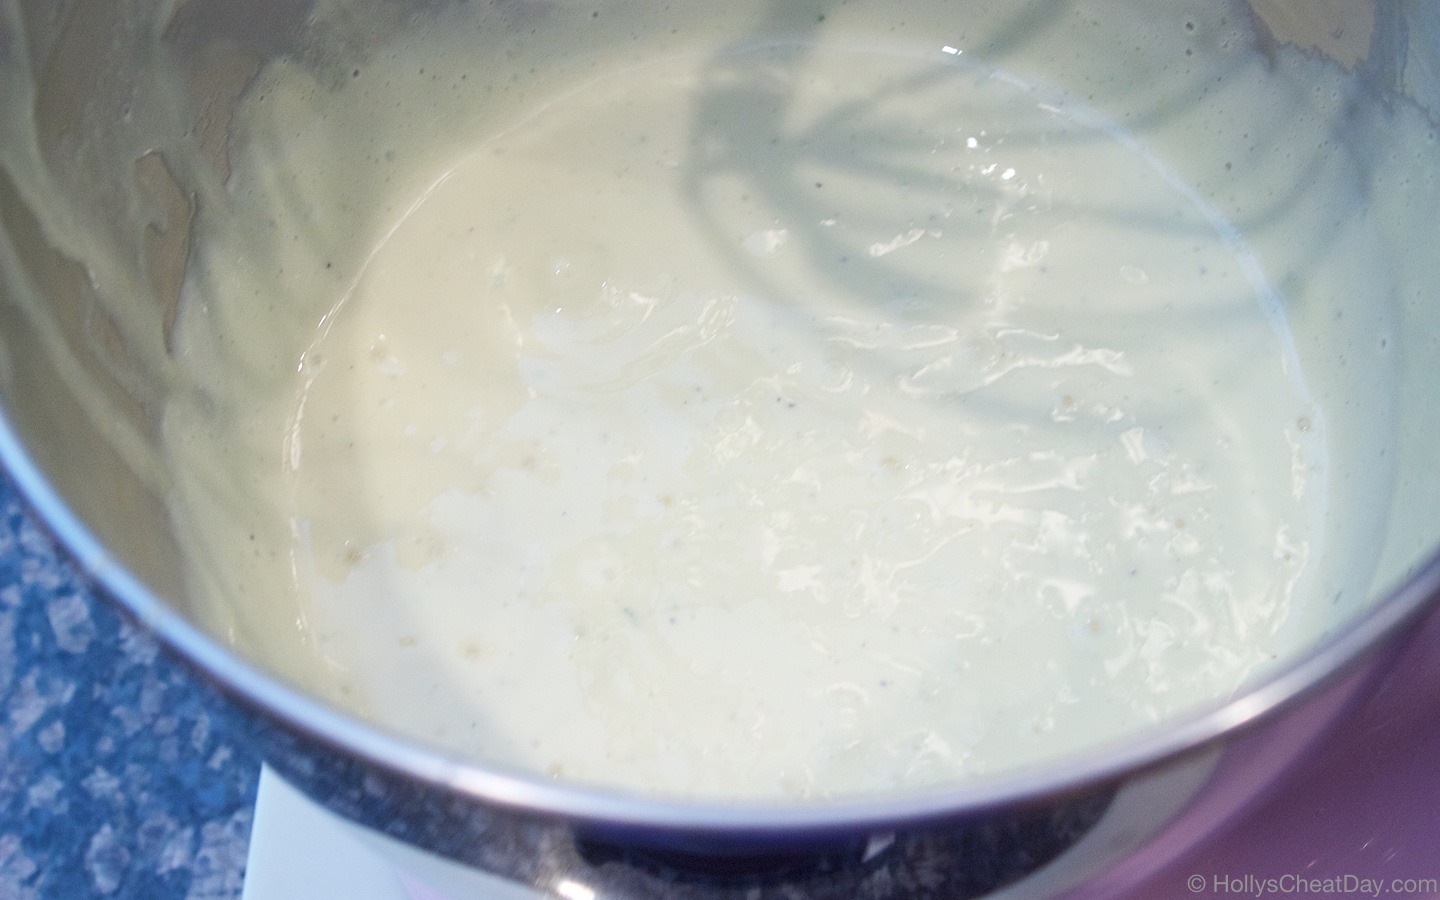
now, the rest of your ingredients and mix, mix, mix…
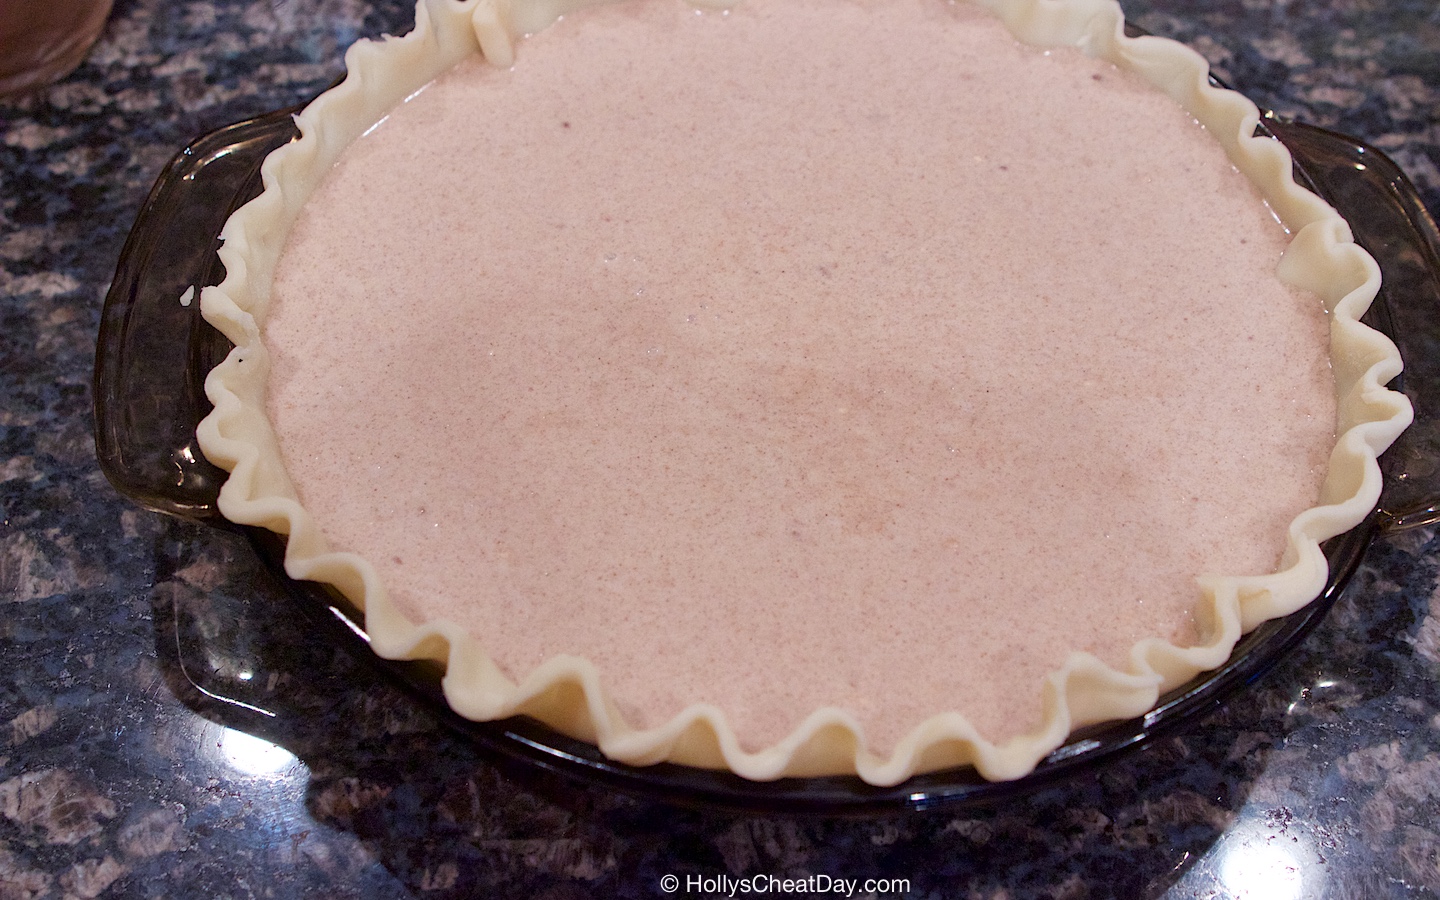
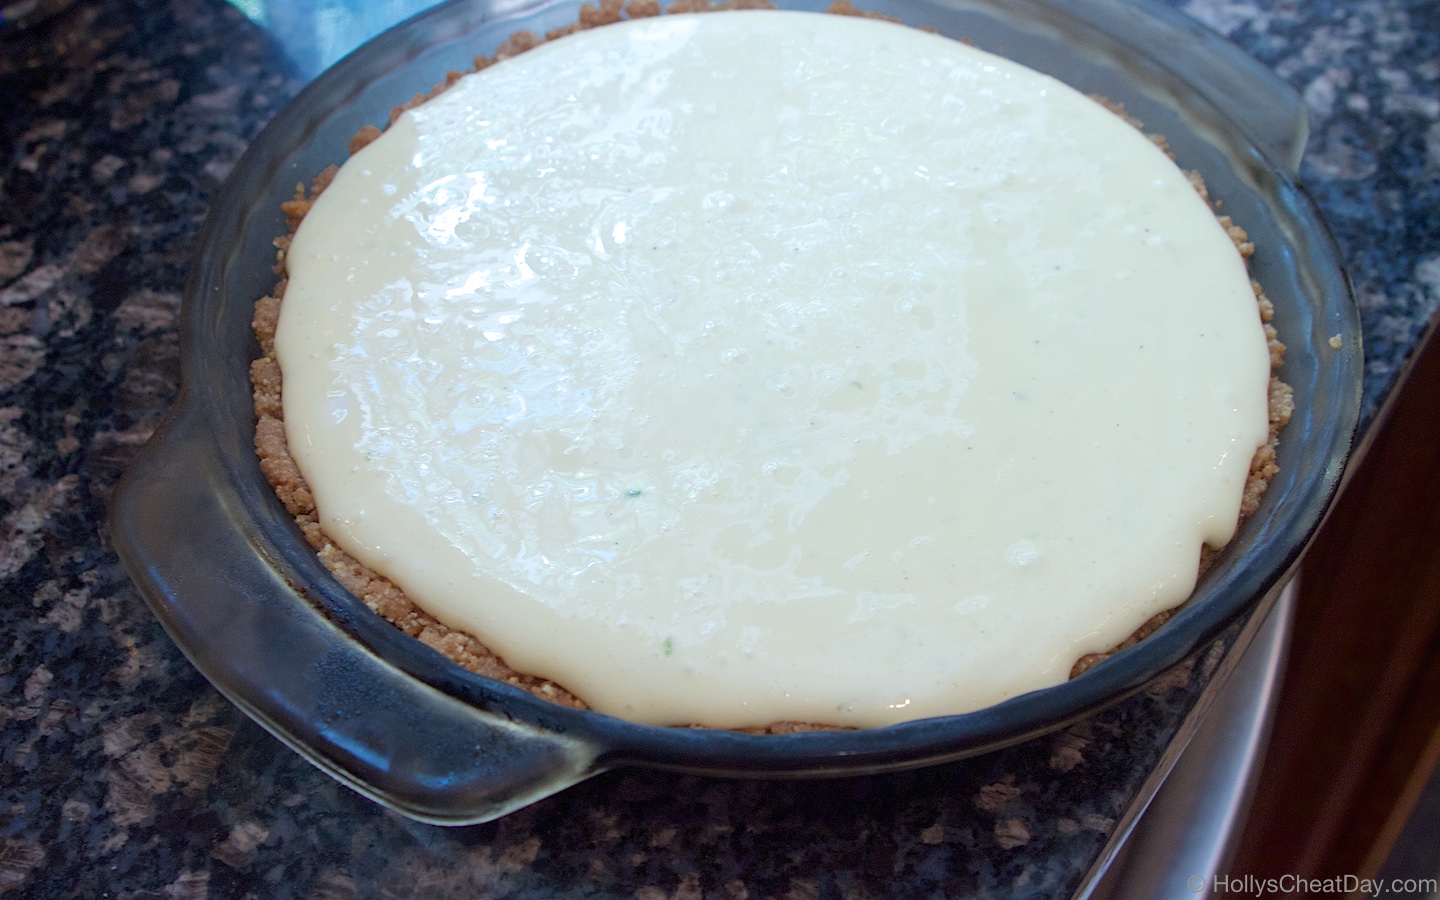
ready to go into your pie crust…
yummm, ready for the oven…
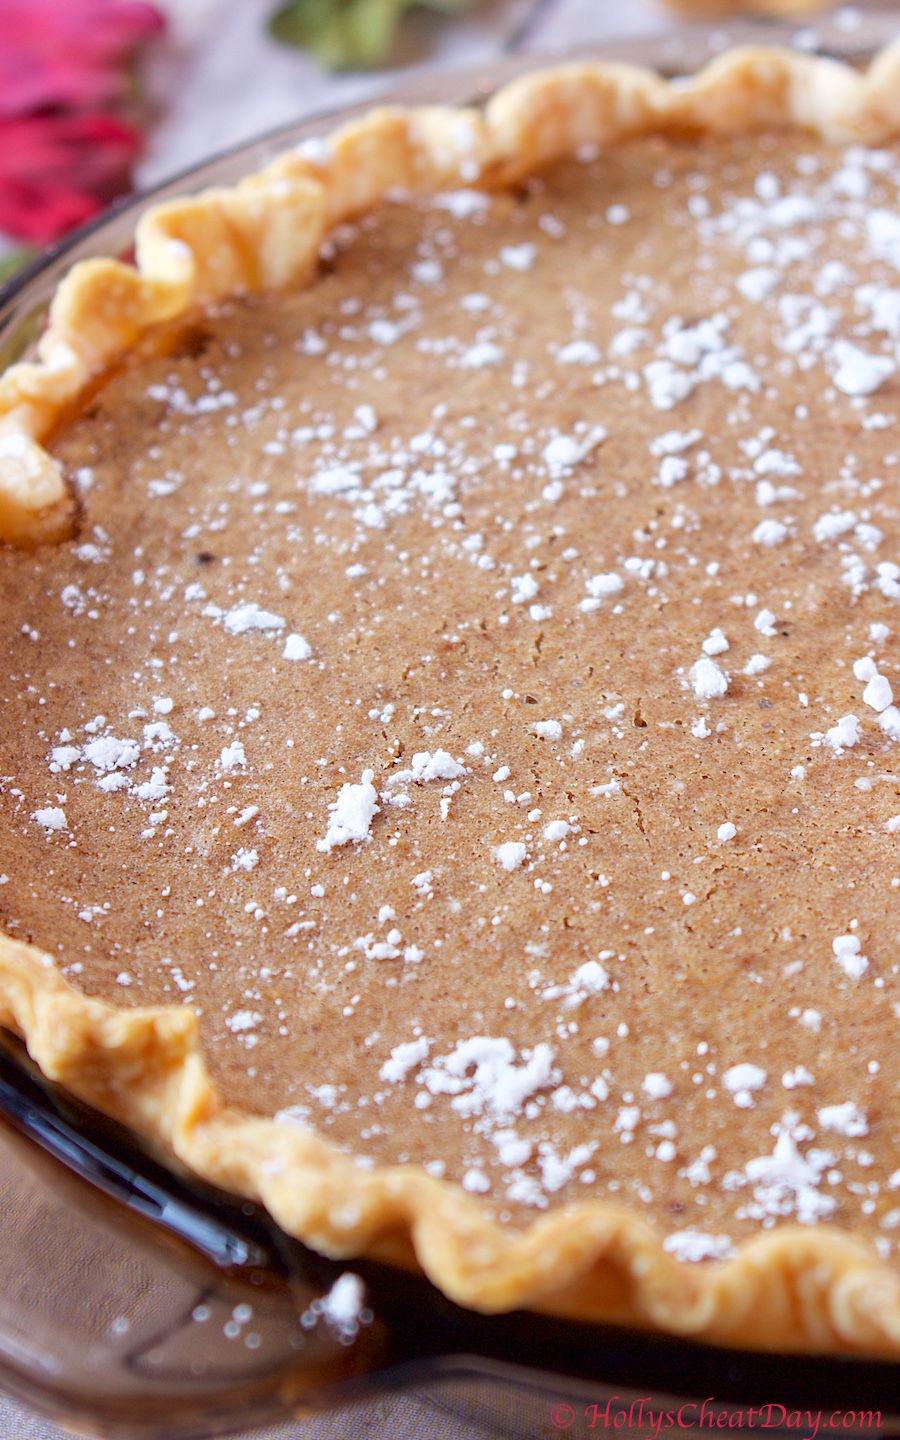
bake, bake, and enjoy!!!
- 1-8 Ounces Block of Cream Cheese, Softened.
- 1 Cup of Brown Sugar.
- 2 Large Eggs.
- 1 Egg Yolk.
- 1 1/4 Cups of Heavy Cream.
- 1/4 Cup of All Purpose Flour.
- 2 Tablespoons of Ground Cinnamon.
- 1 Tablespoon of Vanilla.
- 1 Teaspoon of Salt.
- 1/4 Teaspoon of Ground Nutmeg.
- 1-9" Pie Crust, Store Bought or Homemade.
- Preheat your oven to 350 degrees F.
- Roll your pie dough out into your 9" pie pan, cutting off any excess and crimp the edges of your dough, place in the fridge until ready to use.
- With a handheld or stand mixer with paddle attachment, beat your cream cheese until smooth, then add in the brown sugar and beat until incorporated to the cream cheese.
- Scrape down the sides of the bowl and add in the eggs and egg yolk and mix until smooth.
- Now add in your heavy cream, flour, cinnamon, vanilla, salt and nutmeg and mix until well incorporated.
- Pour your pie mixture into your pie pan and bake for 30-35 minutes or until the center isn't jiggly anymore.
- Cover your pie and let cool completely in the fridge.
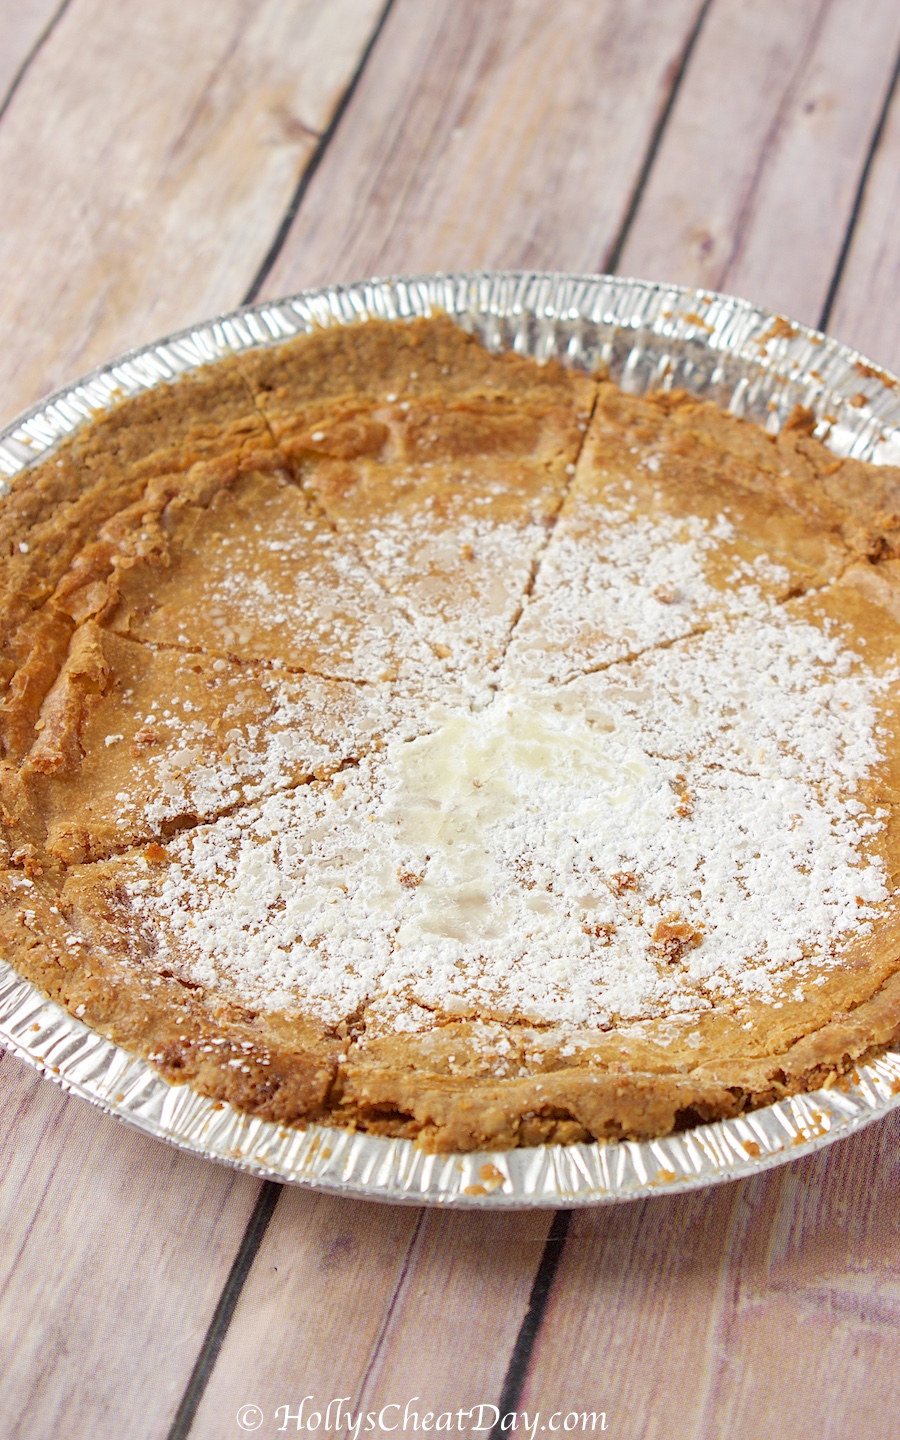
- Let your pie stand for at least an hour before serving, and enjoy with a dusting of powdered sugar or ice cream!

 I’ve seen a lot of custardy kind of cake stuff around but most involved a
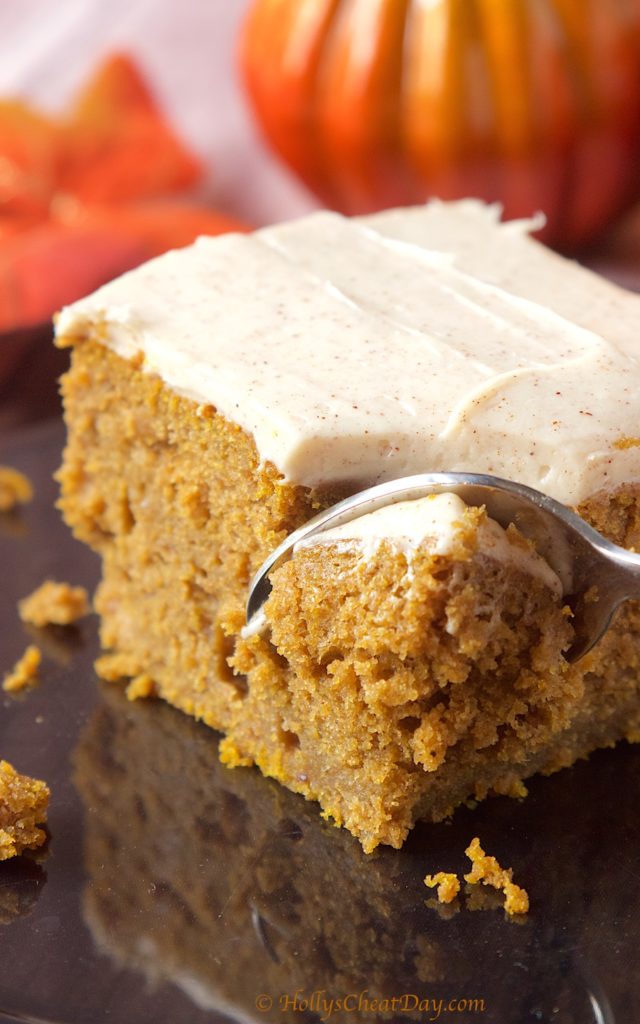
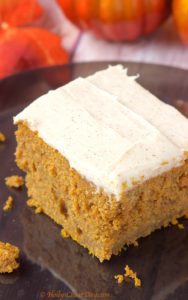
 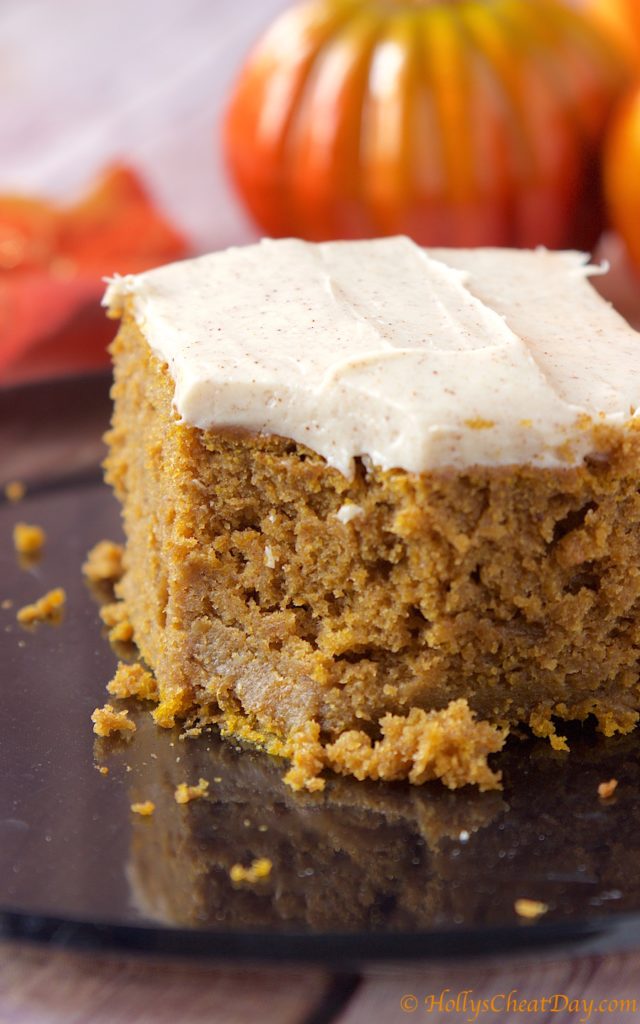 Honestly the hardest thing to do was waiting for this bad boy to cool down enough so I could slap on the frosting and start devouring it. Speaking of frosting, y’all are totally welcome to buy a pre-made frosting from the store if you’re really in a time crunch, but I most definitely recommend you make this cinnamon cream cheese frosting, which BTW I can take credit for hehe.
 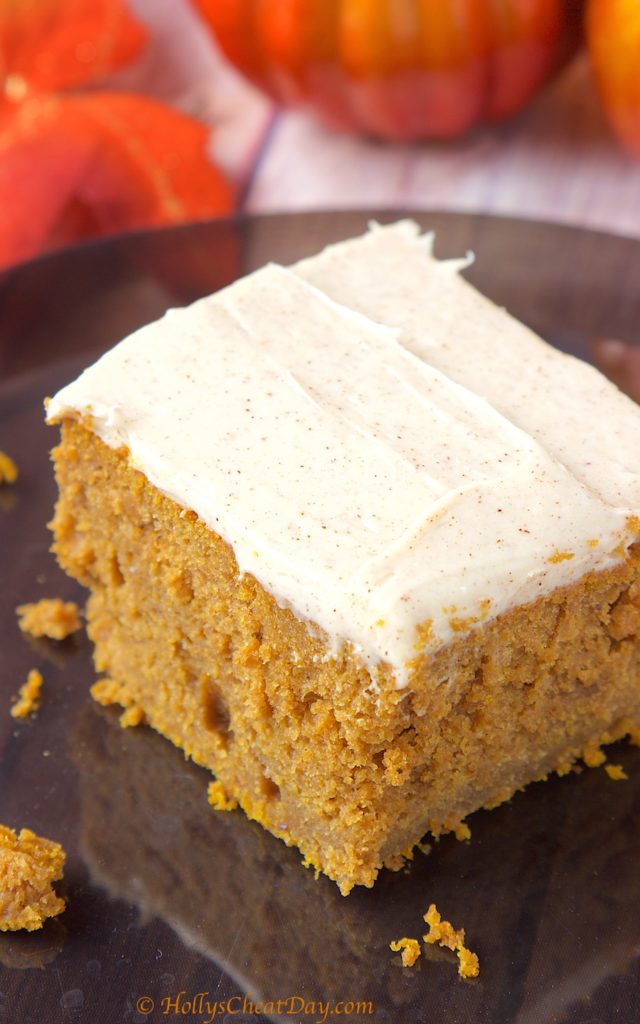 It’s the perfect amount of sweetness with the tanginess of the cream cheese, and of course the star of the show, cinnamon, yummy y’all. This is a definite crowd pleaser, with the top part being the texture of a moist cake and the bottom part being all pumpkin pie-ish, OMG I’m drooling at the thought of this delightful treat. I hope you get a chance to make this incredible dessert soon, are having a wonderful day and thank you so much for stopping by!
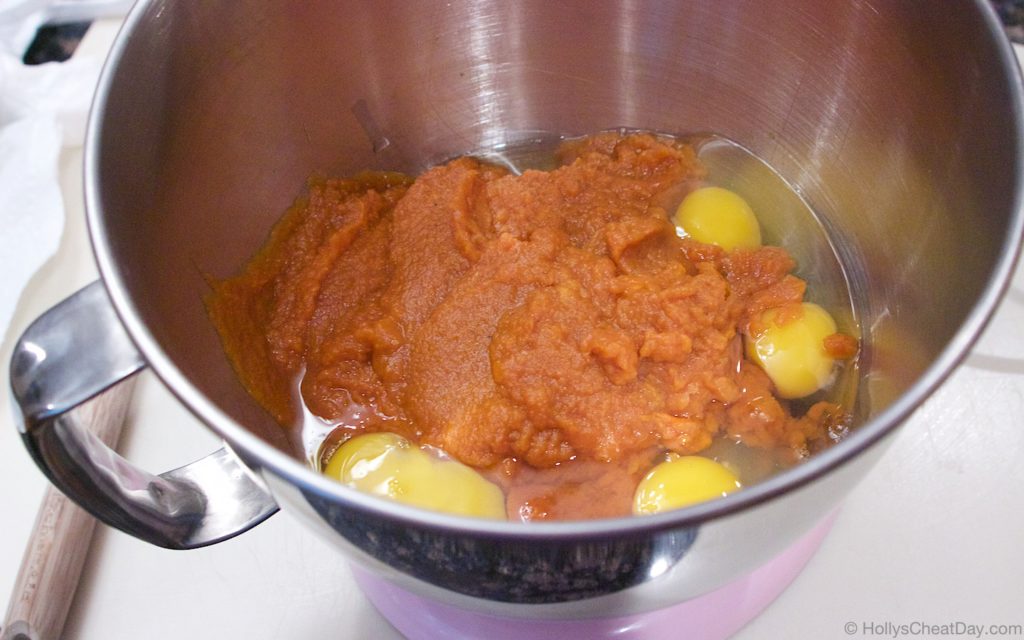
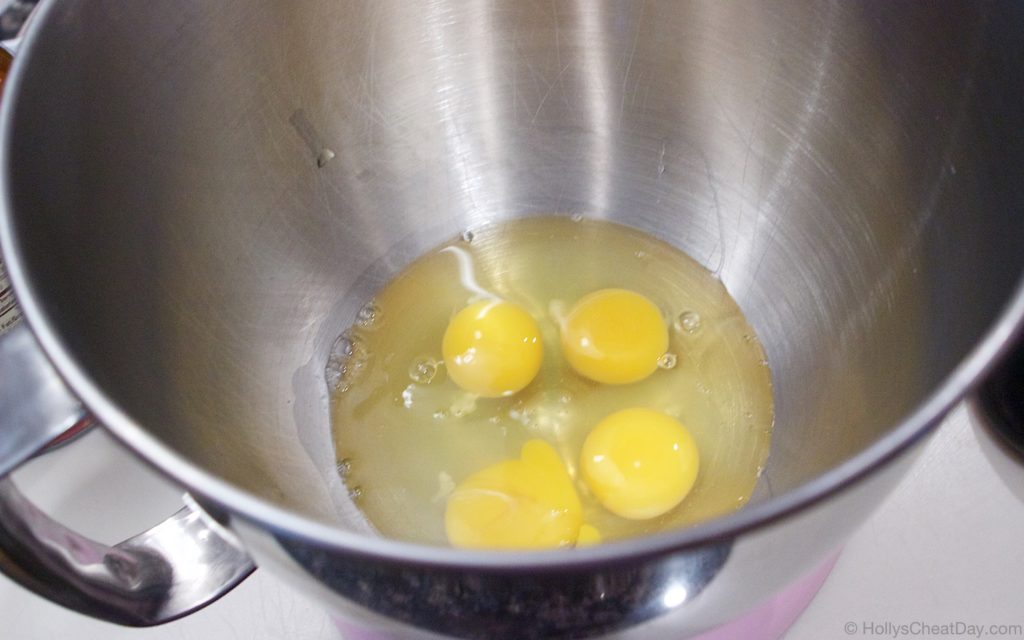 then the pumpkin pie mix…
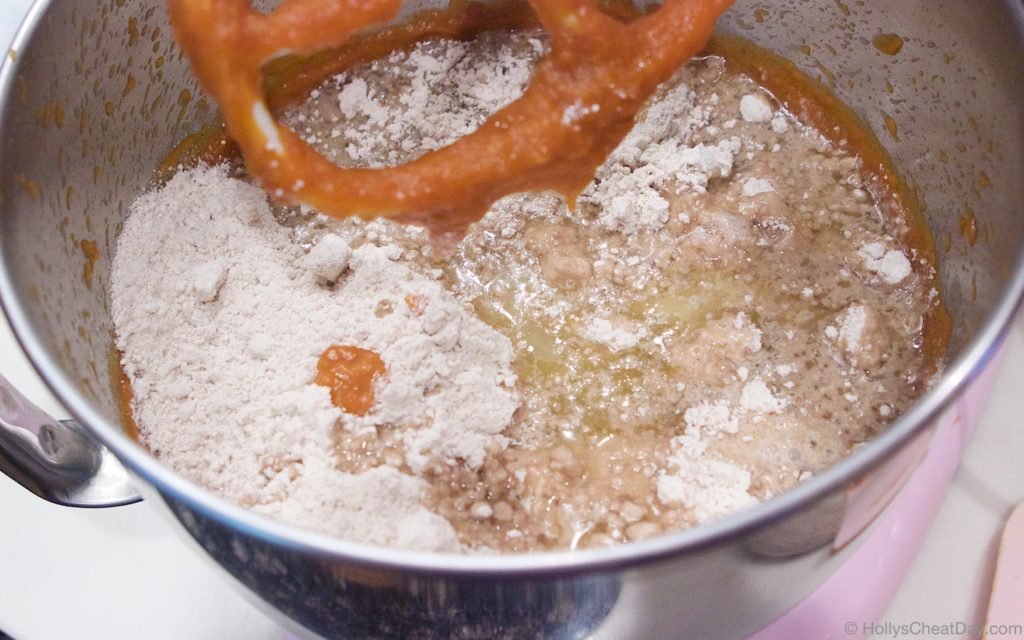
 after mixing those together, add your cake mix and melted butter…
 mix, mix, mix…
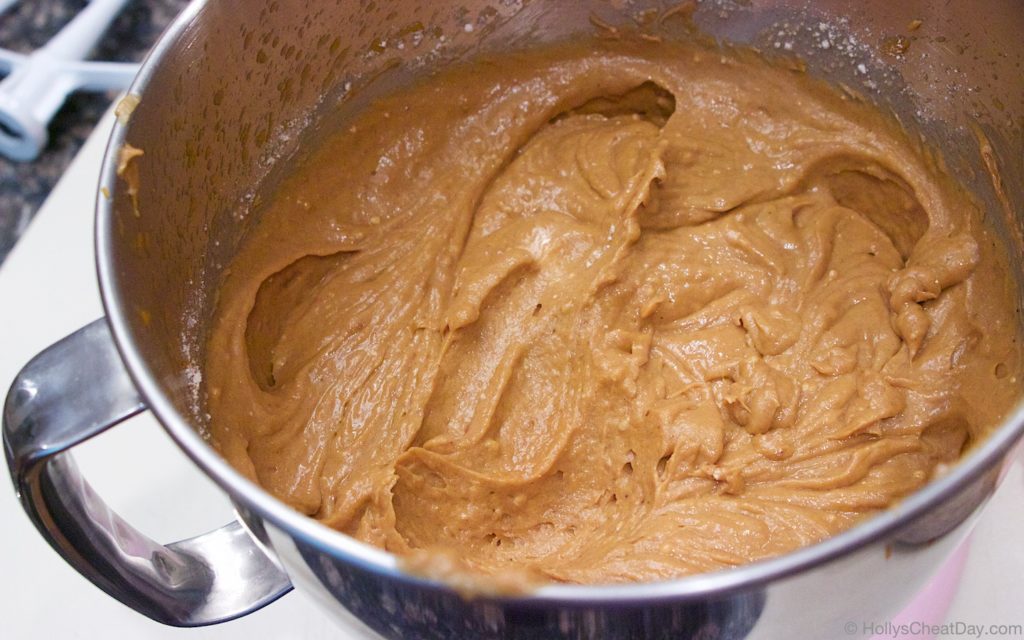 into your pan…
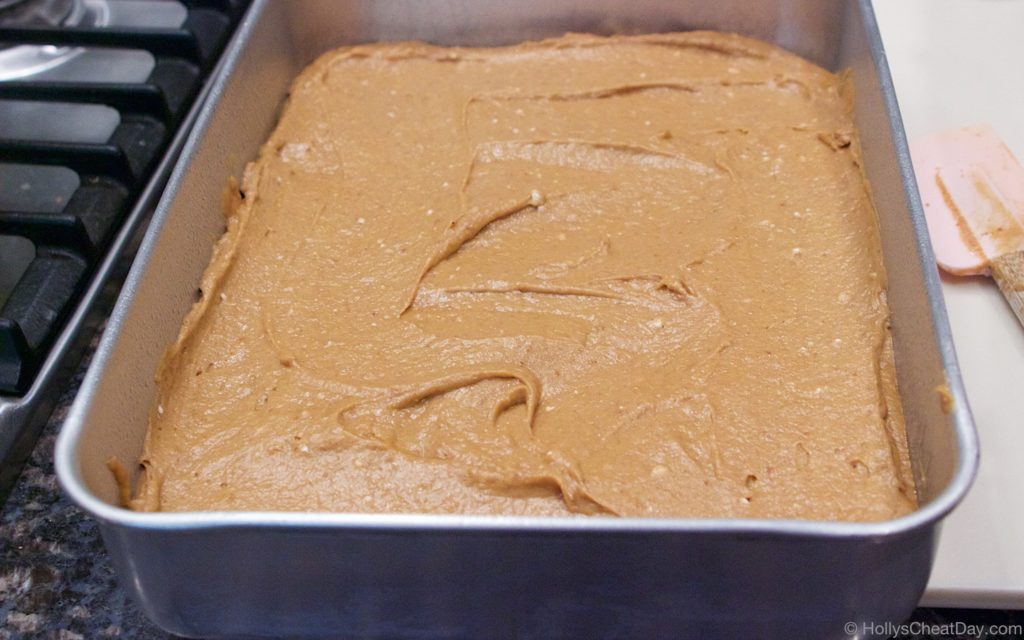 bake, bake, bake…
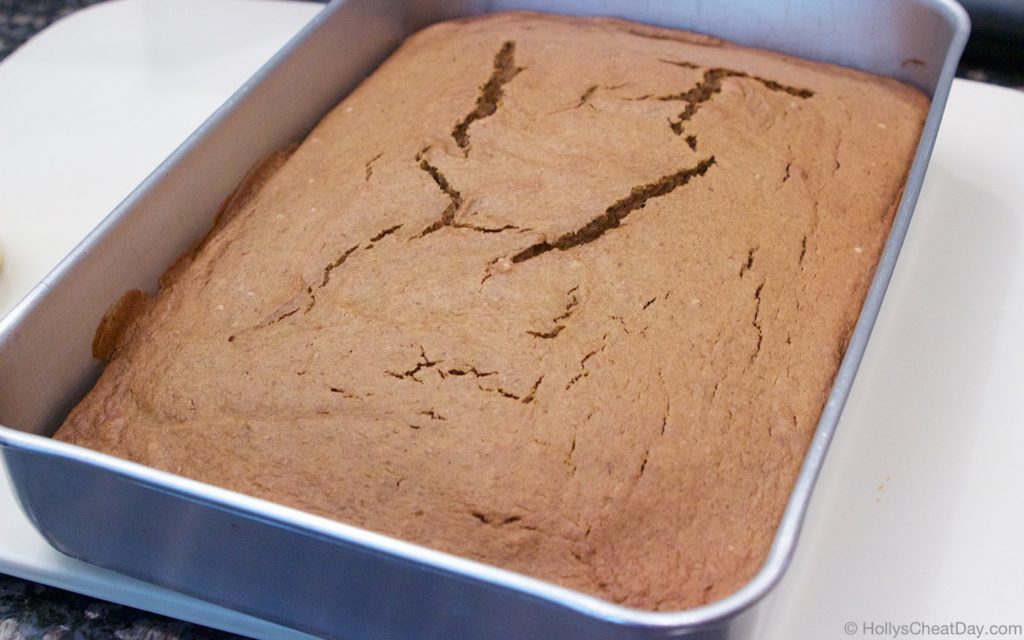 now time for the frosting, butter into your bowl…
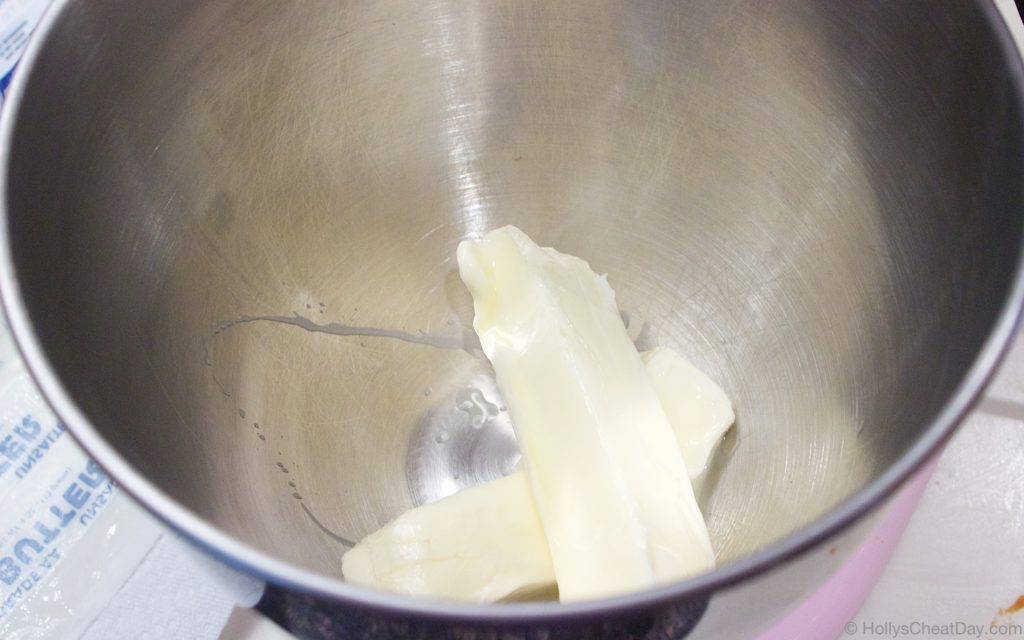 then your cream cheese…
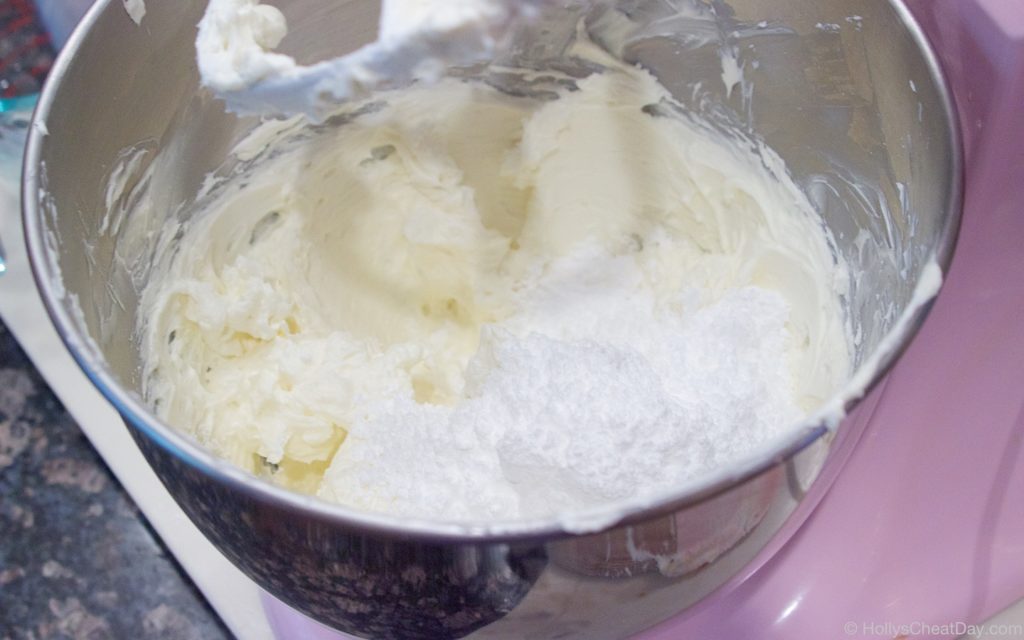
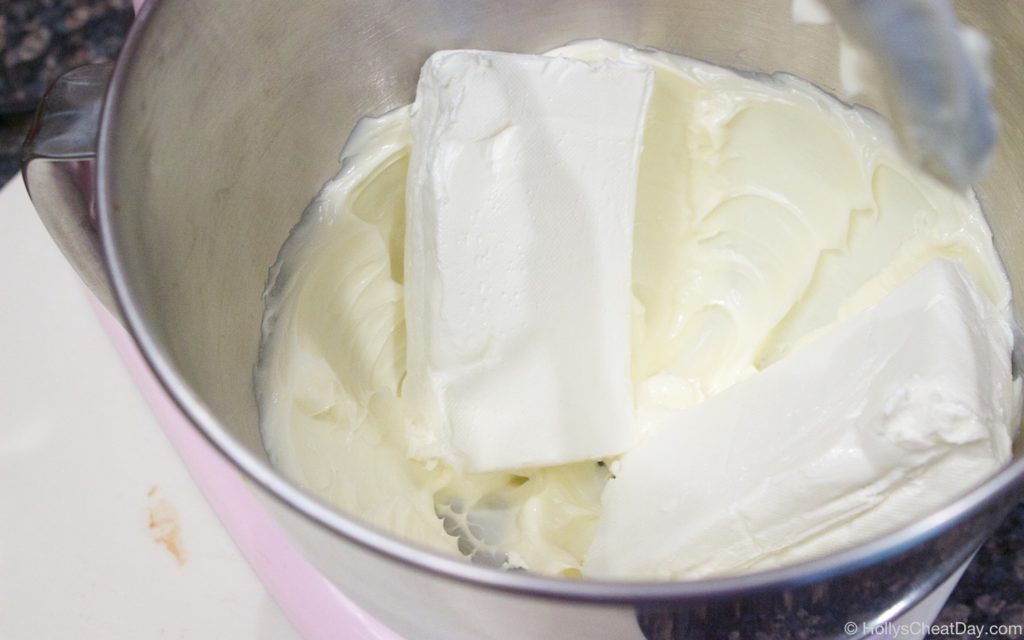 mix, mix, mix, then vanilla and powdered sugar…
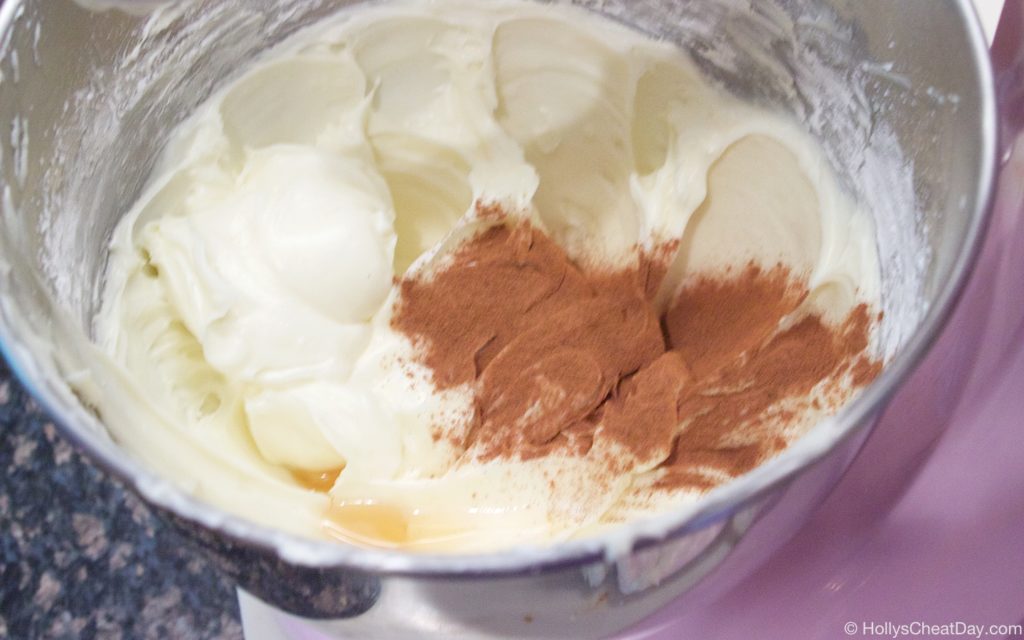
 then (a blurry picture) add the cinnamon…
 then enjoy!!!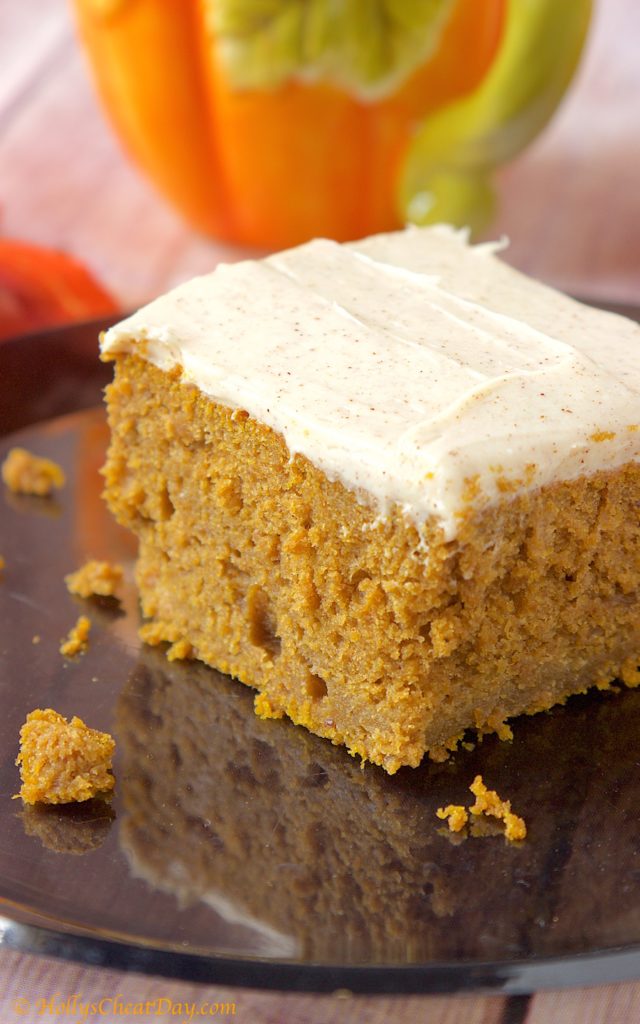
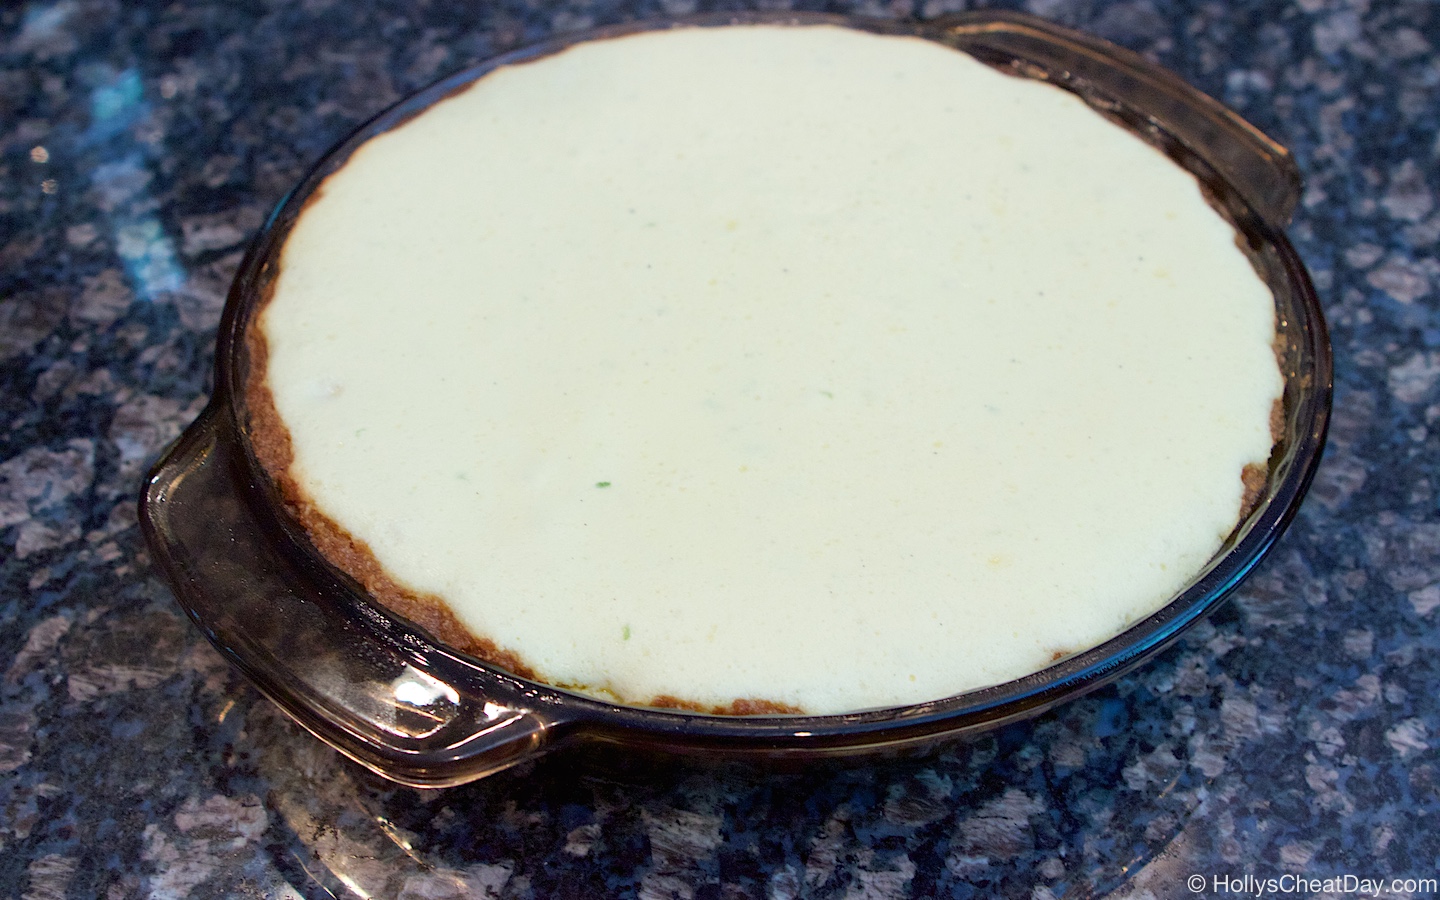
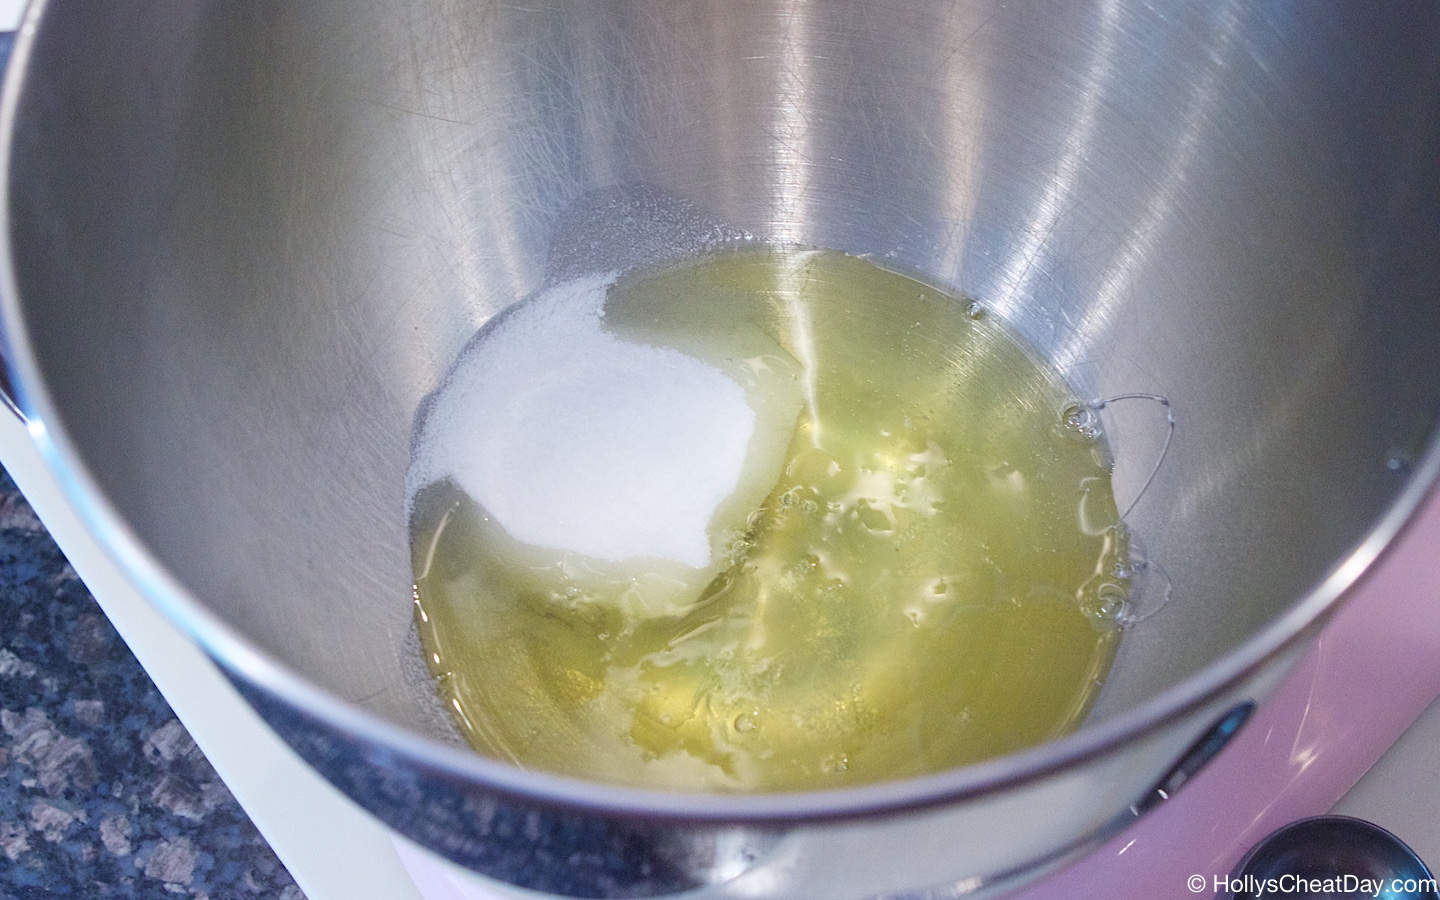
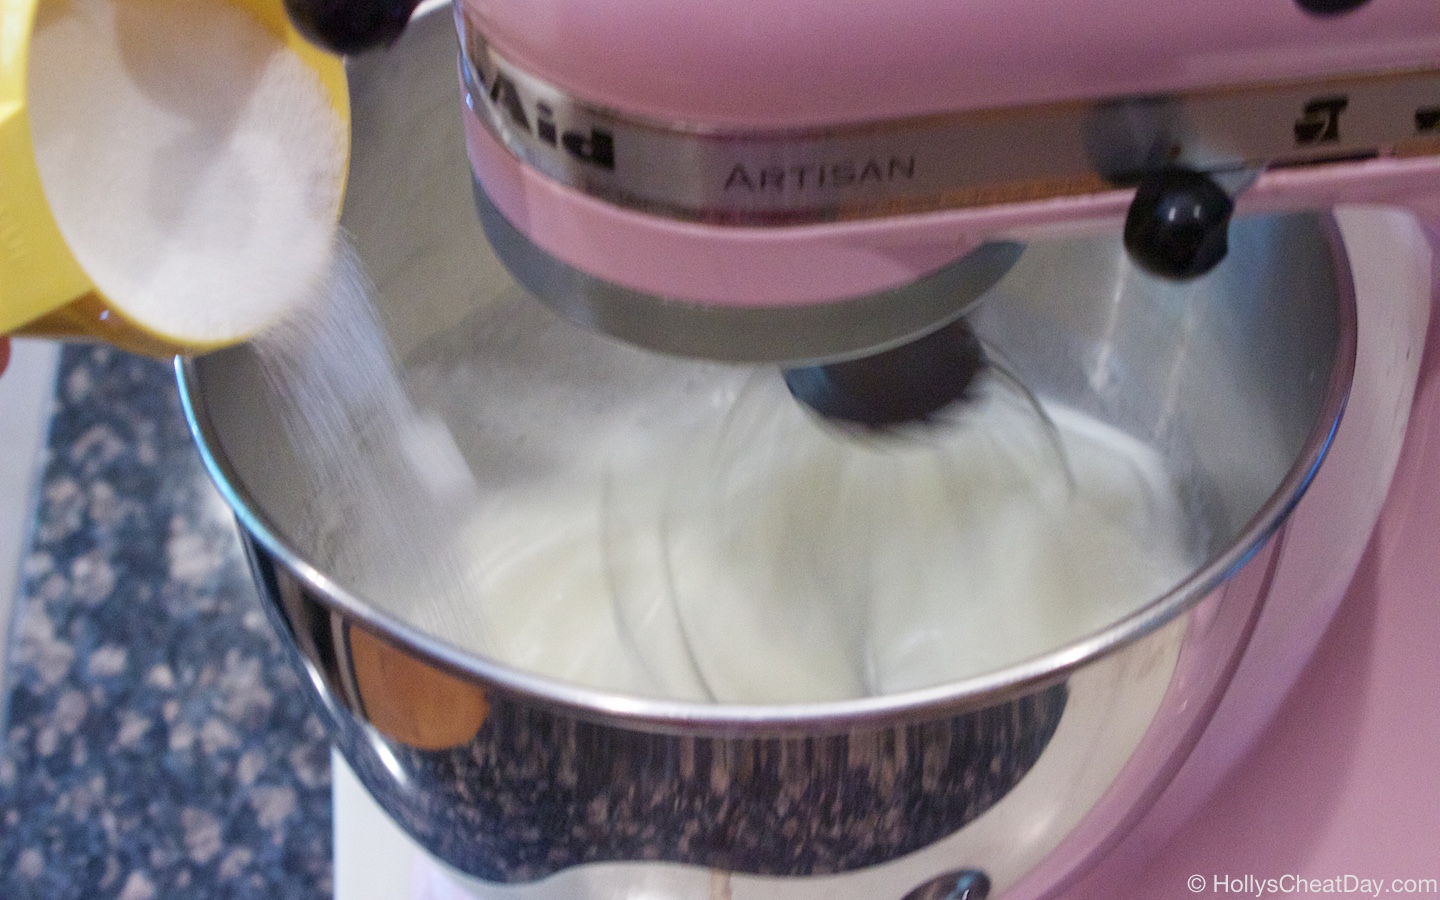
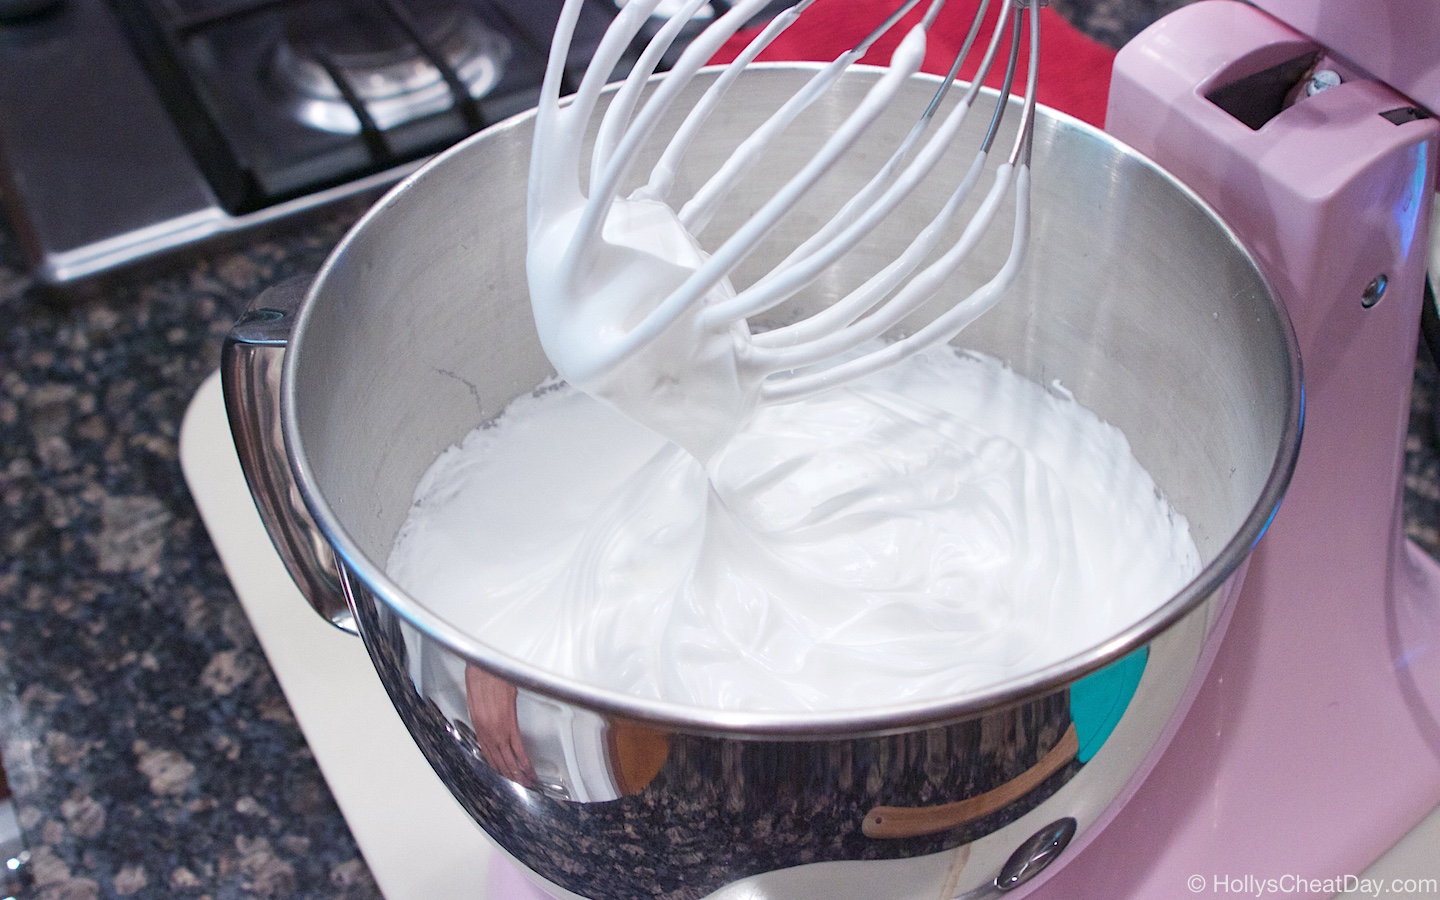
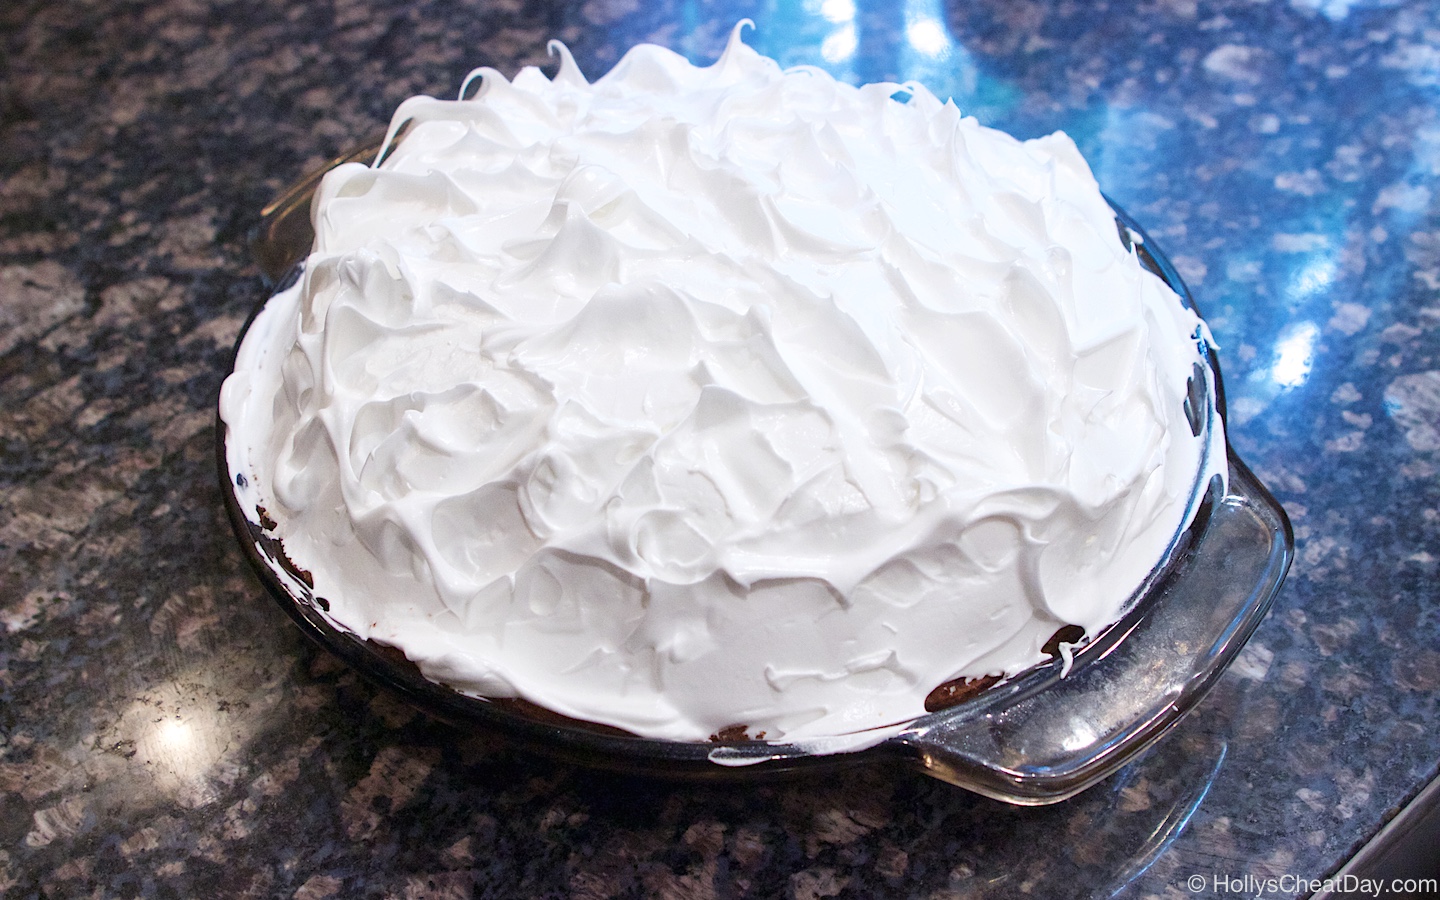
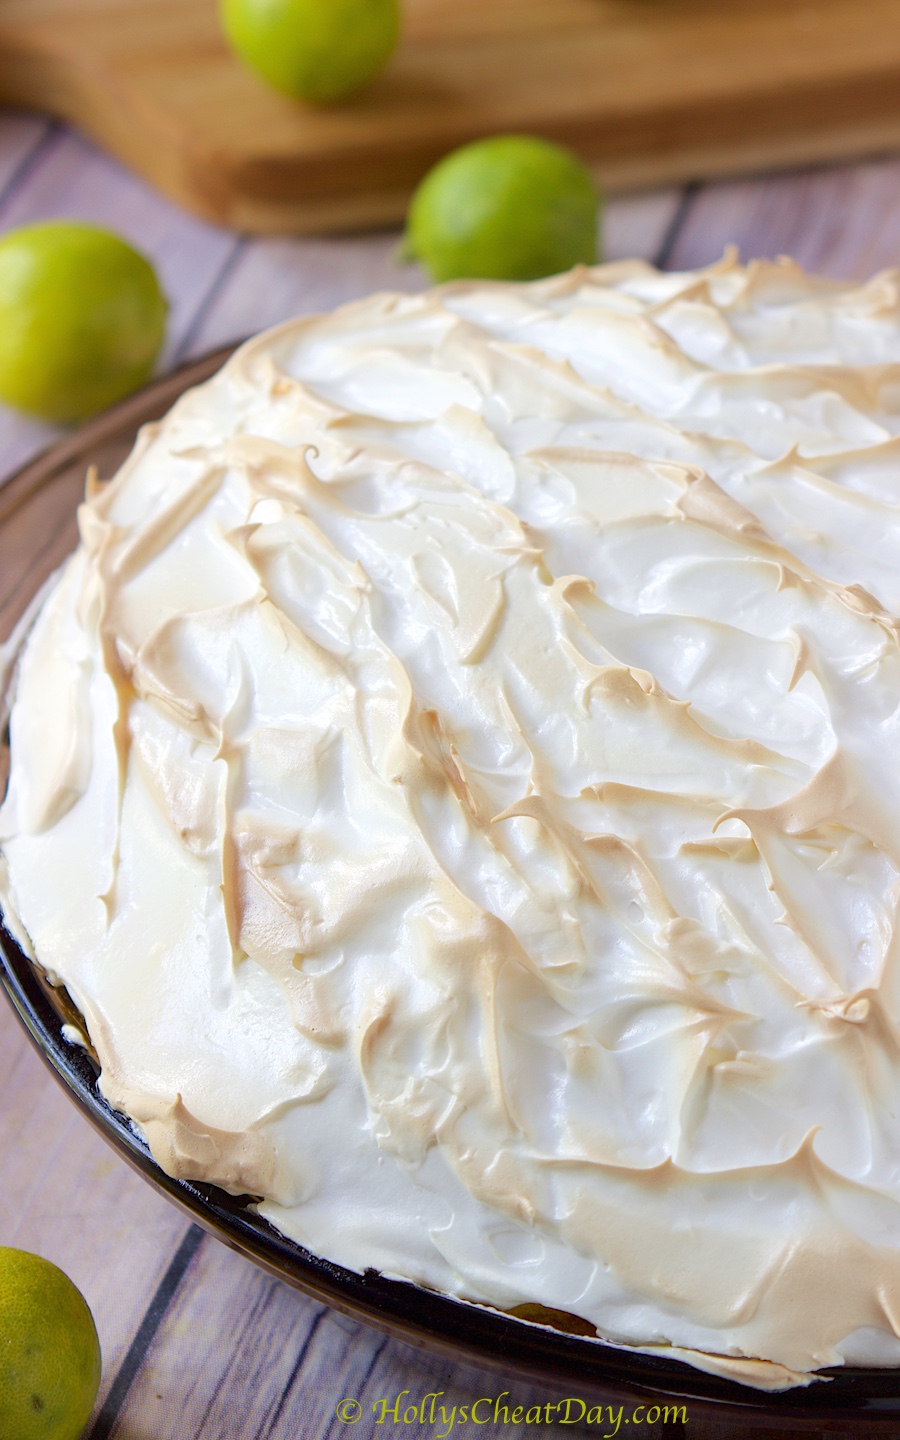
 As you will see in one of my pictures below, it literally deflated under the weight of the meringue, womp womp. Speaking of meringue, that is a totally different story. The recipe for this meringue is different than any I’ve seen and it turned out 100% perfect. Not only was it delicious & beautiful, but it was stinking easy to make, like, if I can make this meringue, anyone can. In the future I will certainly be placing this meringue on top of my
 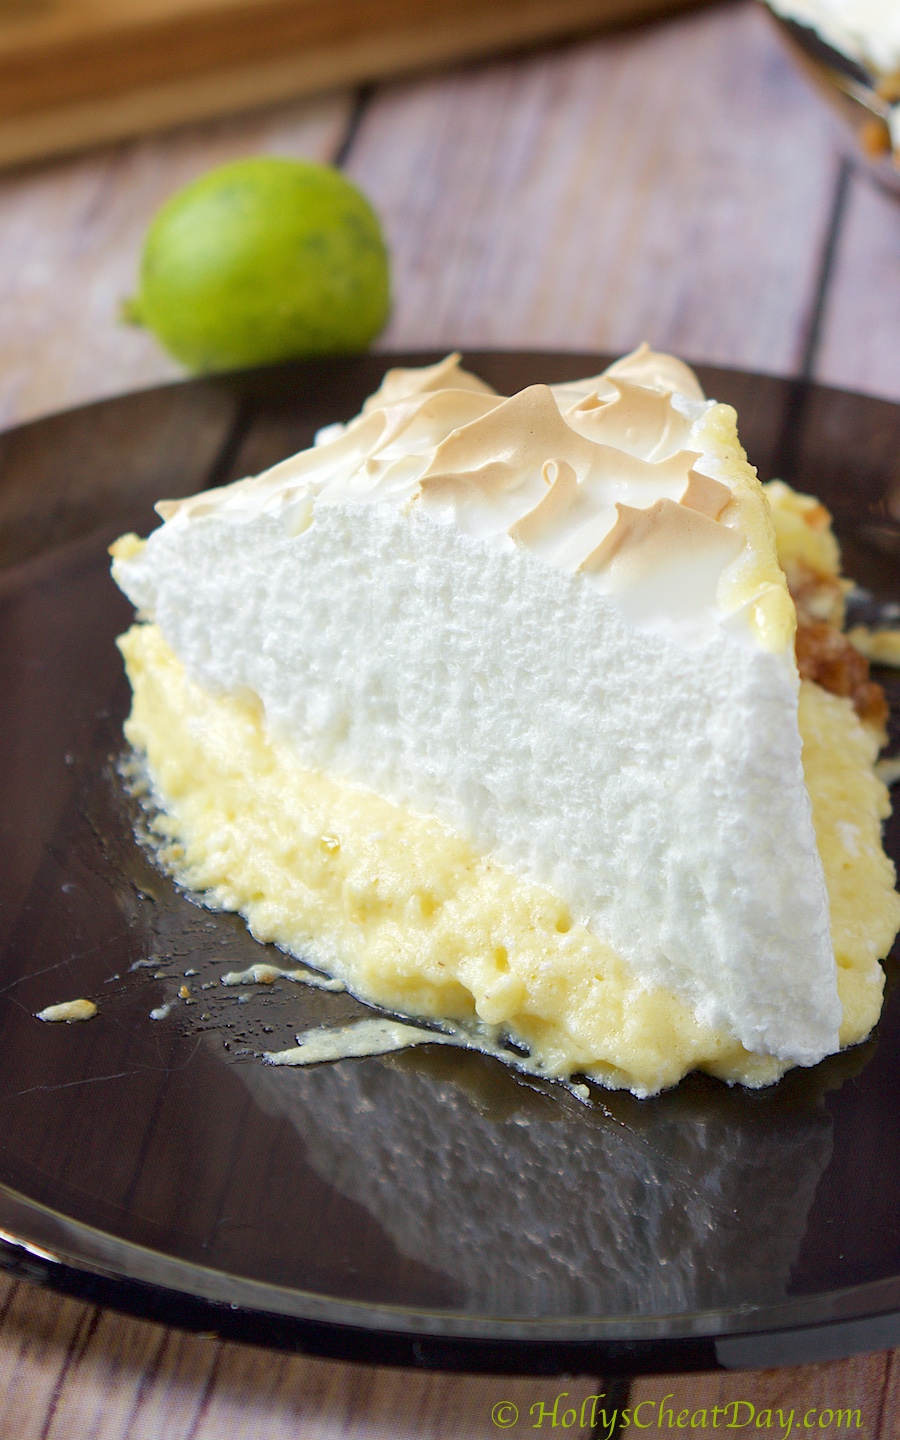 I also thought I would rig the crust with Biscoff cookies (some of my favs) to change it up a bit, but I think I messed up the ratio of butter to cookie/cracker and it was a bit soggier than I had hoped-again, I am not a professional haha. Anyways, I spent quite a bit of time making this concoction so I figured I might as well post it, and the meringue recipe alone is worth it. Anyways, I hope everyone has a wonderful weekend and good luck to all of the teachers, students and parents that are starting back Monday-which, in my humble little opinion is wwaaayy too early to be going back to school, but what the heck do I know? Thank you so much for stopping by and have a wonderful day!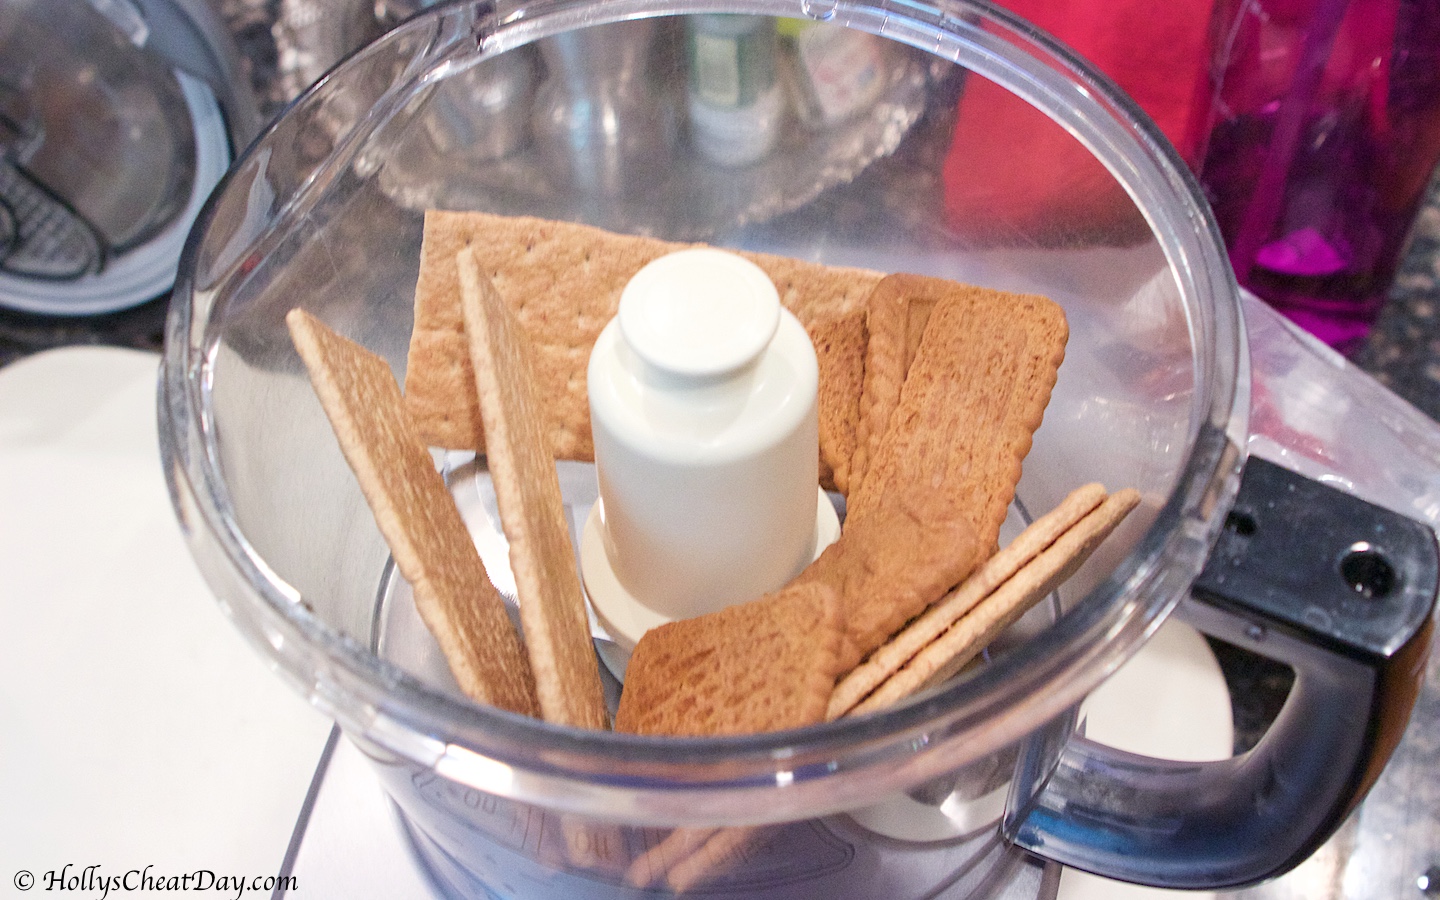


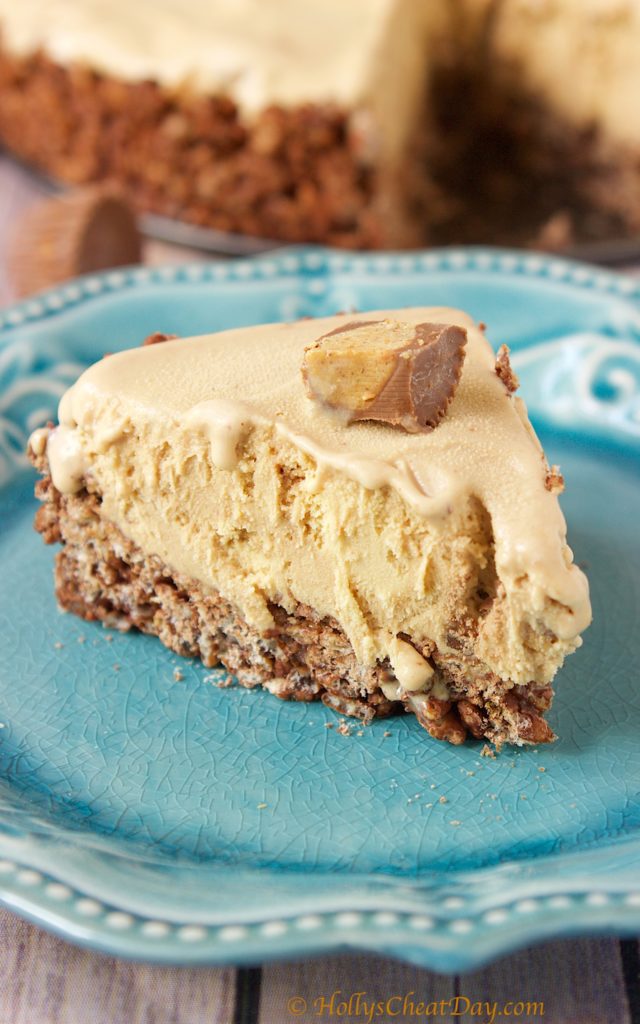 It’s just been one of those weeks, I’ve been super salty since Monday, and then things keep popping up to get on every remaining last nerve…I know #firstworldproblems and all, and I’ll chill out in a couple of days and feel guilty for being so snarky all week…but not today. Luckily, tomorrow is my cheat day and I can feed my feelings with doughnuts and pizza (yeah, I just admitted that on the Internet), oh well, judge all you want, though I’m sure most of you won’t since I assume you love food as much as I do haha.
 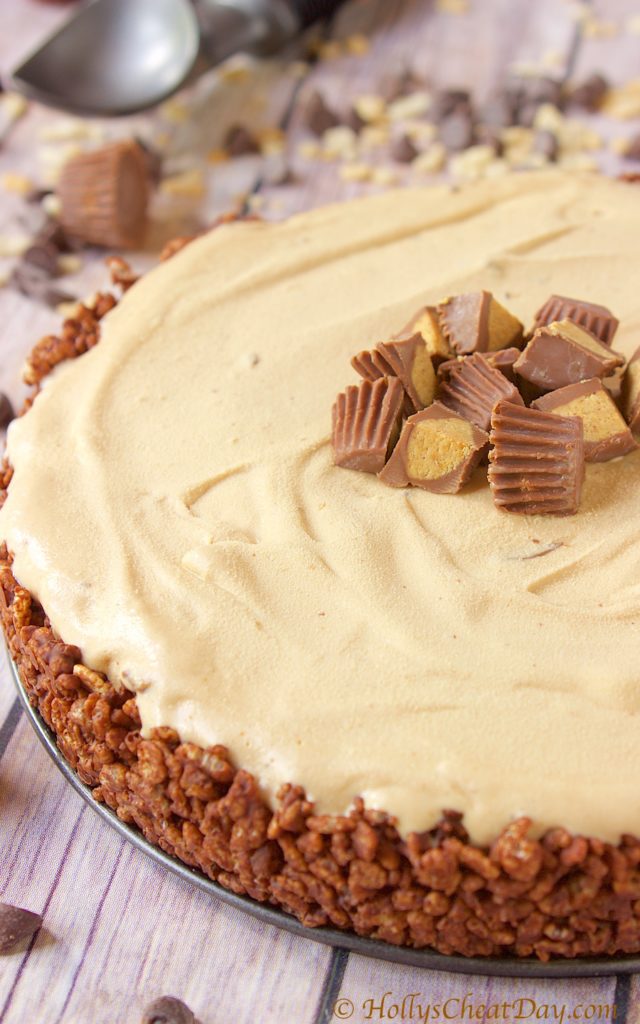 Oh and let’s not forget, I totally have this Peanut Butter Cup Ice Cream Pie to enjoy! I made this on my last cheat day, and honestly was already so full from the day, I was only able to eat one slice and y’all this pie is amazing. So in normal fashion, I wrapped it really really well and stuck it back in the freezer to enjoy this weekend.
  I came across this recipe on Instagram, and I was sooo impressed by the ease of this recipe and not to mention how freaking delicious it looked, I absolutely had to make it. It also doesn’t hurt that I have maybe the biggest box of Rice Krispies in my pantry right now that I had bought for a recipe a couple of weeks ago, and the
 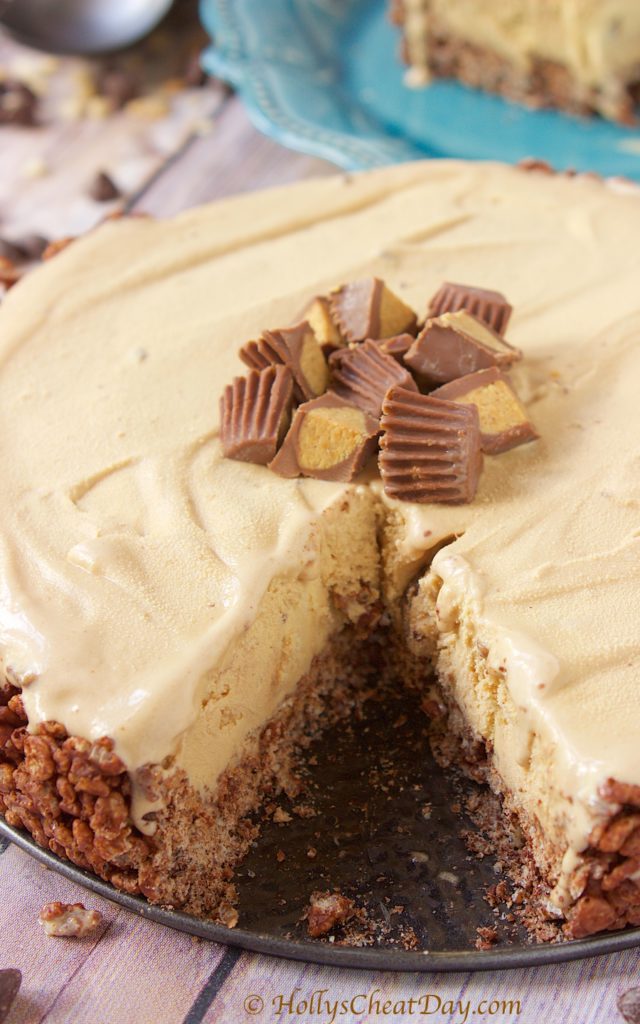 So, I’ve been attempting to put Rice Krispies in everything to use them up, hence another reason why this recipe was so appealing. Feel free to substitute out the peanut butter ice cream with one you may prefer (hello Cookies & Cream), but holy moly, that chocolate Rice Krispy crust filled with all of that peanut buttery goodness, mmmm, peanut butter is life y’all. I hope you get to enjoy this pie soon, I hope you have a wonderful weekend and thank you so much for stopping by and being so nice and putting up with my obviously snarky self this week 😀
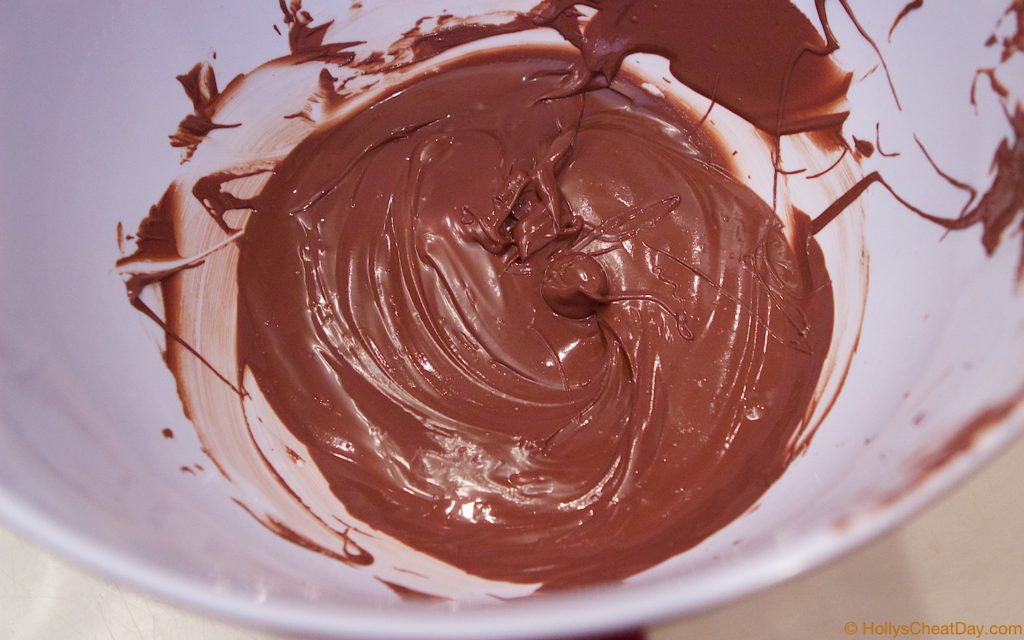
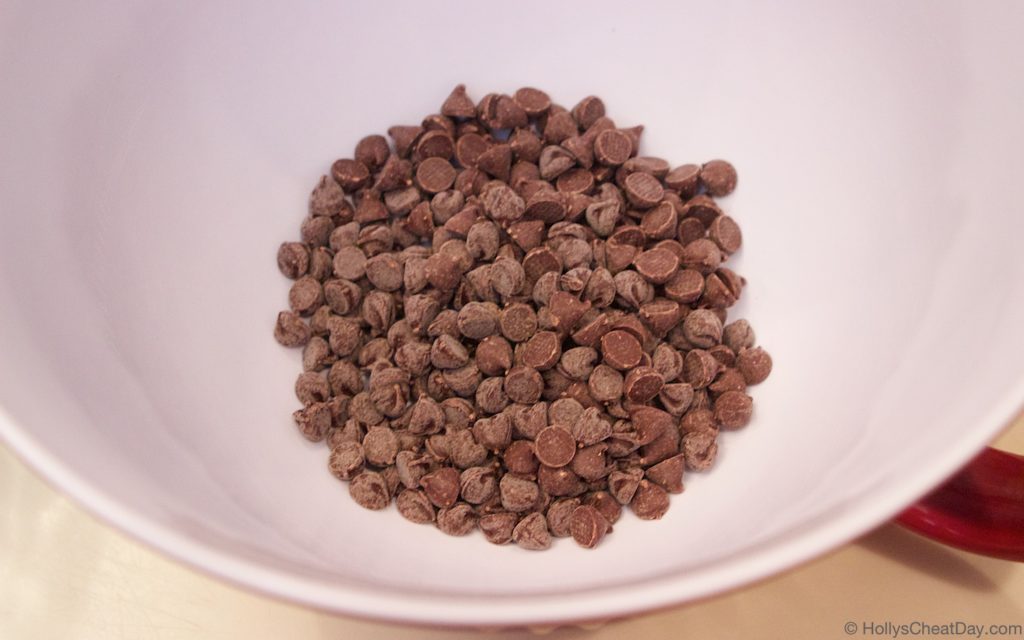 melted…
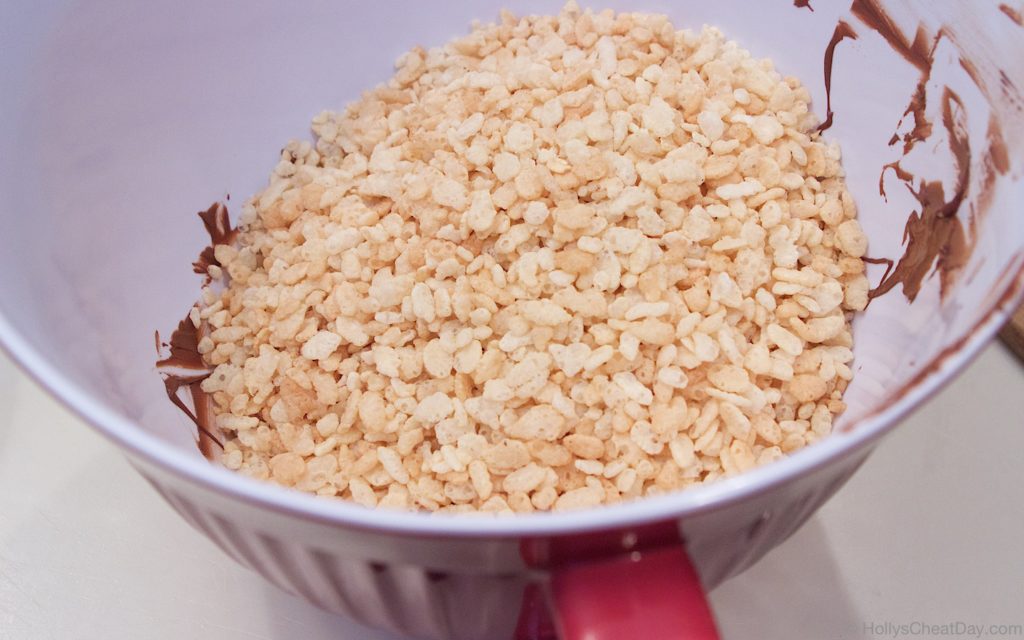
 Rice Krispies into the bowl…
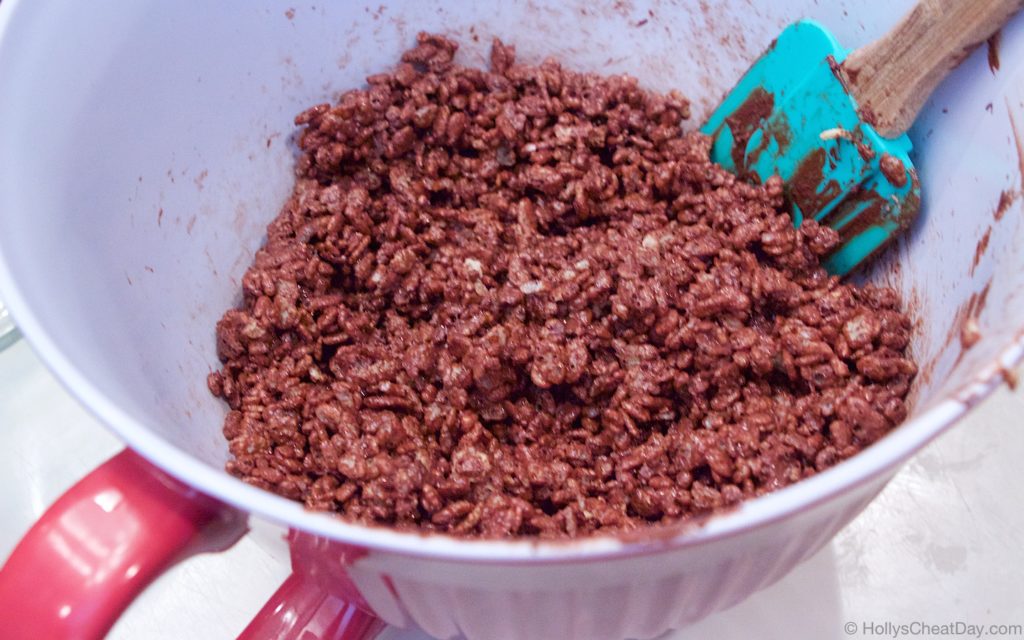
 all mixed in (with a wonderfully blurry photo to go along with it)…
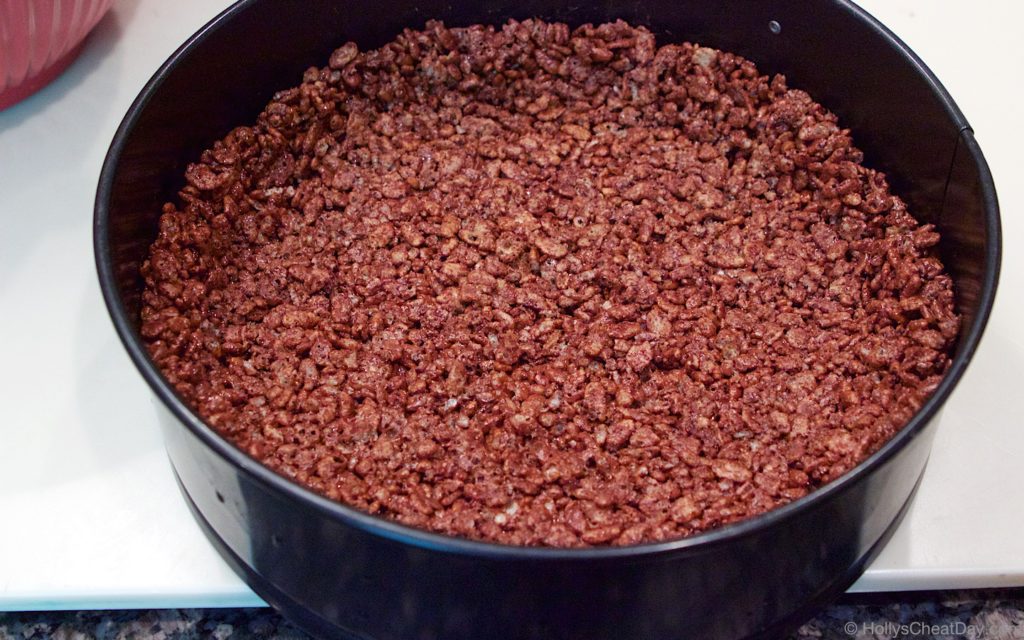
 pressed into the spring form pan
 softened ice cream in…
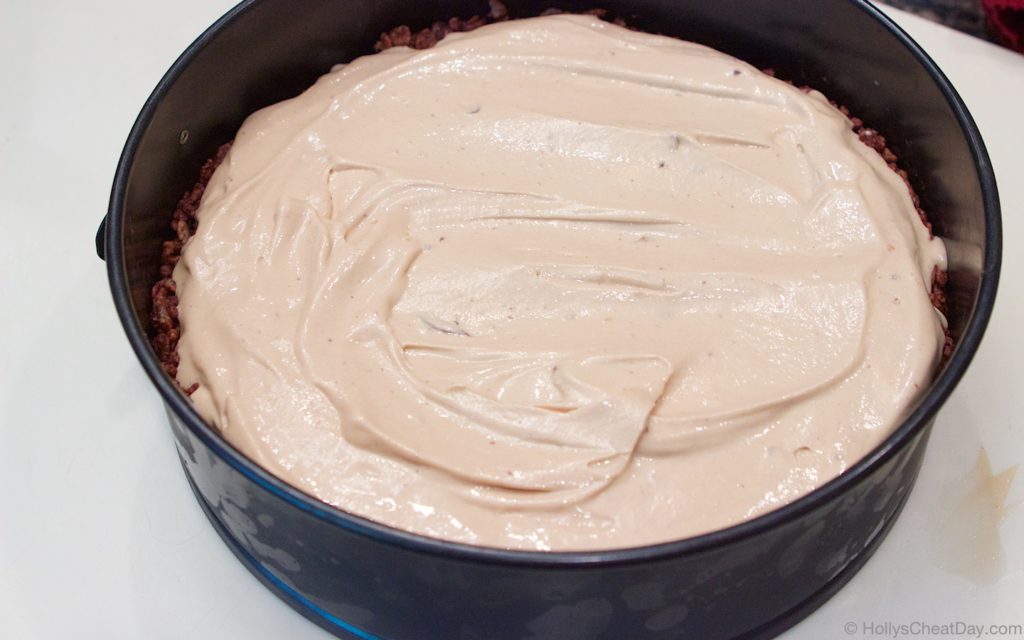
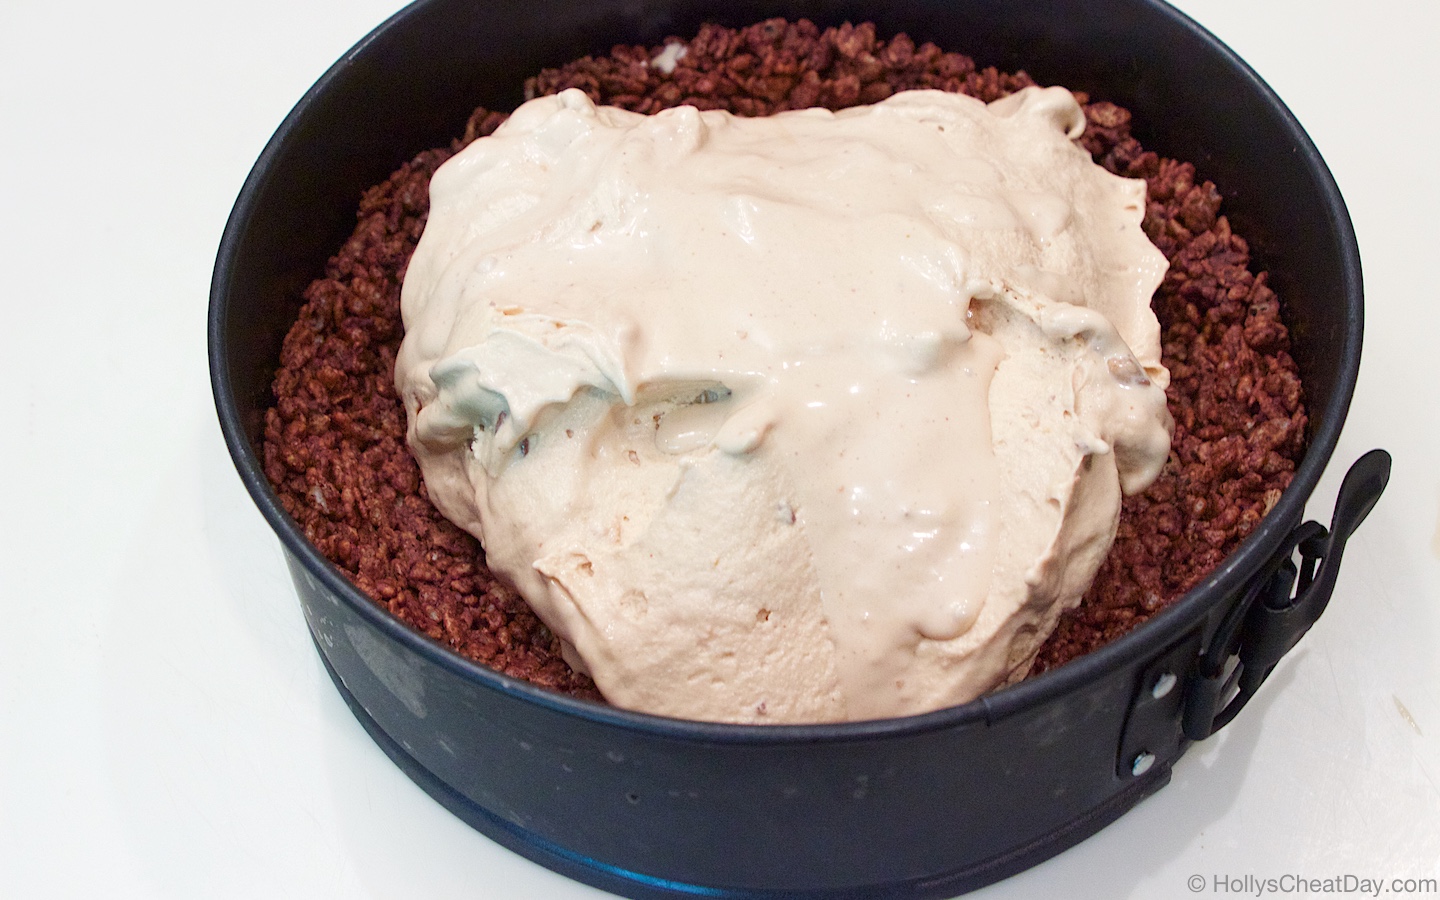 ready to go into the freezer for a bit…
 and enjoy!!!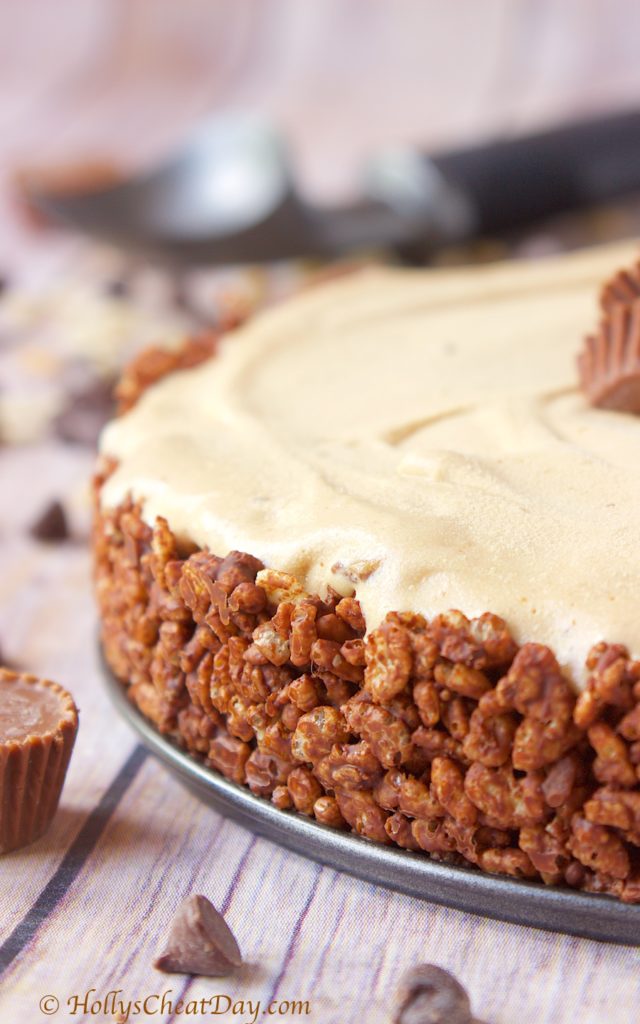

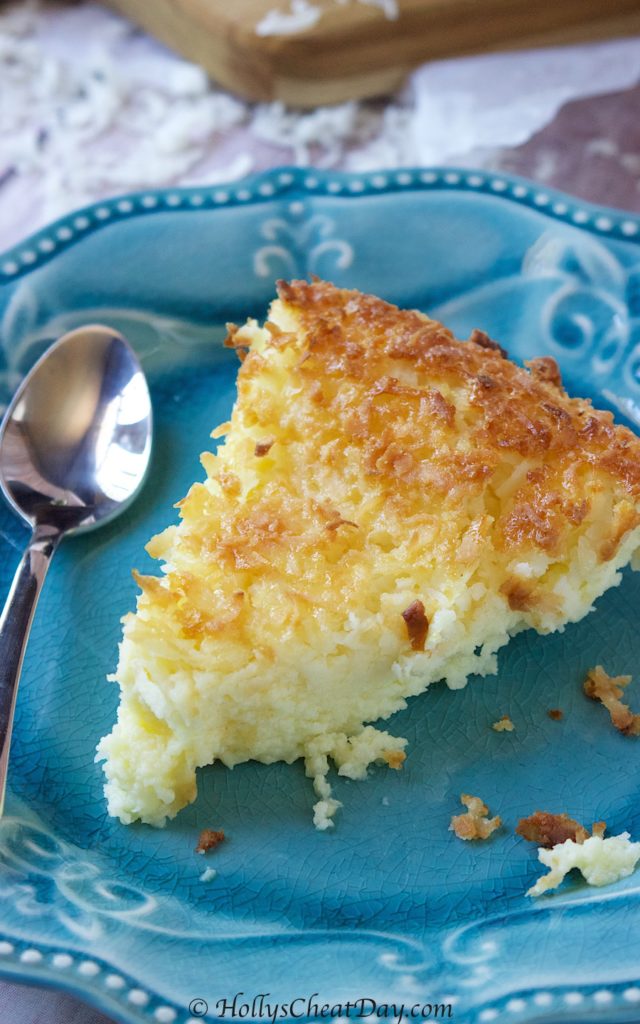 If you too have wonderful plans of doing absolutely nothing as well, but would maybe like to quickly and effortlessly whip up a homemade dessert, boy do I have the recipe for you today.
 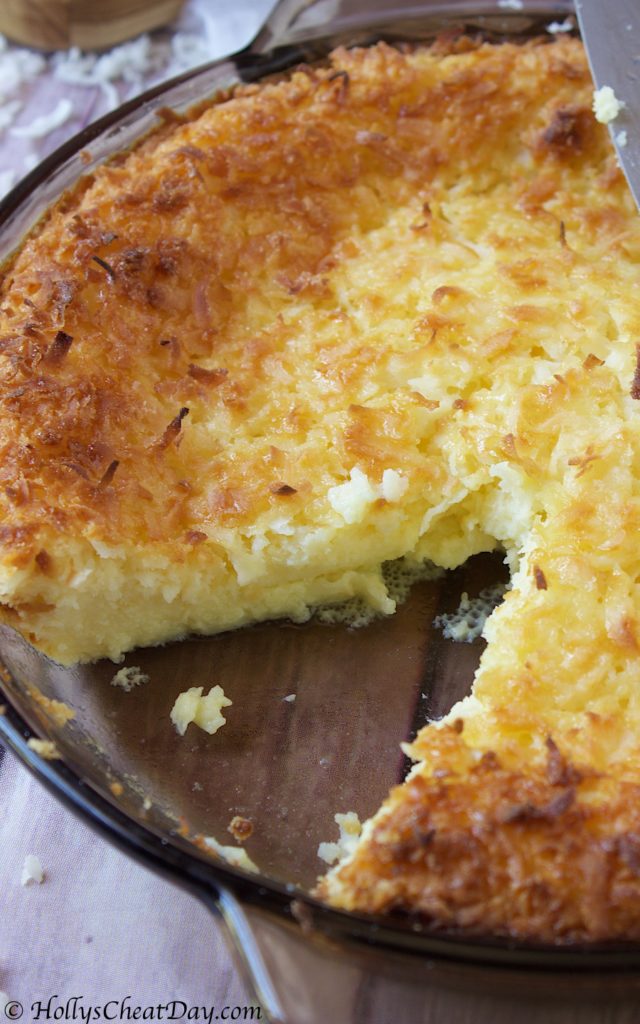 I just love a good custard, not only for the ease that they’re made but they’re just so creamy and simply decadent. Now, you throw coconut into something then I’m definitely on board. Y’all, I had this custard ready to go and in the oven in about 10 minutes, it baked exactly 40 minutes and was ready to eat, sooo not complicated.
  This dessert is definitely my new go-to quick but seemingly fancy dessert. I hope you all have a fantastic rest of this work week, a fantastic weekend and thank you so much for stopping by. Hopefully you get a chance to make this delicious and easy coconut custard soon.
 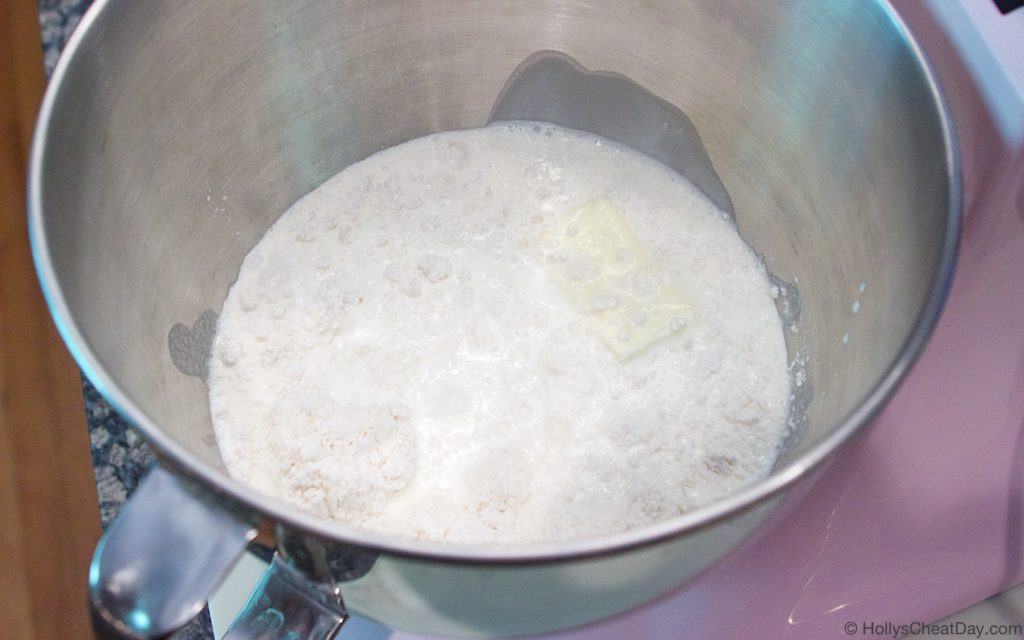 all mixed up…
 into your pie pan…
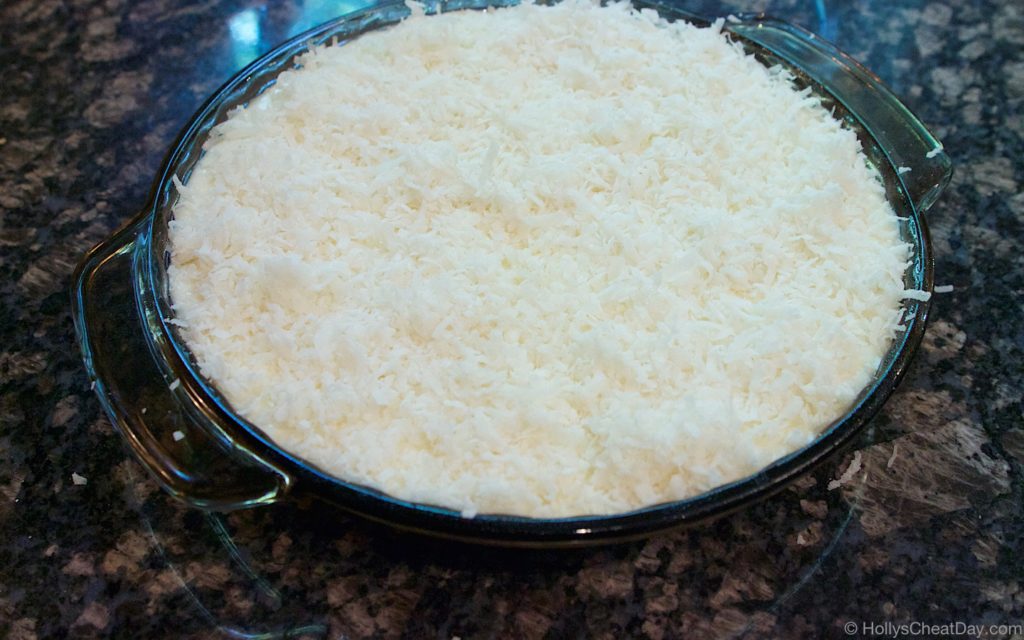
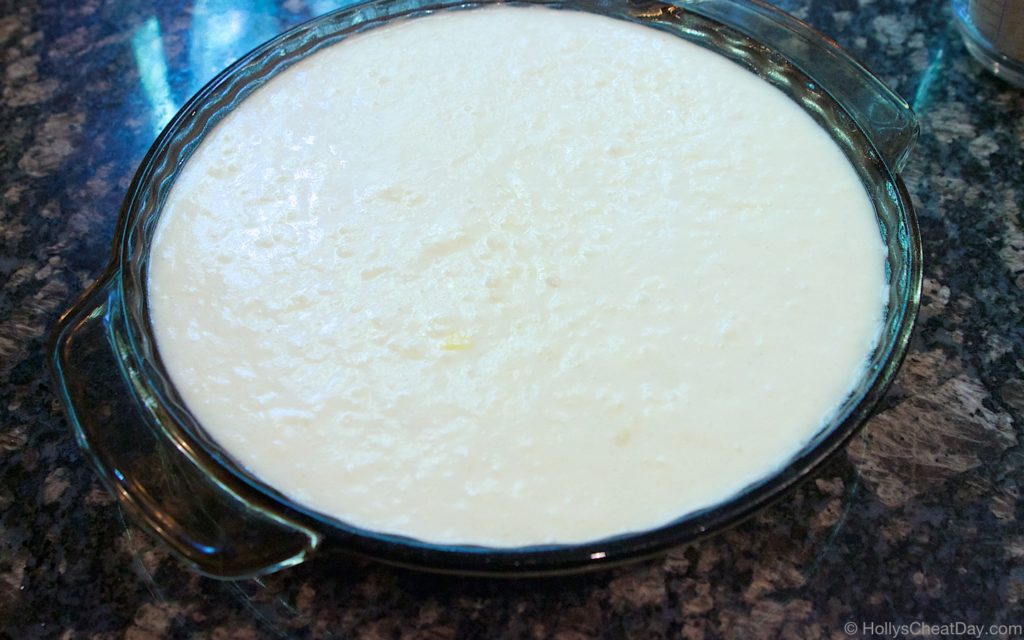 covered in coconut flakes…
 bake, bake, bake…
 and enjoy!!!
  mmm…
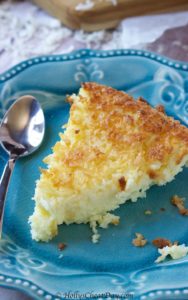
mmm…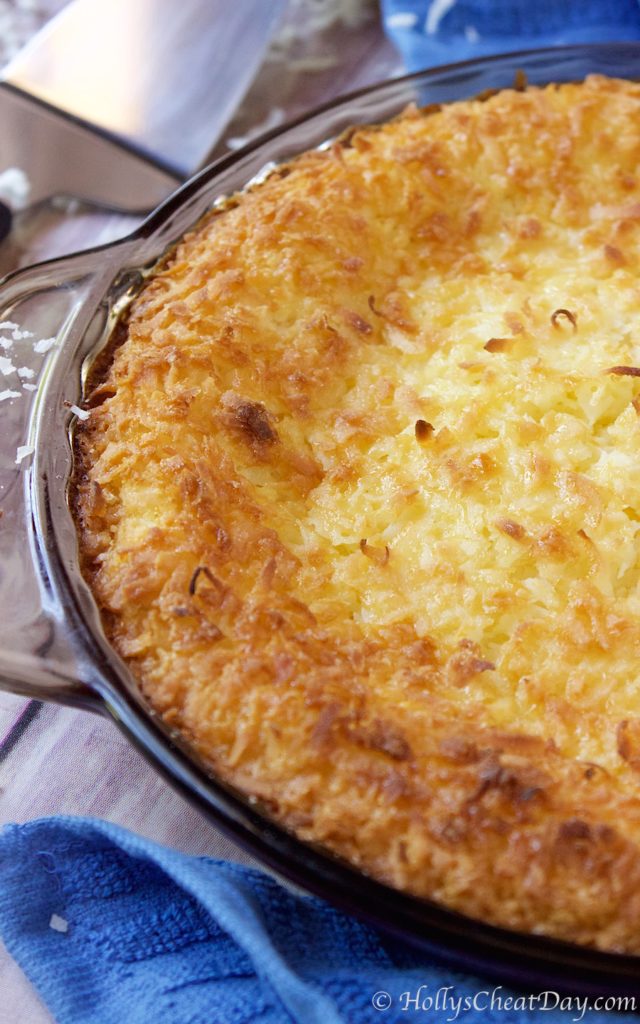
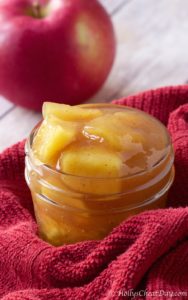
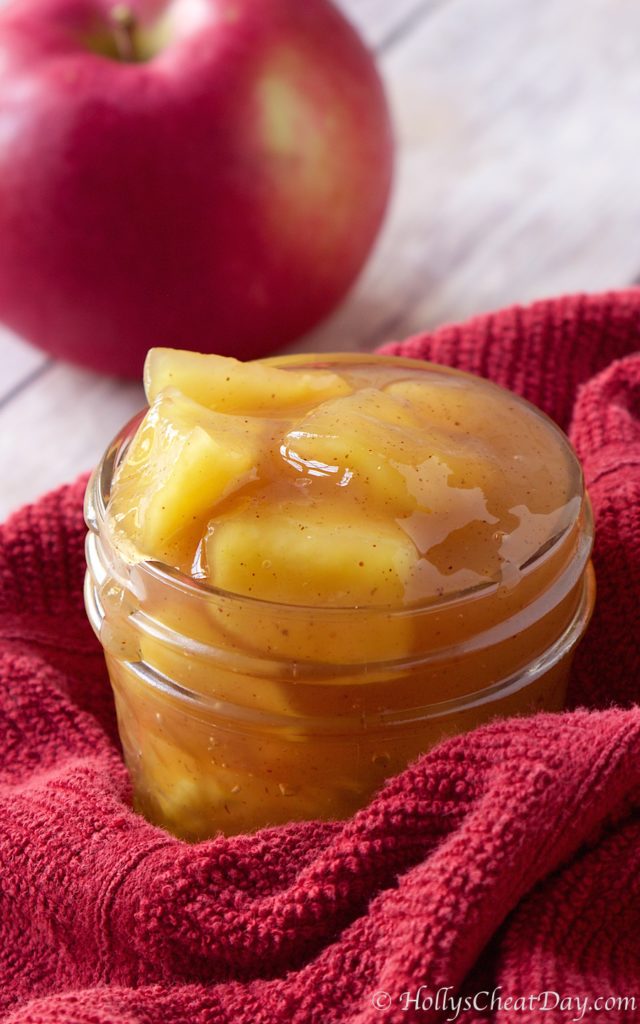 How To Posts are some of my favorite to write, probably because they’re some of my favorite to read on other food blogger sites haha. I figure with as many apple pie-esque recipes that I either make or my fellow baker friends make this time of year, it might be nice to know how to make an apple pie filling that’s a little bit more fresh and a little less expensive than store bought.
 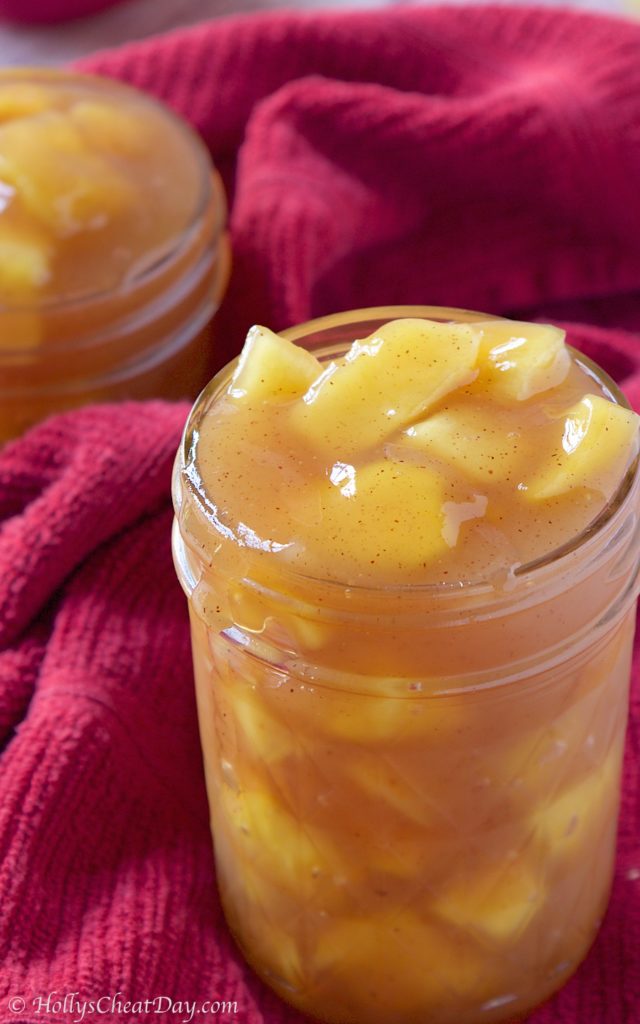 Seriously, if I had known how easy it was to make apple pie filling I would have already been doing it for years. Did I mention how delicious it was too? I wouldn’t be completely honest if I didn’t admit that I had to stop myself from just eating it right out of the pan before it was all gone, it’s that delicious. I’m saving the rest of it for that winter time apple pie and I’m so excited to see how it turns out. I hope you’re having a wonderful day and thank you so much for stopping by!
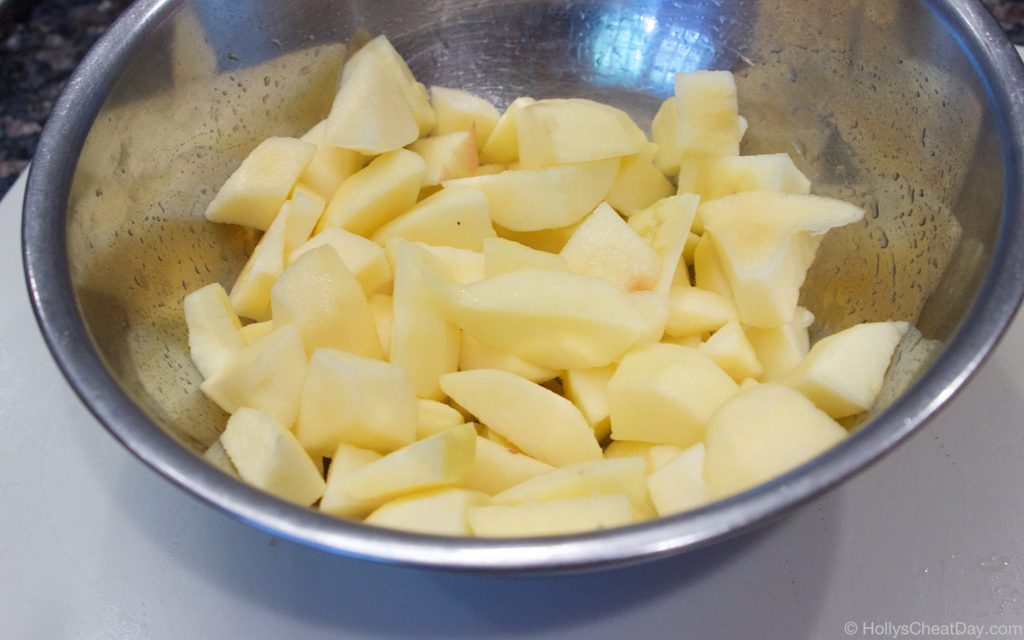
 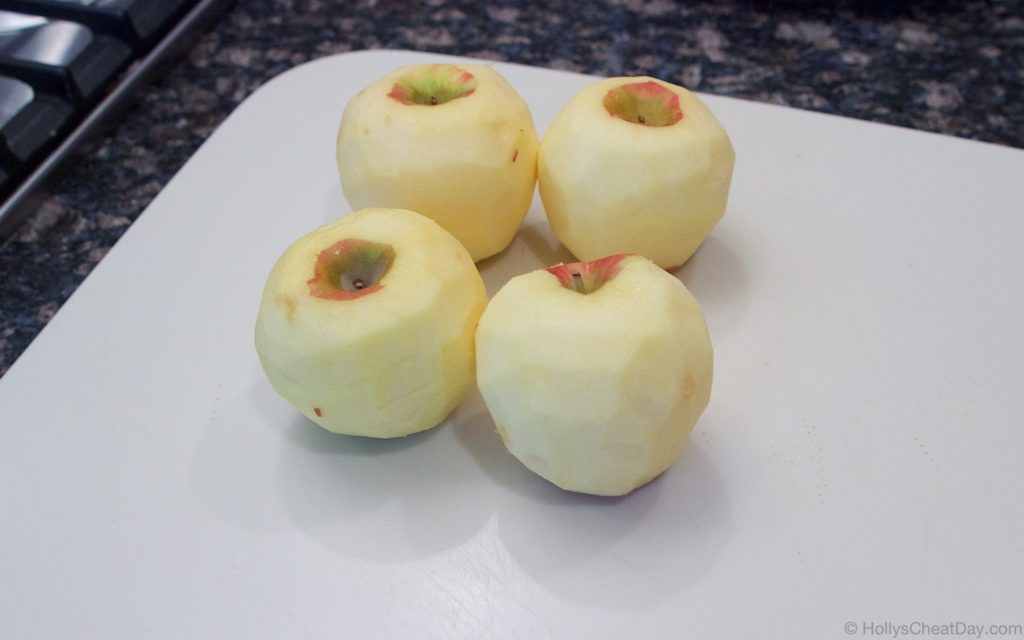 chopped up and with some lemon juice thrown in…
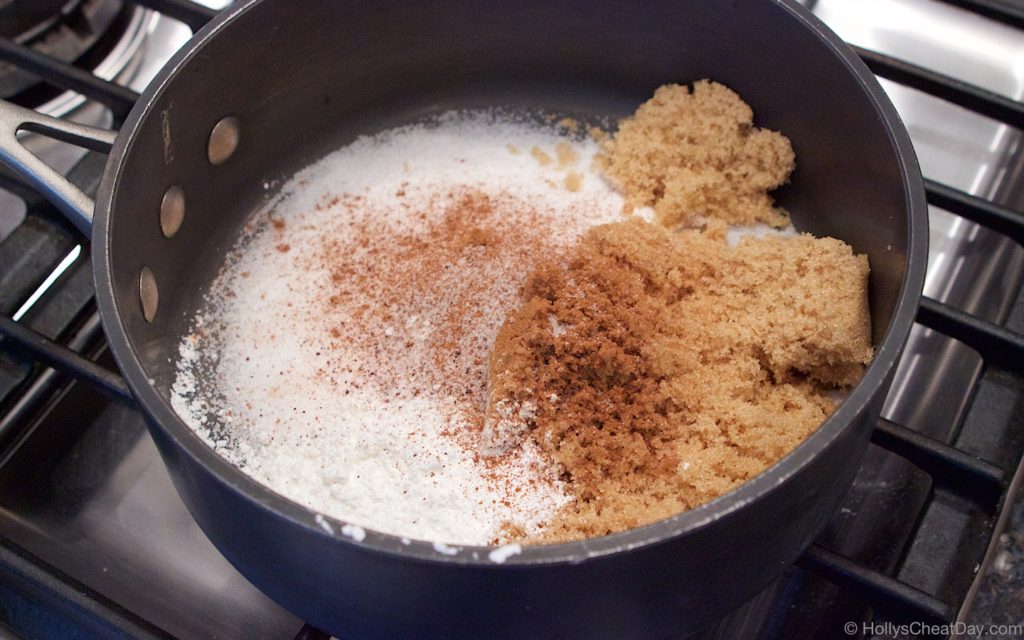
 sugars, cinnamon, cornstarch, nutmeg and salt into your saucepan…
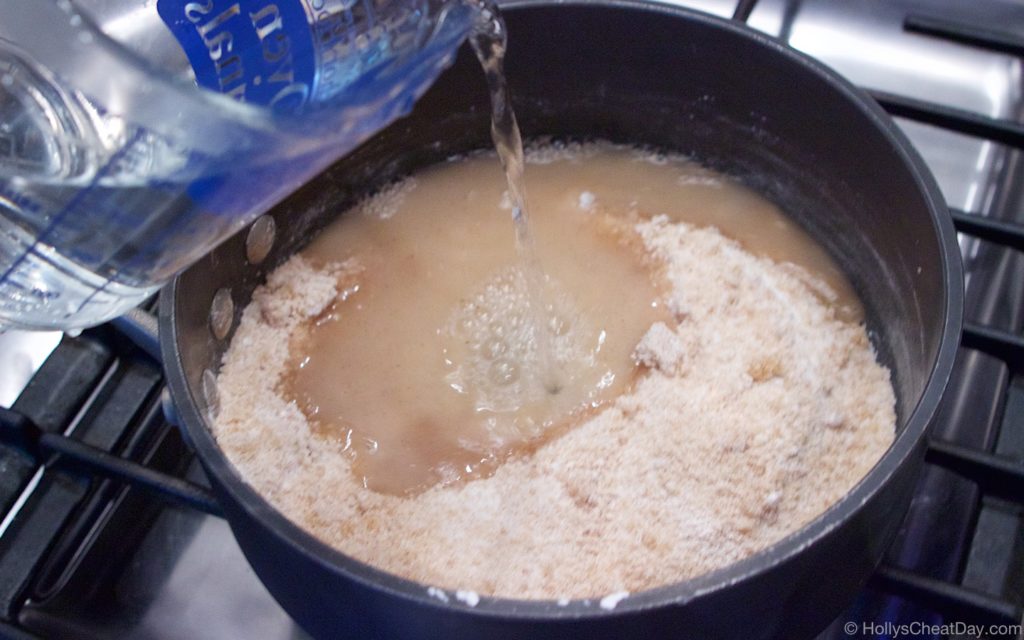
 with the heat on, pour your water in…
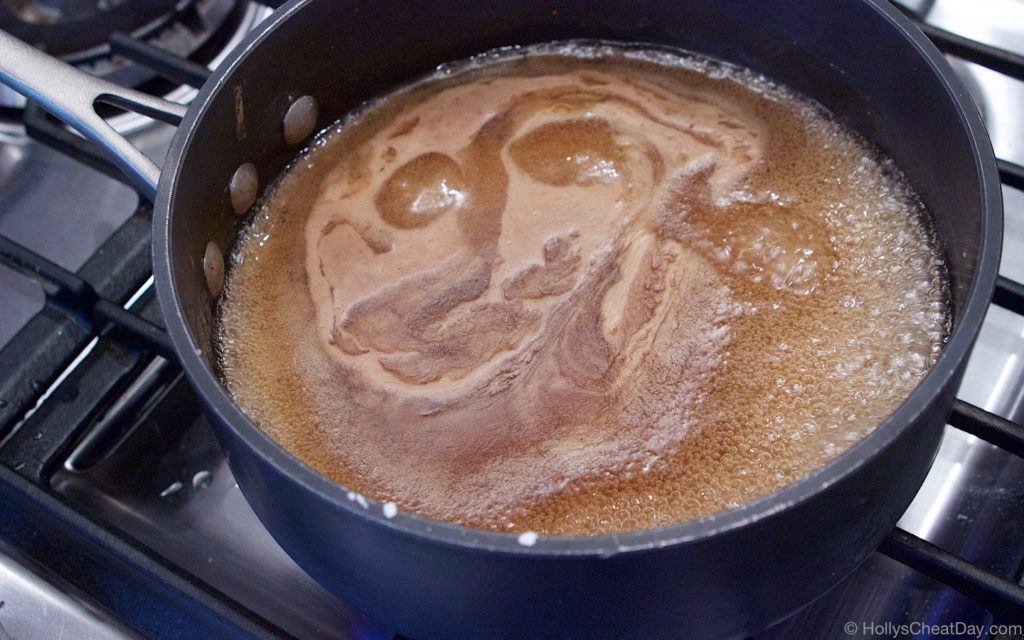
 all mixed in and getting warm…
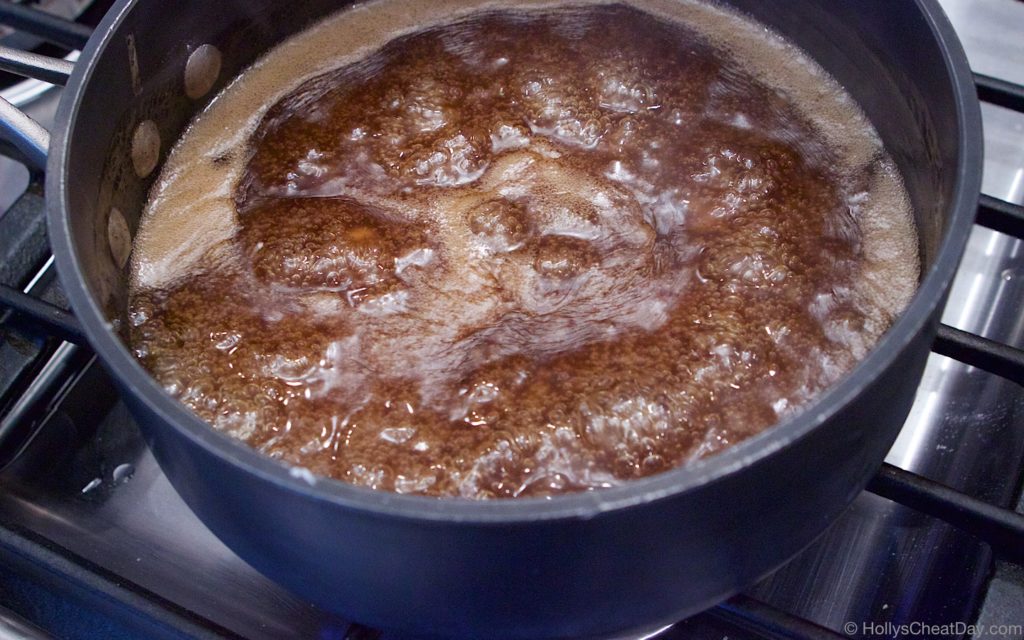
 boiling…
 time for the apples to go in…
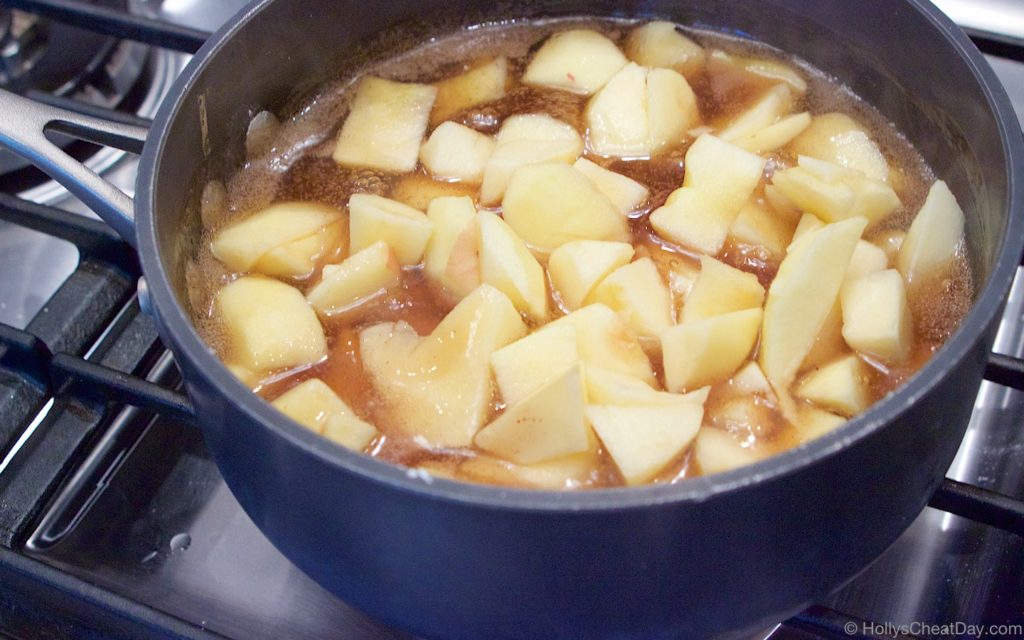 get this boiling too…
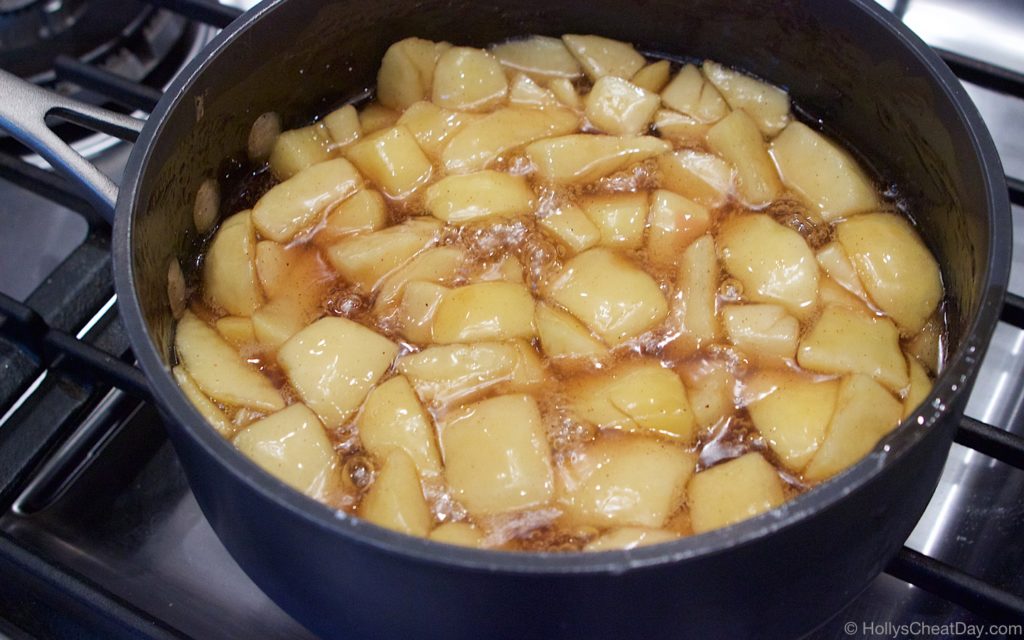
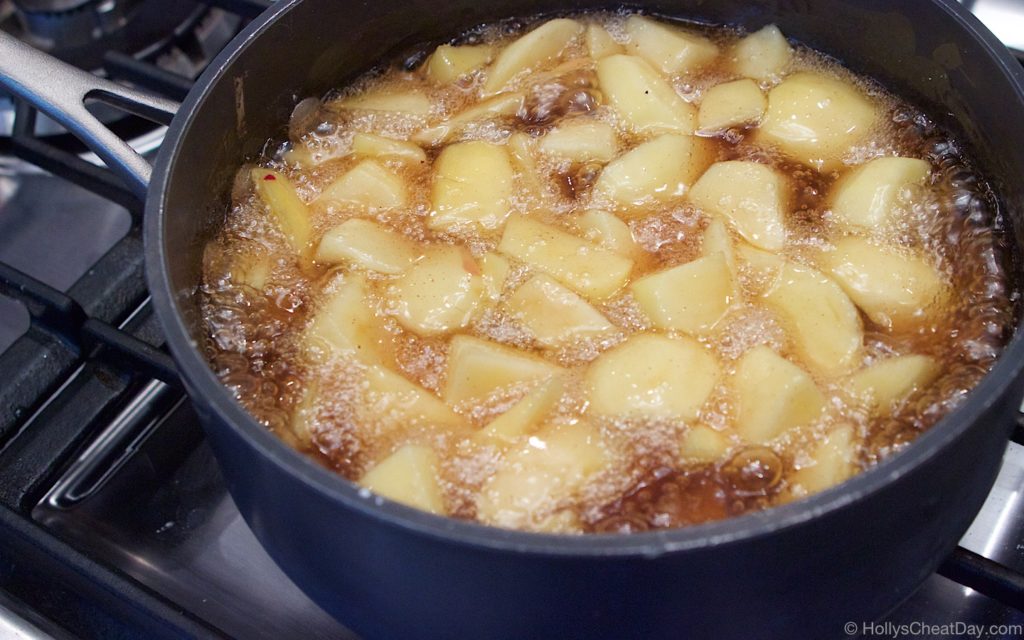 let simmer for a while and all done…
 and enjoy!!!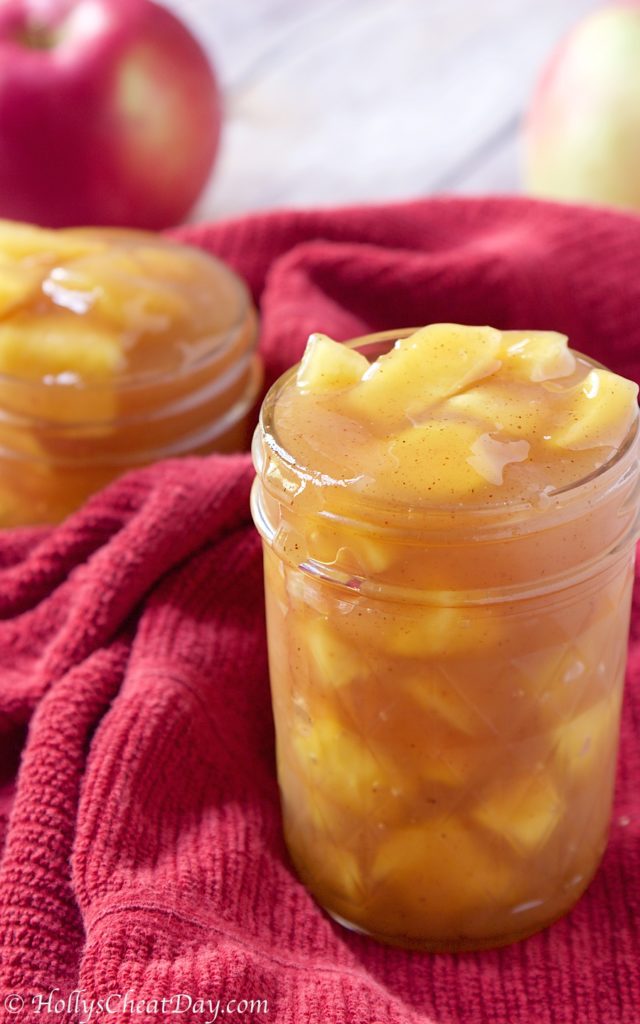
 You know it’s crazy bananas hot when you get in your car and you have to immediately take your earrings out because they start to burn your ears due to heating up so quickly-for reals.
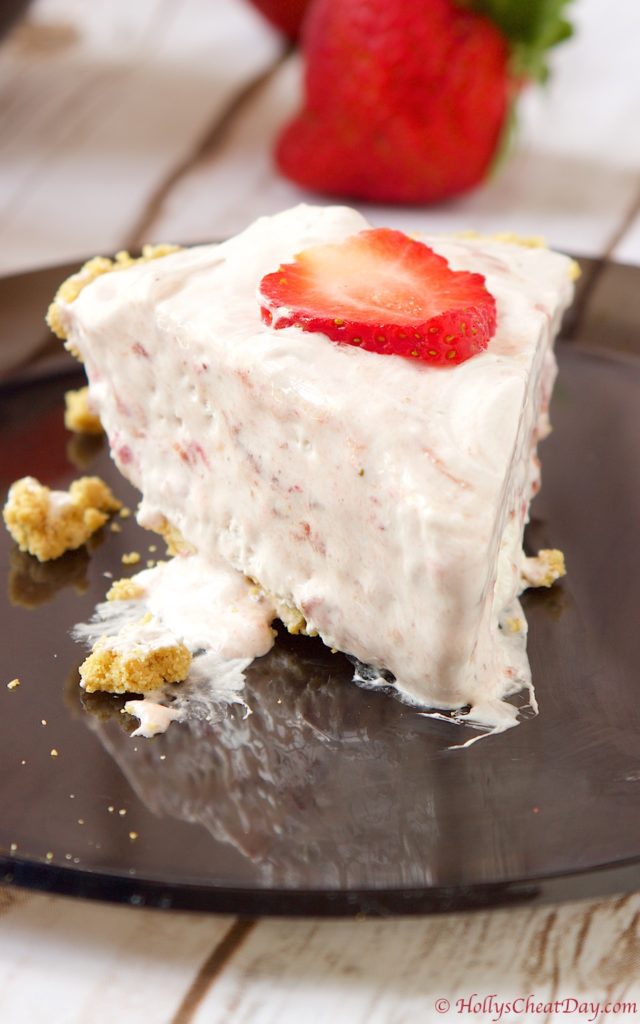
 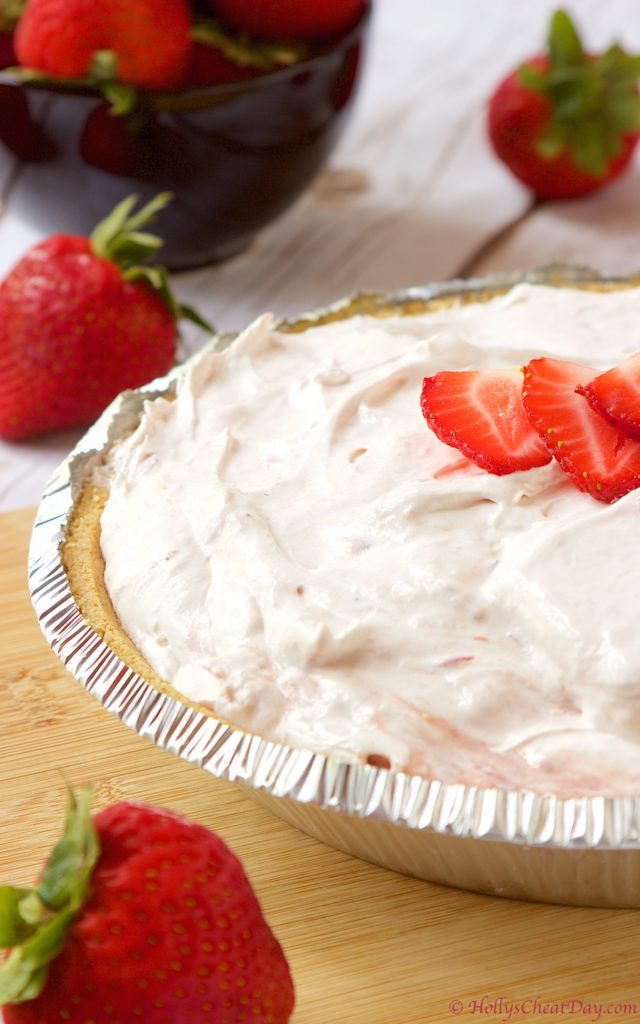 Anyways, back to this pie (or pies because this recipe makes two), but I love just about anything strawberry, anything (well, not asparagus of course) with Cool Whip, and hello no-bake, and because they need to be frozen they are sooo deliciously cold.
 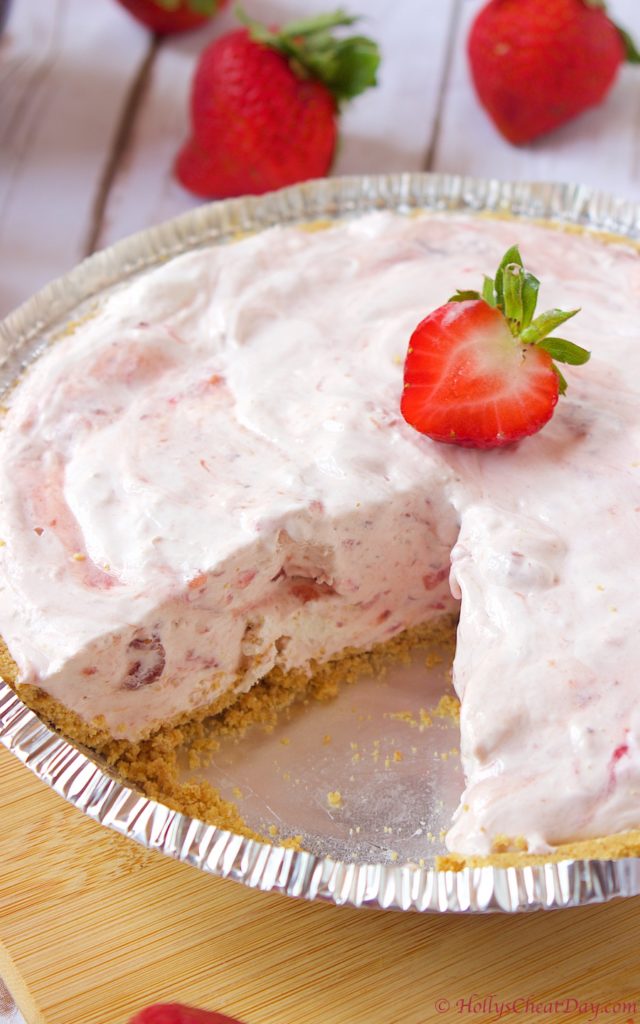 Also, this recipe makes so much it makes more than enough for 2 pies, you could totally use deep dish pie crusts if you wanted because it makes so much.
  This pie is so deliciously rich and wonderfully sweet and tart, definitely a must make. Thank you so much for stopping by and have a wonderful day!!!
 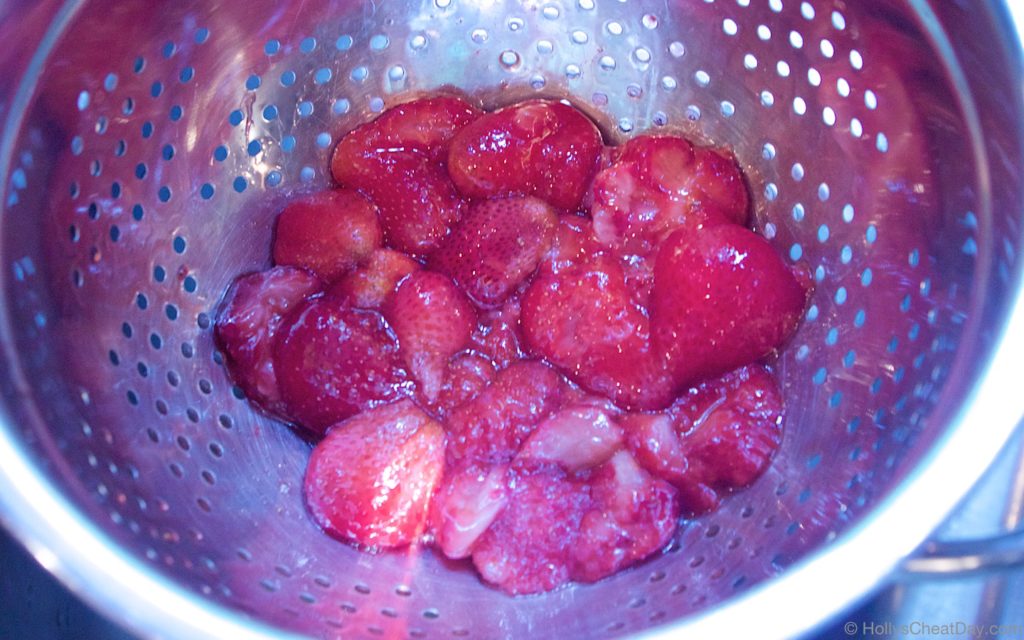 sweetened condensed milk…
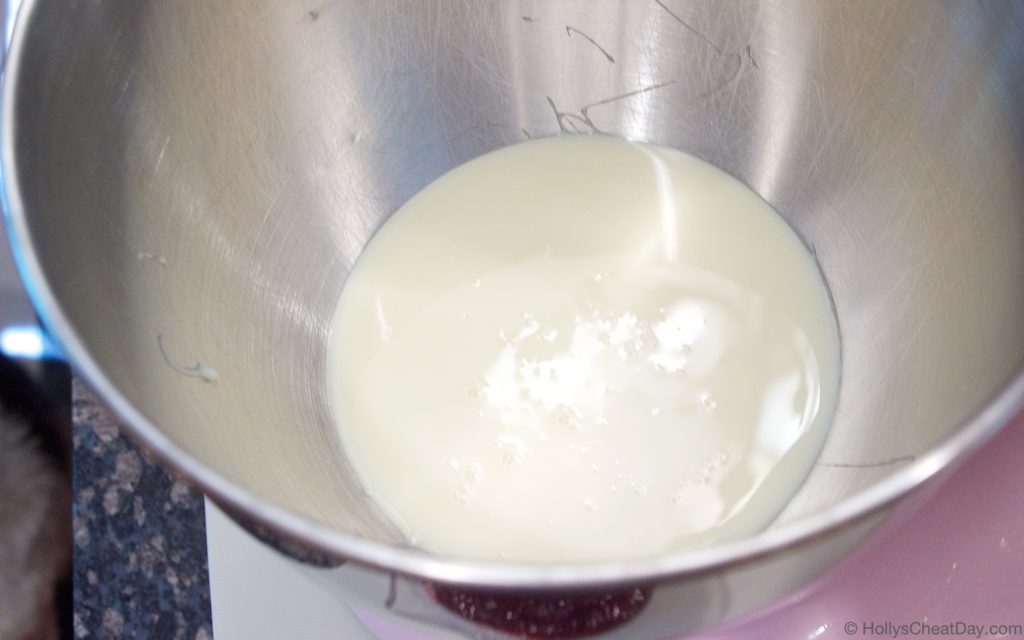 strawberry preserves…
 strawberries…
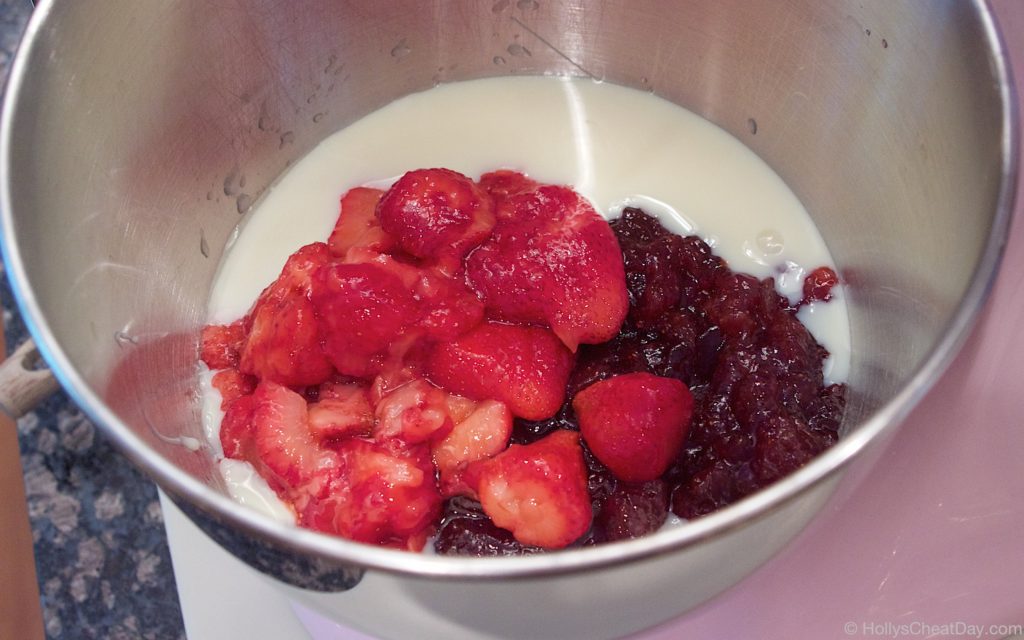 mix, mix, mix…
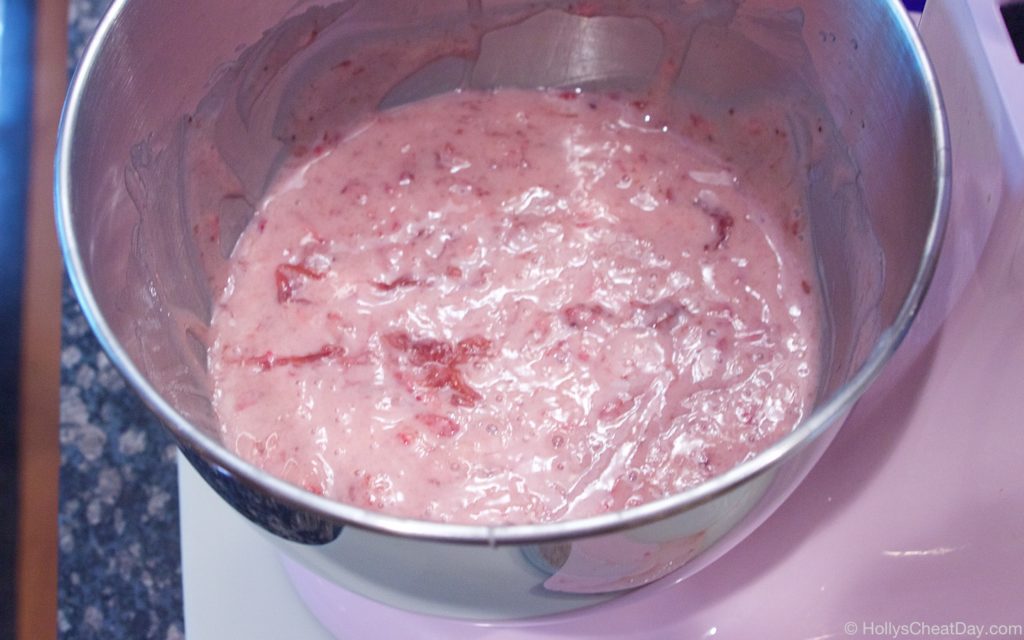 Cool Whip…
 fold it in…
 into your pie crusts, then into the freezer for a while…
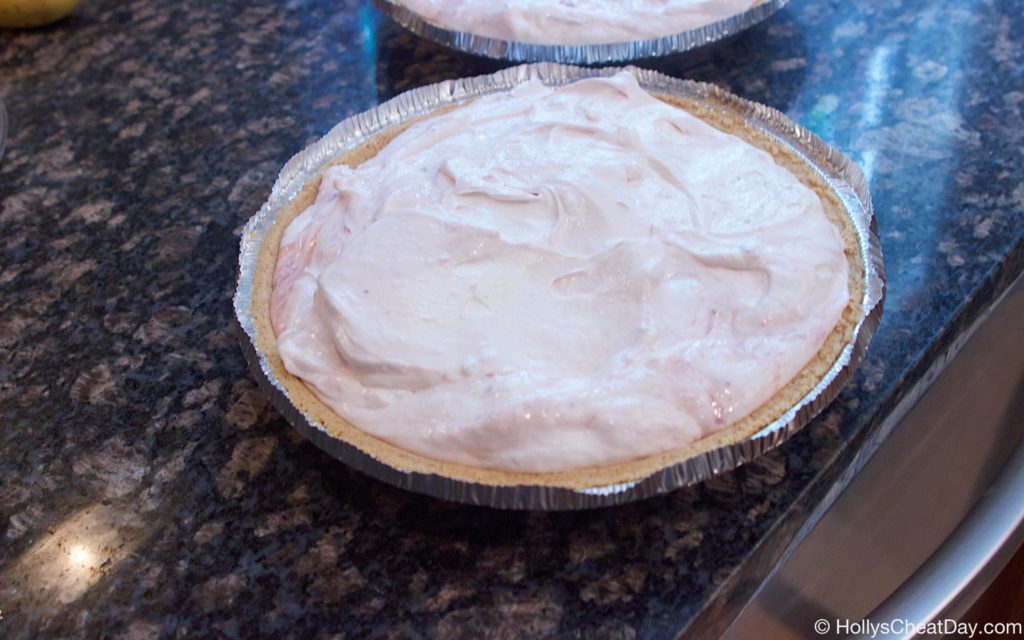 then enjoy!!!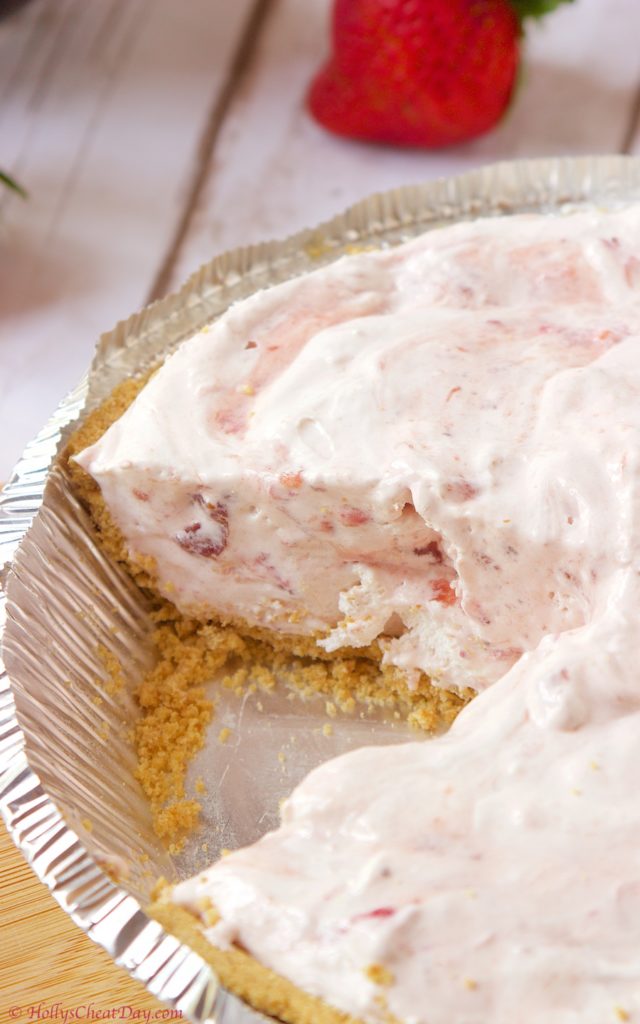

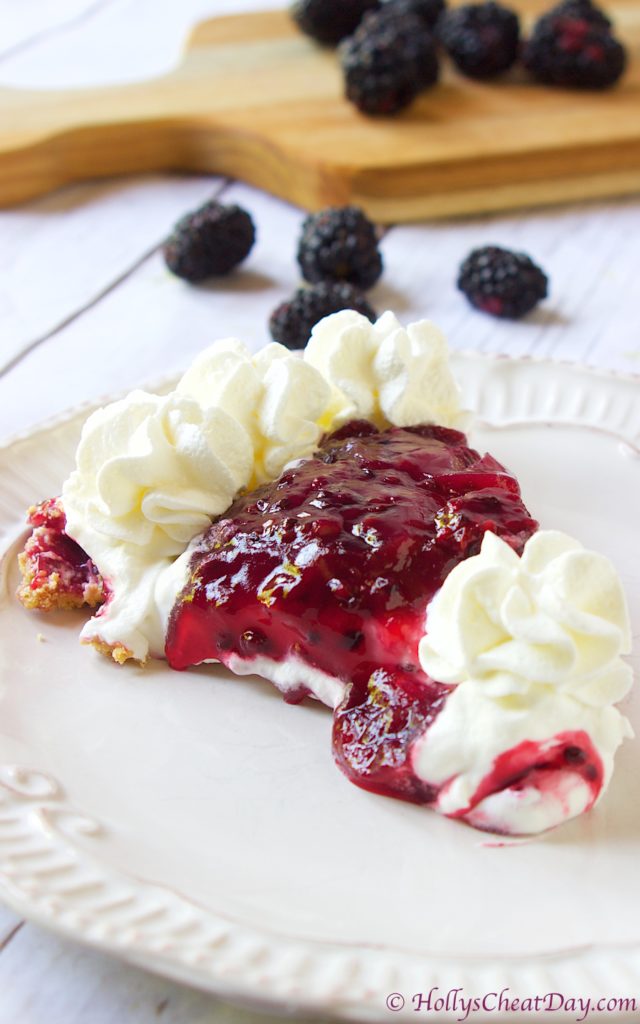 I happened across a raspberry version of this pie on Pinterest and knew immediately that I needed this in my
 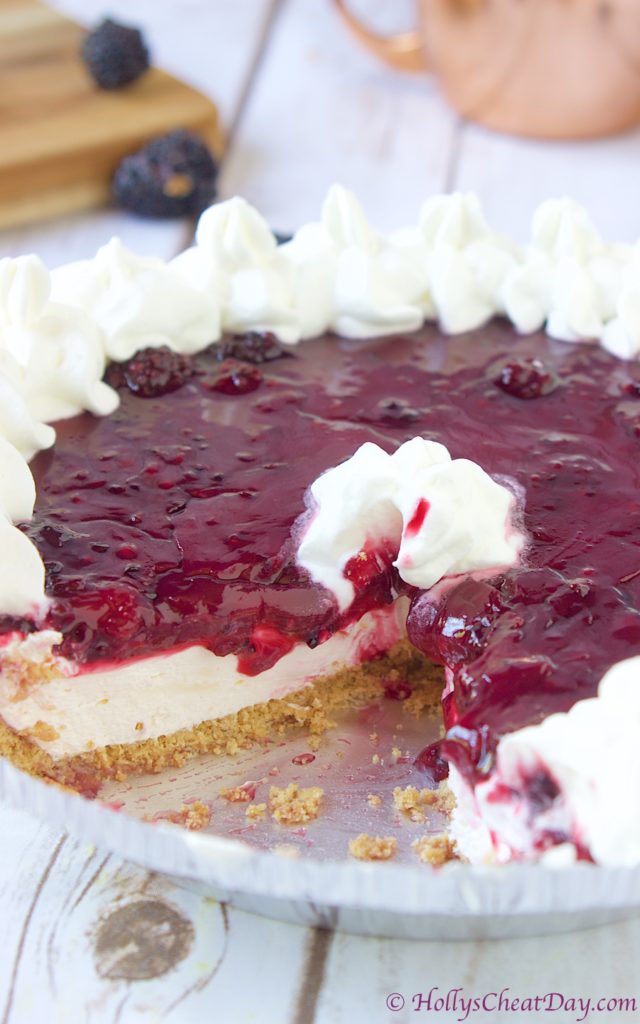 Y’all this pie was/is eye rollingly good, like, wowza, holy moly, goodness gracious good. Is it gooey and messy? absolutely, but I kind of think that adds a bit of extra wonderfulness. I cut out one piece to photograph, gobbled it up, and pretty much ate the rest of the pie out of the pan with a spoon because I’m classy like that hehe, it’s that good. I hope this pie can brighten the beginning of your week and as always thanks so much for stopping by.
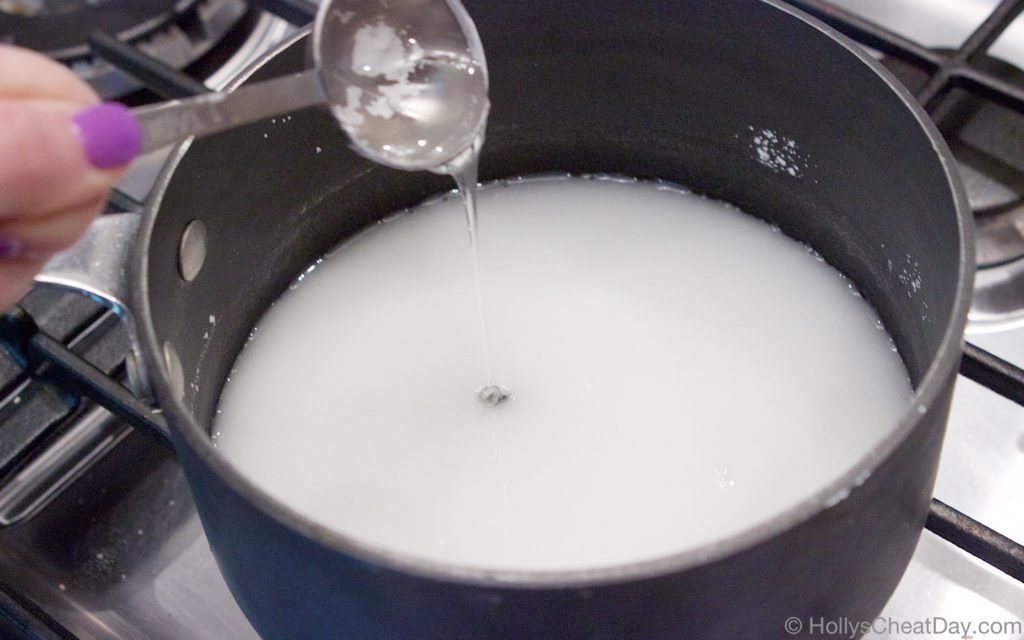
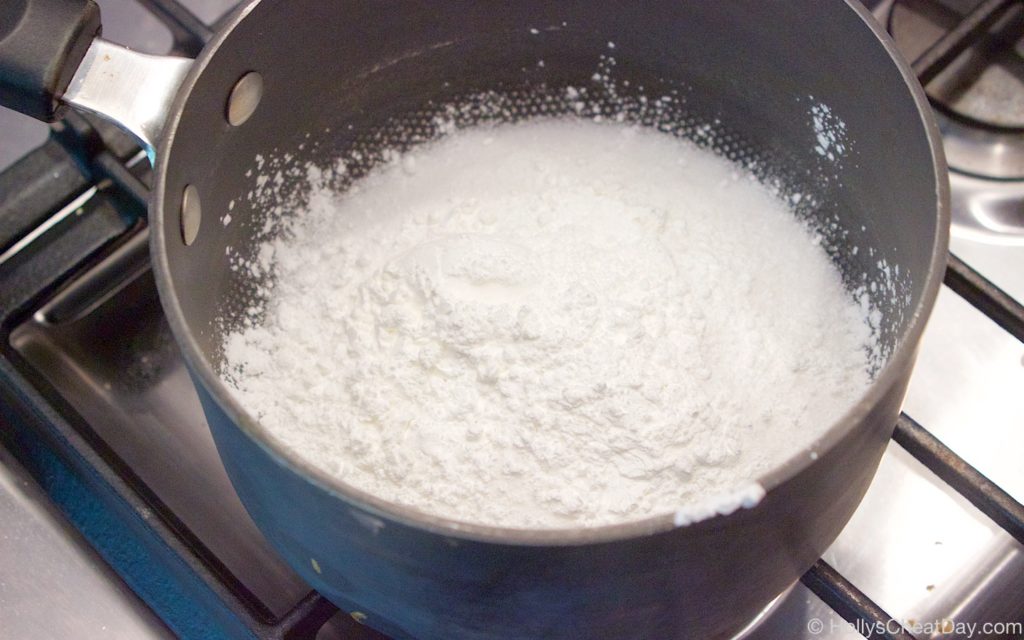 water…
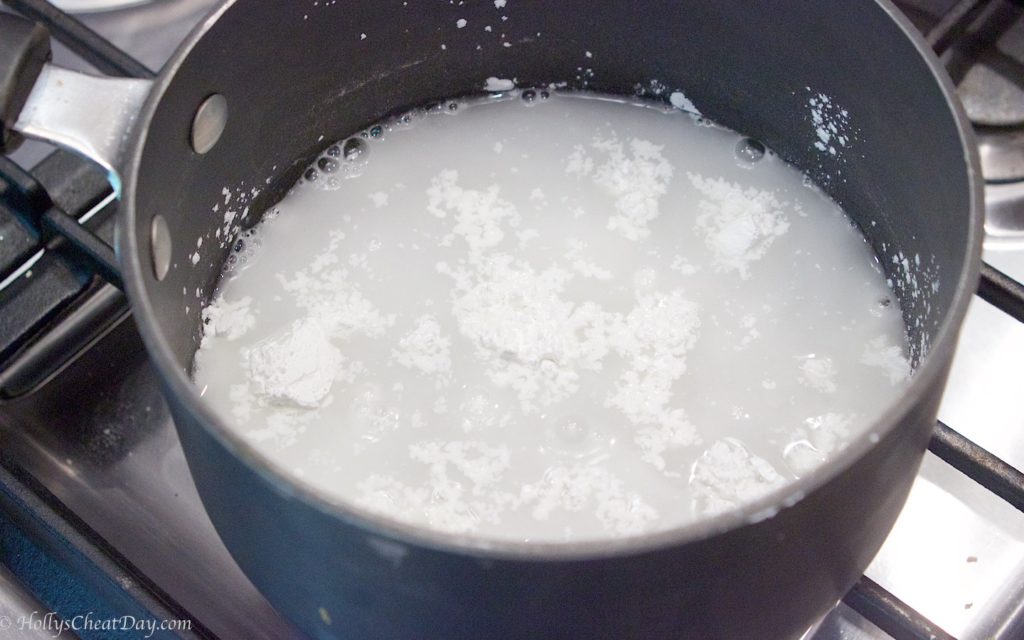 corn syrup…
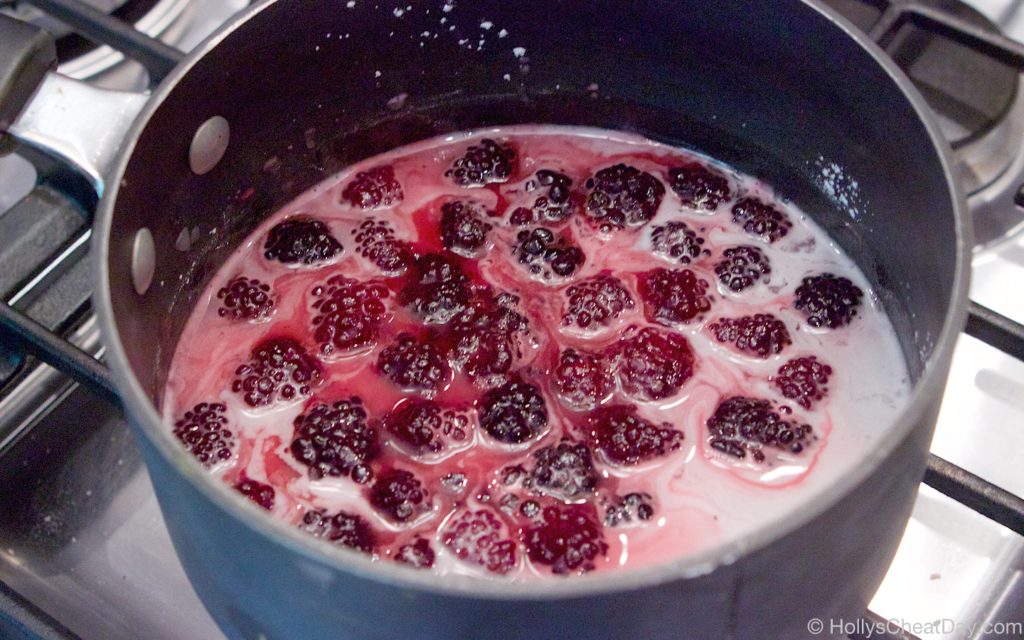
 now blackberries…
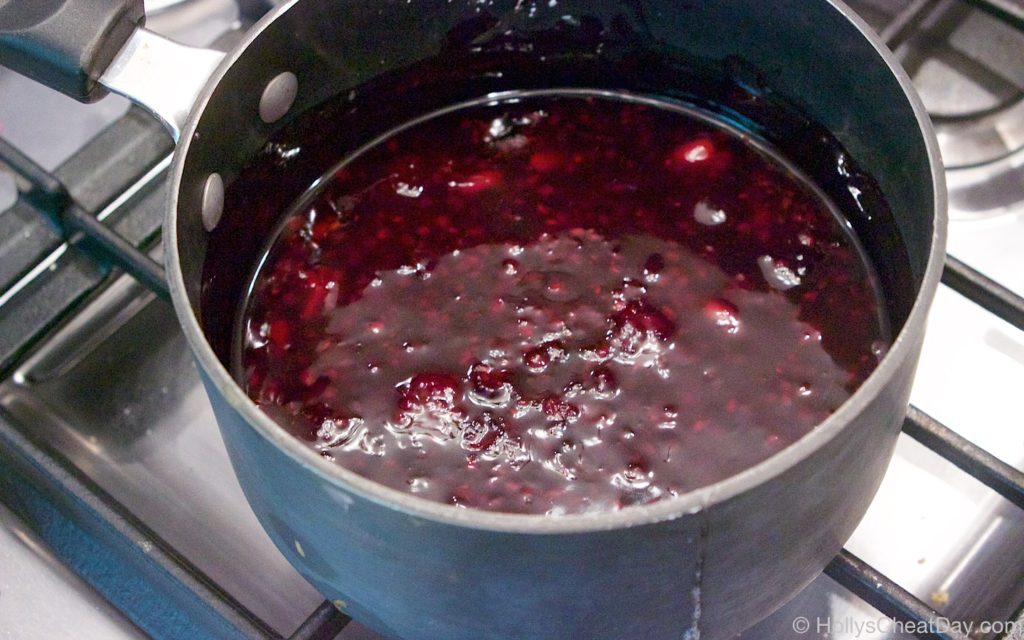
 after cooking for a while, and we will let it cool for a while…
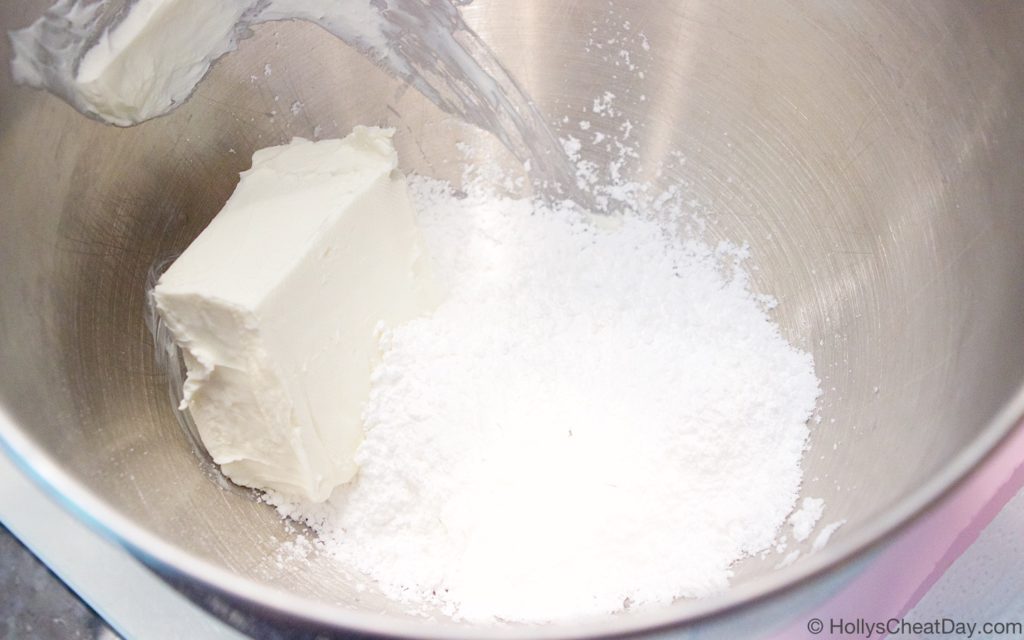
 now for the cream cheese layer, cream cheese & powdered sugar…
 mix, mix, mix…
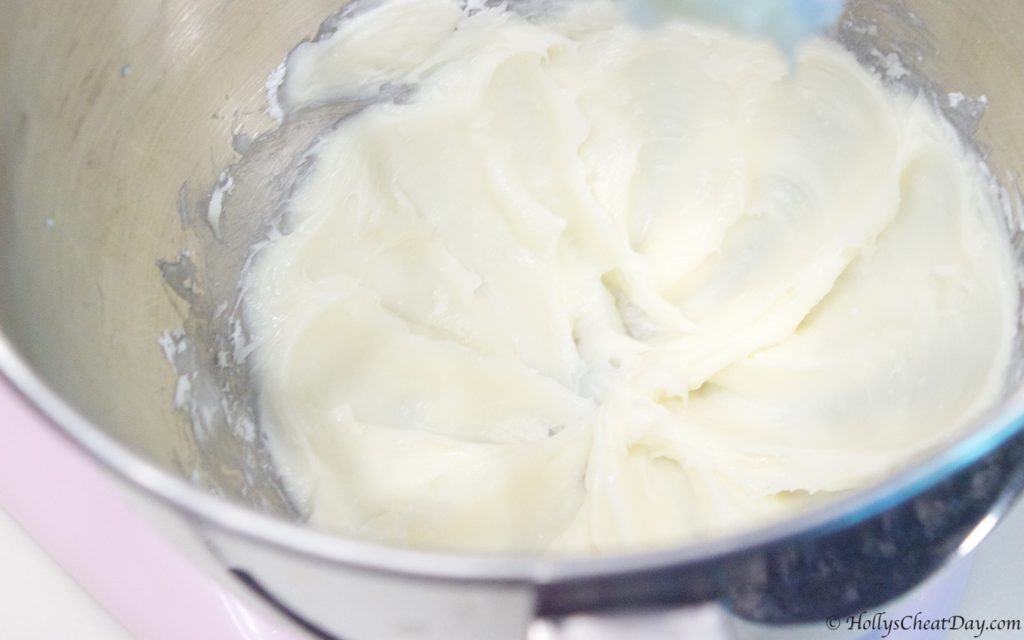 now time for some cool whip…
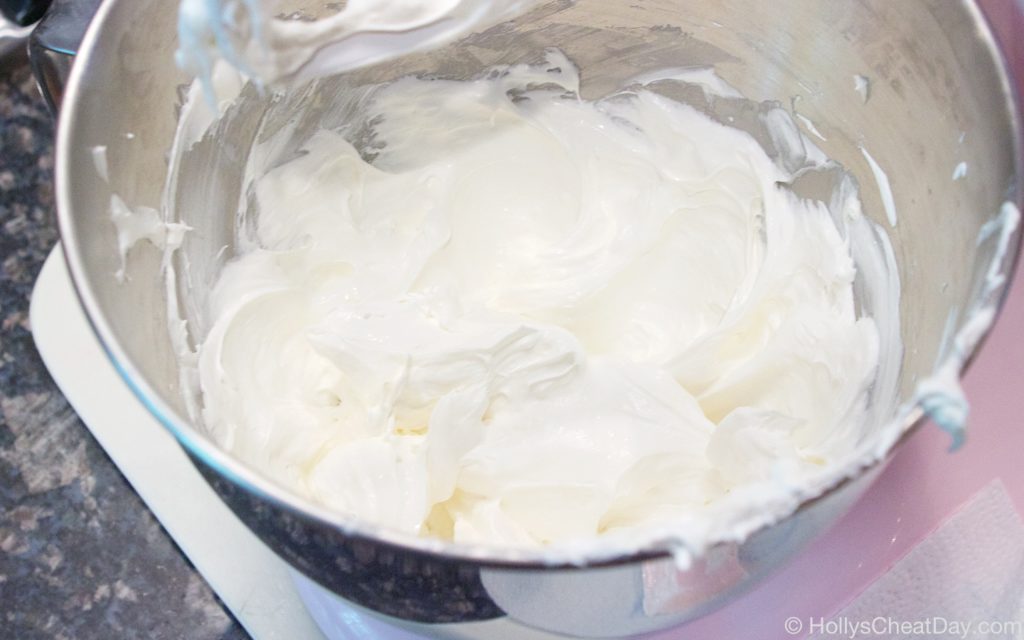
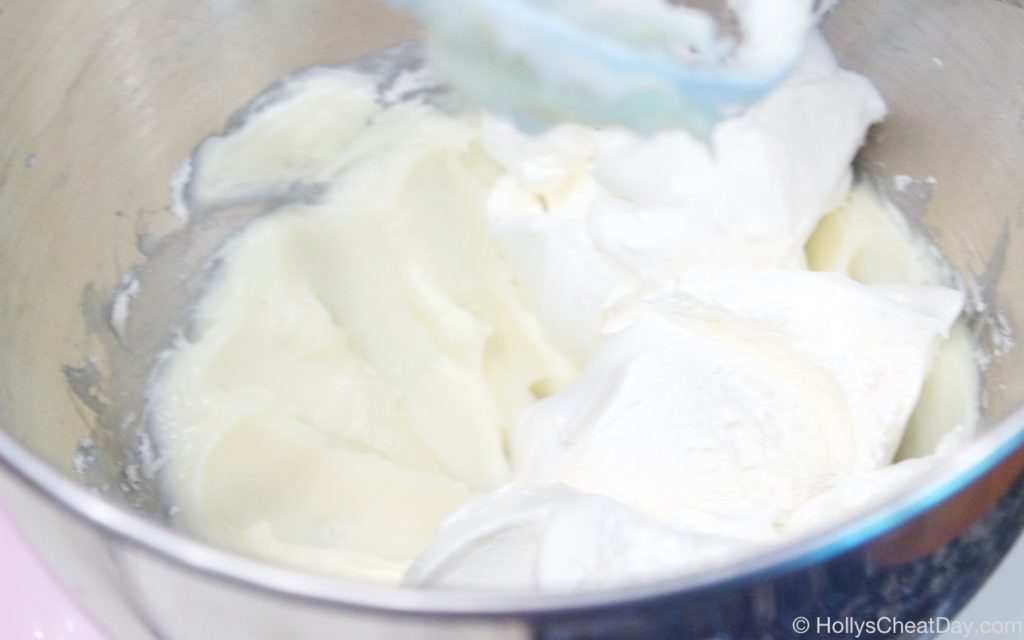 mix, mix, mix…
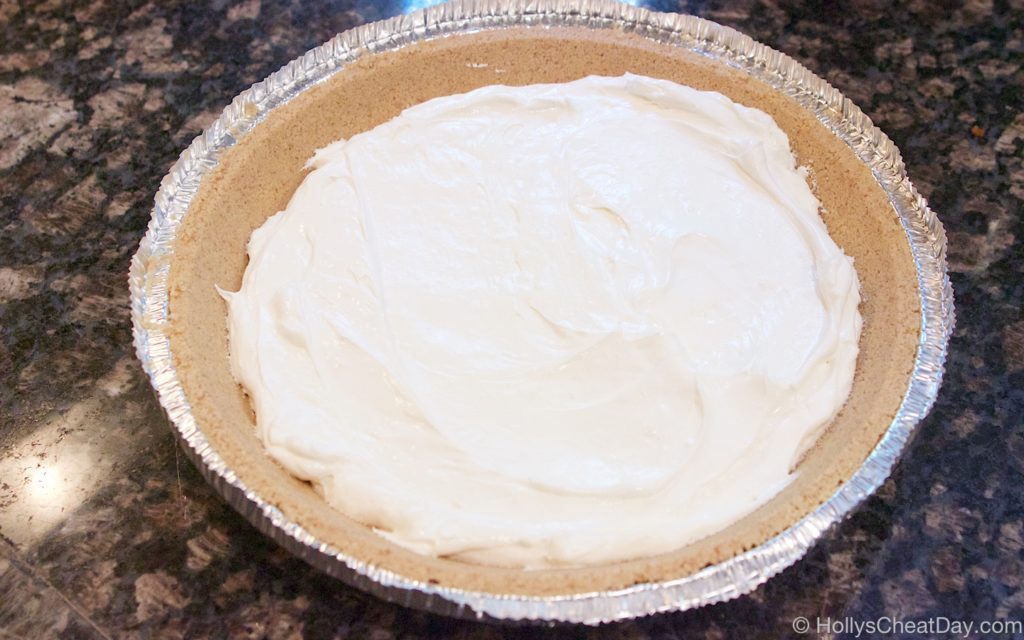
 now into your pie crust…
 now for the cooled blackberry goodness (yeah its a bit messy, but cover it with some whipped cream hehe)…
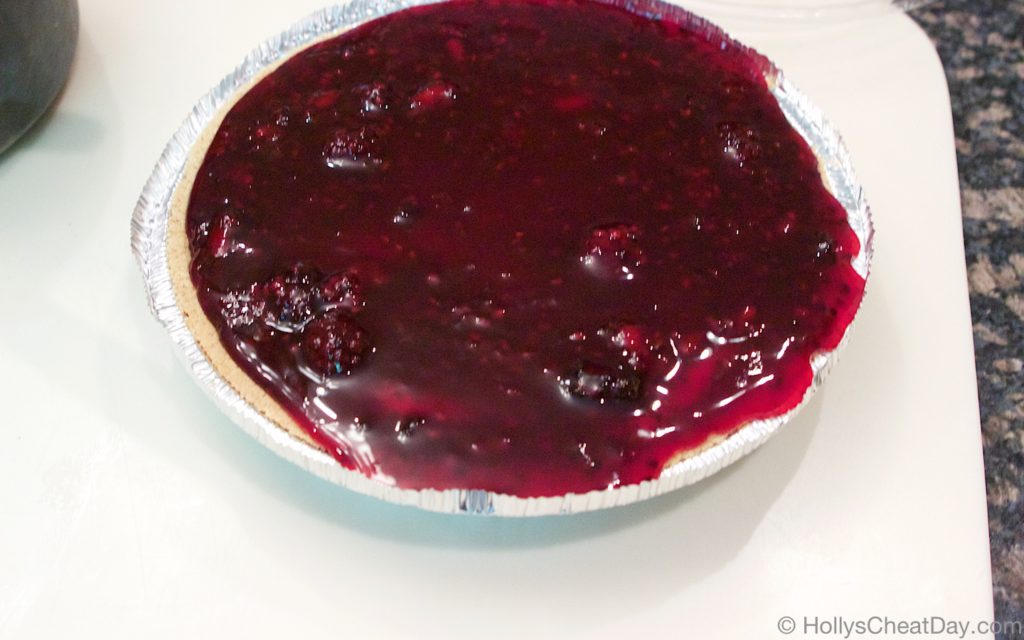 and enjoy!!!
