HOLLY'S CHEAT DAY

...because one day a week I have to be bad

  • Home
  • About
    • Who Is Holly?
    • FAQ
    • Contact
  • Recipes
    • Bars/Brownies
    • Breakfast
    • Cake
    • Candy
    • Cheesecake
    • Cookies
    • Cupcakes
    • Dessert
    • Dip
    • Drinks
    • How To
    • Junk Food Review
    • Lighter Side
    • Pie
    • Savory

Easy Caramel Apple Crack

April 2, 2020 By Holly

Happy Thursday y’all, and welcome to another Fall Back to Fall Series, because let’s be real, 2020 so far has been kind of a bummer. Fall is my favorite time of year (and I know a lot of y’all’s too), so let’s just pretend we can time travel and go back to a time when all things pumpkin, apple, cinnamon and beautiful fall colors were what we were thinking about.
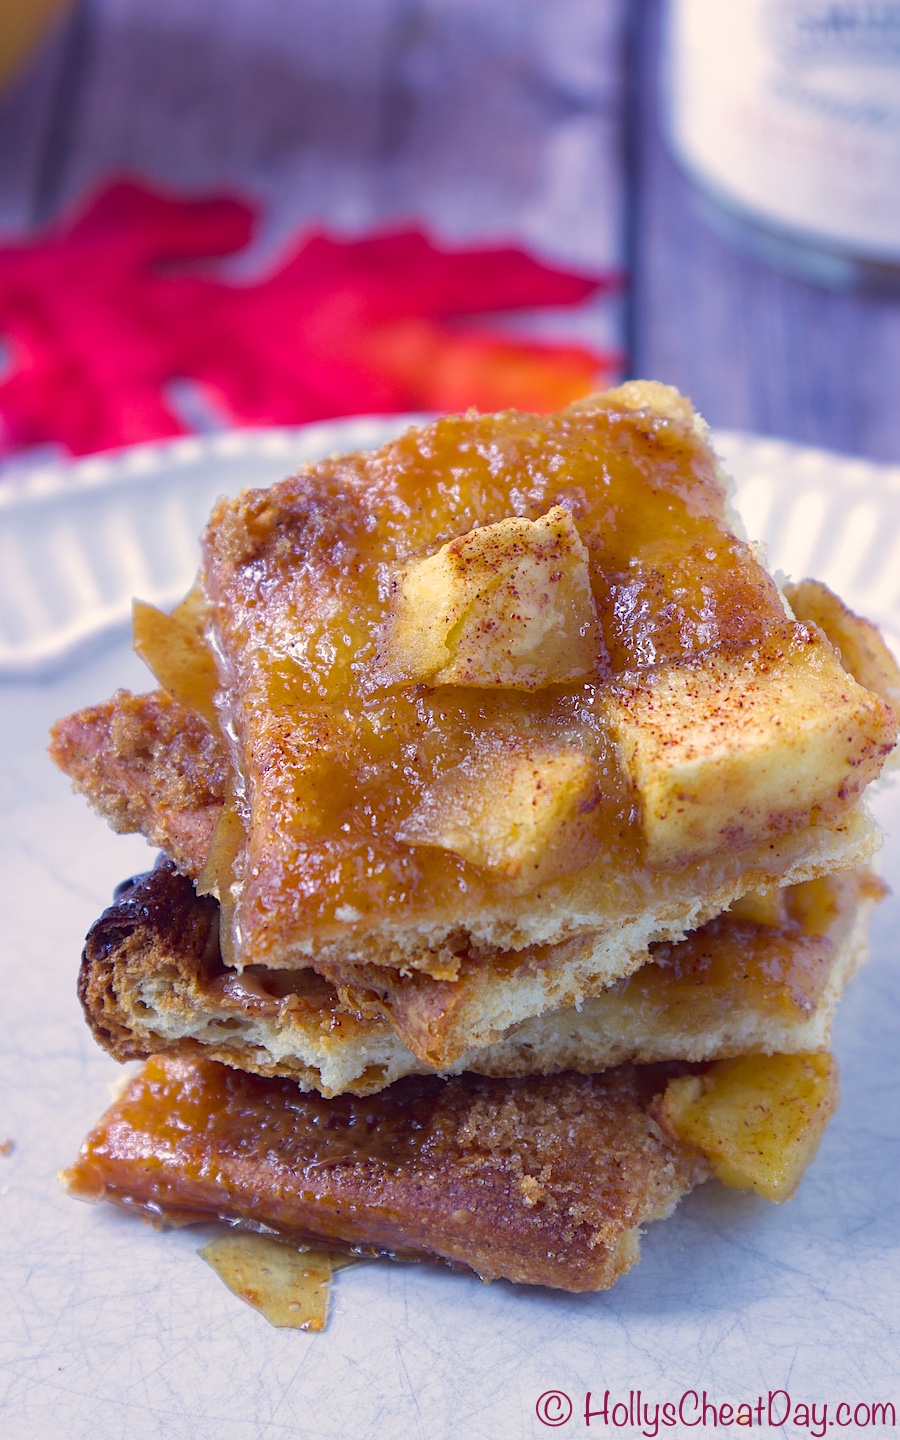
I don’t know about you guys, but I love an easy recipe, especially one with few ingredients but can pack a big delicious punch, and boy this packs a big one that’s what she said. This one starts with crescent dough, which is one of the best ingredients ever, it’s easy to use and versatile. You throw some brown sugar & cinnamon, fresh apple pieces and some caramel, bake this guy up and dunzo, you have a rich, crispy edged dessert. Also, y’all when this is baking in the oven your house will literally smell like Heaven, all of that cinnamon and sugar, mmmm.
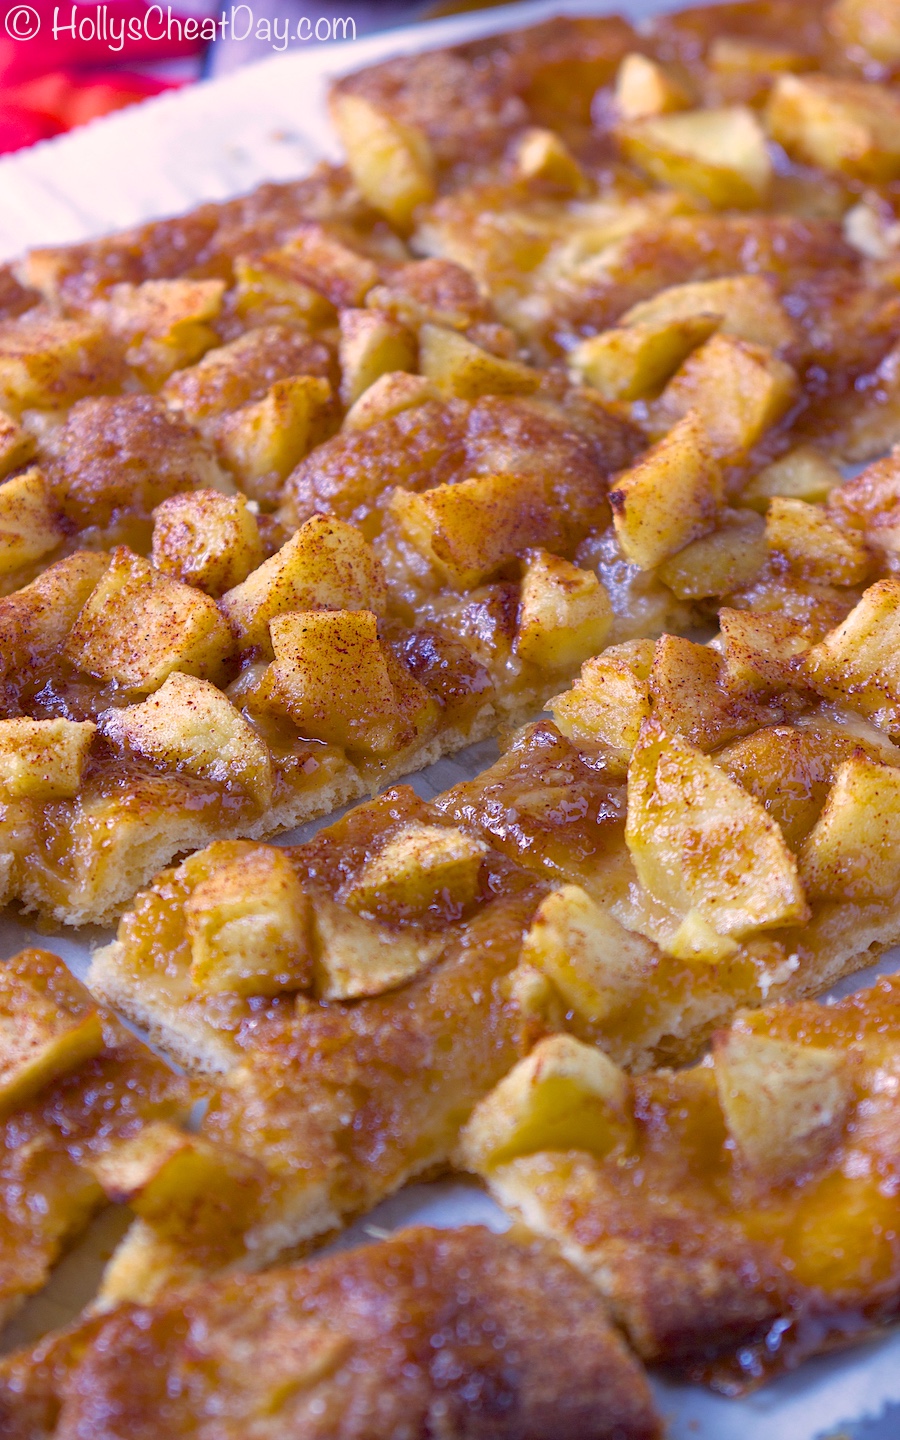
Something else super awesome about this crack, is that you could totally change out some of the flavors, maybe instead of apples, you use pears, or even pineapple. Get creative, you never know what you might come up
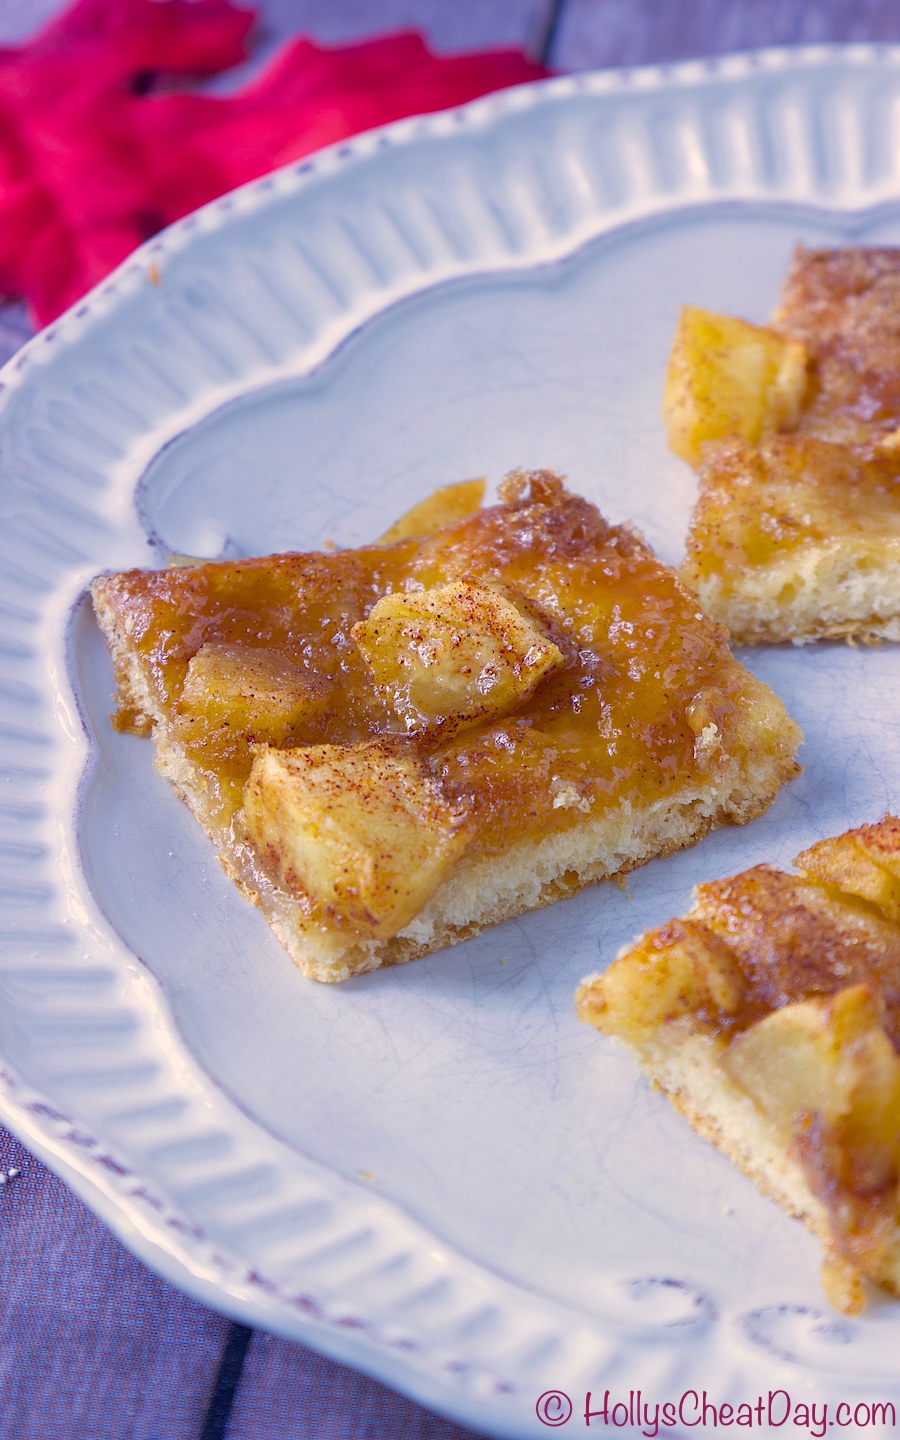
with. I hope everyone is being safe and trying to stay optimistic, I get it, it can be a struggle. Some tips just the tip that I recommend are, stay away from the news, I’ve literally gone into full on panic attacks after inundating myself with the news. Watch happy movies or comedy specials, get in the kitchen and get to baking with your family, this might sound strange, but cleaning and organizing totally de-stresses me as well. Anyway, sending lots of love to everyone and thank you so much for stopping in. Happy Baking!

Easy Caramel Apple Crack

Decadent caramel apple dessert so good it's like crack.
Print Recipe Pin Recipe
Prep Time 30 minutes mins
Cook Time 22 minutes mins
Course: Dessert
Ingredients Equipment Method

Ingredients
  

  • 1 8 Ounce Tube of Crescent Dough
  • 1 Medium Apple, Peeled
  • 1/2 Cup Light Brown Sugar
  • 1/4 Cup Cinnamon Sugar Mixture
  • Pinch Of Salt
  • 1/4 Cup Caramel Sauce

Equipment

  • Large Baking Sheet
  • Potato Peeler
  • Parchment Paper

Method
 

  1. Preheat oven to 375 degrees Fahrenheit.
  2. Line a baking sheet with parchment paper, spray with cooking spray, set aside.
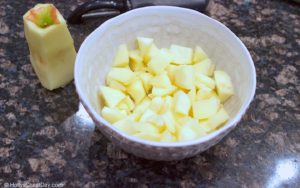
  3. Peel your apple, and chop up into pieces, set aside.
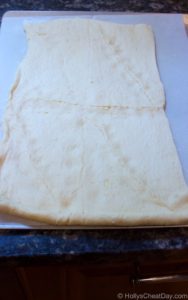
  4. Roll out crescent roll dough onto the parchment paper, pinch seams of dough, and with a fork prick all over with a fork.
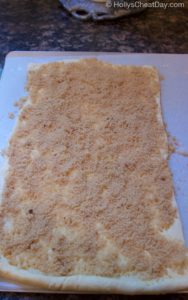
  5. Evenly spread the brown sugar all over the crescent dough.
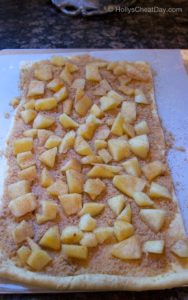
  6. Spread your apples evenly over the brown sugar, then sprinkle your cinnamon sugar mixture on top of that.
  7. Drizzle your caramel on top of everything, feel free to use more or less depending upon your taste.
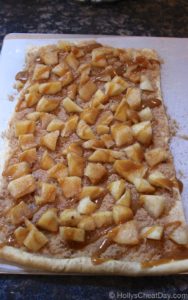
  8. Bake your 'crack' for 22-25 minutes, or until golden brown.
  9. Let cool completely, slice into pieces and enjoy!
Filed Under: All Recipes, Bars/Brownies, Dessert

Biscoff Cookie Butter Pie

March 21, 2020 By Holly

Well helloooo there y’all!!! I’ve been away for an embarrassingly long time, for which I apologize but I have good reason, I’ll make this quick. In October I got the flu for the first time in my entire life (weird, I know) and honestly it was so bad I went to the ER twice and I was pretty much out of commission until December. For reals y’all, walking across the room would leave me out of breath & pouring sweat like a monster until December, ewww, I know. Throw all of that on top of having to work very long hours and time just straight up got away from me. Maybe some of y’all are wondering why I haven’t posted anything since? Well, right before I caught the plague got sick I had cooked and photographed a few recipes with a noticeably Fall theme, and I kinda felt like a dummy posting those into January. Also, I have had no time to make new ones.

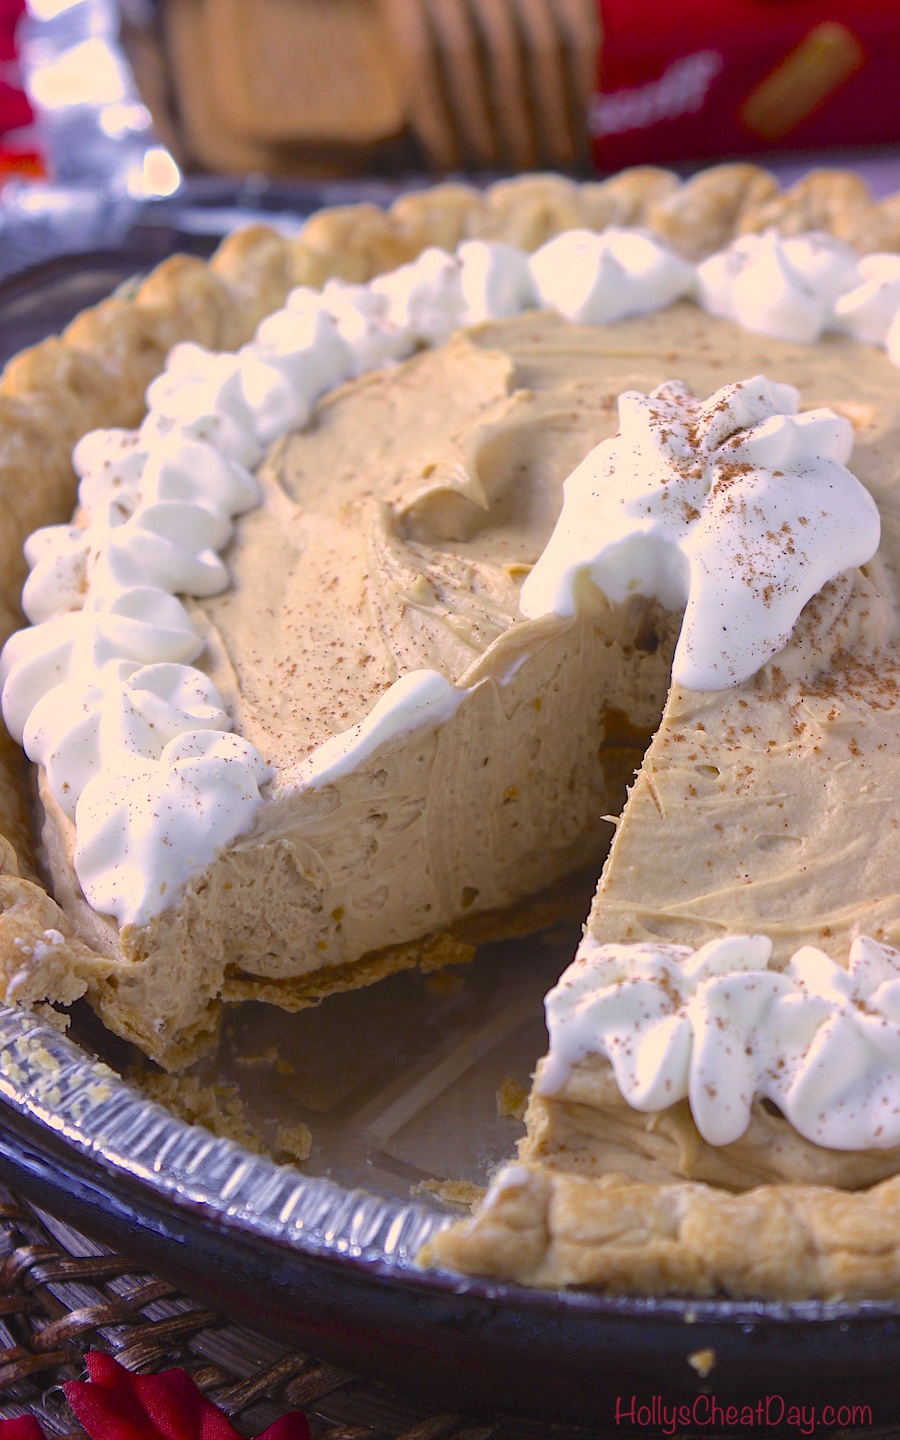
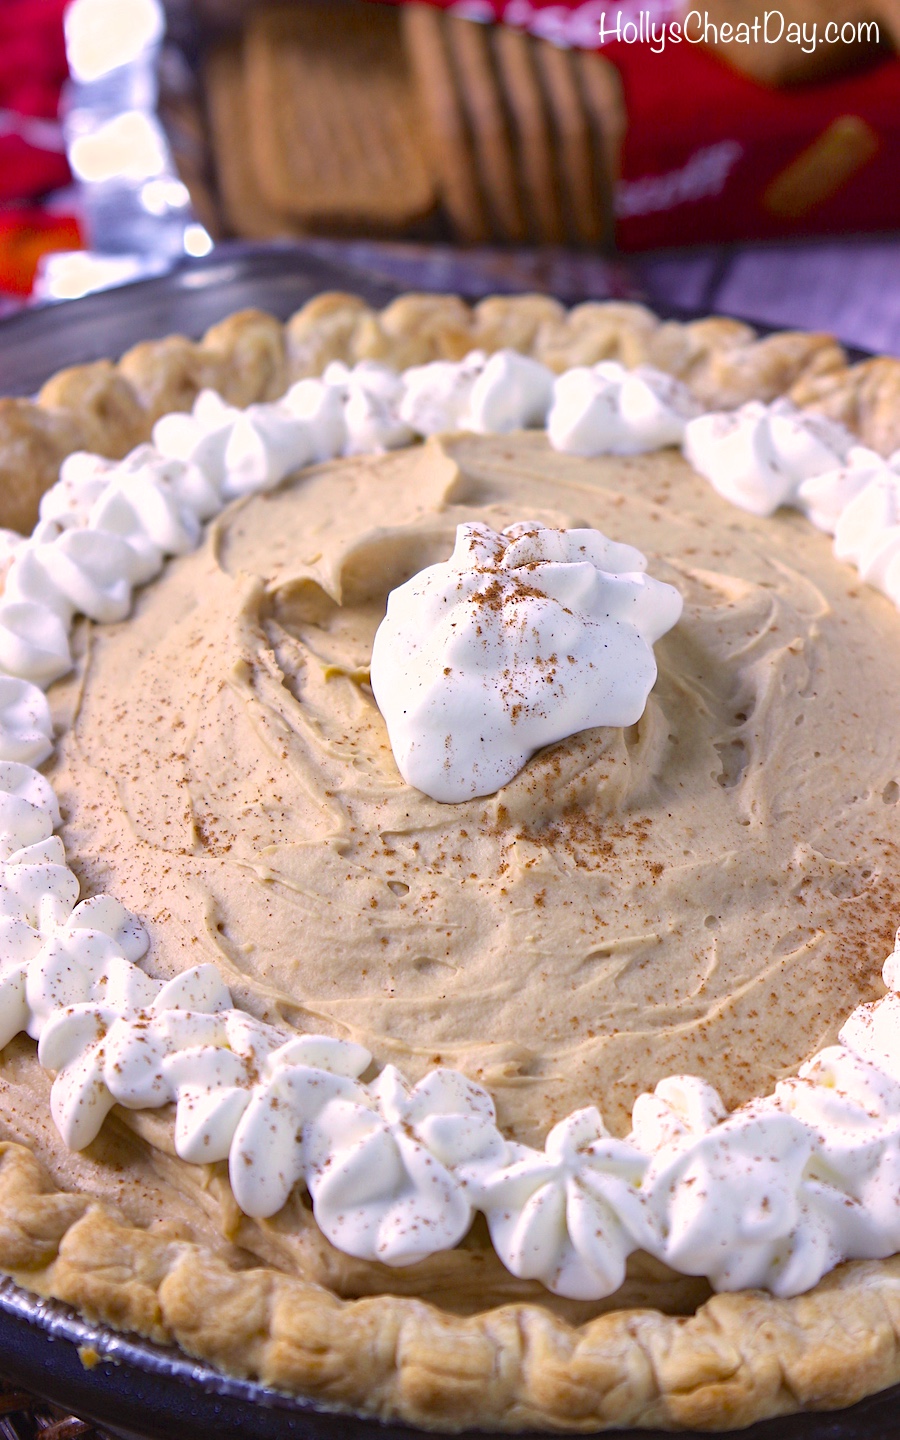
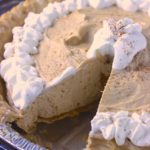
Well, since the world in the last couple of weeks has basically turned into a giant dumpster fire, I have seen a lovely trend of people putting up Christmas decorations to bring joy and happiness. If folks are going to go back to Christmas time, I thought maybe we could all go ahead and go all the way back to the Fall…Also, pie. This isn’t just any old pie either, this is a no-bake pie filled with some of my favorite things, cookie butter, whipped cream and cream cheese. So not only is this easy to make, it also requires very few ingredients.

While the world at the moment feels very uncertain, one thing is for certain, this pie is super delicious, easy to make and might be something fun to ‘bake’ with your kids while everyone is at home.

I understand how scary everything seems right now, trust me I’m right there with you– financially, health-wise, economy-wise, for our loved ones and for the world, remind yourself to breathe, stay home, be as hygienic as possible and be considerate of others, we are really all in this together. Sigh, jeez that sounds lame but it’s true haha. What is everyone doing in their isolation? I’ve been reading a lot, streaming a lot of stuff and for some reason re-watching Game of Thrones, even though let’s be honest, I would take the white walkers over these shenanigans, just kidding, kind of. Anyways, thanks for stopping by and my prayers go out to the world (again, cheesy but I mean it).

Holly

Biscoff Cookie Butter Pie

No-Bake pie filled with delicious Biscoff Cooki Butter and whipped cream, a must make.
Print Recipe Pin Recipe
Prep Time 30 minutes mins
Cook Time 2 hours hrs
Course: Dessert
Ingredients Method

Ingredients
  

  • 1 Roll Out Pie Crust OR Pre-Made Pie Crust
  • 1 14.1 Ounce Jar of Biscoff Cookie Butter
  • 1 8 Ounce Block Of Cream Cheese Room Temperature
  • 2 Cups Heavy Cream Divided
  • 1/4 Cup Powdered Sugar

Method
 

PIE CRUST
  1. Roll out pie crust and bake according to instructions or bake pre-made frozen crust according to instuctions.
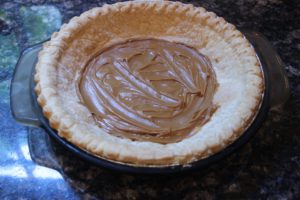
  2. Once pie crust is completely cooled, place 1/3 Cup of the cookie butter into the bottom of the crust, carefully to keep the integrity of the crust.
PIE FILLING
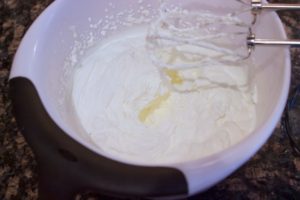
  1. With a handheld or stand mixer with whisk attachment whip your heavy cream until stiff peaks form, set aside in fridge.
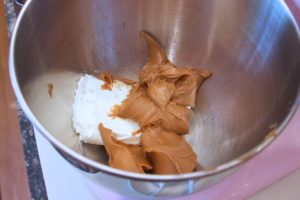
  2. Place the remaining cookie butter and cream cheese into your bowl and whisk with handheld or stand mixer with paddle attachment until light and fluffy.
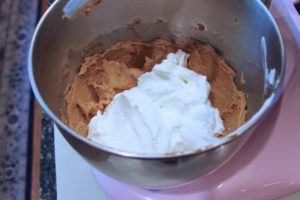
  3. Now, gently fold your whipped cream into the cream cheese/cookie butter mixture until completely combined.
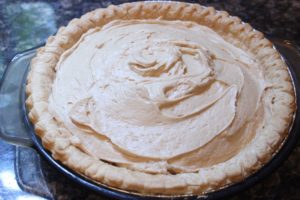
  4. Spread your pie filling into your prepared crust evenly, cover and chill for at least 2 hours.
  5. Serve with whipped cream and enjoy y'all!

Filed Under: All Recipes, Dessert

Brown Butter Coffee Cream Cheese Frosting

September 27, 2019 By Holly

Happy Happy Friday y’all!!! I’m so excited to share today’s recipe with y’all. Sometimes when you create something so delicious, it deserves it’s very own post instead of having it in conjunction with another recipe. That’s exactly what happened with this one. I had had every intention of just slapping this frosting on some awesome cupcakes, but this one turned out so decadently perfect it needed to be the star of the show today.

I’d been toying around the idea of a coffee frosting, since it’s one of my favorite flavors, but I knew to keep it from being overpowering it needed some delicious friends with it, and by friends I mean butter and cream cheese. I stand by the fact that brown butter literally makes everything better and cream cheese wonderfully tones down frostings, which in my opinion have a tendency to be too sweet.

To get that wonderful coffee flavor, I originally just threw instant coffee into the frosting, which was a terrible idea because it did not want to blend. So the next batch, I did the smart thing and let the instant coffee hang out in a bit of milk, then blended it in, which was perfect.

This frosting is probably a bit more work than a basic buttercream or cream cheese frosting, but y’all, take the extra time and the extra dirty dishes and make this stuff. This frosting will knock your socks off and I guarantee will make any cupcake taste 100 times better. Thanks so much for stopping by and have a wonderful weekend!

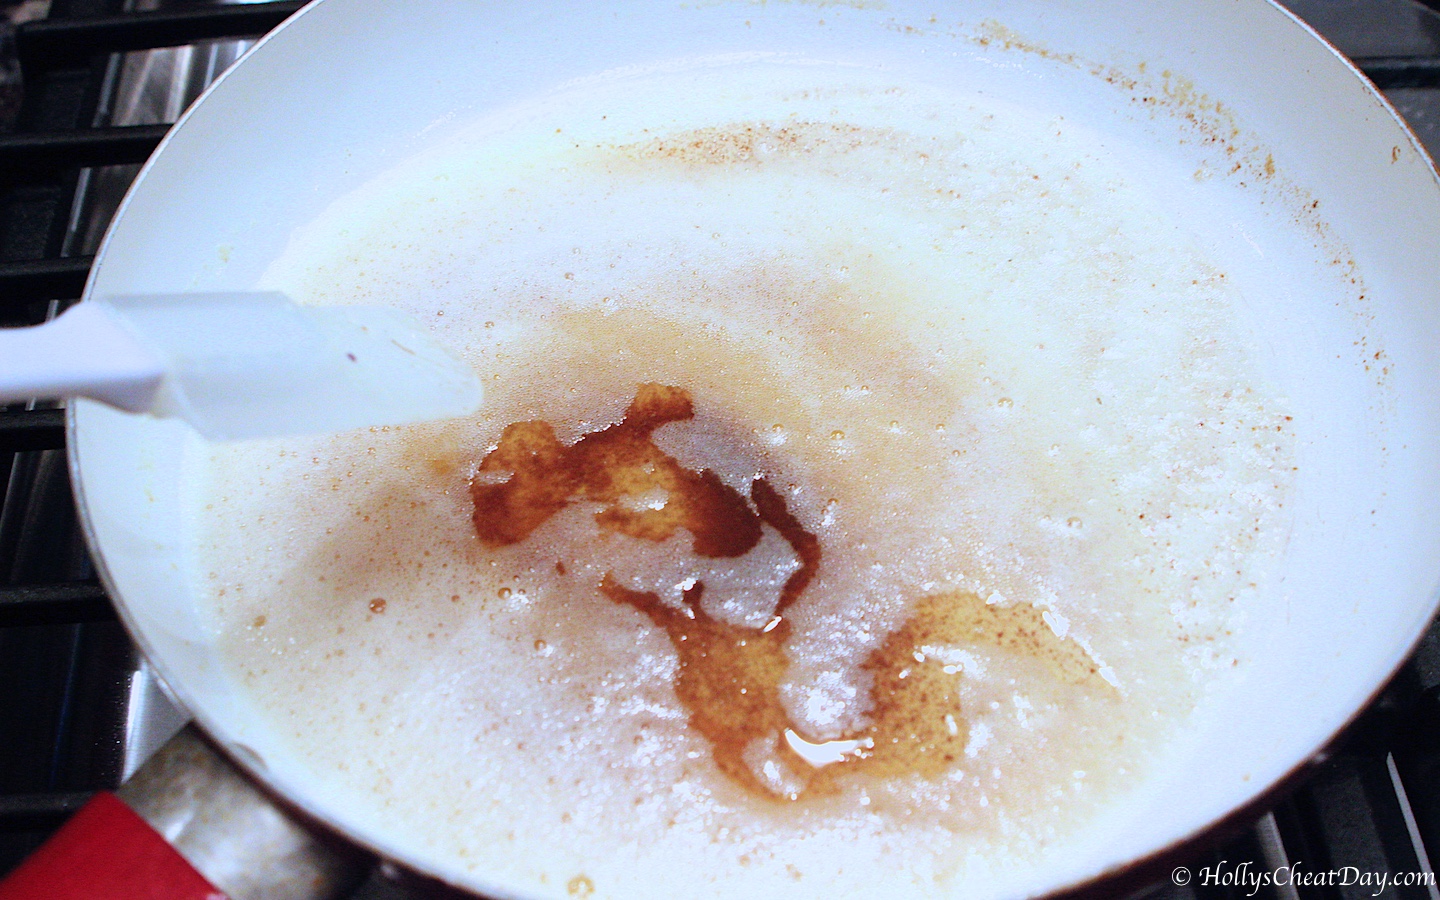
First, let’s get that butter nice and brown so it has time to completely cool…I have a more in depth tutorial of how to brown butter here…

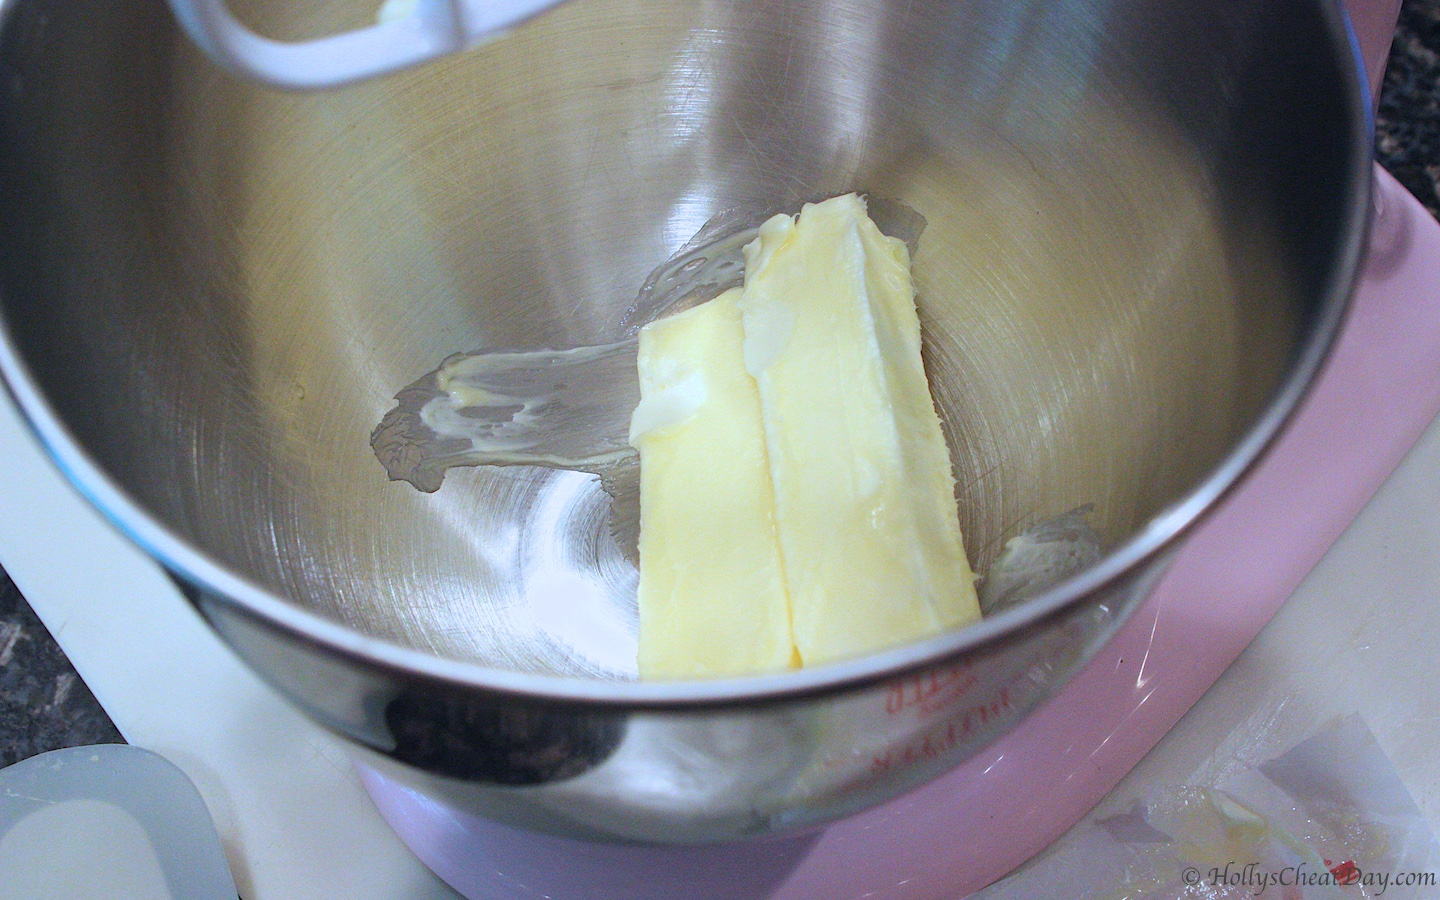
Take your softened butter & whip it good whip it real good …

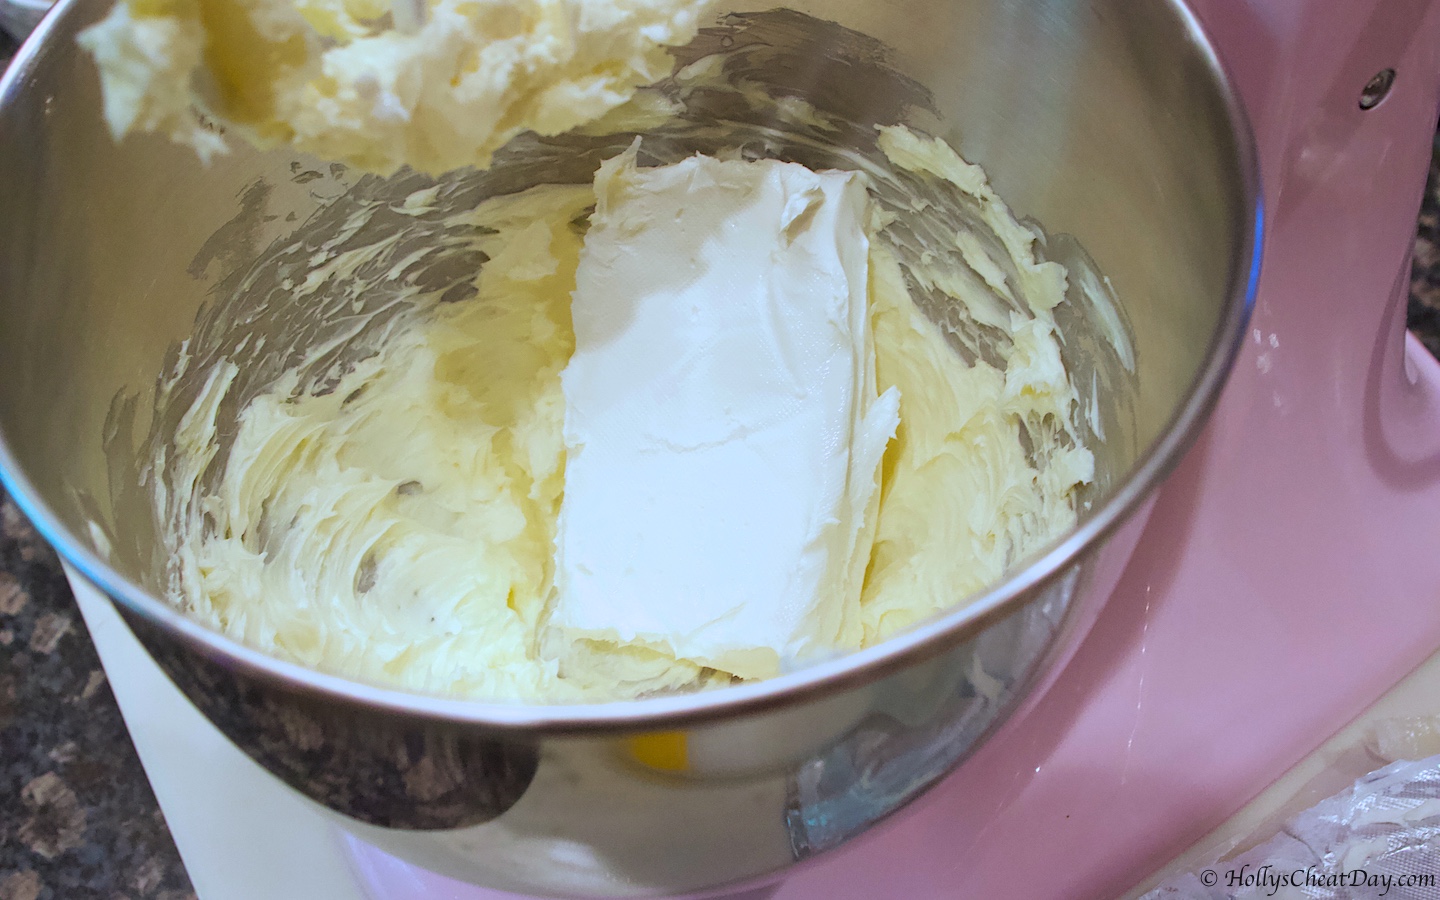
then add your cream cheese…

once the cream cheese & butter is well blended, add your cooled brown butter…

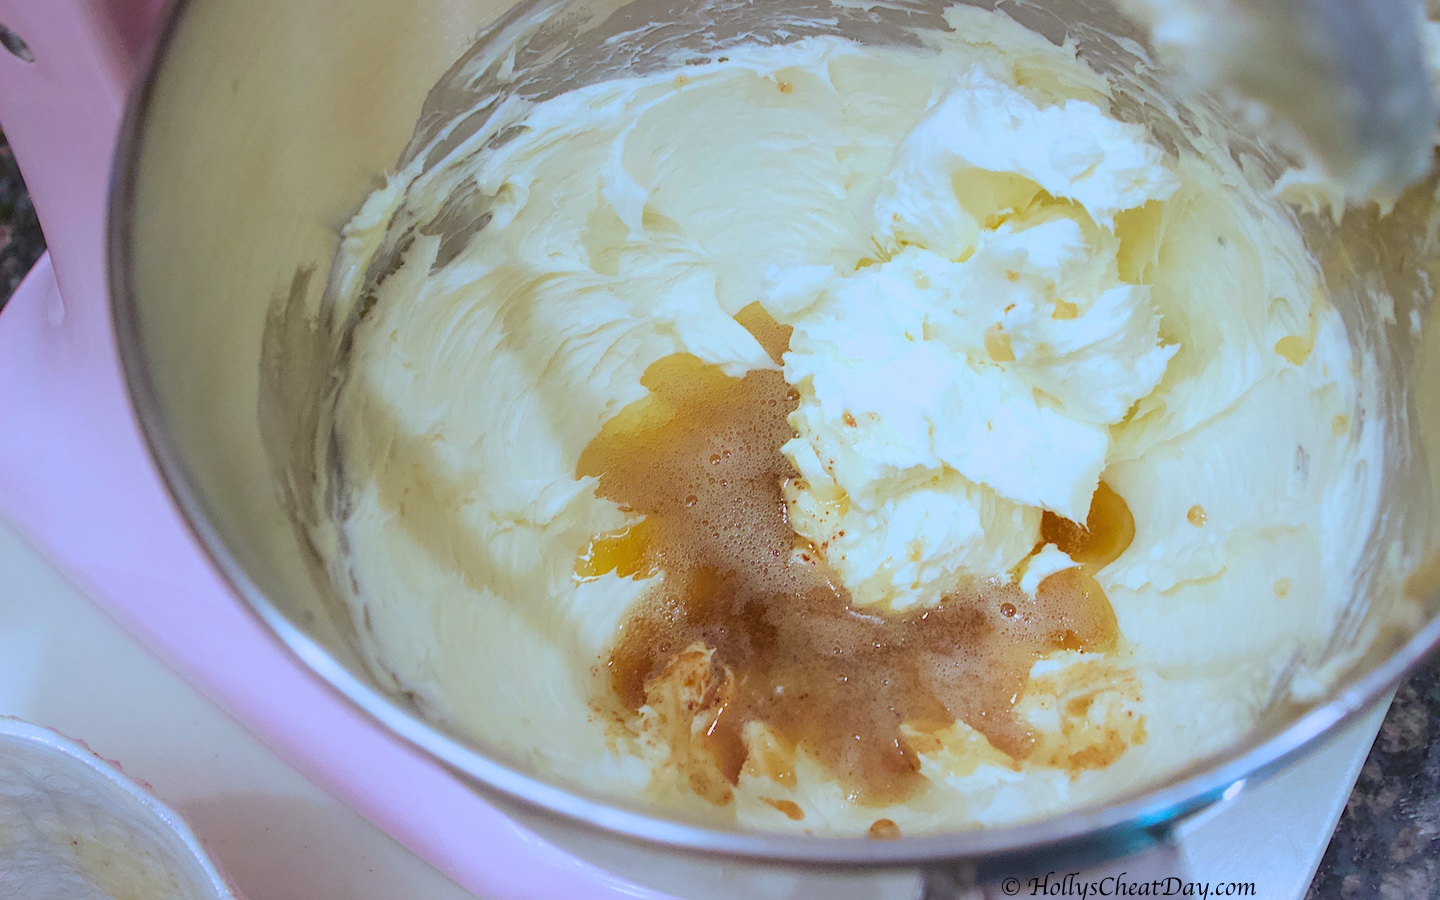
then add your powdered sugar…

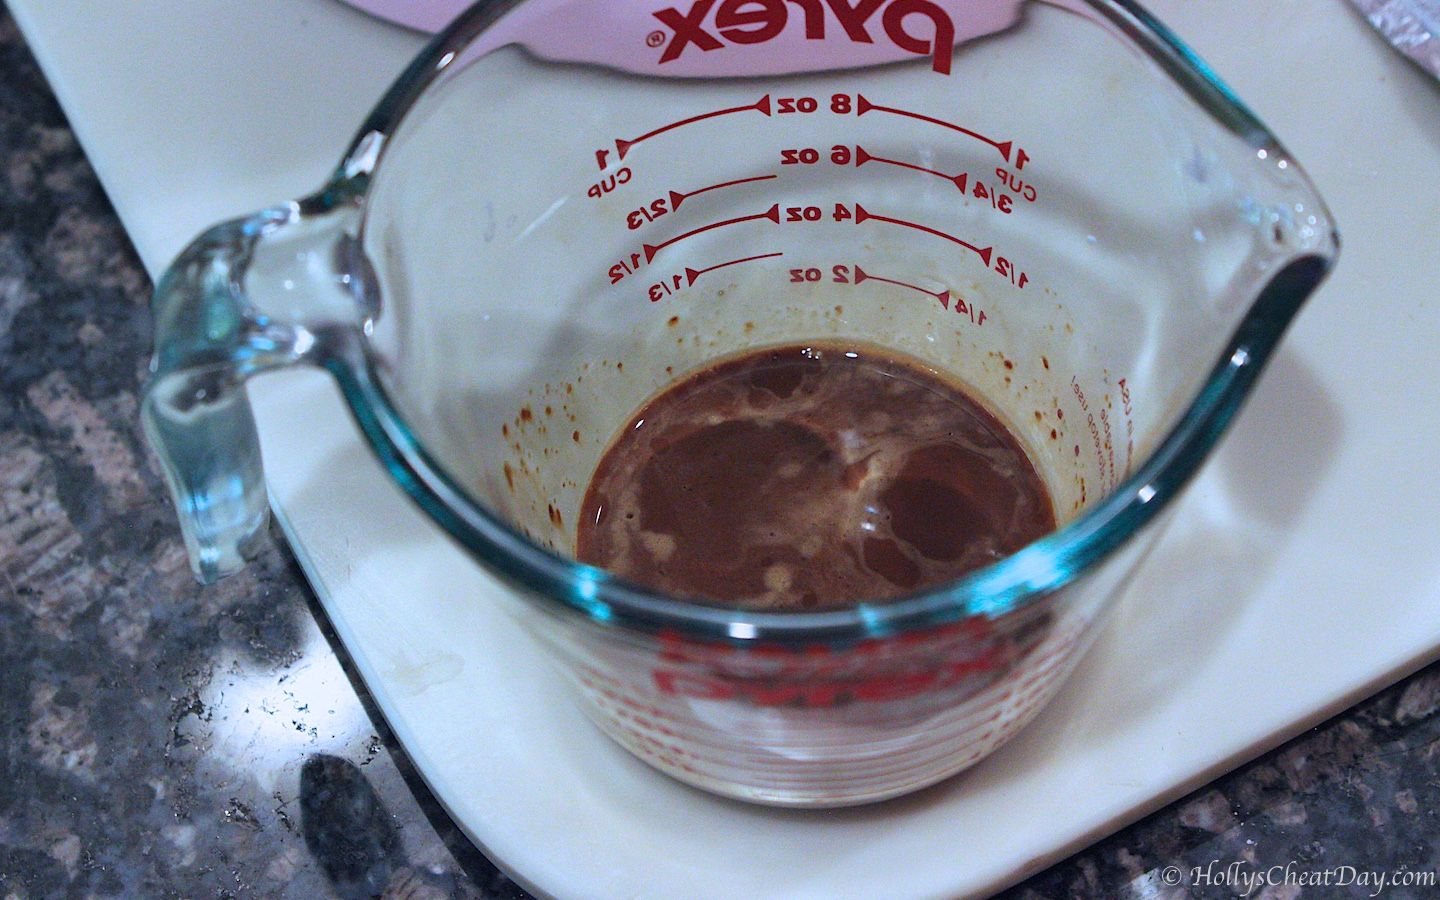
then put your instant coffee into some milk, making sure it’s dissolved…

Then whip your coffee into your frosting and enjoy!!!

BROWN BUTTER COFFEE CREAM CHEESE FROSTING RECIPE:

INGREDIENTS:

½ Cup (1 Stick) of Unsalted Butter, Browned & Cooled.
1 Cup (2 Sticks) of Unsalted Butter, Softened.
8 Ounces (1 Block) of Cream Cheese, Softened.
3 Cups of Powdered Sugar.
4 Teaspoons of Instant Coffee, Mixed into 2 Tablespoons of Whole Milk.
1 Tablespoon of Vanilla Extract.
Dash of Salt.

DIRECTIONS:

~Take your 1 stick of butter and place in a pan on medium/high heat and while stirring constantly, cook until it reaches a golden brown (should have a really delicious nutty smell to it). Place in fridge to cool completely.

~With a handheld or stand mixer with paddle attachment, place your 2 sticks of butter into the bowl and beat until smooth.

~Now add your cream cheese to the whipped butter and beat until smooth, then add your vanilla, powdered sugar and salt and beat until well incorporated. Now add your cooled brown butter and mix again.

~Place your instant coffee into about 2 tablespoons of cream or milk, stir until completely incorporated then mix into your frosting until completely mixed in. If you want a stronger coffee flavor, then add more instant coffee about a teaspoon at a time and enjoy!

Filed Under: All Recipes, Dessert

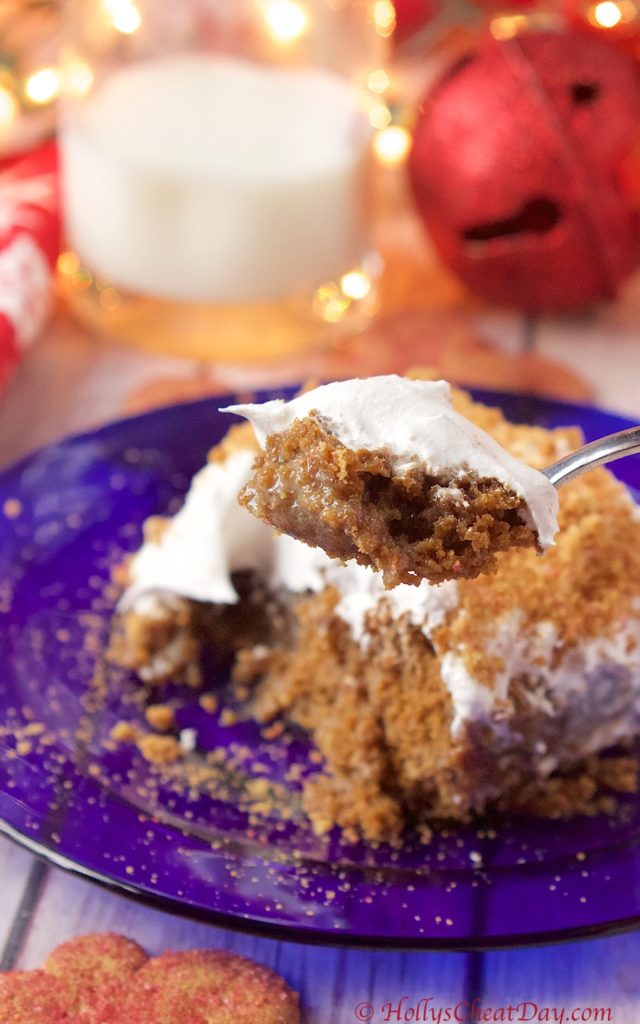
Easy Gingerbread Poke Cake

December 23, 2018 By Holly

Happy Happy Sunday y’all and welcome to another cheat day! Christmas is less than 48 hours from this very moment and I imagine that there are a few (gazillion) of you that might not be the ultimate Christmas unicorn either…you know, the ladies out there that have all gifts bought & wrapped, all meals prepped and ready to go and are currently chilling waiting for the magical day to arrive with trumpets sounding and a glittery sunrise to greet them…or something remotely close to that.

I like to think of myself as more of Christmas ass donkey, clumping along forgetting things I have written clearly on my to-buy list, and losing all track of time and getting further and further behind until I feel like a crazy person. Soooo, with that said, guess what? I have a totally easy and delicious recipe to share with y’all today.

This cake is sooo moist and flavorful you guys, and it’s a wonderfully doctored cake mix, so it’s ready in a snap. Is this the most beautiful dessert you’ll ever make? Heck no, but it’s an A+ on the Holly’s Easy/Delicious scale…that I just made up.

This was a huge hit when I made this for my family a few weeks ago, so much so, I’ll be making one tomorrow and I’m totally not stressing because it’s so easy. Anyways, this donkey needs to get a move on and try to finish up all things on my seemingly never ending to-do list. Y’all have a wonderful day and thanks so much for stopping by!!!

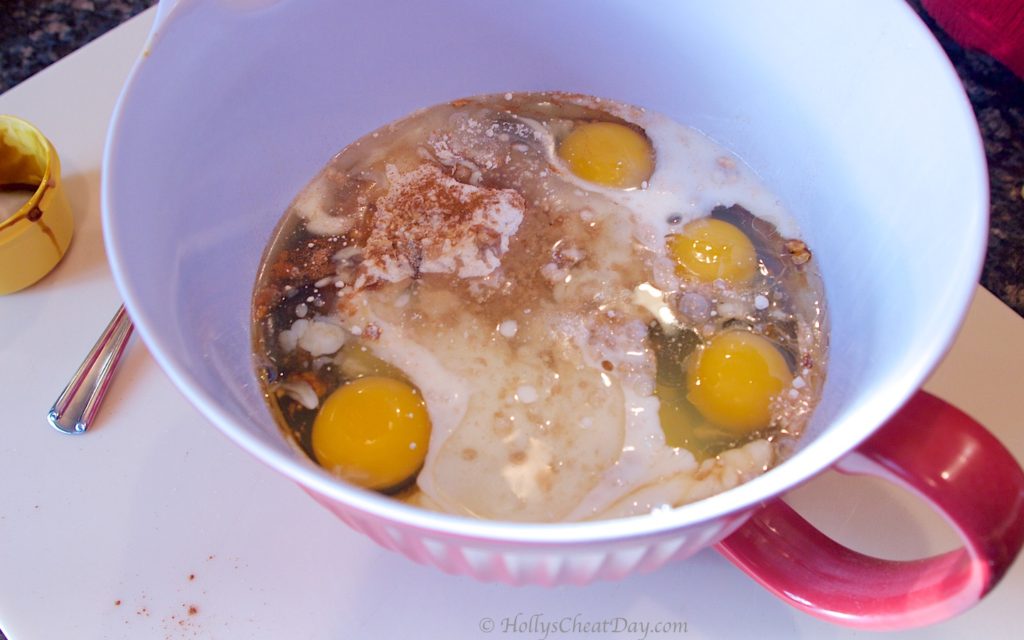
All of your ingredients into your (one) bowl…

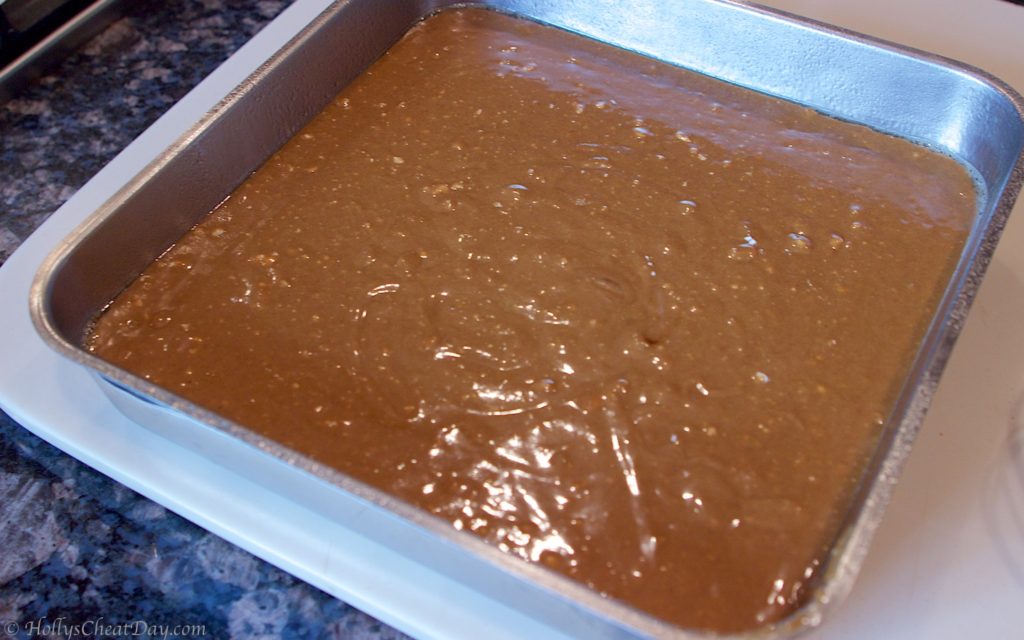
mix it all up and pour into your pan…

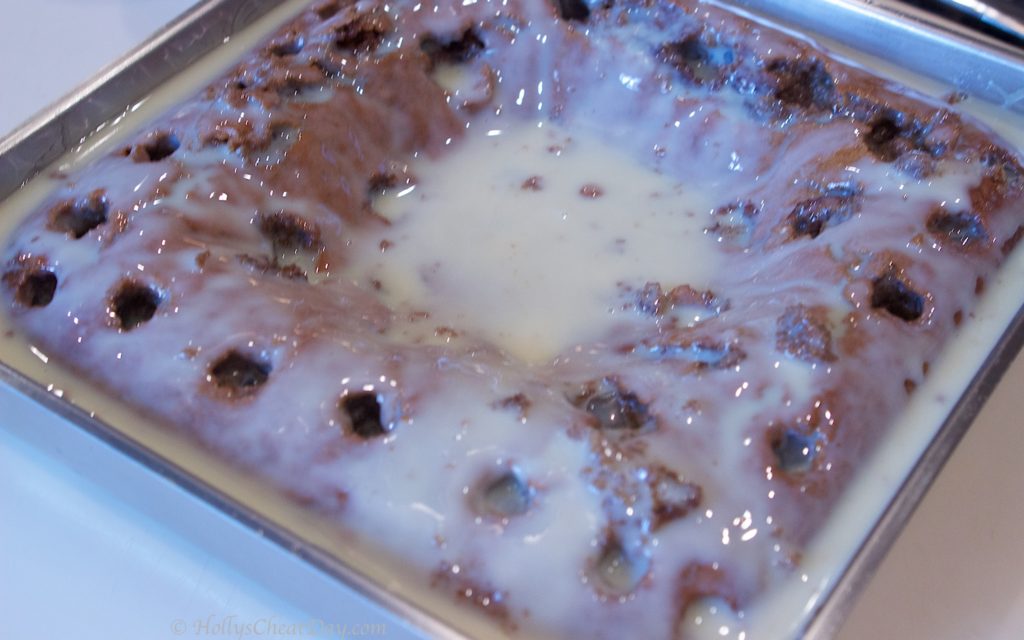
this part looks gross, but poke holes in your cooled cake and pour sweetened condensed milk all over…

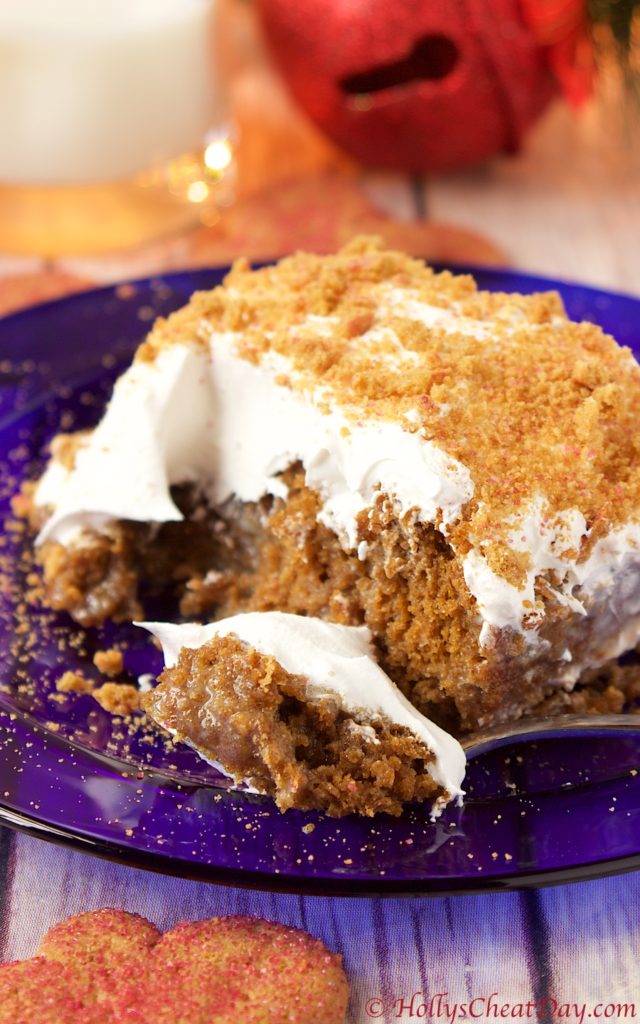
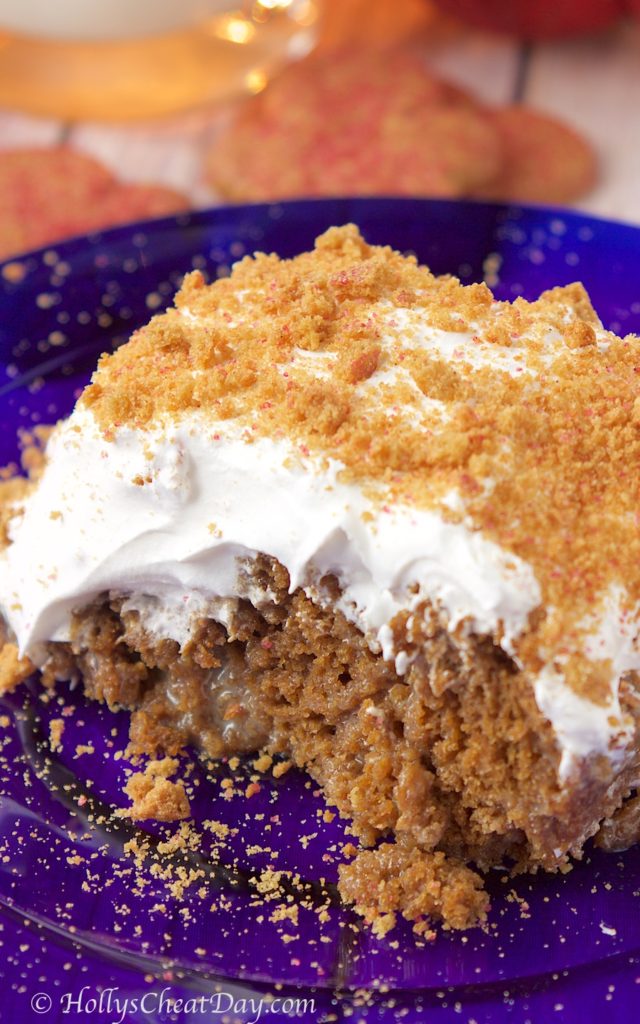
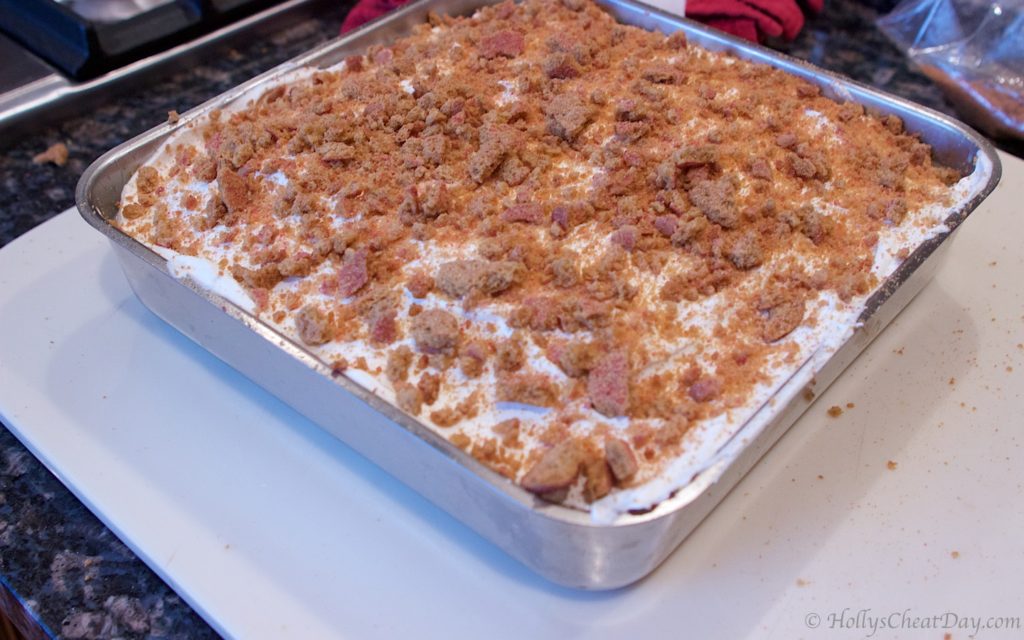
then cover the whole top of the cake with Cool Whip & gingersnap cookie crumbles…

Let it chill in the fridge for a while, then enjoy!!!

RECIPE:

INGREDIENTS:

1-15.25 Ounce Box Spice Cake Mix.
1 Teaspoon Ground Ginger.
1 Tablespoon Ground Cinnamon.
1/2 Cup Buttermilk.
1/2 Cup Molasses.
1/3 Cup Vegetable or Canola Oil.
4 Large Eggs.
14 Ounce Can Sweetened Condensed Milk.
1-8 Ounce Tub Cool Whip – Thawed.
12-15 Gingersnap Cookies – Crushed

HOW TO:

Preheat your oven to 350 degrees F.
In a large bowl, add the dry cake mix, spices, buttermilk, molasses, eggs and oil and mix until well combined.
Pour into an 8×8 pan and bake for 28-30 minutes or until an inserted toothpick comes out clean.
Allow your cake to cool completely and once cooled with the end of a wooden spoon, poke holes all over the top of your cake and then pour the sweetened condensed milk all over the top of your cake. Cover the entire top of the cake with the Cool Whip, then sprinkle the crushed gingersnap cookies all over the Cool Whip. Place your cake back in to the fridge for at least another hour and enjoy!

Filed Under: All Recipes, Cake, Dessert

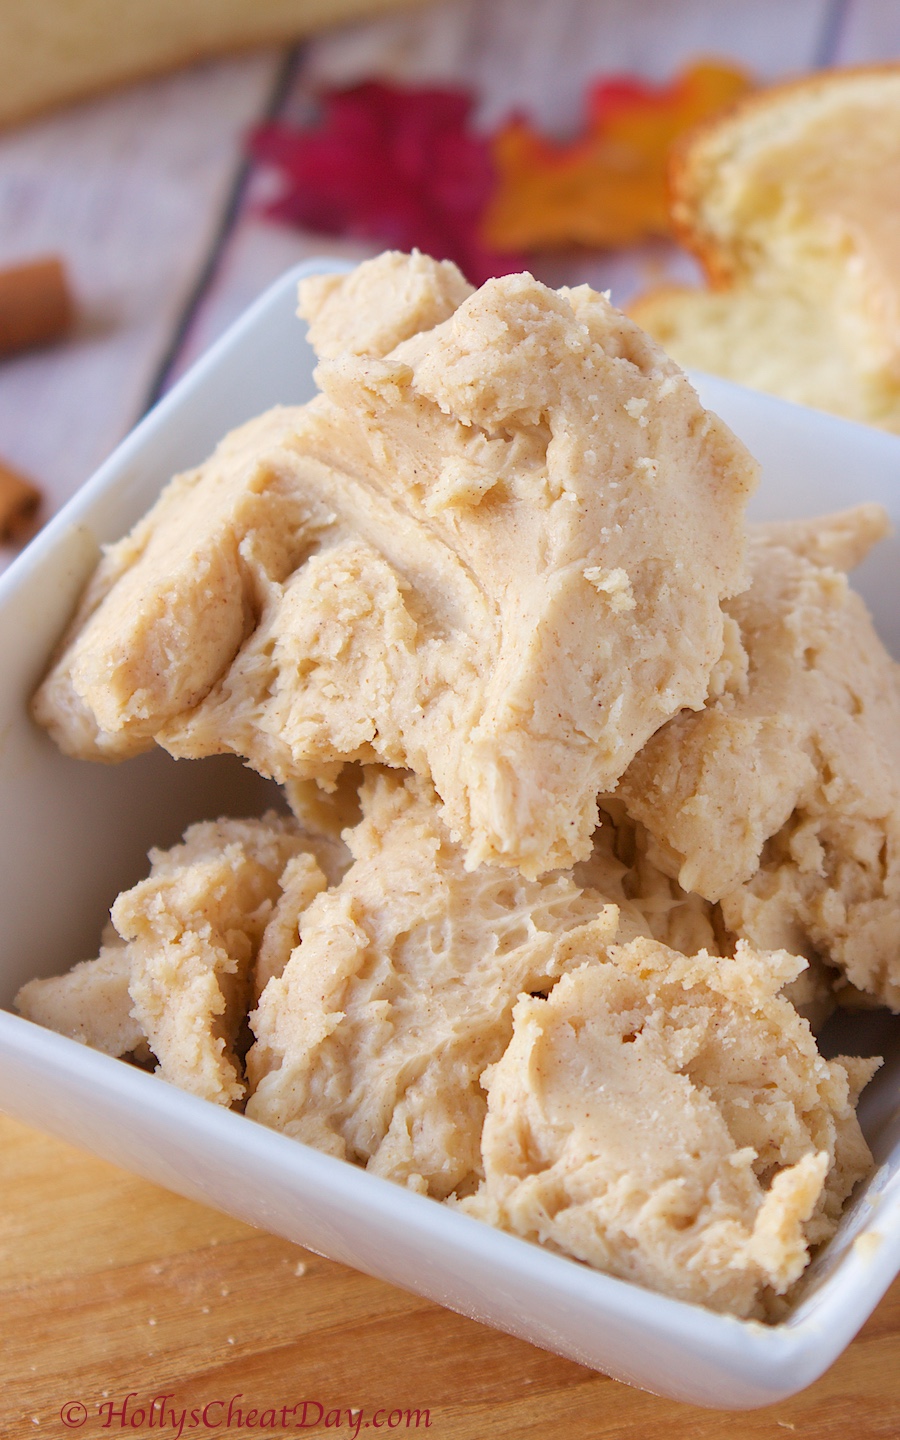
Maple Cinnamon Butter

December 3, 2018 By Holly

Happy Happy Monday y’all!!! Tis December, and yes I feel like using the word ‘Tis’ is totally acceptable when it’s December, because it feels wonderfully Dickens-esque…or something like that.  I personally was completely finished decorating for Christmas by November 2nd, because I just can’t get enough of all of the beautiful decorations and I want to get to enjoy them for as long as possible.  I realize that normal people usually wait until at least the day after Thanksgiving to decorate, so I assume it is now totally fine for me to bring out the seasonal recipes as well. 

 Sometimes I think that the simplest foods are the best.  Like butter for example.  I think we all have those restaurants that the food is just okay, but they have the best rolls with deliciously sweetened butter served with it, hence the only reason that you’re even there. 

That is definitely what I was trying to recreate with this recipe.  Maple and cinnamon make everything better and I assumed they would do the same with butter and boy was I right. 

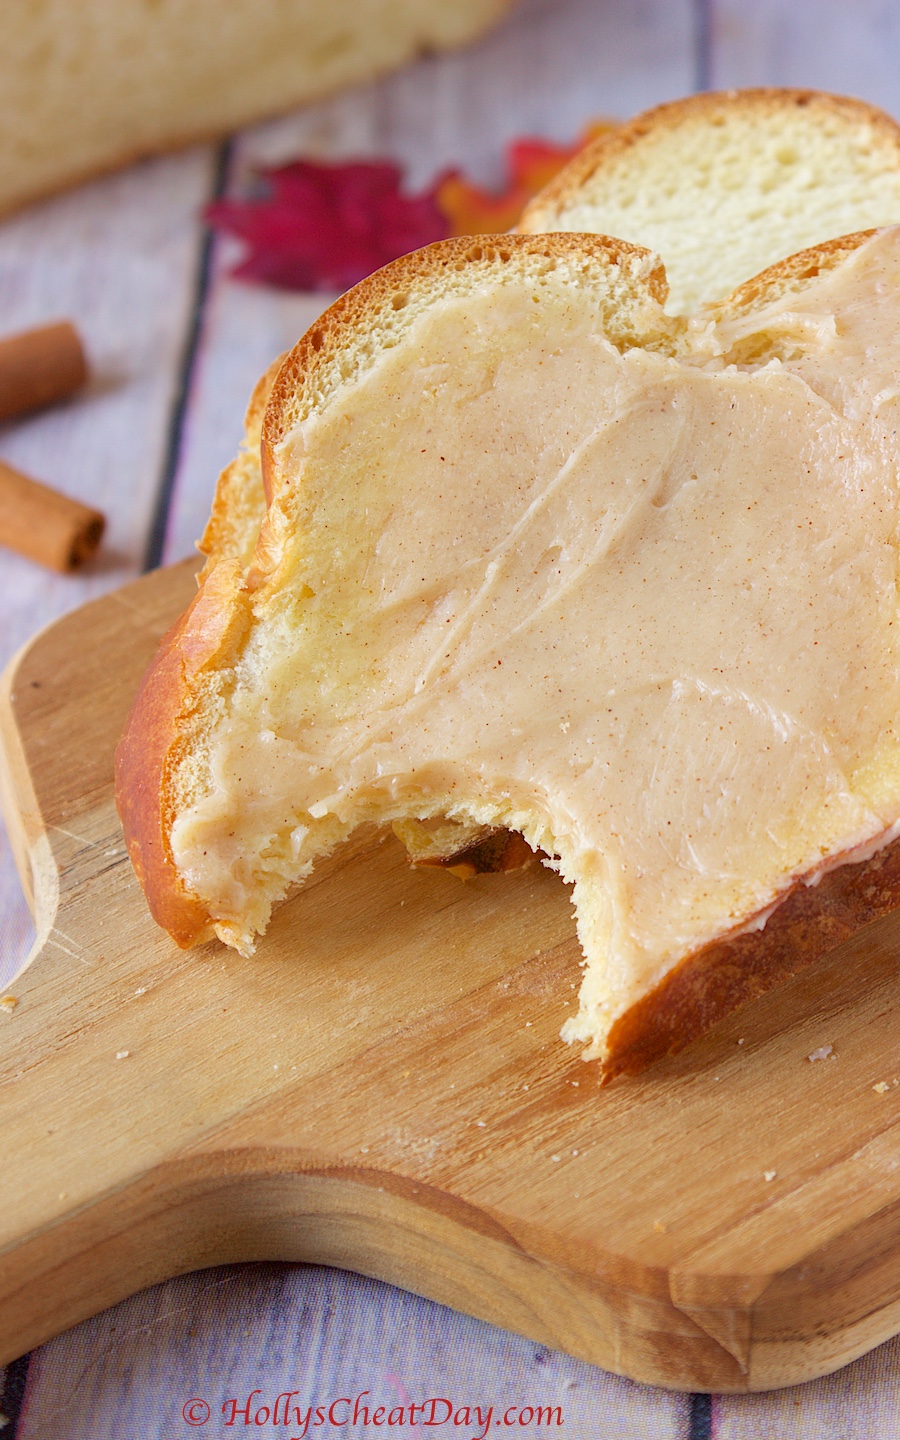
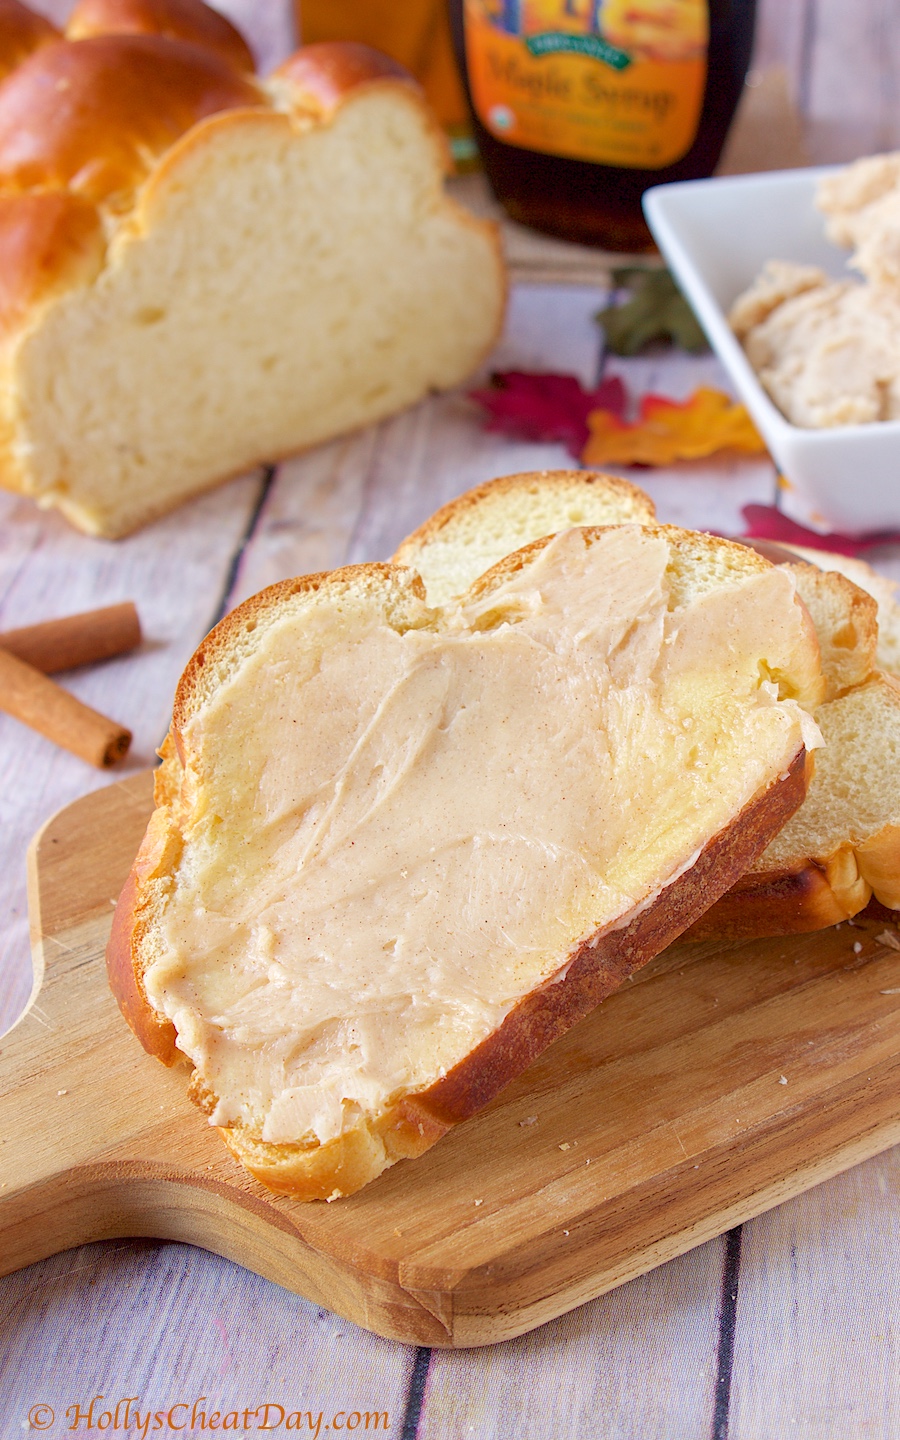
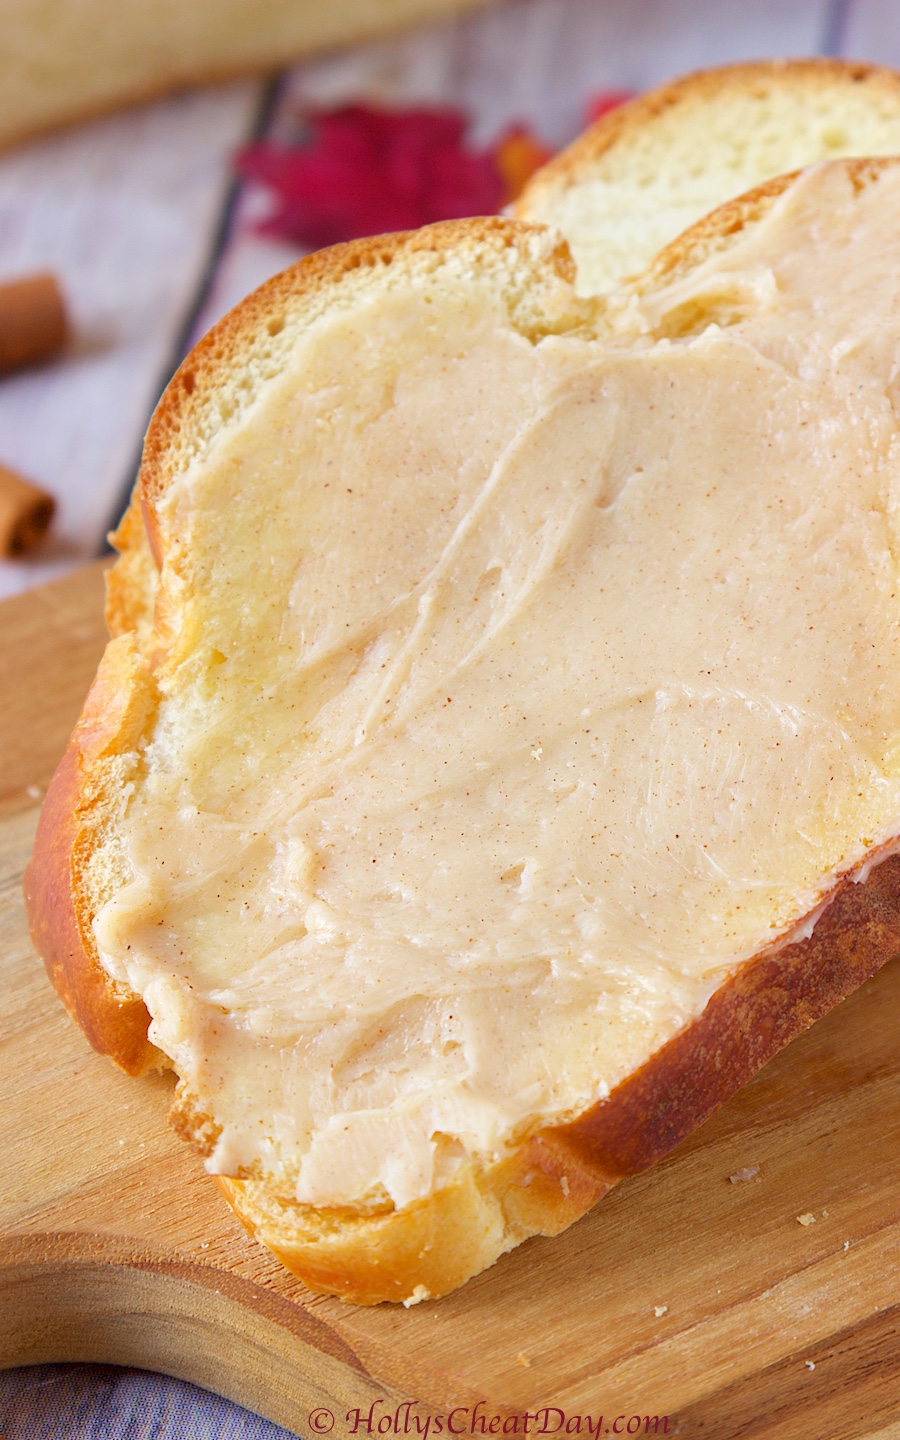
This butter is sinfully delicious and the star of the show on a toasted piece of bread.  The simplicity of this recipe also means it’s crazy easy to make too, so most definitely a win-win.  Also, this makes a whole lot of butter, so you will definitely have plenty around to enjoy for the next few weeks.  I totally think that y’all should make some of this and enjoy it on pretty much everything haha.  Thanks so much for stopping by and I hope you have a wonderful day!!!

MAPLE CINNAMON BUTTER RECIPE:

4 Sticks of Unsalted Butter, Room Temperature.
1 Cup of Maple Syrup.
2 Tablespoons of Cinnamon.
1 Teaspoon of Salt.

With a handheld or stand mixer with paddle attachment, place your unsalted butter into your bowl and whip until light and fluffy.
Add in the rest of your ingredients and with your mixer on low at first, then slowly increasing the speed.
Scrape down the sides of the bowl and continue mixing until all ingredients are incorporated fully.
Keep refrigerated and try to take out the butter at least 30 minutes prior to enjoying.

Filed Under: All Recipes, Dessert, Dip

REPOST-Easy Pumpkin Pie Bars

November 21, 2018 By Holly

Here’s an oldie but a goodie, I thought some of y’all might need a really easy, quick and possibly last minute dessert for Turkey Day, so here you go!

Happy Happy Wednesday & Thanksgiving Eve y’all!!!  I hope I’m not the only one running around trying to get what feels like everything under the sun done right now.  These feelings are most likely exacerbated by the fact that I have to work all day, so a billion things are left to do this evening and tomorrow morning very early. 

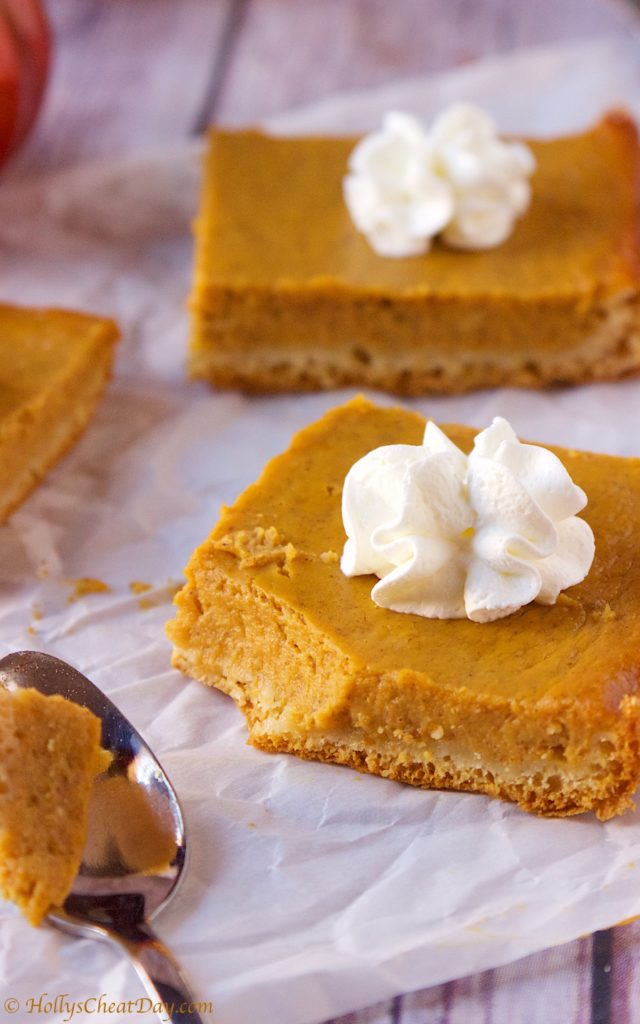
Easy-Pumpkin-Pie-Bars | HollysCheatDay.comI’m a slightly type A chick, so not being completely organized and ahead of schedule makes me feel just a tad bit coo-coo feeling.  My apologies, I’m blathering about how stressed I feel when most likely all of you feel precisely the same way haha.  Soooo,  I’m here today to give you another recipe that shouldn’t cause you any stress to make, because at this hour before Thanksgiving that is exactly what we need, amiright? 

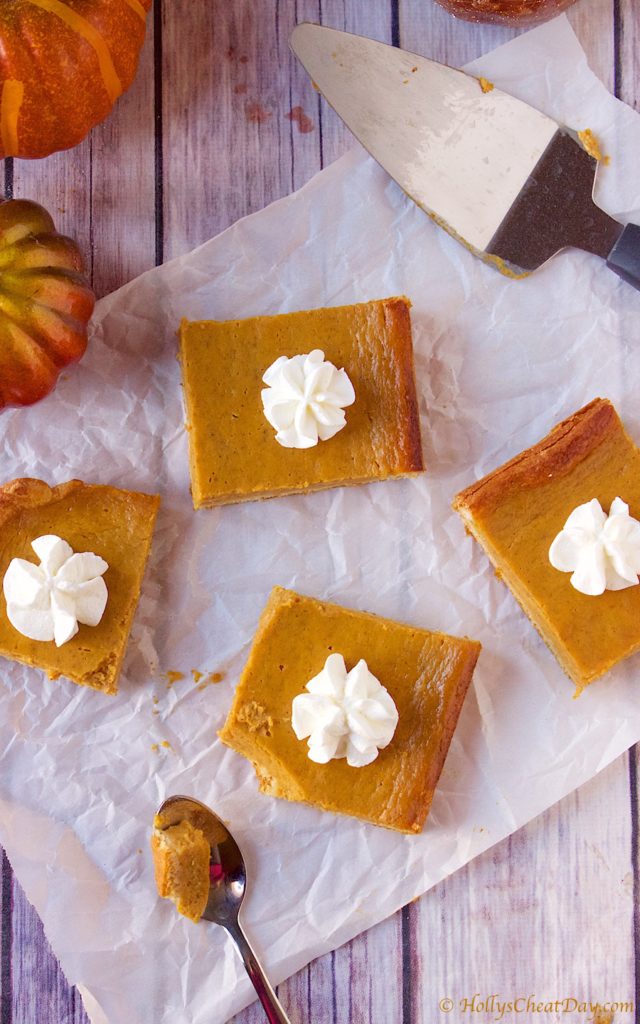
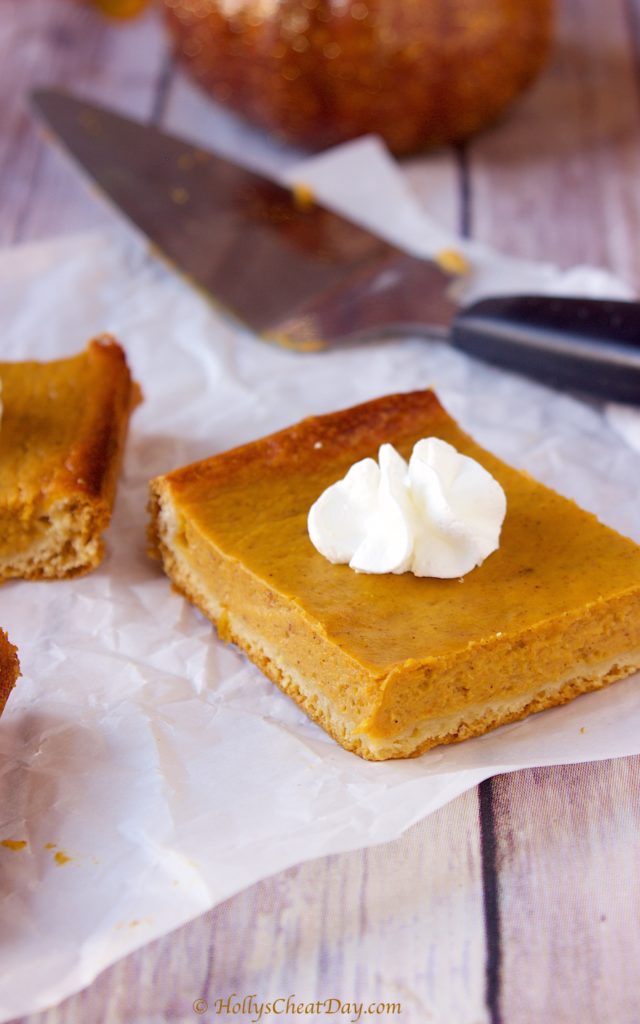
Easy-Pumpkin-Pie-Bars | HollysCheatDay.comThese Easy Pumpkin Pie Bars are a wonderful recipe that I snagged from Pillsbury’s website.  I looove pumpkin pie, but as I have mentioned before, pies have a tendency to be my Kryptonite, because of that whole pie crusts never behave for me deal, which is why I knew I had to make these bars because they just looked so easy to make.  BTW they totally are easy to make, and let’s not forget it’s pumpkin pie in perfect handheld wonderfulness. 

Easy-Pumpkin-Pie-Bars | HollysCheatDay.comThe only thing that’s really time consuming is waiting for these bars to completely cool before you can cut them up.  Anyways, I hope you can add these to your Thanksgiving meal and as always thank you so much for stopping by!  Happy Thanksgiving to everyone of you and I hope you have a wonderful time with your loved ones.

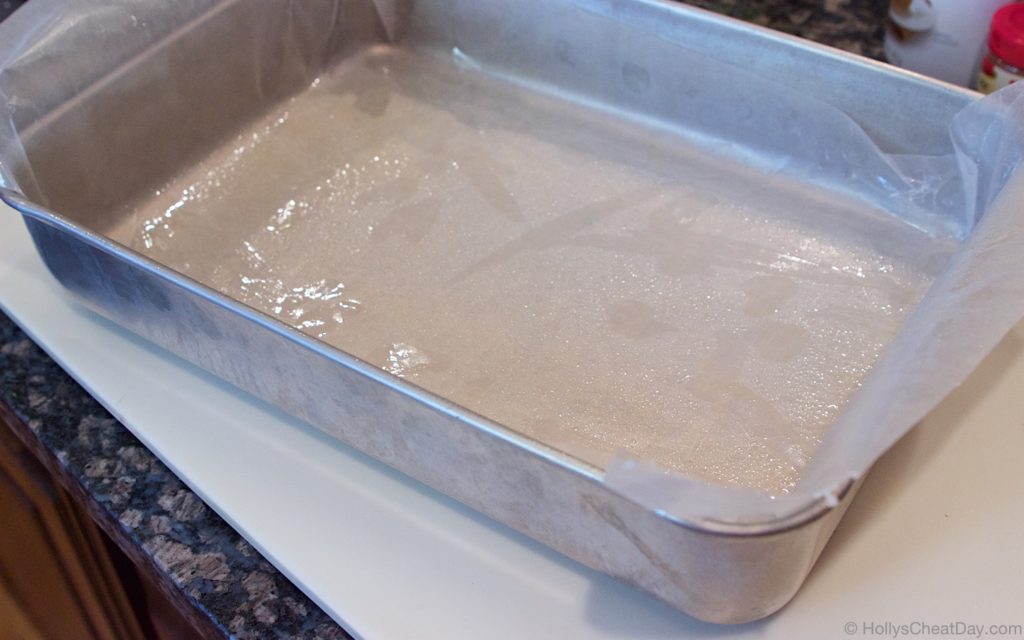
First, wax paper into your pan…

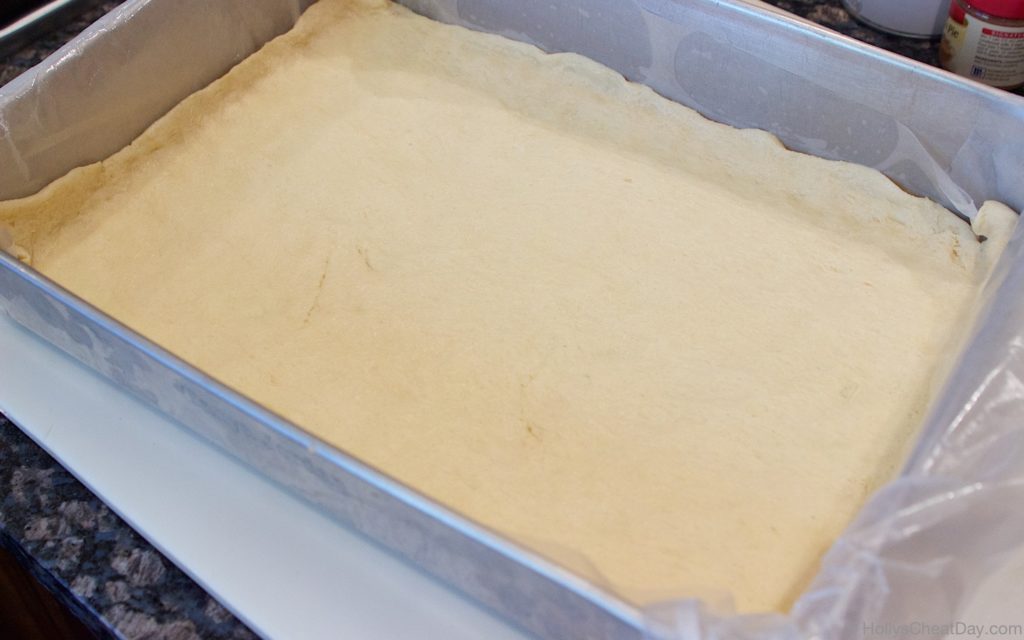
easy-pumpkin-pie-bars | HollysCheatDay.comthen press your crescent dough sheet into your pan…

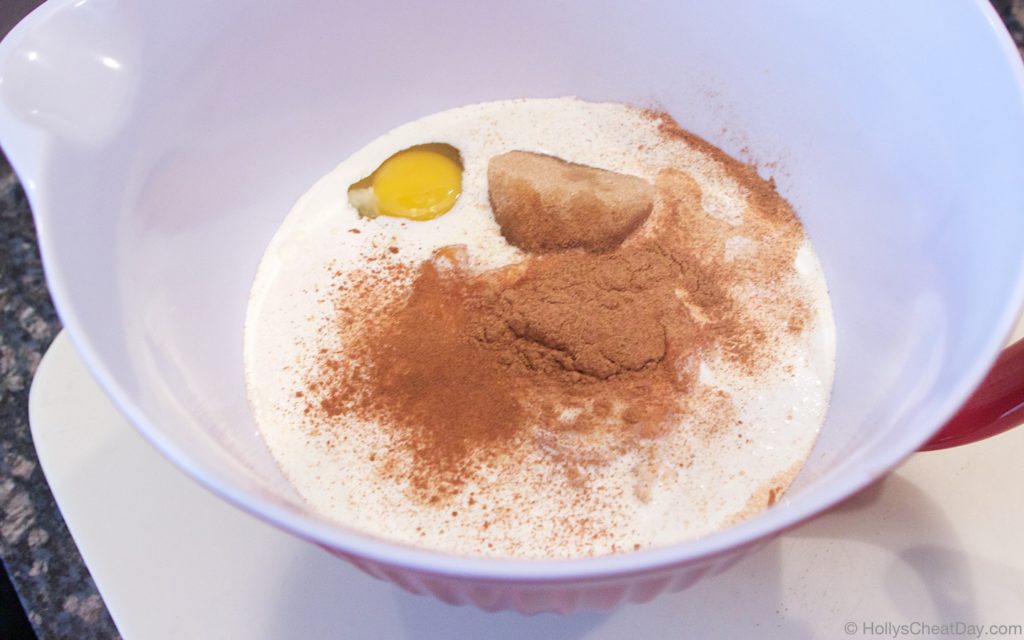
easy-pumpkin-pie-bars | HollysCheatDay.complace all of your ingredients into your bowl…

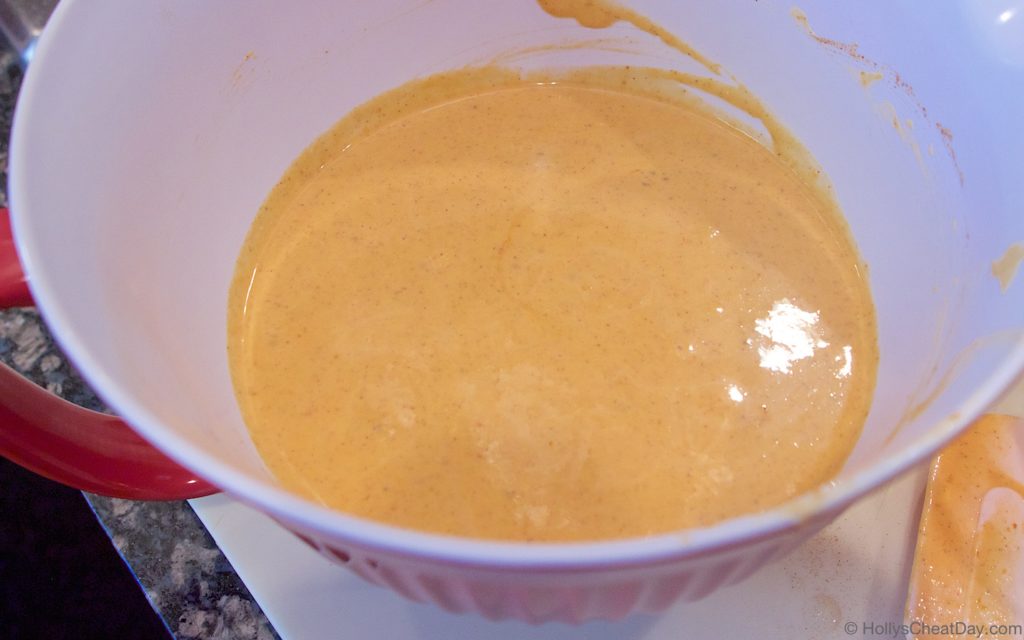
easy-pumkin-pie-bars | HollysCheatDay.commix, mix, mix…

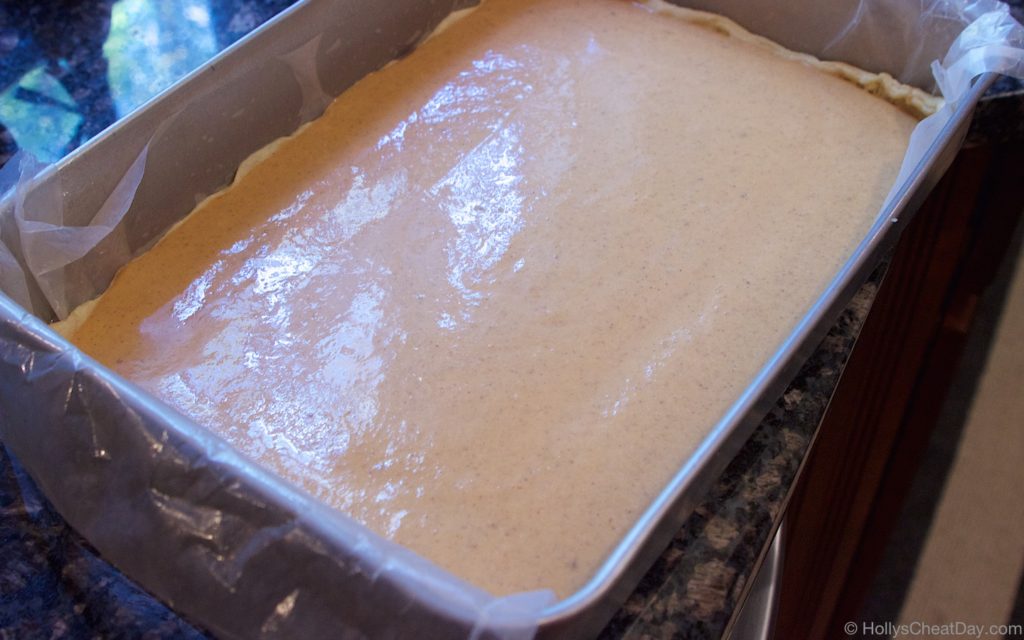
easy-pumpkin-pie-bars | HollysCheatDay.comthen pumpkin mixture into your pan…

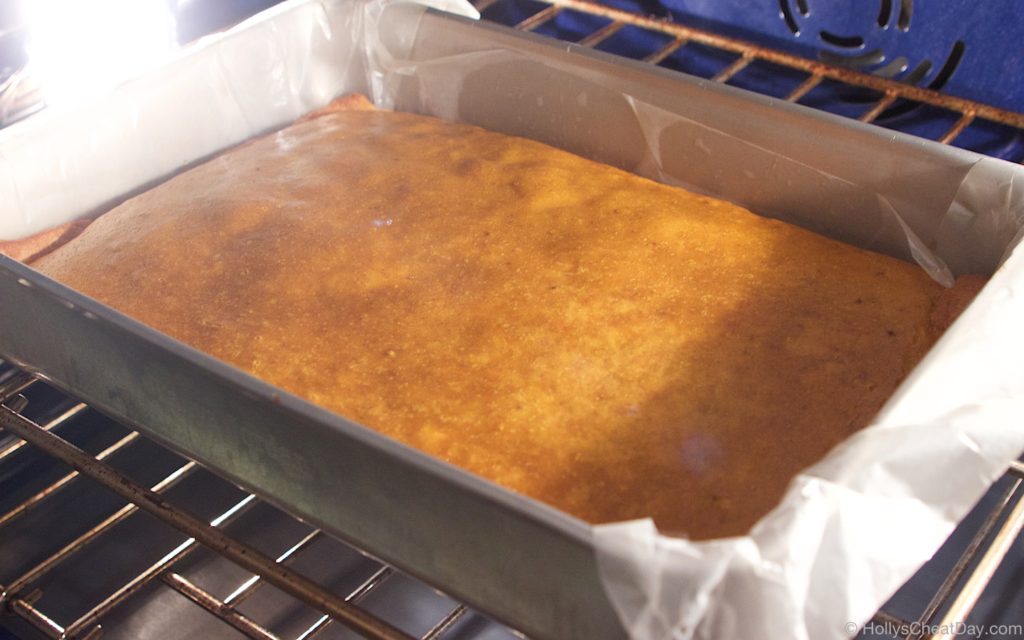
easy-pumpkin-pie-bars | HollysCheatDay.combake, bake, bake…

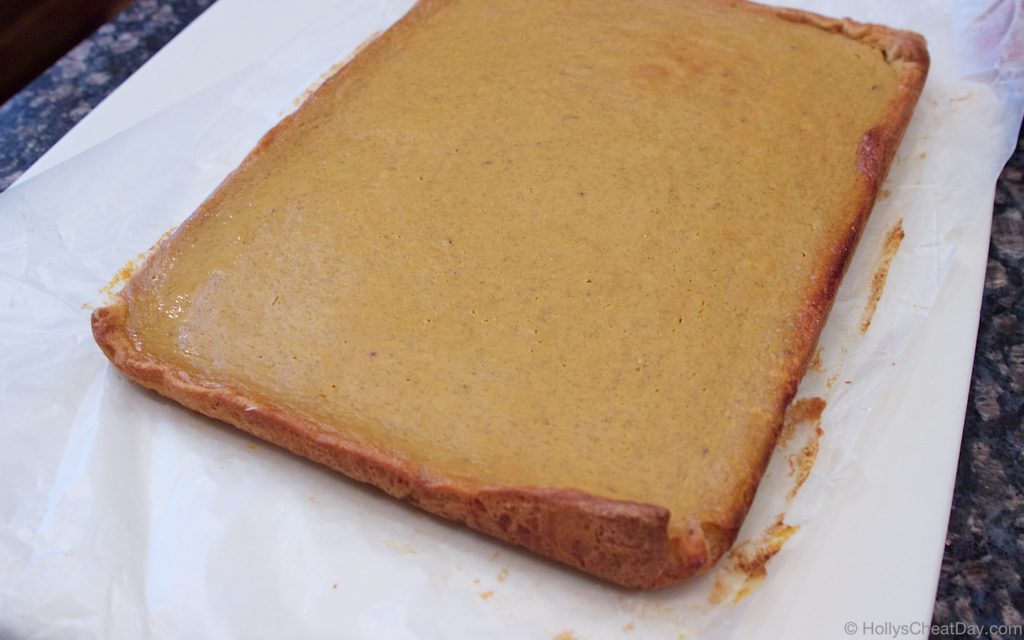
easy-pumpkin-pie-bars | HollysCheatDay.comafter cooling, take out of the pan…

easy-pumpkin-pie-bars | HollysCheatDay.comand enjoy!!!

Easy-Pumpkin-Pie-Bars | HollysCheatDay.com


Easy Pumpkin Pie Bars
2016-11-21 14:08:10
Pumpkin Pie in every bite of these easy to make pumpkin pie bars.
Write a review
Save Recipe
Print
Ingredients
  1. 1 Can Pillsbury Crescent Dough Sheet.
  2. 2 Eggs.
  3. 1 (15 Ounce) Can of Pumpkin Puree.
  4. 1 Cup of Heavy Whipping Cream.
  5. 1/2 Cup of Packed Brown Sugar.
  6. 1/4 Cup of Corn Syrup.
  7. 1 Tablespoon of Pumpkin Pie Spice.
  8. Dash of Cinnamon.
  9. 1/2 Teaspoon of Salt.
  10. 9x13 Pan.
  11. Wax Paper.
Instructions
  1. Preheat your oven to 350 degrees F.
  2. Line your 9x13 pan with wax paper so there are several inches hanging off of the sides.
  3. Spray your wax paper with non-stick cooking spray.
  4. Carefully roll out the crescent dough sheet and place into your pan, gently pushing it to meet the edges and a little up the sides, set aside.
  5. In a large bowl, place the eggs, pumpkin puree, whipping cream, brown sugar, corn syrup, pumpkin, cinnamon, and salt and mix with a spoon until well combined.
  6. Now pour your pumpkin mixture onto the crust in your pan.
  7. Place your pan on the middle rack of your oven and bake for 45-50 minutes (I took mine out at 50).
  8. Take your pan out of the oven letting cool slightly, then cover your pan and place in the fridge to cool completely.
  9. When cooled, gently take the whole pumpkin pie out by grabbing the wax paper, and after removal, cut into pieces and enjoy!
Notes
  1. I garnished the bars with whipped cream, to make, I whipped 1 cup of heavy whipping cream with 1/2 cup of sugar, and piped onto the bars.
Adapted from Pillsbury
HOLLY'S CHEAT DAY https://www.hollyscheatday.com/

Filed Under: All Recipes, Dessert

White Chocolate Peanut Butter Truffles-Happy 4th Blogiversary!

October 27, 2018 By Holly

Happy Happy Saturday & Happy 4th Anniversary of HollysCheatDay.com!  I cannot even comprehend that I’ve already been food blogging for 4 years, my how time flies.  I figured the best way to celebrate the 4th anniversary would be to make something not only Halloween themed, but also something that contains a few of my favorite things (Reese’s Pieces, Peanut Butter & White Chocolate, FYI haha). 

My inspiration for these delightful balls that’s what she said  is due to all of these wonderful candy bars such as Kit Kat, Reese’s Peanut Butter Cups, and Snickers, coming out with white chocolate versions in recent months, which I actually think are even better than the originals and have made white chocolate one of my new favorite ingredients.  I think that white chocolate is especially delicious with peanut butter, hence today’s recipe. 

I had originally planned on putting mini Reese’s Pieces, but after a lot searching and only finding a 5 lb bag of these guys, I decided that regular Reese’s Pieces would have to do.  Luckily, the regular sized Reese’s Pieces were kind of chopped up with the paddle attachment while being mixed, so no biggie there.

Okay, so if you’re one of those weirdos  that is quick to think that something is ‘too sweet’ or ‘too rich’ then these are not for you.  If you’re normal not sensitive to really rich stuff then these little bad boys are for you.  Wowza these are so delicious, and I really think that the white chocolate coating bumped these up ten fold.  The little crunch of the  Reese’s Pieces bits in each truffle is just darn delicious y’all.  Also, these could totally be themed for anything in the next few months, red & green sprinkles..boom, Christmas, red & pink sprinkles..boom, Valentine’s Day…I’m just telling y’all you need these in your mouth life.  Thank you so much for stopping by and have a wonderful weekend!!!

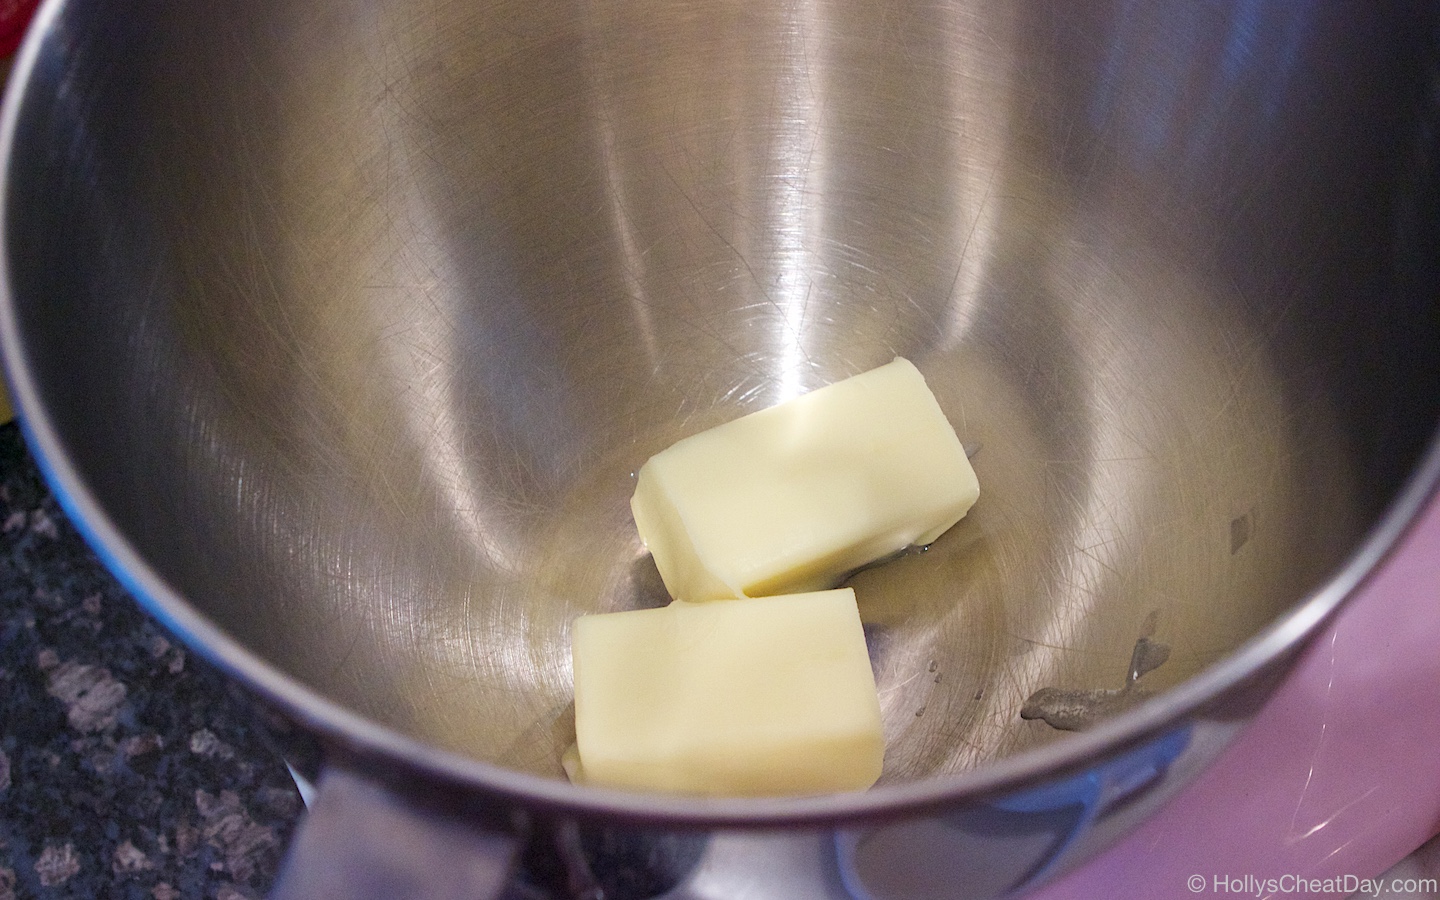
butter ready to whipped in the mixer…


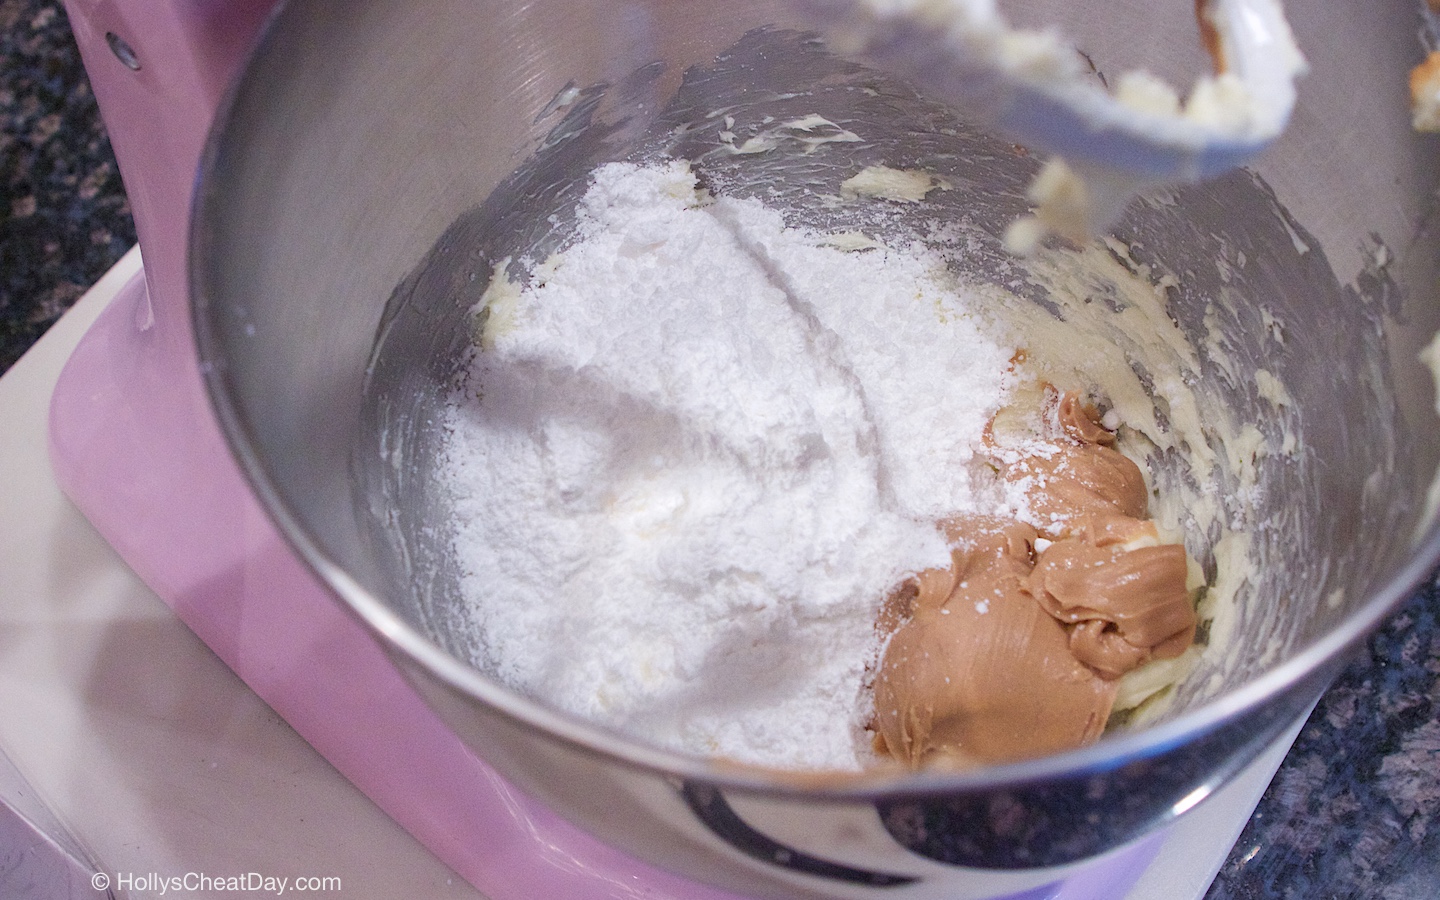
                                    mix, mix, mix, now add vanilla, powdered sugar and peanut butter…

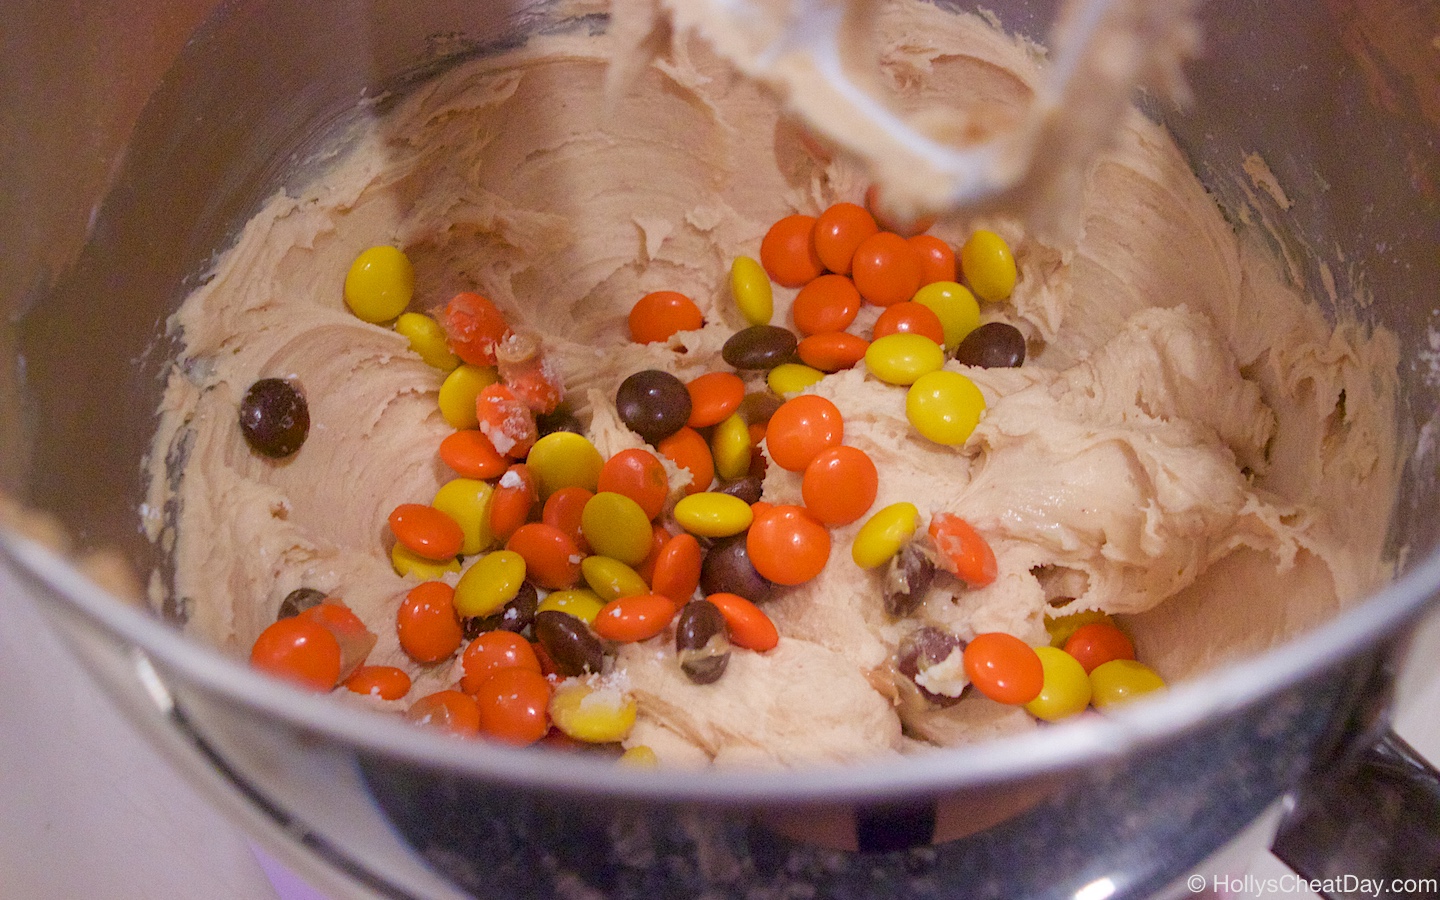
                                                         mix again, then add in the Reese’s Pieces…

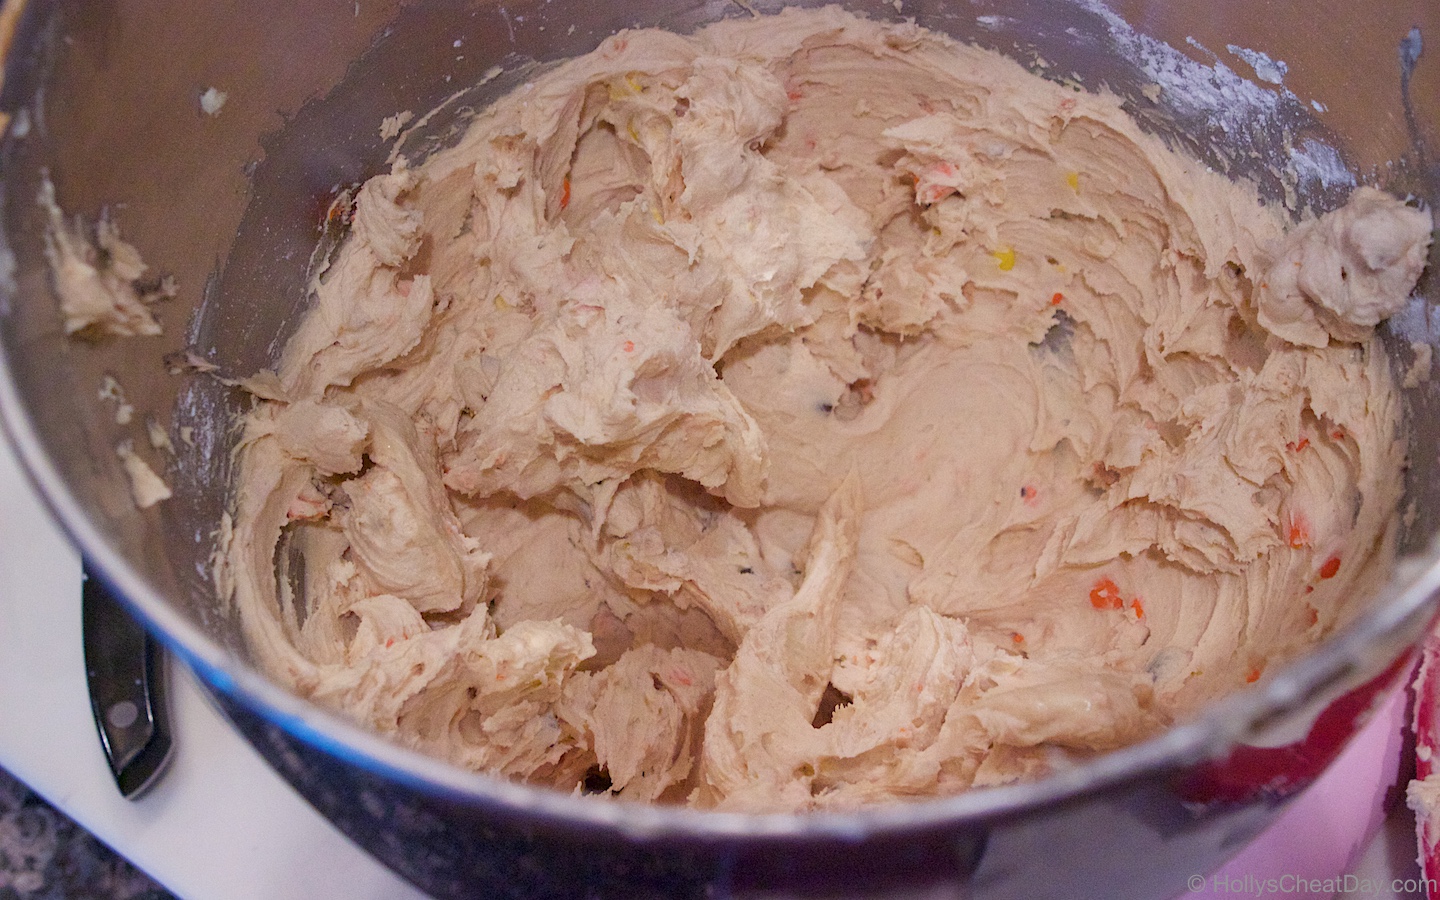
                                                                                  all mixed up…

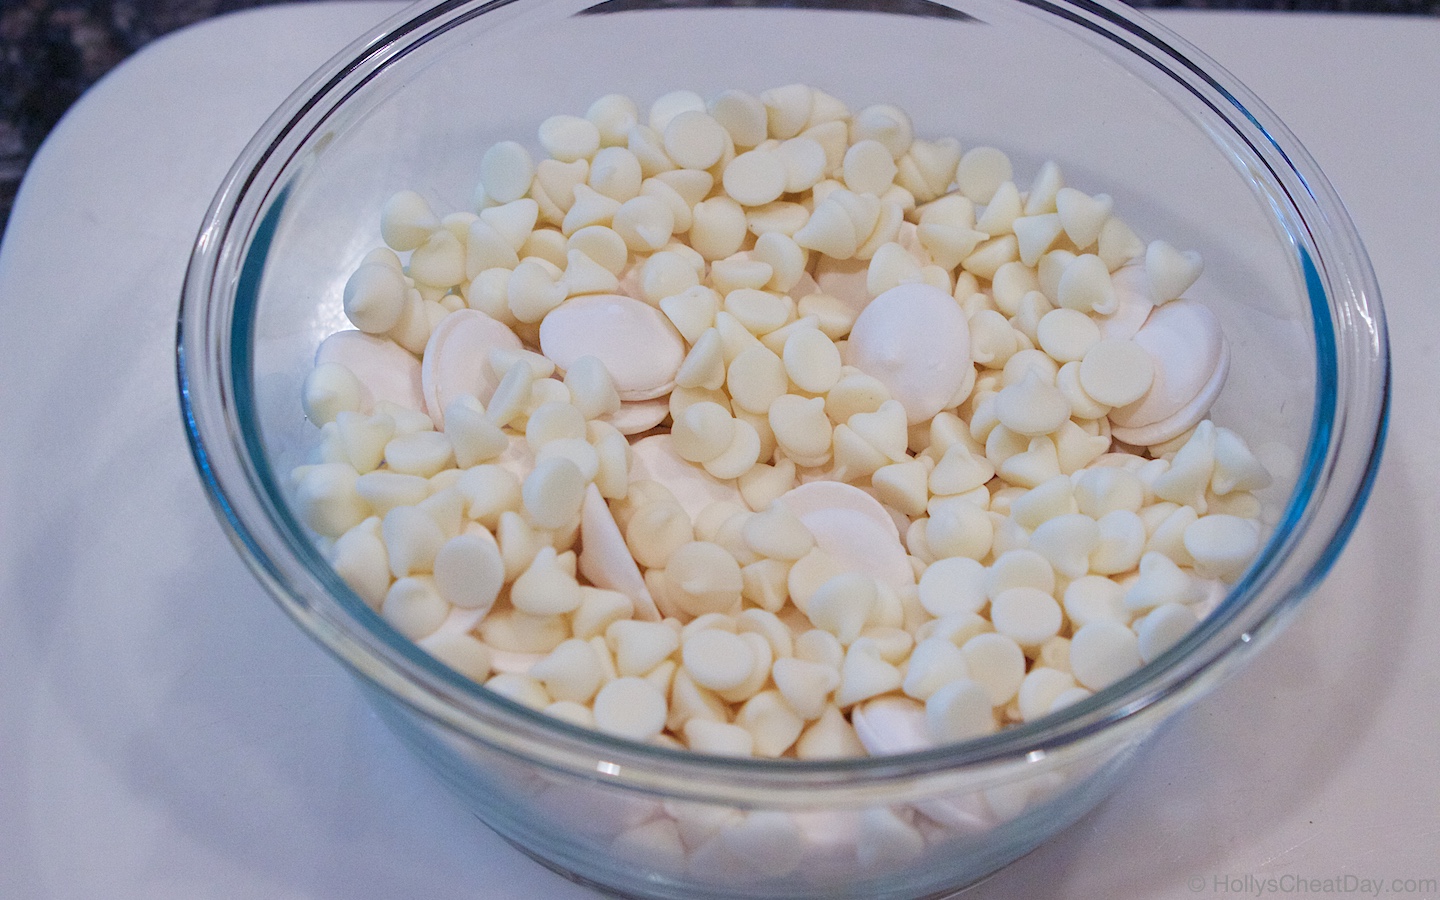
                                                            white chocolate chips ready to be melted…

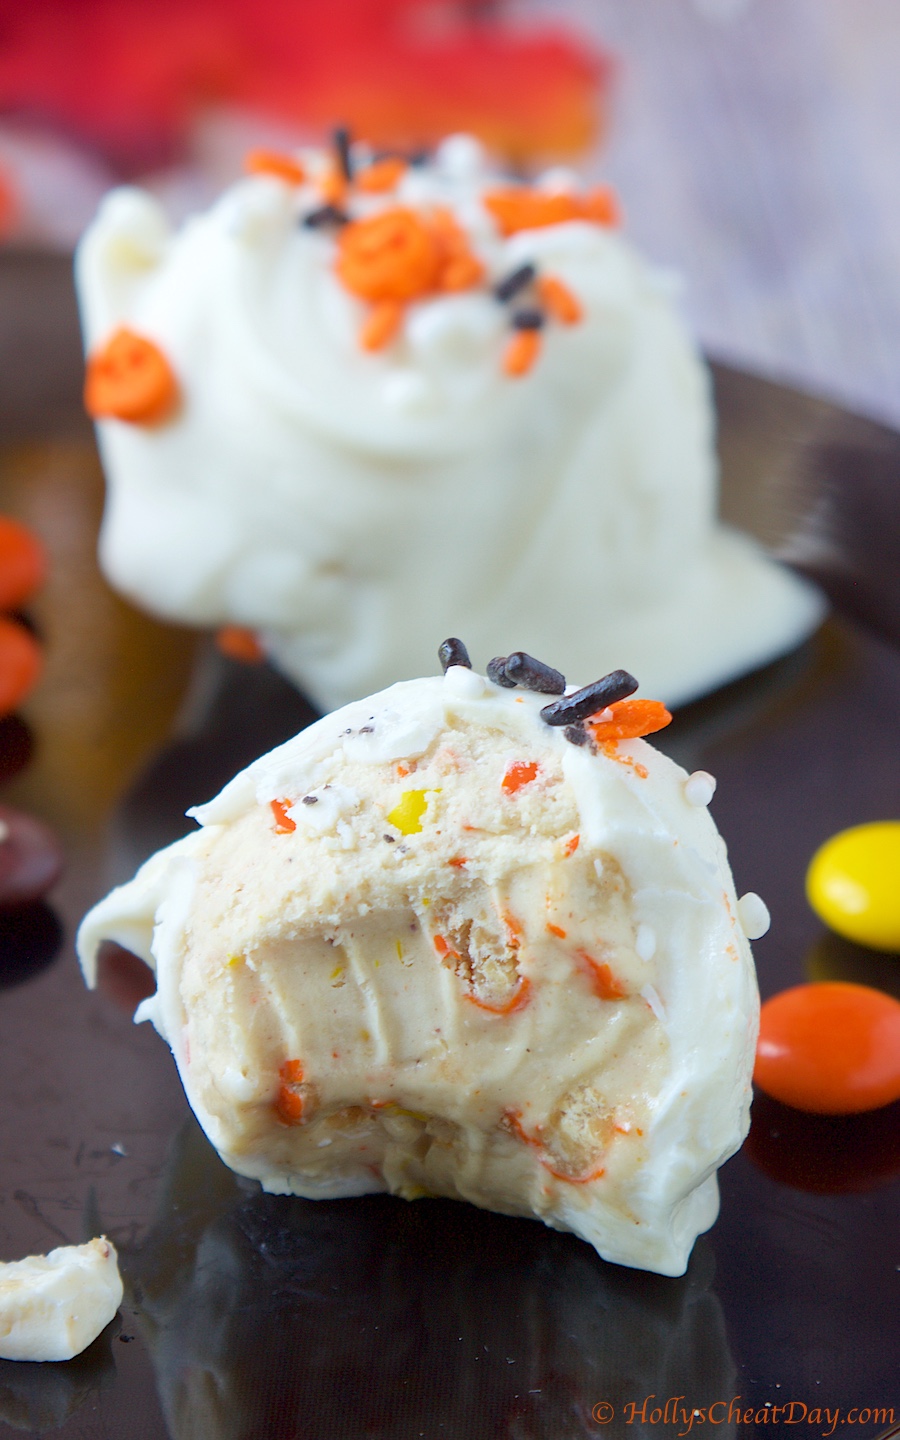
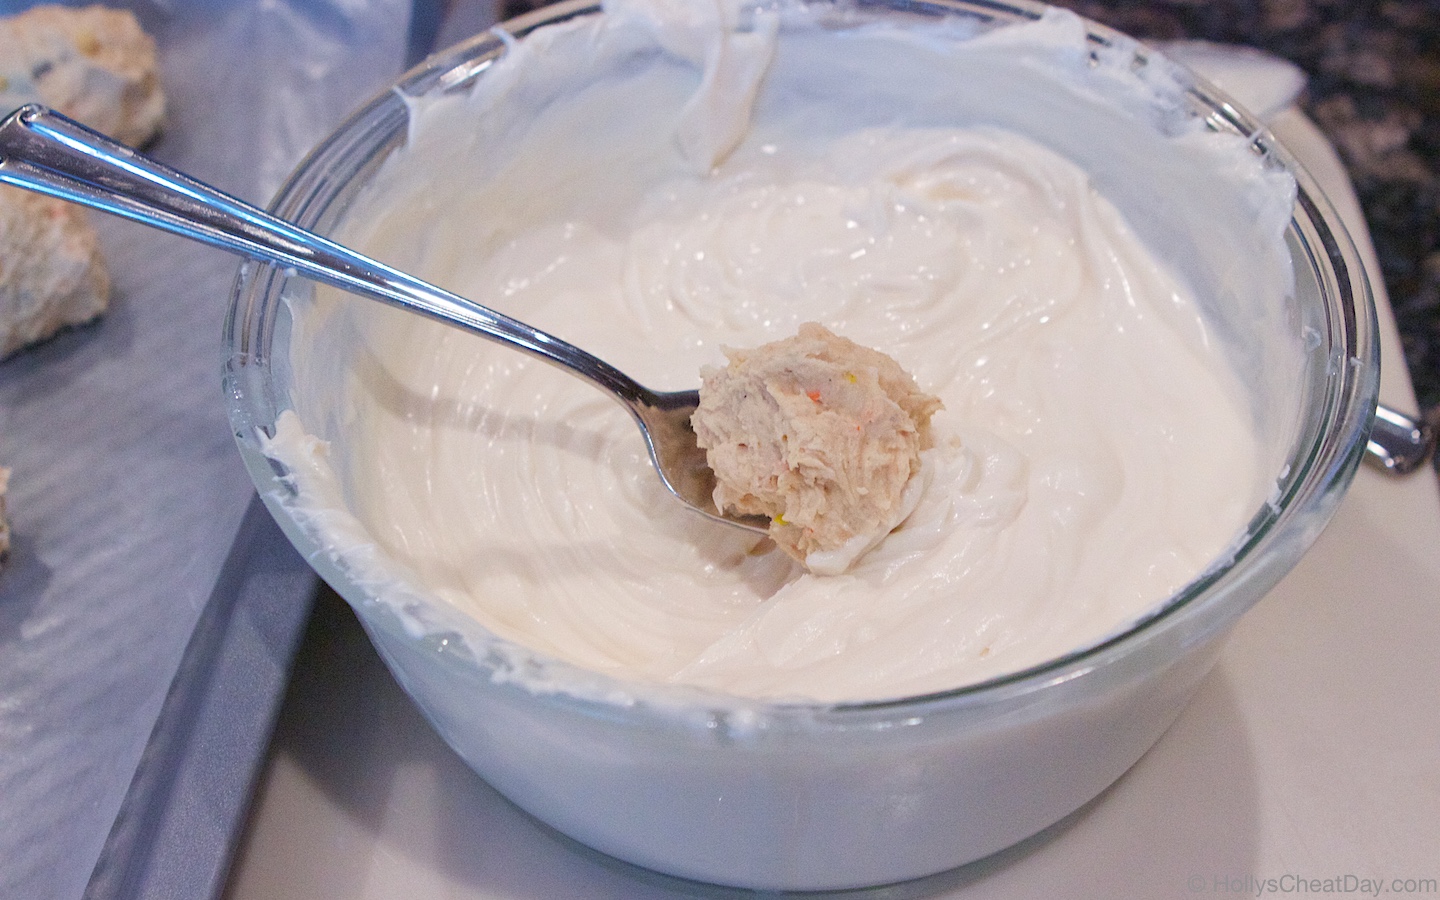
                                                        dip the wonderful truffles in the white chocolate…

                                                  mmm, ready to go hang out in the fridge for a bit…

                                      and here is the recipe, since my recipe card is again, not working…


PEANUT BUTTER TRUFFLES:
1 Stick (8 Tablespoons) of Unsalted Butter, Softened.
1 Tablespoon of Vanilla Extract.
1/2 Cup of Creamy Peanut Butter.
1 1/2 Cups of Powdered Sugar.
1 Cup of Reese’s Pieces.

WHITE CHOCOLATE COATING:
12-14 Ounces of White Chocolate Chips.
3-6 Tablespoons of Coconut Oil.
Decorative Sprinkles (Optional).

FOR THE PEANUT BUTTER TRUFFLES:
With a handheld or stand mixer with paddle attachment, beat your butter until smooth.
Then add your peanut butter, vanilla and powdered sugar and mix again.
Now add your Reese’s Pieces and beat until they are evenly combined and have broken into smaller pieces.
On a large baking sheet with wax paper placed on it, roll your dough into about 1 inch sized balls, and place in the freezer for at least 30 minutes.

WHITE CHOCOLATE COATING:
Place your white chocolate chips into a medium to large sized bowl with 1-2 tablespoons of the coconut oil and microwave in 30 second intervals, taking out and stirring until completely melted. Add more coconut oil if needed to make the white chocolate coating thinner for ease of dipping the peanut butter truffles.
With a spoon or fork dip your truffles into the white chocolate making sure to completely cover, place back onto your baking sheet and add your sprinkles on top if desired.
Once all truffles are completed, place into the fridge to set for about 30 minutes.
Serve and enjoy!!!

Filed Under: All Recipes, Candy, Dessert

Easy Pumpkin Mousse

October 2, 2018 By Holly

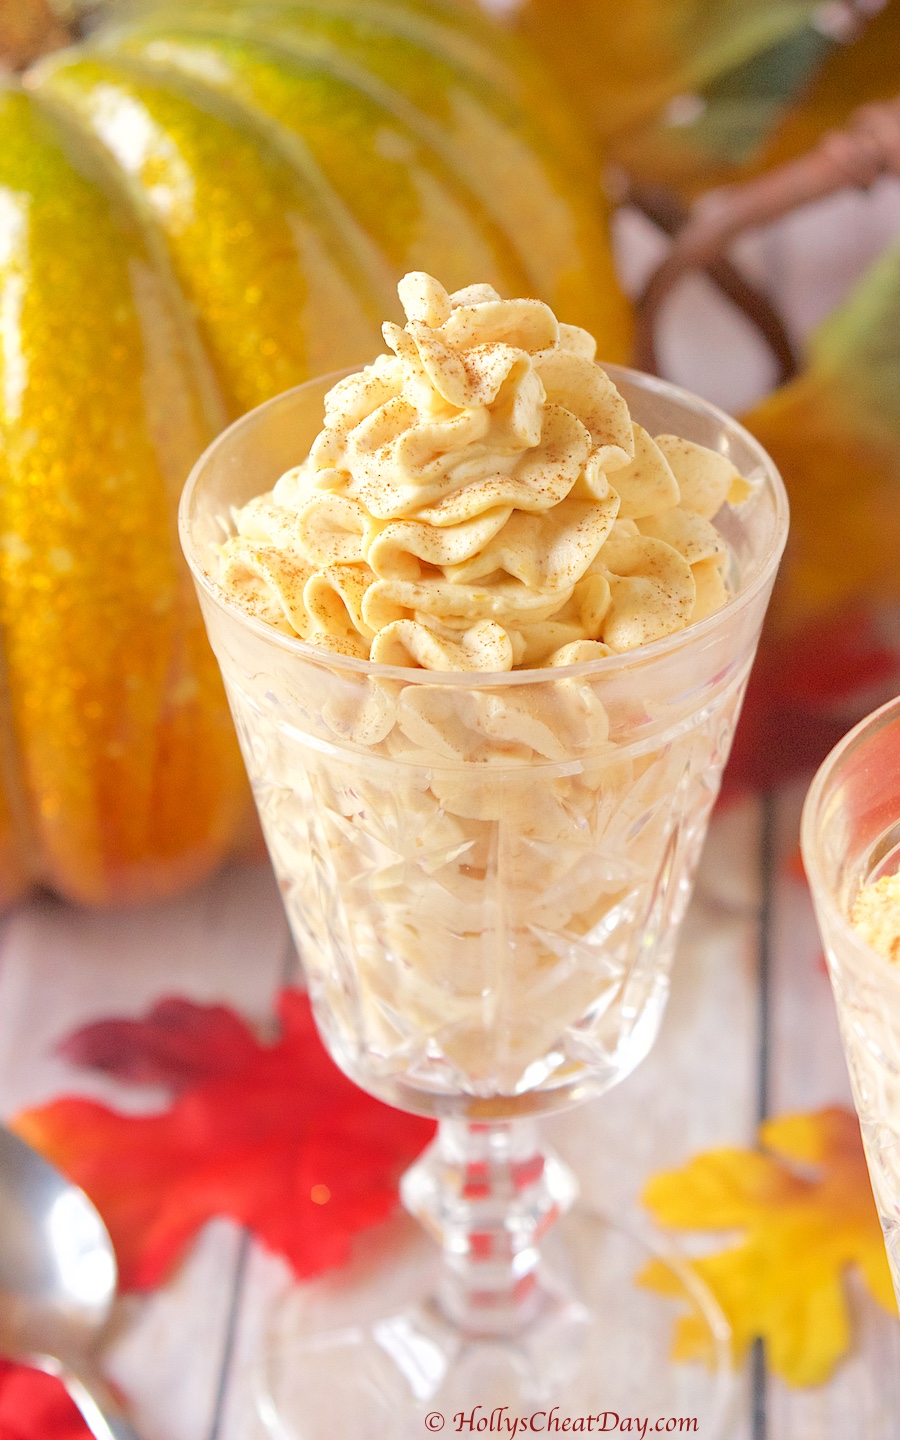
Happy Tuesday y’all!  Well, it’s finally October which means it’s officially pumpkin season, woohoo!  I’m not sure if I’ve made it very clear how obsessed I am with pumpkin desserts (pretty sure I have) but just in case, now y’all know. 

I would like to say, the only area of pumpkin I absolutely do not like are pumpkin spice lattes, I know, I know, sacrilege to all of my basic b’s out there, but seriously y’all, it’s what I would imagine drinking potpourri would be like.  Anyways, obviously due to me writing this post, pumpkin mousse is very, very good and now a forever favorite fall recipe for me. 

Not only is this mousse insanely light, fluffy and delicious, but also, no bake which is convenient, since as I mentioned last week the weather hasn’t gotten the memo, that it’s not July anymore.  I think the best way to describe this mousse, is imagine blending up a pumpkin pie, then adding in cream which tones down the flavor just a bit and then serving it cold.  So not my best description to date, but just believe me if you like pumpkin you’re going to love this dessert.  I really appreciate you stopping by and I hope you all have a wonderful day!   

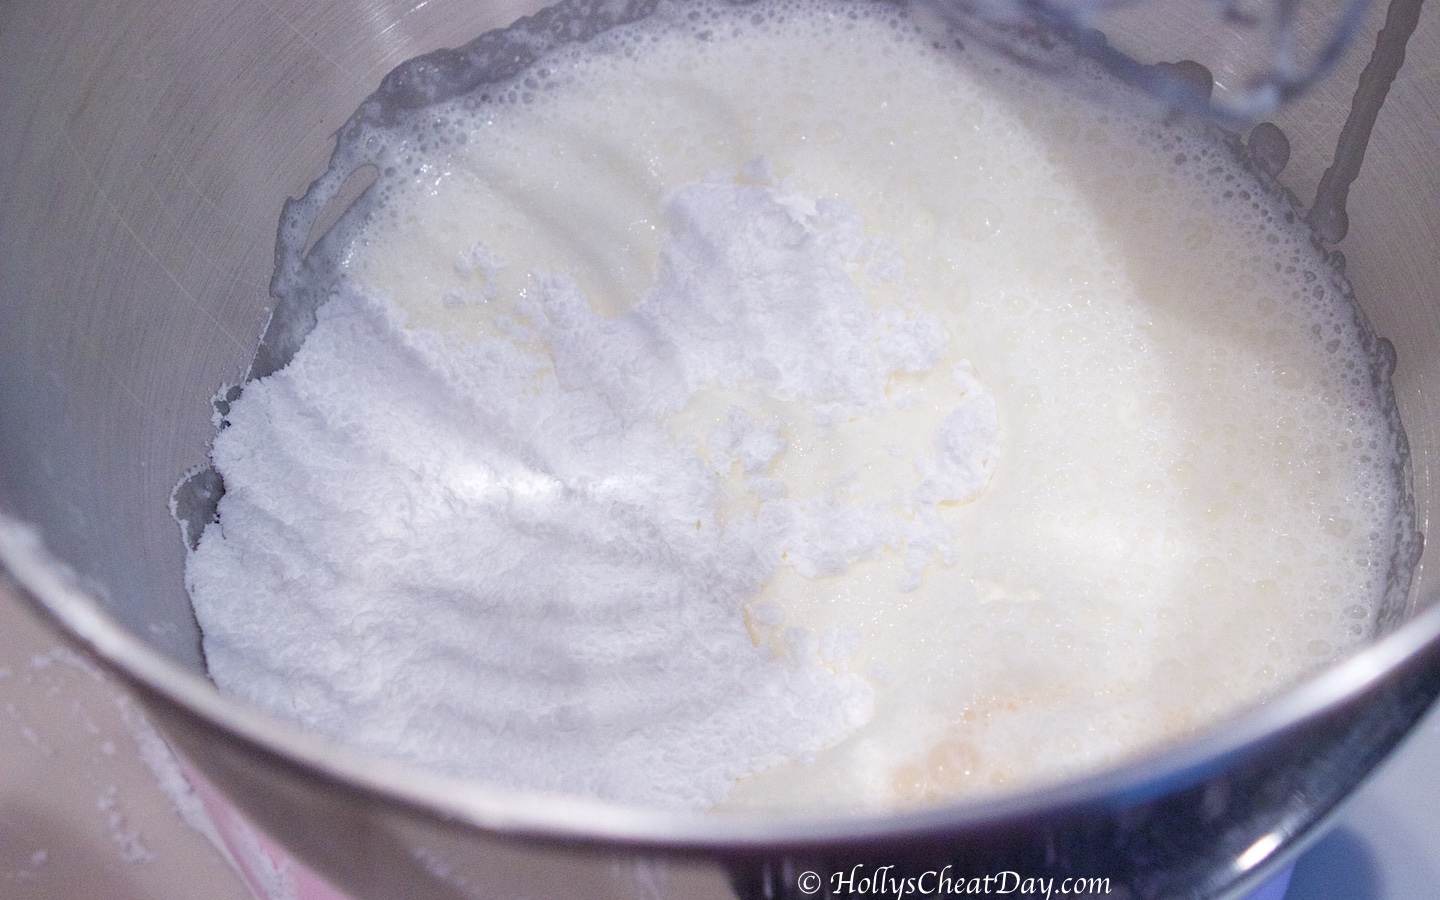
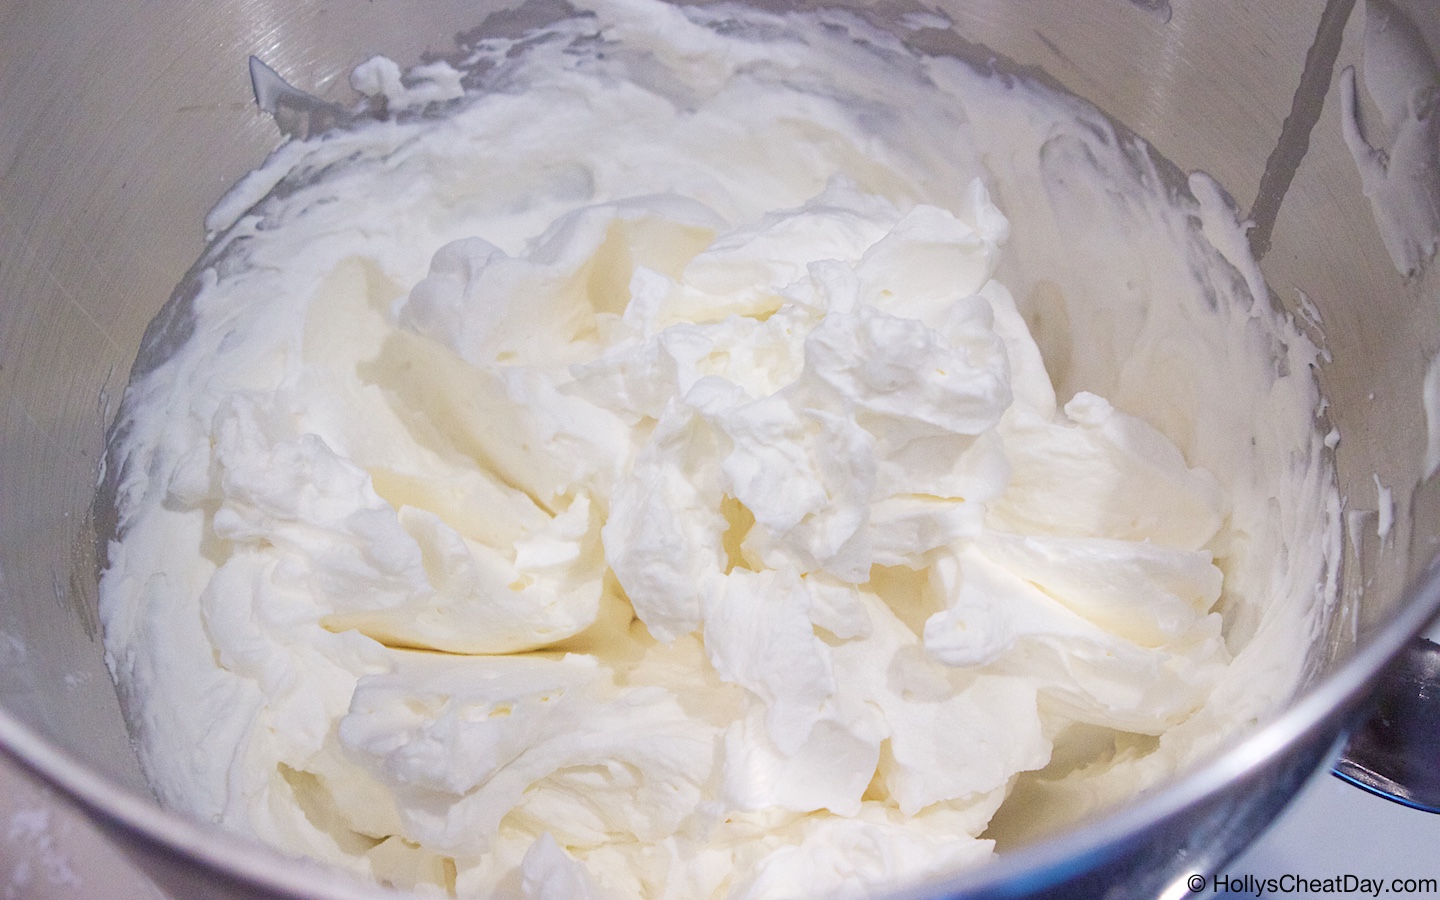
First, whip your heavy whipping cream, just when it starts to froth then add your powdered sugar…

Then continue whipping up stiff peaks form, set aside…

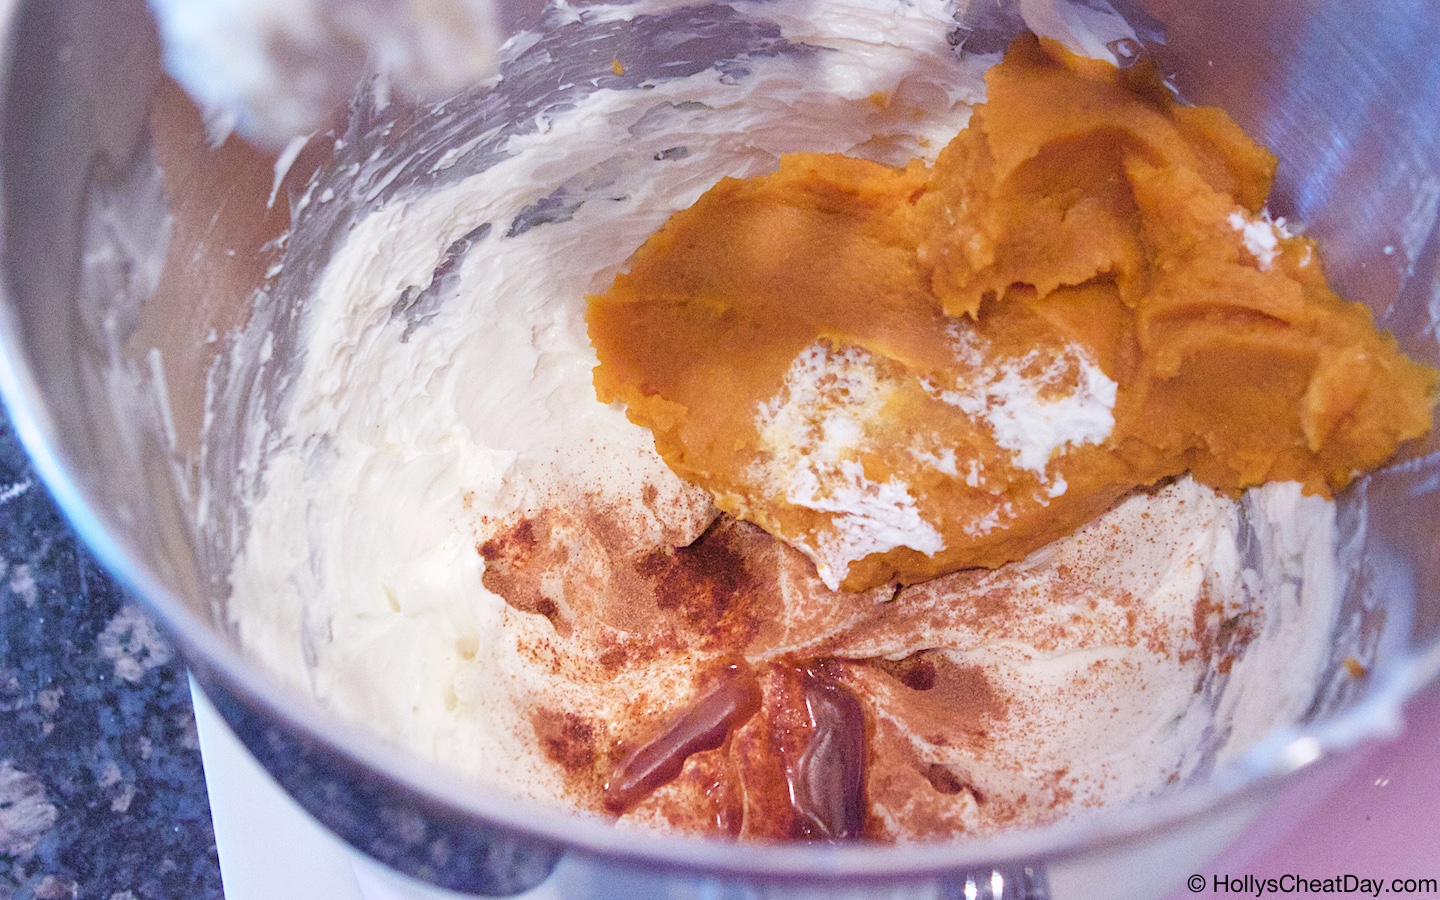
In another bowl, whip your cream cheese, then add pumpkin puree, vanilla and spices…

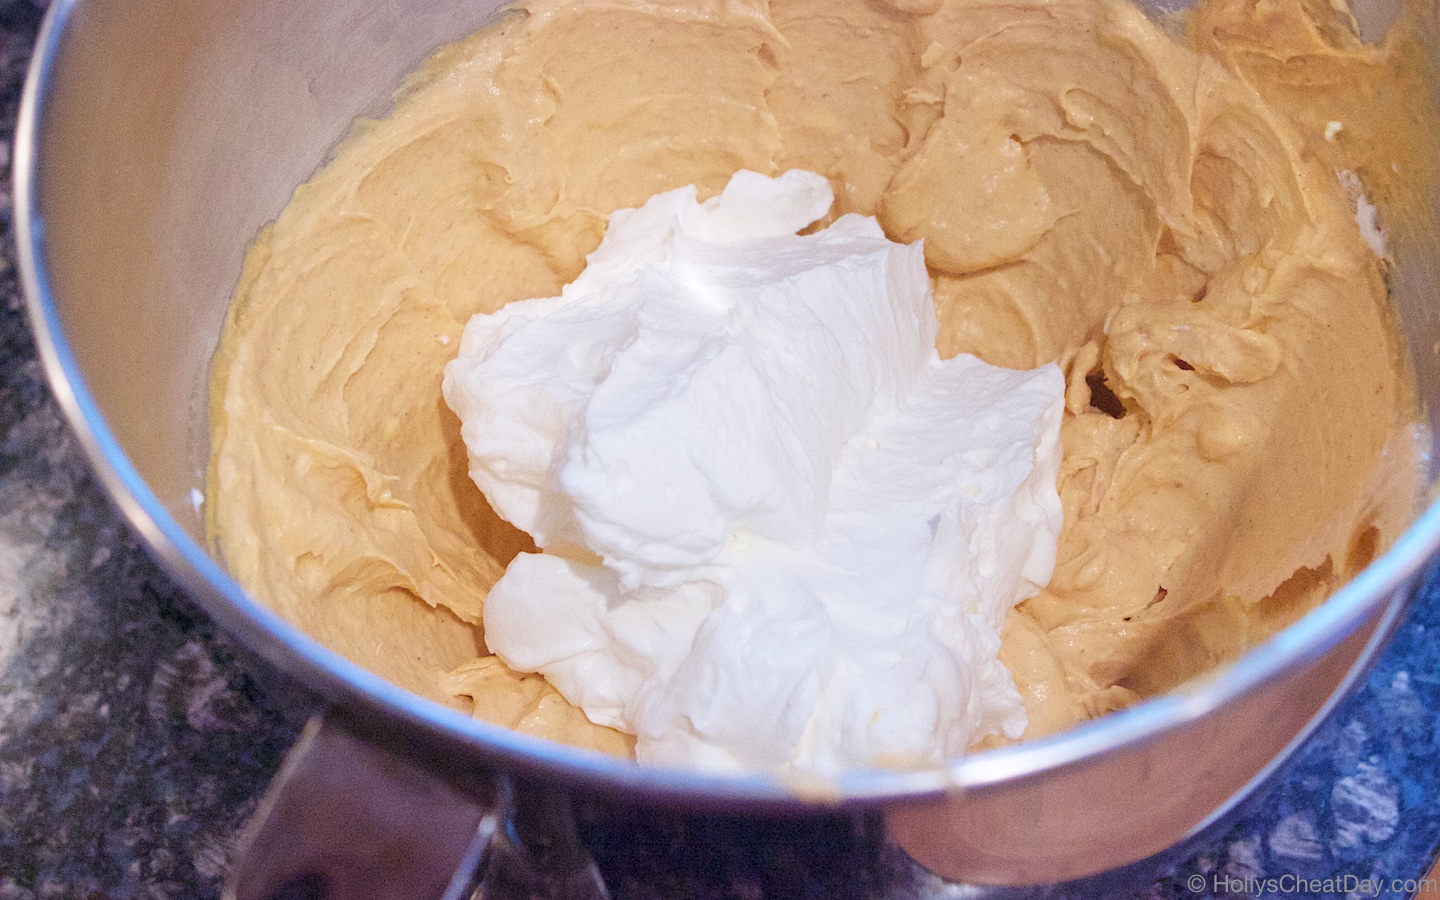
Now, add your whipped cream to your pumpkin mousse…

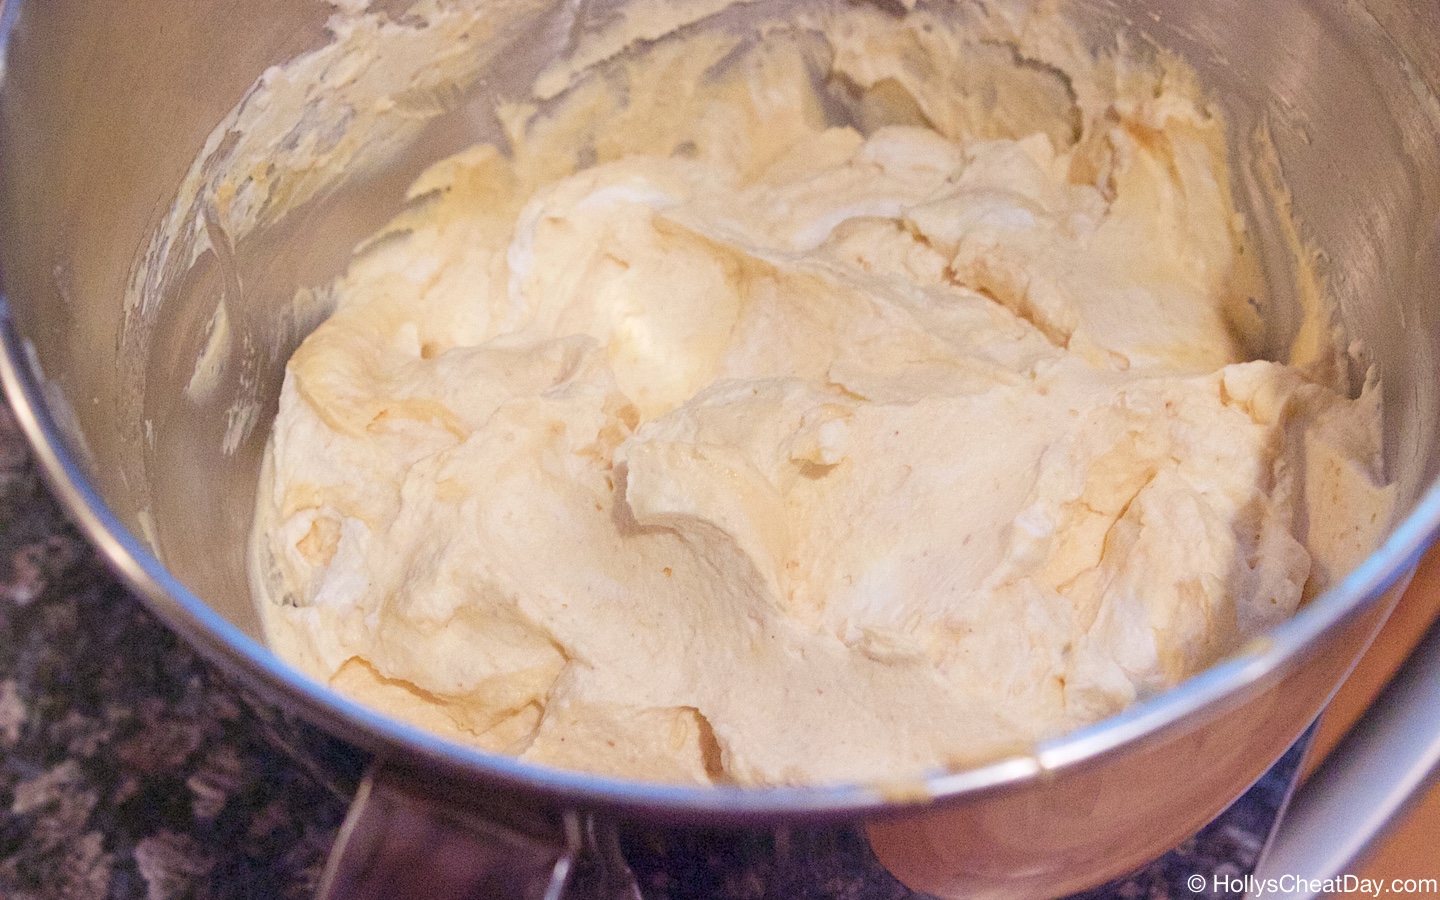
Fold it all in until smooth…

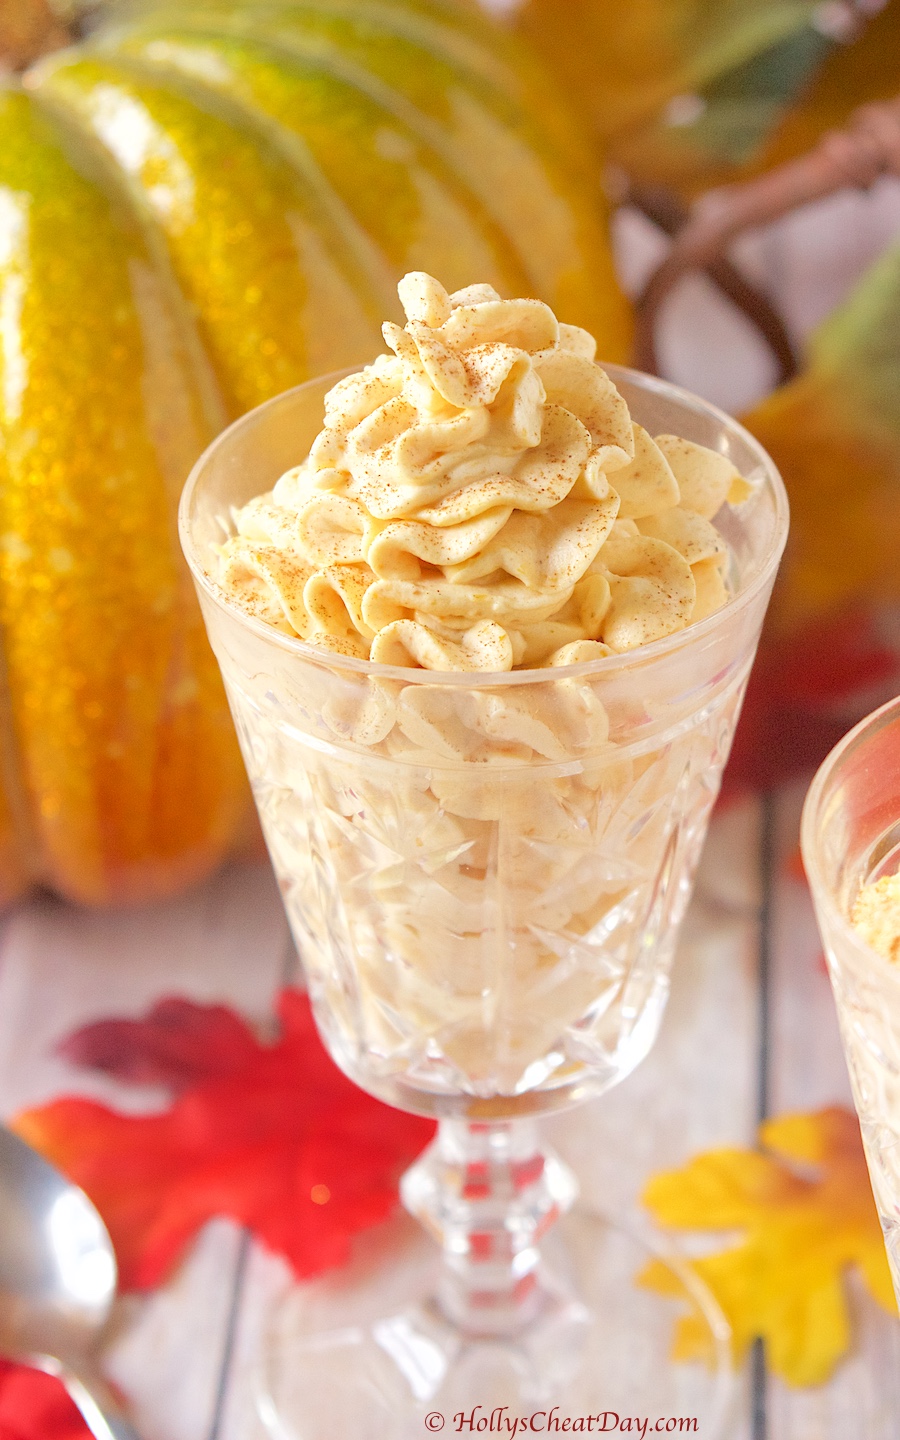
and enjoy!!!

Easy Pumpkin Mousse
2018-10-02 12:27:18
Delicious and easy mousse filled with all of the flavors of Fall.
Write a review
Save Recipe
Print
Ingredients
  1. 1 1/2 Cups of Heavy Whipping Cream.
  2. 1 Cup of Powdered Sugar.
  3. 1 Tablespoon of Vanilla.
  4. 8 Ounces of Cream Cheese, Softened.
  5. 1 Cup of Pumpkin Puree.
  6. 2 Teaspoons of Cinnamon.
  7. 1/2 Teaspoon of Nutmeg.
  8. Dash of Ginger.
Instructions
  1. With a handheld or stand mixer with whisk attachment, beat your heavy cream until it gets a little frothy looking, then add your powdered sugar, then beat until stiff peaks form, set aside in the refrigerator.
  2. In another bowl with a handheld or stand mixer with paddle attachment, beat your cream cheese until smooth, then add your vanilla, pumpkin puree, cinnamon, nutmeg and ginger, mixing until well combined.
  3. Now fold the whipped cream into the pumpkin mixture until well mixed and smooth, I recommend chilling for at least an hour before serving, and enjoy!
HOLLY'S CHEAT DAY https://www.hollyscheatday.com/

Filed Under: All Recipes, Dessert

No Churn Apple Pie Ice Cream

September 26, 2018 By Holly

Happy Happy Wednesday y’all!!!  The calendar people, the Celts or the weather people (I really have no idea) may have officially declared it Fall, but around here and for the time being, Fall is 90 degrees accompanied with boob sweat.   I probably shouldn’t mention boob sweat prior to discussing food, but this isn’t the Food Network guys, this is my thunder dome of inappropriateness. 

So yeah, it’s still very hot and humid here, not that any of the stores have been informed either,  because they’re all happy bringing out sweaters and boots.  Sweaters and boots?! come on, it was almost 80 degrees when I walked into the gym at 4:45 this morning you guys, putting on a sweater at this time literally sounds like a form of torture.  I’m glad that folks up north can start throwing on semi winter gear, but not around here folks. 

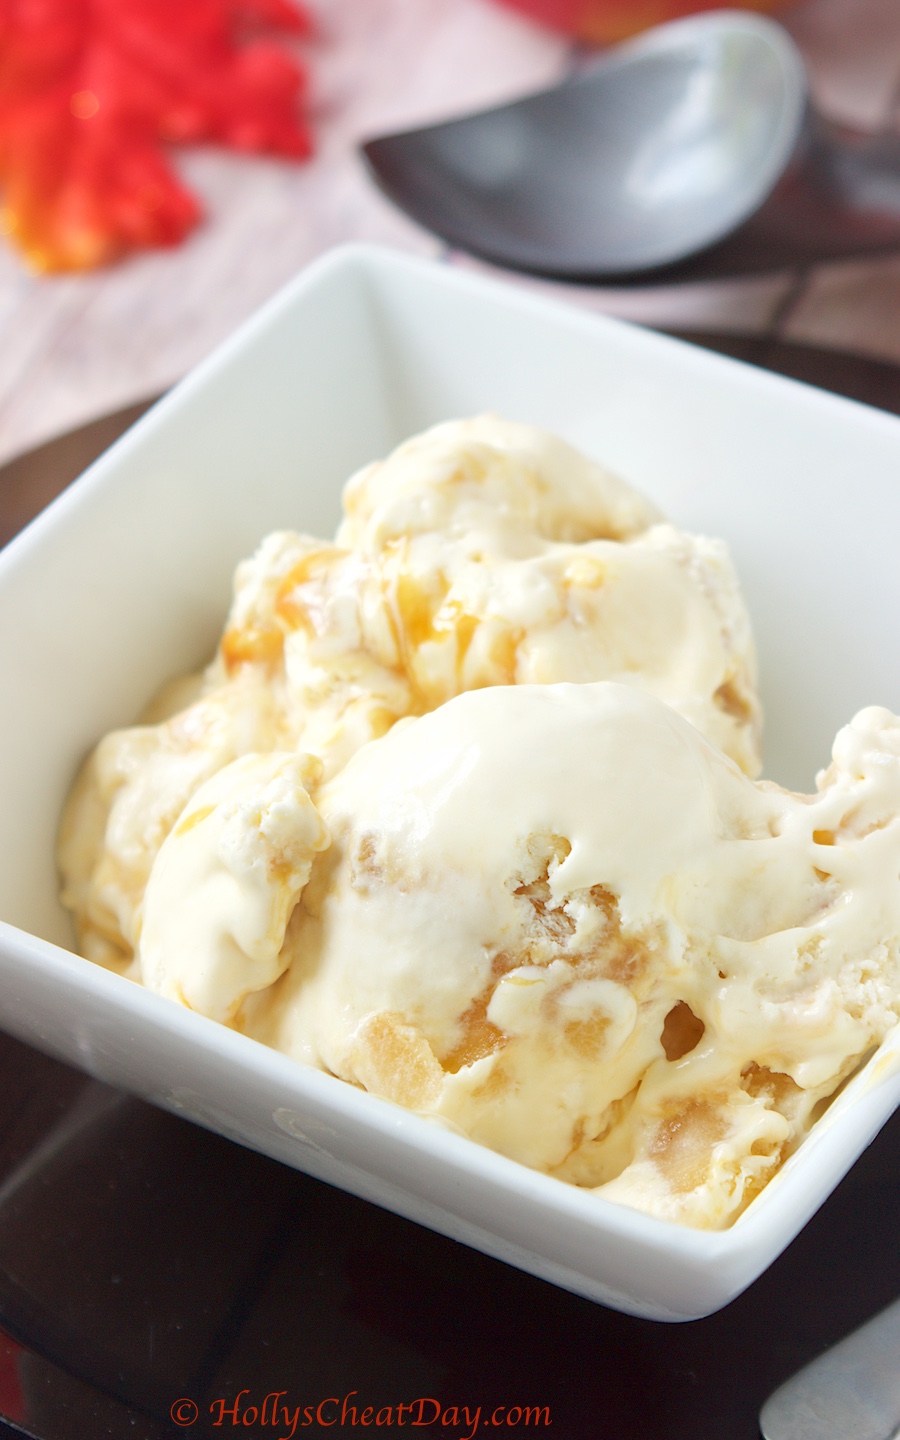
Ok, so now that I have made it abundantly clear that it’s still hot as the surface of the sun here, it still doesn’t keep me from longing for all foodie things that are Fall-ish.  Pumpkin, apple pie, cinnamon, caramel, yes please…Since baking anything is a big no for me right now, what better way to get my Fall fix than with Apple Pie Ice Cream, mmmm.  Y’all this is freaking mmmm too, and darn easy to make.   No ice cream machine or anything fancy, just some heavy whipped cream, sweetened condensed milk, apple pie filling, and caramel sauce, you’re welcome 😀  Do not let the looks of this ice cream deceive you either, this is very, very rich, but oh so incredible.  The hardest part is waiting for this to freeze so you can eat it.  Anyways, thanks so much for dropping by and I hope you have a fantastic (Fall-ish) day.      

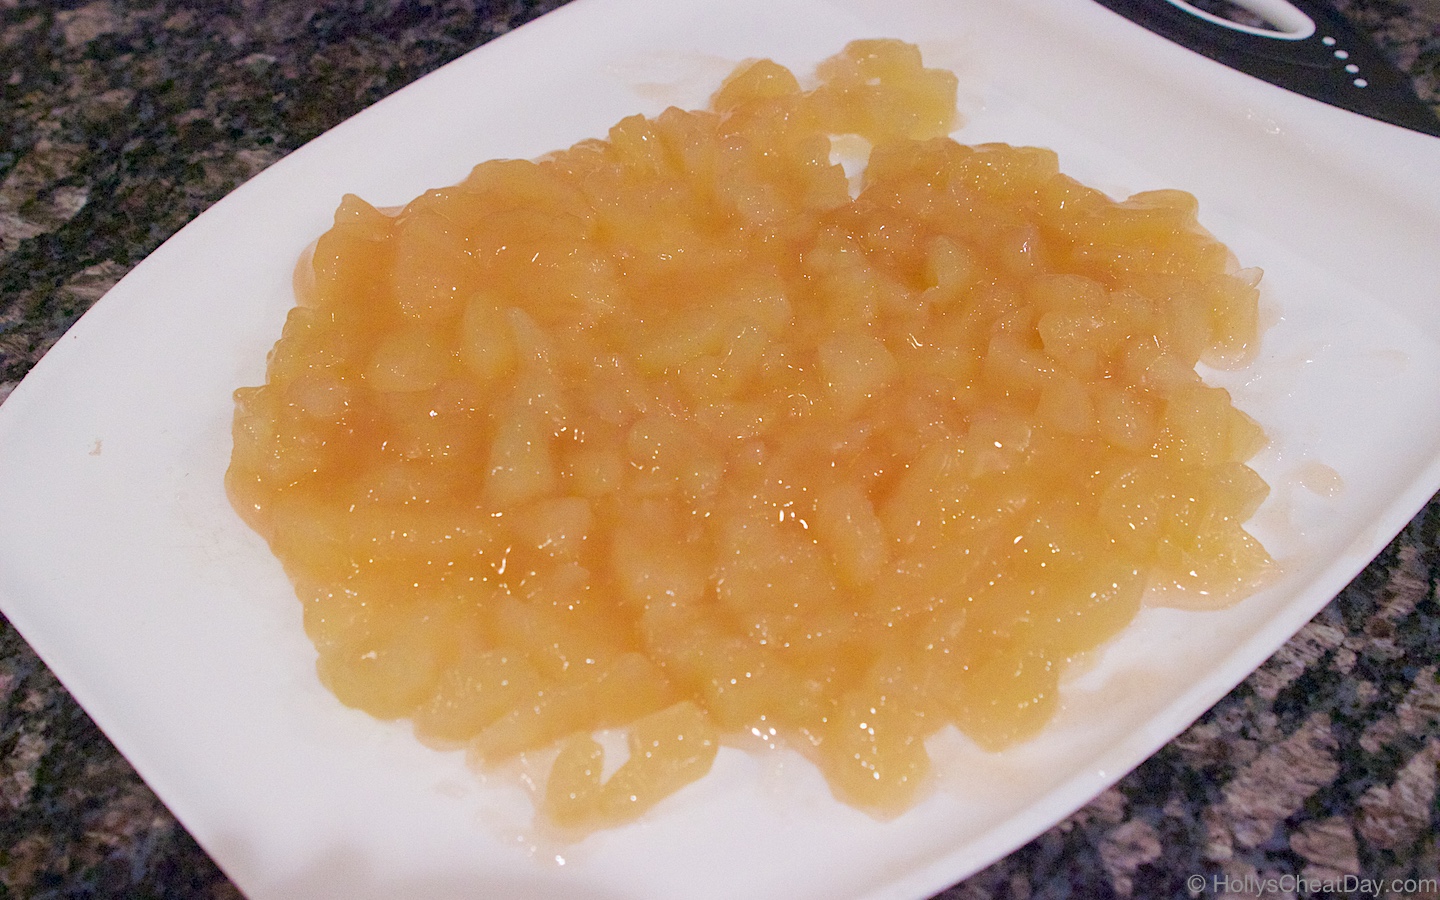
this is the pre-made apple pie filling I just chopped up…


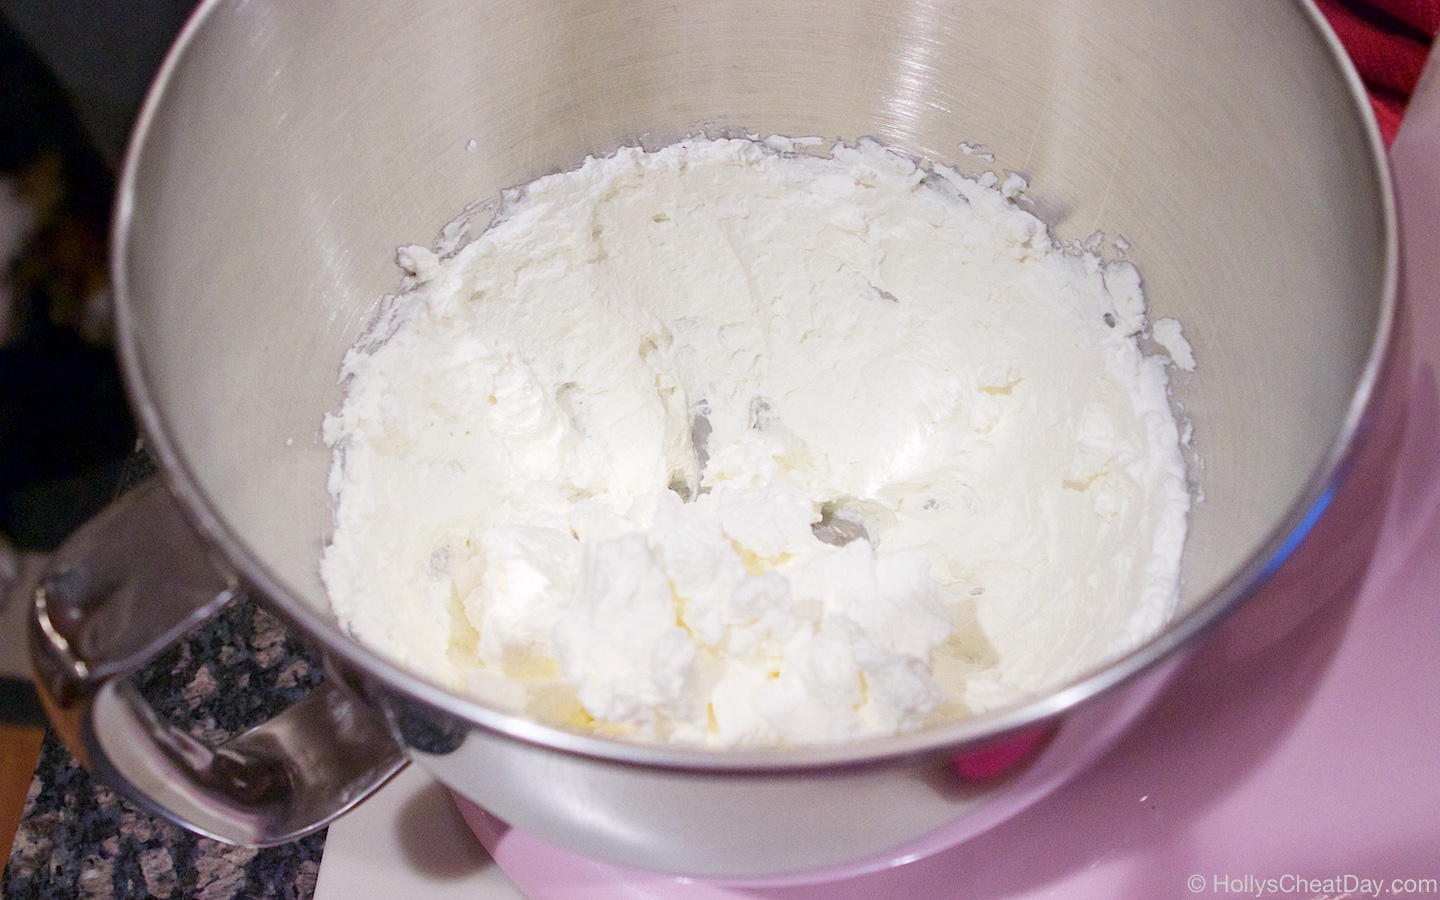
your heavy whipping cream whipped…


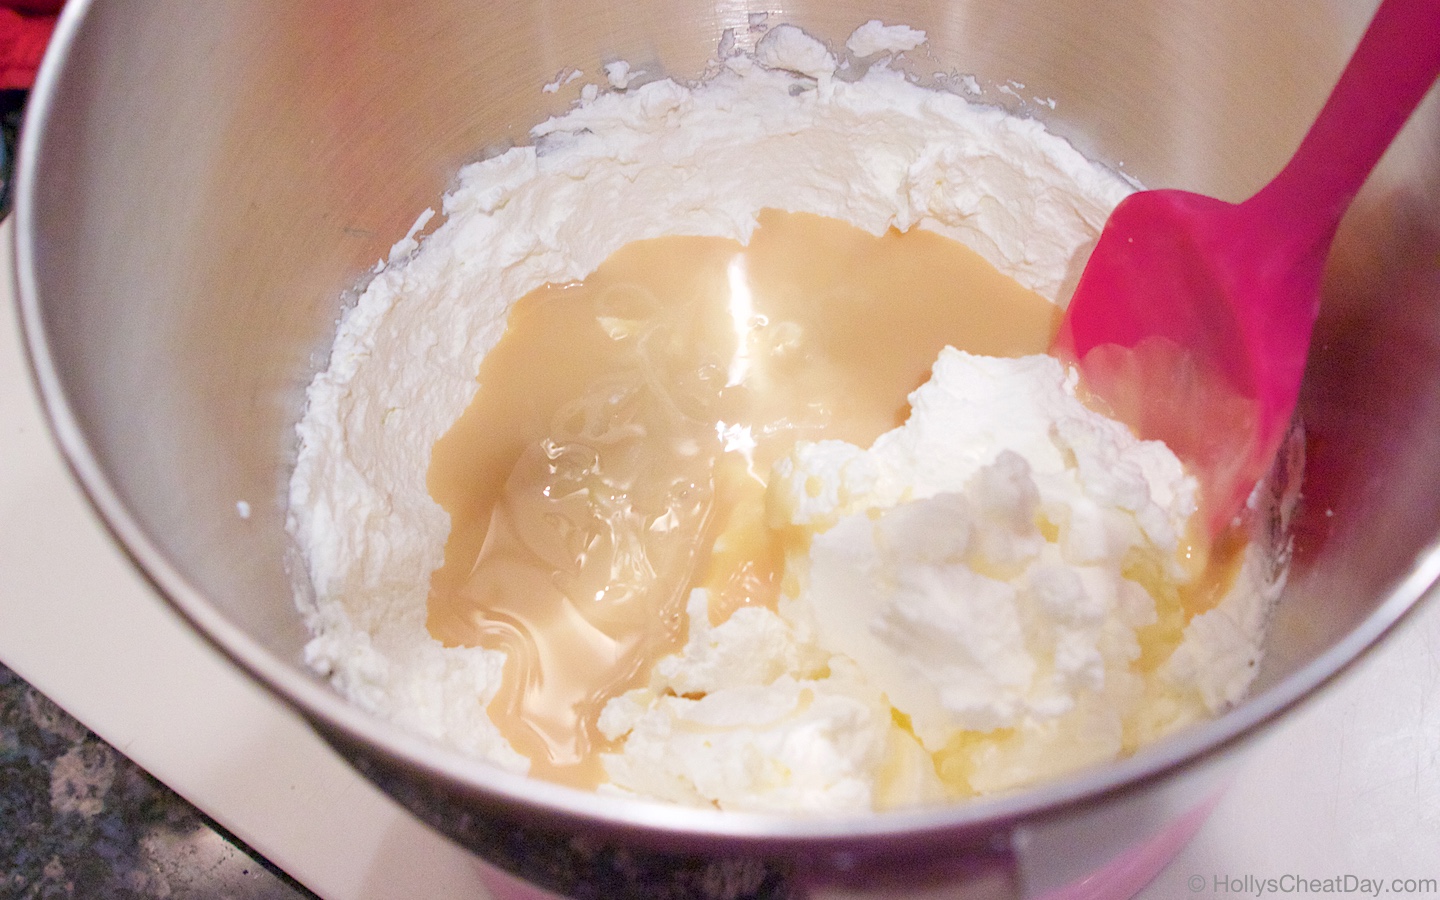
sweetened condensed milk being folded nicely into the whipped cream…

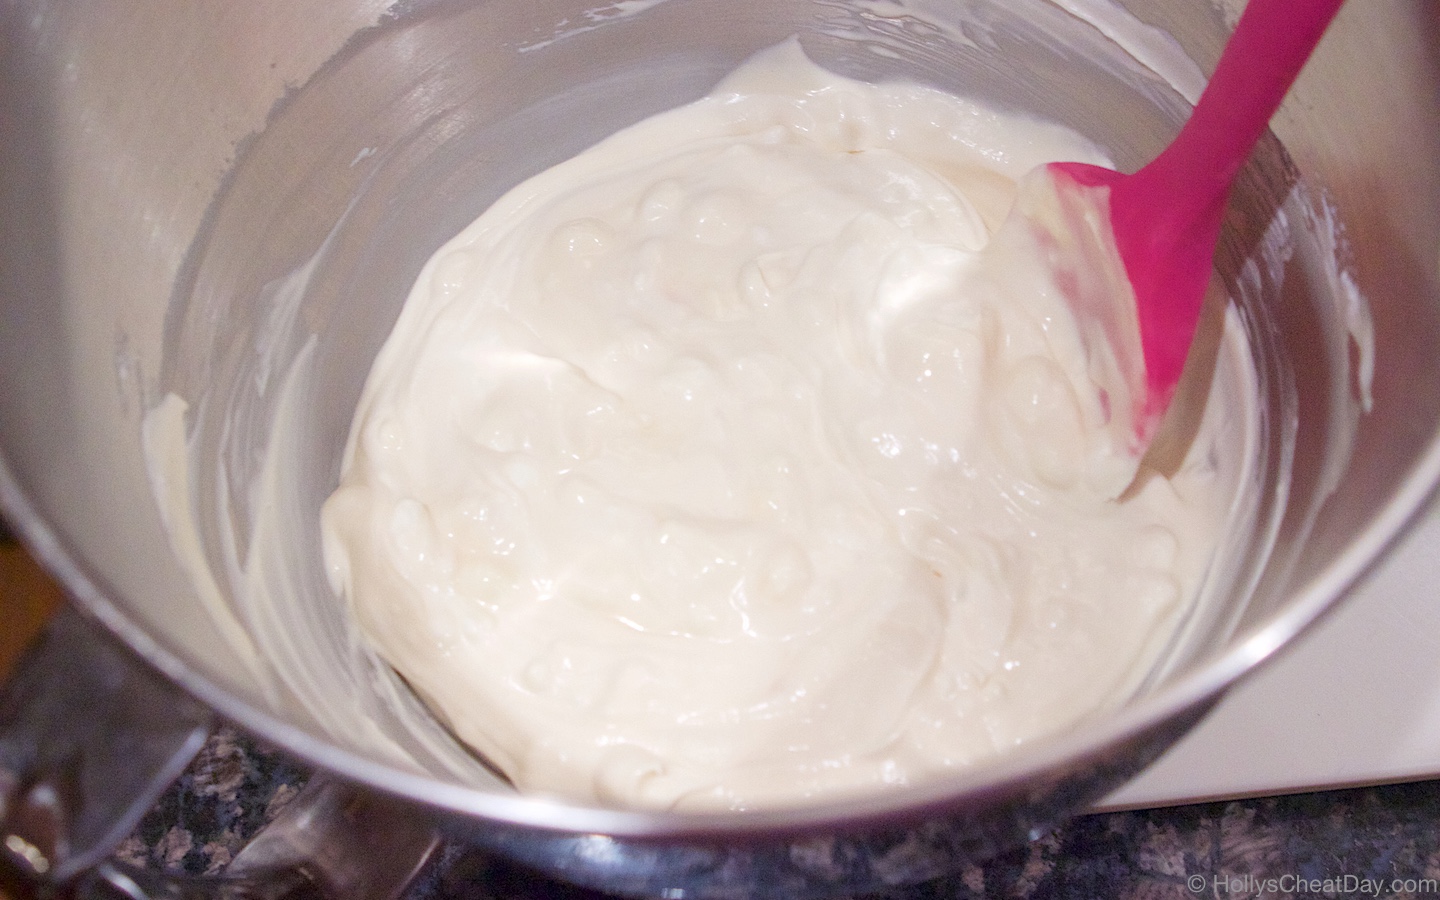
folded in completely…


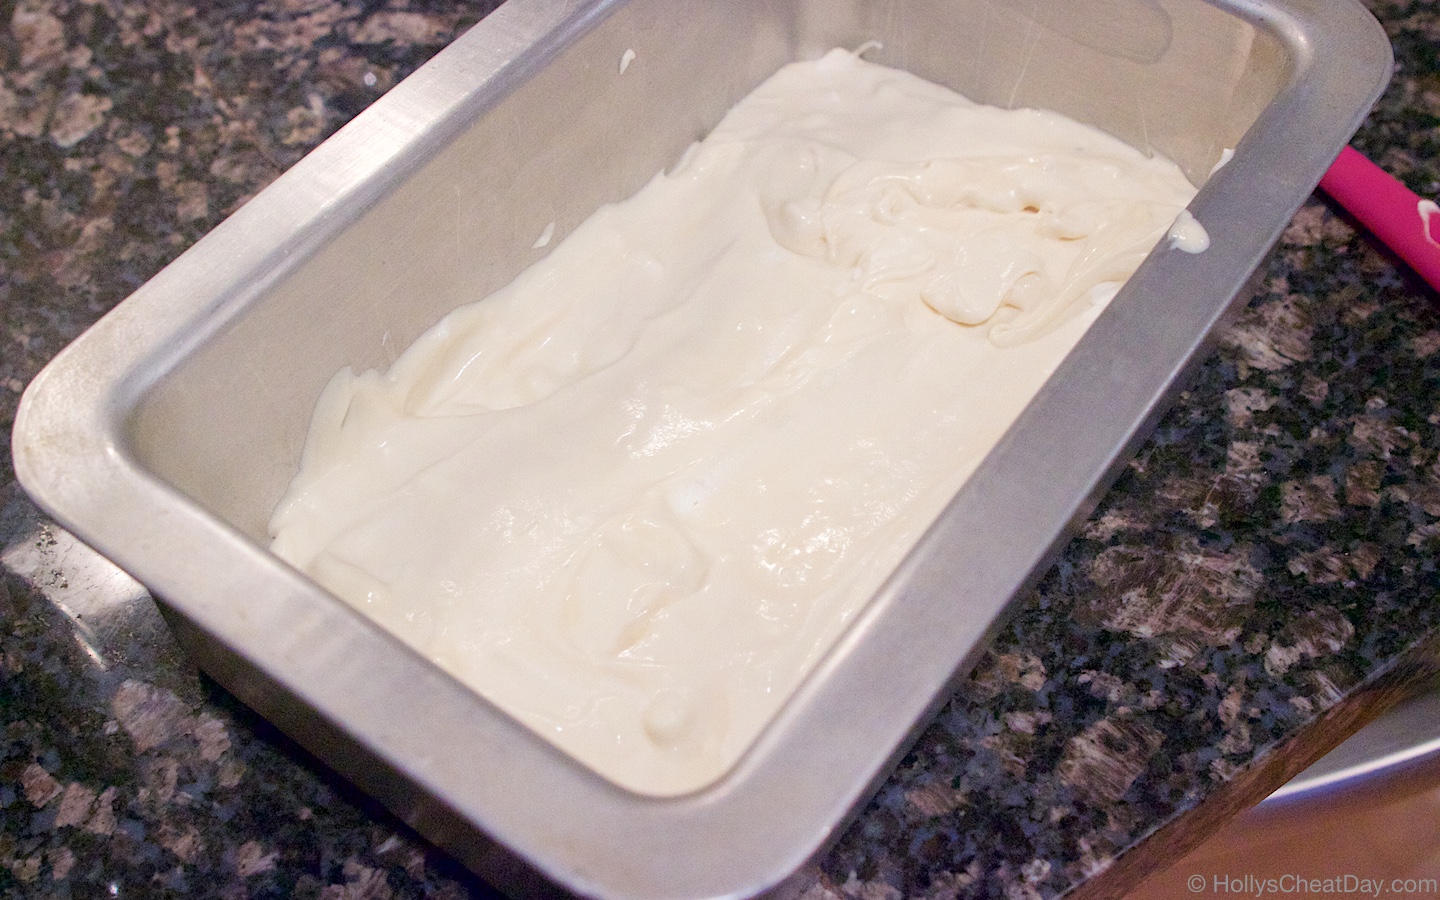
now for the layering, first layer of the ‘ice cream’

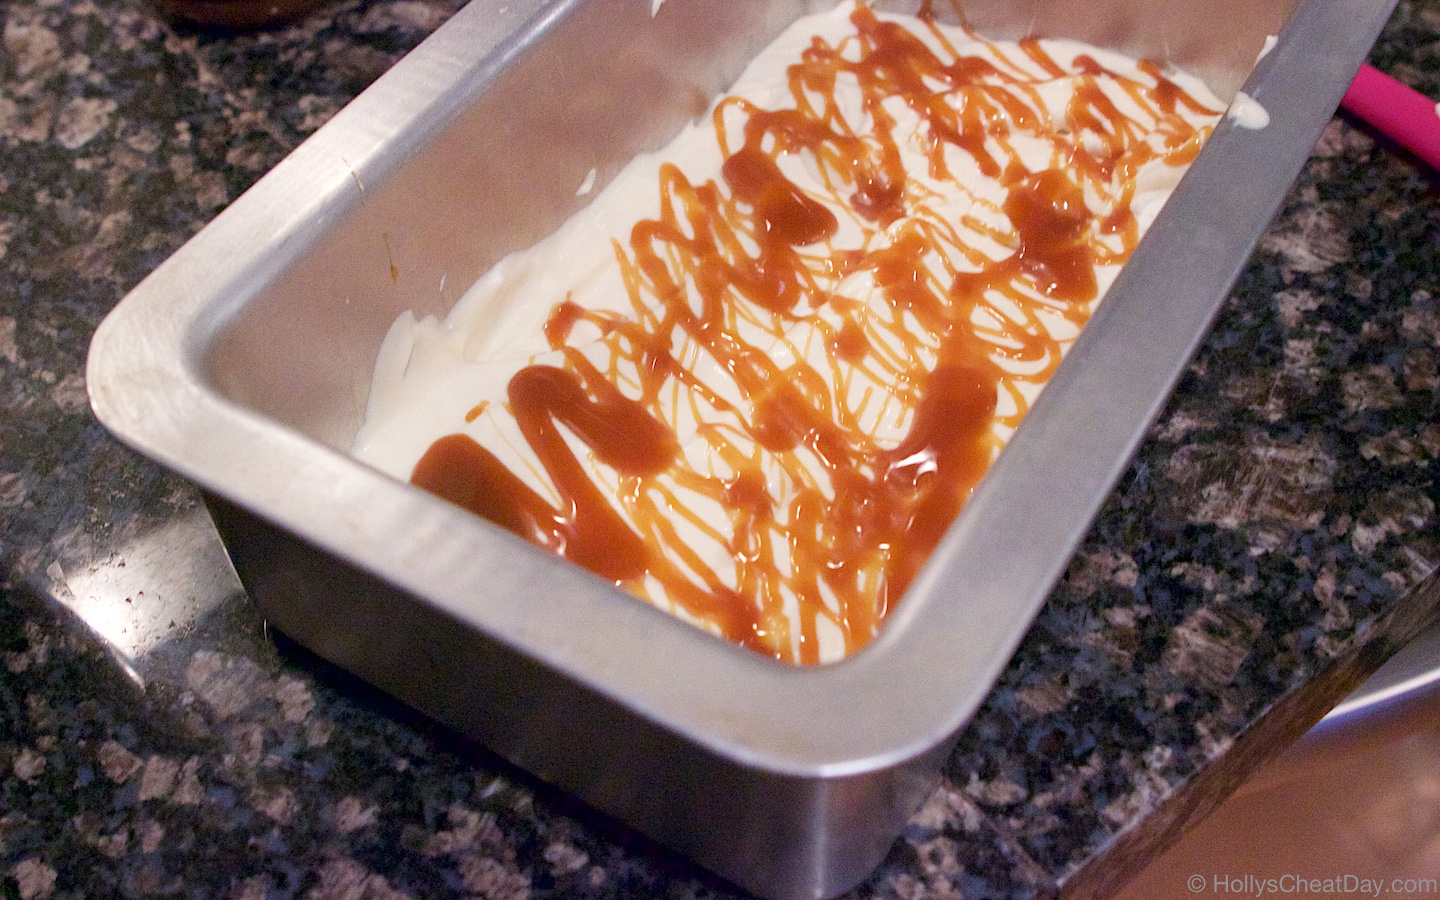
then a nice drizzle of caramel sauce…


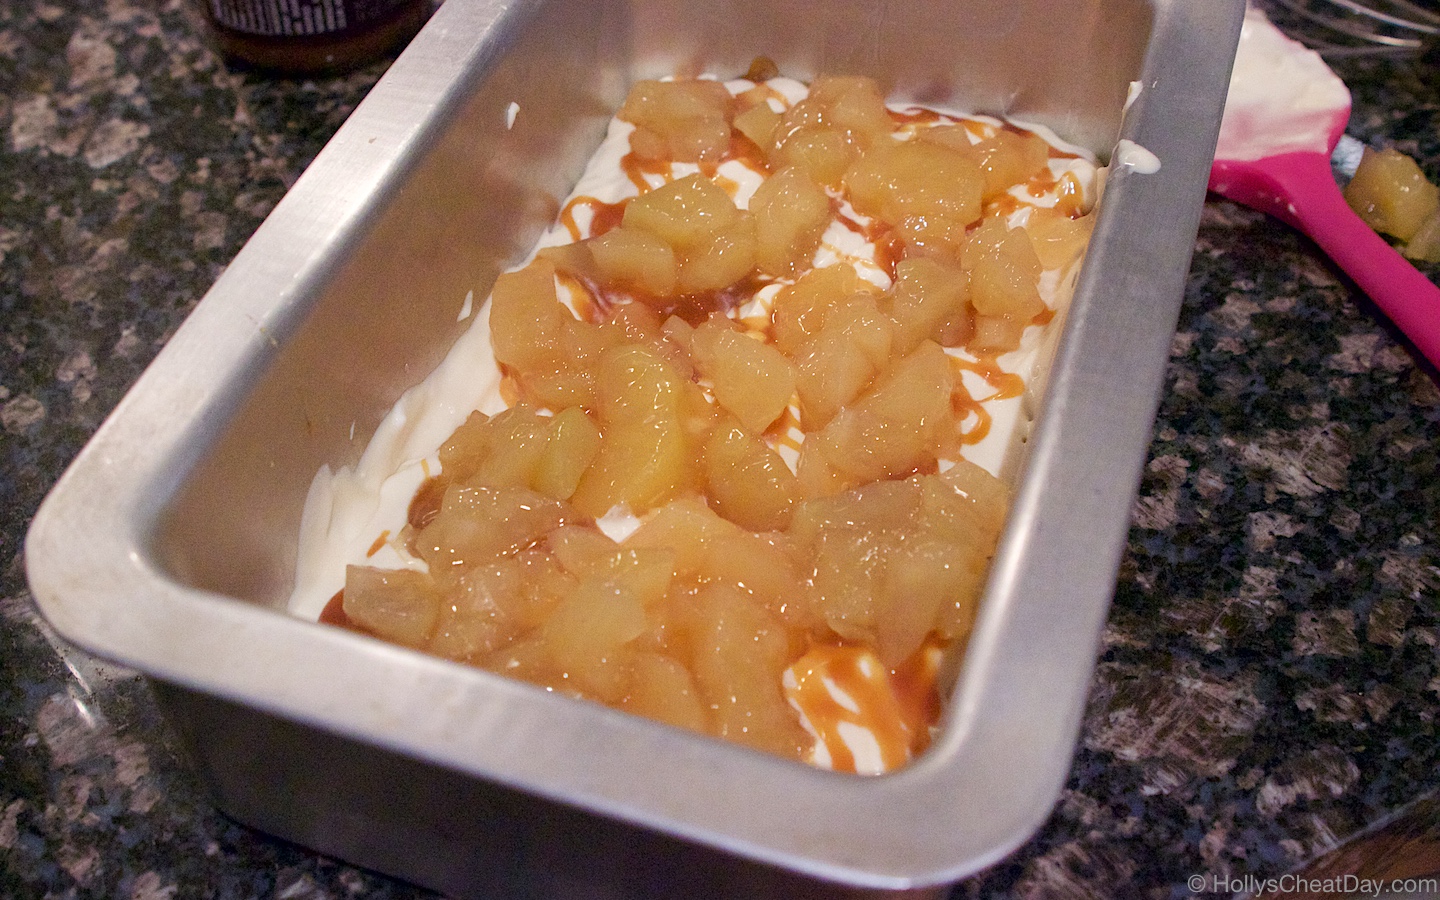
then some of your apple pie filling on top of the caramel…

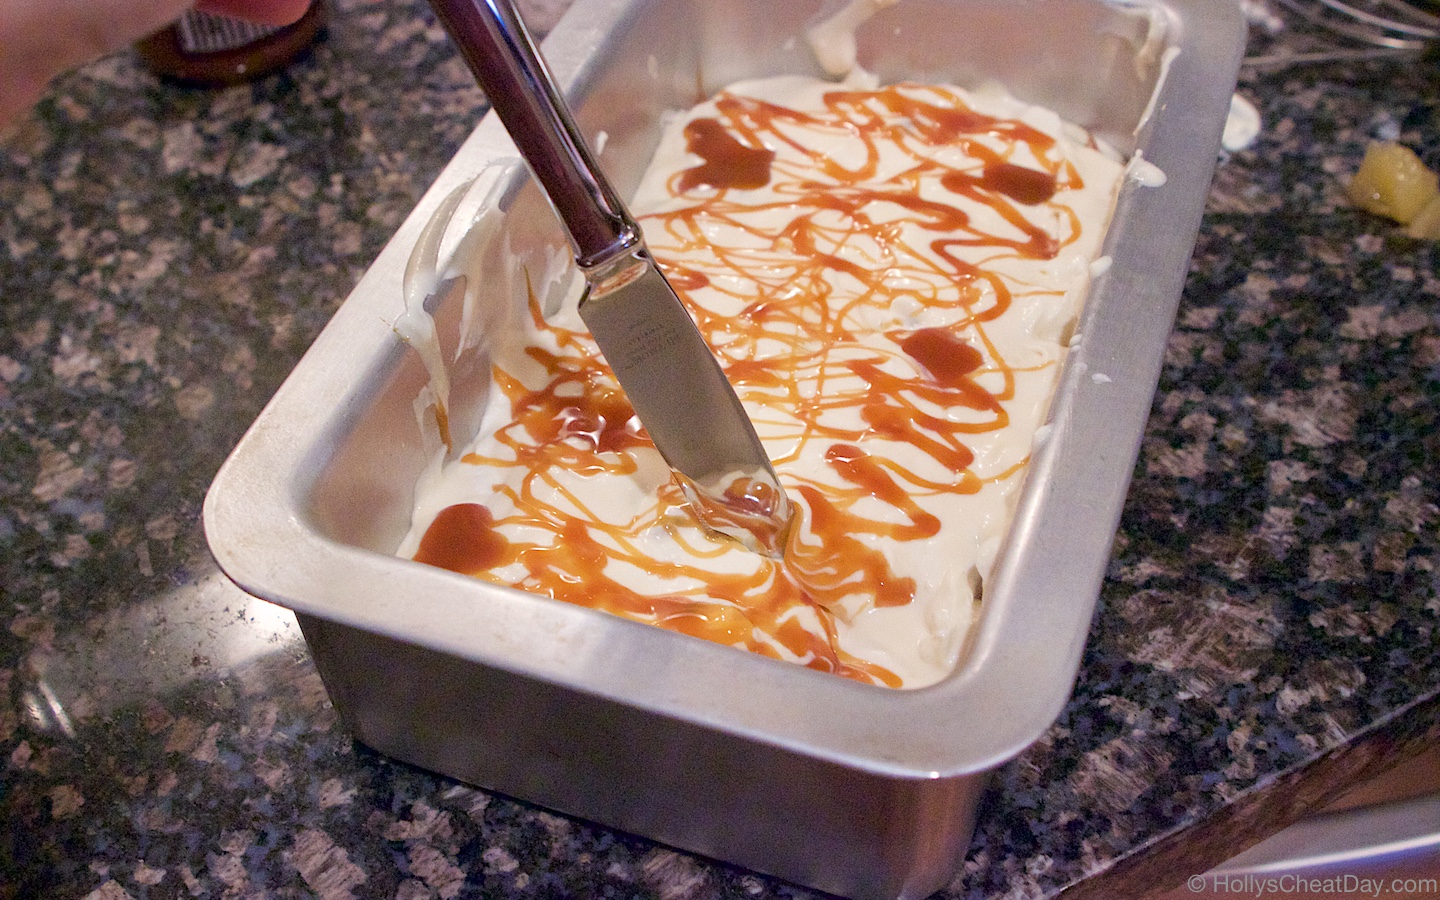
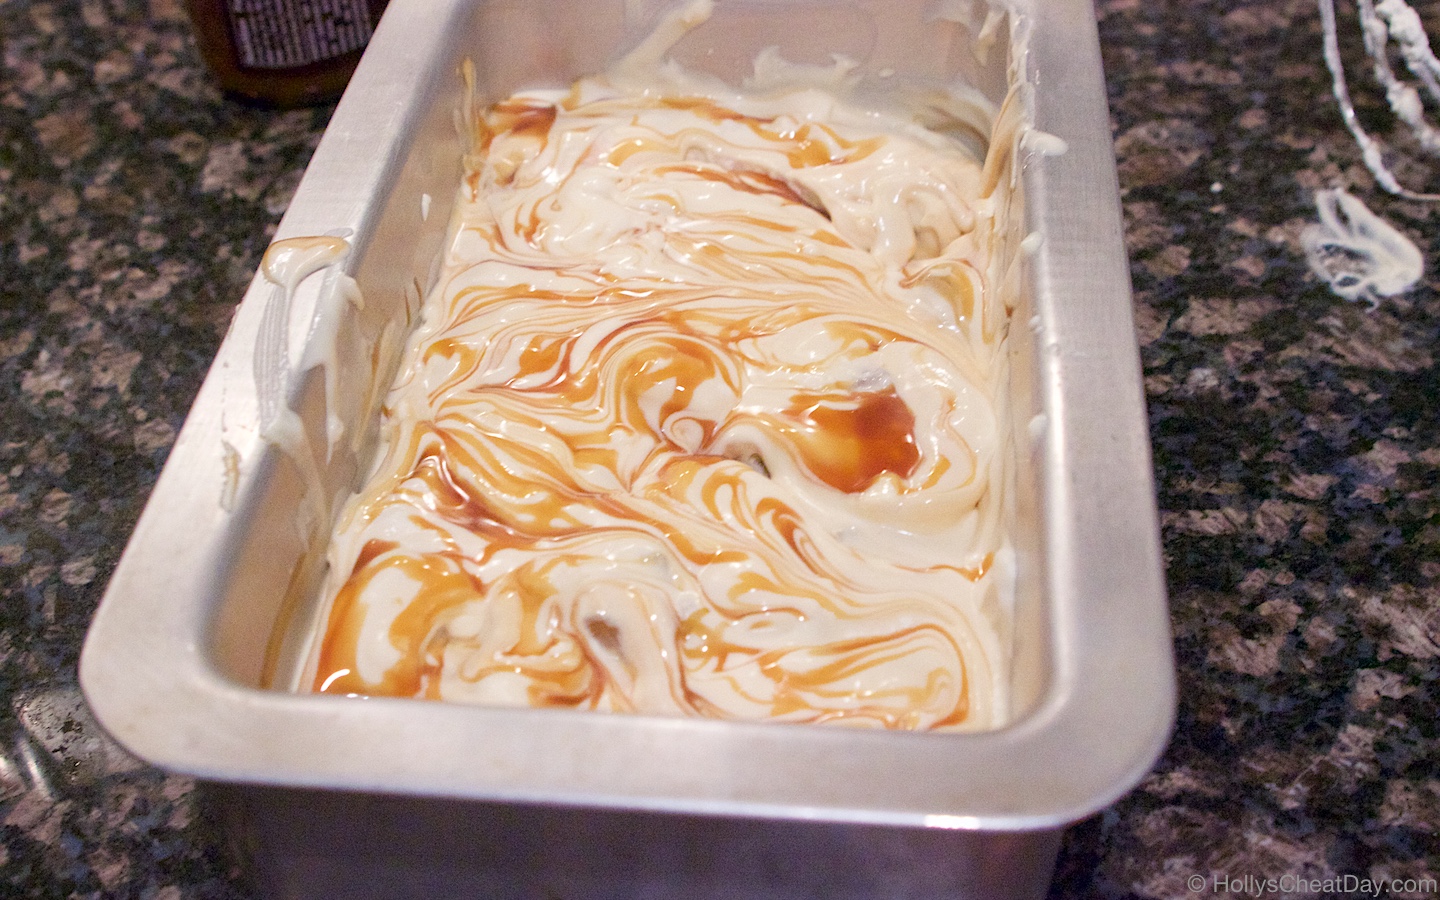
  Cover the apple pie with the remainder of the ice cream, then caramel sauce then stir it all together with a knife…

now, ready to go in the freezer for a few hours…

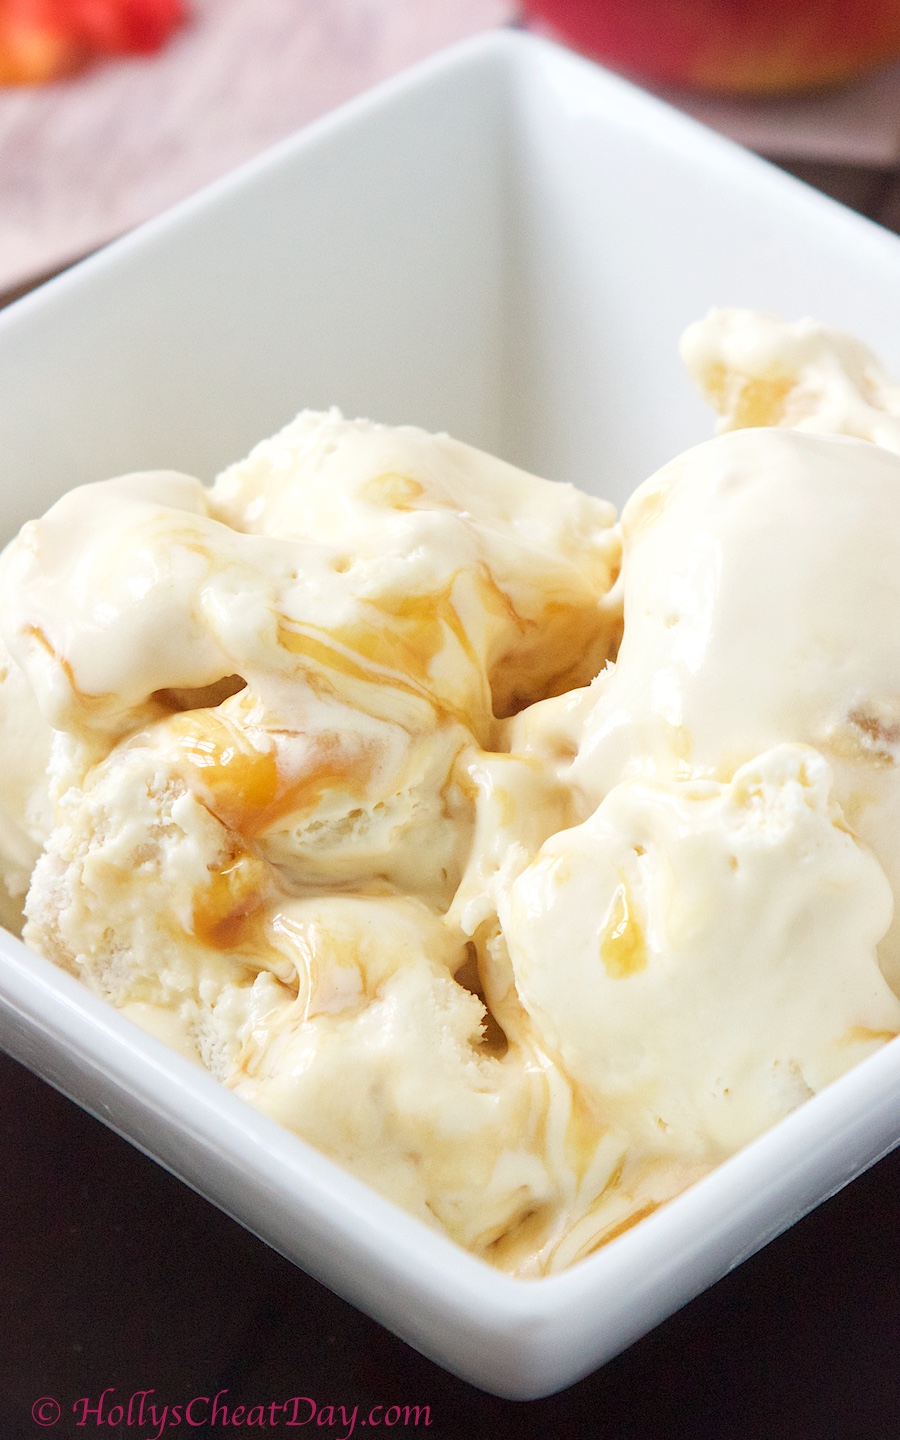
and enjoy!!!

No Churn Apple Pie Ice Cream
2018-09-26 10:51:48
Absolutely decadent ice cream filled with all of the flavors of apple pie, this is a must make.
Write a review
Save Recipe
Print
Ingredients
  1. 1 1/2 Cups of Heavy Whipping Cream.
  2. 14 Ounces of Sweetened Condensed Milk.
  3. 21 Ounces of Apple Pie Filling, Chopped (and I used about 1/2).
  4. 5-7 Ounces of Caramel Sauce.
  5. 1-Loaf Pan.
Instructions
  1. First, chop up your apple pie filling until the desired size of the apple pieces is obtained, set aside.
  2. With a handheld or stand mixer with whisk attachment, beat your whipping cream until stiff peaks form.
  3. Very gently, but thoroughly fold in your condensed milk in your whipped cream.
  4. In your loaf pan, spread about 1/2 of your whipped cream mixture into the bottom.
  5. Now pour your desired amount of caramel sauce on top, then top your caramel sauce with about 1/3 of your apple pie filling or however much you desire.
  6. Now pour the rest of your whipped cream mixture on top of that, then top it with more caramel sauce.
  7. With a knife, gently swirl all of this together, cover and let freeze for at least 4 hours, best if overnight.
  8. Serve and enjoy!
Notes
  1. I originally made this using 1 Cup of Heavy Whipping Cream, but I believe an extra 1/2 a cup makes the correct amount needed.
HOLLY'S CHEAT DAY https://www.hollyscheatday.com/

Filed Under: All Recipes, Dessert

Holly’s Junk Food Review Series: More High Road Craft Ice Cream

September 7, 2018 By Holly

Happy Happy Friday y’all!!! It may technically be Fall time (which I’m all about btw), but it still feels like the surface of the sun here, so ice cream is still an absolutely, positively must have cheat day treat. 

Now, I have already done some reviews of High Road Craft products, and that should tell you something about how fantastic their products are.  Whenever they have some new stuff come out, I immediately run out and get it, and that’s what the following treats are…

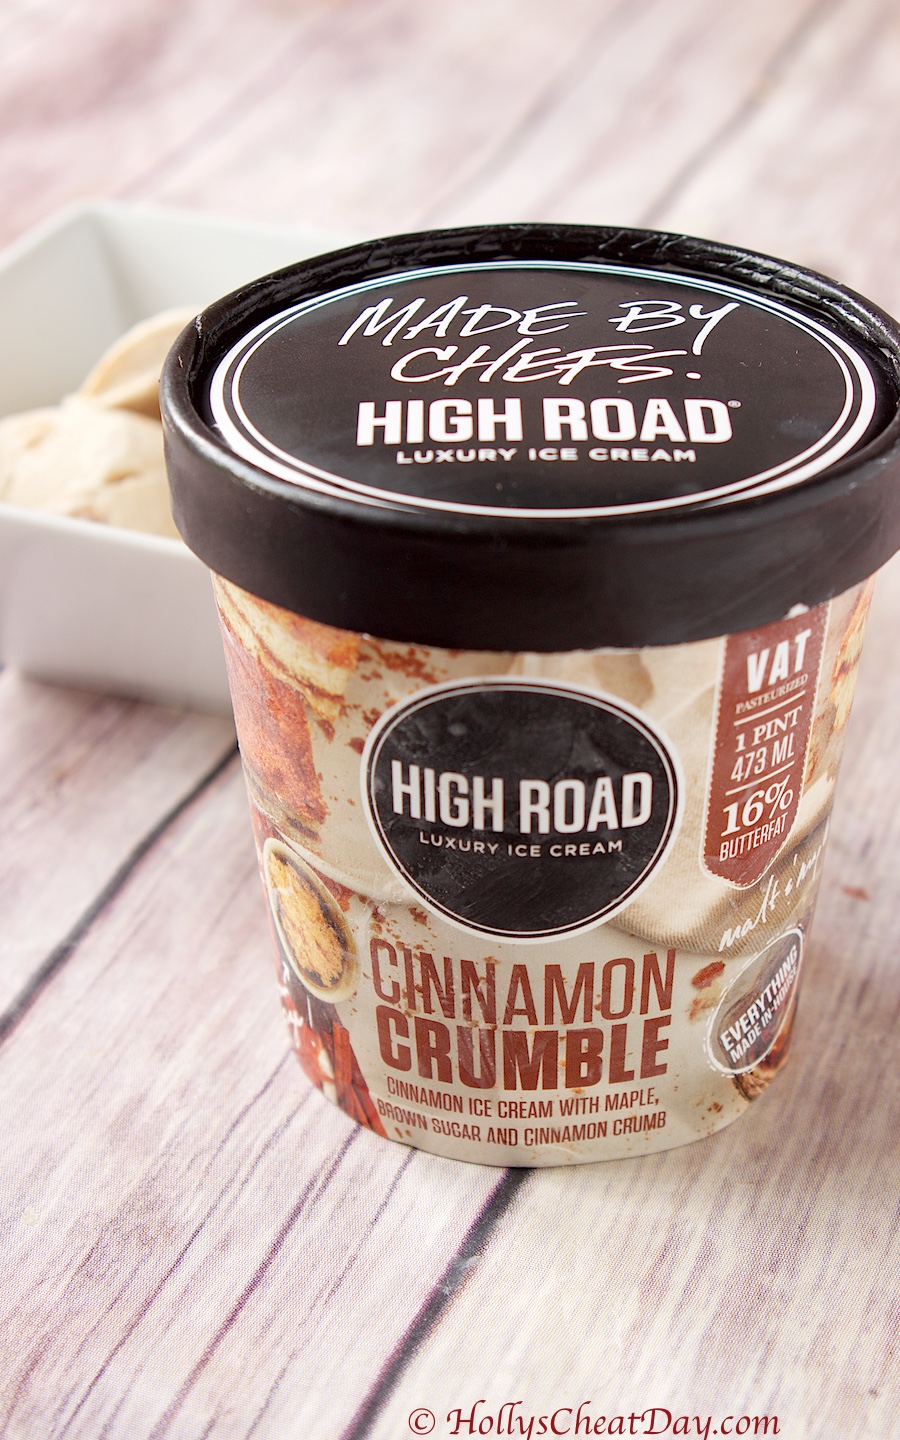
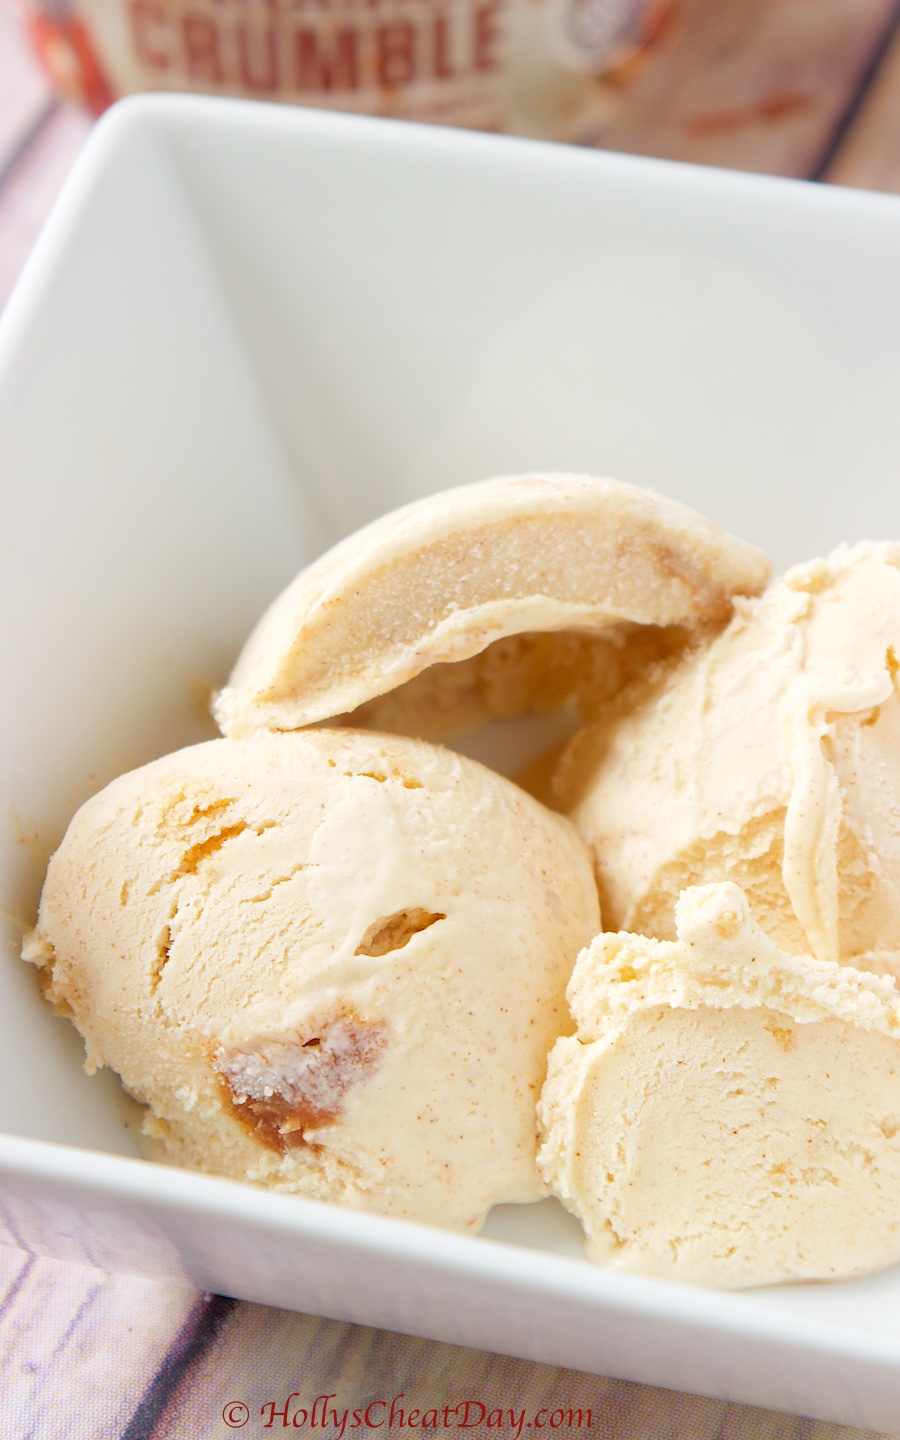
First, we have their Cinnamon Crumble Ice Cream…

mmm, look at all of that cinnamon goodness…

So, they pretty much had me at hello when I heard that they were coming out with a cinnamon based ice cream, cinnamon being my favorite spice ever, I was obviously super excited.  Holy cow y’all, they got the perfect amount of cinnamon in this rich decadent ice cream, and biting down on a maple, brown sugar and cinnamon crumble, which I wish there had been just a bit more of in this ice cream, is just heavenly.  Again, High Road knocked it out of the park again, this gets a solid 9 out of 10.

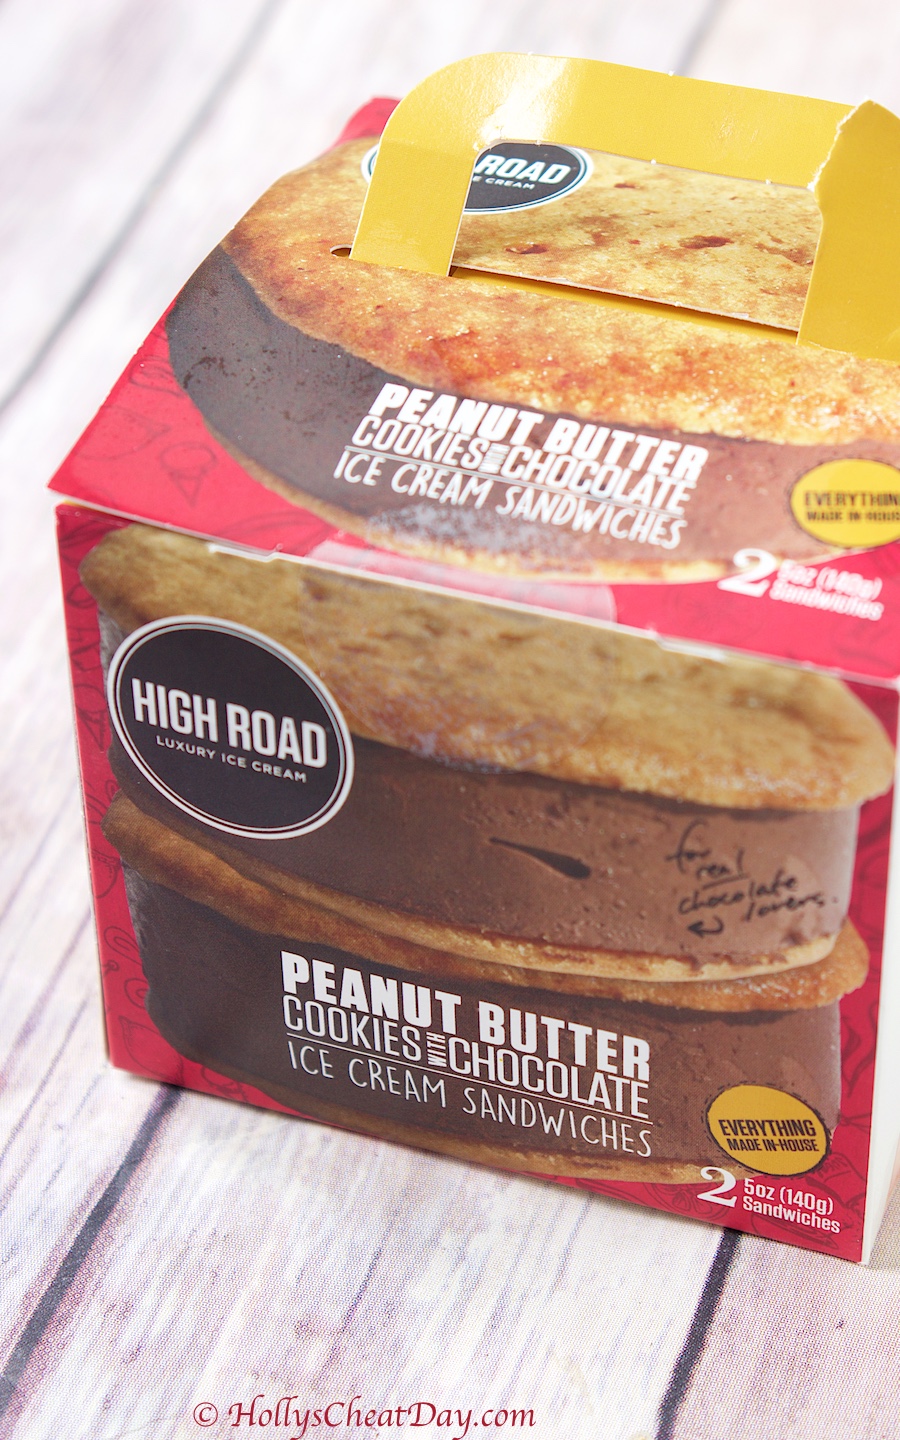
Can I just tell y’all how team ice cream sandwich I am? and how deliriously happy I was when I heard they were making ice cream sandwiches? Ok cool, so here’s the first one, the chocolate ice cream with peanut butter cookies sandwich.


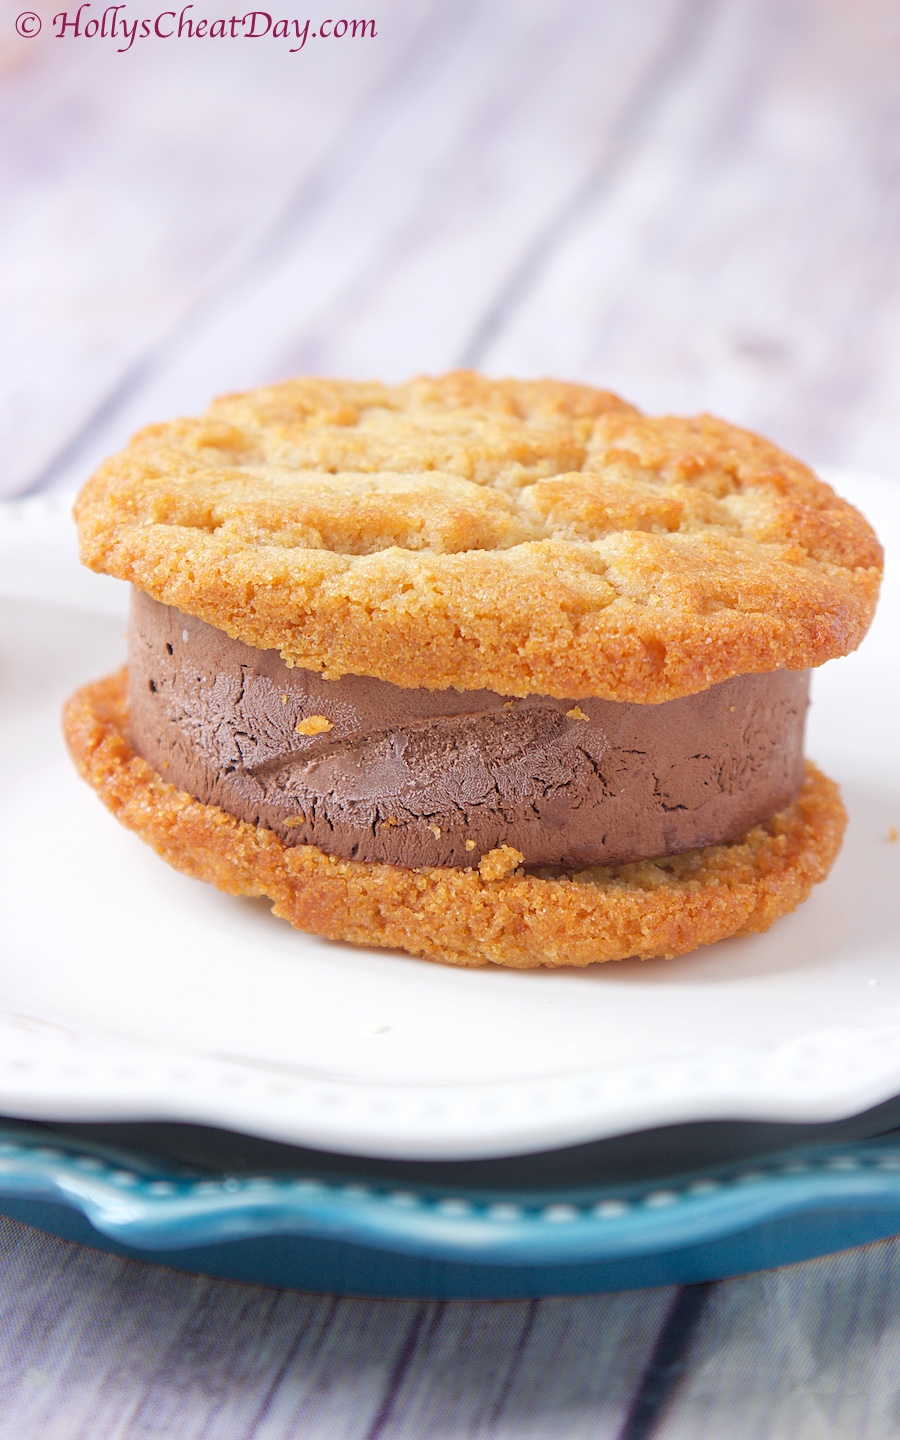
look at all of that goodness…

First off, these bad boys are massive, you’re definitely getting your money’s worth with these guys, and there are 2 in each of their cute little packs.  Definitely let these sit outside of the freezer for at least a few minutes before enjoying, instead of immediately shoving one in your face like I did hehe.  I got brain freeze  and definitely give these delicious cookies a chance to soften up, and btw these are definitely delicious cookies, lots of peanut butter flavor.  The chocolate ice cream is truly chocolate ice cream, very, very rich and on the verge of being dark.  I am not the biggest fan of dark chocolate so that docked a few points but these are still delicious and definitely quality.  These get a 6.5 out of 10.

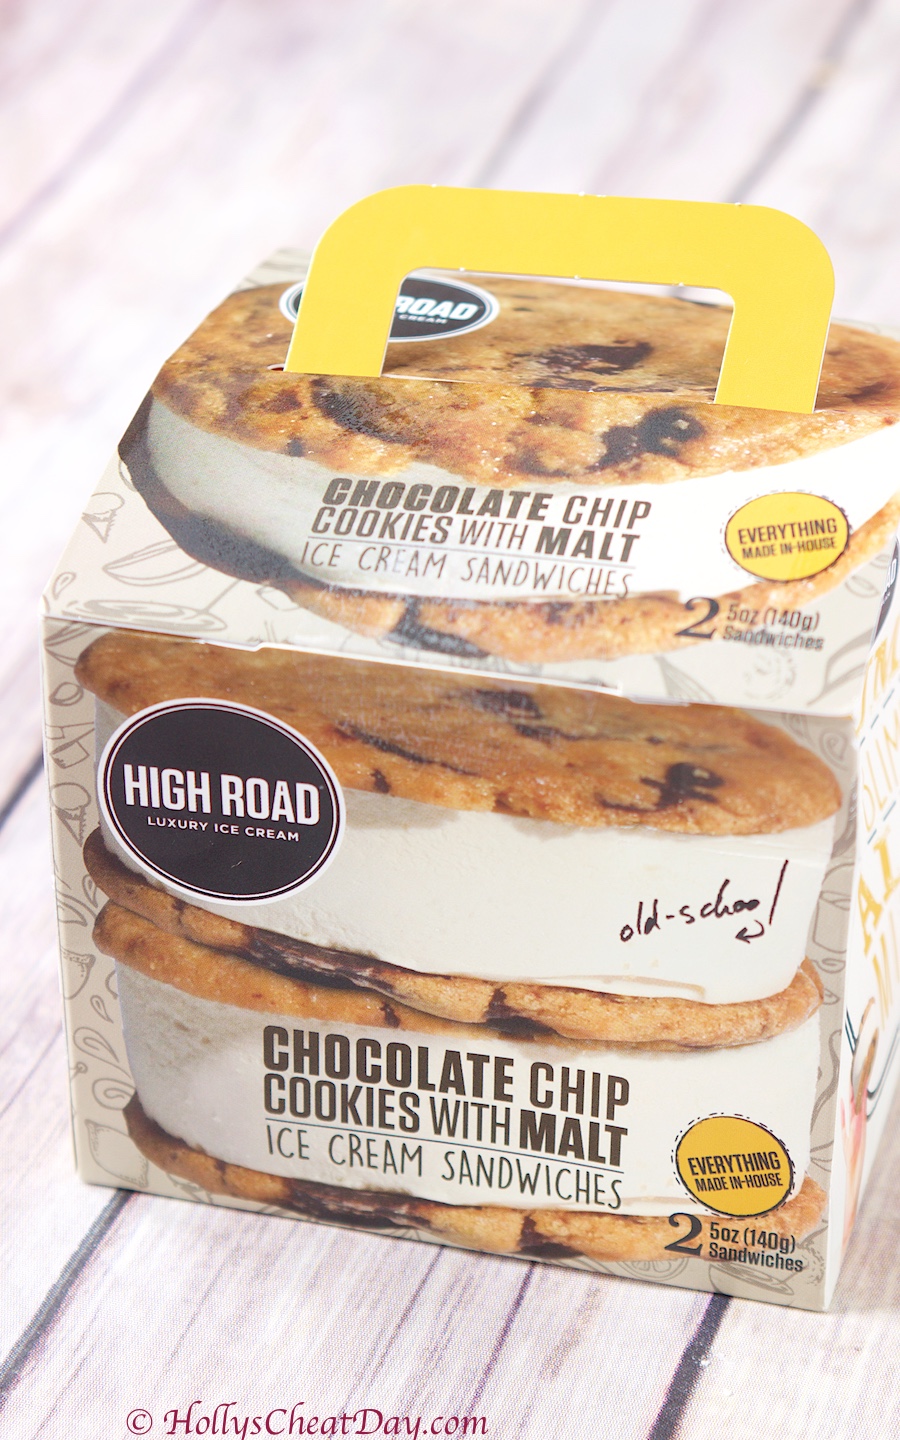
Next, we have the chocolate chip cookies with malt ice cream sandwich…

yummmm…. 

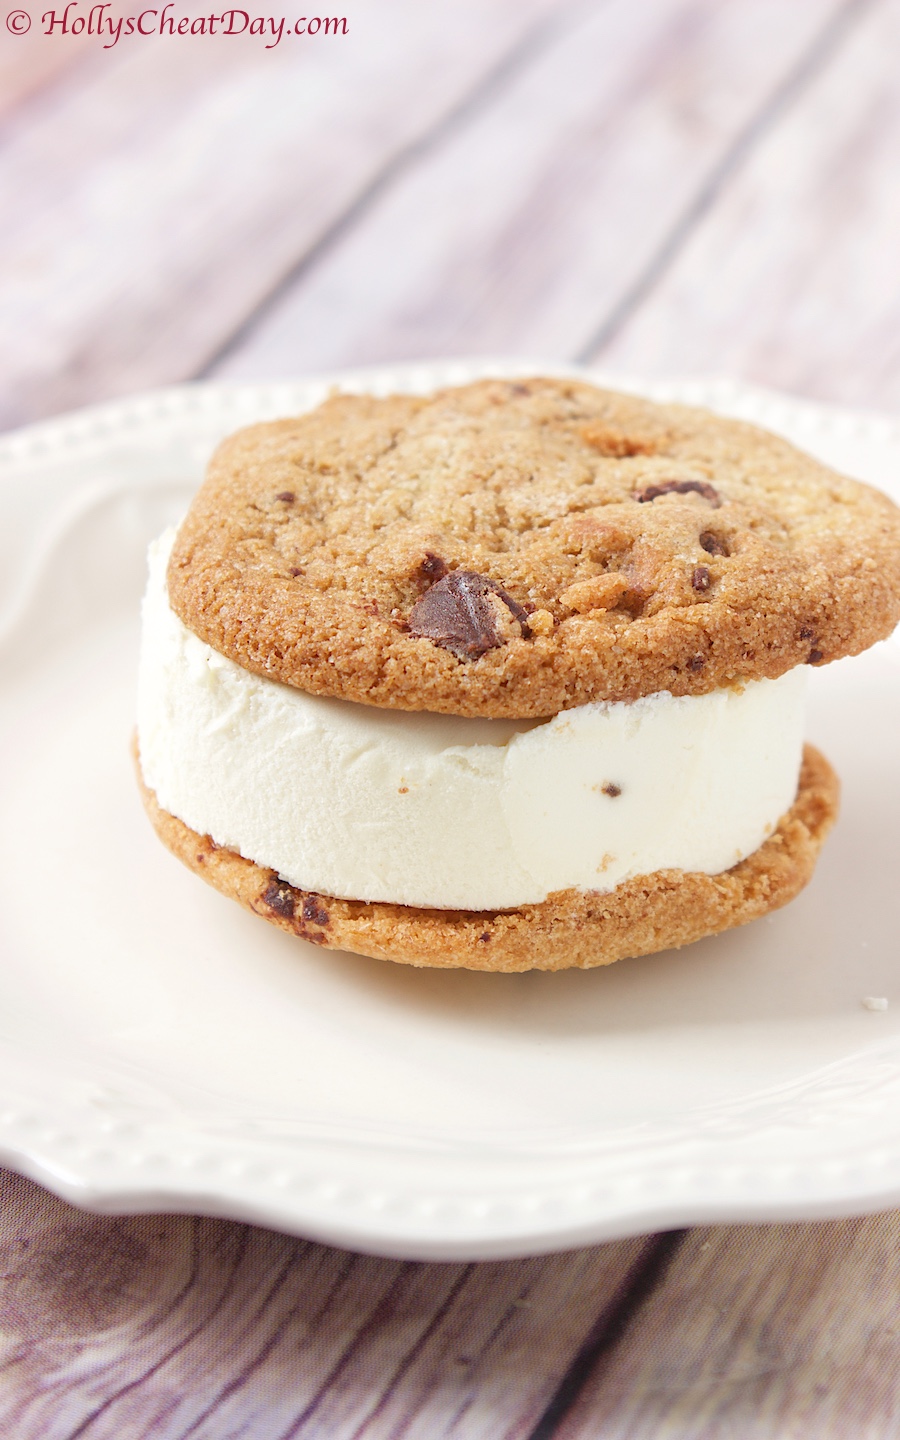
I maybe a bit meh about the chocolate peanut butter sandwiches, but I am not even a little meh about these chocolate chip malted ice cream sandwiches.  These are delicious chocolate chip cookies, that are sandwiching a very rich and delicious vanilla malt ice cream.  Honestly, these are so good that they are just as great frozen solid as they are slightly thawed.  These are simple, yet decadent, they absolutely get a 9 out of 10. 

Y’all go get some of these 😀  Thanks so much for stopping by, and don’t be afraid to treat yourself this weekend, have an awesome Friday!
Filed Under: All Recipes, Dessert, Junk Food Review

  • 1
  • 2
  • 3
  • …
  • 11
  • Next Page »
logo
Food Advertisements by
Holly's Cheat Day Profile Pic

Hey, y’all! My name is Holly, and welcome to my Cheat Day...where Gluttony and other Delectable Indulgences are celebrated!    Read More...
logo
Food Advertisements by
logo
Food Advertisements by
Copyright © 2017 ❤ Holly's Cheat Day ❤ Privacy Policy