HOLLY'S CHEAT DAY

...because one day a week I have to be bad

  • Home
  • About
    • Who Is Holly?
    • FAQ
    • Contact
  • Recipes
    • Bars/Brownies
    • Breakfast
    • Cake
    • Candy
    • Cheesecake
    • Cookies
    • Cupcakes
    • Dessert
    • Dip
    • Drinks
    • How To
    • Junk Food Review
    • Lighter Side
    • Pie
    • Savory

Fried Peanut Butter & Jelly Sandwich

August 21, 2018 By Holly

Happy Happy Tuesday!!! I’m back! Again! haha, seriously y’all, I promise I’ll start posting more regularly again, for reals I’ve been the worst food blogger ever, but life has been super duper busy, which I’ll take, because honestly I get bored easily haha. 
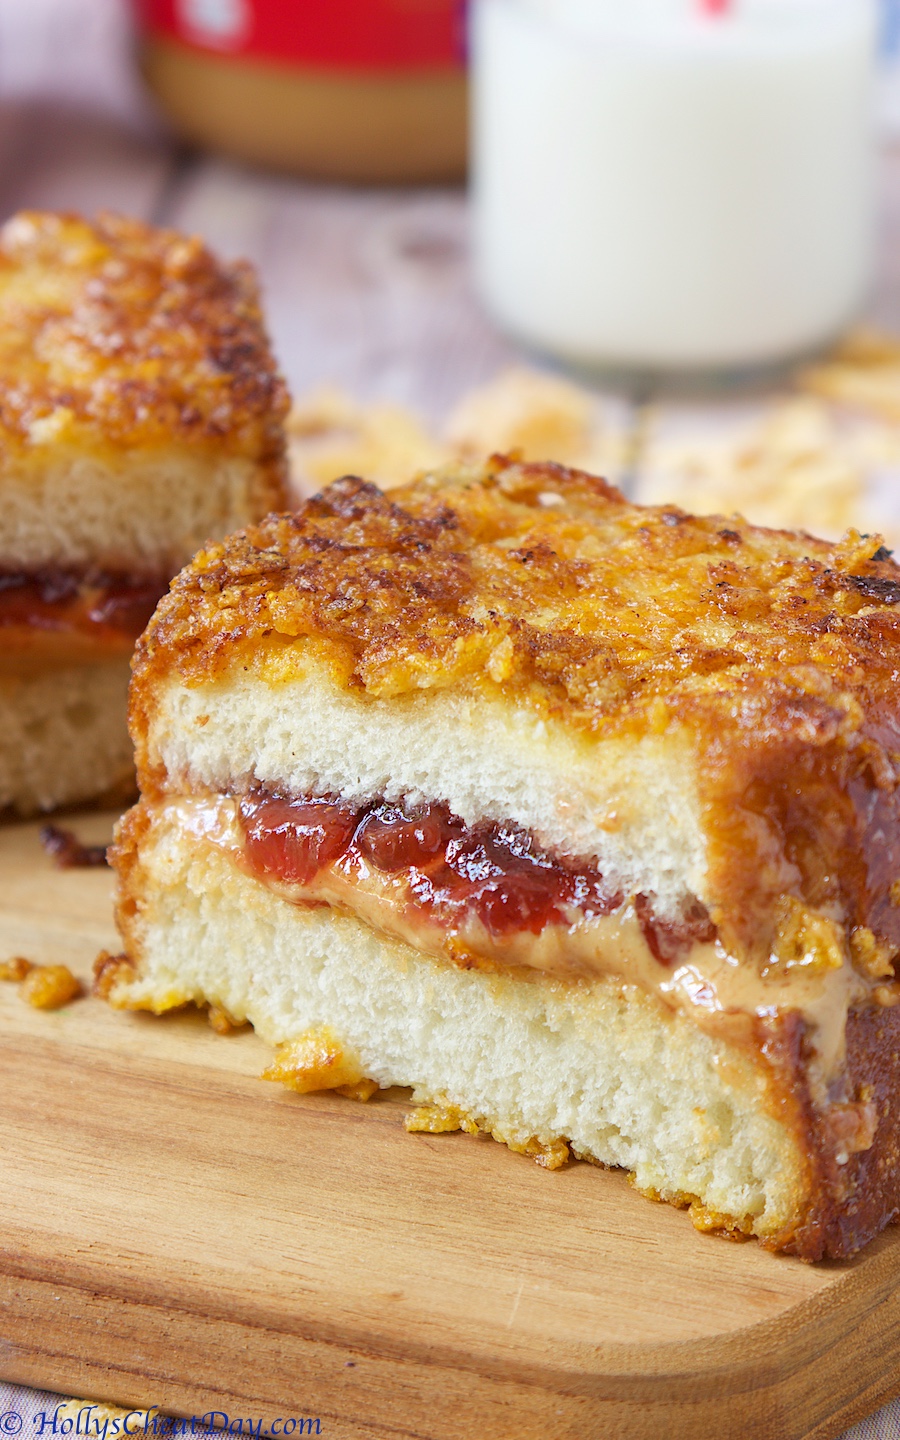
Anyways, I believe most kids, and parents are back into the swing of things for the new school year by now and can I just say how happy I am that I’m done with school… even thinking about it sends bouts of anxiety coursing through me haha.  I got to thinking the other day of things I actually miss about being a kid in school, and obviously the whole not being an adult part was pretty great, getting to see your friends everyday was cool, but hands down my daily peanut butter and jelly sandwiches always brought a smile to my face at lunch. 
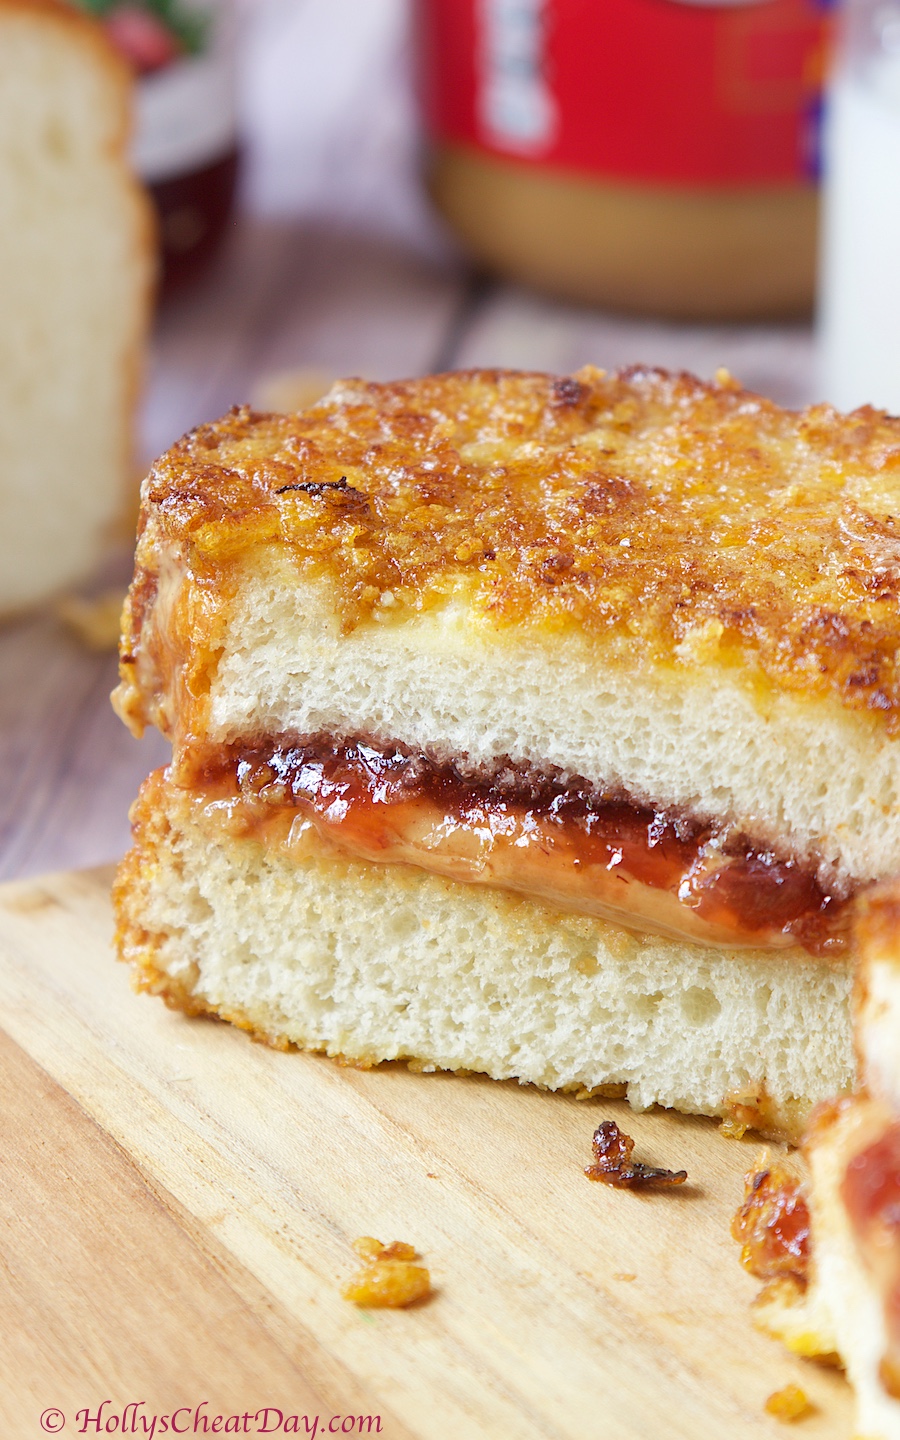
I still crave peanut butter and jelly sandwiches, and it got me wondering if I could amp up one of my fav time kid foods to be more adult like–no, I didn’t put alcohol in this, but that’s something to think about–and I came up with frying one of these bad boys.  Now you can’t just throw something in a buttery pan and call it fried, I knew it had to be coated in something equally awesome and I figured Frosted Flakes would do the trick–so much for being adult like. 
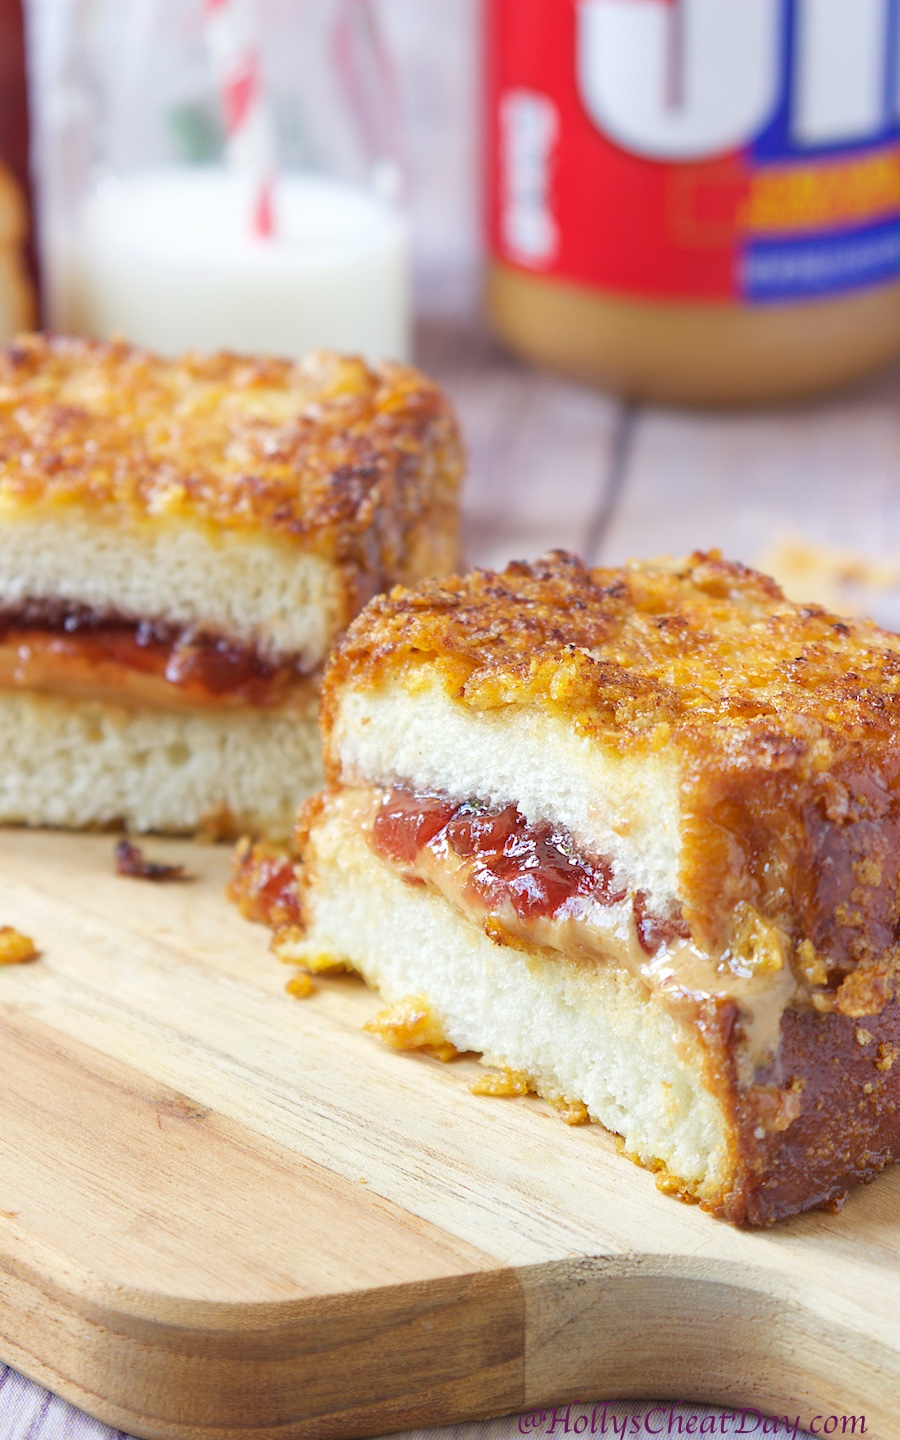
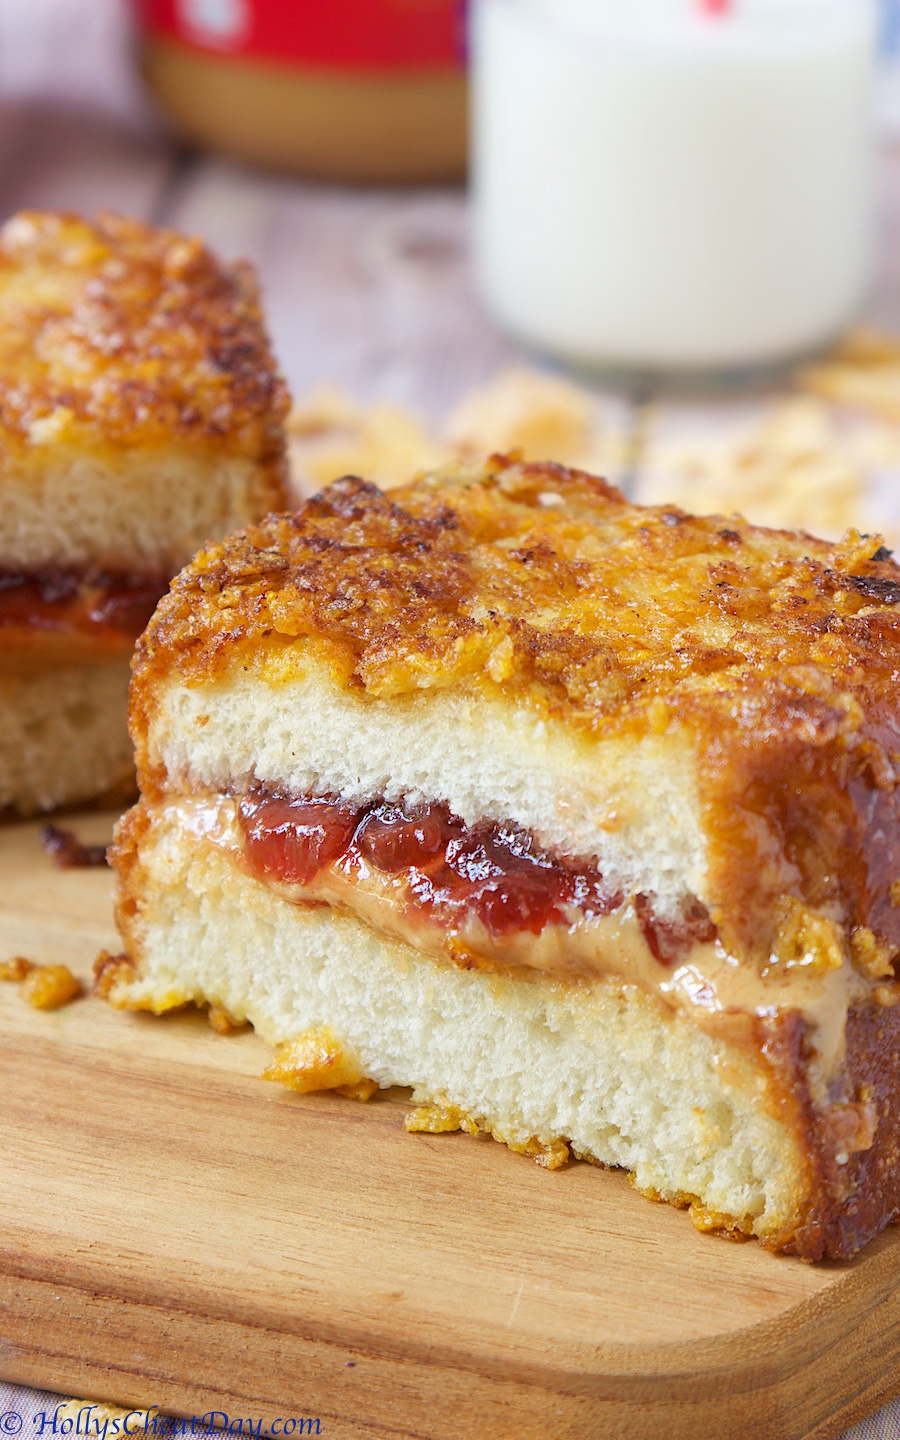
Y’all, can I just say how incredibly, insanely awesome this fried PB & J turned out? Holy moly, the crunchy outside, the melty soft inside, drooollll.  I also got a little fancy and bought a fresh baked loaf of bread, unsliced so I could cut my own gigantic slices, and I’m so happy I did, because more is usually better with food haha.  Anyways, I hope y’all get to enjoy this soon and thank you so much for stopping by, have a wonderful day!

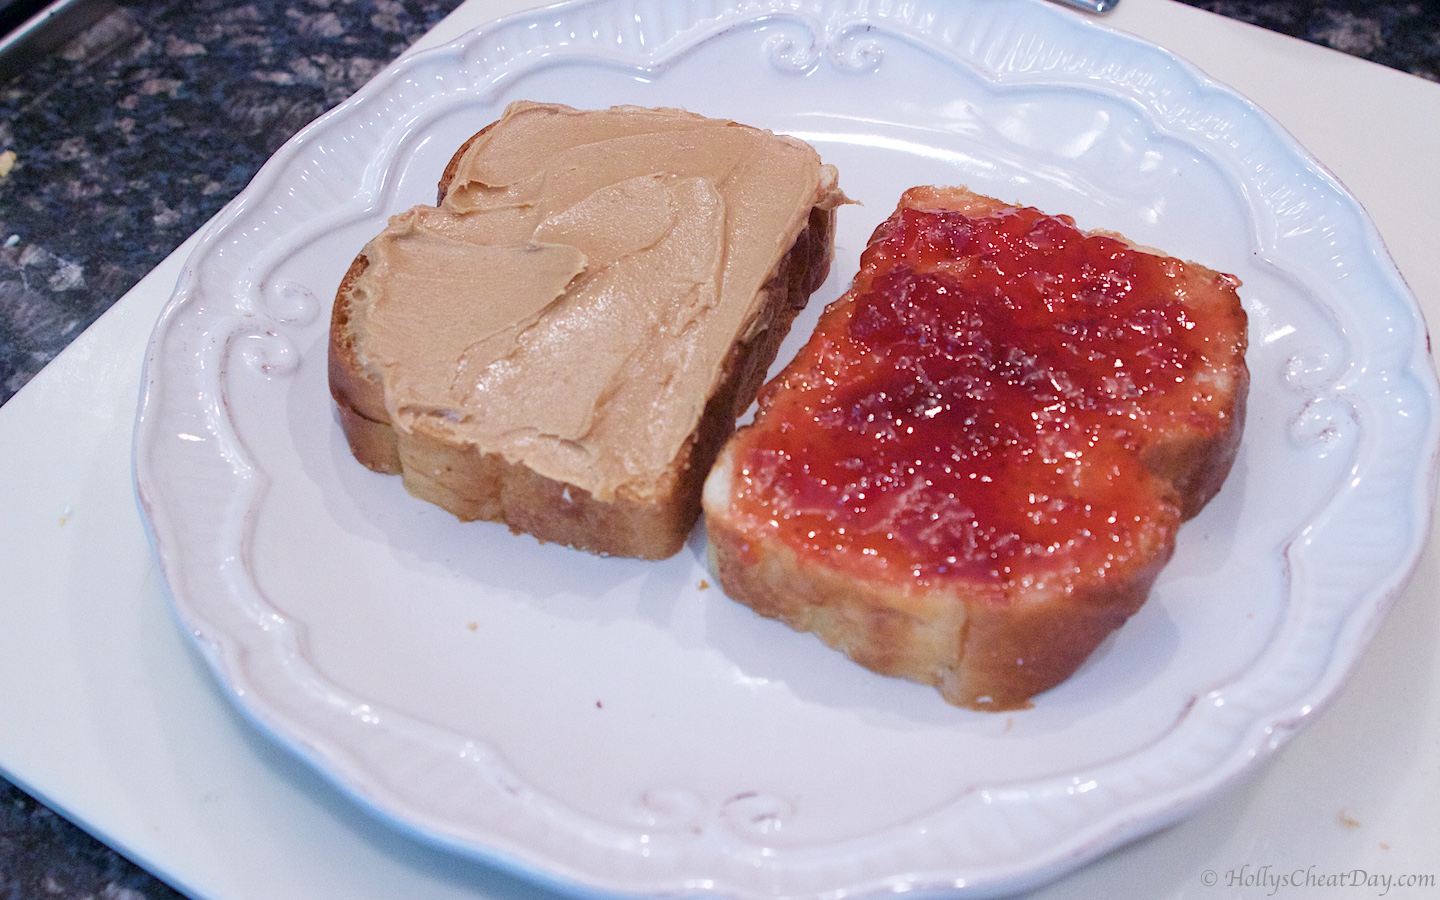
First, peanut butter and jelly onto your bread…
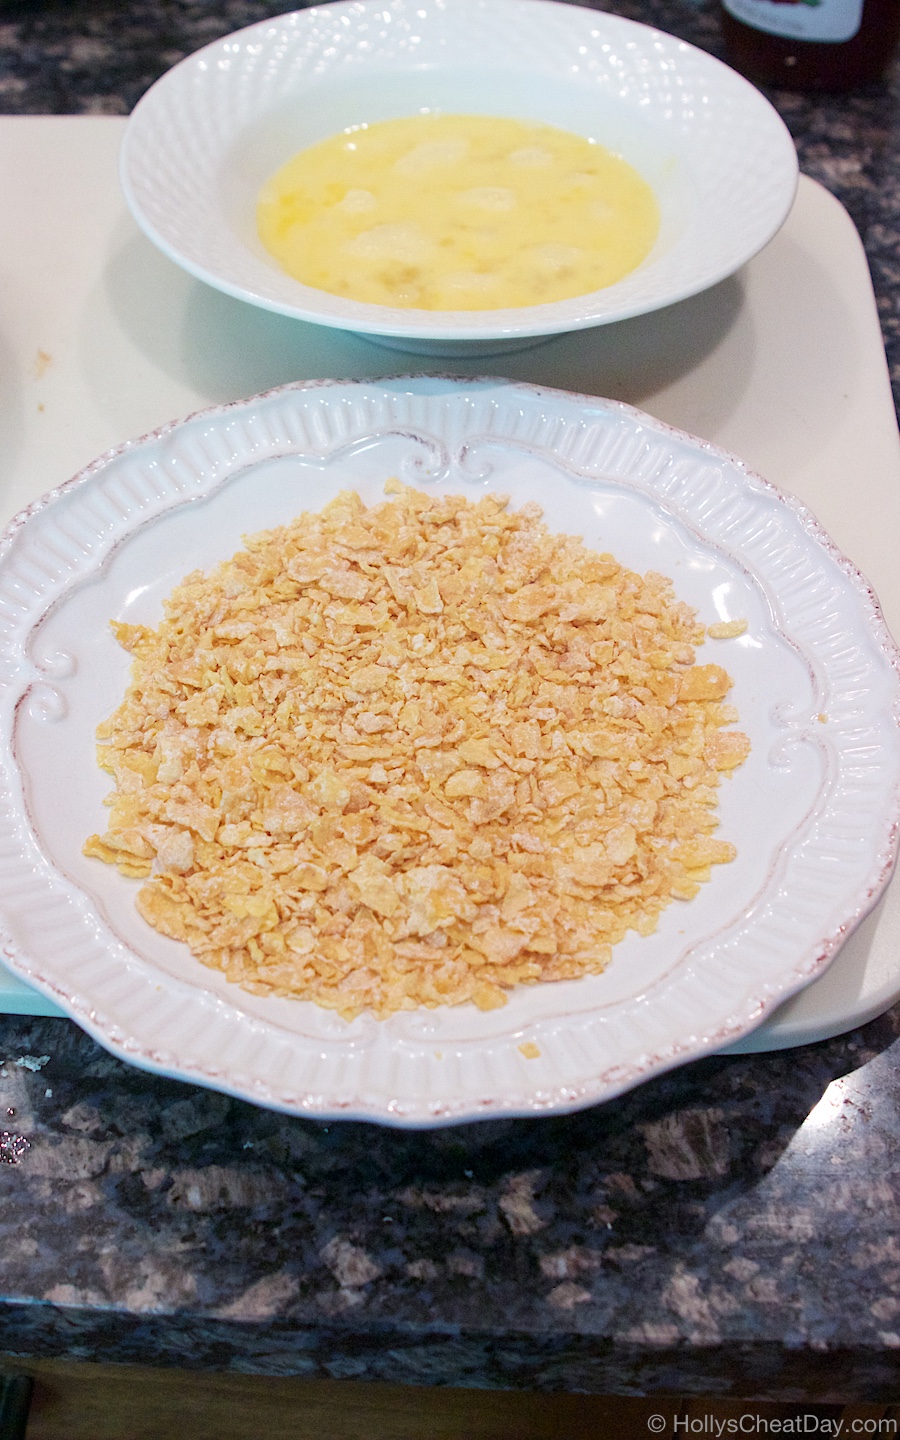
get your crushed up Frosted Flakes and egg wash ready for dipping…
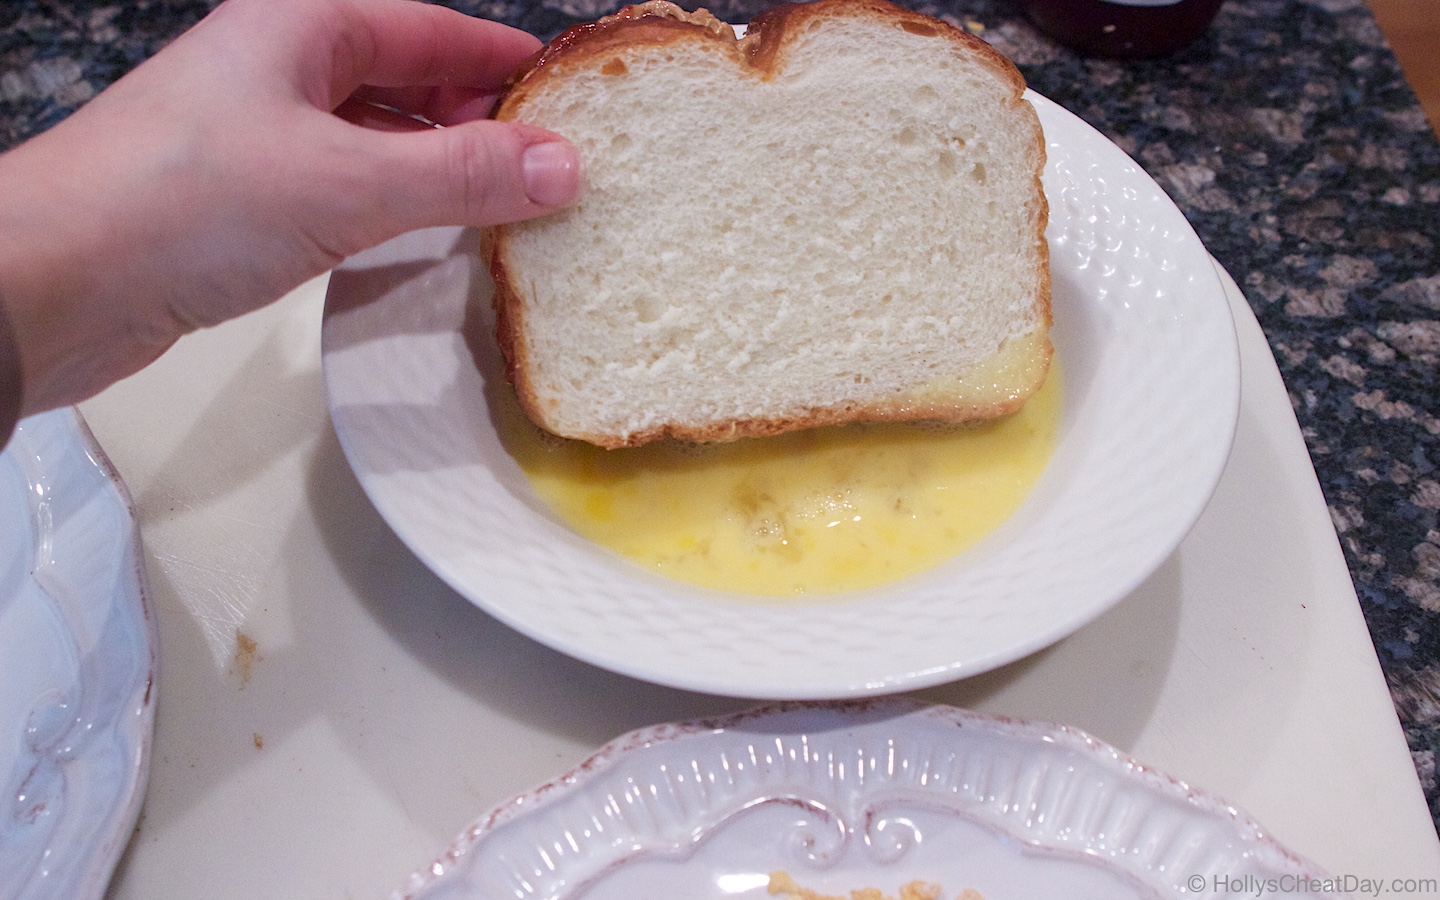
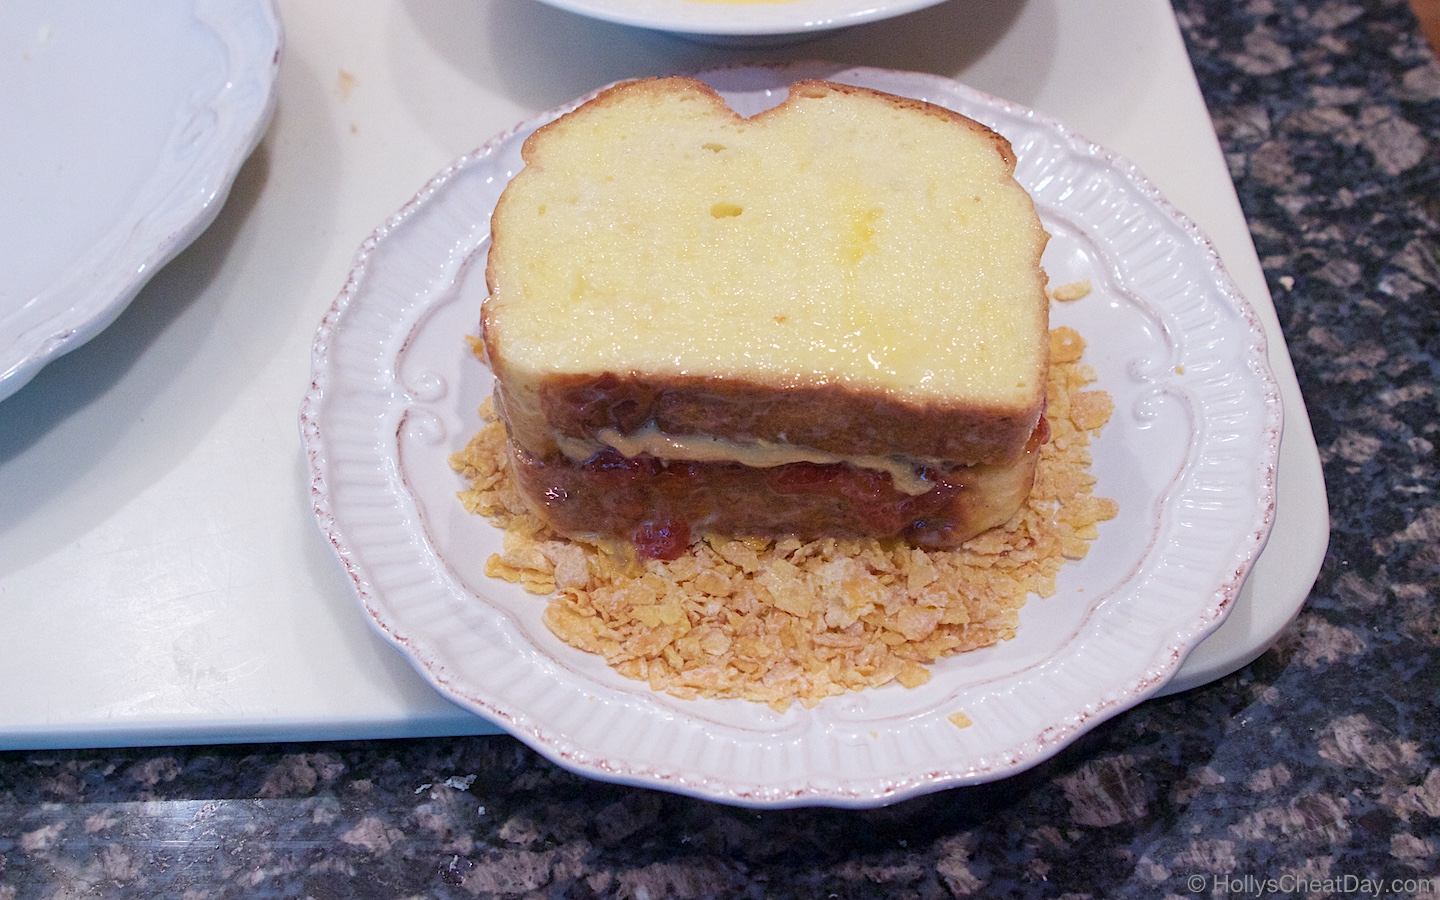
fully coat your sandwich in the egg wash…
then fully coat in the Frosted Flakes…
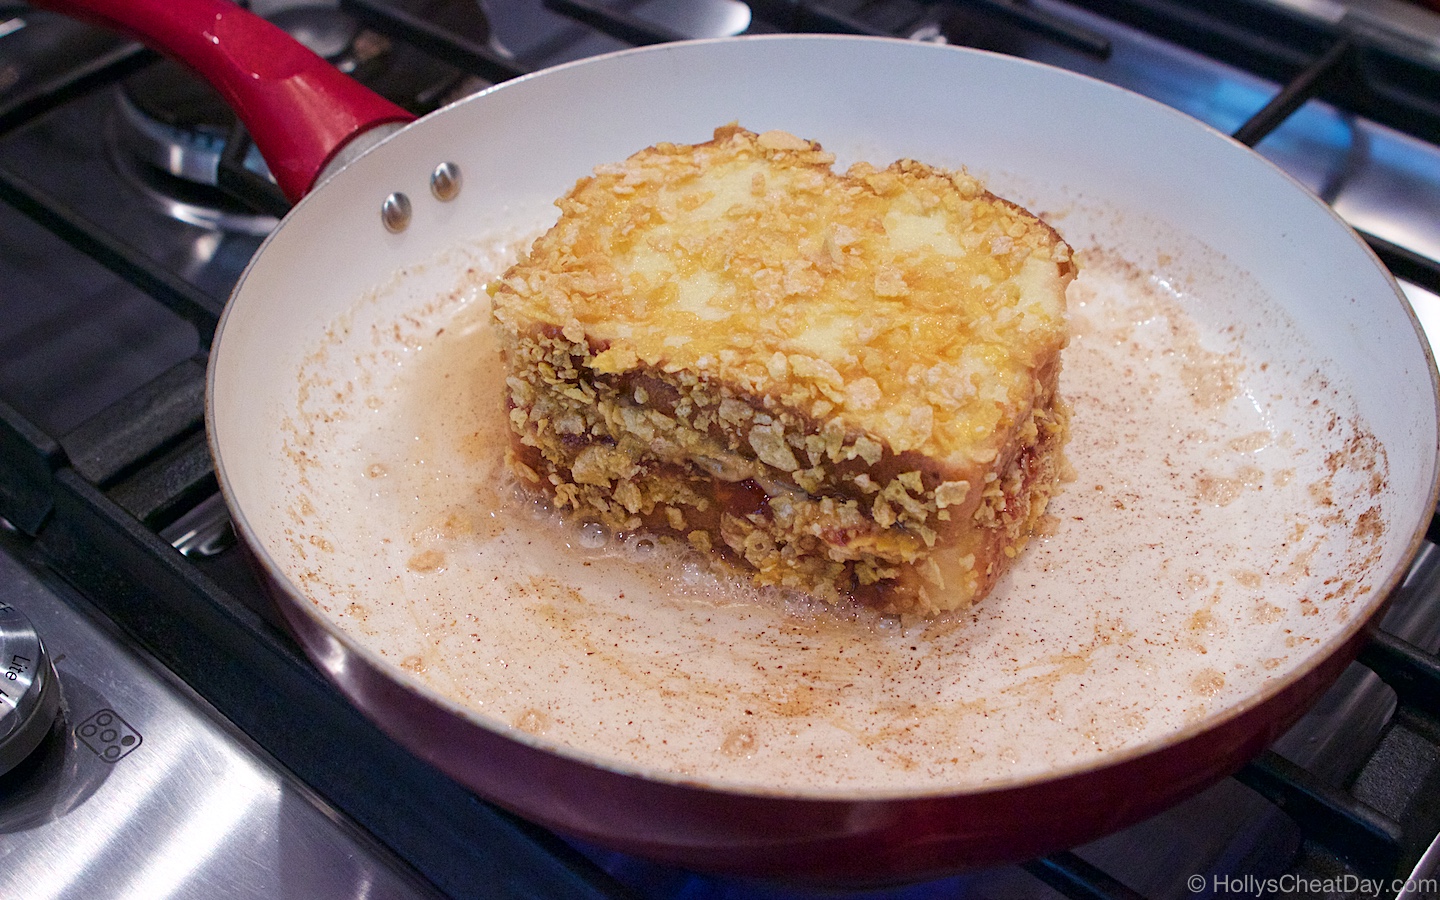
get the first side perfectly grilled…
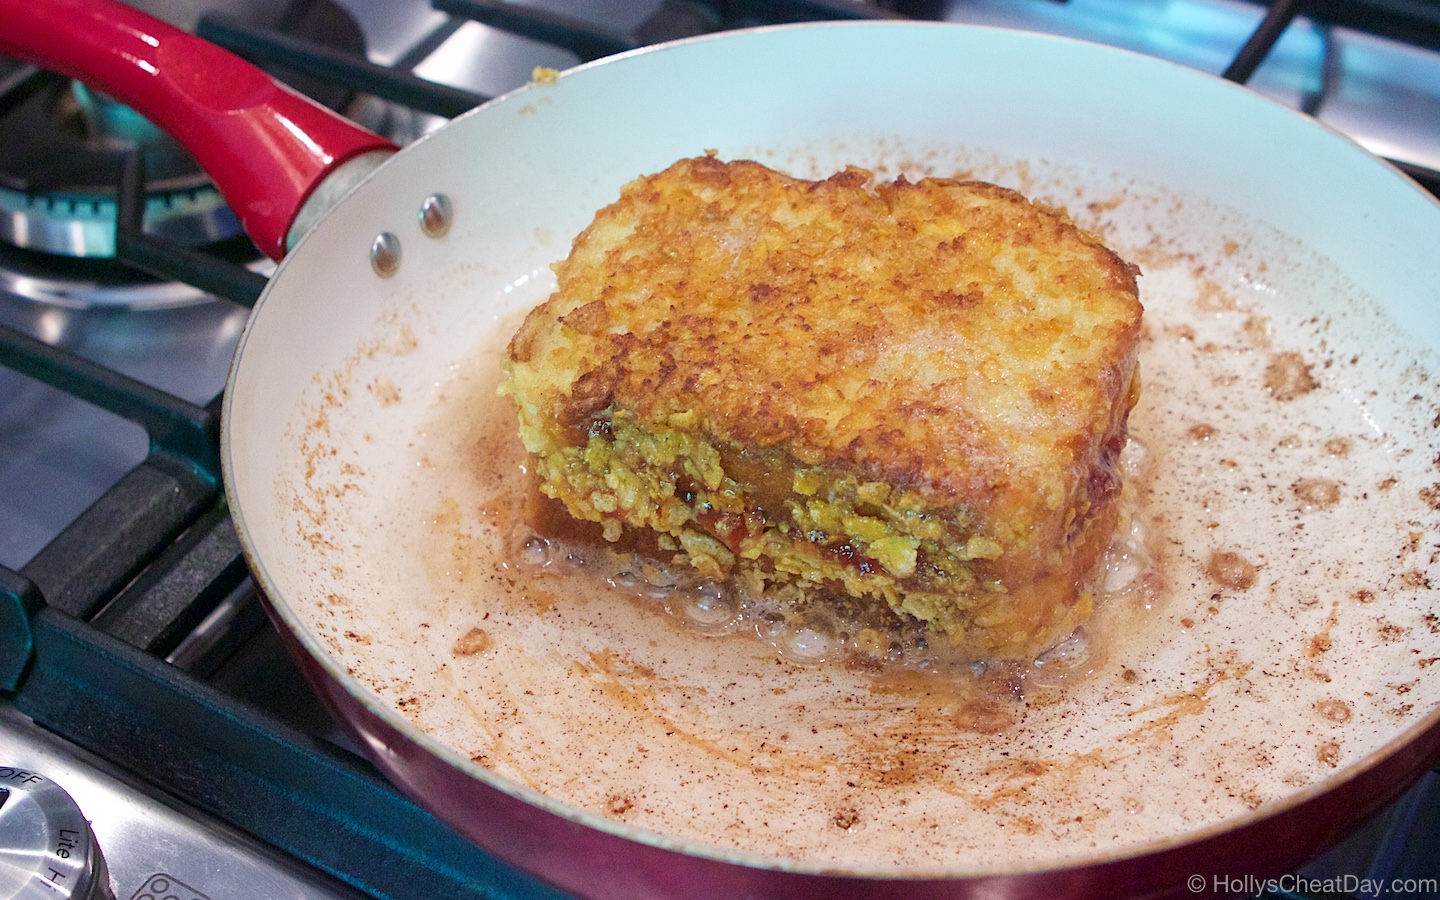
then the other side…
and enjoy!!!
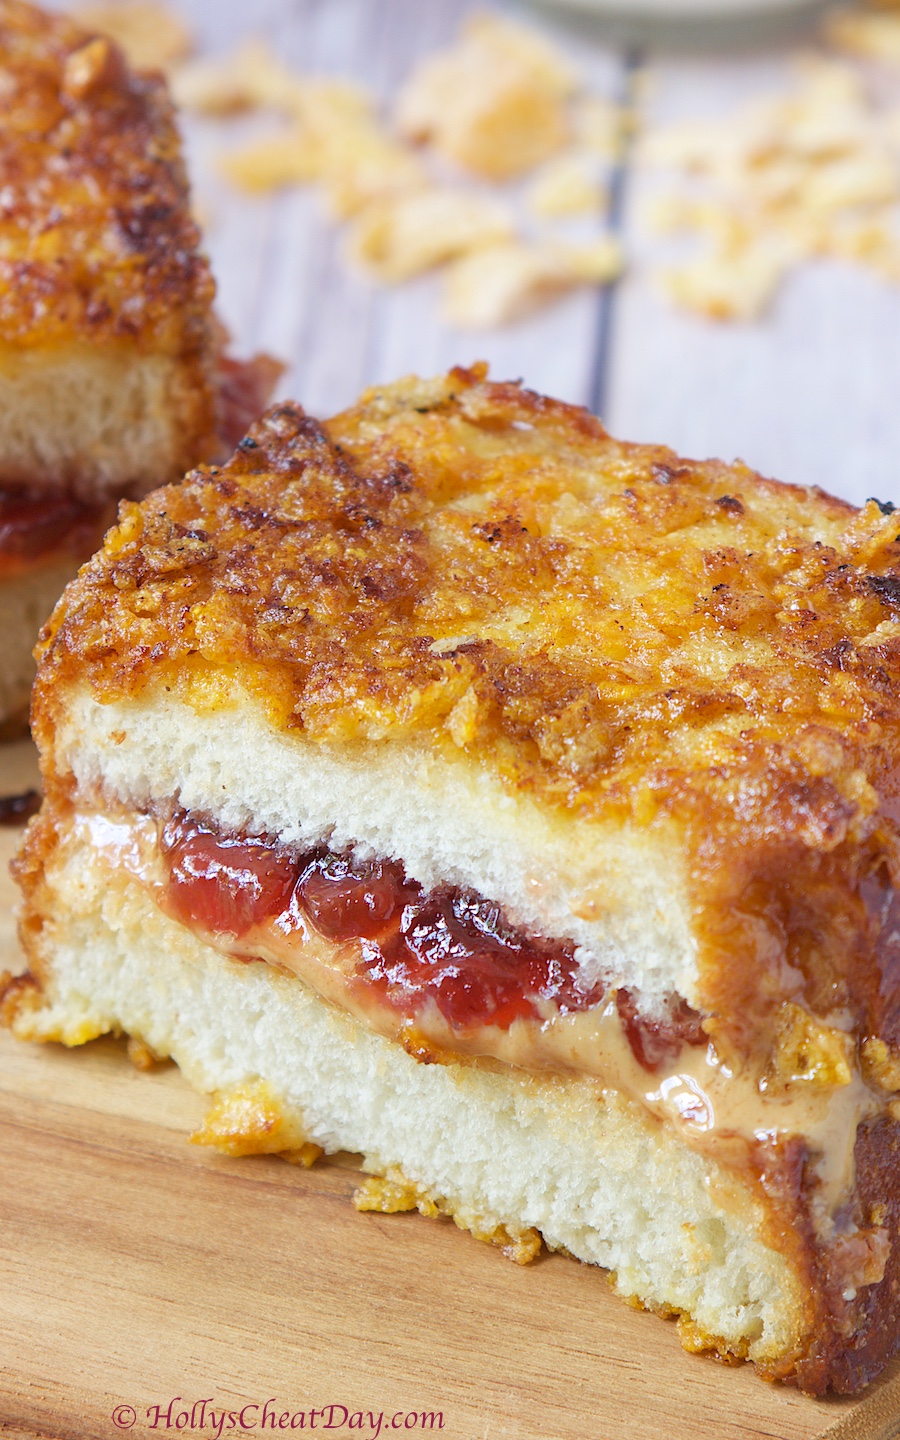
Fried Peanut Butter & Jelly Sandwich
2018-08-20 09:07:16
A new and delicious take on the classic peanut butter and jelly sandwich.
Write a review
Save Recipe
Print
Ingredients
  1. Thickly sliced bread (or a regular bread of your choice).
  2. 1-2 Cups of Frosted Flakes Cereal, Crushed.
  3. 2 Eggs.
  4. 2-3 Tablespoons of Milk.
  5. Peanut Butter.
  6. Jelly.
Instructions
  1. Measure out 1-2 cups of Frosted Flakes and crush them up with your hands, place on a plate and set aside.
  2. In a small bowl, whisk up your eggs and milk until well combined, set aside.
  3. Place a large pan on medium heat, melting a few tablespoons of butter into it.
  4. Take your slices of bread and put your desired amount of peanut butter and jelly on either side, then take the whole sandwich and dip into your egg wash on each side, then dip into the frosted flakes, making sure to heavily coat.
  5. Now place your sandwich into your pan for a couple of minutes on either side (or until desired crispness is reached), slice in half and enjoy!!!
Notes
  1. I bought a fresh baked loaf of bread that wasn't sliced, just so I could control the thickness of the slices, if you can do this as well I highly recommend it, it was ridiculously decadent.

By Holly
HOLLY'S CHEAT DAY https://www.hollyscheatday.com/

Filed Under: All Recipes, Dessert, Dinner

3 Ingredient Espresso Mousse

July 24, 2018 By Holly

Happy Happy Tuesday Y’all!!! With my incredibly long absence from this food blog, you might have surmised that I’ve just been super duper busy, and you would be correct.  Since the last time that I posted, I have wrapped 1 show, started and wrapped another show, and I have just started a new show and to top it all off, I have been moving all at the same time, with no time off… so basically I have been running around like a crazy person for weeks. 

Believe me, I’m not complaining to not having had any time off, when you work in the freelance world, that’s ideal, but I have had little to no time to sleep, let alone write a post haha.  So basically, please forgive my long absence and if any of you too, have been burning the candle at both ends, but have a crazy desire for a homemade dessert, well, you’re in luck. 

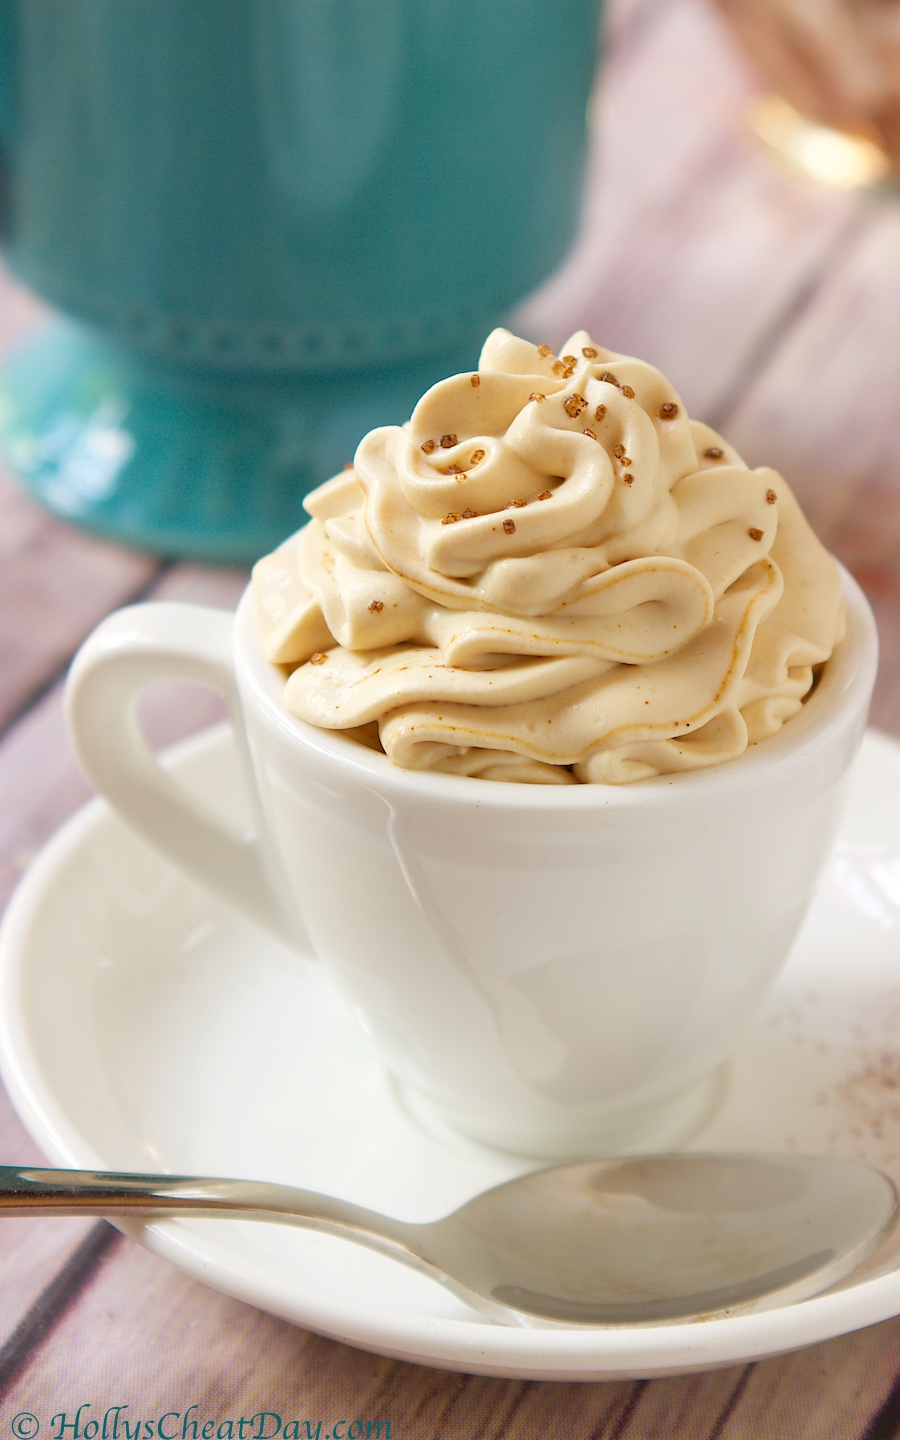
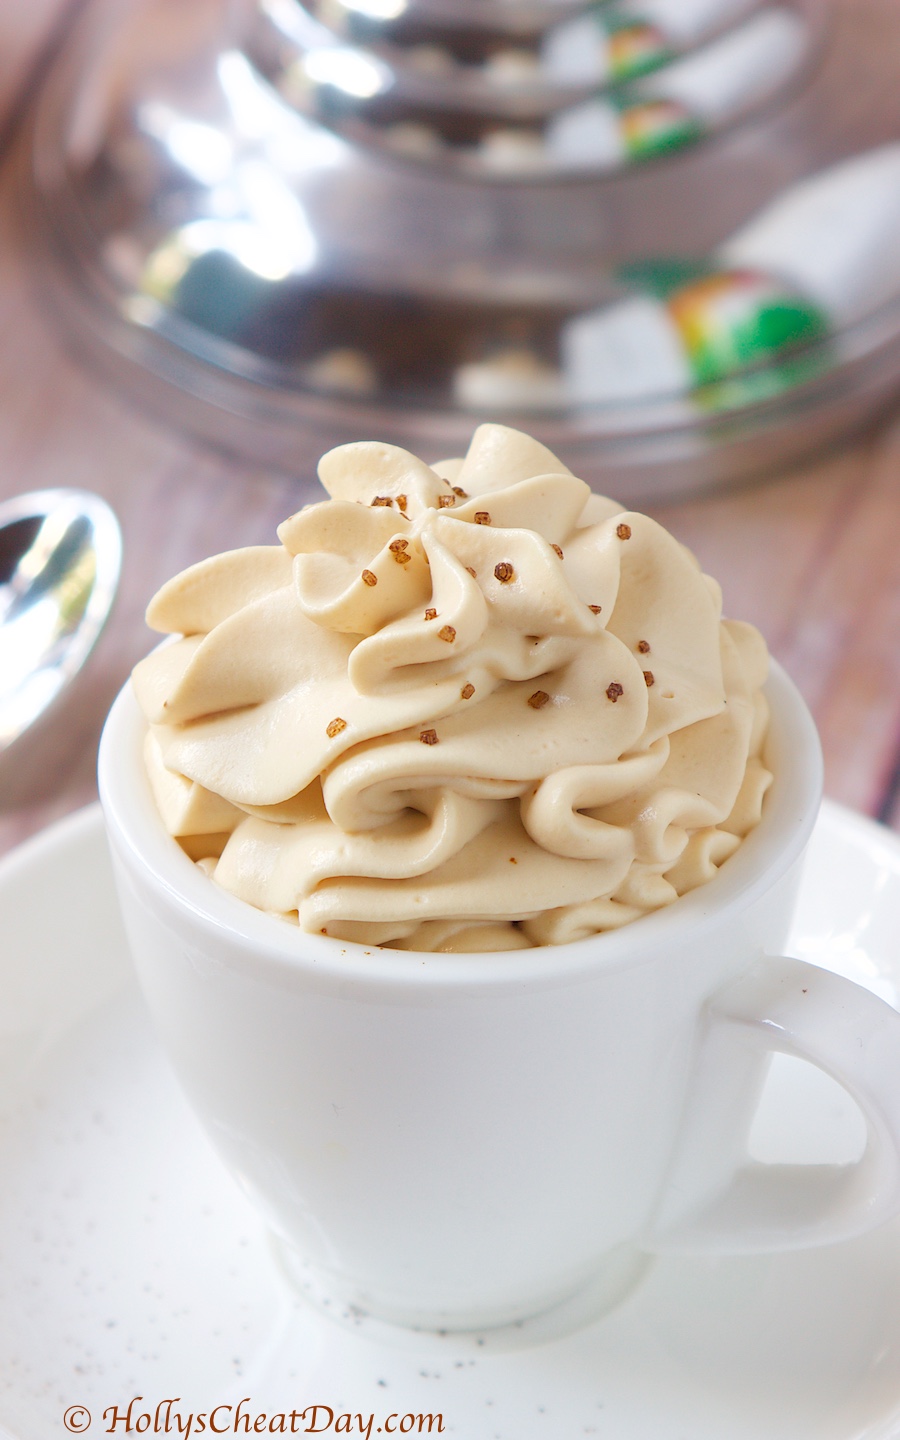
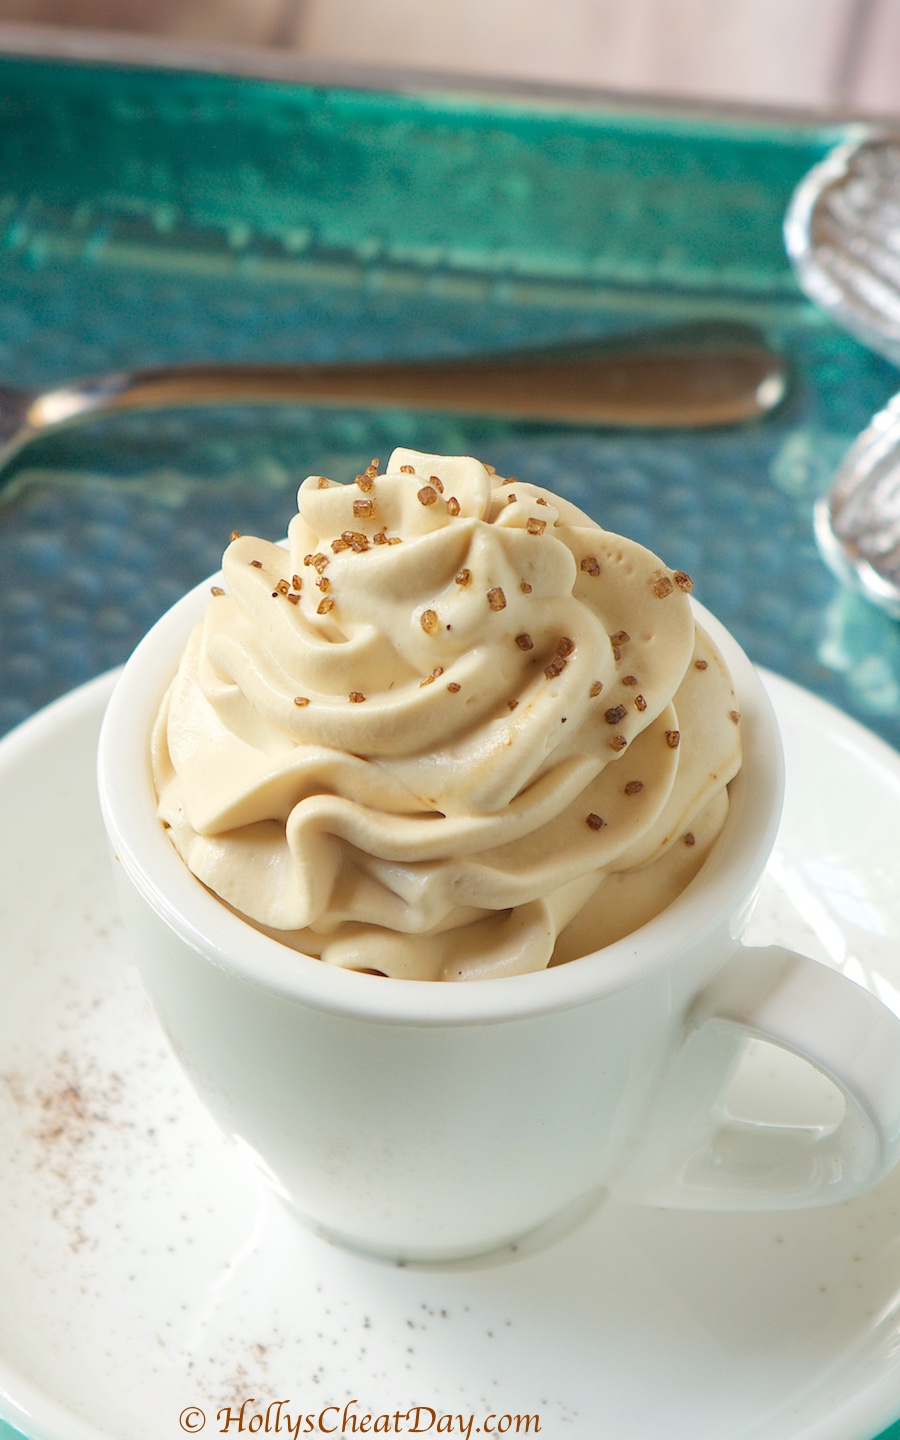
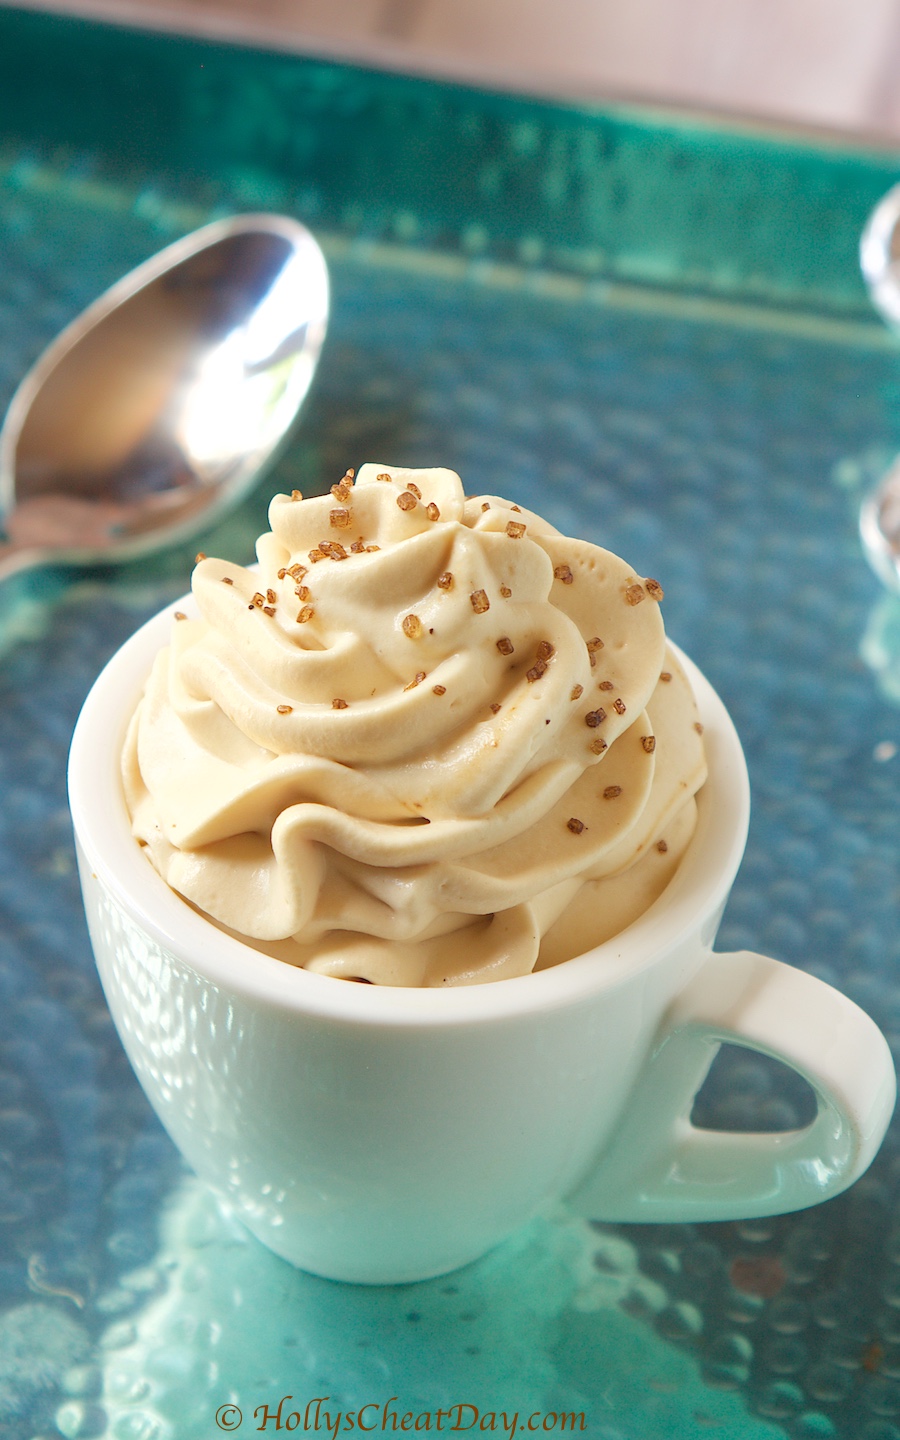
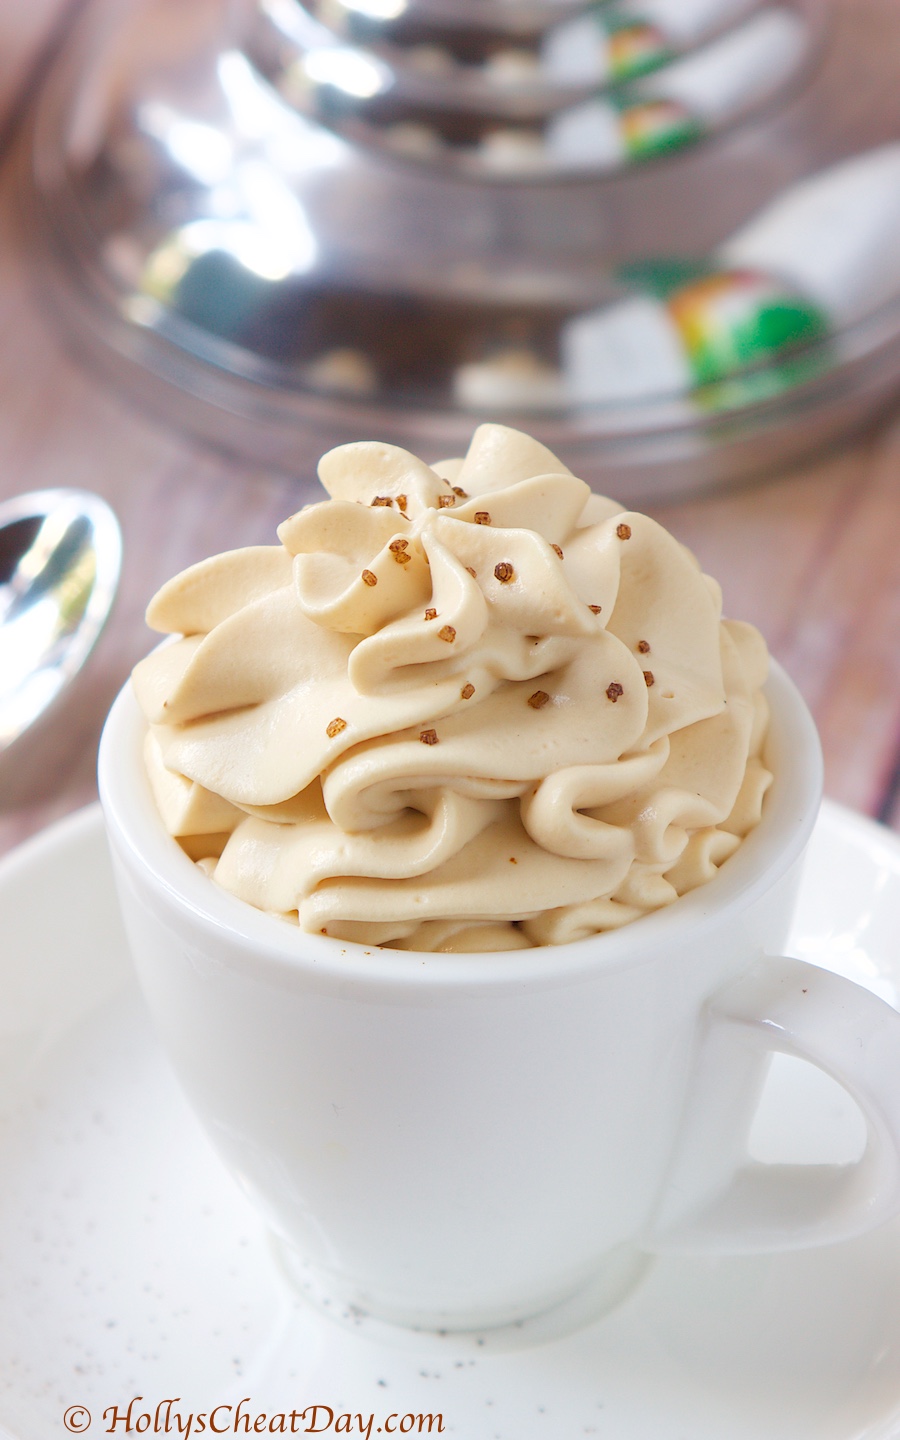
As the title says, this is a 3 ingredient recipe, but don’t let that make you think that this will be lacking in flavor, because oh boy, this stuff is phenomenal.  As a coffee and espresso lover, this dessert is so in my wheelhouse.  The small amount of espresso used in this recipe gives just the perfect amount of coffee flavor, and the deliciously whipped cream is soo smooth and decadent, droool y’all. 

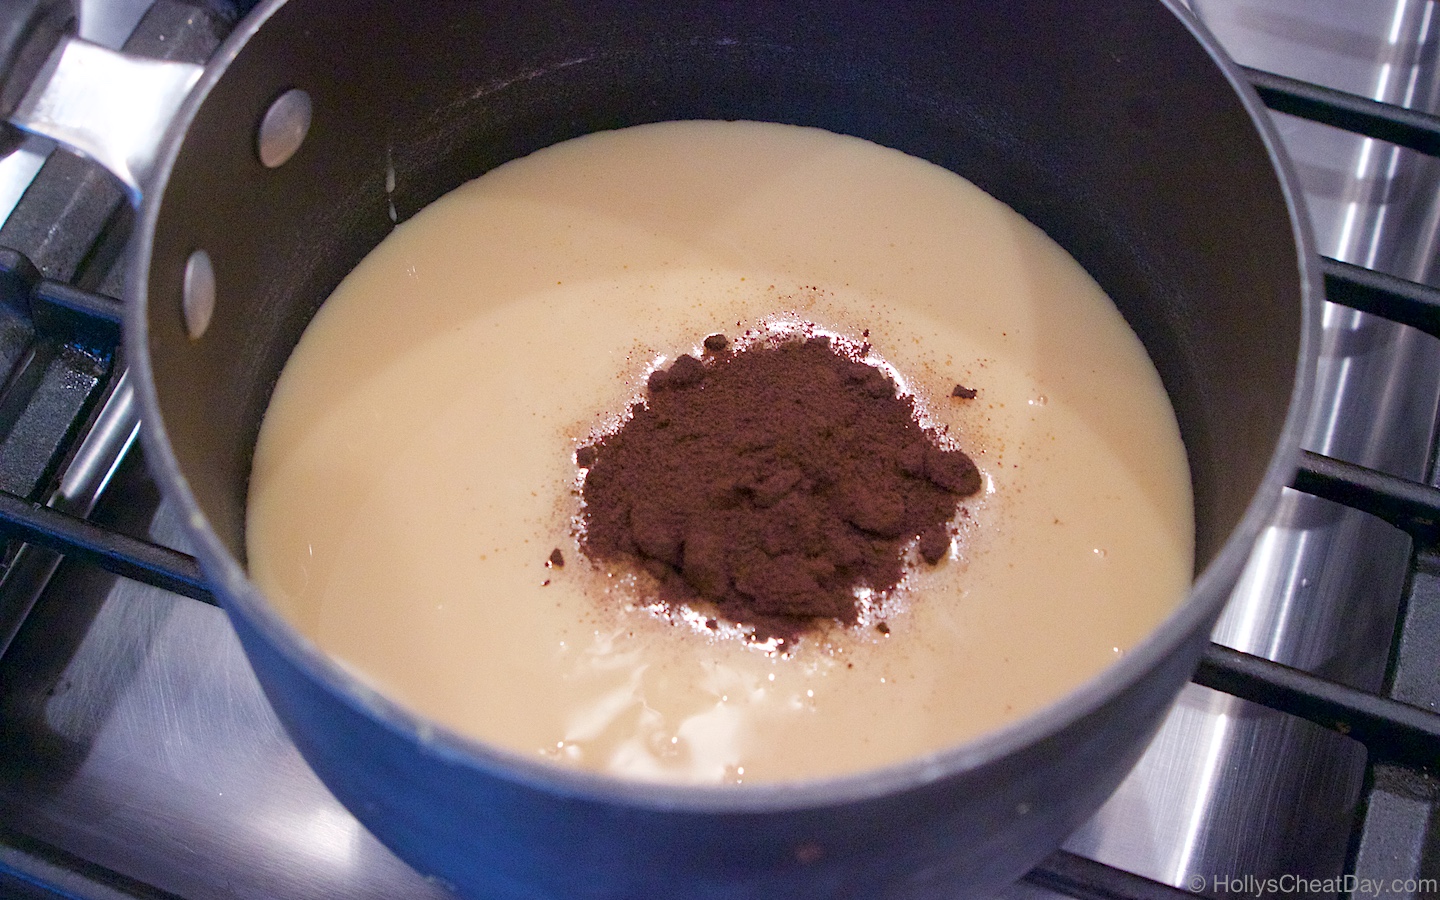
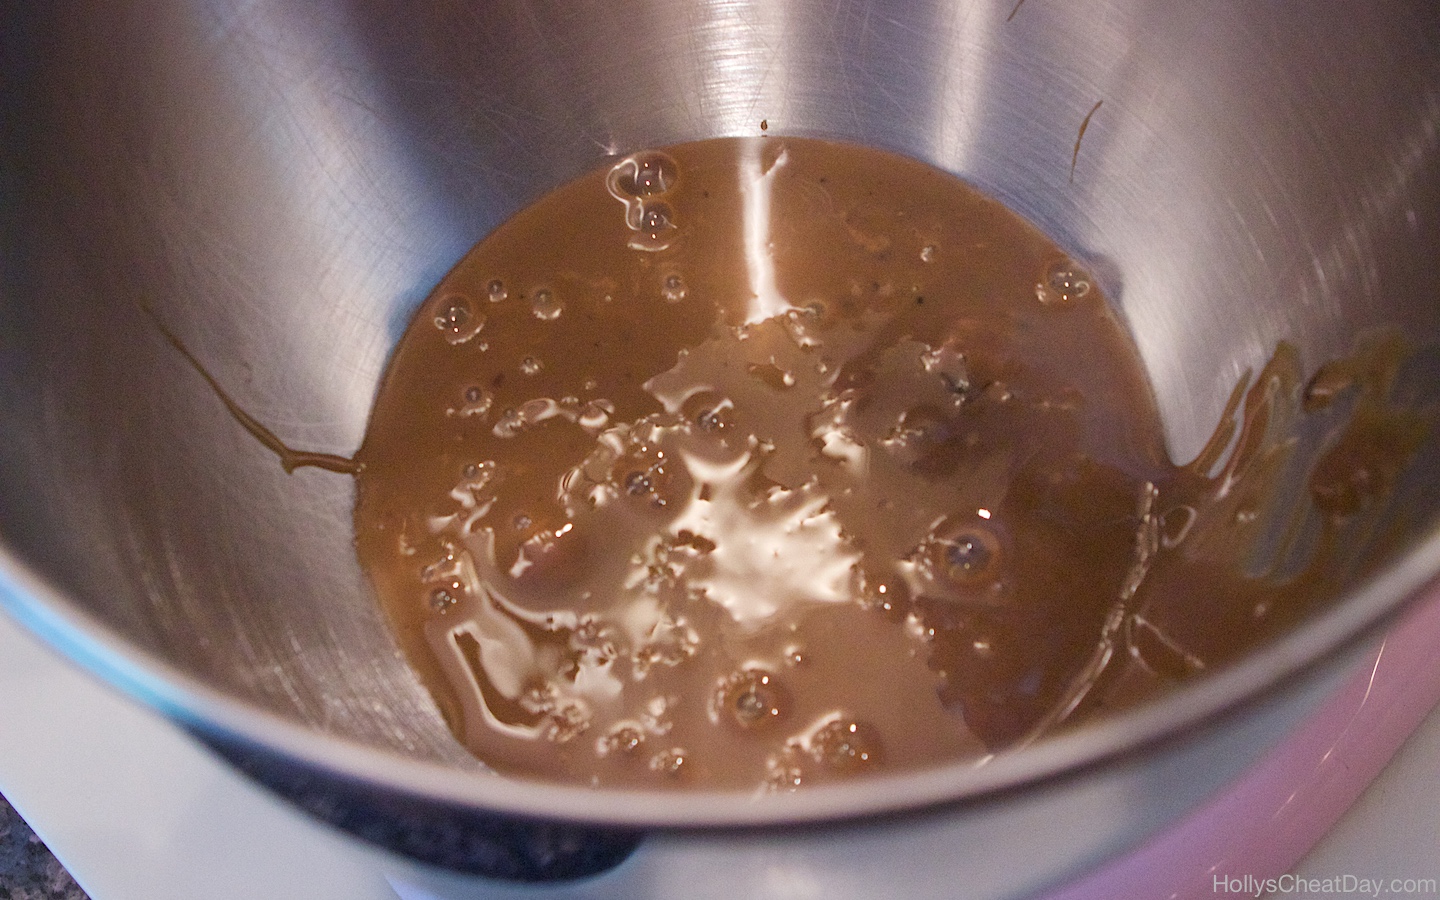
A quick heads up, when you cook the espresso with the sweetened condensed milk, it’s going to be ugly as sin, but don’t worry, it’s delicious and the heavy whipping cream will whip the ugly right out of it haha.  Also, since it’s hot as Hades pretty much everywhere, feel free to throw this stuff in the freezer for an easy homemade ice cream, you’re welcome.  I hope y’all are all having a fantastic week so far and thank you so much for stopping by.     

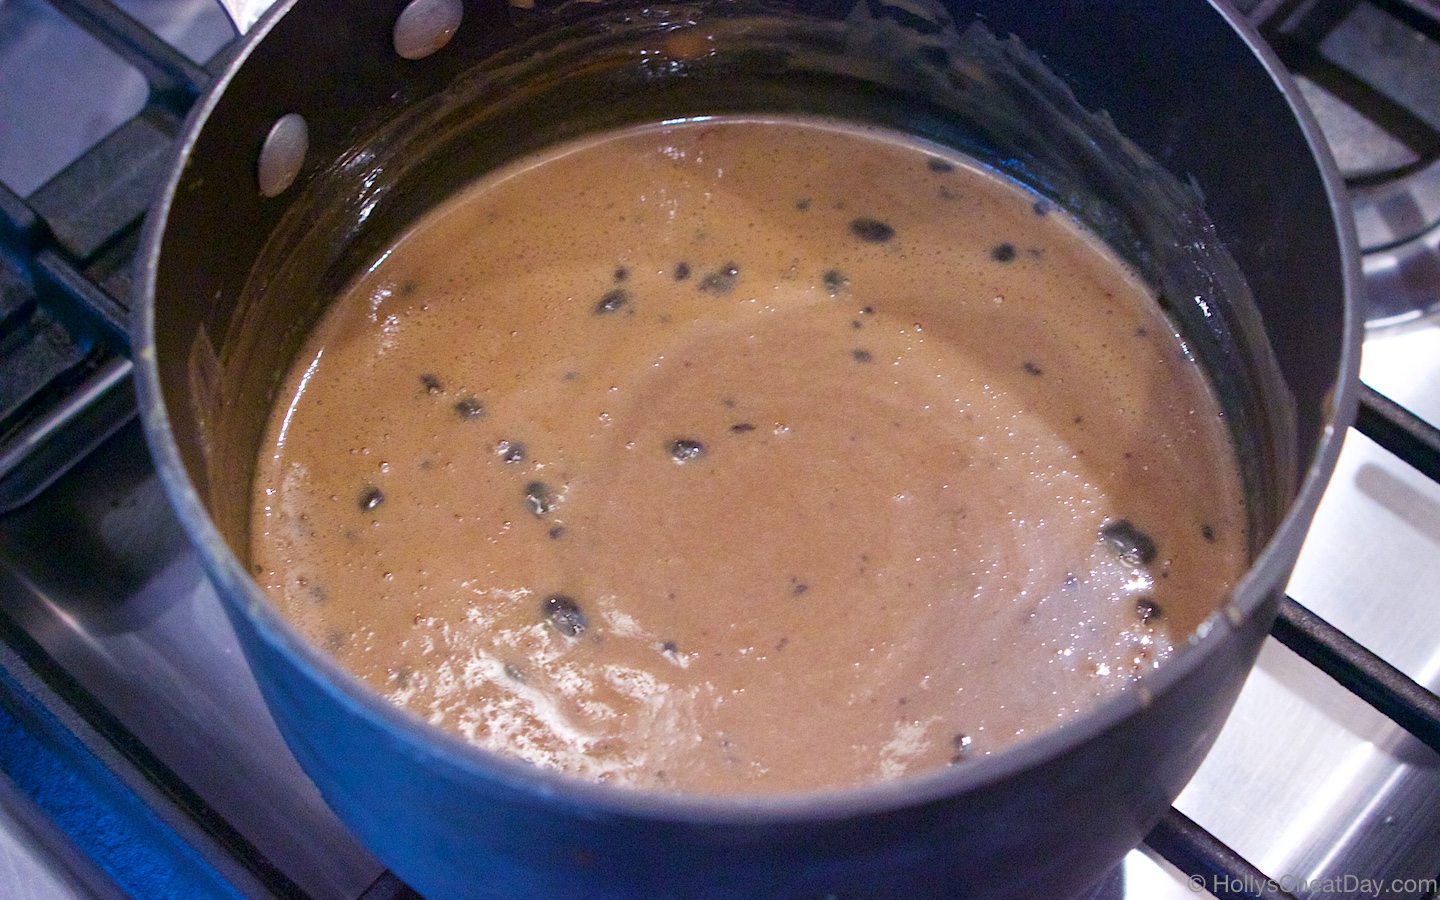
instant espresso placed into saucepan with sweetened condensed milk…

all cooked together and ready to get chilled in the fridge…

the unattractive looking espresso/condensed milk in your mixing bowl…

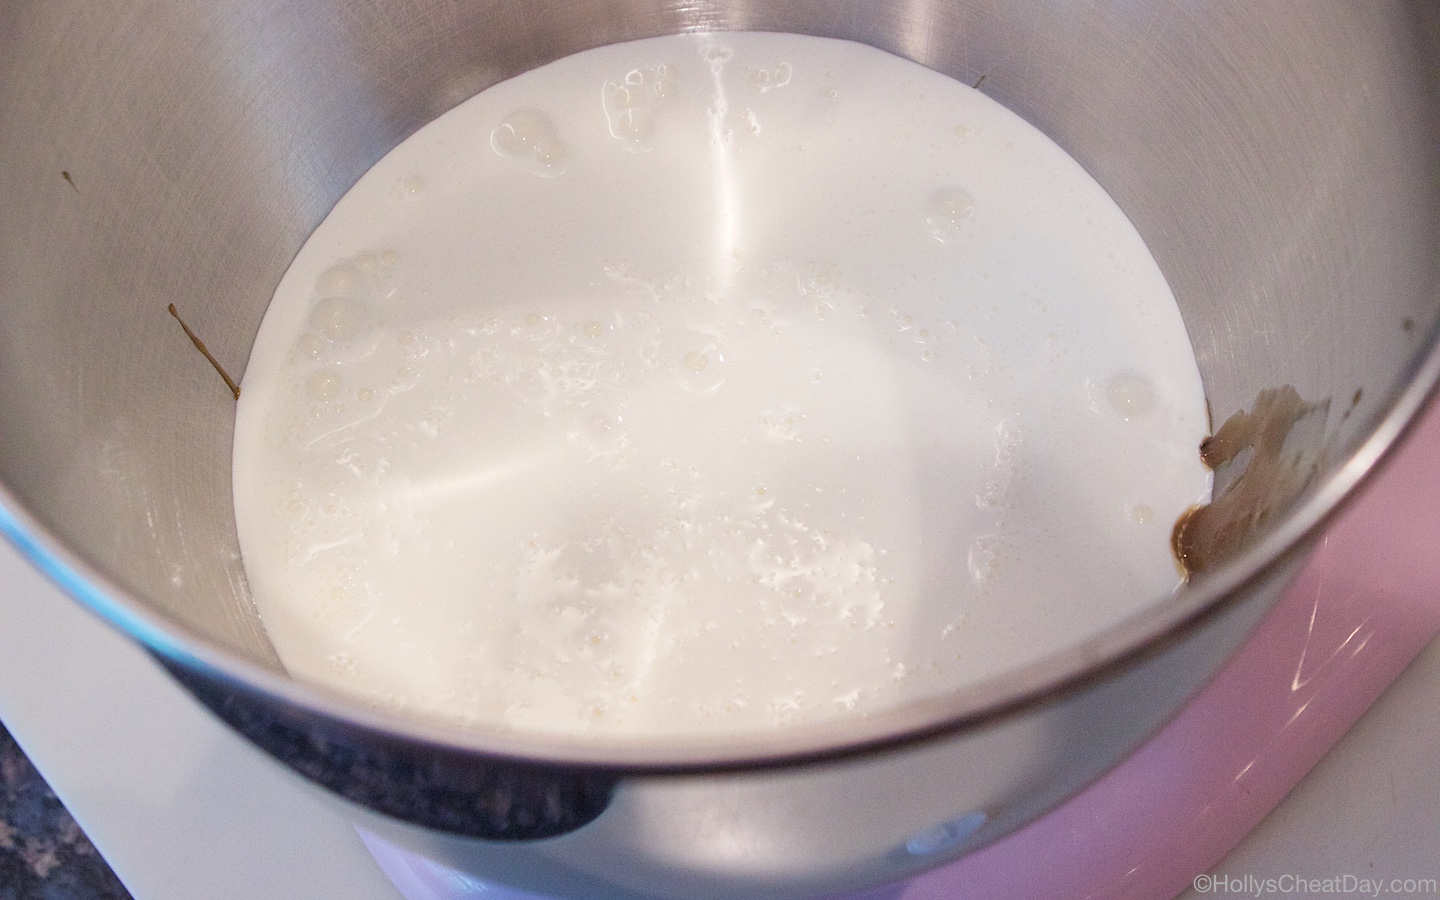
heavy whipping cream into your bowl too…

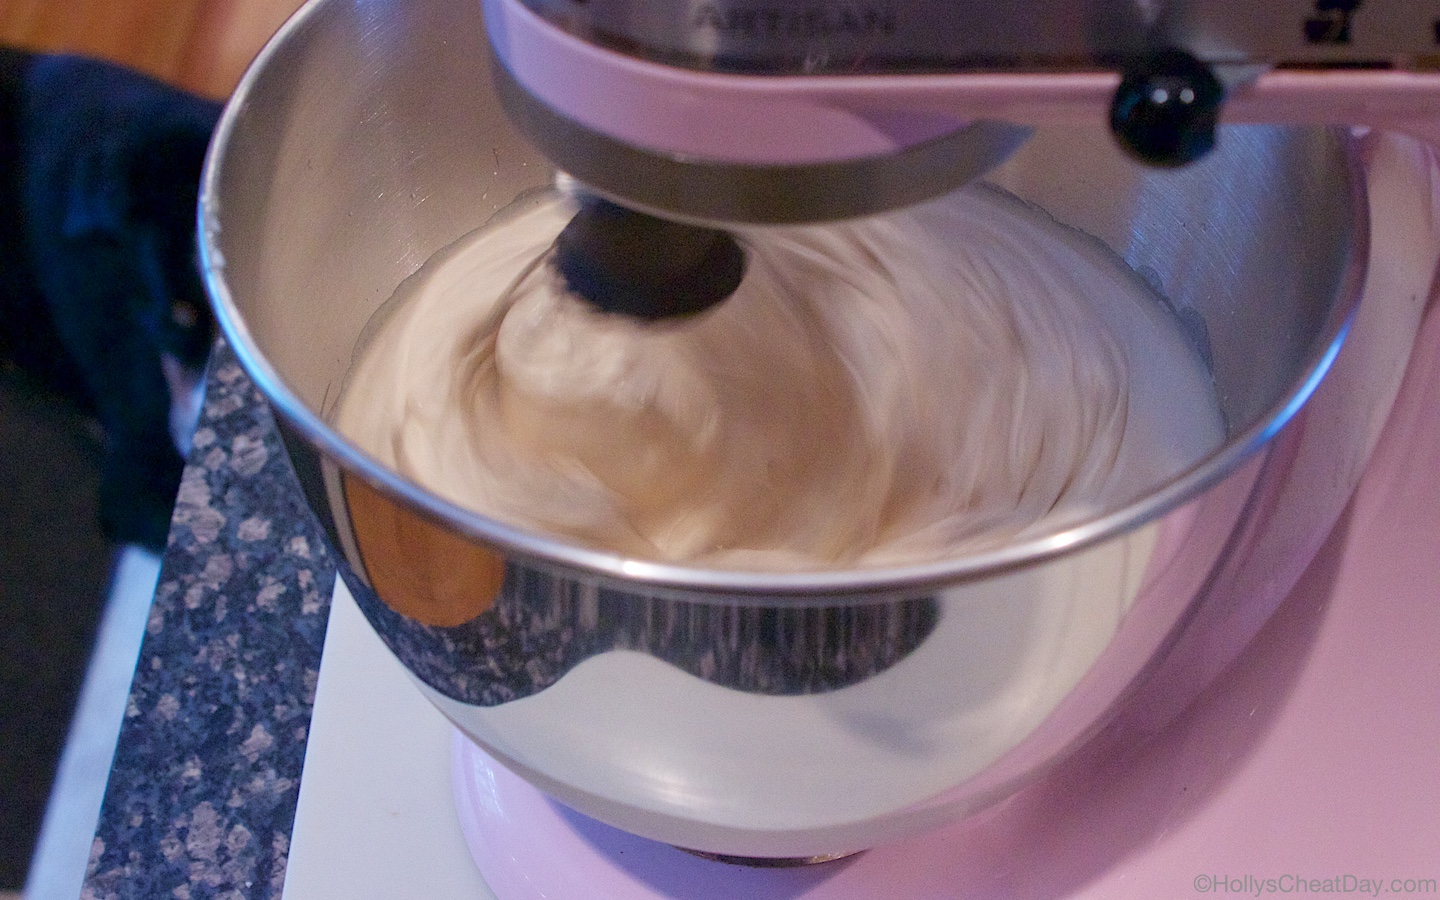
then whisk the heck out of it until stiff peaks form…

then enjoy!!!

3 Ingredient Espresso Mousse
2018-07-24 07:40:20
Deliciously easy mousse, made with only 3 ingredients you probably already have.
Write a review
Save Recipe
Print
Ingredients
  1. 1-14 Ounce Can of Sweetened Condensed Milk.
  2. 1 Pint of Heavy Whipping Cream.
  3. 1 Tablespoon of Instant Espresso.
Instructions
  1. In a small saucepan on low-medium heat, cook your sweetened condensed milk with your instant espresso until well combined, less than 5 minutes.
  2. Place your condensed milk/espresso mixture in the fridge for about 30 minutes or until cooled.
  3. Now with a handheld or stand mixer with whisk attachment, (I recommend placing your mixing bowl in the freezer for a few minutes before using) pour your heaving cream into your mixing bowl, along with the espresso/milk mixture and whisk until stiff peaks form.
  4. Serve immediately, or freeze it for a homemade ice cream, and enjoy!!!
HOLLY'S CHEAT DAY https://www.hollyscheatday.com/

Filed Under: All Recipes, Dessert

REPOST-Funfetti Cake Batter Frosting

May 30, 2018 By Holly

Happy Happy Wednesday y’all!!! and I’m going to be super lame and say Happy Birthday to me! Since it’s my birthday I wanted to repost a favorite fun recipe I did last year.  This frosting is so colorful, fun, easy to make and so, so delicious, I mean, you can’t go wrong with lots and lots of sprinkles!!! Anyways, y’all enjoy this wonderful recipe, thank you so much for stopping by and have a fantastic day!!! 

Happy Happy Tuesday everybody!!! Y’all, I’m way excited to share this recipe with you guys today, not just because this is an easy recipe,  but because it’s frosting… just frosting!!  Frosting is one of my absolute favorite things in the whole world to make homemade.  I know, you can totally buy frosting pre-made in those cute little cans, and that stuff is definitely tasty, but let’s face it, not nearly as delicious as the real thing. 

I love that you can easily tweak your frosting recipes with a little this and a little that until you get it juuust right.  That is exactly what I did with this recipe, hence the hodge podge order of my ‘how to’ pictures, I just kept adding to it what it needed to get it to the exact flavor that I wanted (but simplified in the recipe section, don’t worry). 
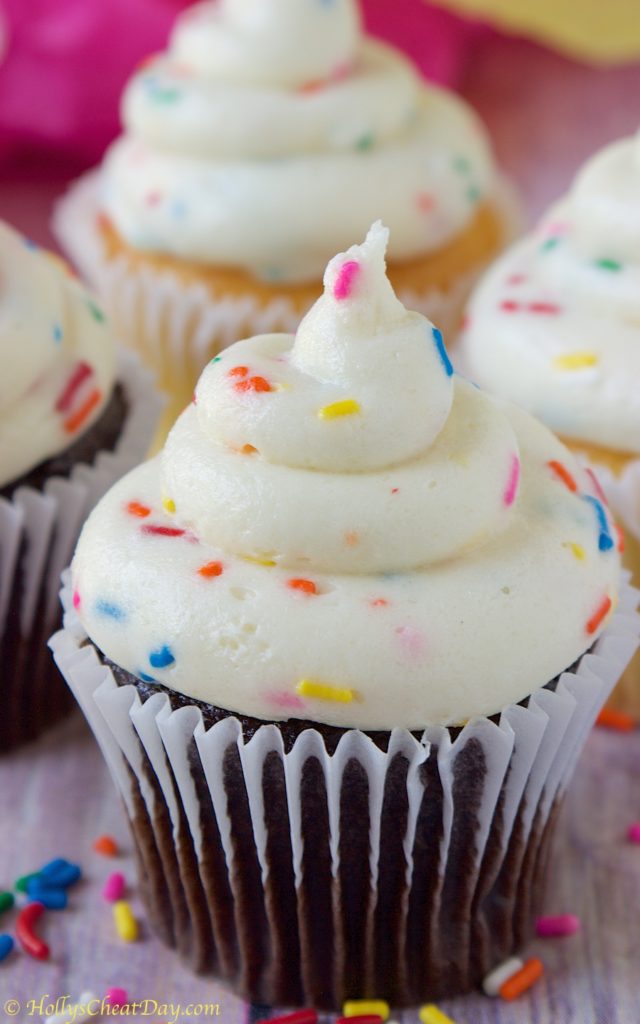
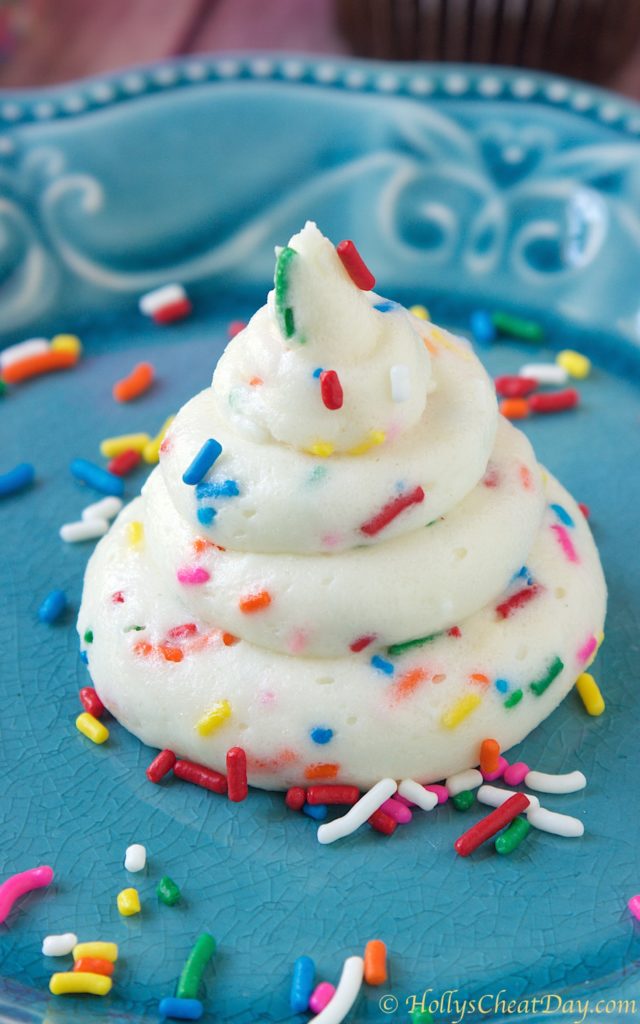
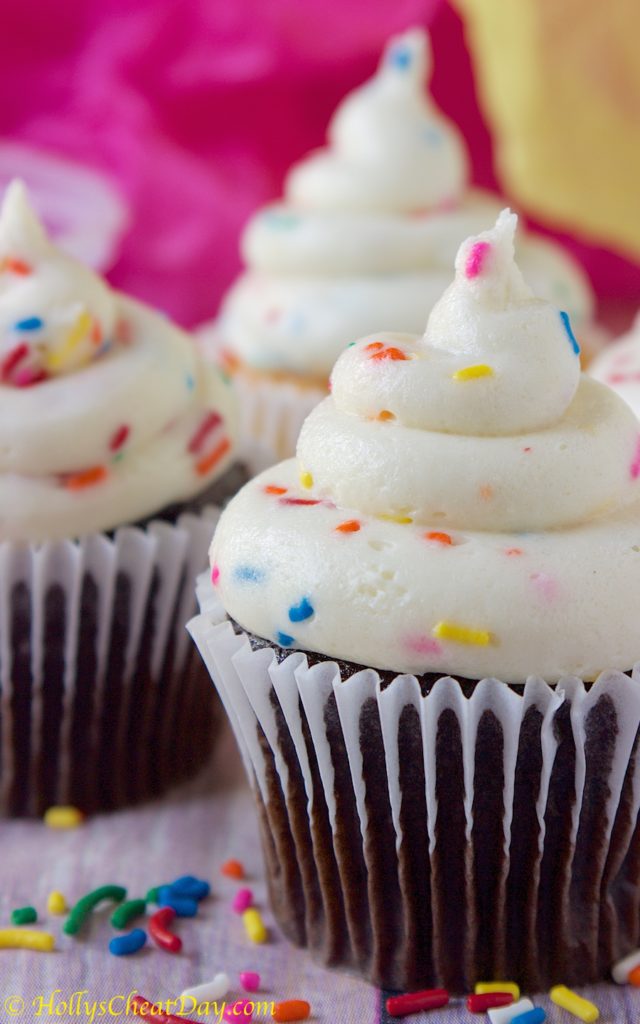
You guys! you don’t even know how amazing this frosting is! OMG it tastes just like funfetti cake batter, if I didn’t think I would go into insulin shock be sick, I would have eaten every freaking bite of this stuff with a spoon, or you know, a shovel.  Publix totally hooked me up with some naughty naked vanilla and chocolate cupcakes, and I piled about a pound of this absolutely incredible frosting on every single one. 
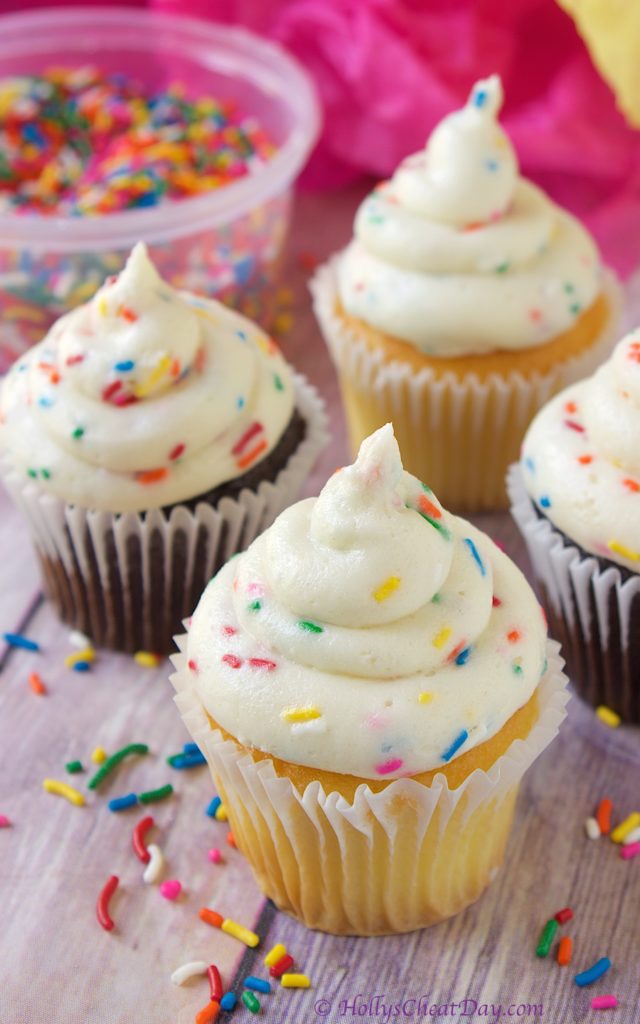
Which one tasted better? That would be like picking my favorite child (you know, if I actually had kids) because this frosting made both vanilla and chocolate cupcakes taste amazing either way.  You totally need this frosting on every single cake item in your life, or just in a spoon.  I promise you will love this.  Thank you so much for stopping by and I hope you have a wonderful day!!!  

but first, butter!

mix up and add your powdered sugar…

some of the cake mix and cream cheese…

mix, mix , mix and add some heavy cream…

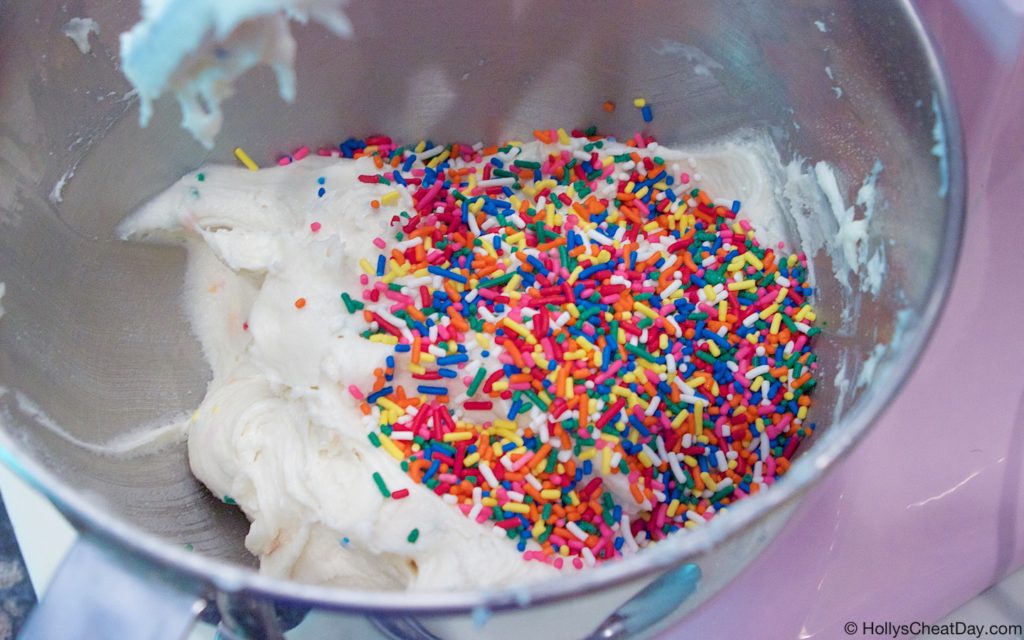
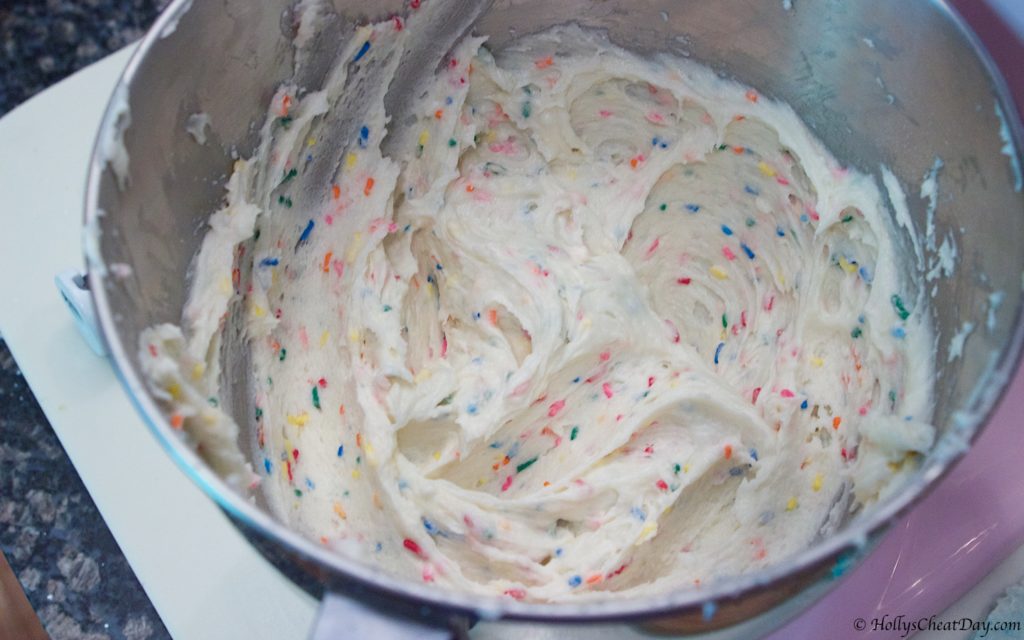
then all of the sprinkles…

mix, mix, mix and enjoy!!!

and enjoy!!!
Funfetti Cake Batter Frosting
2017-05-22 14:40:20
All the flavor of funfetti cake in every bite of this delicious frosting, you will want to put it on everything.
Write a review
Save Recipe
Print
Ingredients
  1. 3 Cups of Powdered Sugar.
  2. 2 Sticks (1 Cup) of Unsalted Butter, Room Temperature.
  3. 1 (15.25 Ounce) Box of Funfetti Cake Mix.
  4. 4 Ounces of Cream Cheese, Room Temperature.
  5. 2/3 Cup of Heavy Cream.
  6. 1 Tablespoon of Vanilla Extract.
  7. A Dash of Salt.
  8. 1/2-2/3 Cup of Extra Sprinkles (Optional).
Instructions
  1. With a handheld or stand mixer with paddle attachment, place your butter and cream cheese into your bowl and beat until light and fluffy.
  2. Now, 1 cup at a time, beat in your powdered sugar until all is mixed in.
  3. Now add in your heavy cream and vanilla and mix again.
  4. Now add in the whole box of dry funfetti cake mix about a 1/3 at a time until all is mixed in.
  5. Add in your extra sprinkles, and if you would like your frosting thinner, feel free to add in more heavy cream a tablespoon at a time.
  6. Place into a large piping bag or plastic big, snip off the end and pipe on everything in sight and enjoy!
By Holly
HOLLY'S CHEAT DAY https://www.hollyscheatday.com/

Filed Under: All Recipes, Dessert

Easy Banana Cream Pie Dip

May 9, 2018 By Holly

Happy Happy Wednesday y’all!!! Well, it seems in the Atlanta area, that Spring is officially over (which we had all of 3 days of) and now we’re full on into Summer.  If any of y’all think I’m being dramatic, I want to let y’all know it will be in the 90’s here this weekend, which in my humble opinion is waaaay too dadgum early for that kind of nonsense. 

Can we just agree that hot as crud temperatures like that just need to hold their horses until at least July?  On the bright side of constant boob sweat of the impending heat is summer time desserts, which to me includes all things banana, lemon, lime and strawberry, especially in pie form. 
Well, in all honesty, as much as I love pies, they always end up being the biggest hassle for me to make, and they are certainly time consuming, so I figure, why not make one of my favorite pies in dip form?  When I say that literally throwing this dip together took not even all of 10 minutes, I’m not even kidding. 
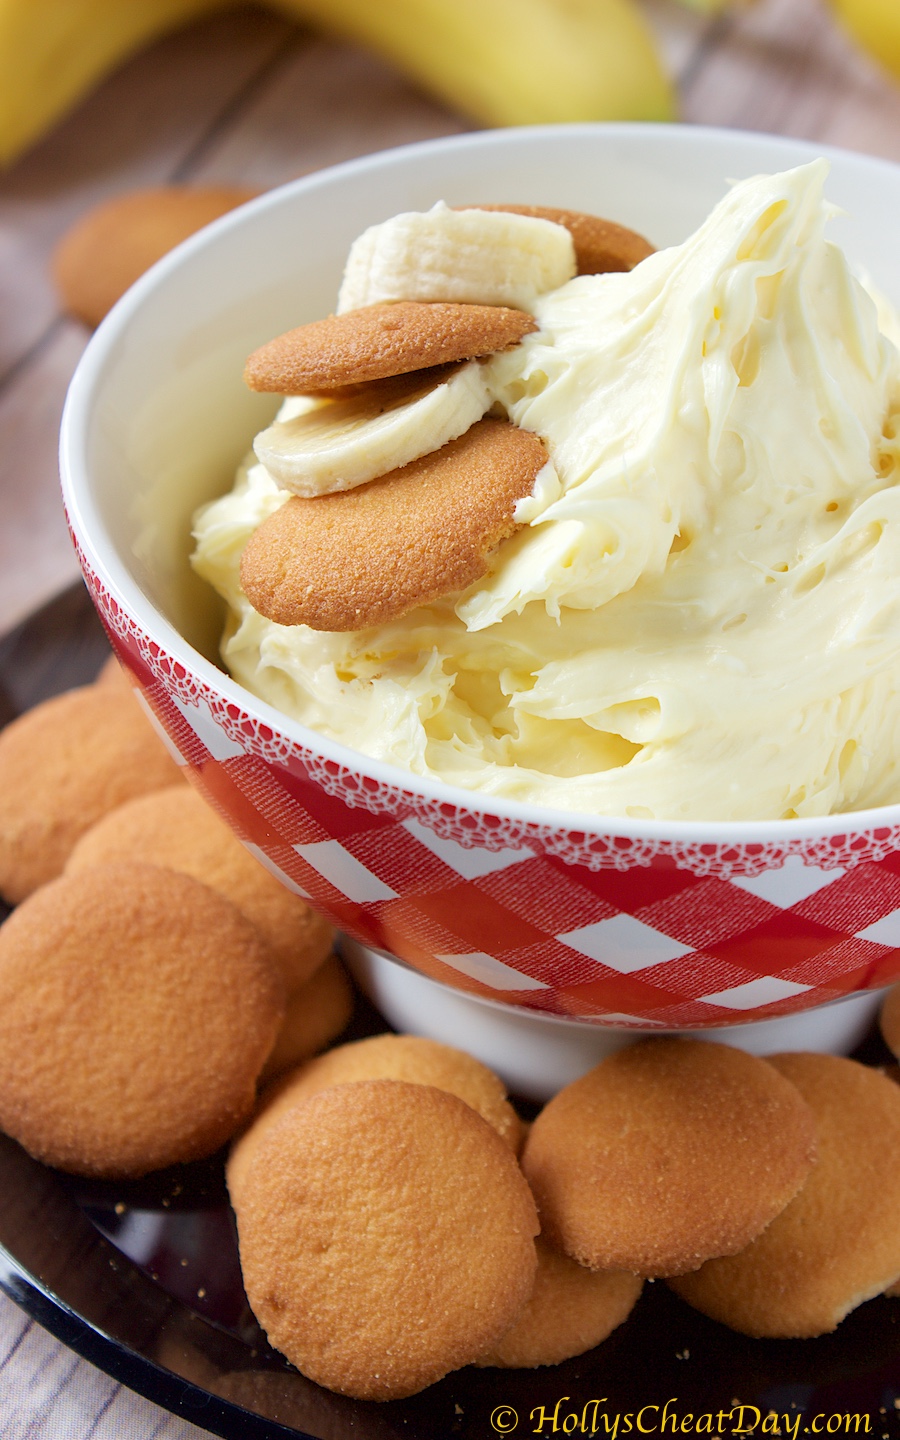
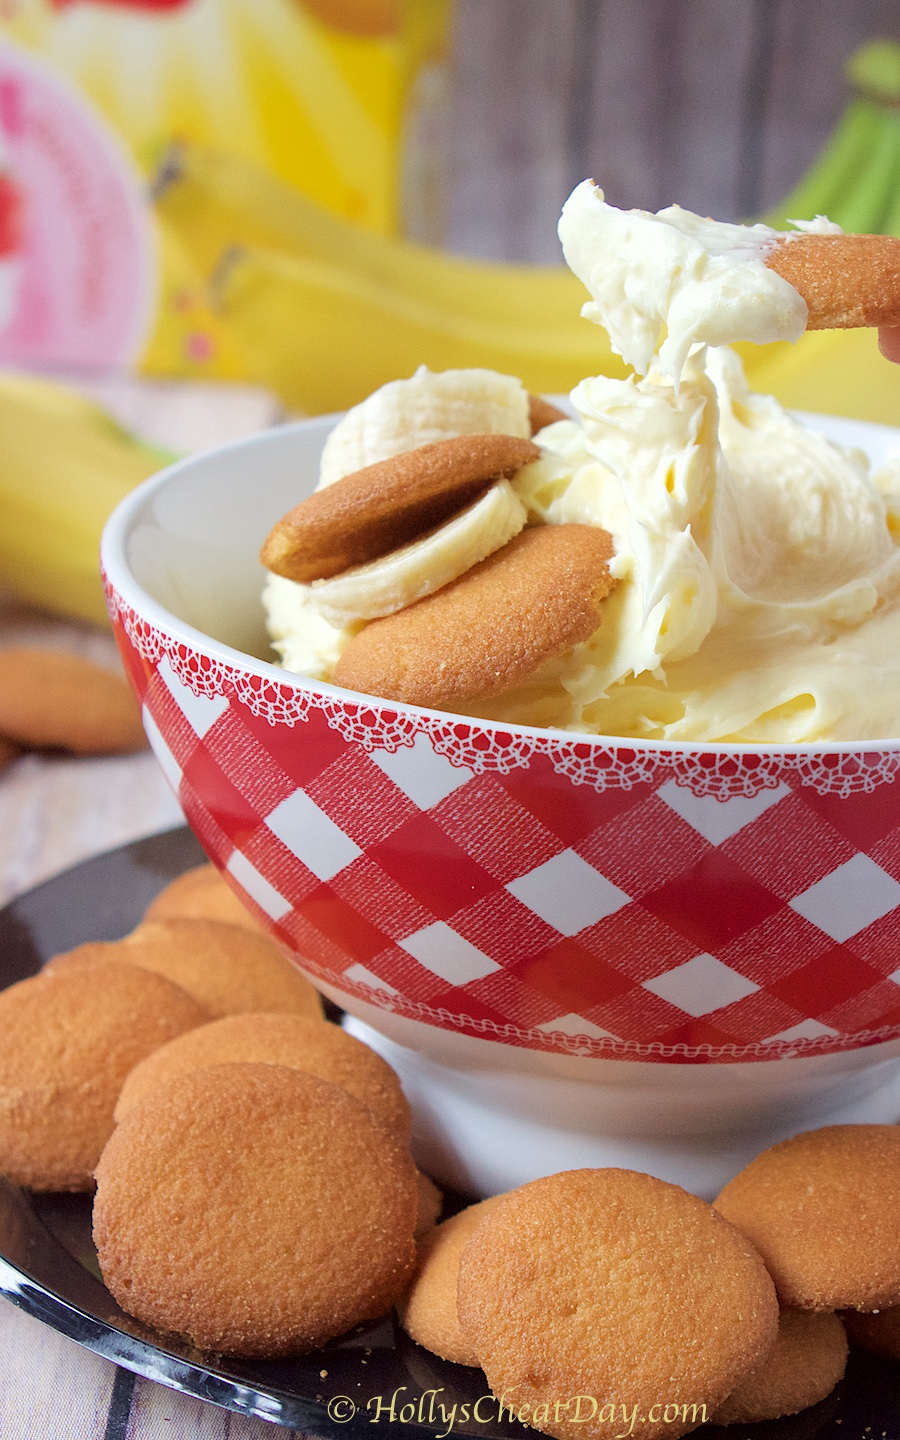
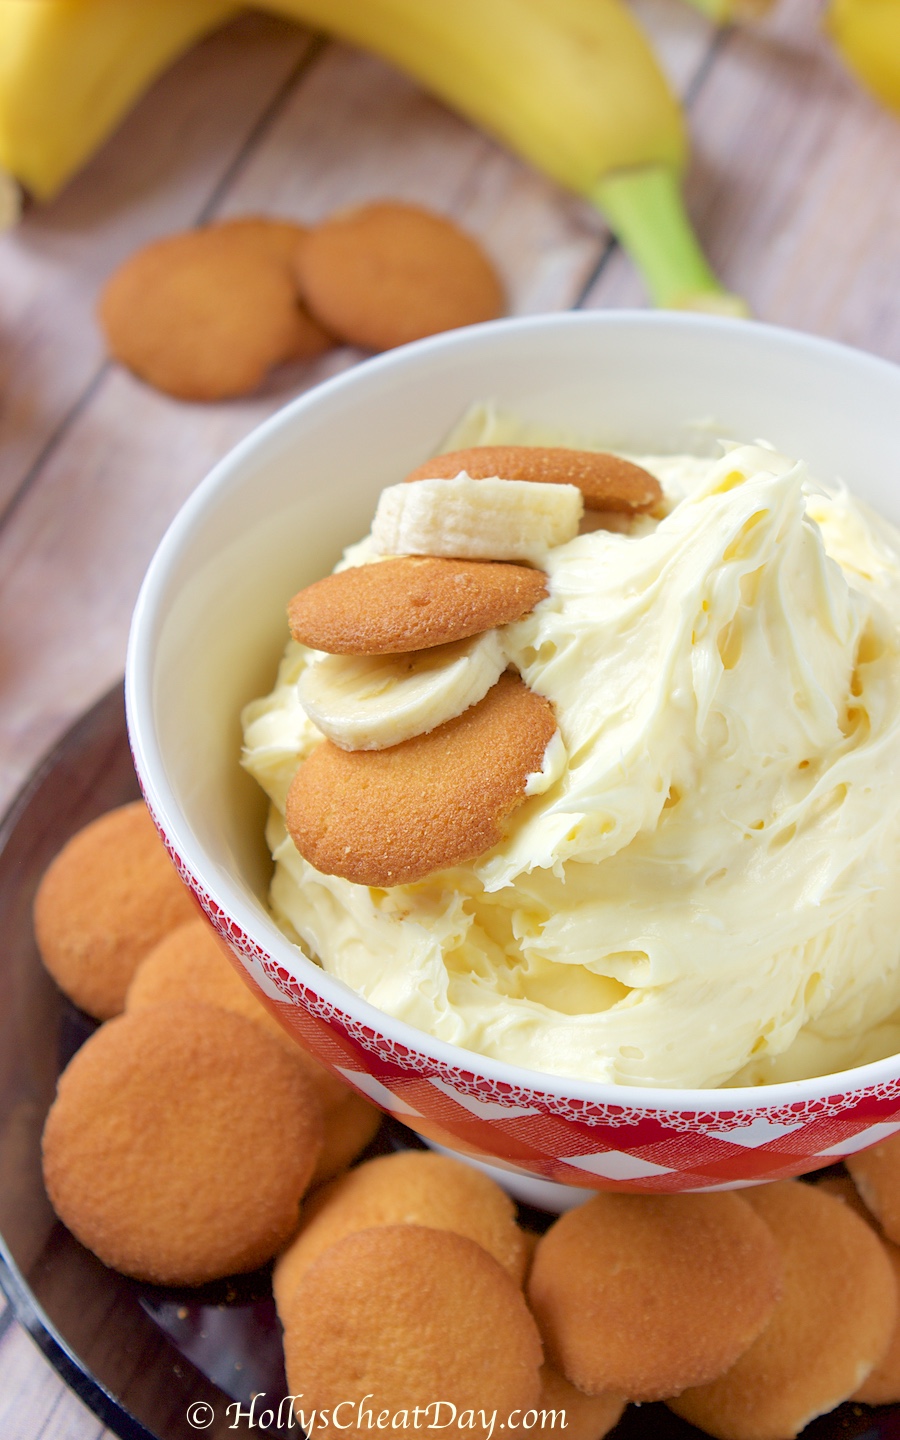
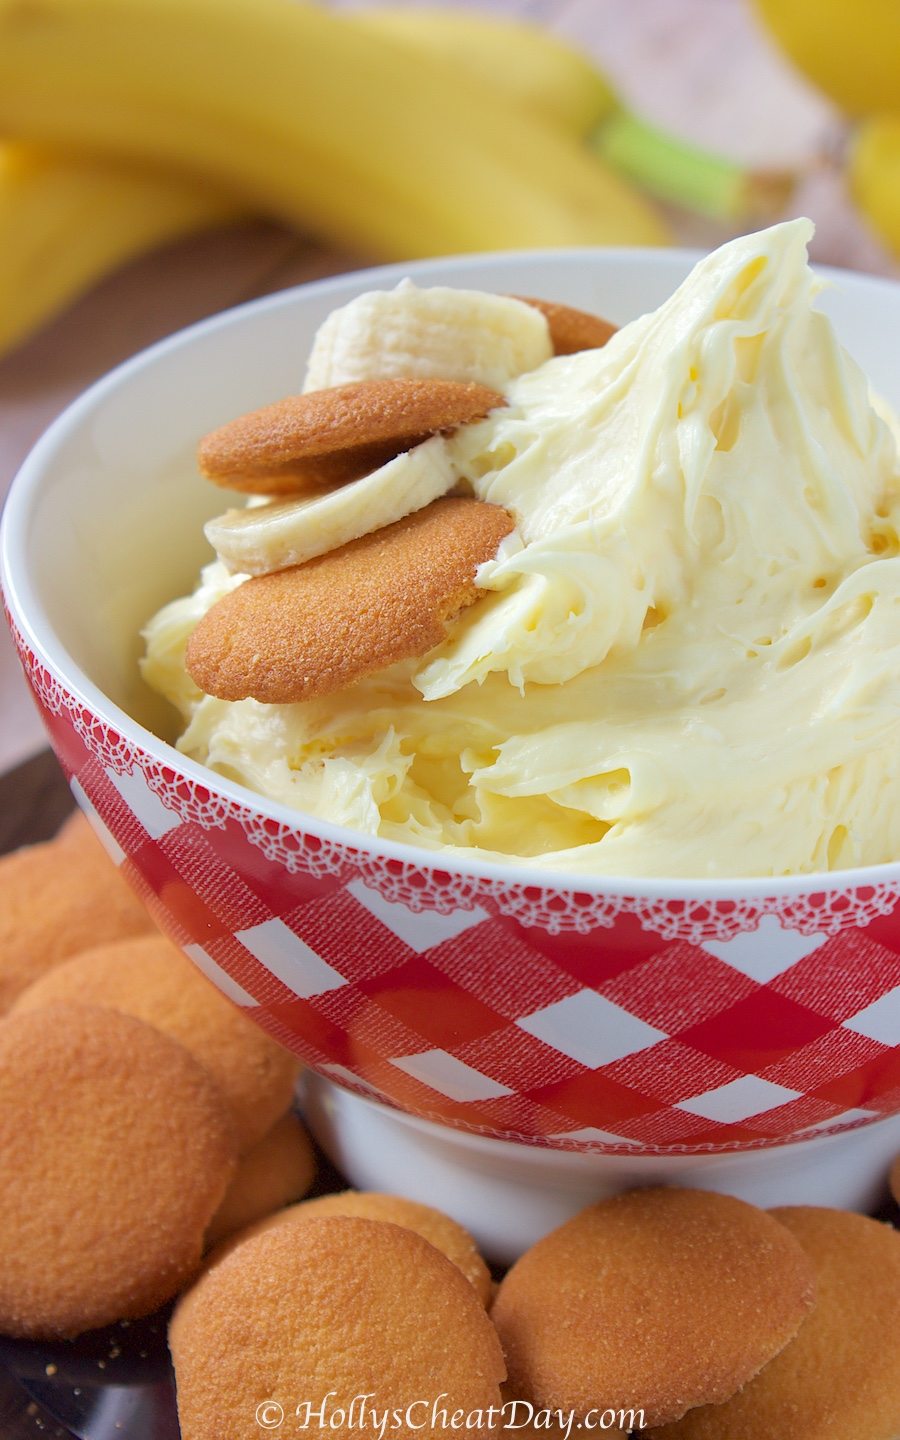
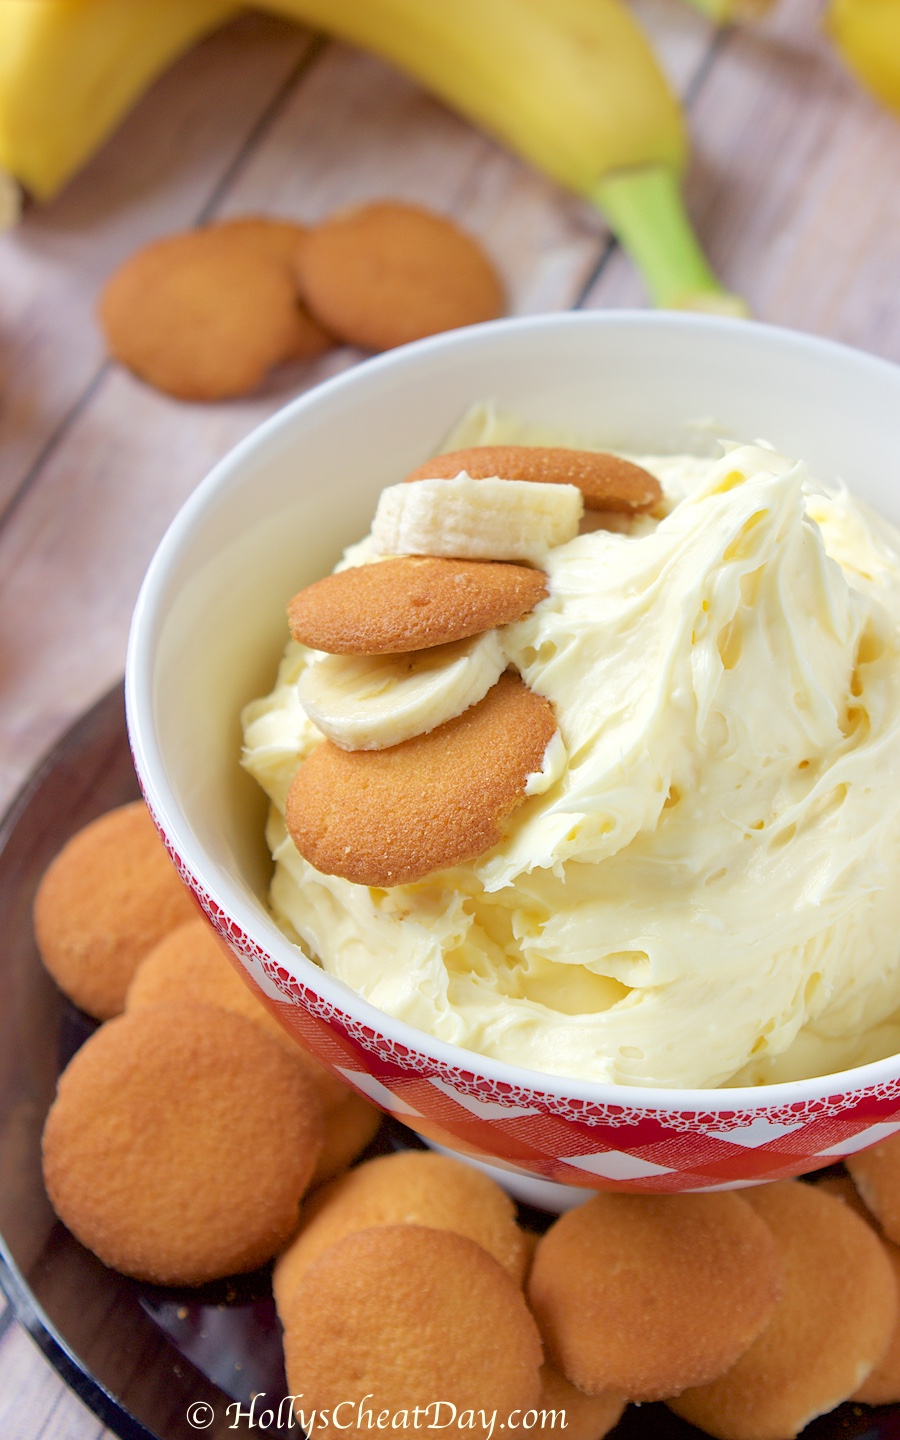
This stuff is decadent too, rich, creamy, and full of all things banana cream pie flavor.  If you’re feeling fancy, you could even layer this dip with banana slices, maybe throw a little whipped cream or meringue on top for good measure.  I personally just threw it in a bowl and went to town on it with Nilla Wafers, so there you go.  Thank you so much for stopping by and I hope you all have a fantastic day!

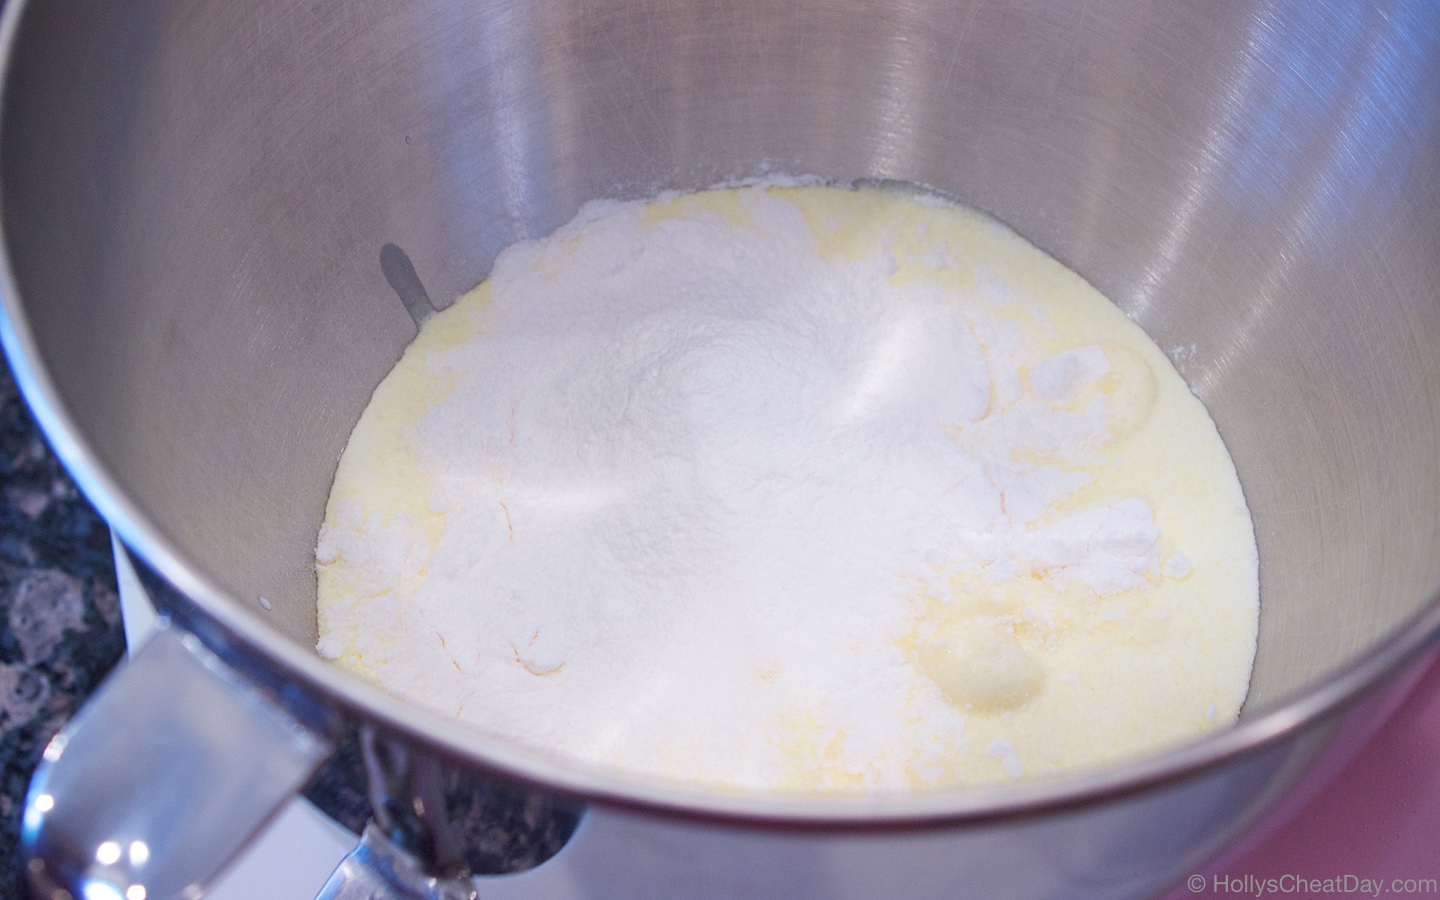
whipping cream and banana pudding mix…

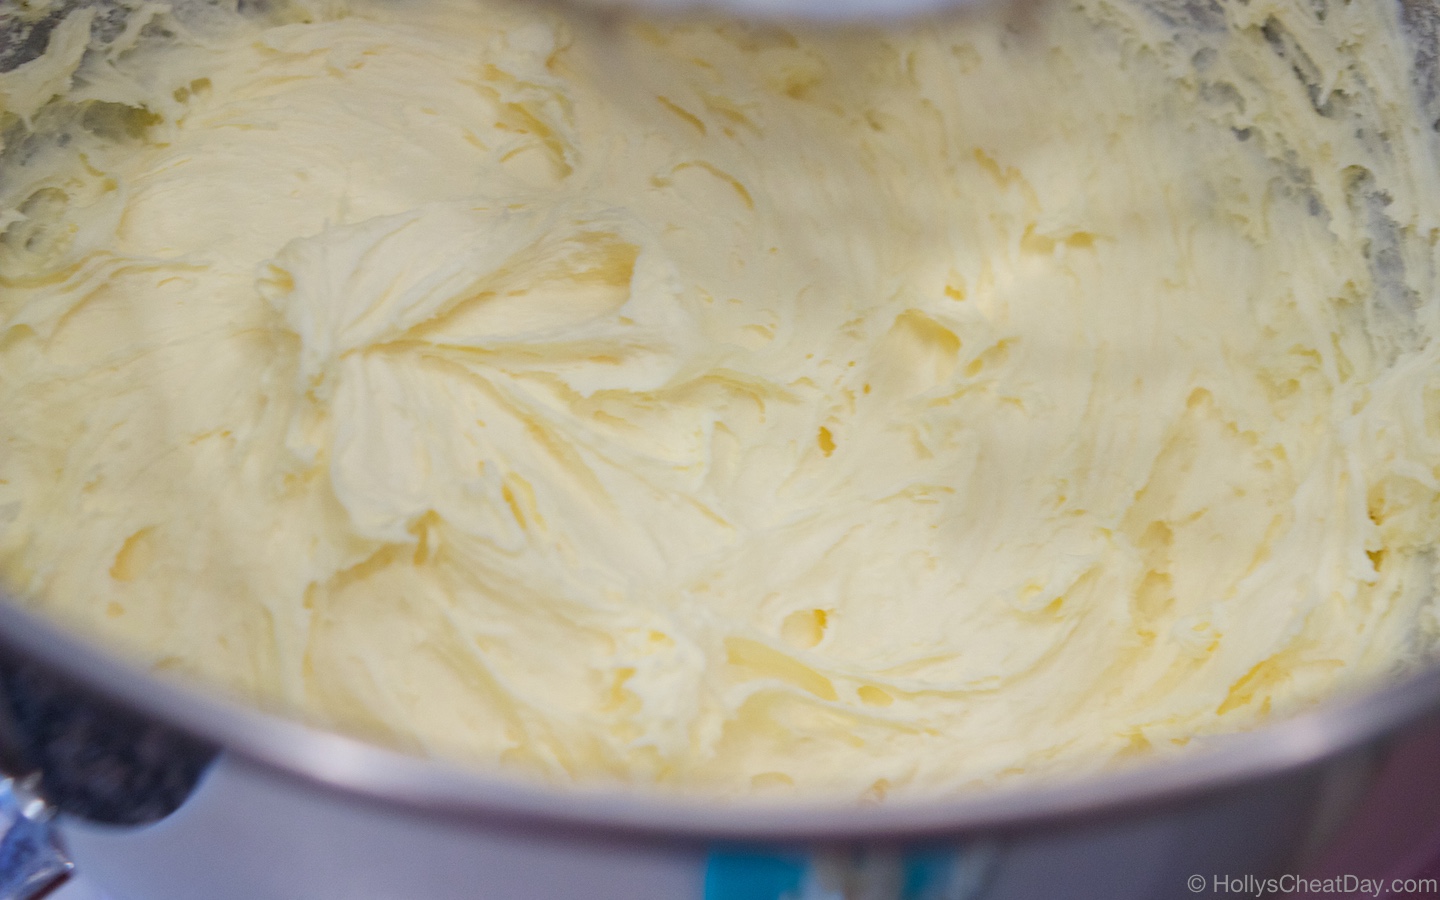
all mixed together…

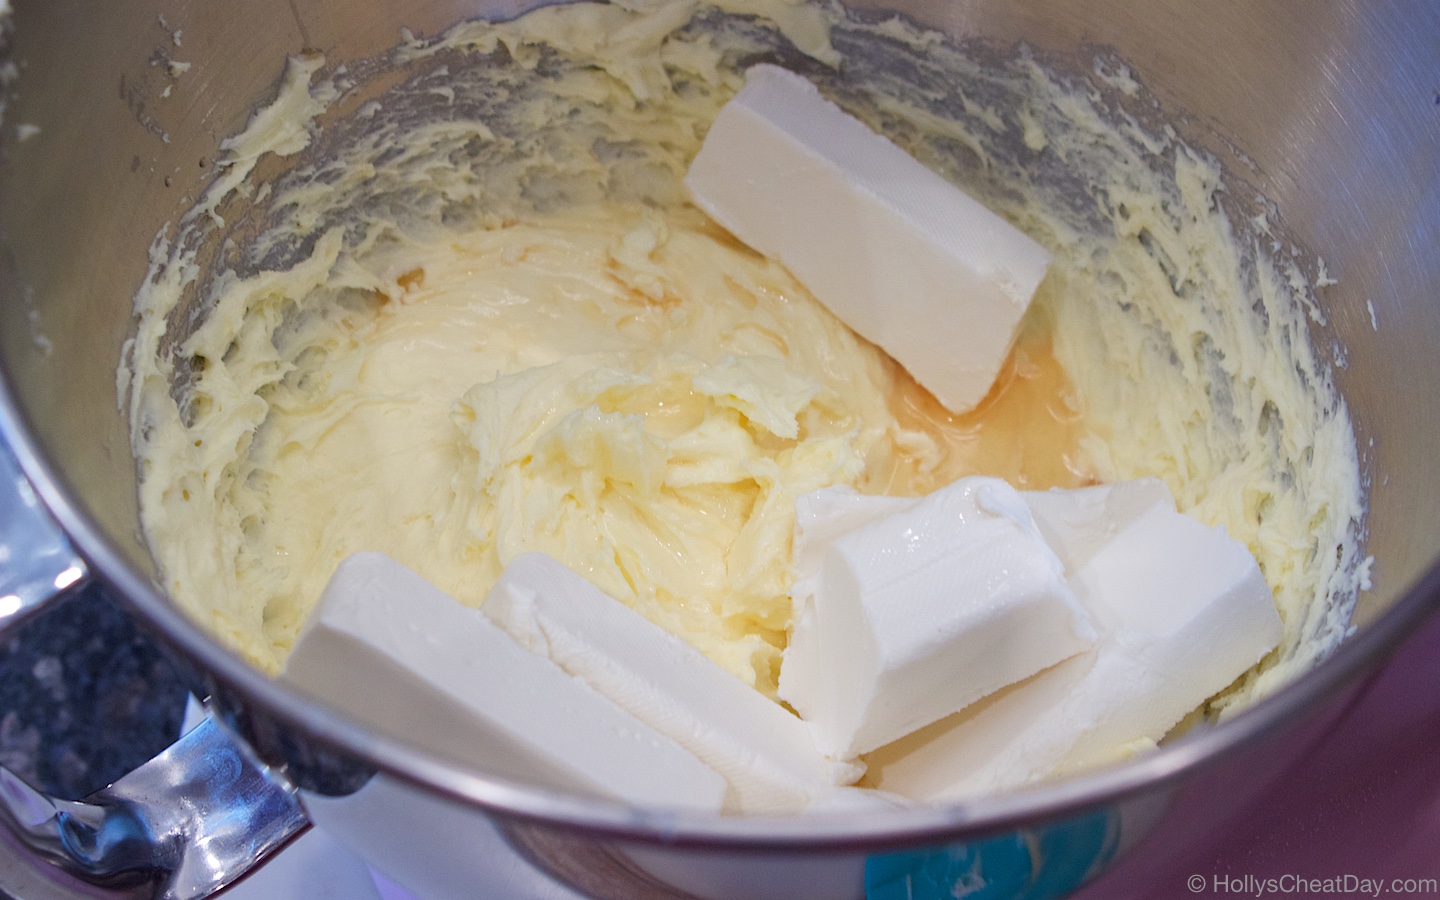
now add your cream cheese and vanilla…

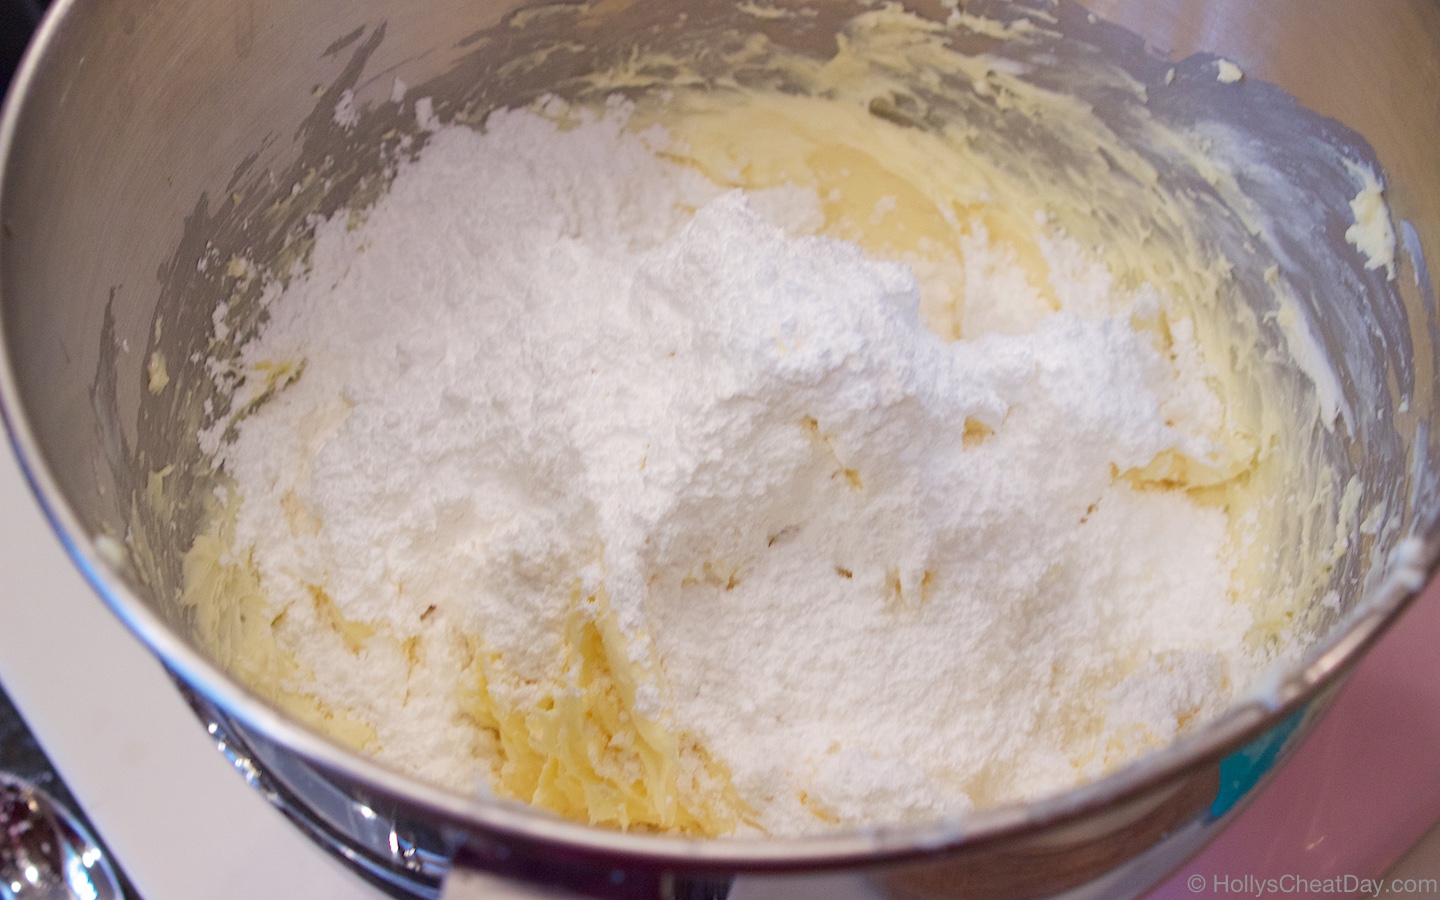
then add your powdered sugar and mix it in…

and enjoy!!!
Easy Banana Cream Pie Dip
2018-05-09 10:23:45
Absolutely easy and delicious dip with all the flavor of a banana cream pie.
Write a review
Save Recipe
Print
Ingredients
  1. 1 (5.1 Ounce) Package of Banana Flavored Jell-O Instant Pudding Mix.
  2. 2 Cups of Heavy Whipping Cream.
  3. 1 (8 Ounce) Package of Cream Cheese, Softened.
  4. 1 Tablespoon of Vanilla Extract.
  5. 1 1/2 Cups of Powdered Sugar.
  6. 1-2 Bananas Sliced, For Garnish (Optional).
  7. Nilla Wafers, For Dipping (Optional).
Instructions
  1. With a handheld or stand mixer with paddle attachment, place your banana pudding mix and heavy cream into your bowl, start your mixer on slow (to not make a mess) and increase the speed, mixing until thickened and well combined.
  2. Scrape down the sides of your bowl, then add your cream cheese and vanilla extract, and mix again until well combined and smooth.
  3. Now slowly add in the powdered sugar and mix until completely combined, serve with vanilla wafers and garnish with sliced bananas if you like and enjoy!!!
HOLLY'S CHEAT DAY https://www.hollyscheatday.com/

Filed Under: Dessert, Dip

Donut Grilled Cheese

March 6, 2018 By Holly

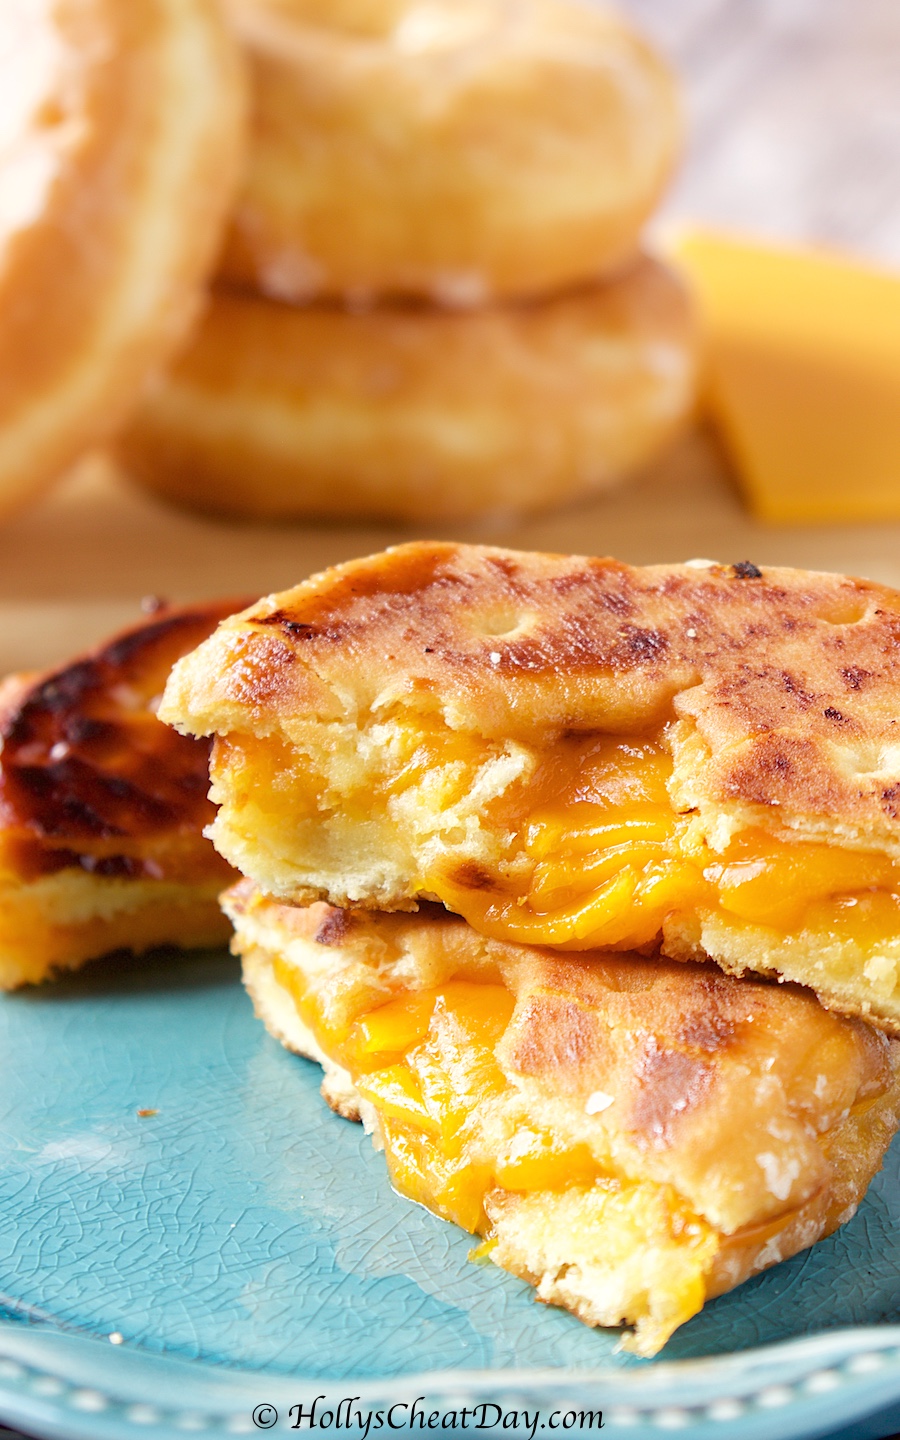
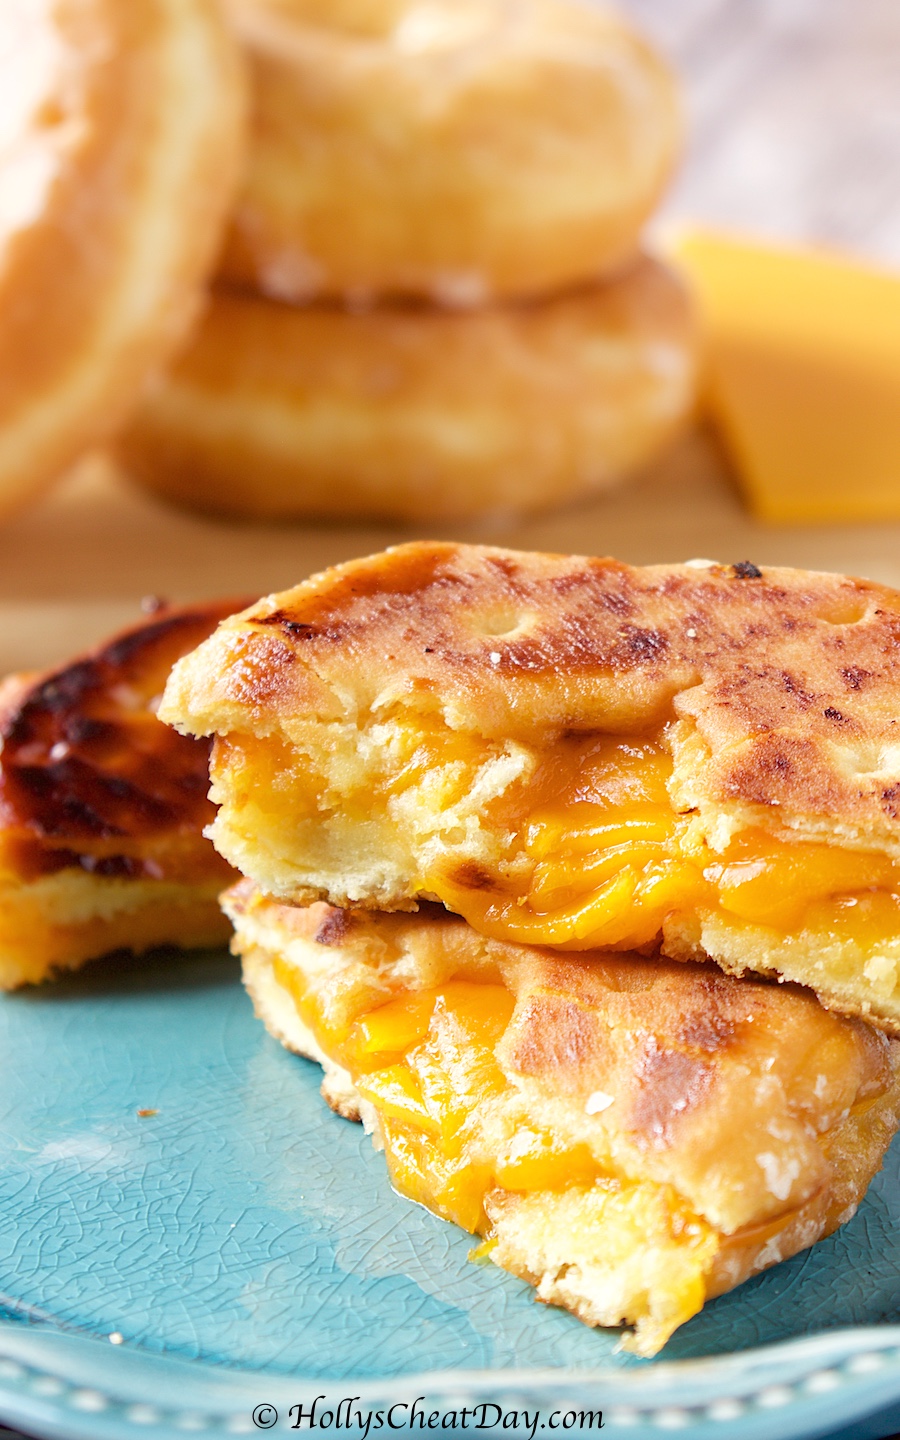
Happy Happy Tuesday everybody!!!  So,  I’m going to admit something-in case you didn’t already know from the title of this recipe and/or many of my past posts-I definitely can have trashy taste in food, you know, like County Fair food.  It’s fine, I was in denial for a long time but now, I’ll just go ahead and admit it.  I just can’t help it, anything fried, any weird kind of combos put together and then fried, count me in!  Speaking of possibly weird combos, say hello to the Donut Grilled Cheese. 

I wish that I could take all the credit for the invention of this absolutely delectable creation, but I can’t.  I had my very first donut grilled cheese at this wonderful restaurant called Tom & Chee.  This place has exactly what the name implies, lots of different grilled cheeses and tomato soup.  I originally went in there to get their mac and cheese grilled cheese, but when I saw that they also had a grilled cheese on a donut, OMG, I did what any other red blooded American would do and I ordered both, obviously.  The mac and cheese grilled cheese was incredible for sure, but y’all, that slight crunch of the caramelized sugar on the donut mixed with the sharp bite of the melted cheese, hallelujah! food Heaven! 

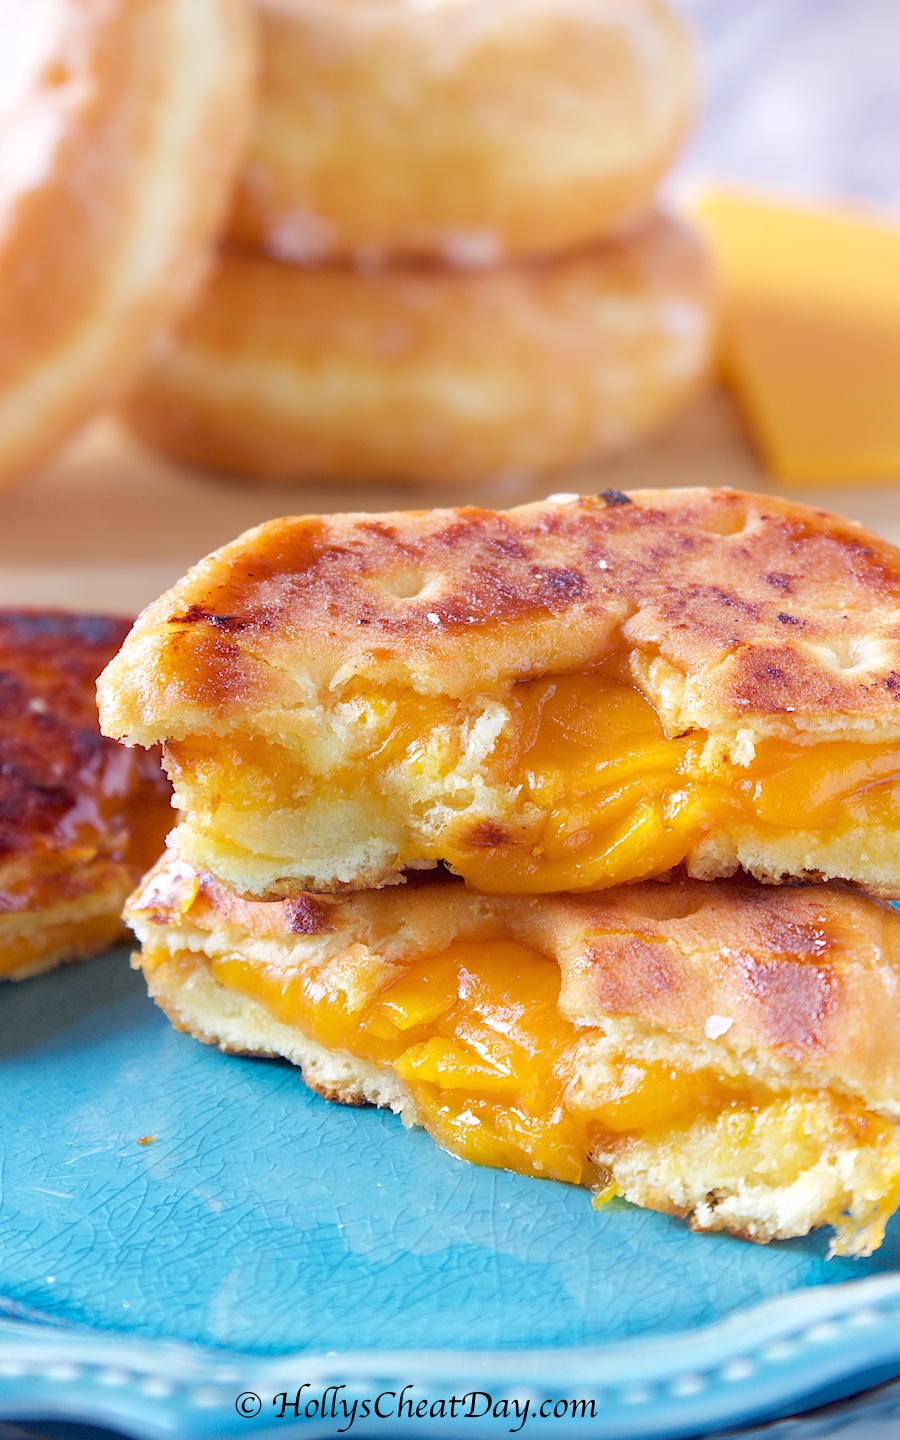
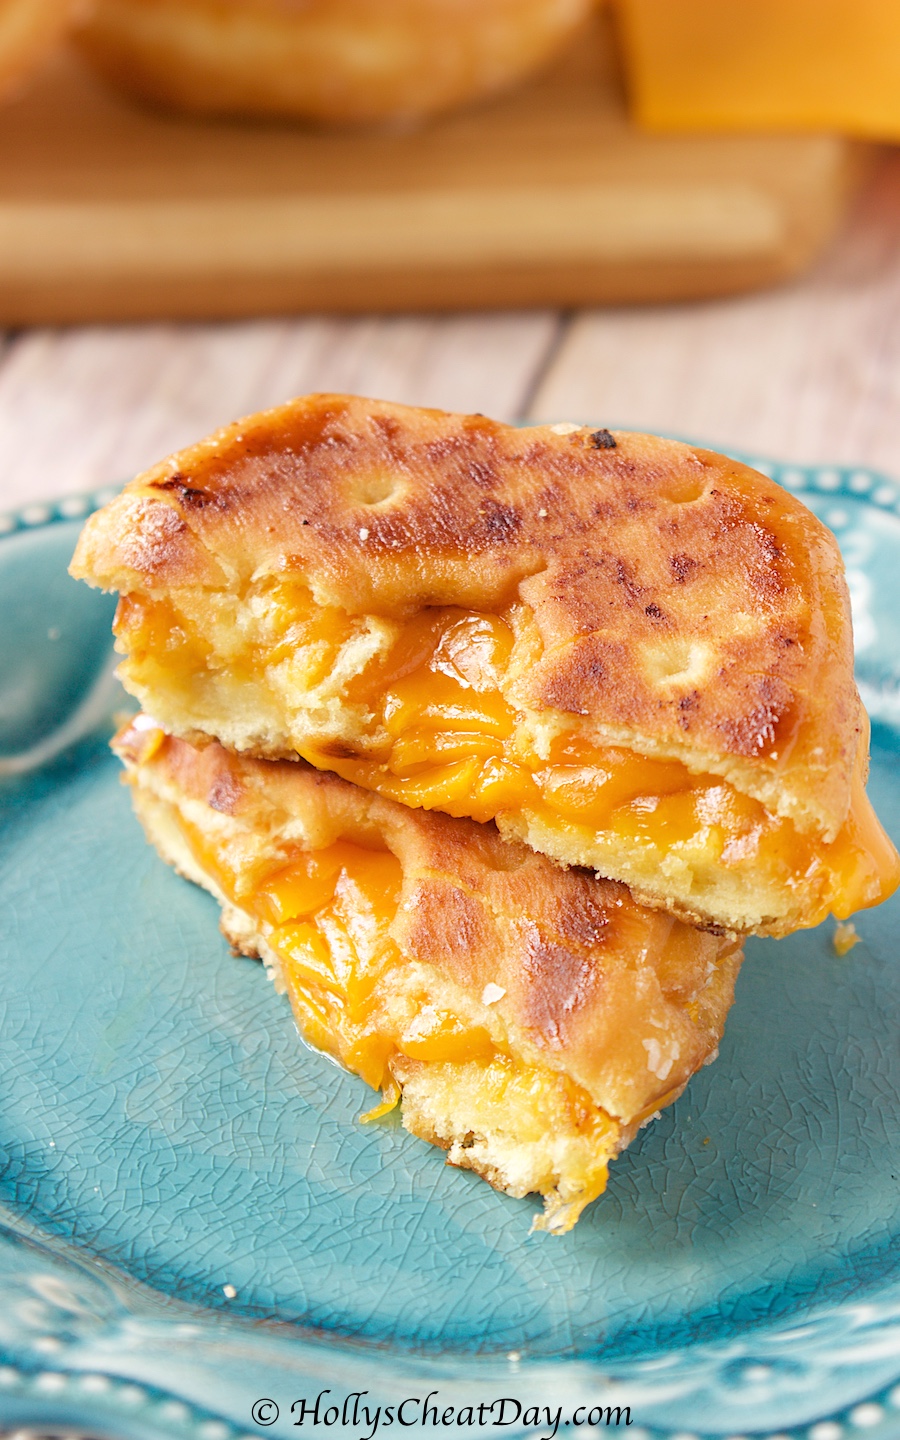
I was, as you might imagine completely dumb struck by all of the awesomeness and knew that I absolutely, positively had to recreate this amazing food item at home.  Y’all, it just doesn’t get any easier than this recipe, slightly grill up 2 donut halves, then slap on whatever cheese you love most, put it together and place back onto your grill and let all the cheese get nice and melty and voila, you have the best trashiest food you’ll ever have.  I really can’t emphasize enough, that if you too would like to take a delicious trip down Hillbilly lane, just take about 5 minutes and make yourself one of these Donut Grilled Cheeses.  As always, thanks so much for stopping by and have a wonderful day!  If you get the opportunity to make this, let me know in the comments!        

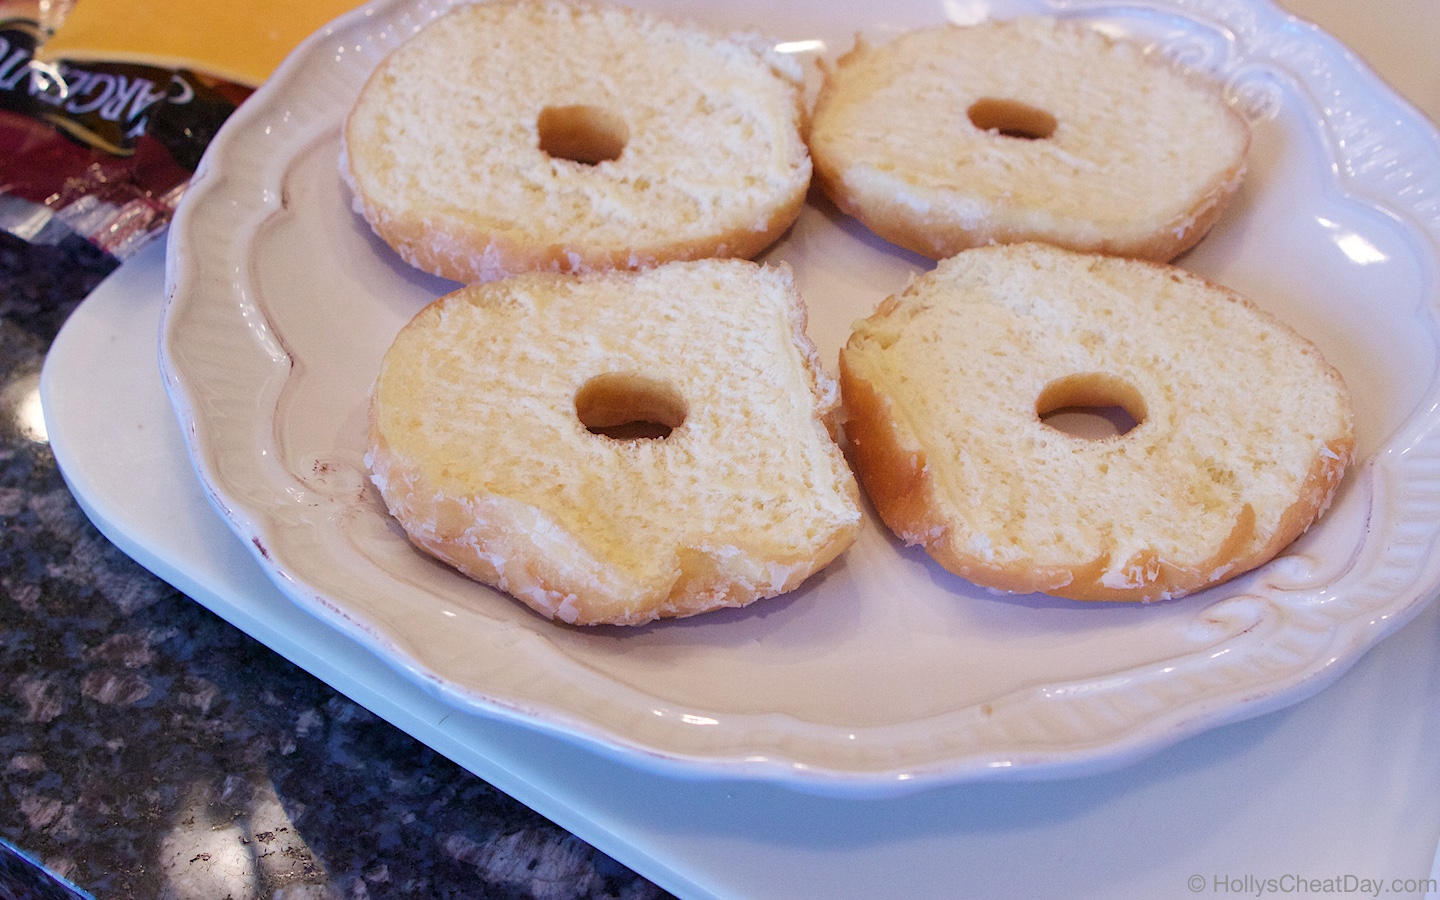
First, cut your donuts in half with a bread knife…

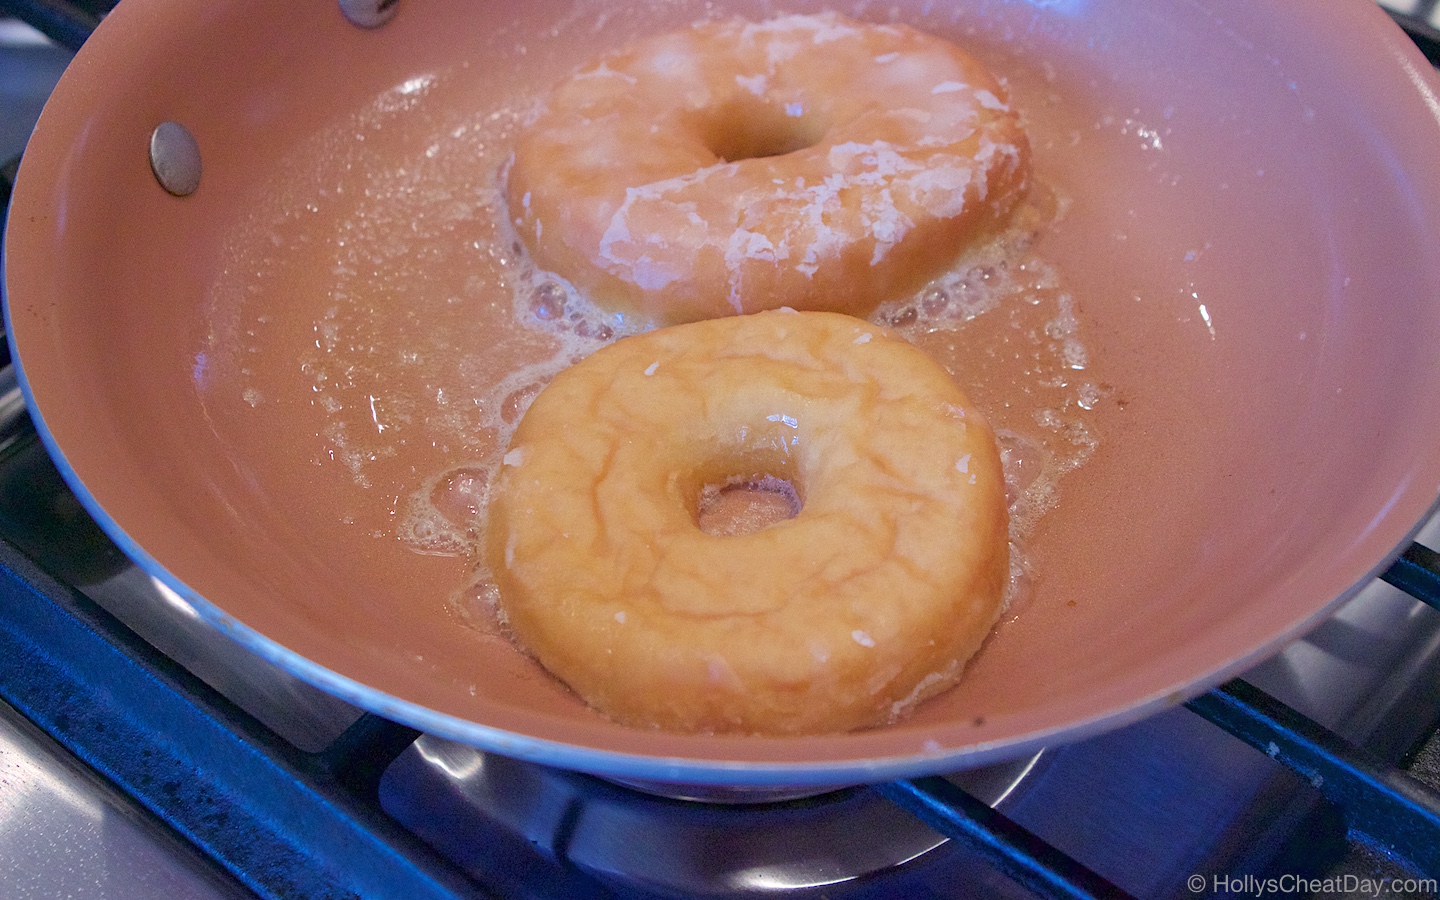
Now, place them in/on your grill to get a little sear on each side, not too much though…

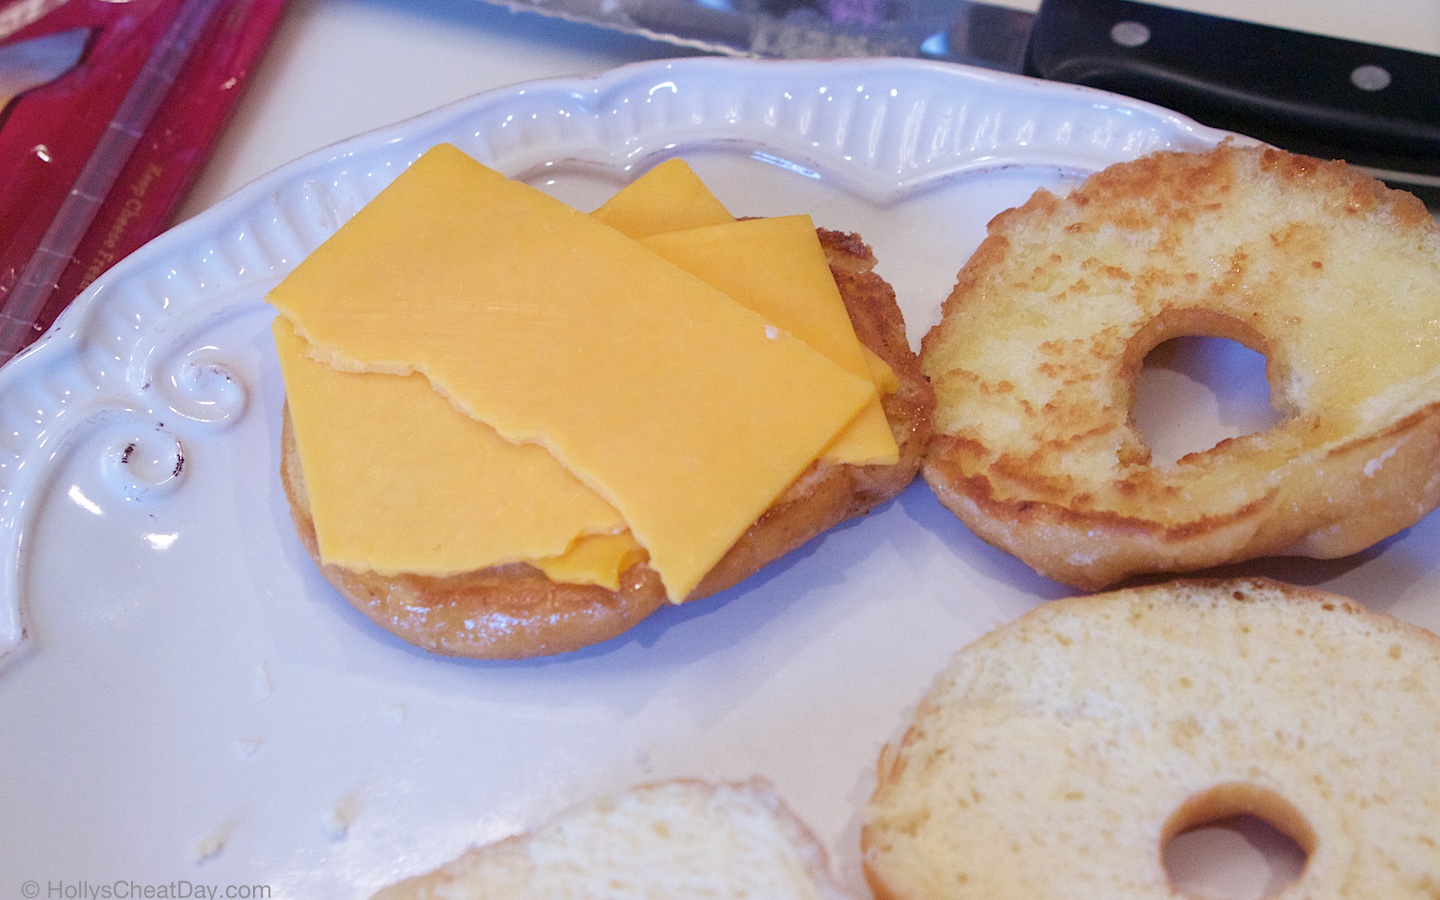
Get that cheese on that delicious donut…

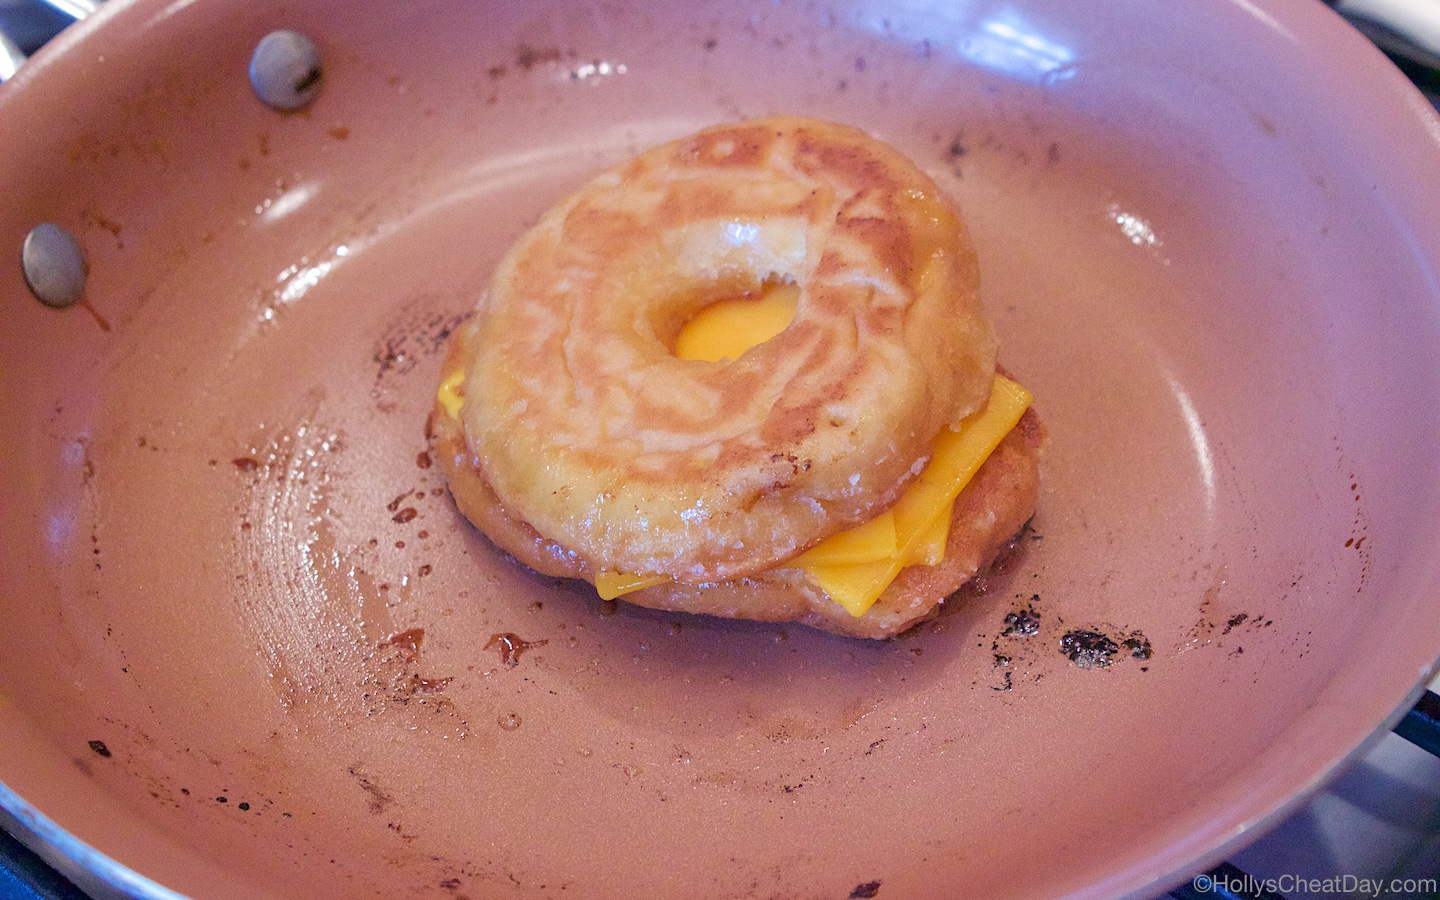
Put it all together and get that cheese nice and melted…

and enjoy, you will, I promise!!!

Donut Grilled Cheese
2018-03-05 16:32:59
A delicious grilled cheese made on a glazed donut.
Write a review
Save Recipe
Print
Ingredients
  1. 6-12 Glazed Donuts, Halved (I Used Publix Brand).
  2. 4-8 Ounces of Sharp Cheddar (Or Whatever You Prefer).
  3. 2-4 Tablespoons of Unsalted Butter.
  4. A Large Pan or Grill.
Instructions
  1. Using a bread knife, carefully cut your donuts in half, set aside.
  2. Heat your pan or grill on low, medium heat, also place your butter into your pan and melt it.
  3. Now, grill both sides of your donuts for about 30 seconds, take out of your grill and place the desired amount of cheese you would like.
  4. Put your grilled cheese together, place back into your pan and grill each side less than a minute or until desired melting of the cheese is reached.
  5. Cut in half and enjoy!!!
HOLLY'S CHEAT DAY https://www.hollyscheatday.com/

Filed Under: All Recipes, Dessert, Savory

Easy Peanut Butter Pretzels

February 13, 2018 By Holly

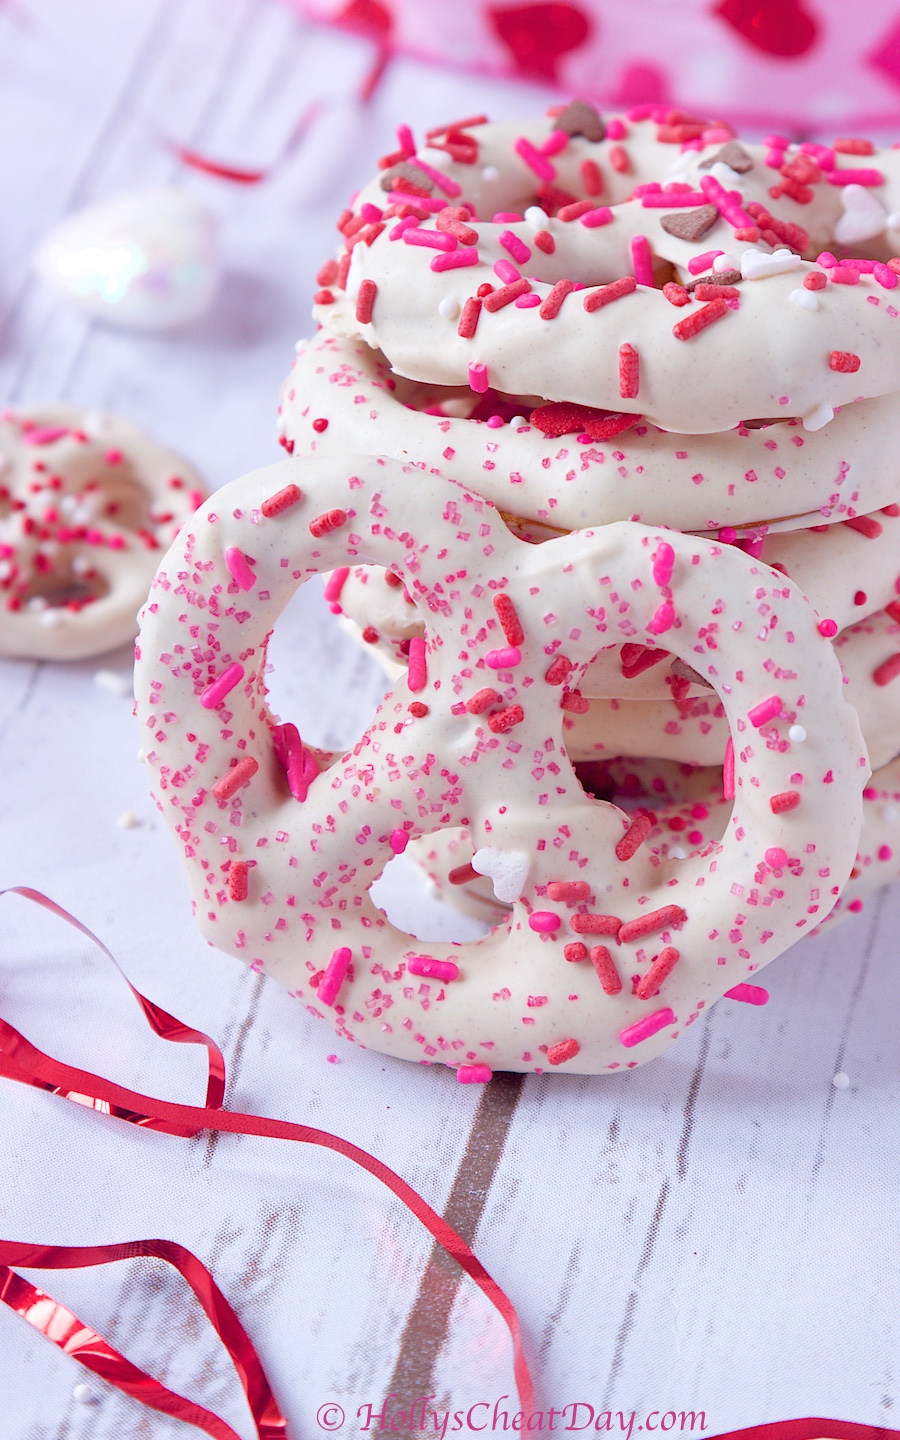
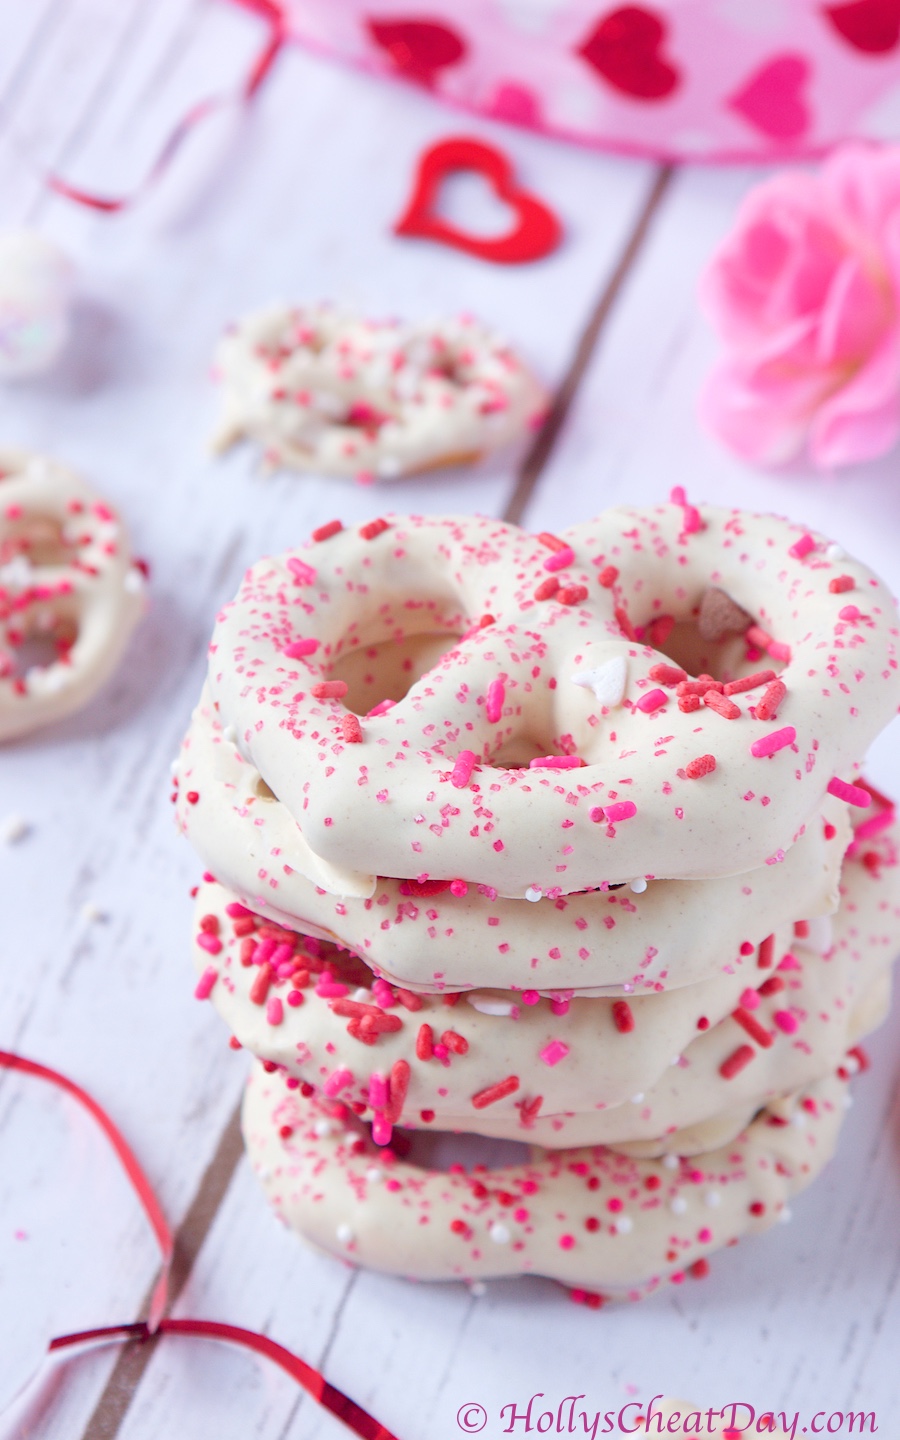
Happy Happy Tuesday y’all!!! I’m way excited to share today’s recipe with you guys. Not only are these little delicious bites of awesome super duper Valentine’s Day themed but also the perfect mixture of sweet and salty, and if y’all need to know anything about me, it’s that I looove sweet & salty, and I’ve never met a doughnut I didn’t love haha. 

Sometimes the most simple recipes are just the best, amiright? and it really doesn’t get much more simple than these guys.  I prepped, prepared and these pretzels were ready to eat in about 30 minutes, and honestly I really think that the sprinkles gave these guys a little extra bit of awesome. 

Really, you could totally change the theme of these pretzels for just about any holiday, pastel sprinkles-Easter, green sprinkles-St. Patrick’s Day, red, white & blue-4th of July, well y’all get the point.  Anyways, these are just the perfect amount of peanut butter taste, with a bit of white chocolate, and the wonderful salty crunch of the pretzel thrown in. 

Not a fan of peanut butter? no problem, maybe consider melting in some cookie butter instead, yummm.  These are really fun, handheld and just yummy, I highly recommend you make a batch of these delights as soon as possible.  Have an absolutely wonderful day & Valentine’s Day and thank you so much for stopping by!!!    

First, the candy melts…

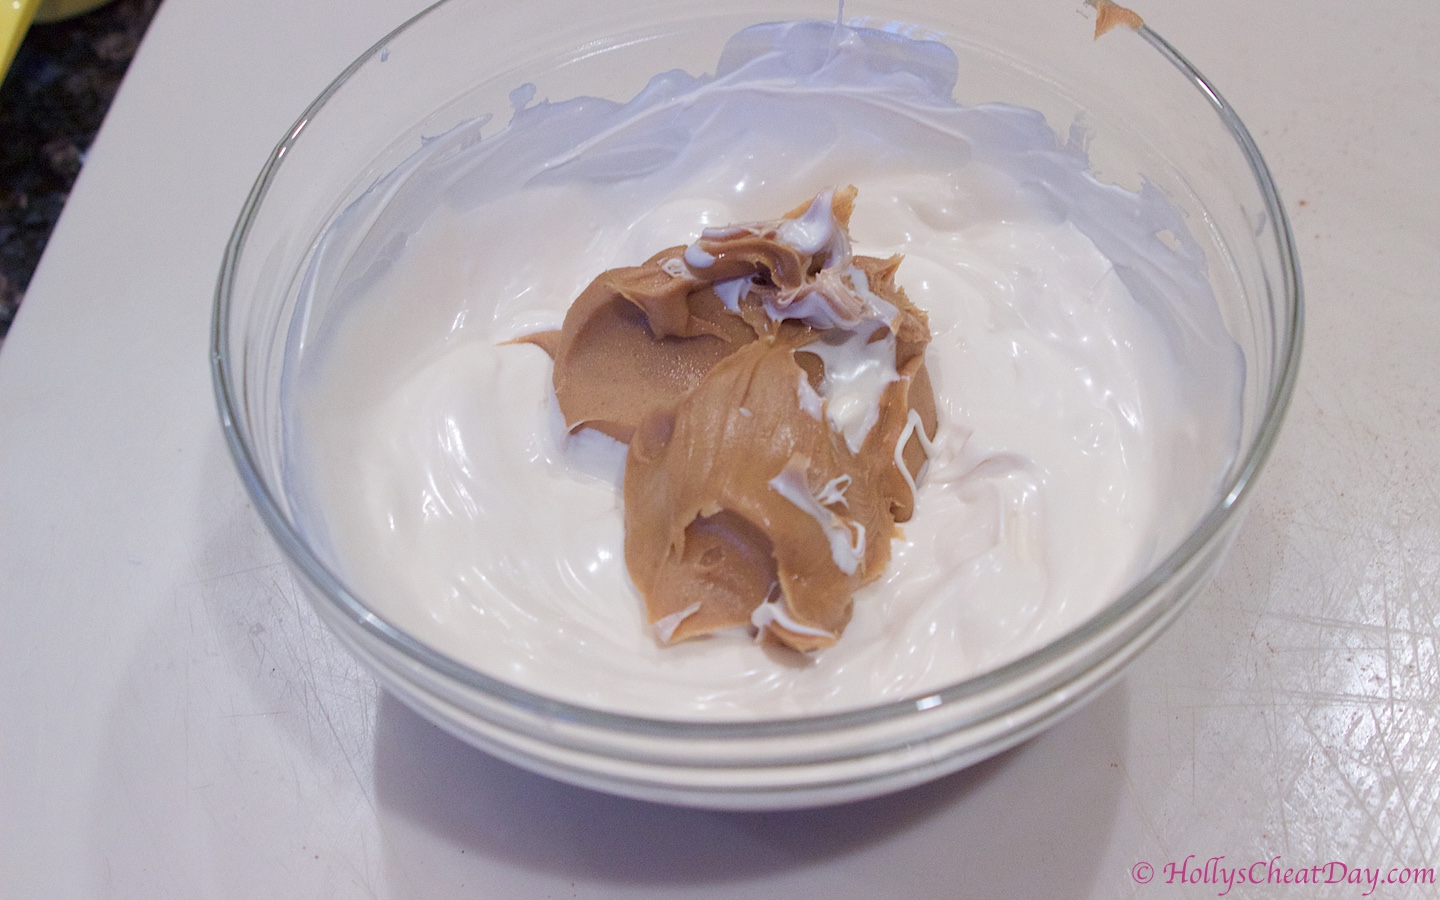
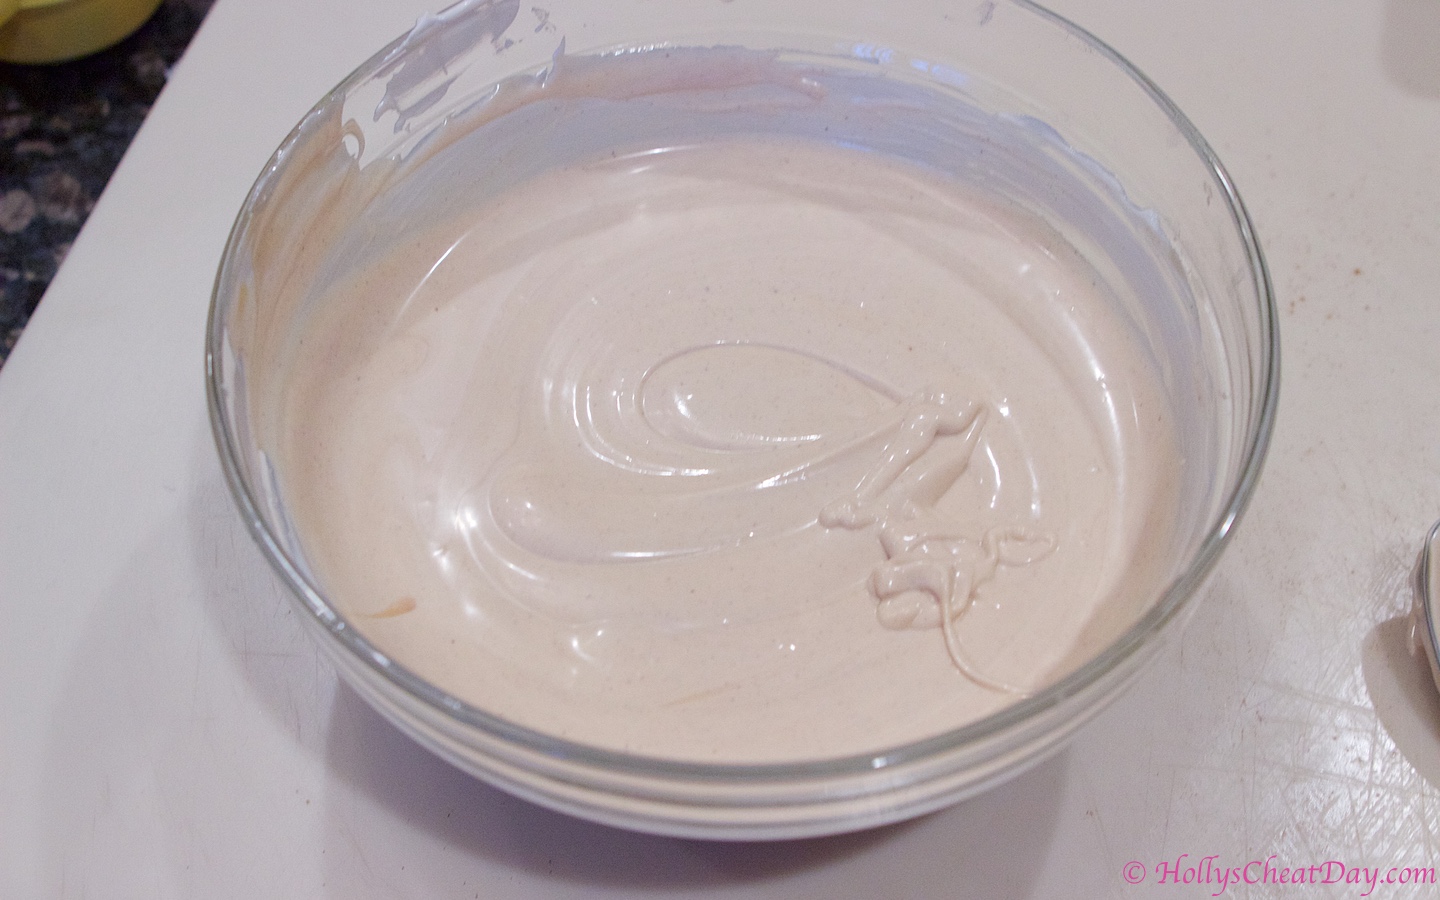
nice and melted & now for the peanut butter to be melted too…

PB officially melted and mixed in…

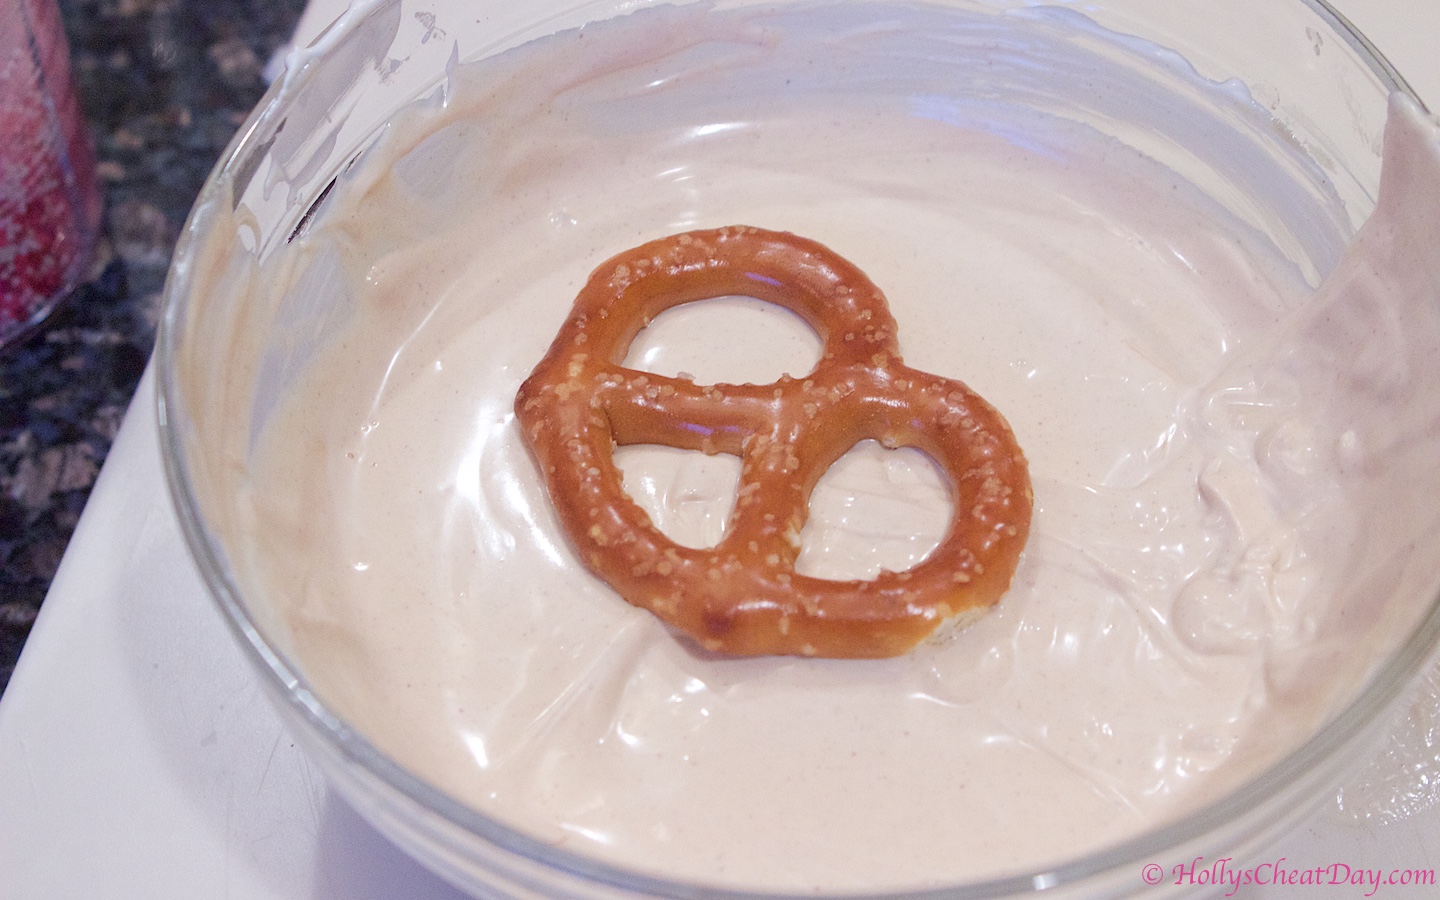
and then time for the pretzel to be coated in this deliciousness…

add some sprinkles and enjoy!!!
Easy Peanut Butter Pretzels
2018-02-11 14:08:43
The perfect sweet and salty treat, pretzels covered in melted white chocolate and peanut butter.
Write a review
Save Recipe
Print
Ingredients
  1. 1-12 Ounce Bag of White Candy Melts or White Bark.
  2. 1/3 Cup of Creamy Peanut Butter.
  3. 2-3 Cups of Jumbo Salted Pretzels.
  4. Sprinkles for Decoration (Optional).
Instructions
  1. Line a large baking sheet with wax paper, set aside.
  2. In a medium glass or microwave safe bowl, place your candy melts in, and microwave for 2 minutes at 50% power, intermittently taking out to stir.
  3. Once melted, place your peanut butter into the melted white chocolate & place back into the microwave for about 30 seconds or until the peanut butter is completely melted and stirs in smoothly.
  4. Now take one pretzel at a time and place into your chocolate, with a fork flip it over to cover the other side.
  5. Lift the pretzel out with the fork, letting the excess chocolate drip off and place onto your wax paper.
  6. If you would like to put sprinkles onto your pretzels, do so now before the chocolate sets.
  7. Let your chocolate set for about 10 minutes and enjoy!
HOLLY'S CHEAT DAY https://www.hollyscheatday.com/

Filed Under: All Recipes, Candy, Dessert

Repost – Red Velvet Cheesecake Bites

February 9, 2018 By Holly

Happy Happy Friday y’all!!! Here we have another repost of a personal favorite of mine.  These are absolutely delicious and not to mention a whole lot of fun.  Have a wonderful day and thanks so much for stopping by!!!

Happy Monday everyone!! I am so excited to share today’s recipe with y’all…because more mini food!  These maybe mini bites of awesome but they’re certainly not lacking in the wow factor in taste or looks. 

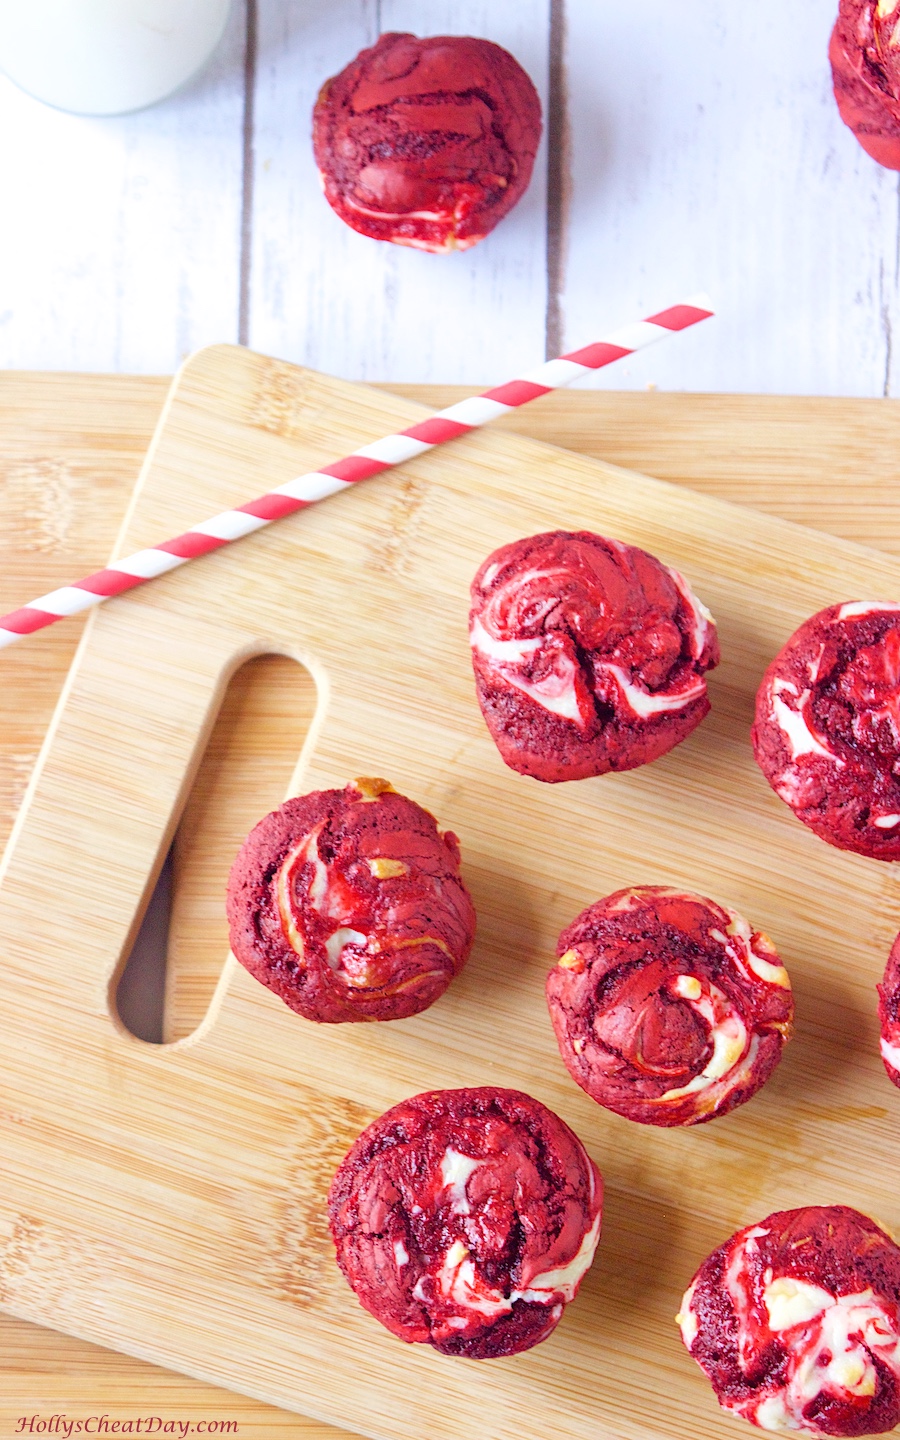
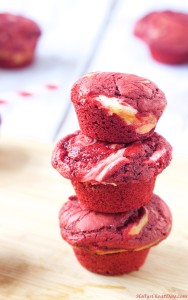
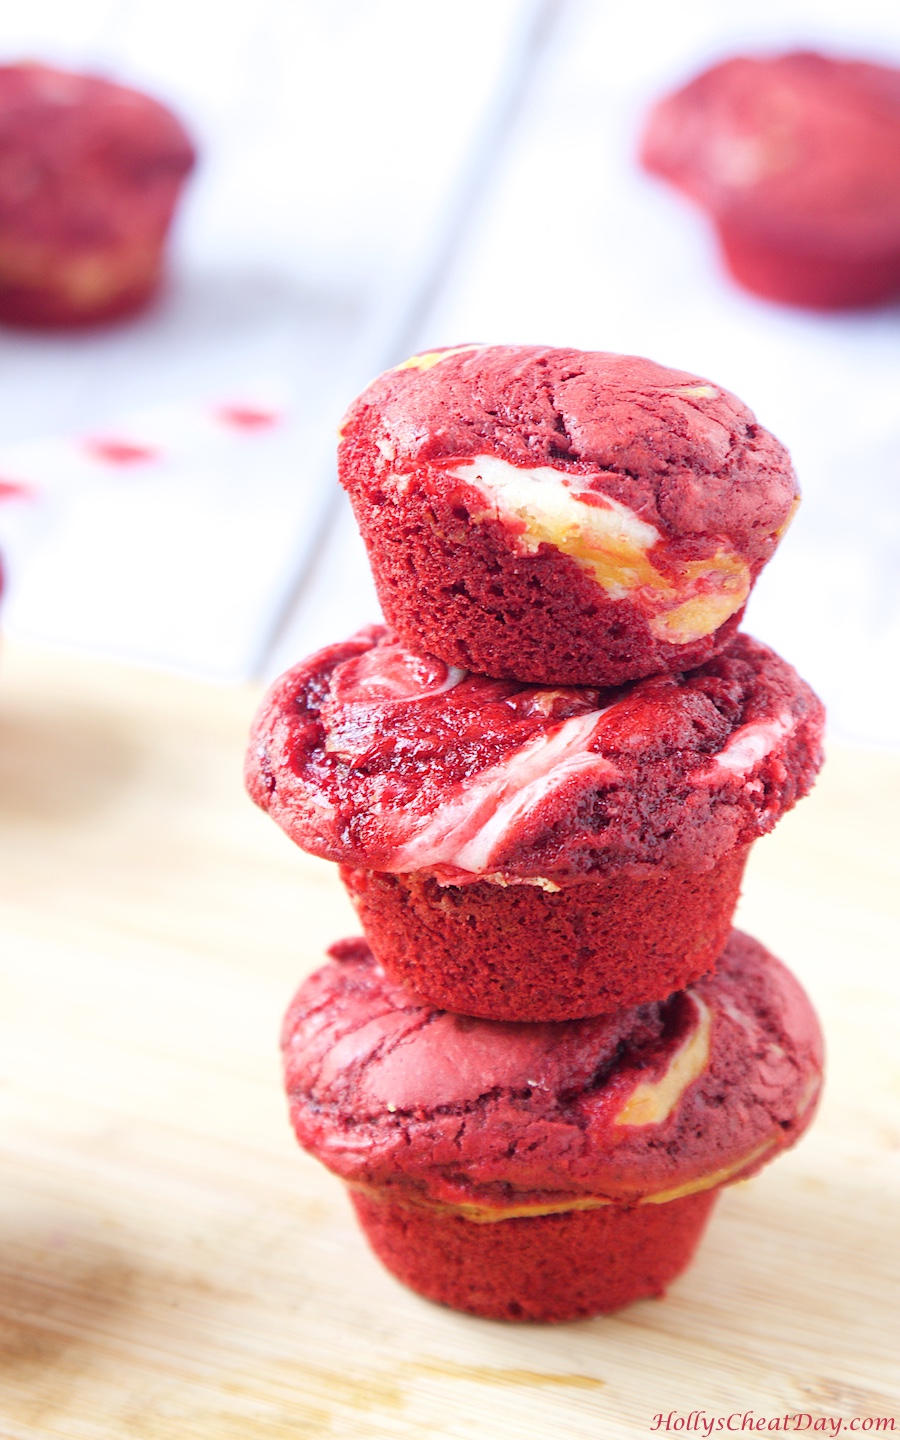
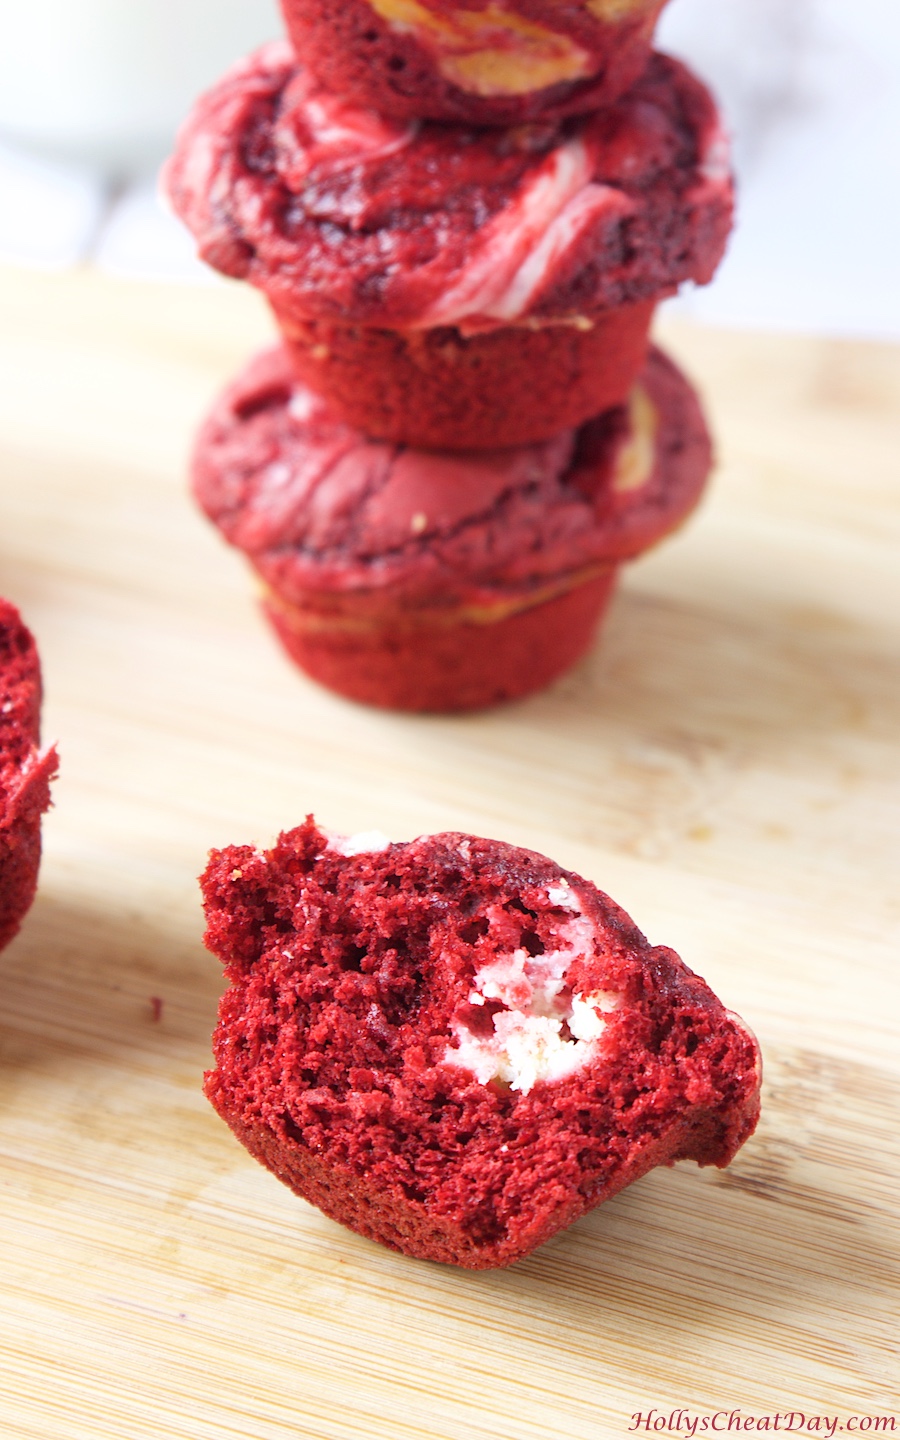
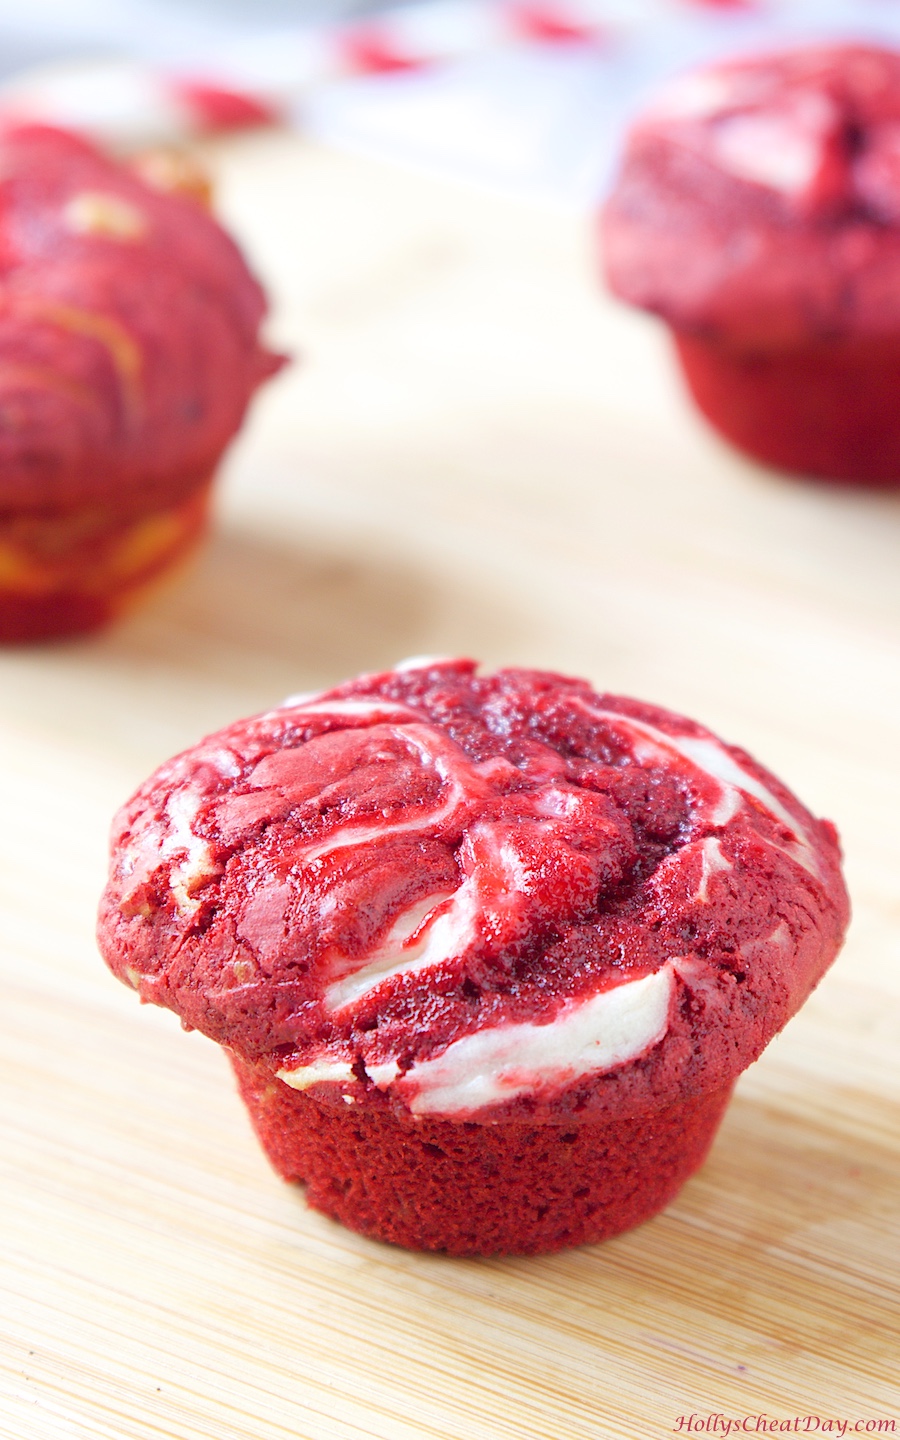
red-velvet-cheesecake-bites-stack| HollysCheatDay.comRed velvet is always such a beautiful deep red color with a subtle chocolaty sweetness, and this time I added a little cheesecake swirl, yum, yum, yummy y’all.  I will say that these delicious little bites were just slightly more time consuming than a plain ole’ sheet cake or cupcakes, but so worth it!

red-velvet-cheesecake-bites| HollysCheatDay.com These are so perfectly hand held and nomable, moist (can we please invent a better word?), soft with just enough sweetness, and sooo pretty. 

red-velvet-cheesecake-bites| HollysCheatDay.comYes, I know, I used a cake mix which is technically cheating, but I think the amount of work it took to make the cheesecake mix that’s dramatic I know and then how I slaved away also, dramatic swirling the red velvet & cheesecake together earned me the right to use a cake mix 🙂  Have a wonderful start to your week, and I hope you get a chance to make these delicious mini bites of Heaven. 

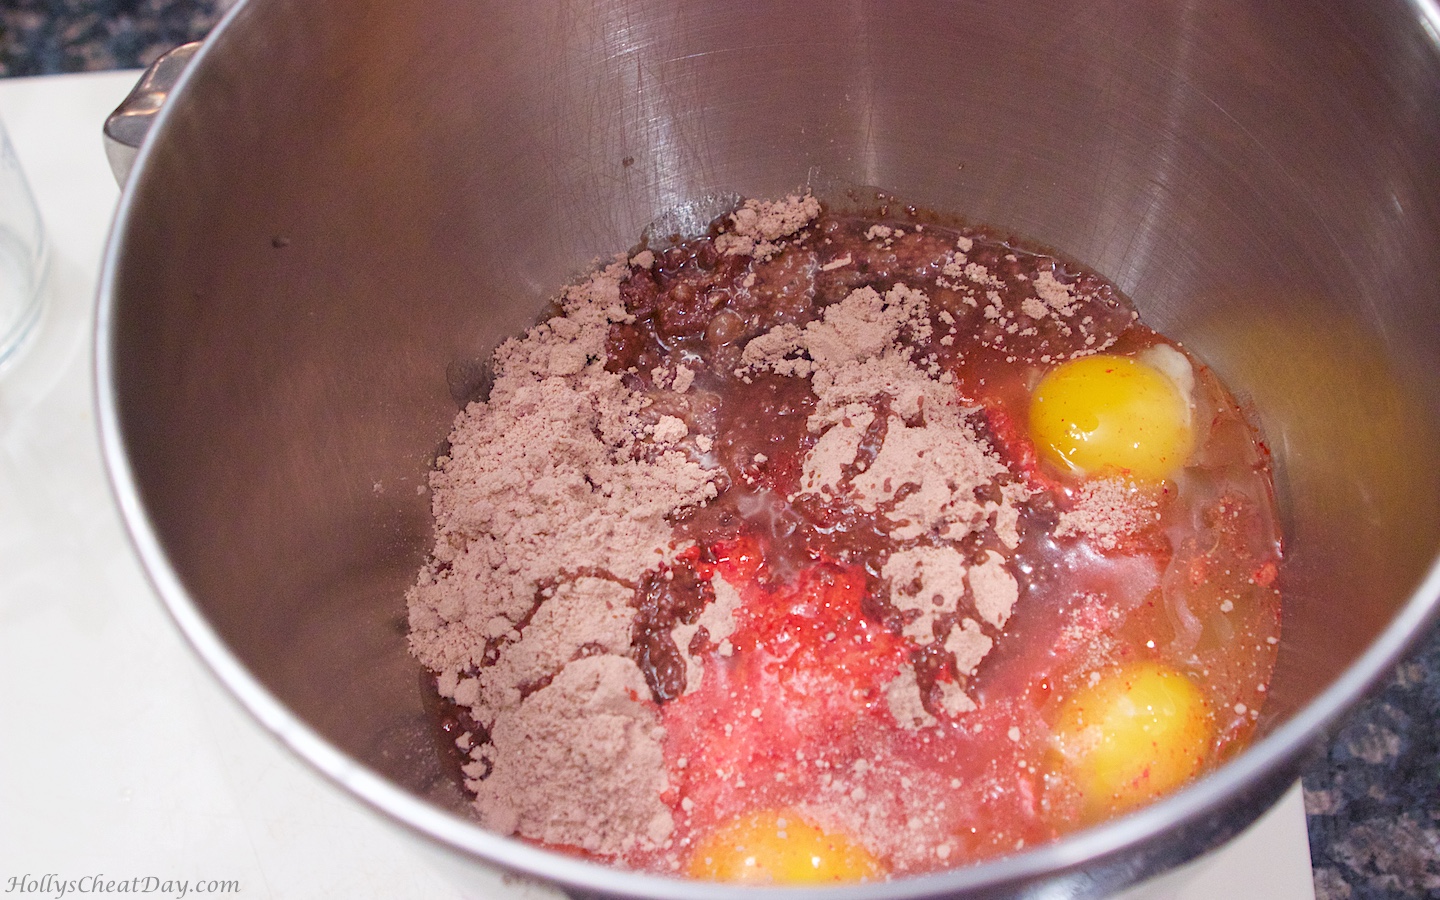
First…cake mix, eggs, water, oil…

red-velvet-cheesecake-bites| HollysCheatDay.comall mixed up, look how yummy…

red-velvet-cheesecake-bites| HollysCheatDay.comnow for the cheesecake mix, cream cheese…

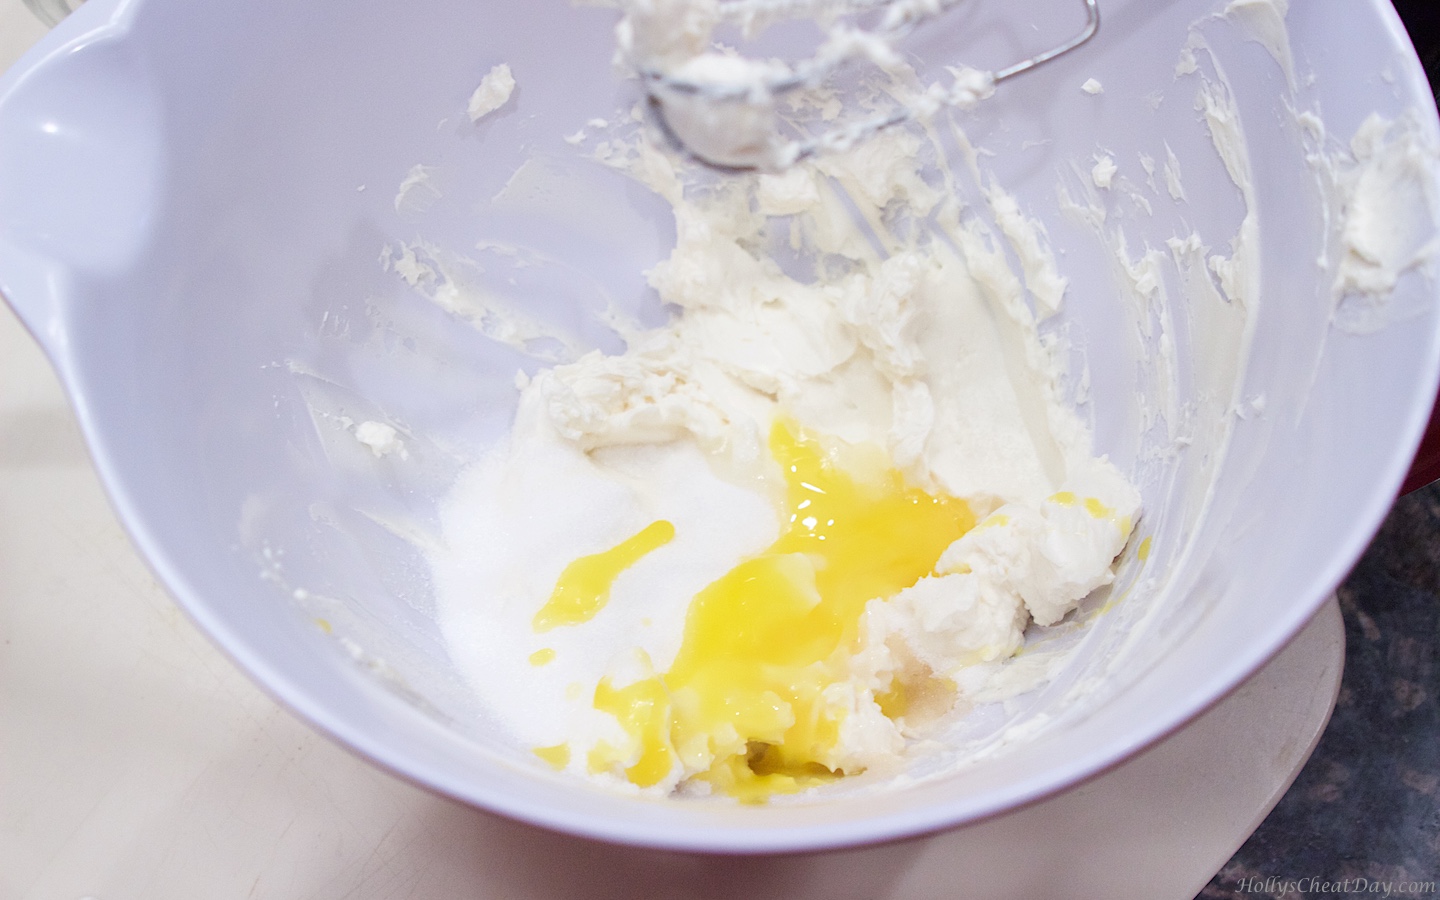
red-velvet-cheesecake-bites| HollysCheatDay.comall whipped up, time for eggs and sugar…

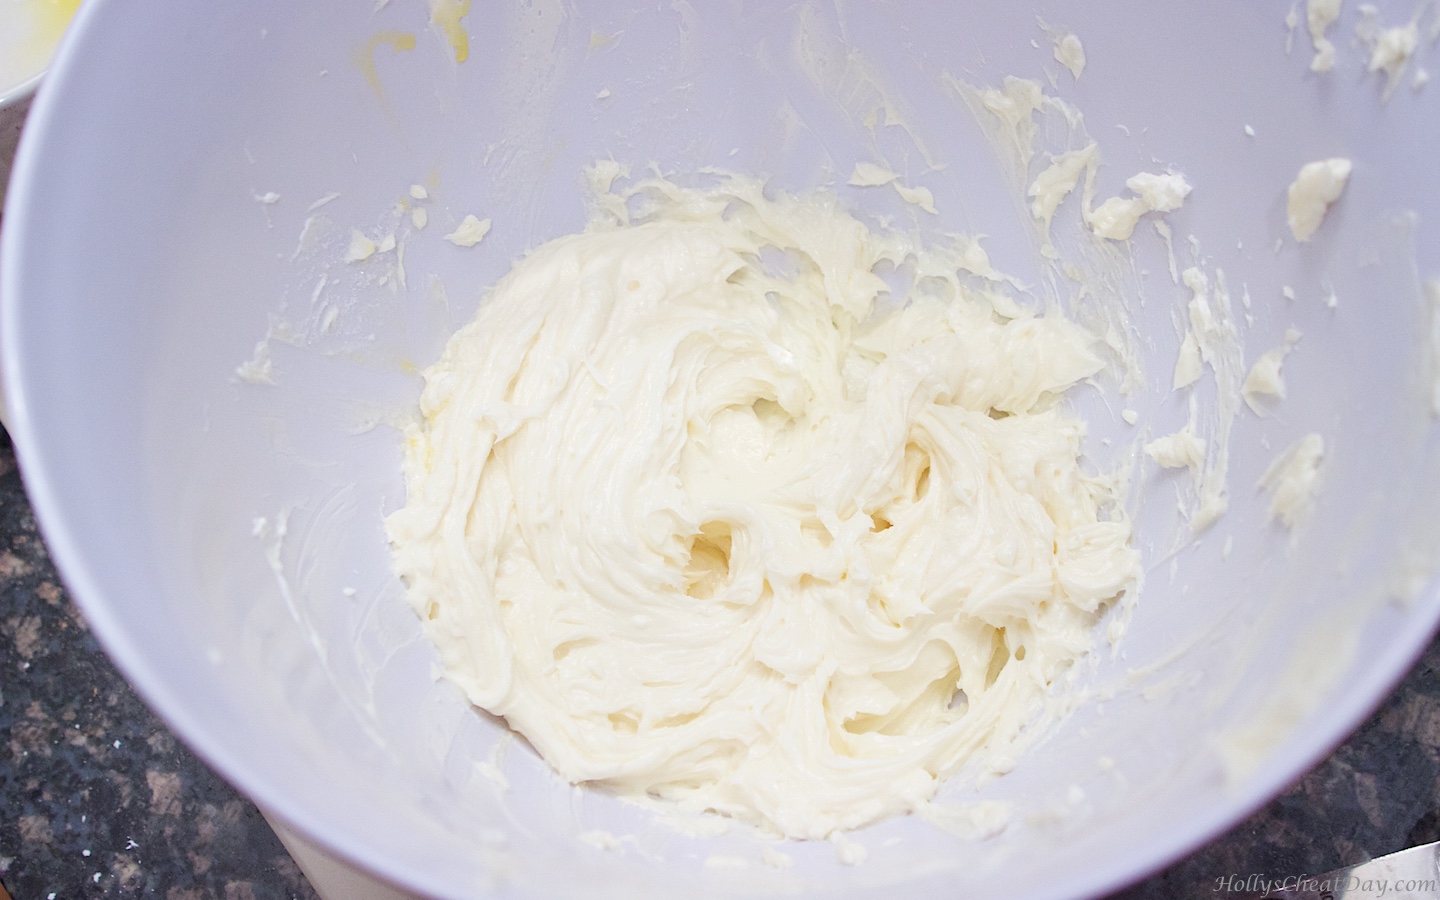
red-velvet-cheesecake-bites| HollysCheatDay.comall mixed up…

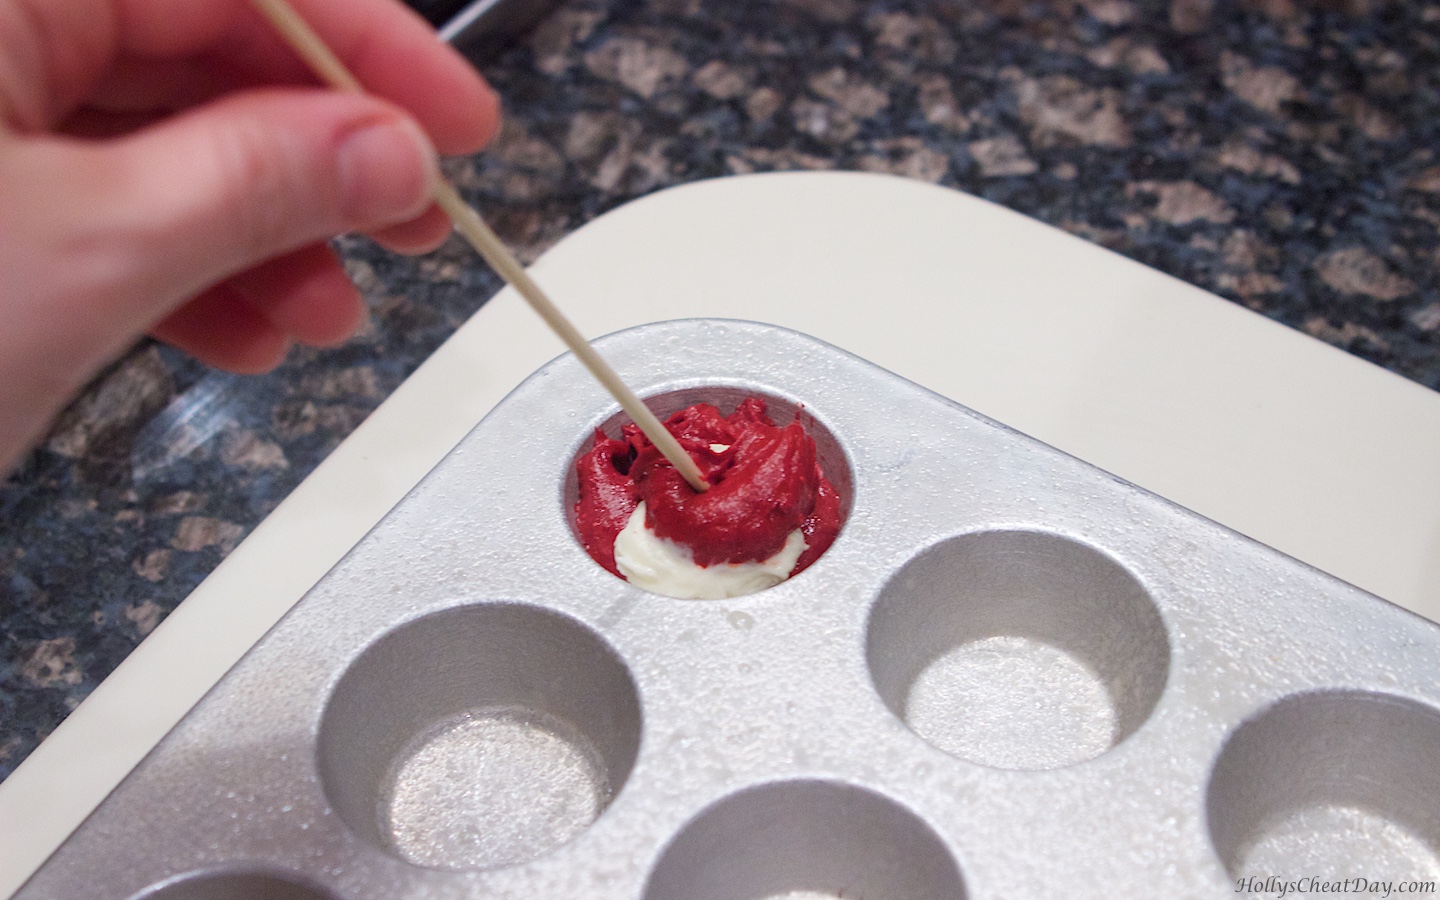
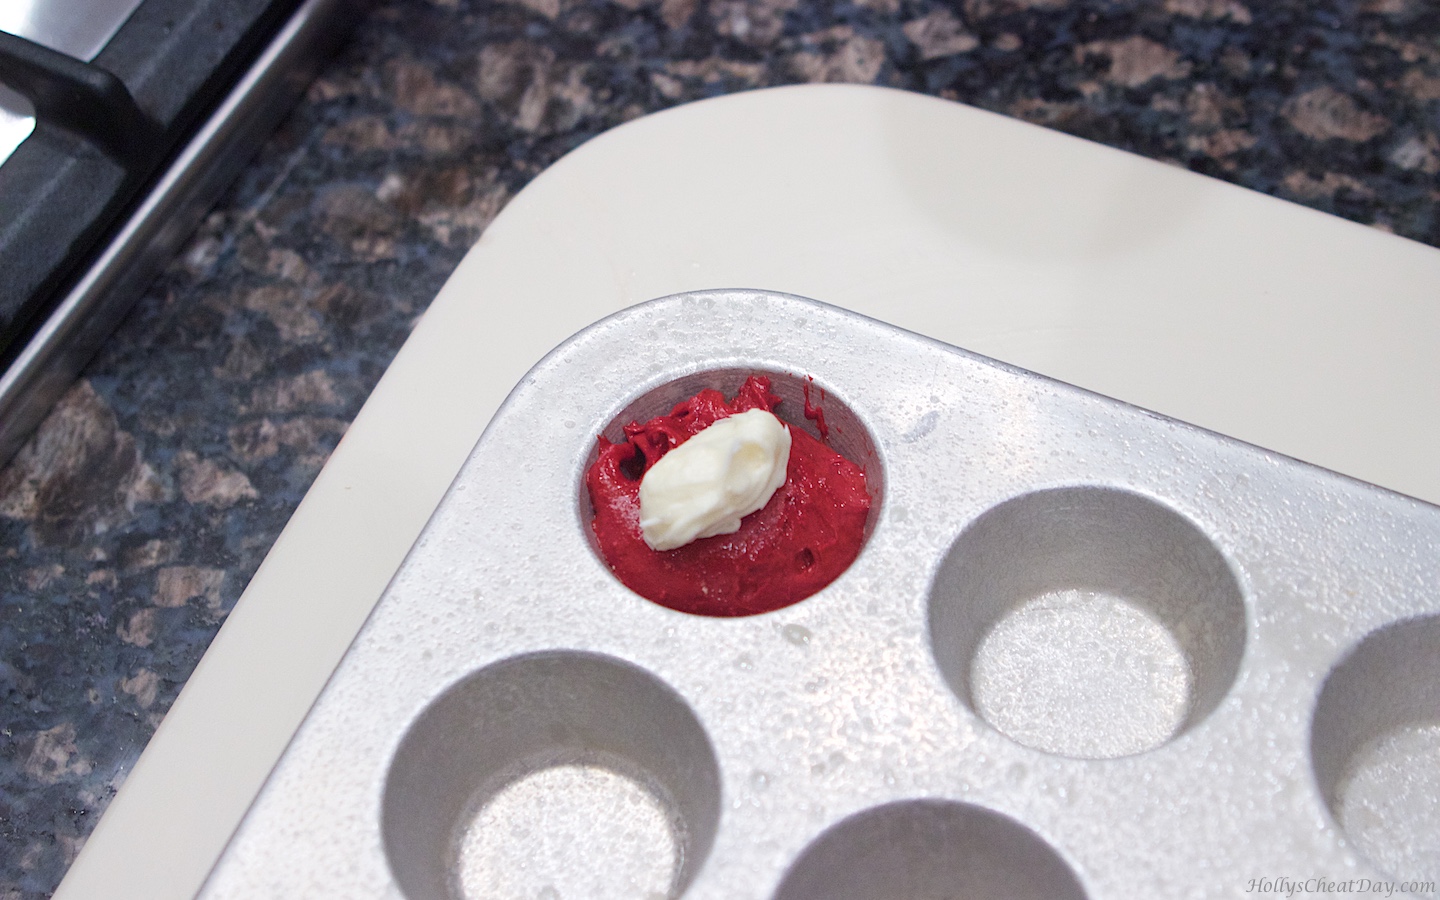
red-velvet-cheesecake-bites| HollysCheatDay.coma little red velvet mix & a little cream cheese mix…

red-velvet-cheesecake-bites| HollysCheatDay.comnow a little more red velvet…

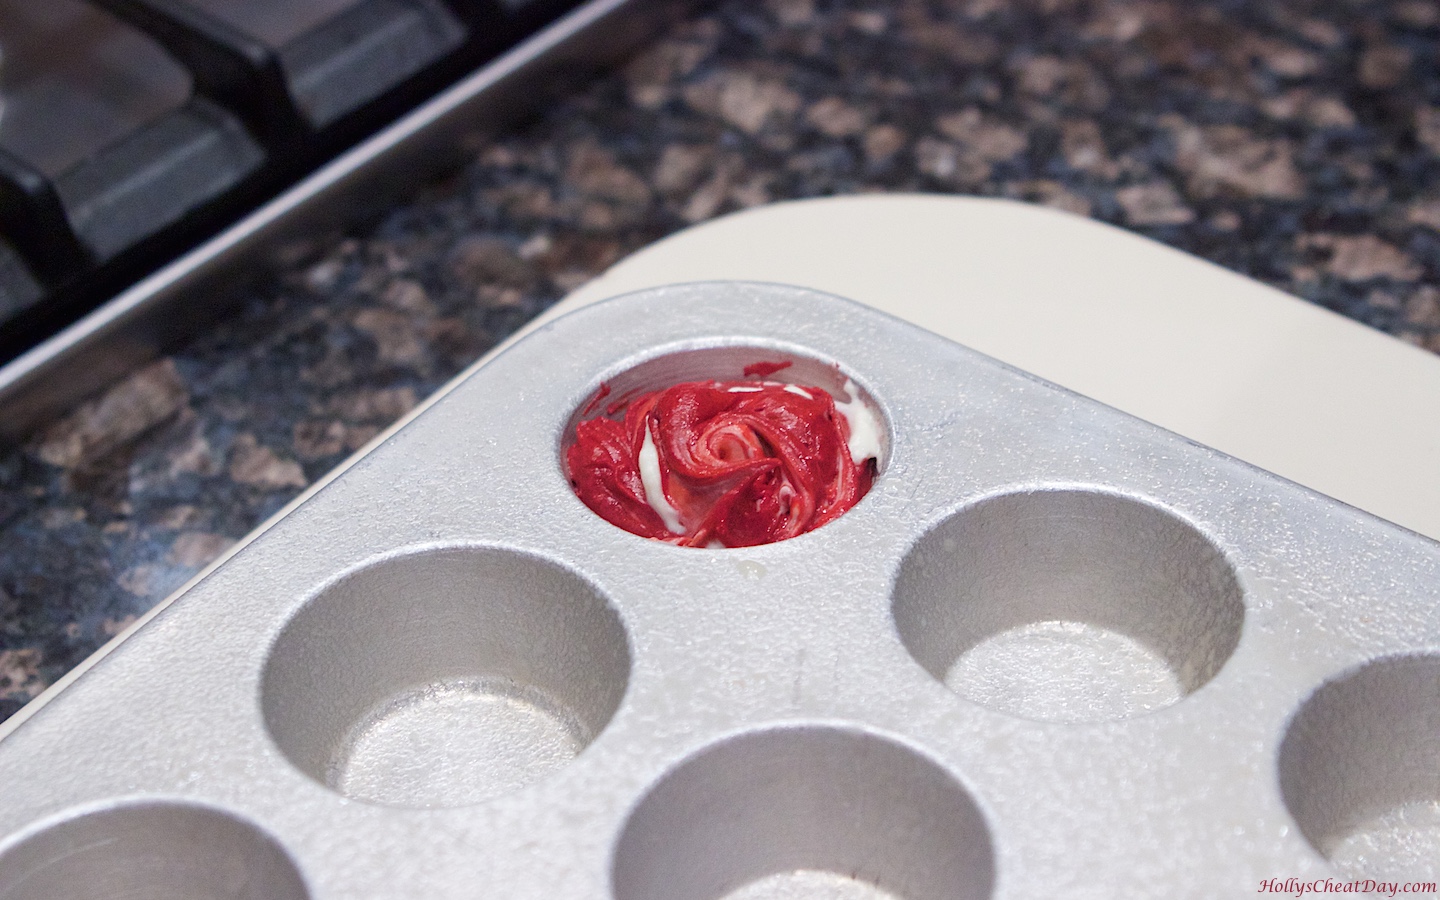
red-velvet-cheesecake-bites| HollysCheatDay.comswirl them all up…

red-velvet-cheesecake-bites| HollysCheatDay.comall swirled…

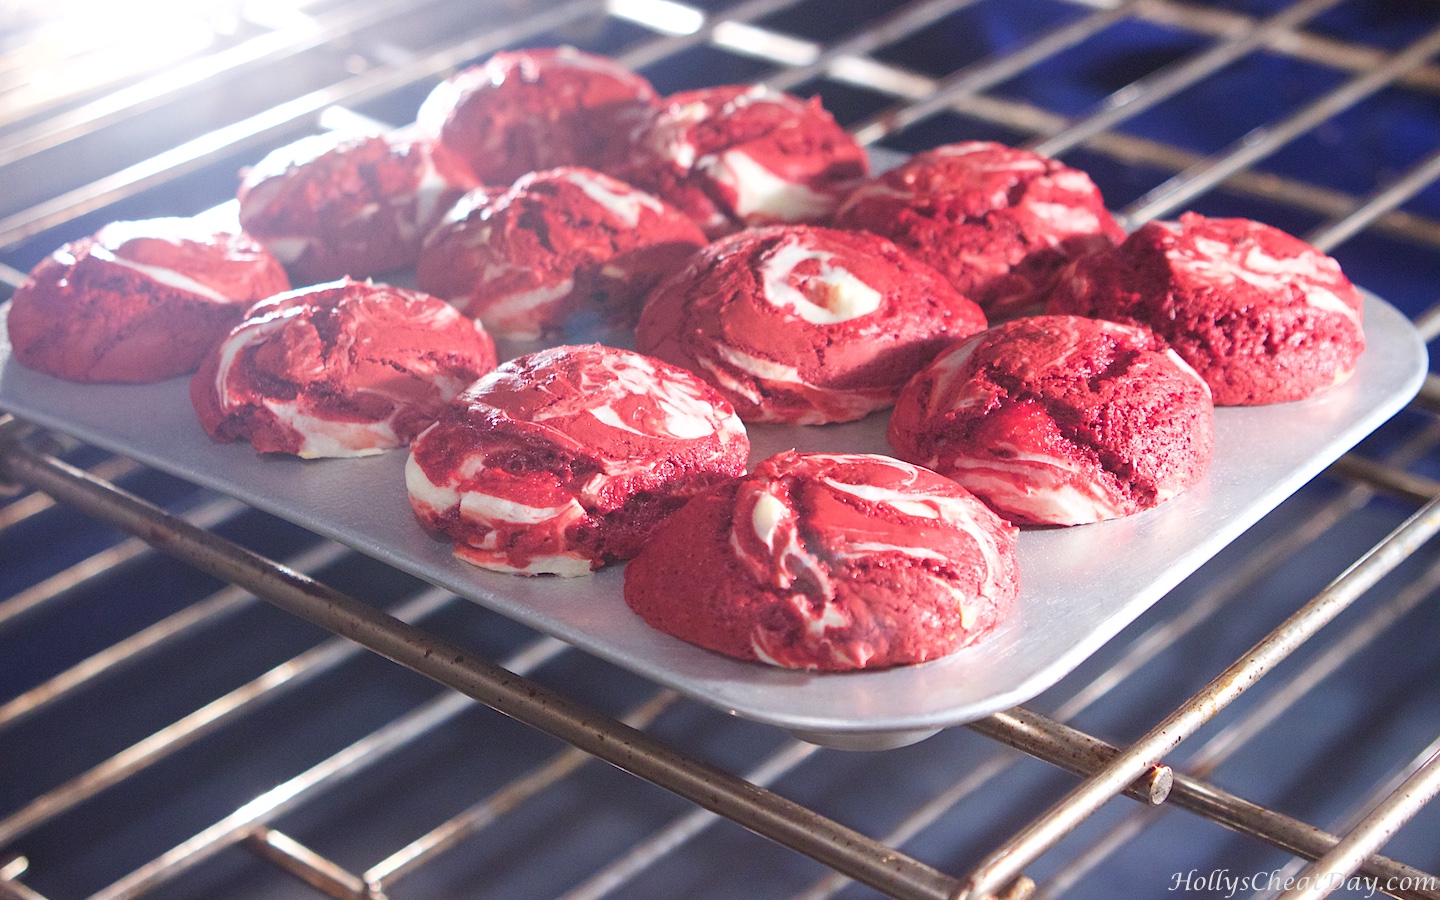
red-velvet-cheesecake-bites| HollysCheatDay.comlook how pretty they bake up…

red-velvet-cheesecake-bites| HollysCheatDay.comyummies!!!

red-velvet-cheesecake-bites| HollysCheatDay.com

Red Velvet Cheesecake Bites
2015-09-11 10:38:42
Yields 24
Mini bites of red velvet cake with a cheesecake swirl.
Write a review
Save Recipe
Print
THE RED VELVET CAKE
  1. 1 Box of Red Velvet Cake Mix
  2. 3 Large Eggs.
  3. 1 Cup of Water.
  4. 1/3 Cup of Vegetable Oil.
  5. 2 (12 Count) Mini Muffin Tins.
THE CHEESECAKE FILLING
  1. 1 (8 Ounce) Package of Cream Cheese, Softened.
  2. 3 Tablespoons of Granulated Sugar.
  3. 1/2 Teaspoon of Vanilla.
  4. 1 Large Egg Yolk.
FOR THE RED VELVET CAKE
  1. Preheat the oven to 350 degrees F.
  2. With a handheld or stand mixer with paddle attachment place your cake mix, eggs, water and vegetable oil in your bowl, mix all ingredients until smooth, set aside.
FOR THE CHEESECAKE FILLING
  1. With a handheld or stand mixer with paddle attachment cream your cream cheese until smooth, then add your sugar, vanilla and egg yolk mixing all ingredients together until well incorporated, set aside.
ASSEMBLY
  1. Spray your mini muffin tins liberally with bakers spray.
  2. Spoon 3/4 of a tablespoon of red velvet batter into your muffin pan.
  3. Then spoon 1 1/2 teaspoons of cheesecake mixture on top of your red velvet batter.
  4. Then place 1 teaspoon of red velvet batter on top of your cheesecake mixture.
  5. Using a toothpick, swirl the red velvet batter and cheesecake batter together.
  6. Bake for 12-14 minutes (I took mine out at 14) or until the cheesecake is fully baked.
  7. Let cool completely.
HOLLY'S CHEAT DAY https://www.hollyscheatday.com/

Filed Under: All Recipes, Cheesecake, Dessert

REPOST-Mini Gingerbread Cheesecakes

November 27, 2017 By Holly

Happy Monday everybody!!! I hope everyone had a wonderful Thanksgiving, and that you all have since recovered from your food hangovers.  I know my pants are a little snug this morning (real pants anyway, we all know stretchy pants are the only acceptable pants around Thanksgiving), so let the extra cardio sessions begin.  Anyways, gingerbread season is now upon us and y’all will all be seeing lots of gingerbread things around these parts for the next few weeks, so I apologize in advance.  I did want to share a favorite gingerbread recipe from a couple of years ago that I just loved.  These were so fun and a real hit at a few parties I took these to.  I hope you get to enjoy these soon! Have a wonderful day and thank you so much for stopping by!

Happy Wednesday y’all!!!  So I have a question…can we please either move Thanksgiving back a few weeks or push Christmas to January or something? because seriously it’s like all the holidays jumble together and then it’s all over and I’m super sad to put my Christmas decorations up (yes, I believe it’s not good to start the New Year with your decorations up). 

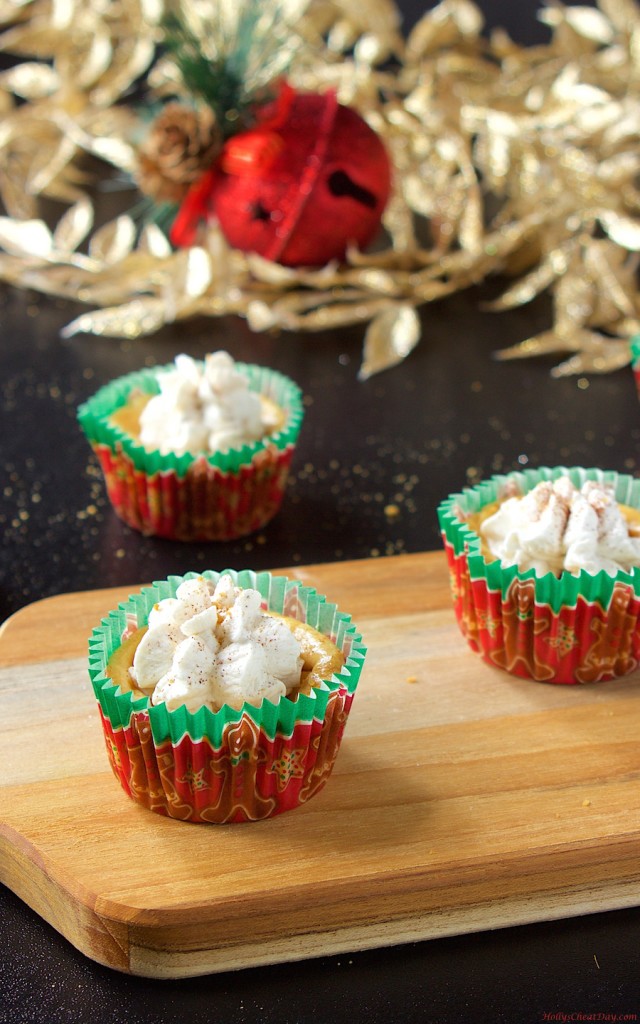
mini-gingerbread-cheesecakes-bite| HollysCheatDay.comIt’s like month after month of totally awesome food related holidays and then nada for a while.  Are y’all with me on this? because I seriously can’t be the only one who thinks this would be a good idea…Anyways, to hold onto Christmas just ooonnee more day I thought I would bring y’all these mini gingerbread cheesecakes. 

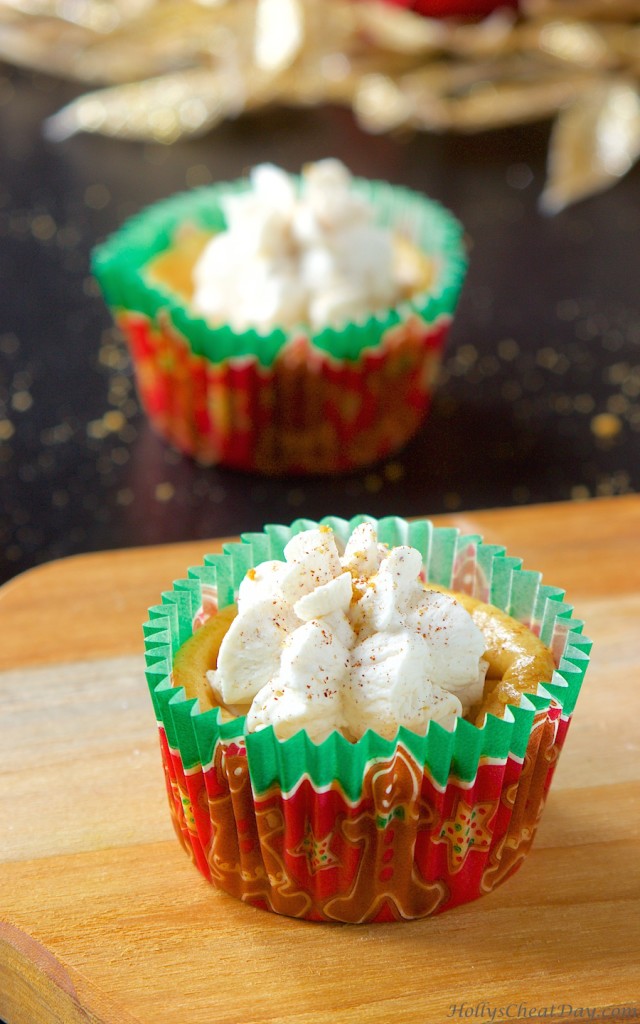
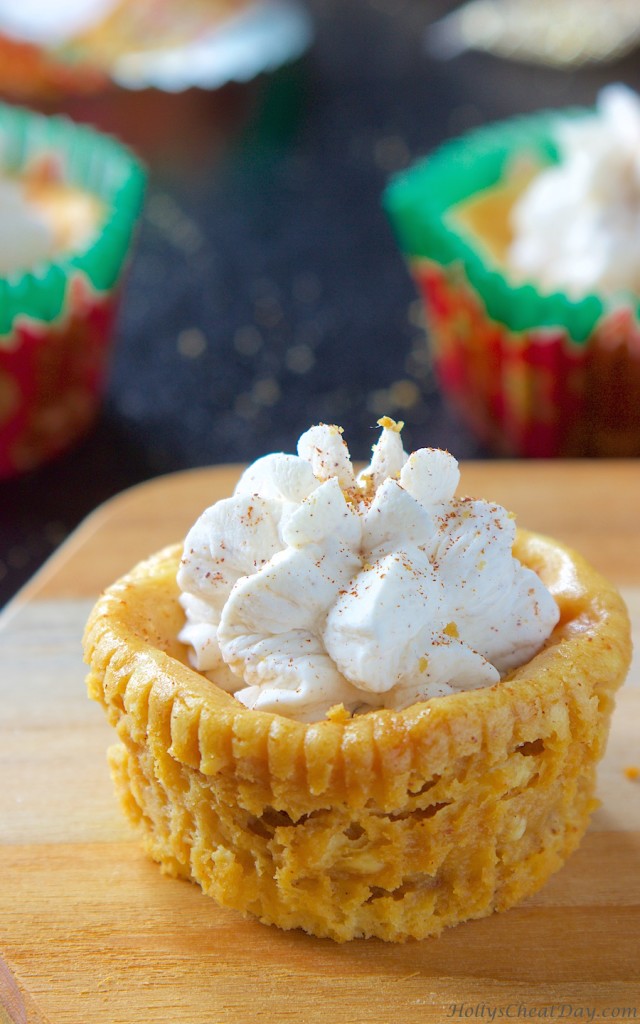
mini-gingerbread-cheesecakes| HollysCheatDay.comHonestly these are the perfect mixture of gingerbread and cheesecake, incredibly decadent for sure, especially with the added bonus of the perfectly light and fluffy cinnamon whipped cream on top, yum, yum, yummy y’all. 

mini-gingerbread-cheesecakes| HollysCheatDay.comThese are a cinch to make and if y’alls collapse in the middle like mine always do, then that can be covered by the whipped cream hehe, enjoy!!!    
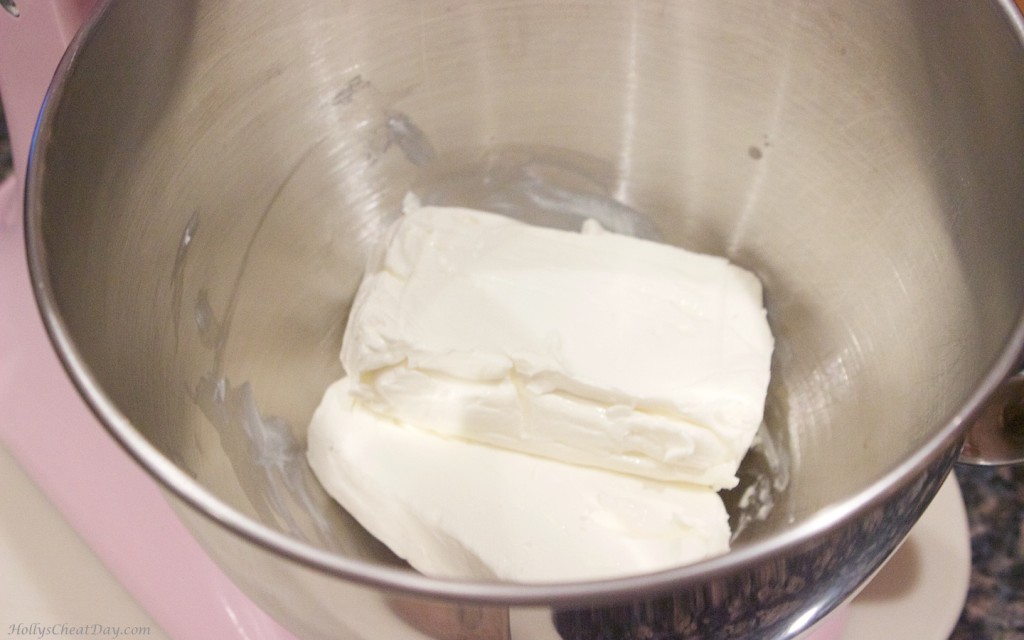
Alrighty, cream cheese into your bowl…

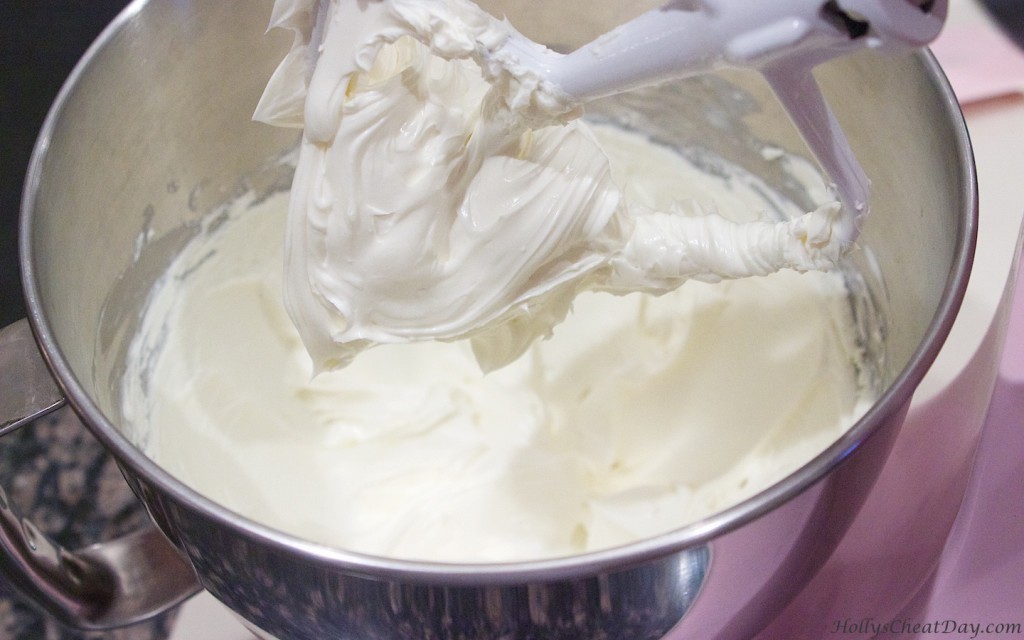
mini-gingerbread-cheesecakes| HollysCheatDay.comnice and creamy…

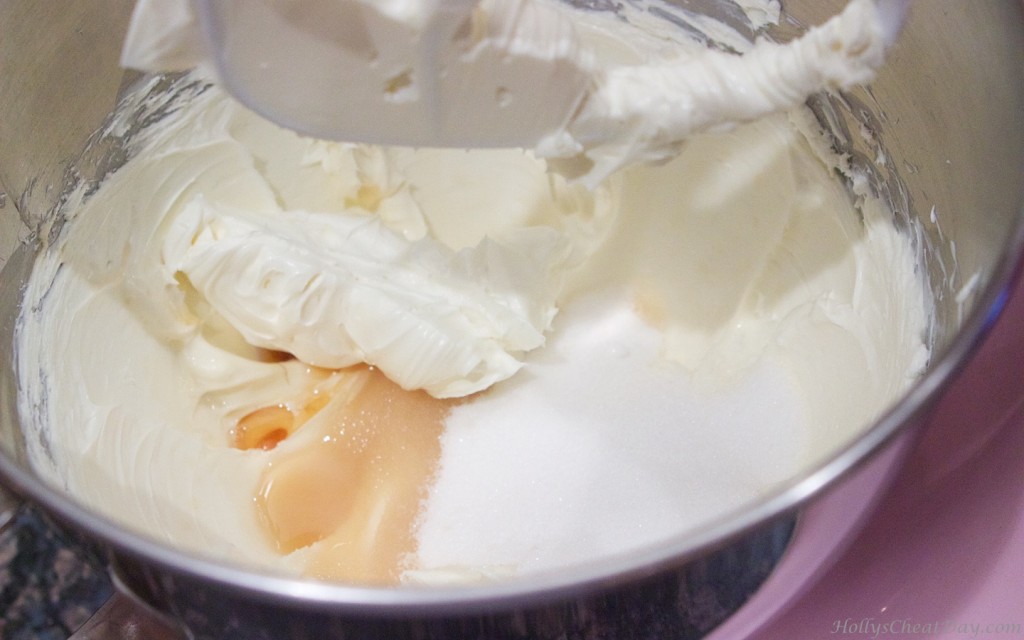
mini-gingerbread-cheesecakes| HollysCheatDay.comnow the vanilla and sugar…

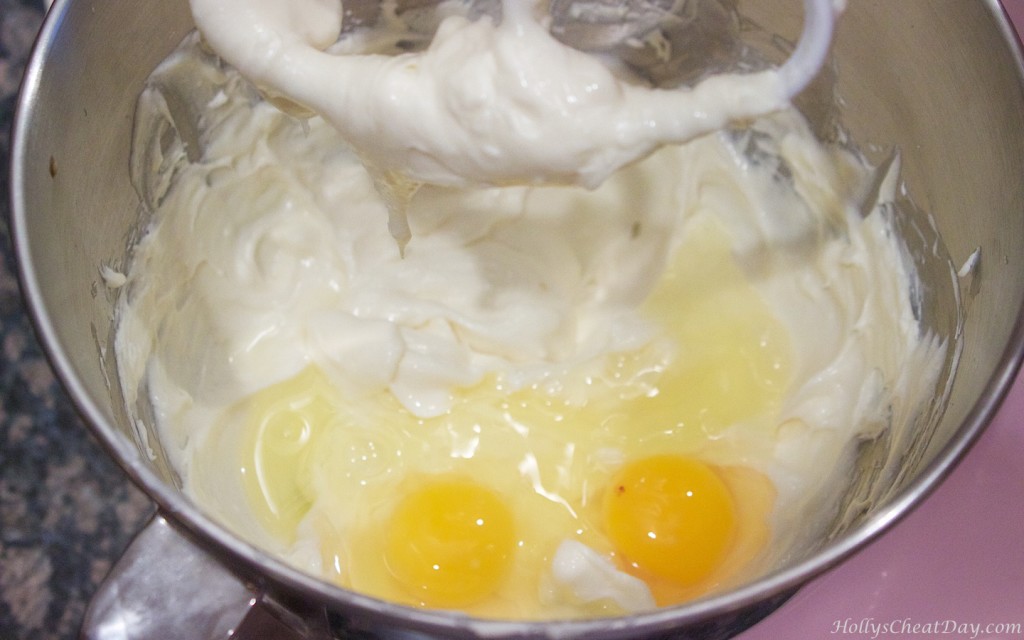
mini-gingerbread-cheesecakes| HollysCheatDay.comthe eggs…

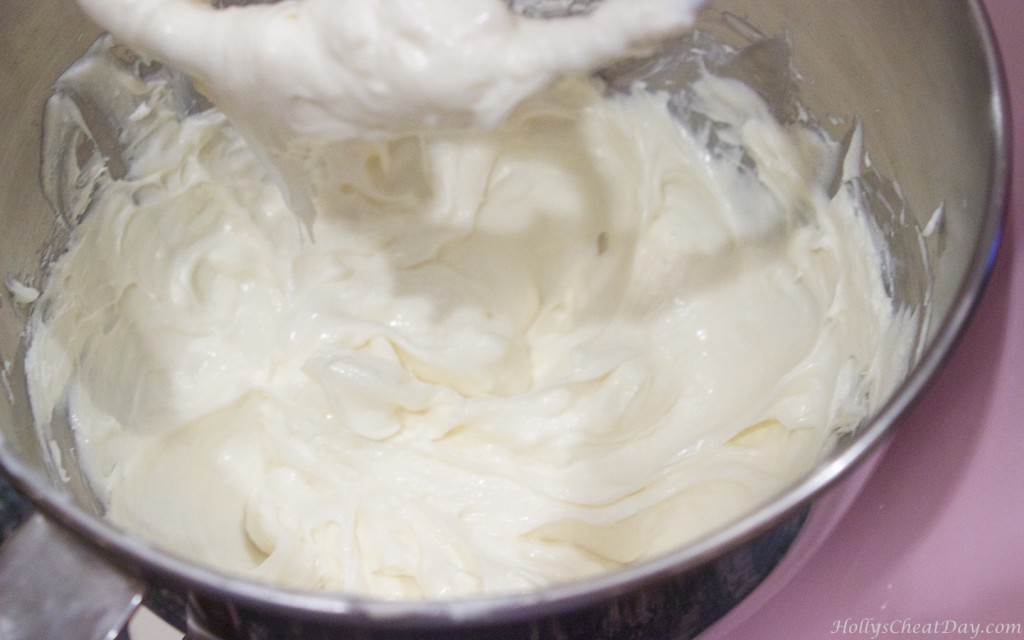
mini-gingerbread-cheesecakes| HollysCheatDay.comall mixed up…

mini-gingerbread-cheesecakes| HollysCheatDay.comnow time for the molasses and all the spices…

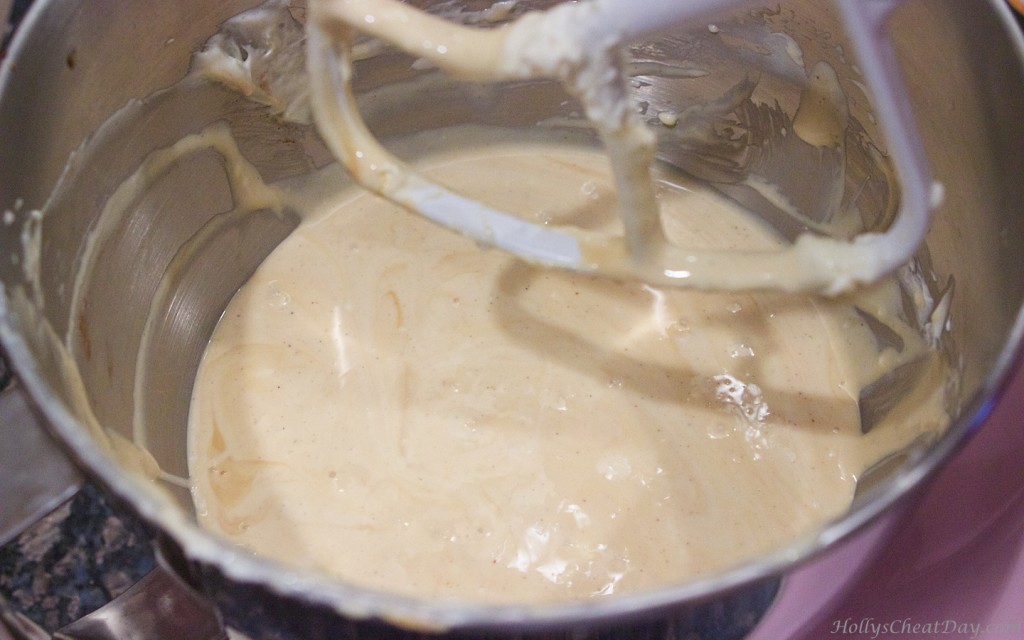
mini-gingerbread-cheesecakes| HollysCheatDay.comall mixed again, and ready to go into the liners…

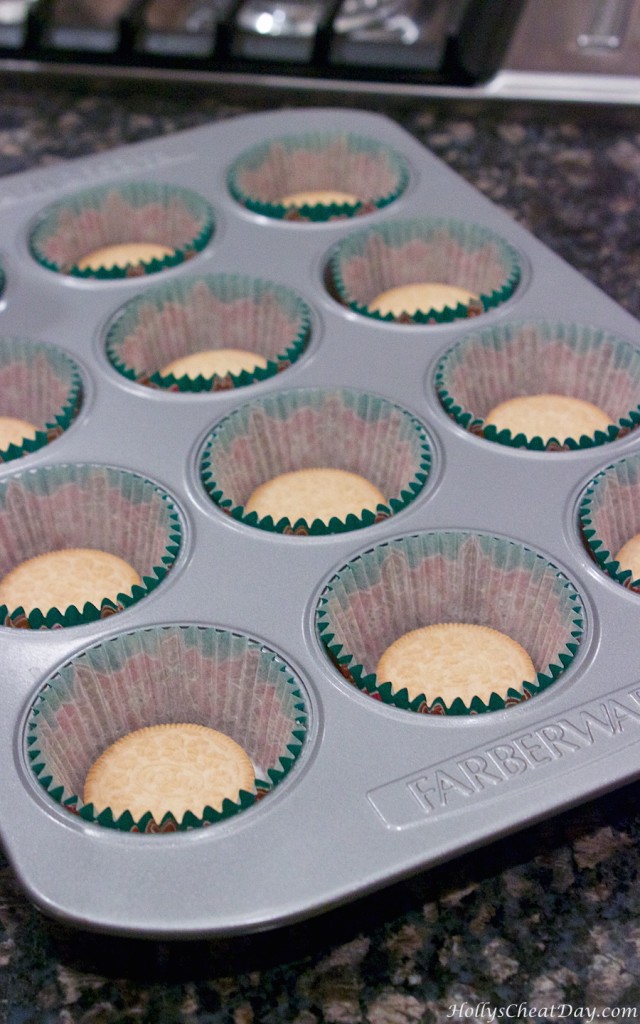
mini-gingerbread-cheesecakes| HollysCheatDay.comGolden Oreos in the liners…

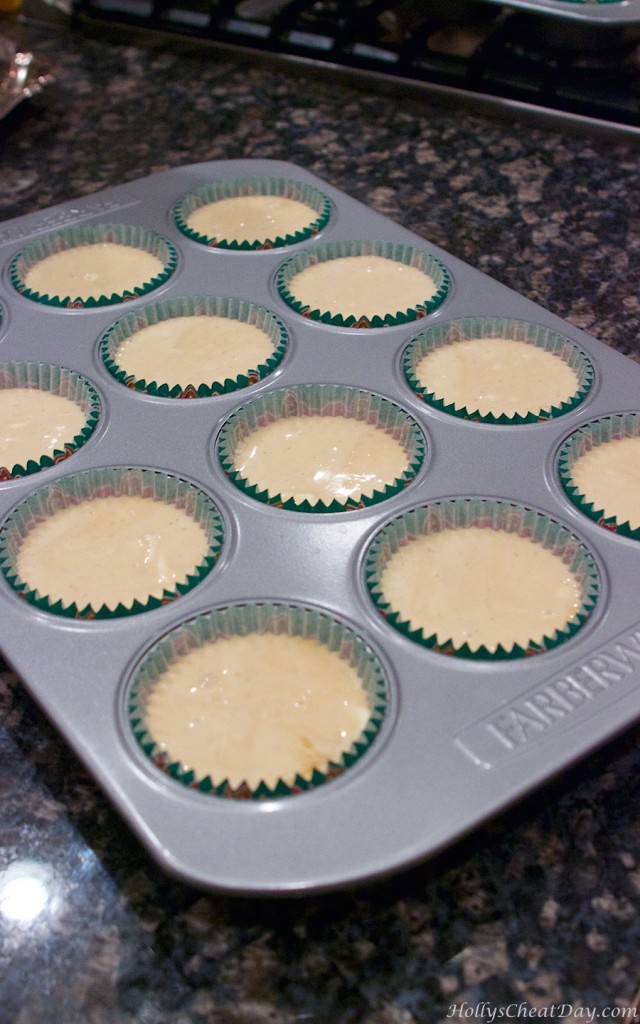
mini-gingerbread-cheesecakes| HollysCheatDay.comcheesecake batter into the liners…

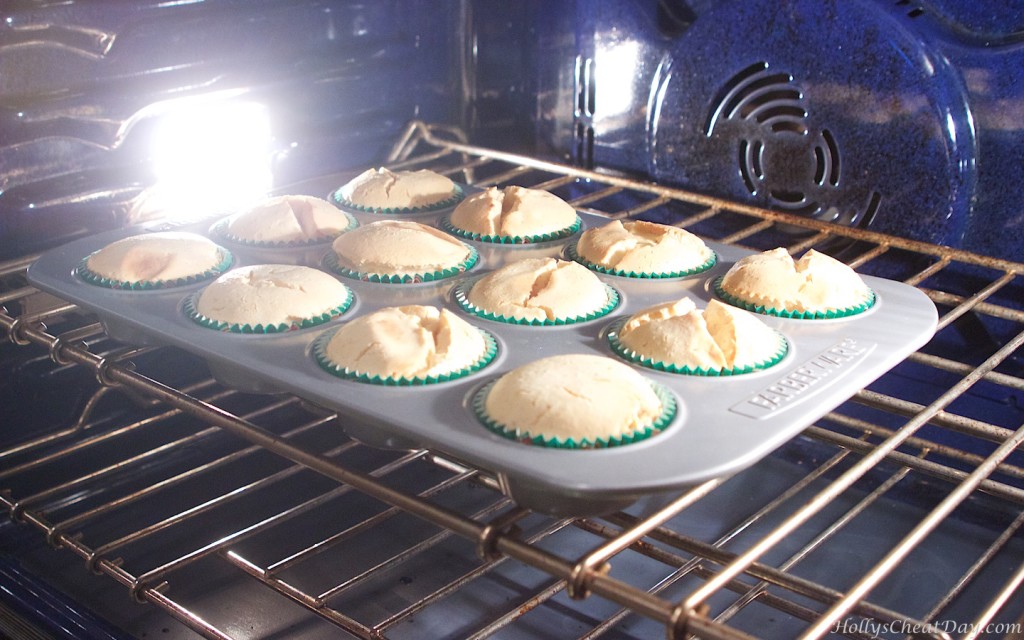
mini-gingerbread-cheesecakes| HollysCheatDay.combake, bake, bake…

mini-gingerbread-cheesecakes| HollysCheatDay.comand enjoy!!!
mini-gingerbread-cheesecakes| HollysCheatDay.com

Mini Gingerbread Cheesecakes
2015-12-29 09:33:37
Yields 16
Miniature cheesecakes with all the flavor of gingerbread.
Write a review
Save Recipe
Print
THE MINI CHEESECAKES
  1. 2 (8 Ounce) Blocks of Cream Cheese, Softened.
  2. 3/4 Cup of Granulated Sugar.
  3. 1 Tablespoon of Vanilla Extract.
  4. 2 Large Eggs.
  5. 2 Tablespoons of Molasses.
  6. 1 Teaspoon of Ground Ginger.
  7. 1/2 Teaspoon of Cinnamon.
  8. 1/2 Teaspoon of Nutmeg.
  9. Pinch of Salt.
  10. Dash of Cloves.
  11. 12-16 Golden Oreos.
THE CINNAMON WHIPPED CREAM (OPTIONAL)
  1. 1 Cup of Heavy Whipping Cream, Chilled.
  2. 1/2 Cup of Granulated Sugar.
  3. 1 Teaspoon of Cinnamon.
FOR THE CHEESECAKES
  1. Preheat your oven to 325 degrees F.
  2. Place cupcake liners in your cupcake tins, and then place 1 Golden Oreo in the bottom of each liner and set aside.
  3. With a handheld or stand mixer with paddle attachment, place your cream cheese into your bowl and mix until light and fluffy.
  4. Now add the sugar and whip again until combined.
  5. Now add the rest of your ingredients and mix until just combined.
  6. Using an ice cream scoop or large spoon, place your cheesecake batter on top of each Golden Oreo filling each liner almost to the top.
  7. Bake your cheesecakes for 20-22 minutes or until they just start to crack a little on top.
  8. Let cool completely.
FOR THE CINNAMON WHIPPED CREAM
  1. With a handheld or stand mixer with whisk attachment, place your chilled heavy whipping cream in your bowl and whisk until right before stiff peaks form.
  2. Now add your sugar and cinnamon and whisk again until well combined, and enjoy!!
Notes
  1. You don't have to make the cinnamon whipped cream, but it's so dang yummy I highly recommend it.
By Holly
HOLLY'S CHEAT DAY https://www.hollyscheatday.com/

Filed Under: All Recipes, Cheesecake, Dessert

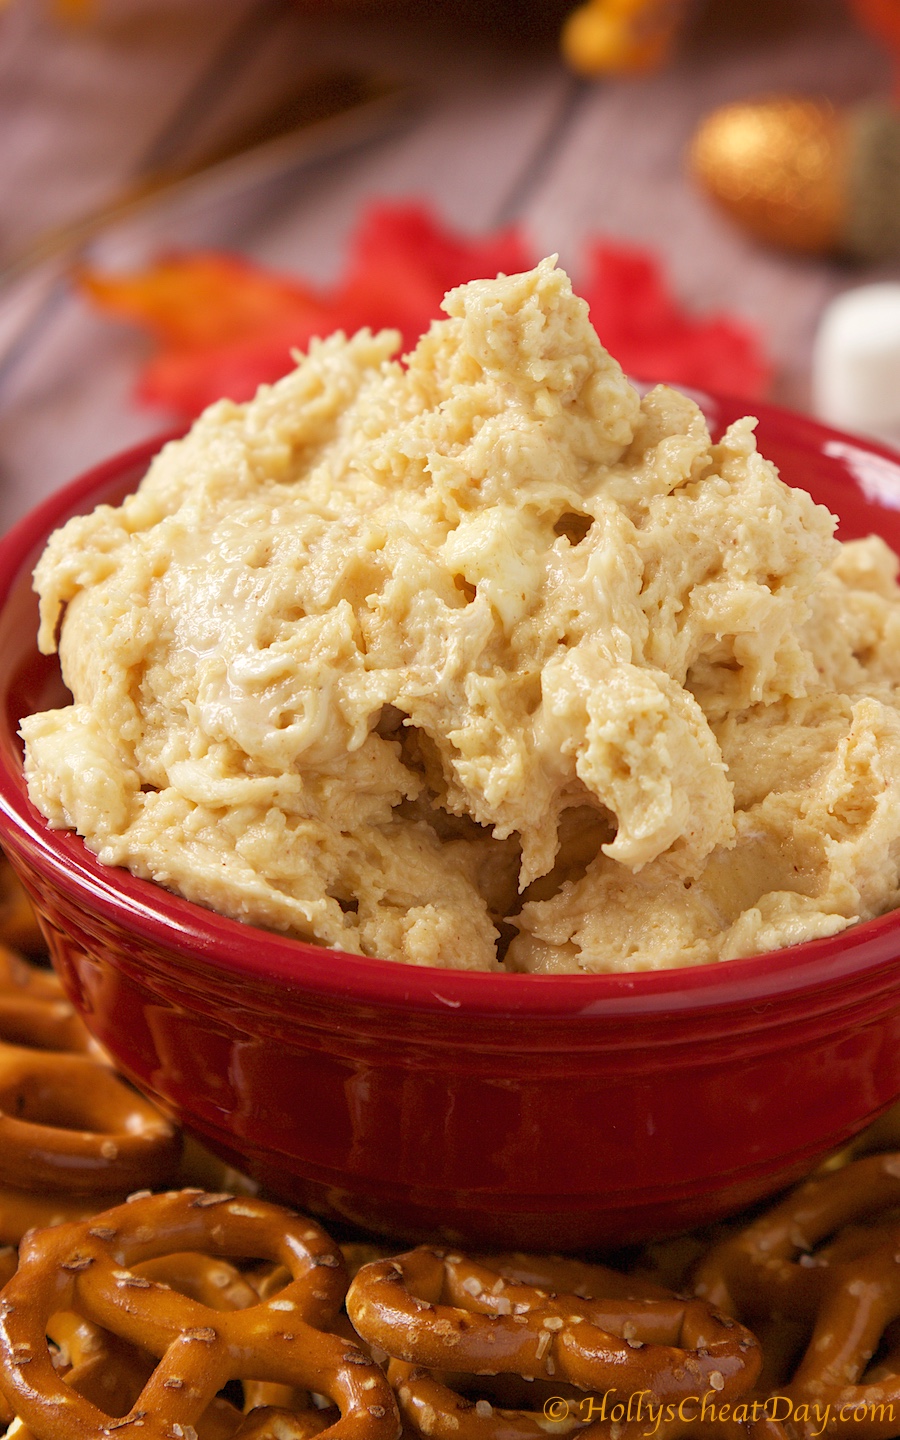
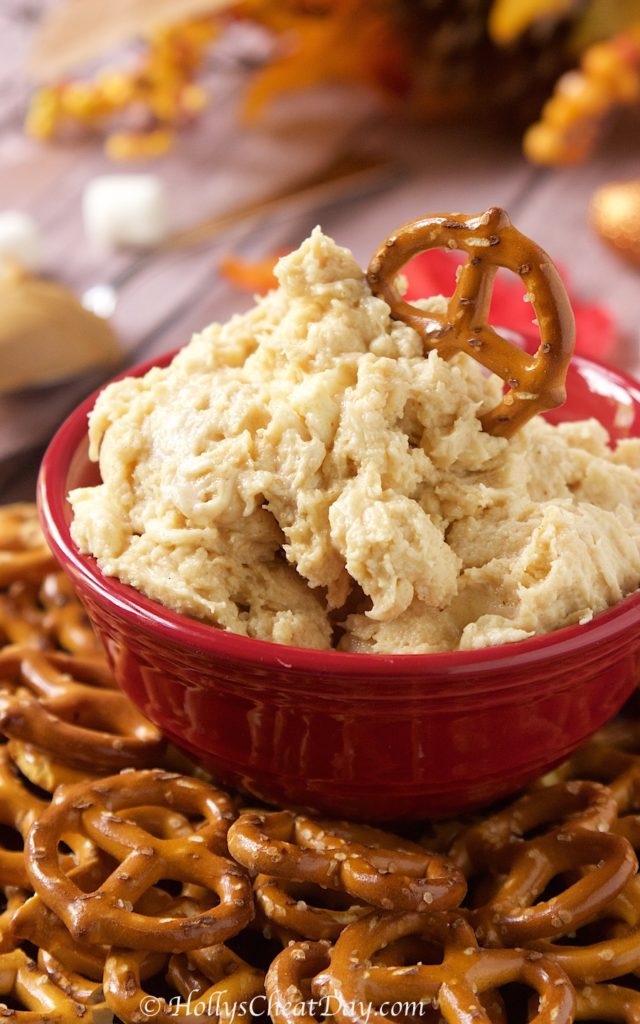
Easy Fluffernutter Dip

November 16, 2017 By Holly

Happy Happy Thursday y’all!!!  So, seriously, I’m a terrible food blogger, I prepared and photographed several recipes over a month ago for Halloween/Fall, and then proceeded to completely forget about them, oops.  Okay, technically I didn’t 100% forget, my world has been a bit crazy and off the last several months so there you go…Anyways, today’s recipe was totally intended to be served at Halloween gatherings, but I realized that a yummy dip can totally be served anywhere or at anytime. 

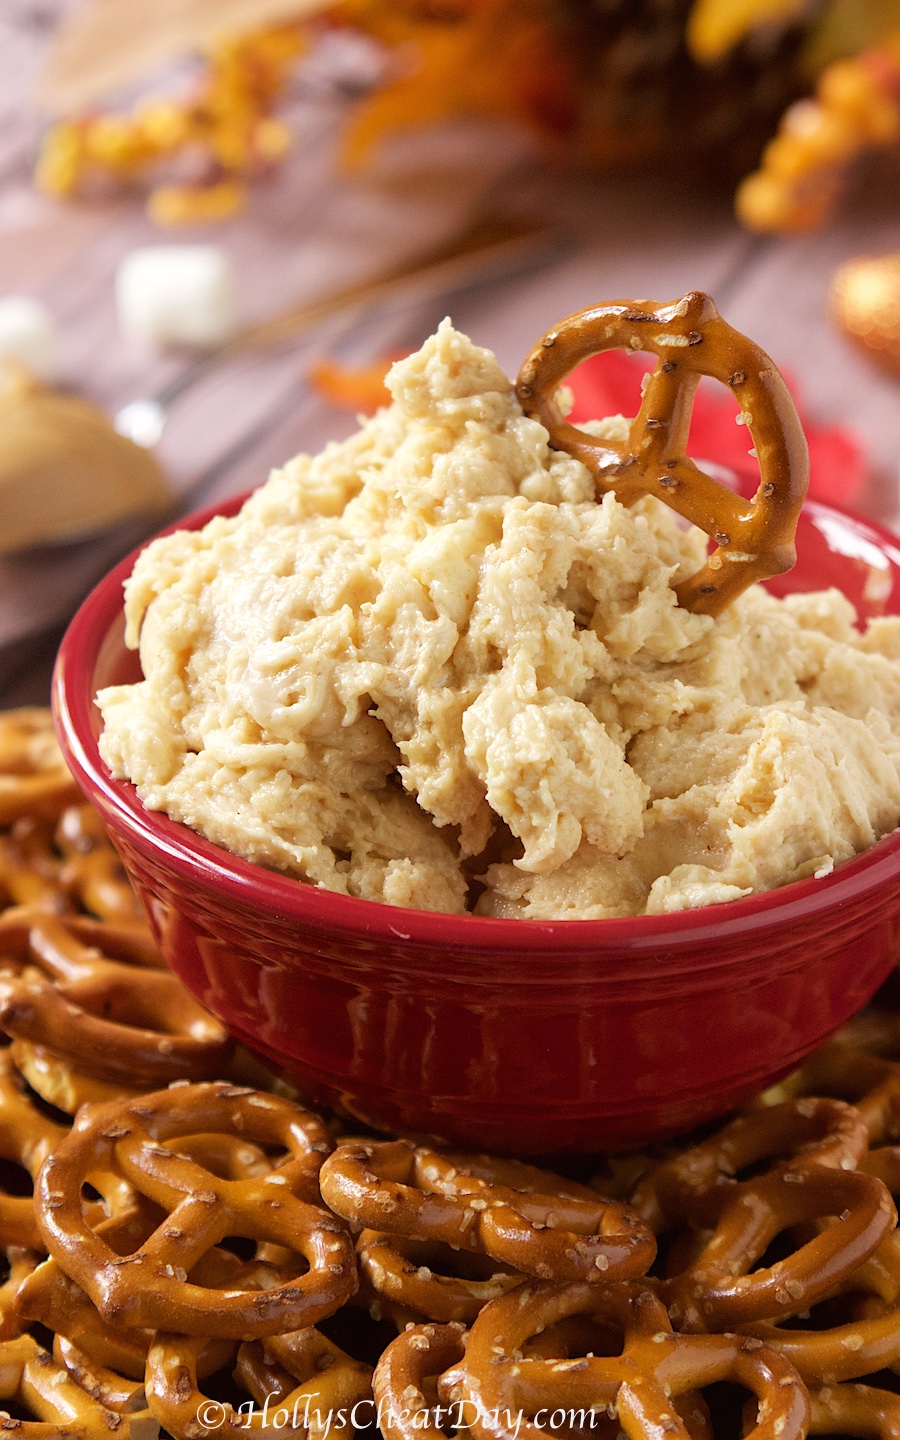
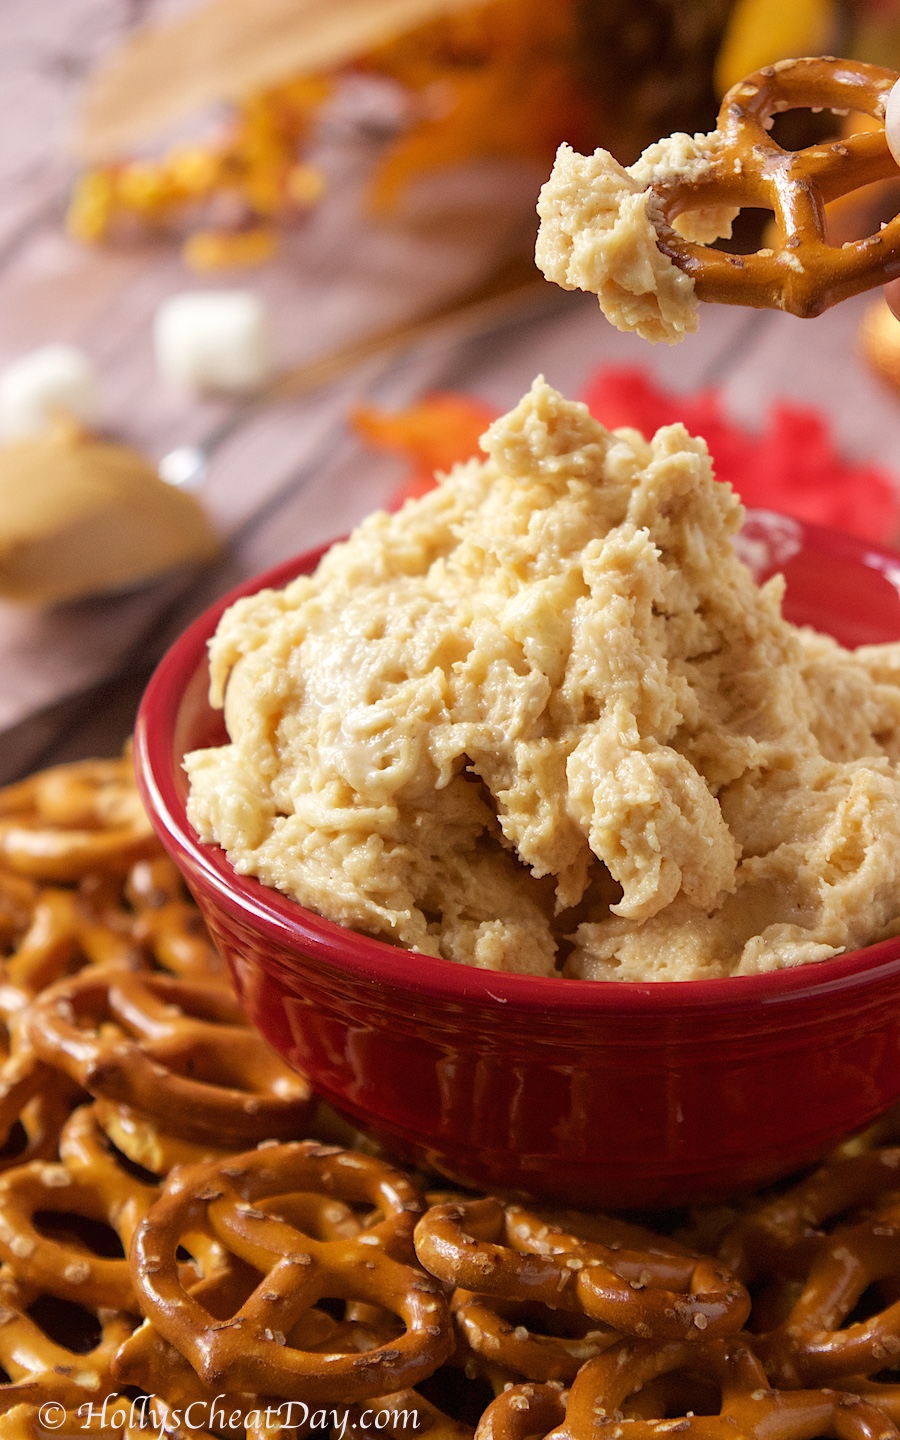
So with that being said, and Thanksgiving exactly one week from today (gulp) I thought maybe throwing a dessert dip y’all’s way might help you out with any last minute recipes you might need.  I get it, marshmallow and peanut butter combined might seem like a totally strange and or icky combo to some of you, but it’s one I happen to just love. 

It definitely has that sweet and salty thing going on, which any of you who have been frequenting this little blog for even a little while know is my weakness (next to doughnuts, obvi).  Seriously y’all this dip was prepared and ready to be eaten in less than 10 minutes it’s just that stinking easy to make. 

I served this dip with both shortbread cookies and mini pretzels and both were equally as delicious, so feel free to serve with both haha.  I hope you’re all having a wonderful week so far and bonus, we’re tthhiiss much closer to the weekend.  Thank you so much for stopping by and have a great Friday Eve.   

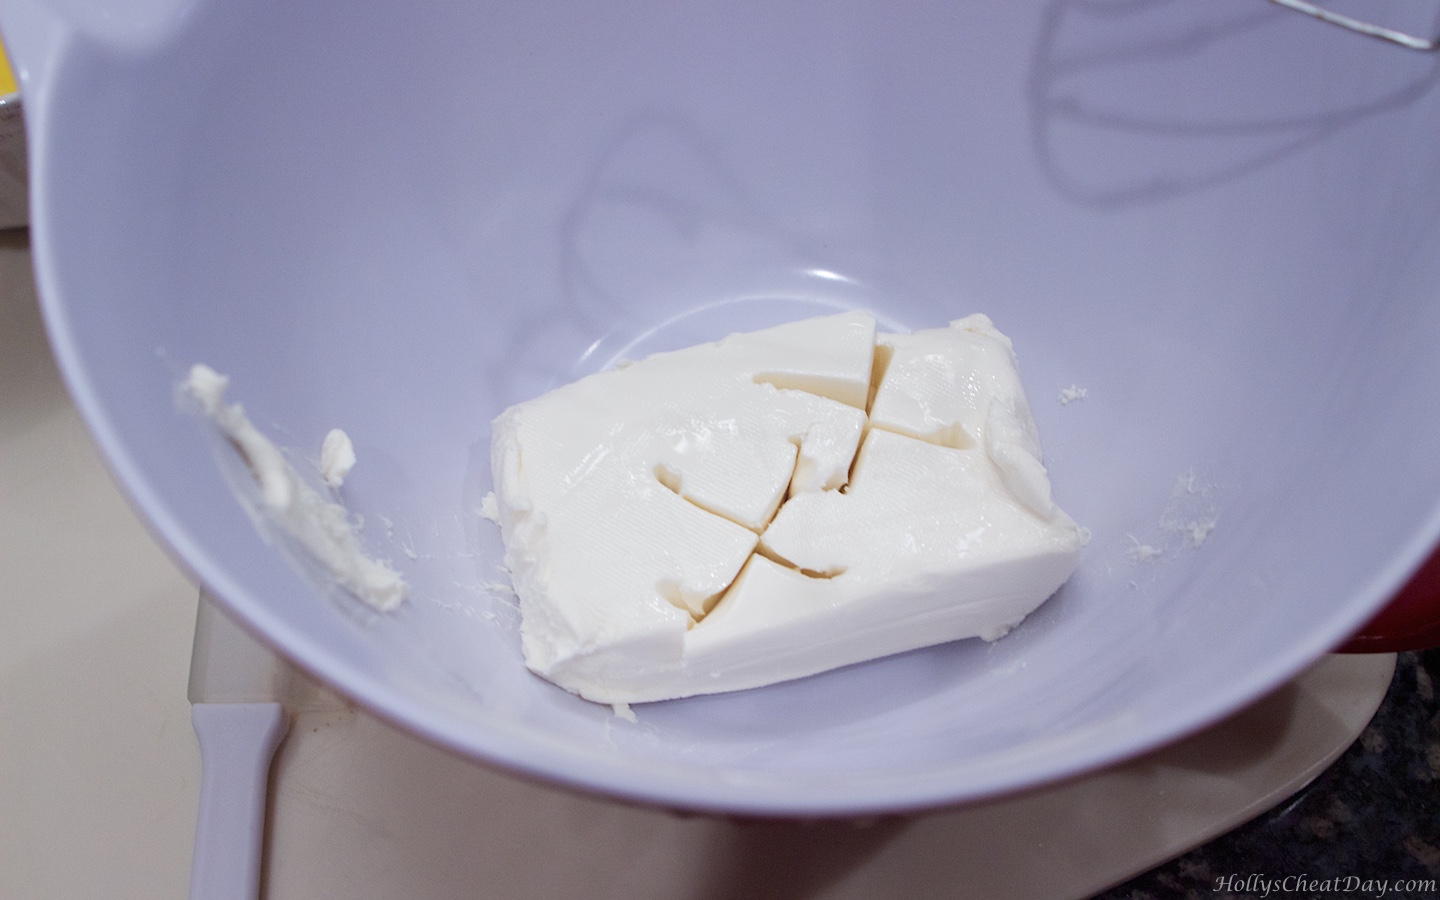
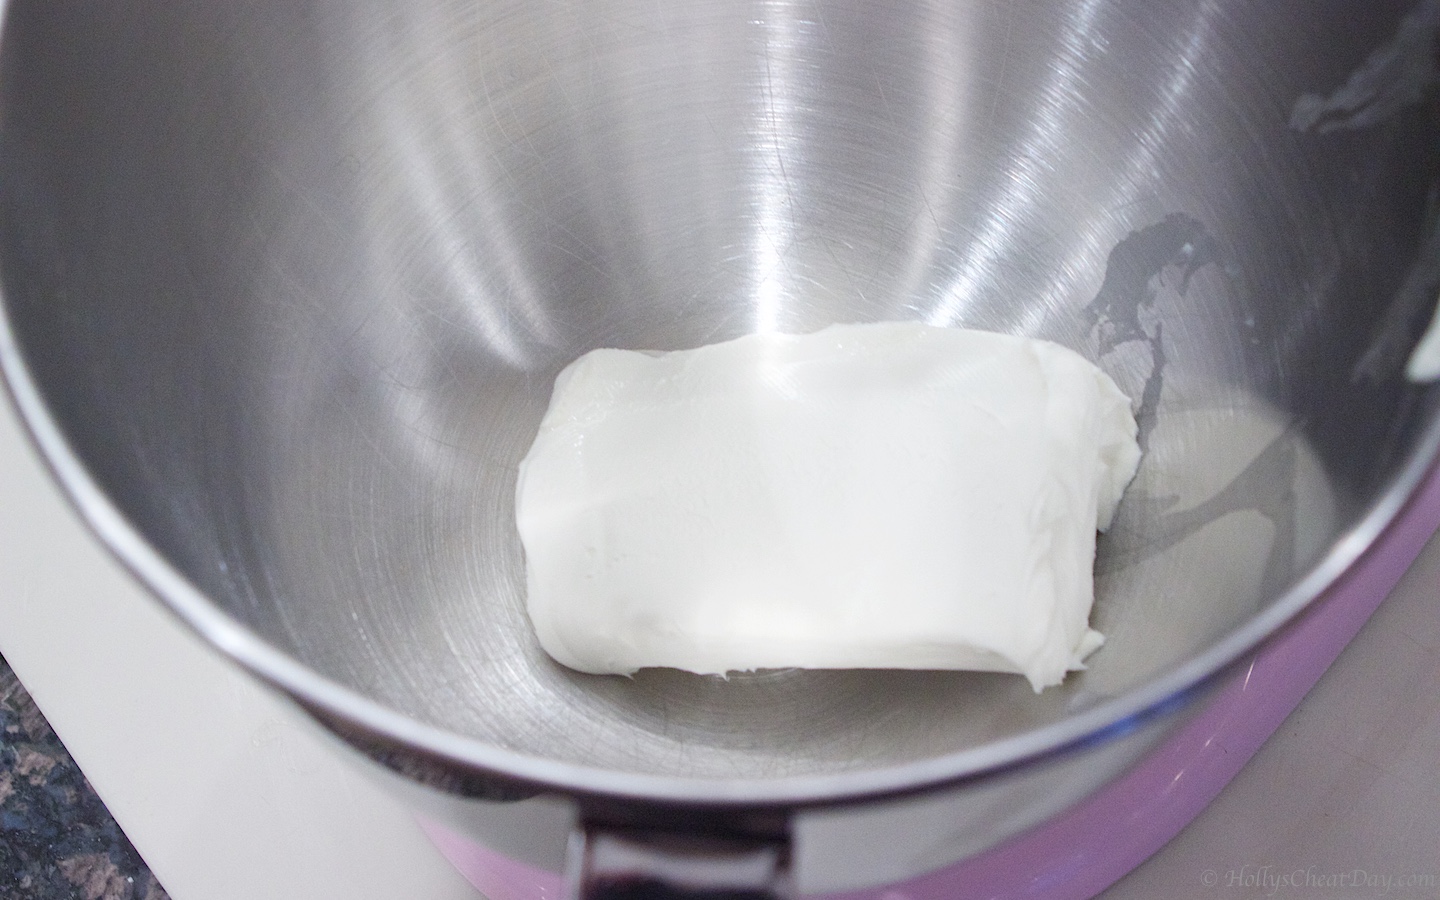
Cream cheese to start…

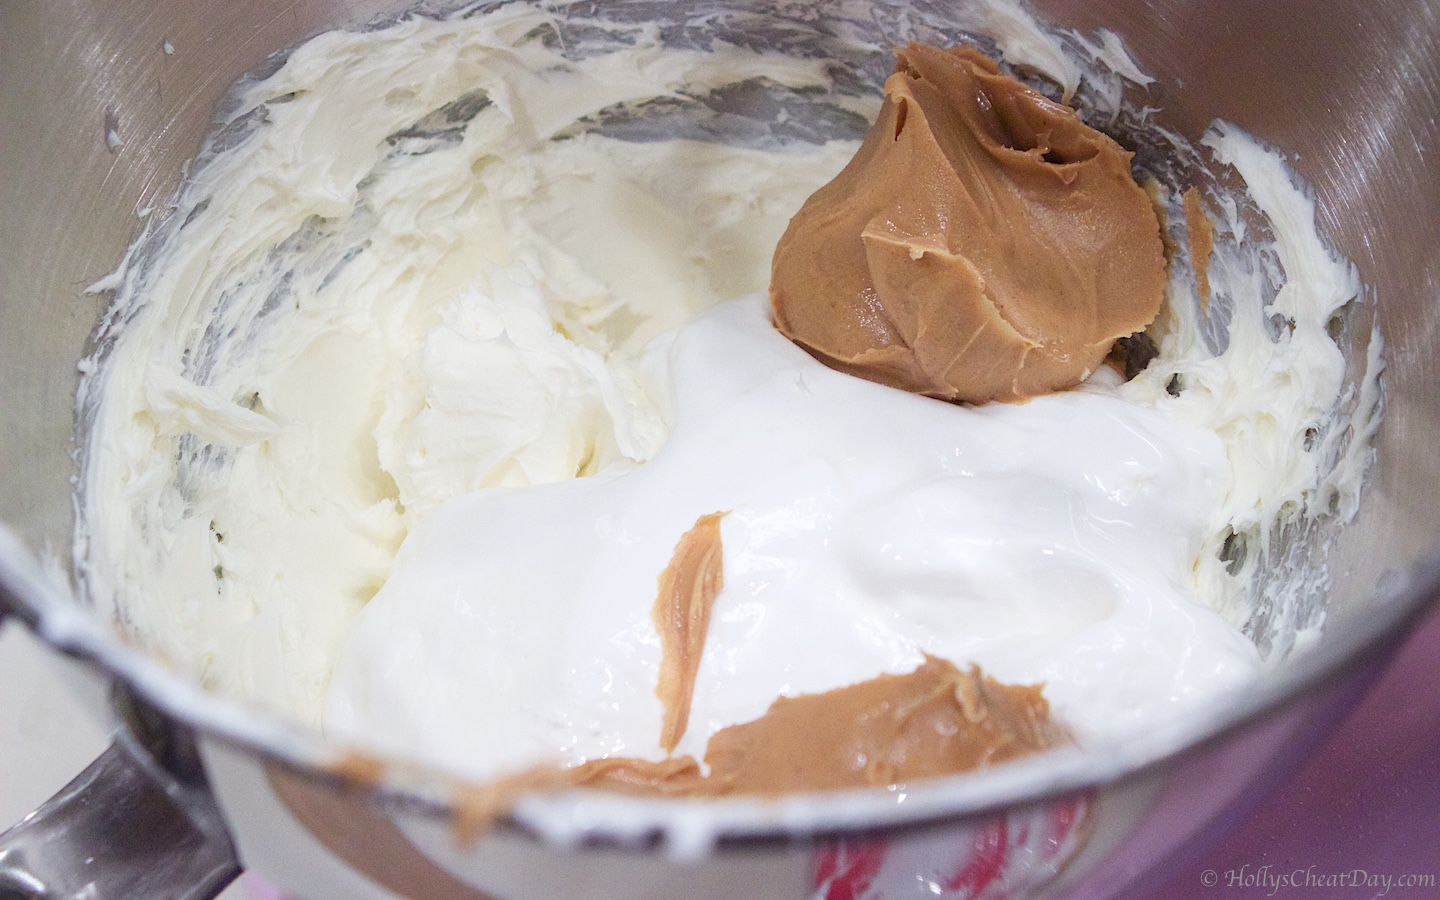
beat the cream cheese, then add the marshmallow fluff and peanut butter…

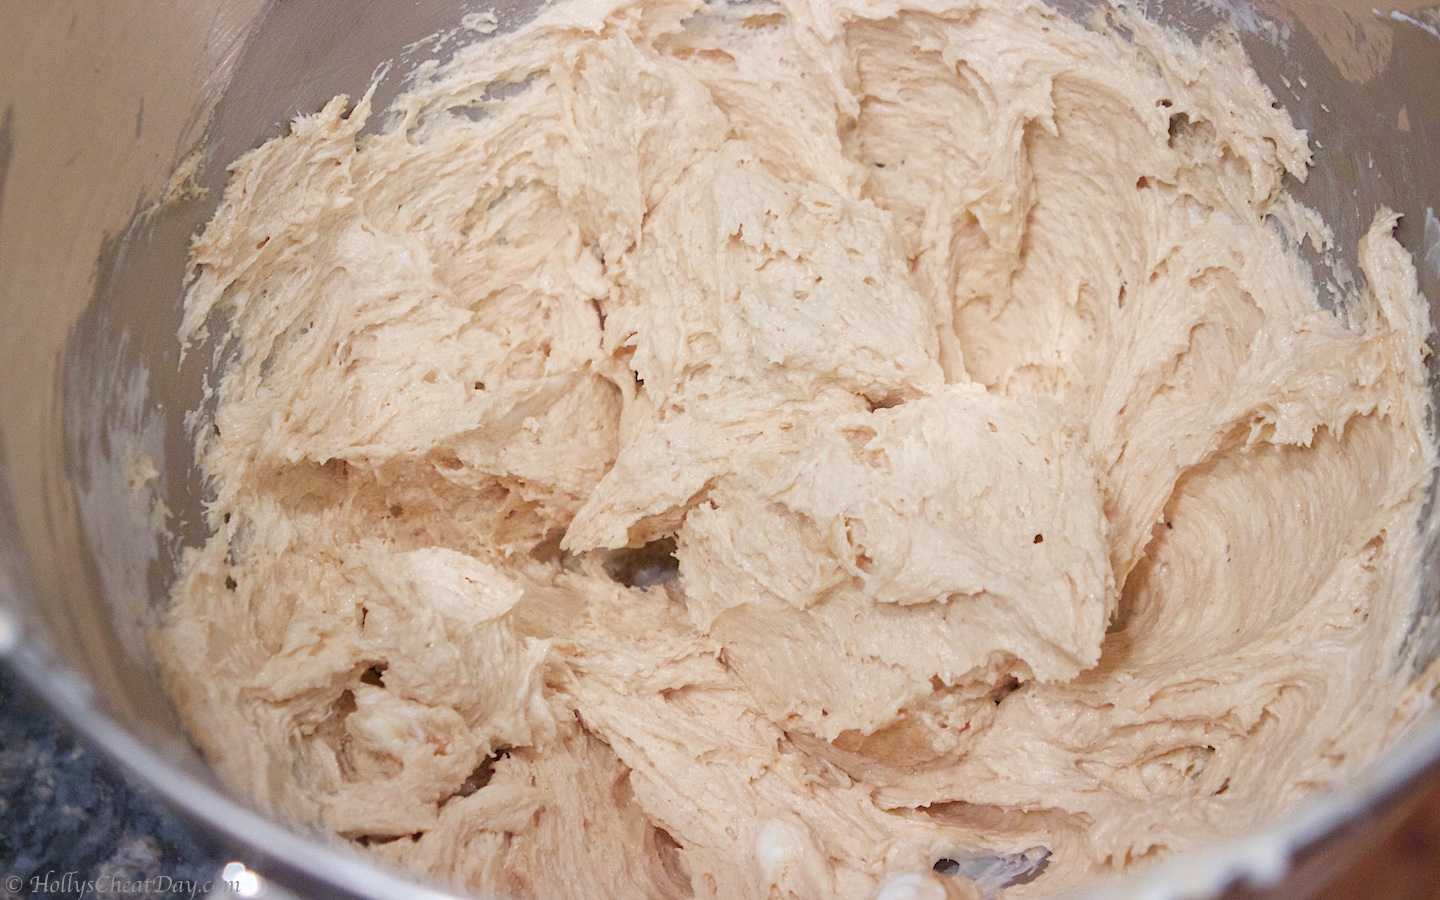
then, mix, mix and mix…

and enjoy!!!
Easy Fluffernutter Dip
2017-11-16 10:57:23
Delicious and easy dip made with marshmallow fluff and peanut butter, a must make for any occasion.
Write a review
Save Recipe
Print
Ingredients
  1. 8 Ounces of Cream Cheese, Softened.
  2. 7 Ounces of Marshmallow Fluff.
  3. 1/2 Cup of Peanut Butter.
  4. Pretzels or Cookies For Dipping (Optional).
Instructions
  1. In a large bowl, place your cream cheese in and beat until smooth.
  2. Now add in your marshmallow fluff, peanut butter and whip until well combined.
  3. Serve with pretzels or cookies and enjoy!
HOLLY'S CHEAT DAY https://www.hollyscheatday.com/

Filed Under: All Recipes, Dessert, Dip

REPOST-Crockpot Pumpkin Bread Pudding

November 13, 2017 By Holly

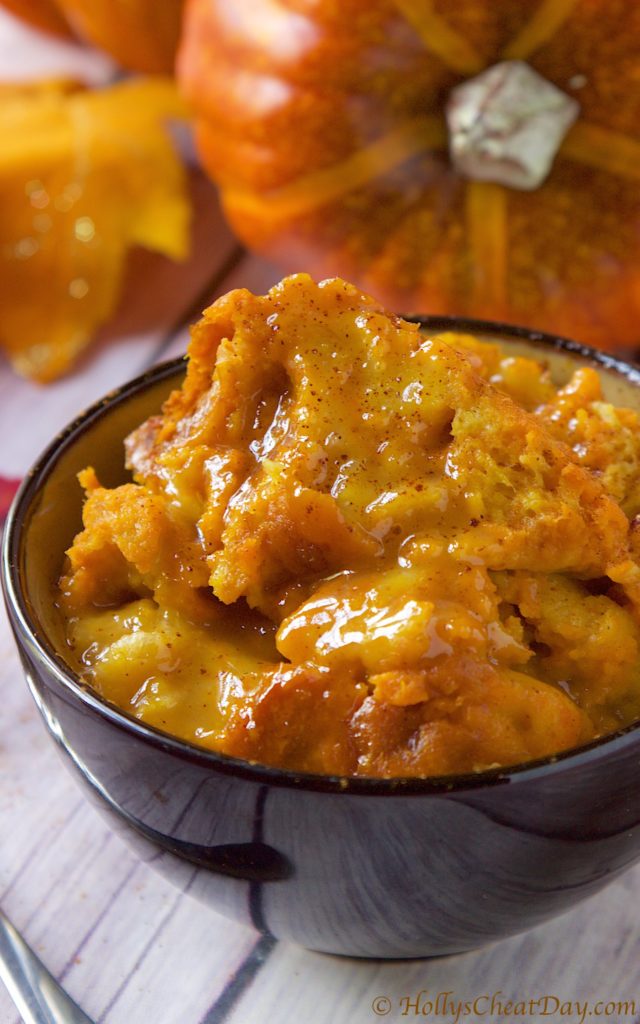
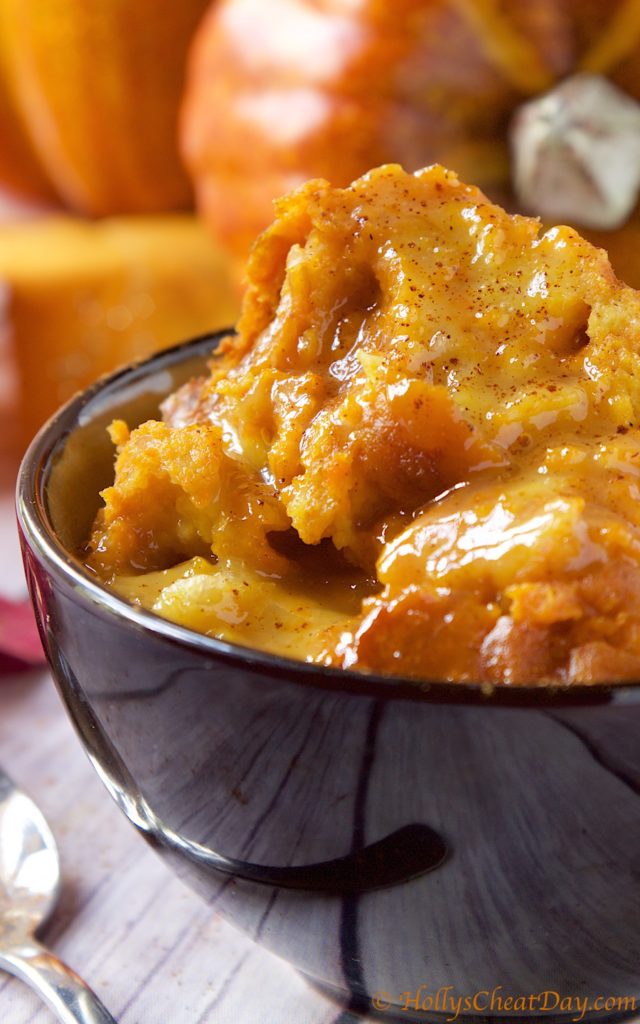
Hey y’all & Happy Monday! With Thanksgiving only next week (holy cow!), I figured some of you guys might be scrambling for some easy dessert recipes too, so I just knew I had to repost one of my absolute Fall favorites.  Seriously, these pictures are making my mouth water, I absolutely adore this bread pudding.  Crockpot desserts are too wonderful because of their ease and they stay nice and warm until they’re ready to be served.  I can’t recommend enough y’all add this to your Thanksgiving menu this year.  Have a wonderful day and thank you so much for stopping by!!!….

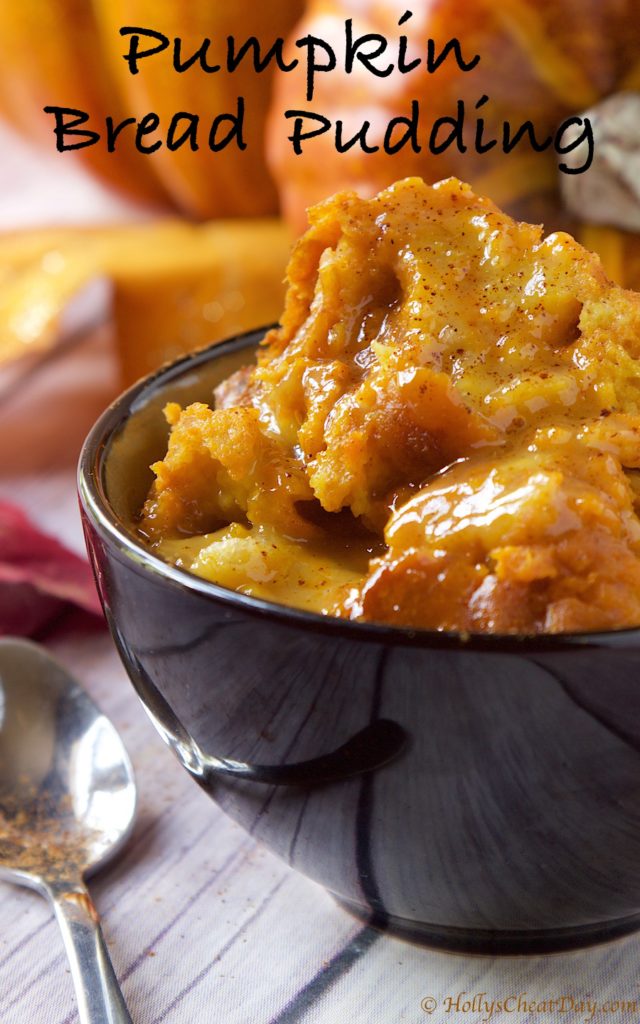
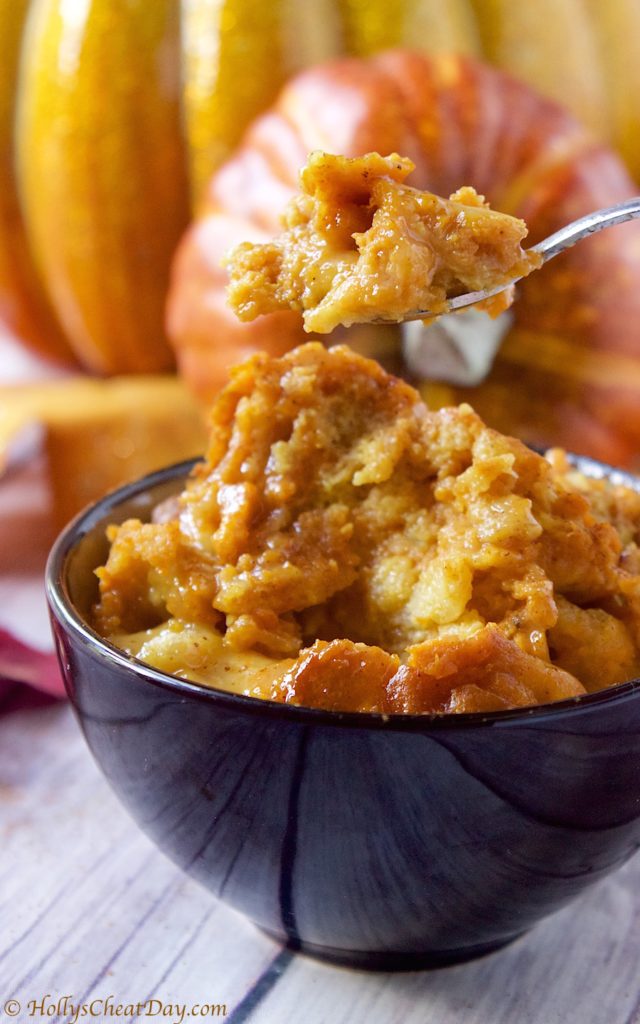
Happy Happy Monday y’all!!  I have been waiting for forever (okay, a week) to share this recipe with you guys!  This crockpot pumpkin bread pudding is so on my list now for my favorite fall recipes. 

crockpot-pumpkin-bread-pudding | hollyscheatday-comFirst off, you really can’t beat desserts made in the crockpot, honestly if the thought of baking cakes/cupcakes/bread pudding in the oven is intimidating, I highly recommend getting a start with a crockpot. 

crockpot-pumpkin-bread-pudding | hollyscheatday-comSecond, this is pumpkin (obvi) and me and pumpkin are BFF’s and last but not least this is bread pudding and again bread pudding is always a good idea, like always.  Also, the amazingly decadent sauce I poured all over this stuff is totally optional but I really really recommend you make it because it totally puts this bread pudding over the edge. 

crockpot-pumpkin-bread-pudding | hollyscheatday-comThis recipe couldn’t be any easier to make, and it baked up so easily and perfectly, let me tell you how incredible your kitchen is going to be smelling while this is baking up, yum!!! I hope you had a great weekend, have a wonderful start to your week and thank you so much for stopping by!!!

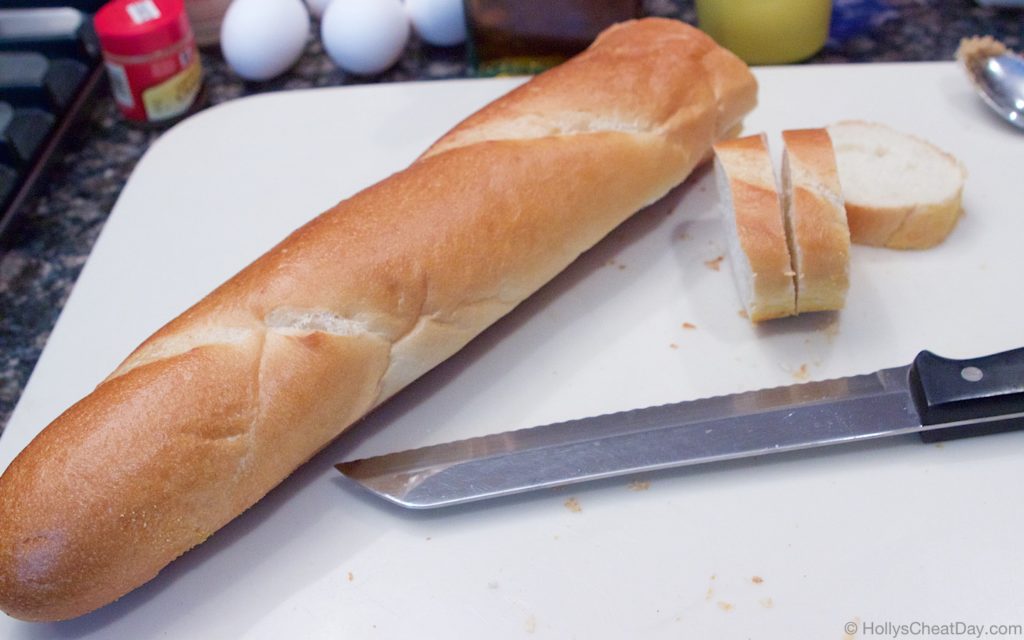
french bread…

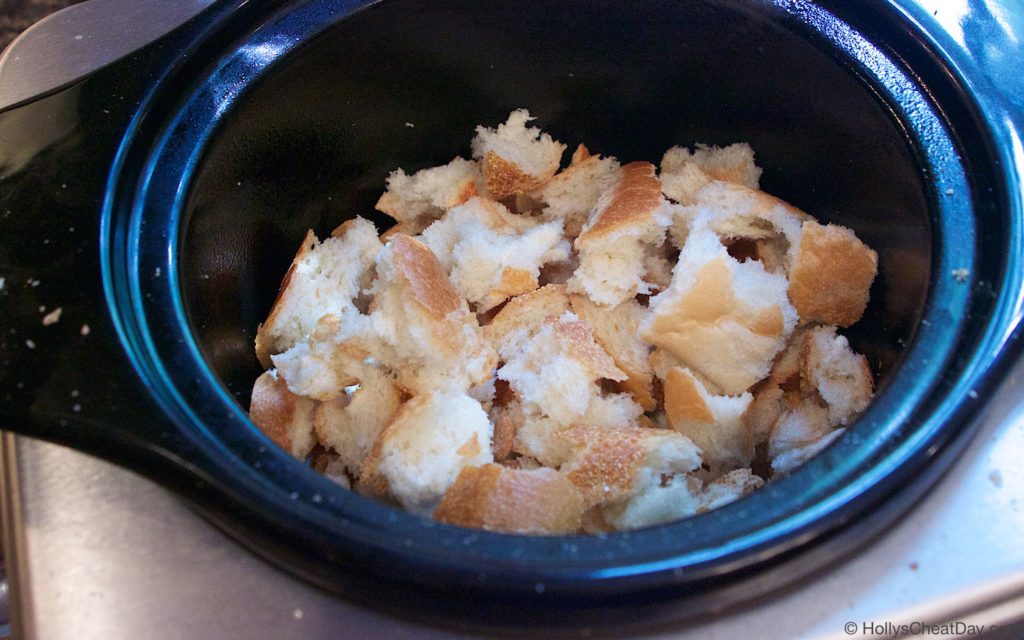
crockpot-pumpkin-bread-pudding | hollyscheatday-cominto your crockpot…

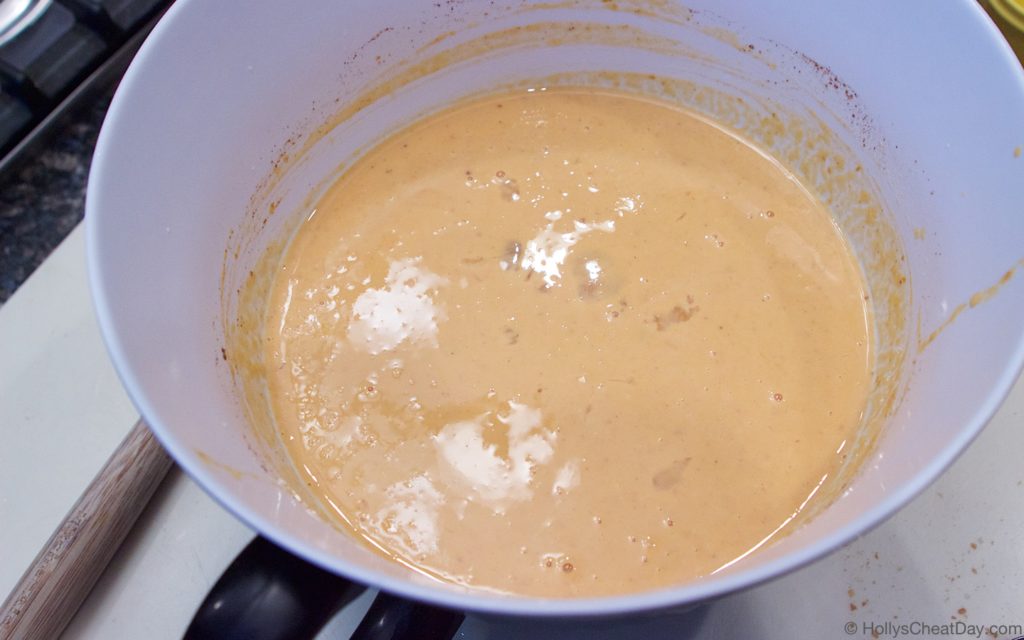
crockpot-pumpkin-bread-pudding | hollyscheatday-comall of the ingredients into your bowl…

crockpot-pumpkin-bread-pudding | hollyscheatday-commix, mix, mix…

crockpot-pumpkin-bread-pudding | hollyscheatday-compour over your bread…

crockpot-pumpkin-bread-pudding | hollyscheatday-commake sure the bread is all covered up…

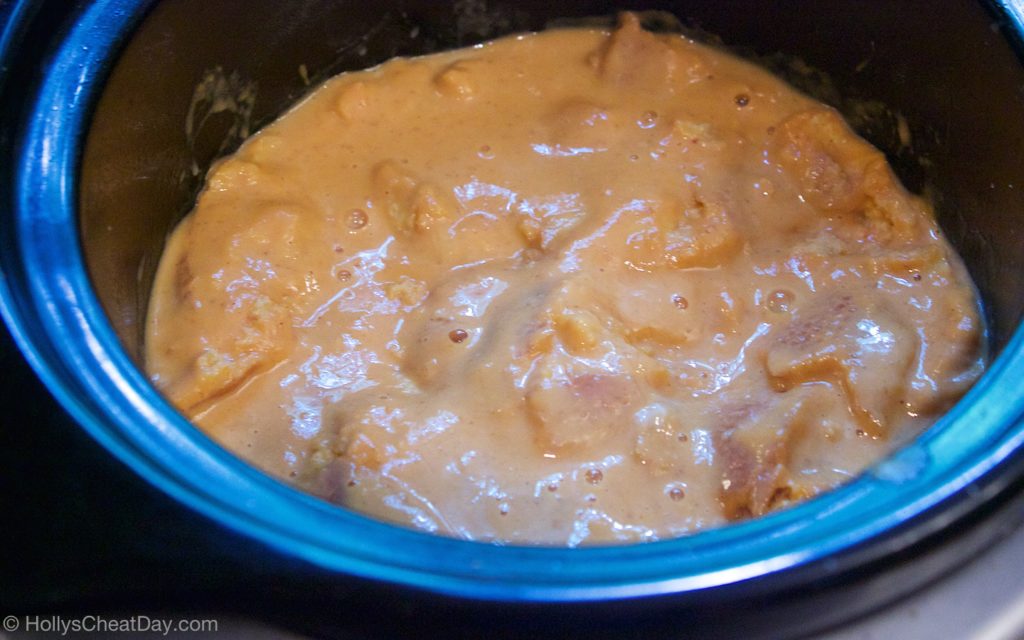
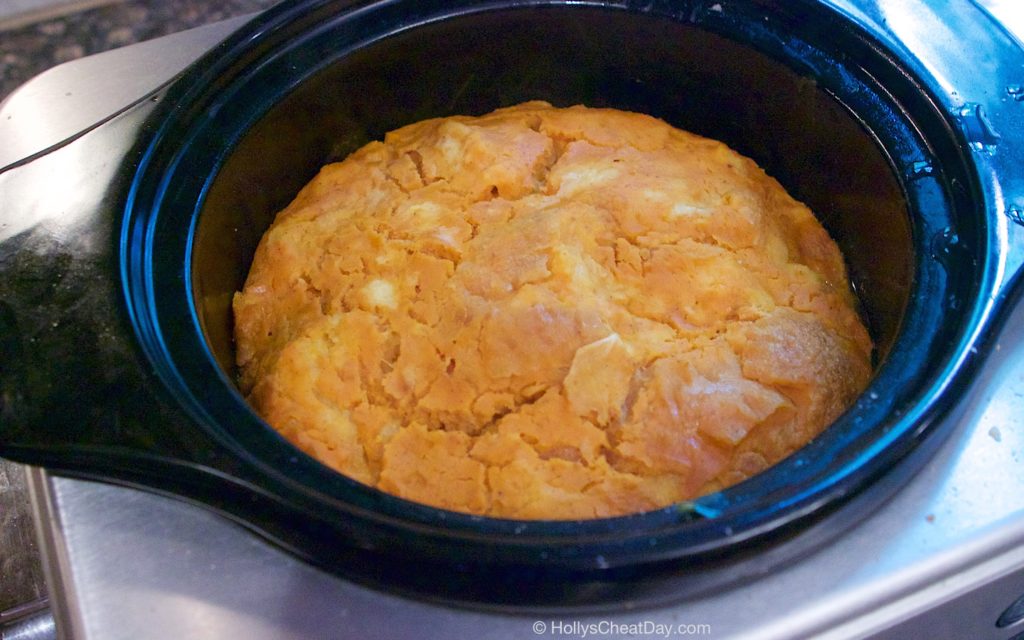
crockpot-pumpkin-bread-pudding | hollyscheatday-combake, bake, bake…

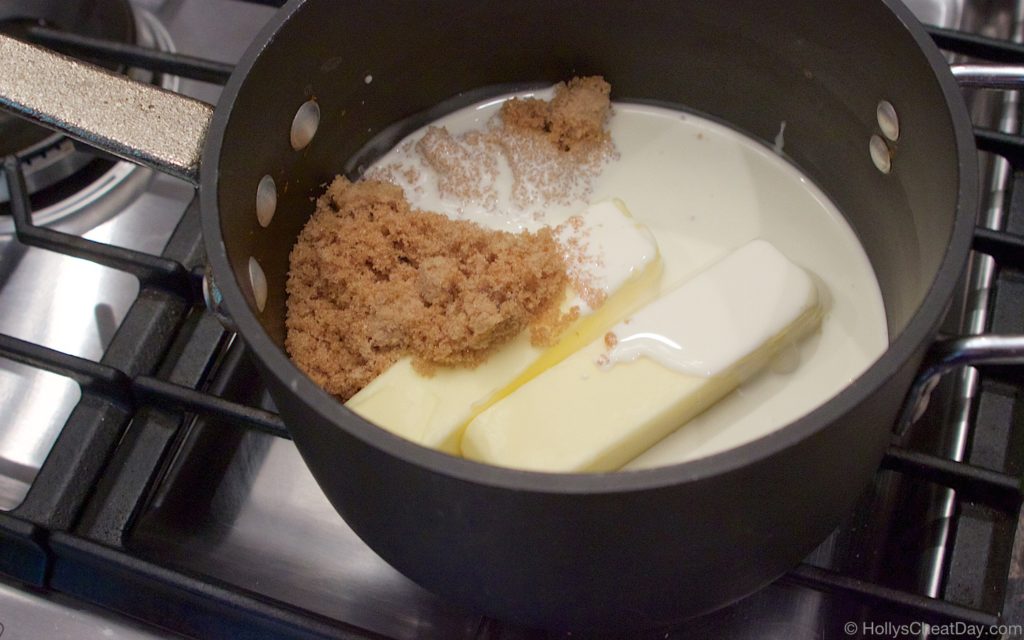
crockpot-pumpkin-bread-pudding | hollyscheatday-comnow, for the sauce…

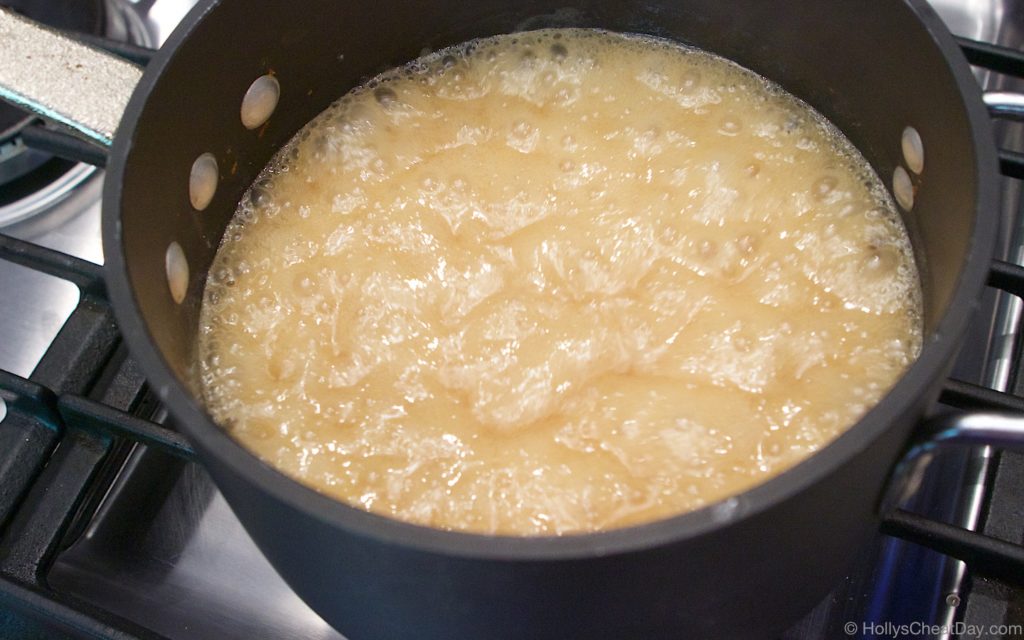
crockpot-pumpkin-bread-pudding | hollyscheatday-comboiling…

crockpot-pumpkin-bread-pudding | hollyscheatday-comand enjoy!!! crockpot-pumpkin-bread-pudding | hollyscheatday-com
Crockpot Pumpkin Bread Pudding
2016-09-18 14:49:36
Delectable pumpkin bread pudding made easily in a crockpot.
Write a review
Save Recipe
Print
THE PUMPKIN BREAD PUDDING
  1. 1 Loaf of French Bread Pudding, Torn Into Pieces.
  2. 2 Cups of Half & Half or Heavy Whipping Cream.
  3. 1 (15 Ounce) Can of Pumpkin Puree.
  4. 3/4 Cup of Granulated Sugar.
  5. 3/4 Cup of Light Brown Sugar.
  6. 4 Eggs.
  7. 1 Tablespoon of Cinnamon.
  8. 2 Tablespoons of Vanilla Extract.
  9. 4 to 5 Quart Slow Cooker.
THE SAUCE
  1. 1 Cup (2 Sticks) of Unsalted Butter.
  2. 1 Cup of Half & Half.
  3. 1 Cup of Light Brown Sugar.
FOR THE BREAD PUDDING
  1. Liberally spray your slow cooker with non-stick cooking spray, set aside.
  2. You can cut up your whole bread loaf with a knife or just rip it up into pieces and place into your slow cooker pot.
  3. Now in a medium/large bowl place your pumpkin puree, half & half, brown sugar, granulated sugar, eggs, vanilla and cinnamon and whisk all together until well mixed.
  4. Pour the mixture all over your bread pieces in your crockpot and with a spoon or spatula, press the bread down to make sure all are well covered.
  5. Now turn your crockpot on high and bake for 2.5 hours (or on low for 5.5).
FOR THE SAUCE (OPTIONAL)
  1. In a medium saucepan, place your butter, half & half and brown sugar.
  2. On medium heat melt all of the ingredients together, then raise the heat to high and bring your ingredients to a boil for about 20 seconds, lower the heat to low then simmer for about 5 minutes or until it starts to thicken.
  3. When your bread pudding is done, when you serve it, pour this delicious sauce all over and enjoy!!!
HOLLY'S CHEAT DAY https://www.hollyscheatday.com/

Filed Under: All Recipes, Dessert

  • « Previous Page
  • 1
  • 2
  • 3
  • 4
  • …
  • 11
  • Next Page »
logo
Food Advertisements by
Holly's Cheat Day Profile Pic

Hey, y’all! My name is Holly, and welcome to my Cheat Day...where Gluttony and other Delectable Indulgences are celebrated!    Read More...
logo
Food Advertisements by
logo
Food Advertisements by
Copyright © 2017 ❤ Holly's Cheat Day ❤ Privacy Policy