Happy Happy Monday y’all!!! I hope everyone had a fantastic weekend, and I’m assuming some of y’all are still even recovering from The Fourth of July. No judgement here, I know how hard some of y’all celebrate with food, because obvi, that’s how I get down. I literally think I stood for 9 hours straight, just cooking, anyone else ever done that?
 You’re at hour number
 1 million 4, and you start to question all of your life choices why in the world you thought it would be a good idea to commit to making so many food items. Also, it’s not just the cooking, it’s the whole cleaning up, putting up, cutting up, etc. that also has to happen…seriously I’m getting tired sitting here reliving it haha. It’s a week or so later when you can have another cheat day that you realize the absolute last thing you feel like doing is cooking, baking, prepping absolutely anything, but dang, some banana bread sounds really phenomenal.
 Very specific, but yes, I’m sure daydreaming about my Banana Bread Bottom Cheesecake is what set off the incredible
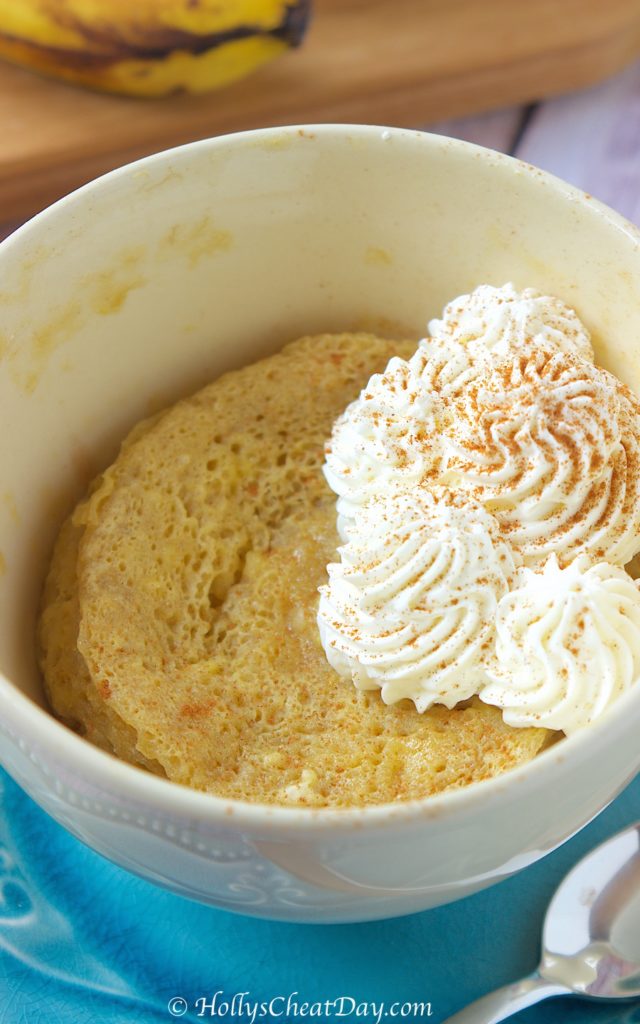
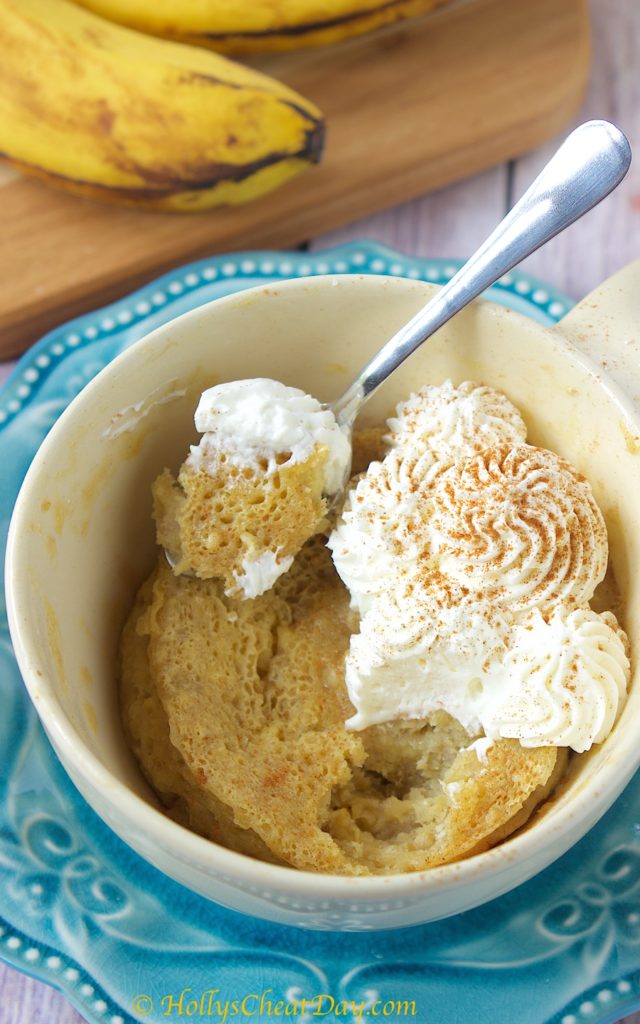
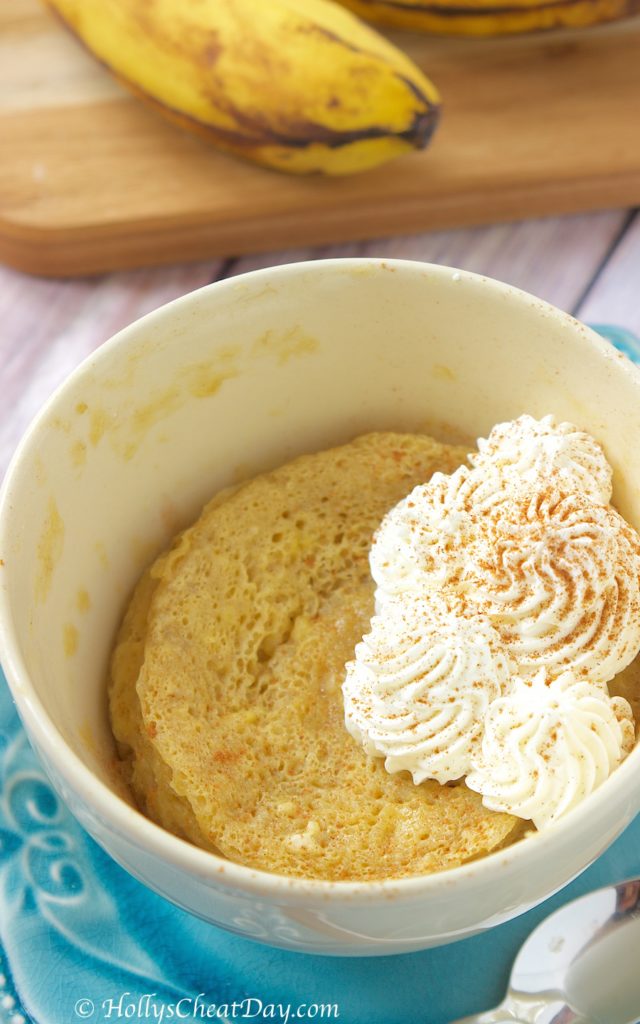
 need want for delicious, flavorful banana bread, mmmm. I have had plenty of mug cakes before and they have all been super awesome, so I’m not sure why I seem to forget they exist and don’t make them as frequently as I should. Well, that was remedied with this Big Mug Banana Bread. Y’all, I was definitely skeptical, because when you “bake” stuff in the microwave, there is always the fear it will turn out dry, but no need for that here, because this banana bread turned out perfectly.
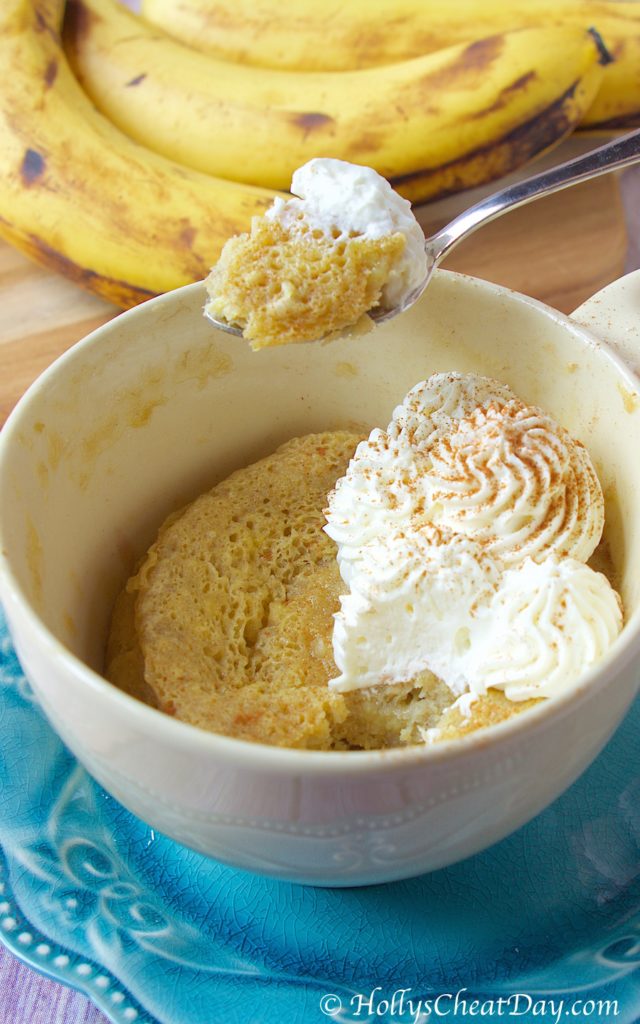 Seriously, this stuff was basically the texture of banana bread pudding, sooo moist, so rich and just a really lovely banana bread. I put whipped cream on mine, but I think a big giant scoop of vanilla ice cream would also be amazing. If you’re looking for a super quick and super easy dessert, this is the one for you. Thank you so much for stopping by and I hope you have a wonderful day!
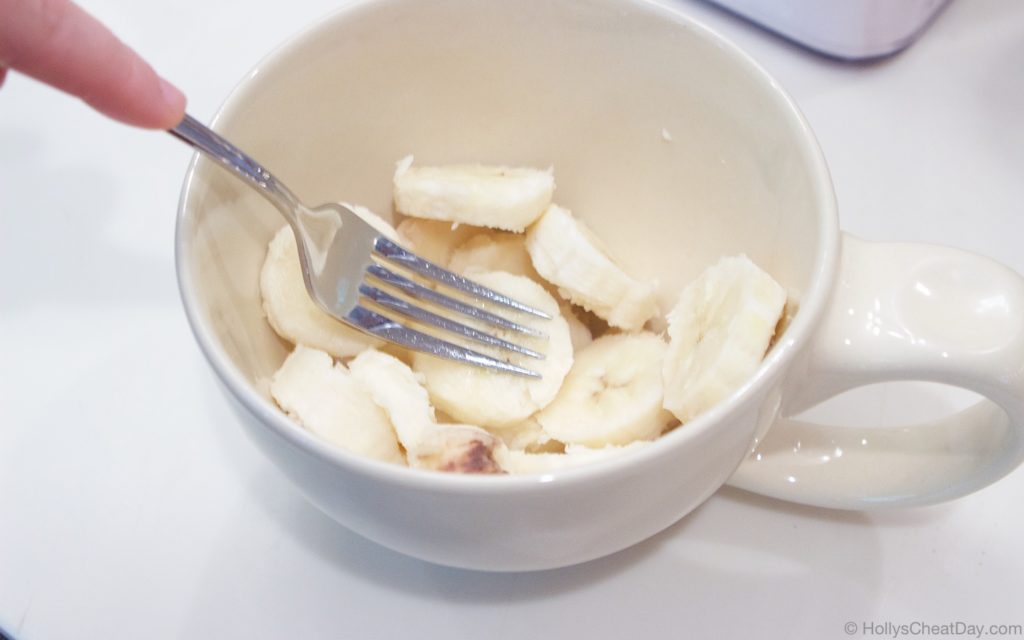
banana in my mug, ready to be smooshed…
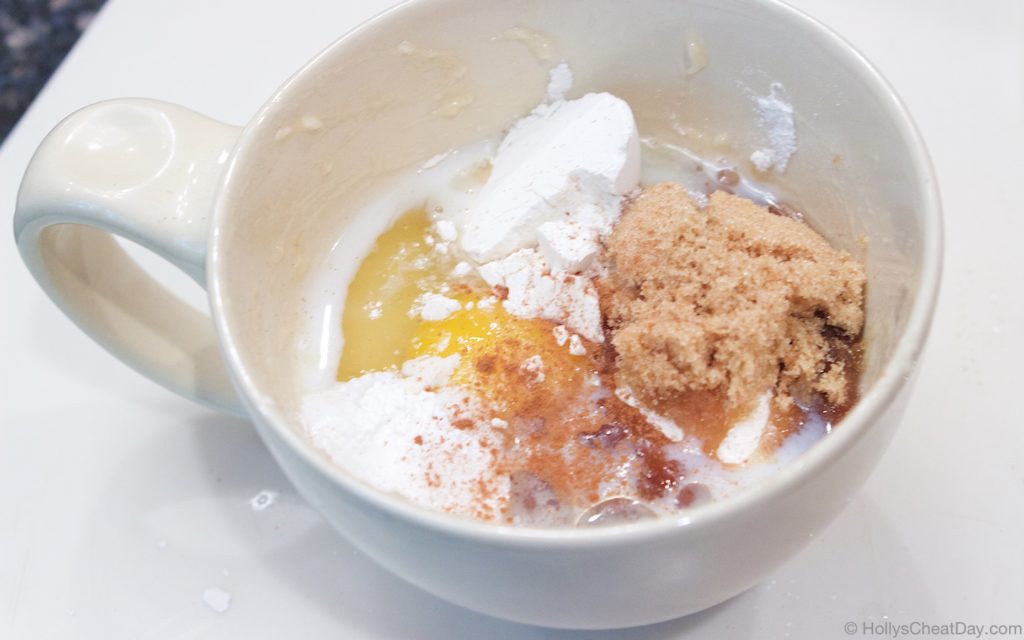
all of the ingredients…
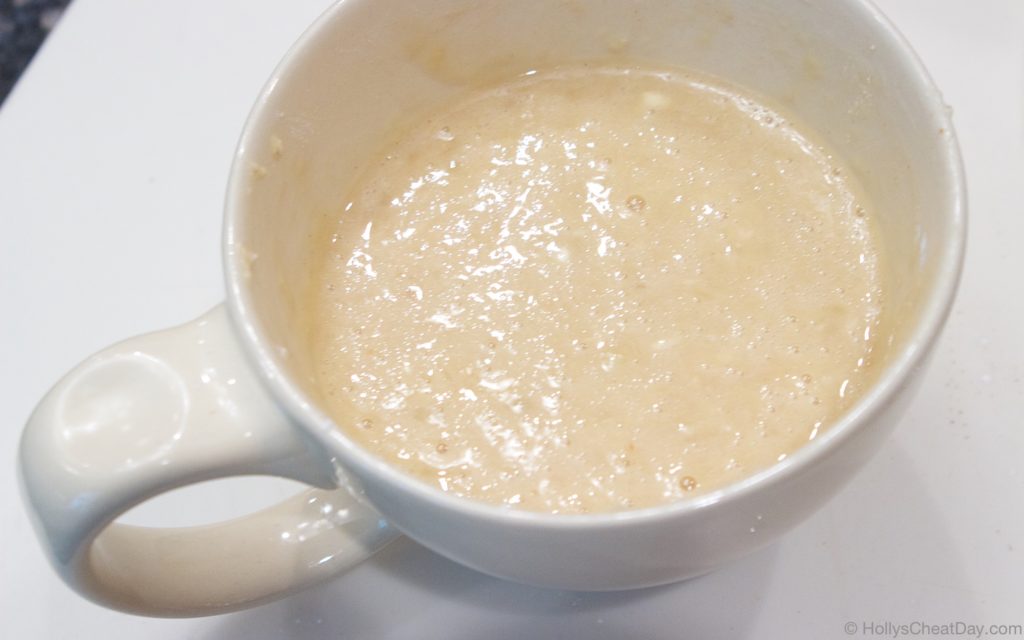
all mixed up…
zap in the microwave and enjoy!!!
- 1 Ripe Banana, Mashed.
- 1 Egg.
- 1 Tablespoon of Heavy Cream or Milk.
- 1/4 Teaspoon of Vanilla.
- 1 Tablespoon of Coconut Oil (or Vegetable Oil).
- 3 Tablespoons of All-Purpose Flour.
- 3 Tablespoons of Brown Sugar.
- 1/8 Teaspoon of Baking Powder.
- Dash of Salt.
- 1/4 Teaspoon of Cinnamon.
- 1 Big Coffee Mug.
- Cut up your banana into your mug and with a fork, smoosh it up.
- Now add the egg, milk, vanilla, and coconut oil, mix these all up.
- Now add the flour, sugar, baking powder, salt, cinnamon and mix until just incorporated and smooth.
- "Bake" this in the microwave for 2-4 minutes, stopping in increments of 45 seconds to check for doneness, remember all microwaves are different so don't leave it haha.
- Allow to cool for a bit and top with whipped cream and more cinnamon (if you want) and enjoy!

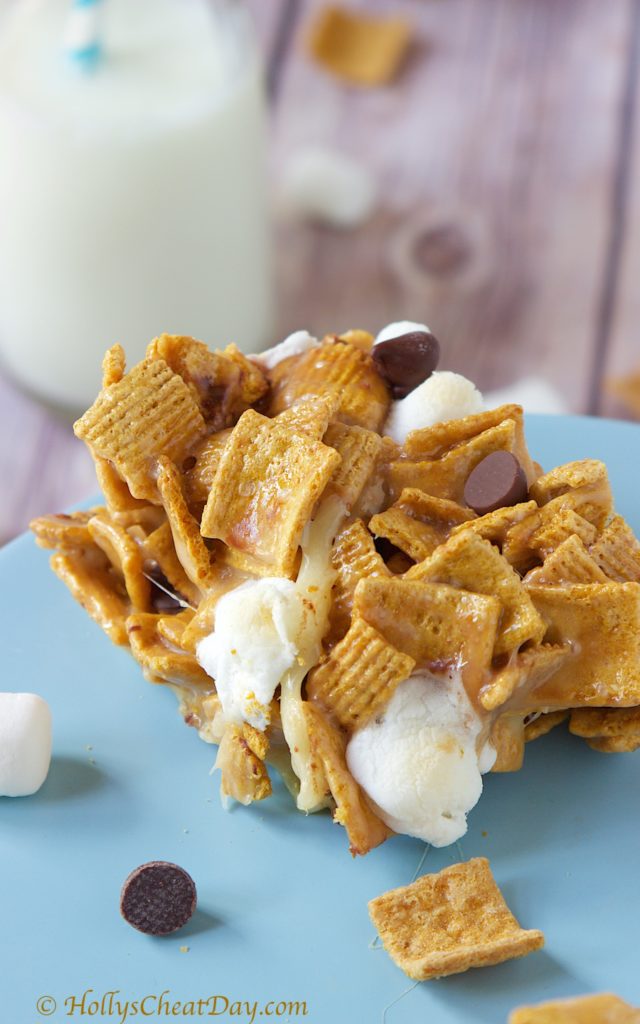
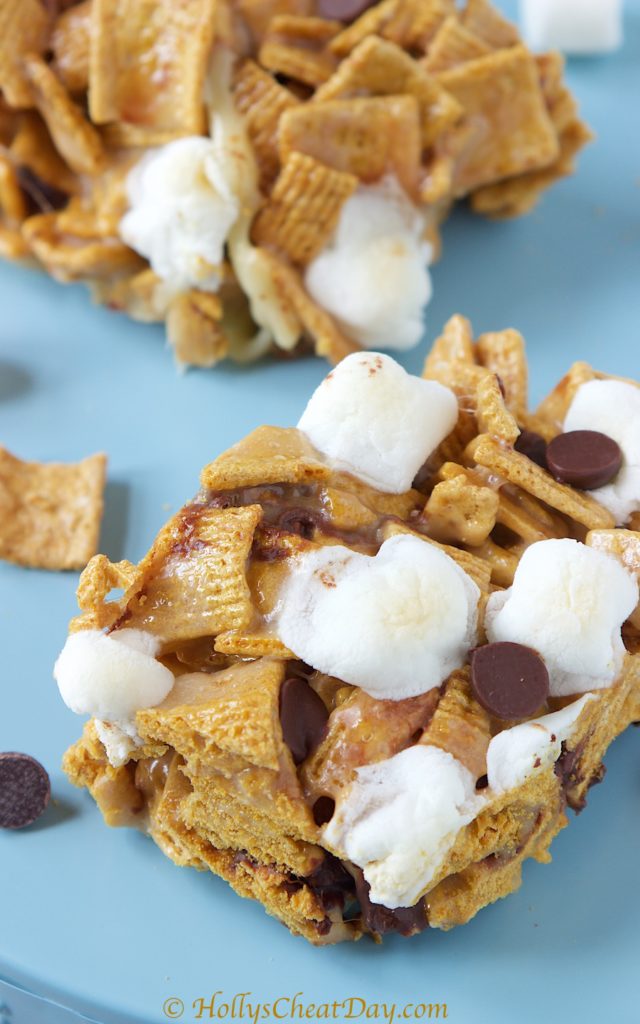 Apparently “Smummer” is in full swing which is obviously 100% A-OK with me. Just in case you hadn’t heard, Smummer is basically S’mores everything for the summertime which makes me sooo happy because I pretty much practice “Smear,” …that sounds weird, scratch that, let’s just say that S’mores are never in season for me, they are enjoyed all year round, I love them that much.
 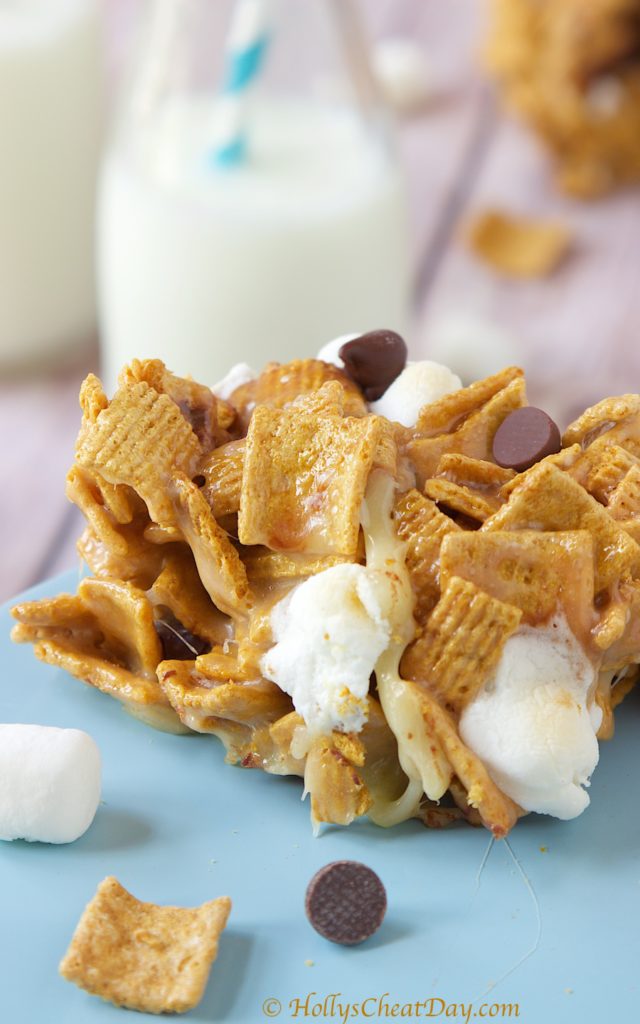 Also, Golden Grahams just happen to be hands down one of my favorite cereals ever too. Just so y’all know, I literally keep zero cereal in the house on non cheat days, and yes that includes “healthy” cereals too, because I have no self control, cereal is definitely my drug of choice (next to doughnuts, obvi). So, a favorite cereal like Golden Grahams is definitely a fixture on my cheat days.
  I was feeling especially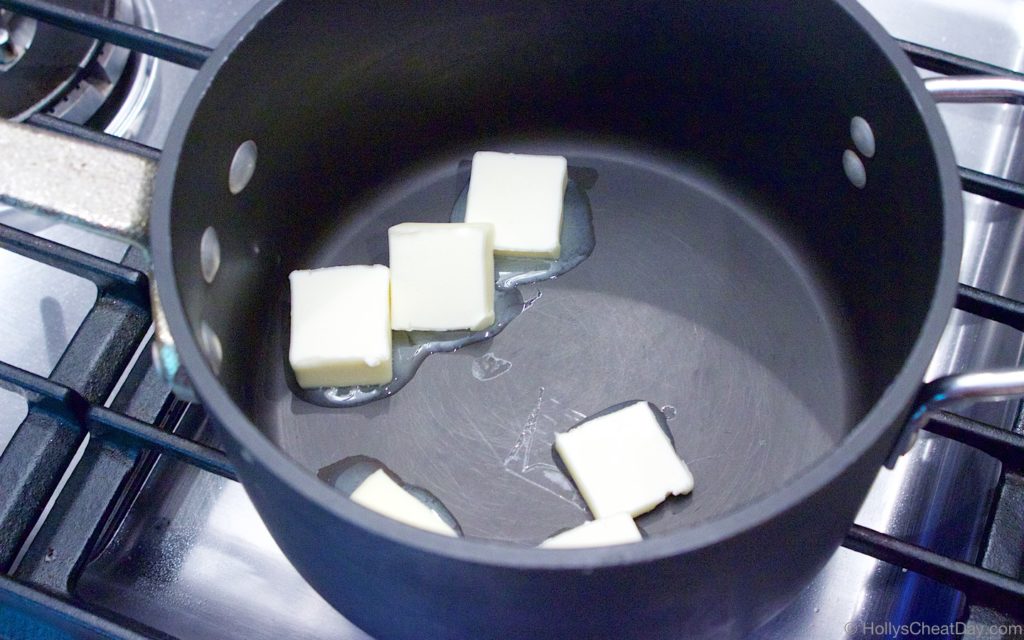
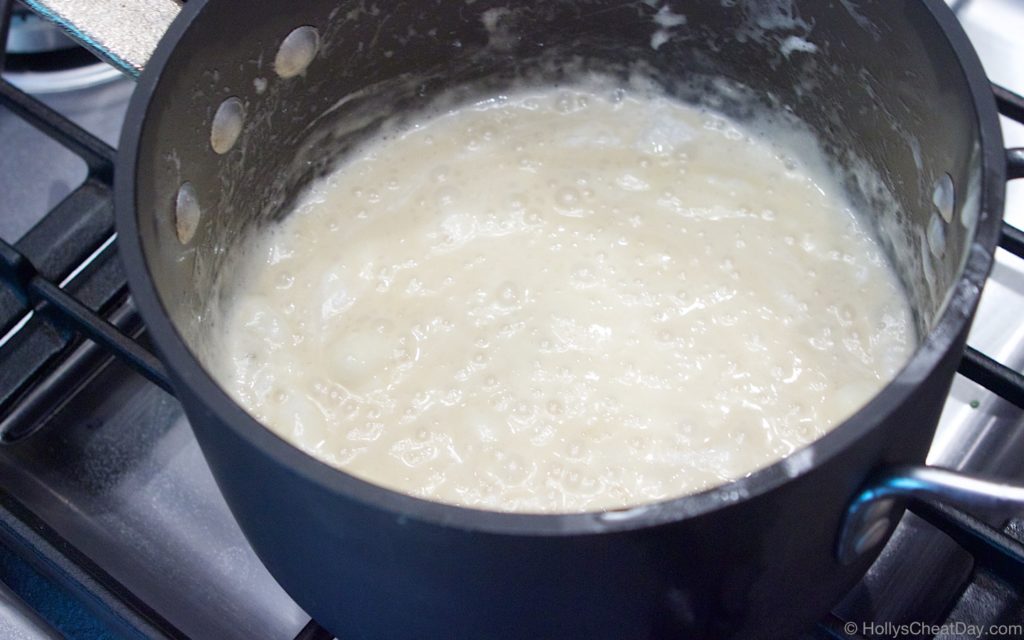
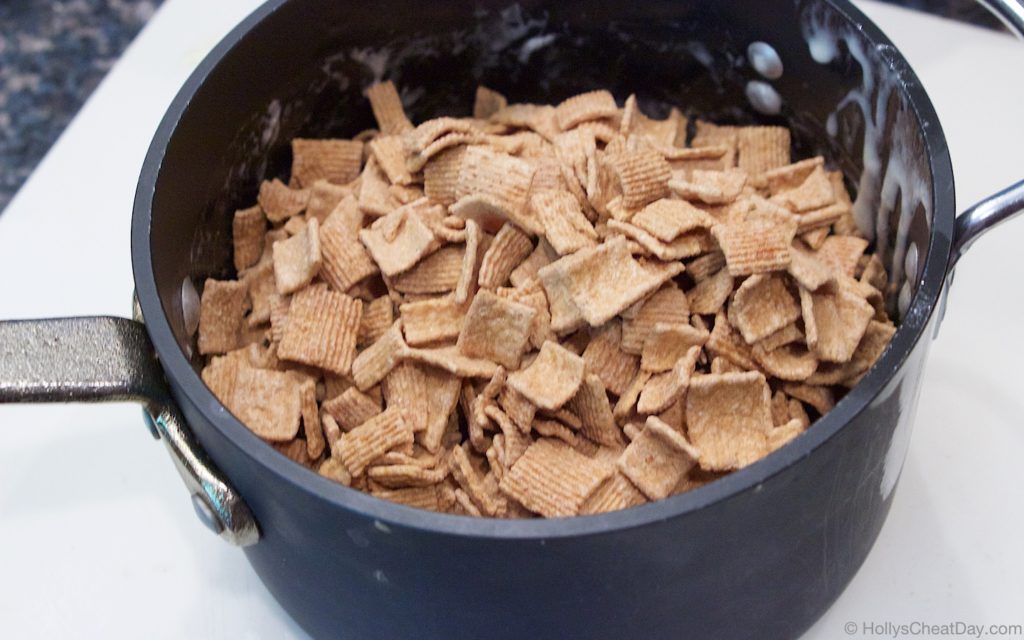



 Anyways, with the whole hot has all get out thing happening, for those of you who are not fans, I have wonderful news, it’s officially ice cream season, yippeee!!! Ice cream is pretty much always a good idea this time of year and it’s the perfect vehicle for cooling you off, well food-wise that is anyway. I am particularly fond of homemade ice cream because I have always found it to taste better, a lot more trouble than going to the freezer section of the store? yes, but definitely super tasty.
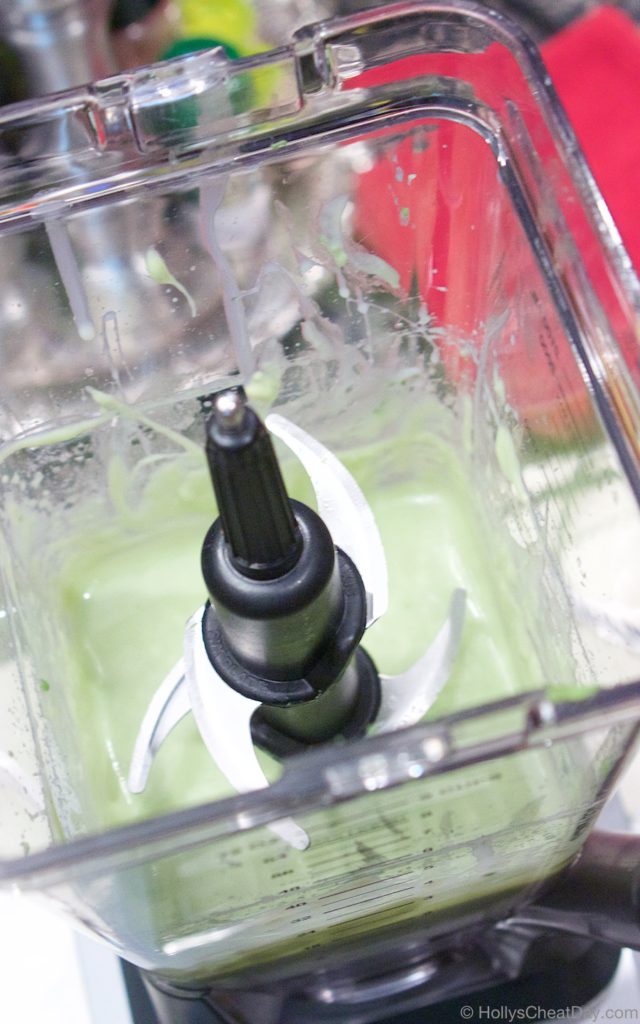
  That is why I have had this recipe marked for over a month now to make, because it’s no churn, and the less pieces of kitchen equipment to be
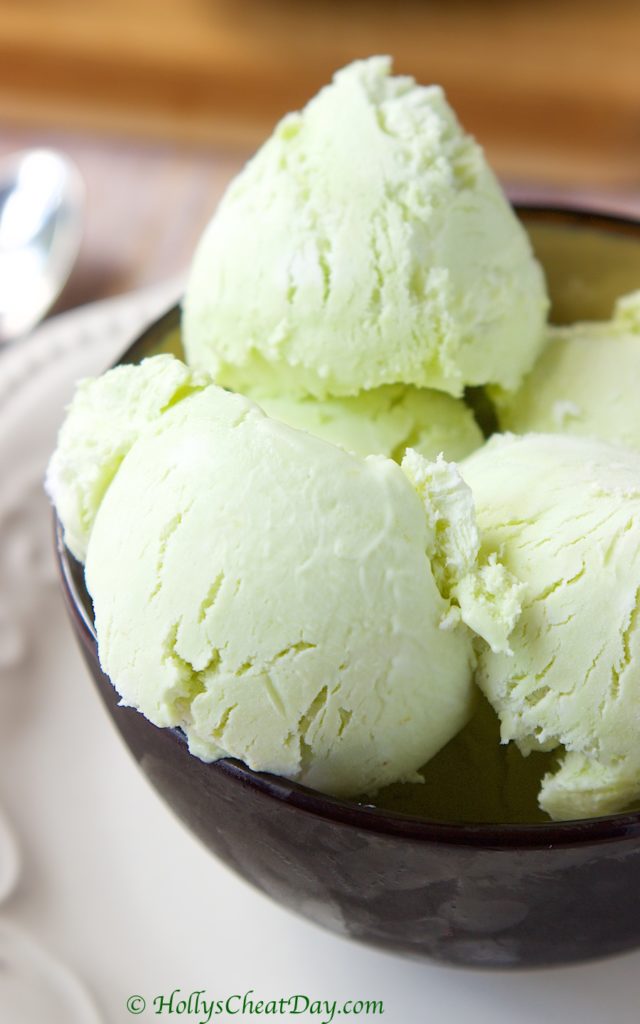
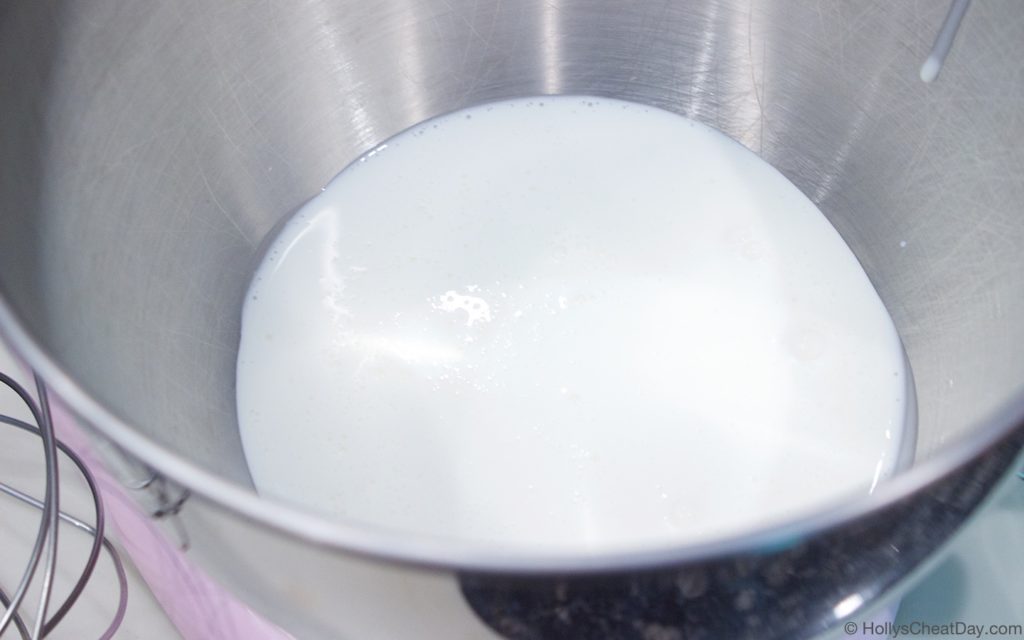
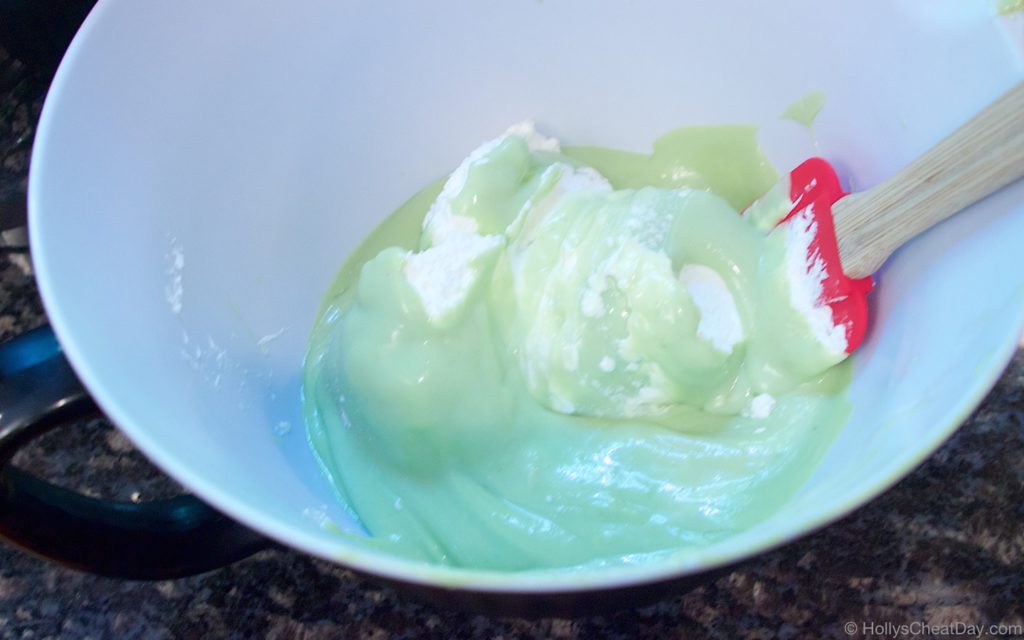
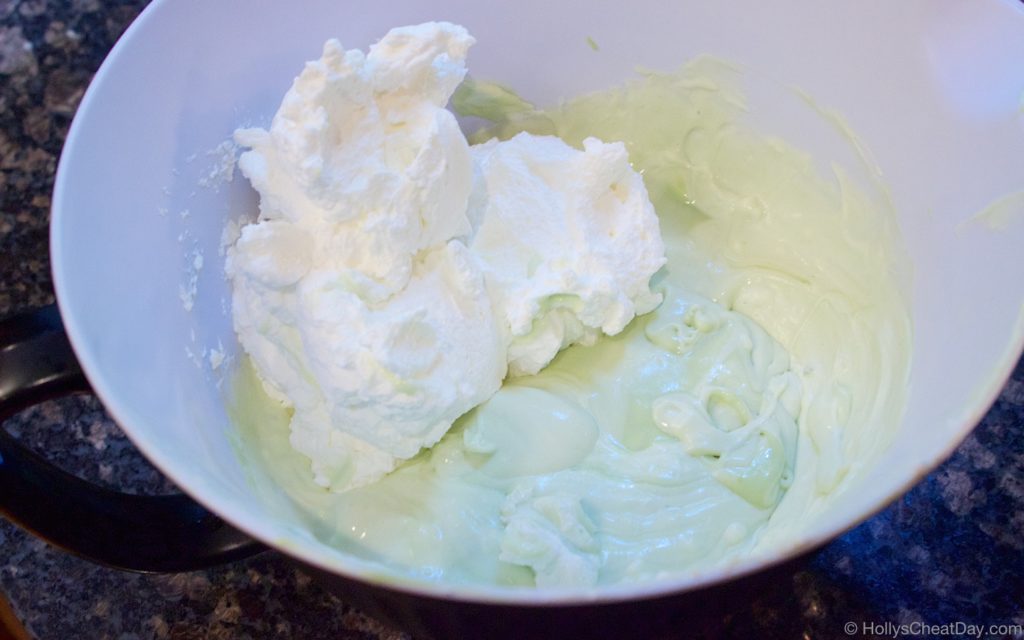
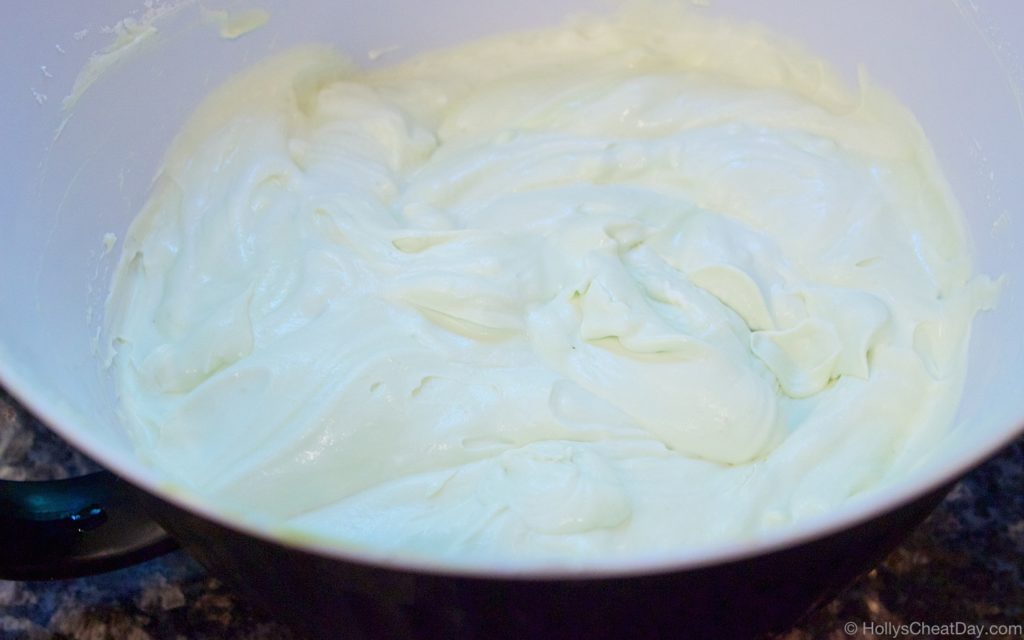
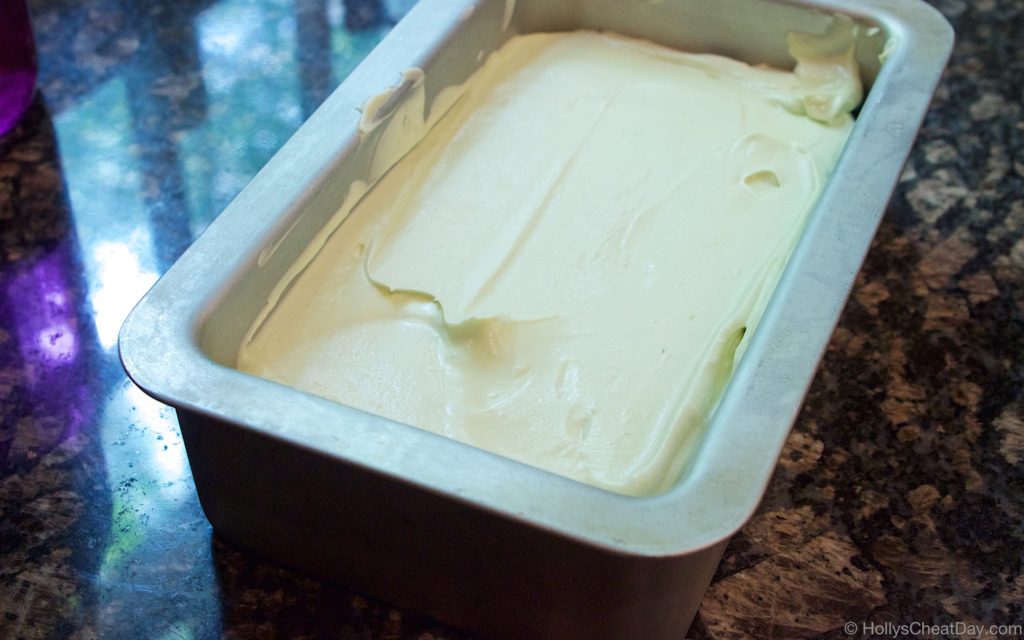
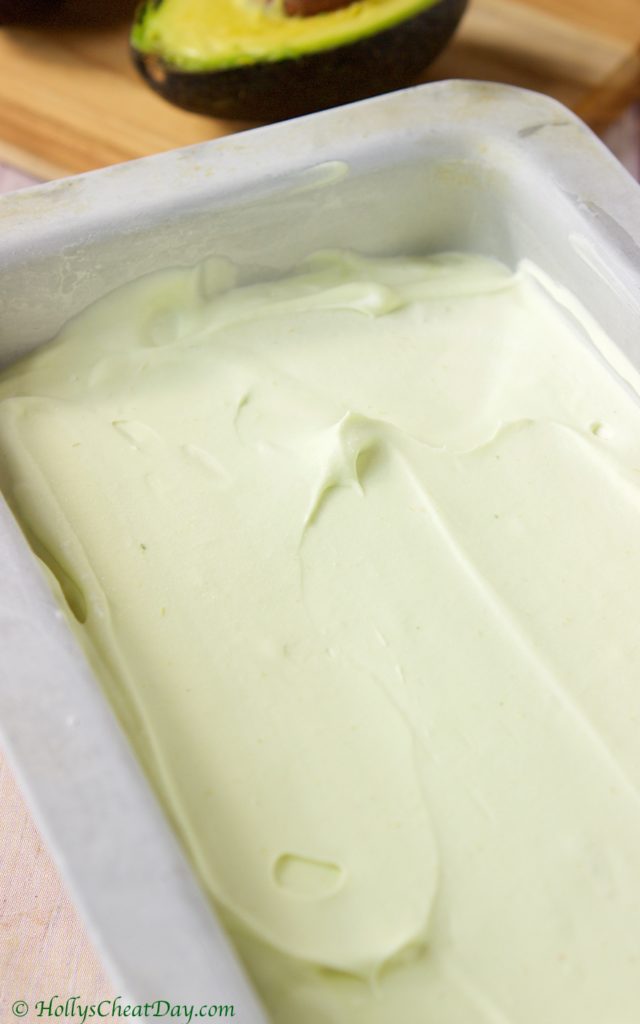
 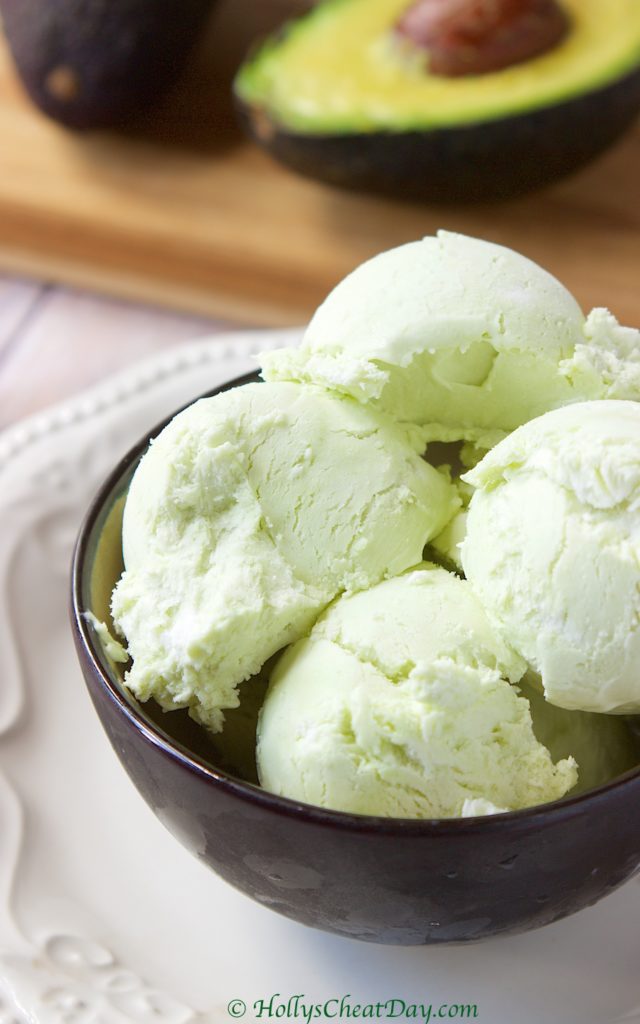 I should not have at all worried about this being funny tasting, because this ended up just being a really uniquely rich ice cream. At first bite, you almost think you taste the slightest hint of avocado, but then it switches to this dreamy homemade ice cream that is just a little bit different. I definitely recommend getting your nosh on with this ice cream. I hope you all have a fantastic day and thank you so much for stopping by!!!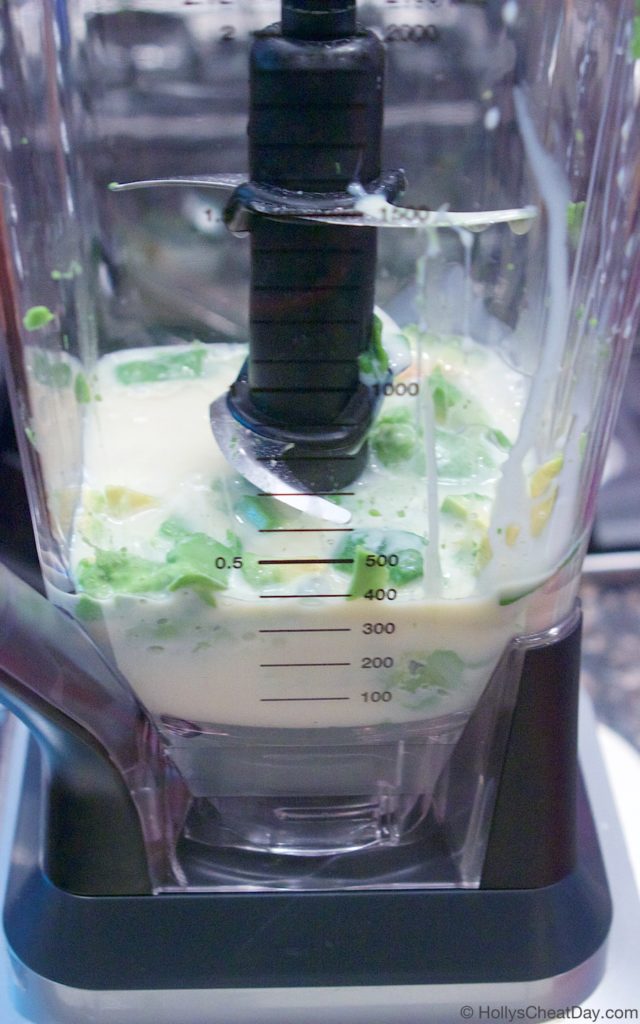




 It’s just been one of those weeks, I’ve been super salty since Monday, and then things keep popping up to get on every remaining last nerve…I know #firstworldproblems and all, and I’ll chill out in a couple of days and feel guilty for being so snarky all week…but not today. Luckily, tomorrow is my cheat day and I can feed my feelings with doughnuts and pizza (yeah, I just admitted that on the Internet), oh well, judge all you want, though I’m sure most of you won’t since I assume you love food as much as I do haha.
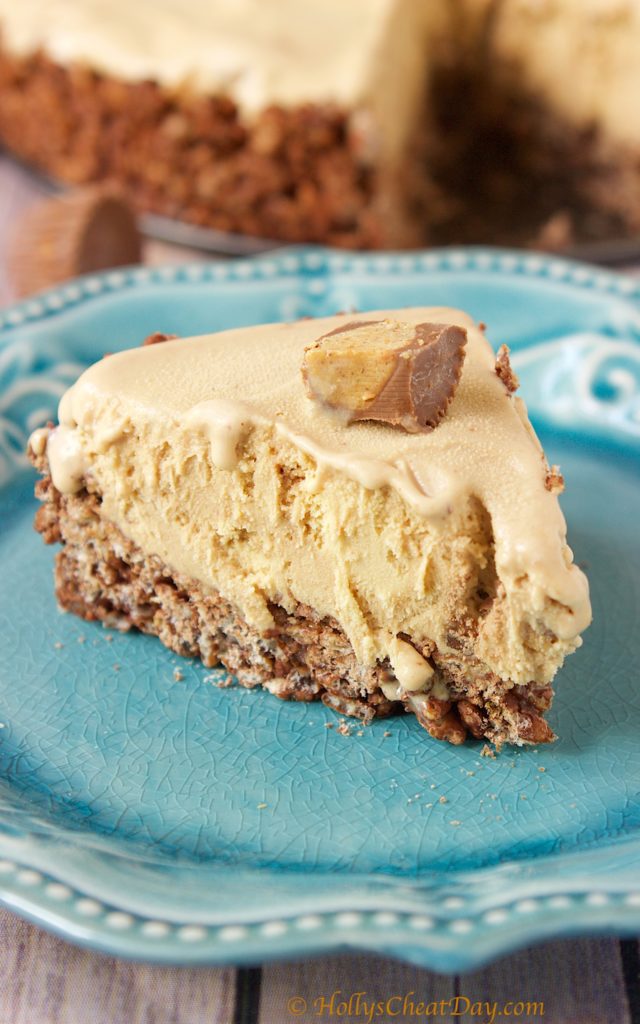
 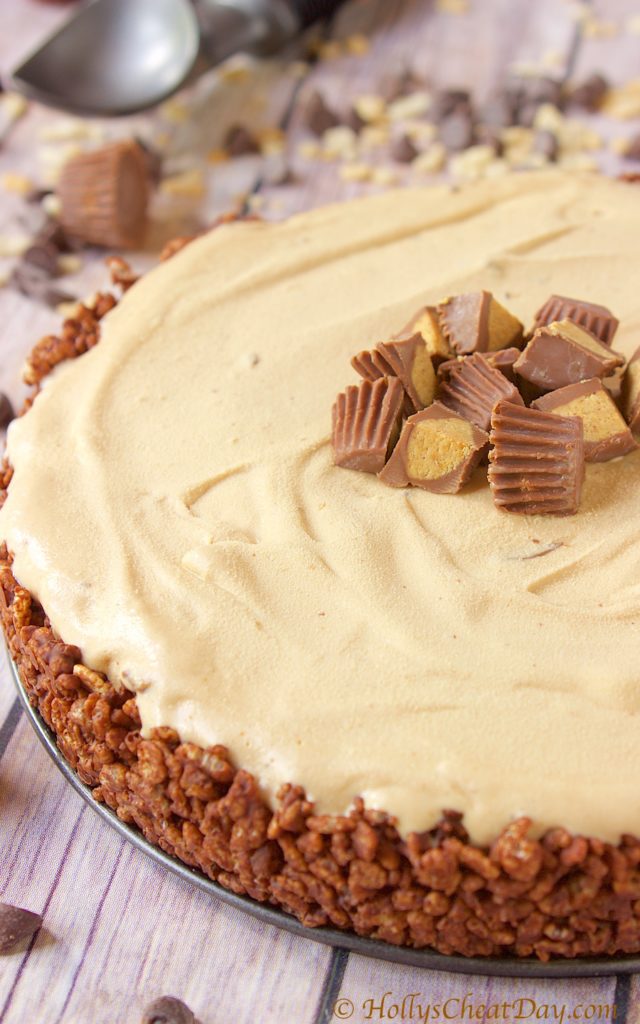 Oh and let’s not forget, I totally have this Peanut Butter Cup Ice Cream Pie to enjoy! I made this on my last cheat day, and honestly was already so full from the day, I was only able to eat one slice and y’all this pie is amazing. So in normal fashion, I wrapped it really really well and stuck it back in the freezer to enjoy this weekend.
  I came across this recipe on Instagram, and I was sooo impressed by the ease of this recipe and not to mention how freaking delicious it looked, I absolutely had to make it. It also doesn’t hurt that I have maybe the biggest box of Rice Krispies in my pantry right now that I had bought for a recipe a couple of weeks ago, and the
 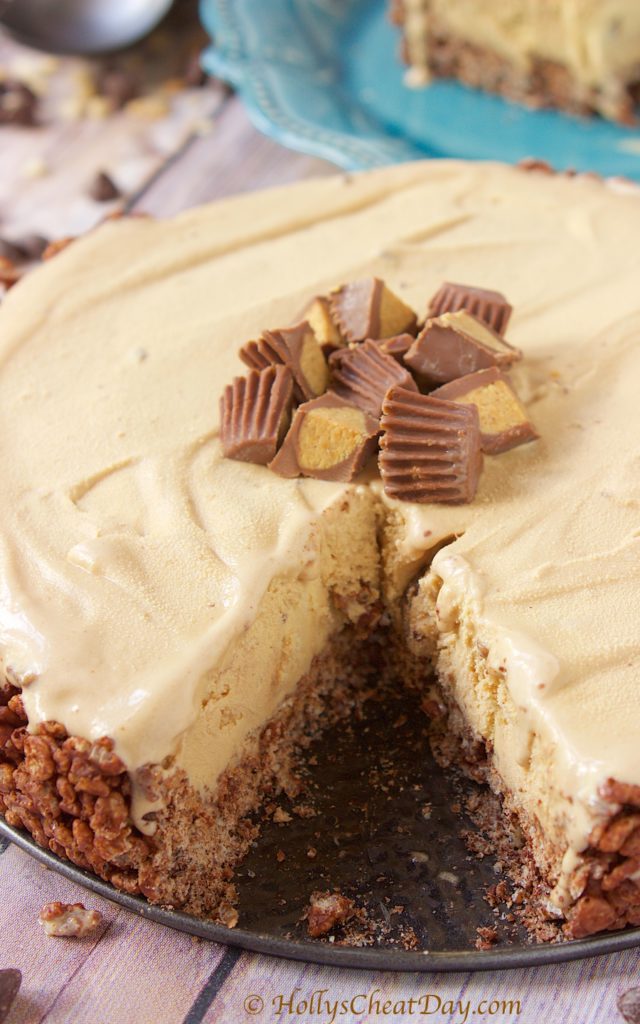 So, I’ve been attempting to put Rice Krispies in everything to use them up, hence another reason why this recipe was so appealing. Feel free to substitute out the peanut butter ice cream with one you may prefer (hello Cookies & Cream), but holy moly, that chocolate Rice Krispy crust filled with all of that peanut buttery goodness, mmmm, peanut butter is life y’all. I hope you get to enjoy this pie soon, I hope you have a wonderful weekend and thank you so much for stopping by and being so nice and putting up with my obviously snarky self this week 😀
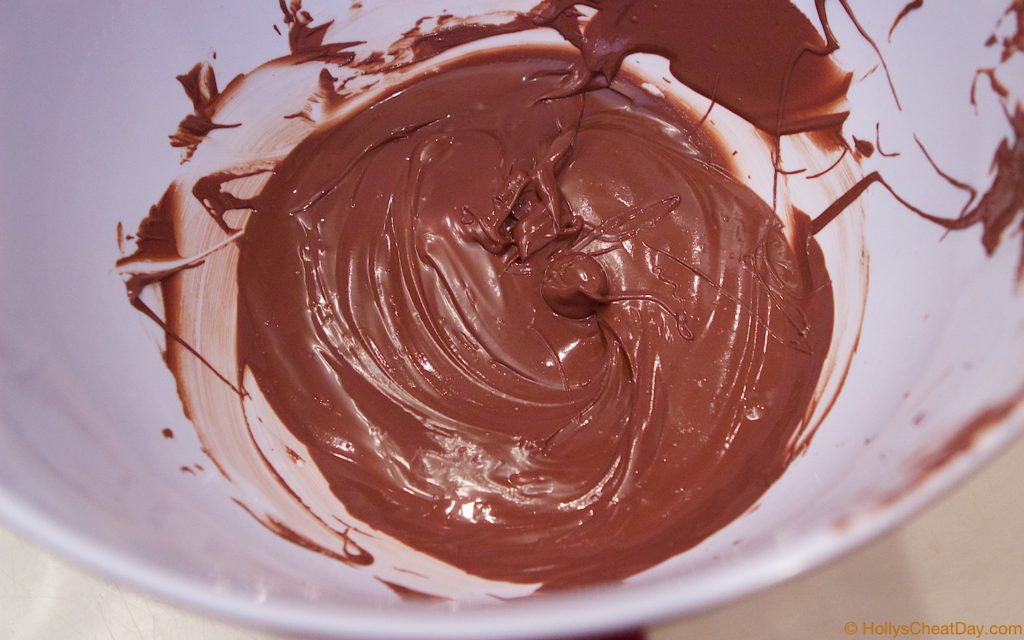
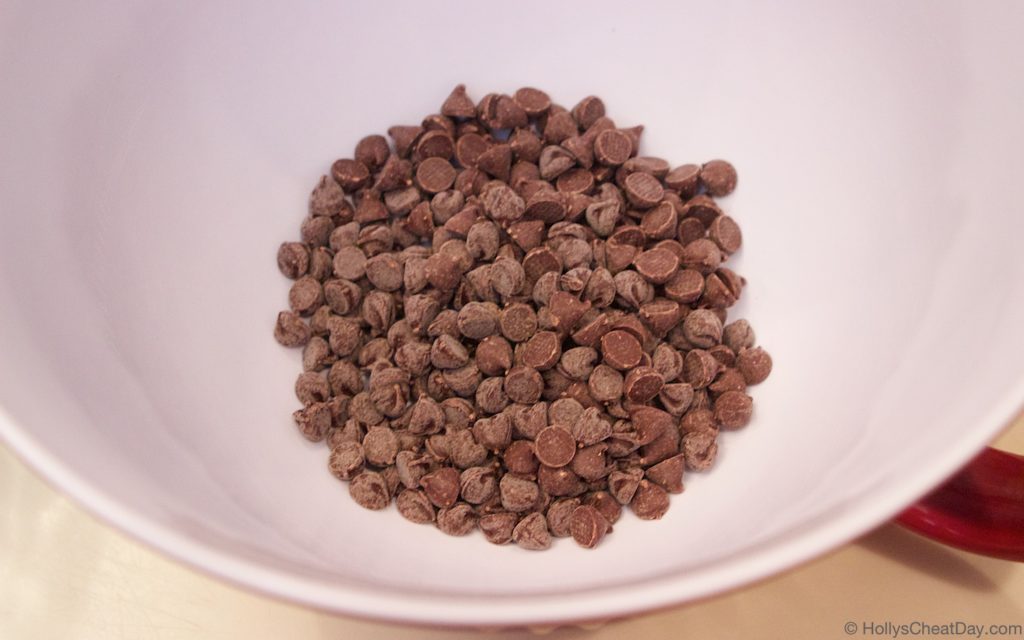 melted…
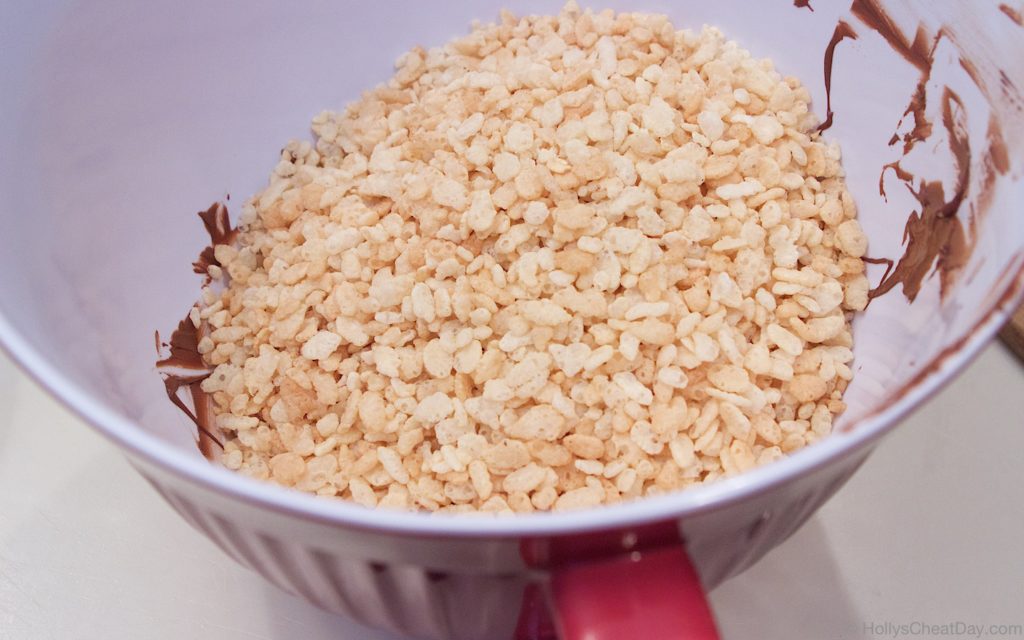
 Rice Krispies into the bowl…
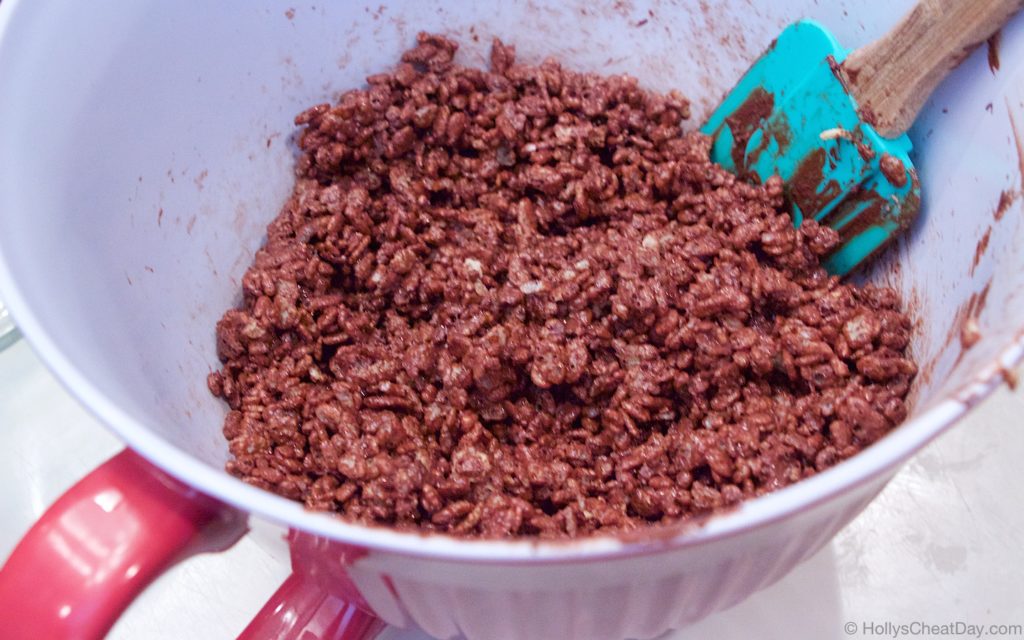
 all mixed in (with a wonderfully blurry photo to go along with it)…
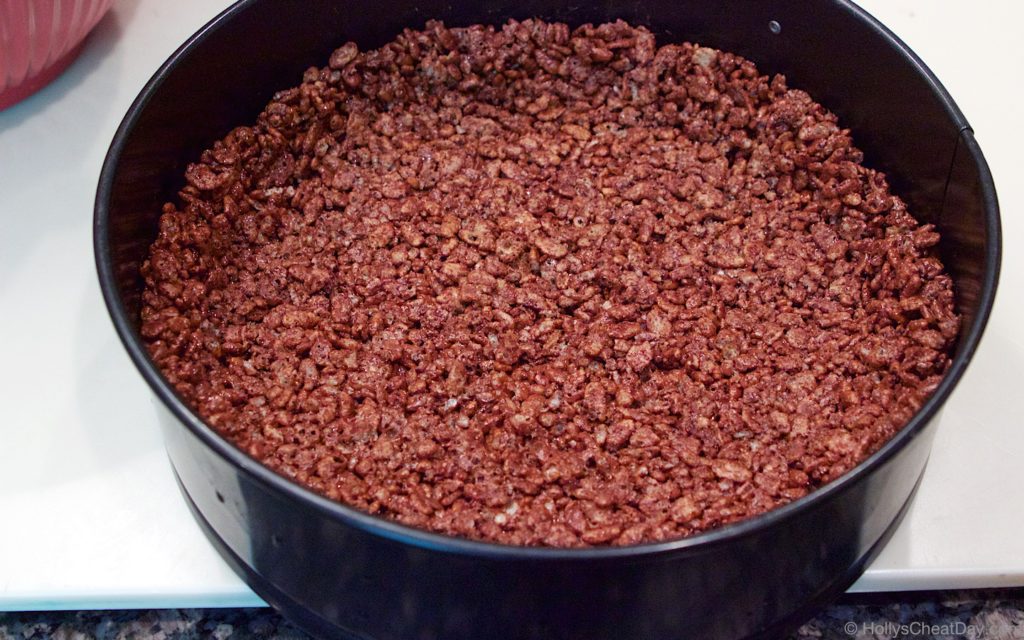
 pressed into the spring form pan
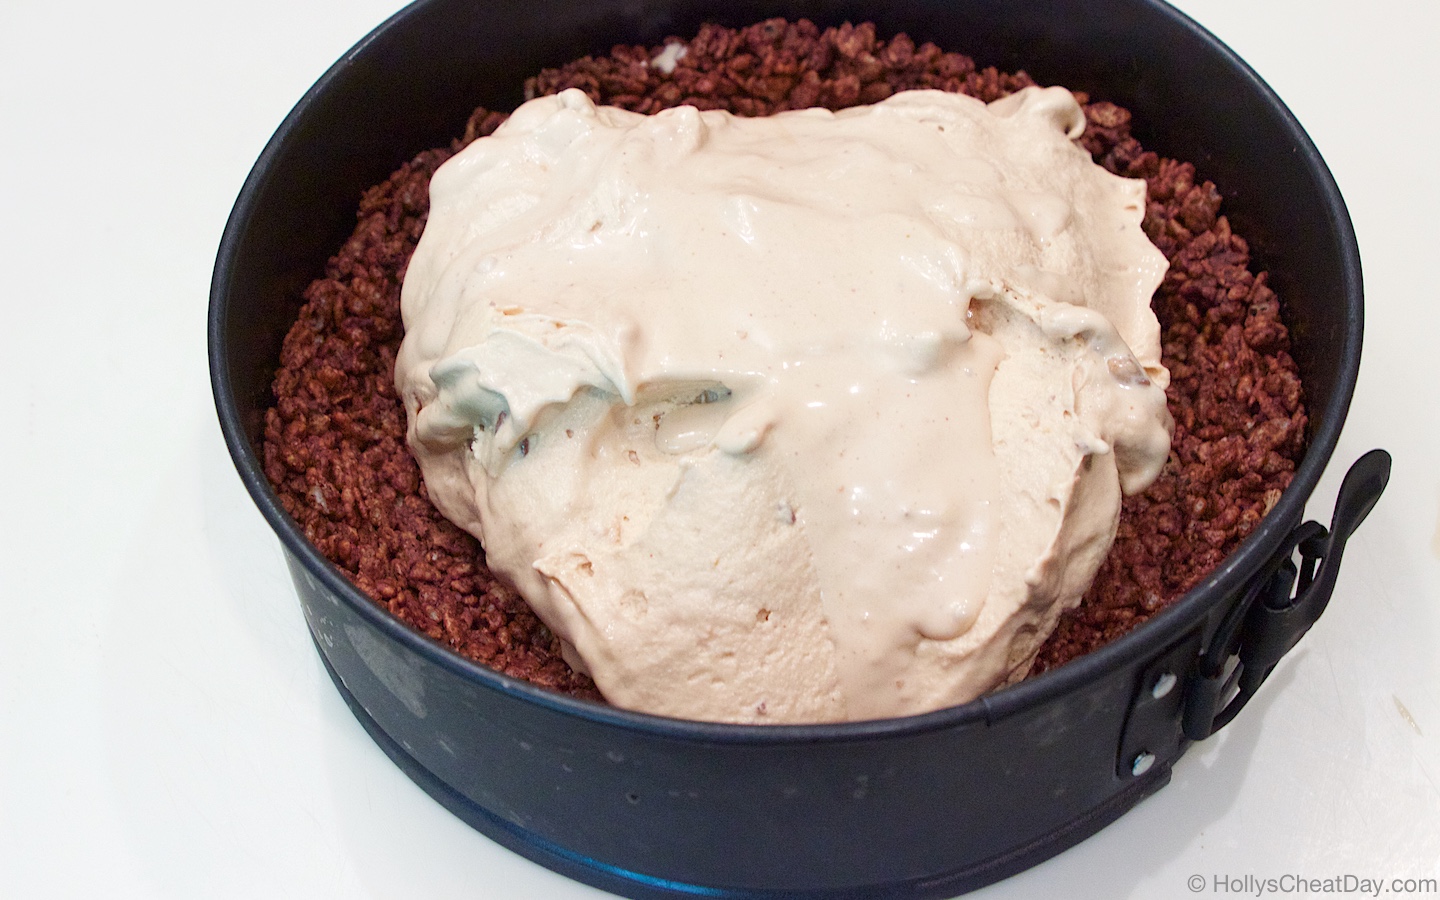
 softened ice cream in…
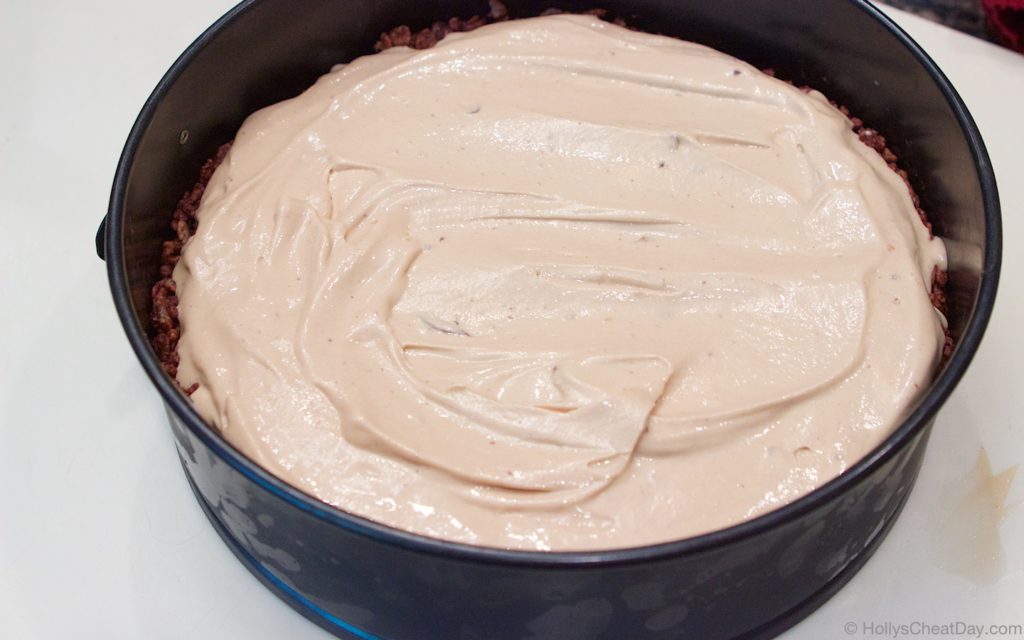
 ready to go into the freezer for a bit…
 and enjoy!!!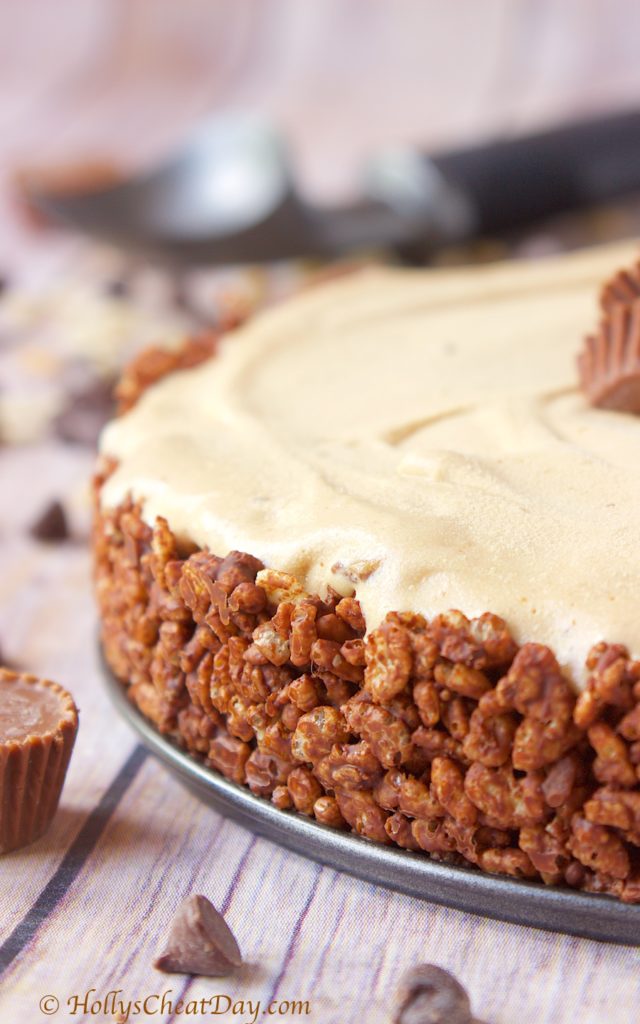


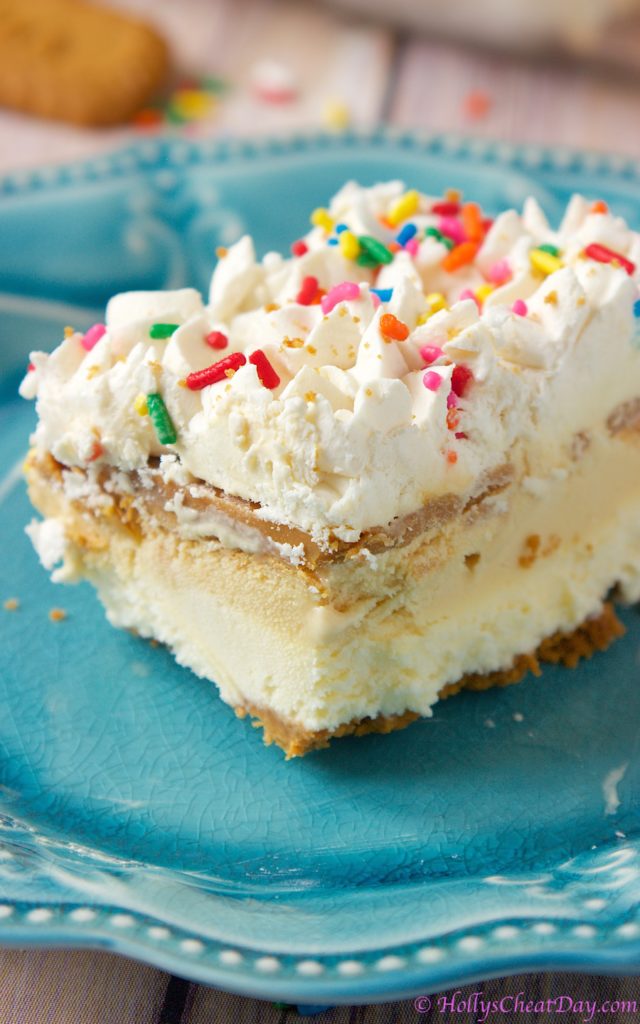 Today I’m sharing one of those recipes. I’ve been a long time follower of Sally’s Baking Addiction and she had recently re-posted
 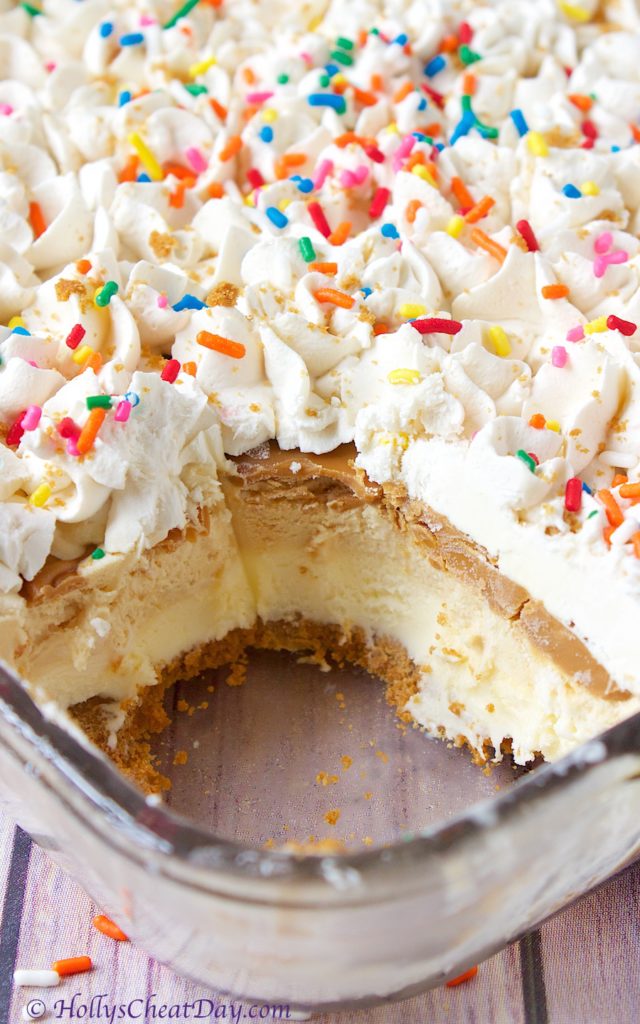 Also, perfect timing, it’s starting to get pretty darn hot around here and it seems like everyone and their mother is having a birthday right now (and not to mention Father’s Day this weekend)…problem solved with this cake. You’ll see that the original recipe used Oreo cookies as the crust, totally different flavors of ice creams, and a different top layer of ‘sauce’ but that’s what’s awesome about this cake.
 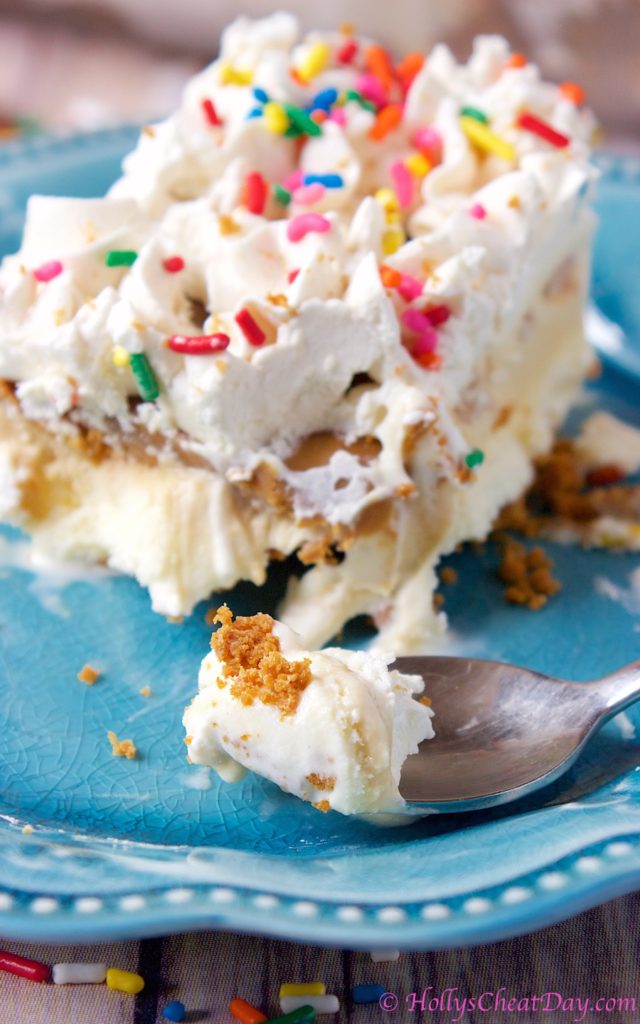 The possibilities are almost endless because you can pick whatever flavors you think would go best together and you can run with it. This cake was a huge hit with everyone I shared it with and of course I loved it too. It was just so decadent and fun with all of the flavor combination layers. I’m already planning out the next one I make and what flavors I want to use, mmmm. I hope you all have a wonderful Friday and a fantastic weekend! Early Happy Father’s Day!!! Thank you so much for stopping by!!!
 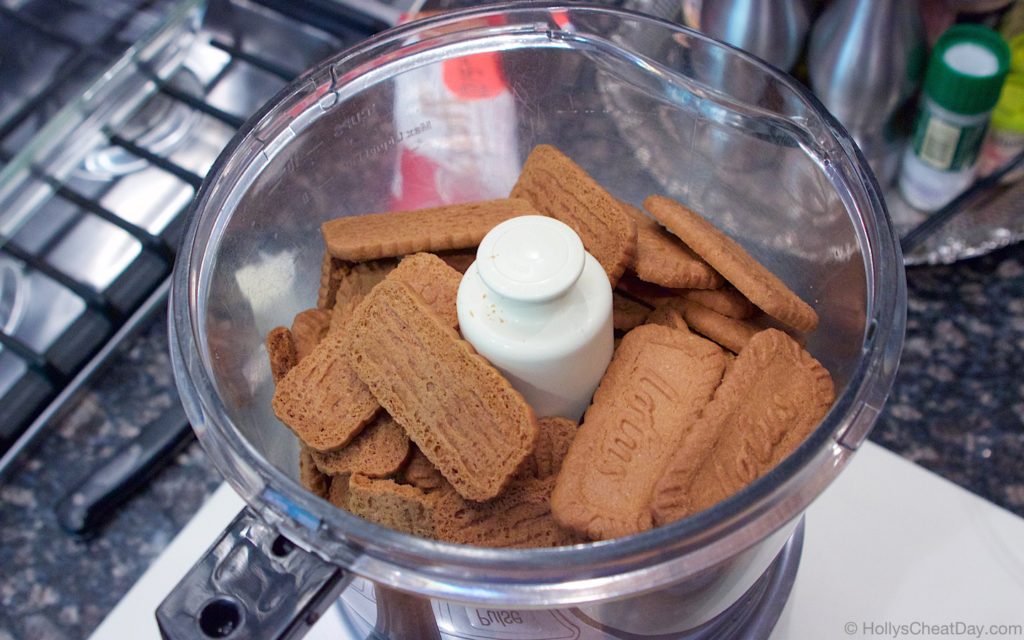 you want them really finely crushed like so…
 then into your bowl with the melted butter…
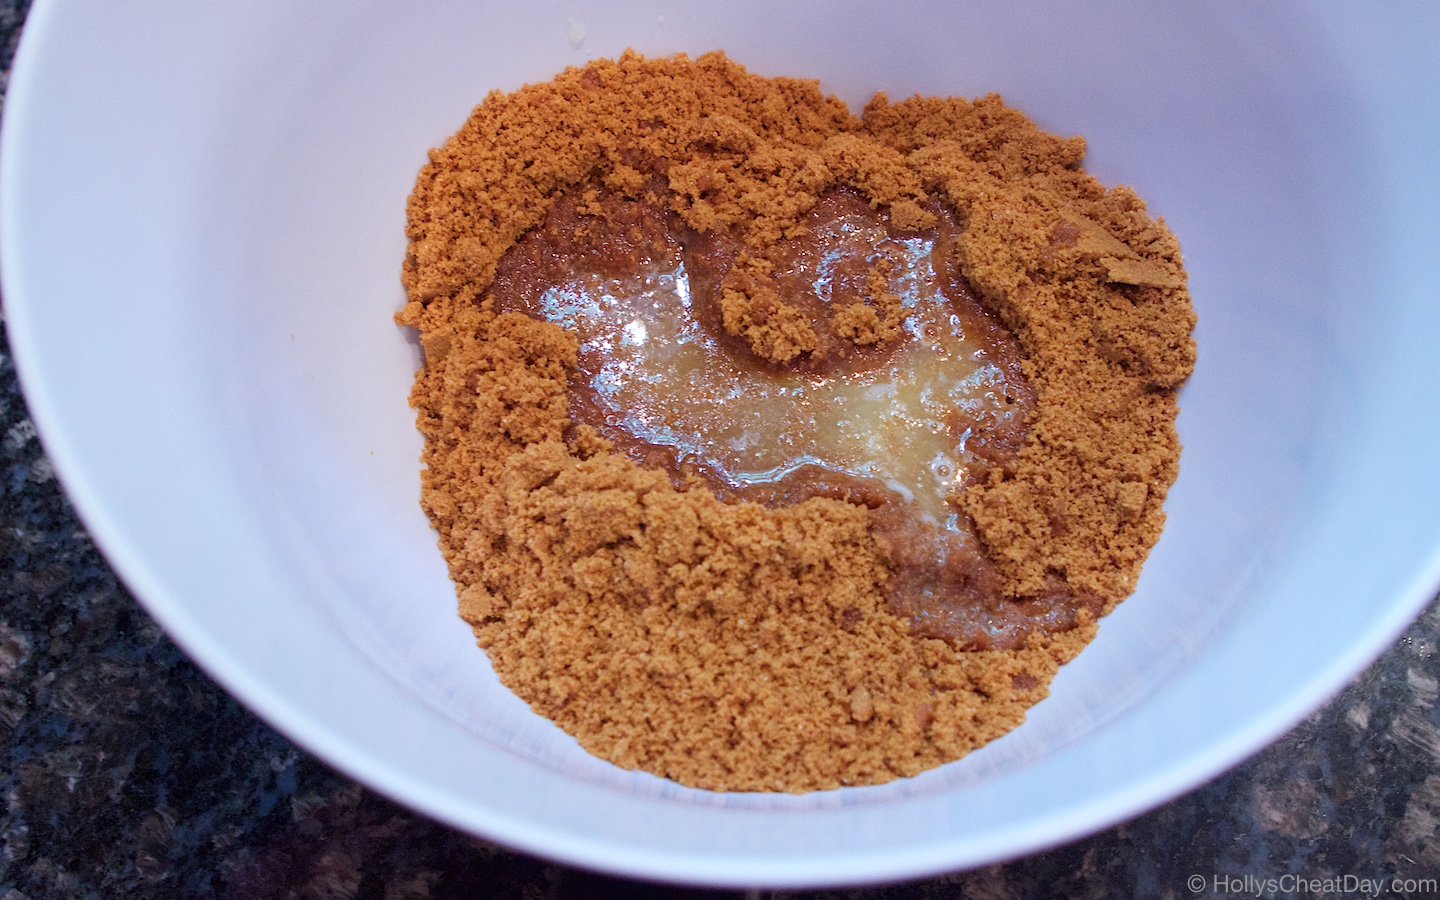 once mixed should look like wet sand…
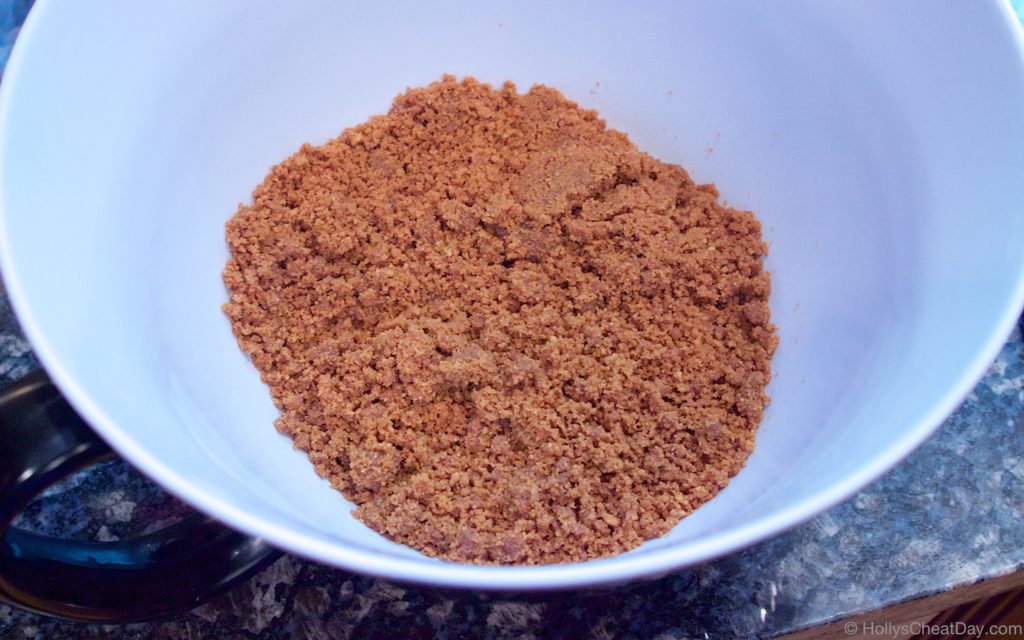 firmly pressed into your pan…
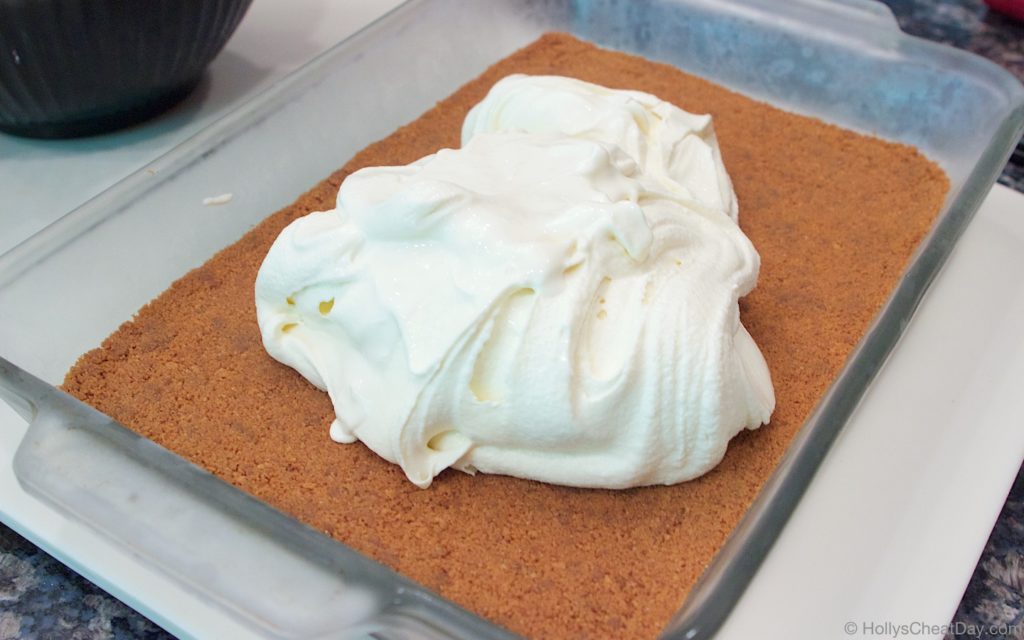
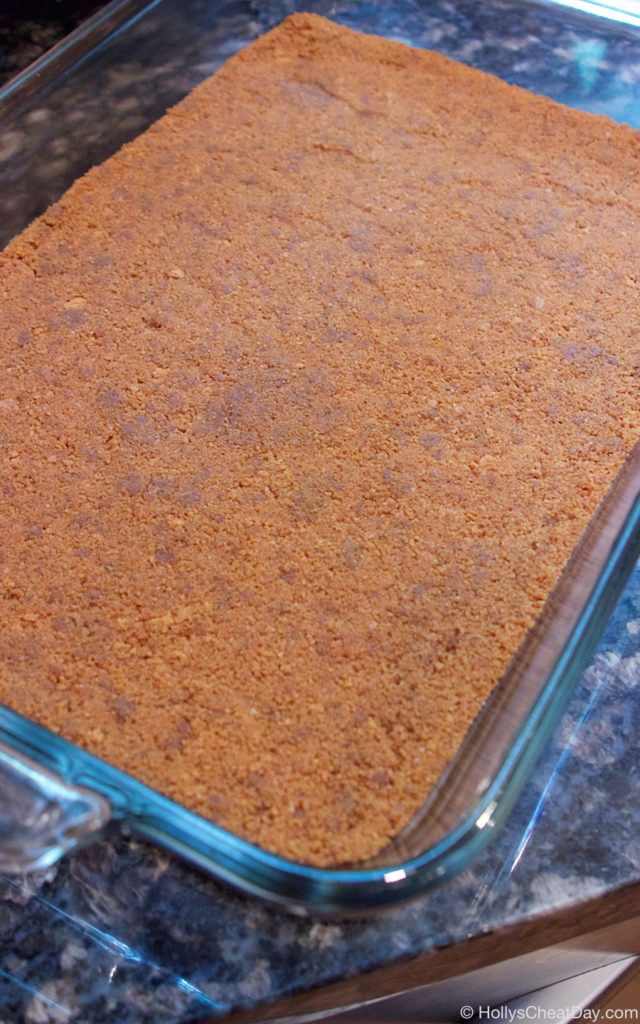 once the crust has firmed up in the freezer, put the first layer of ice cream…
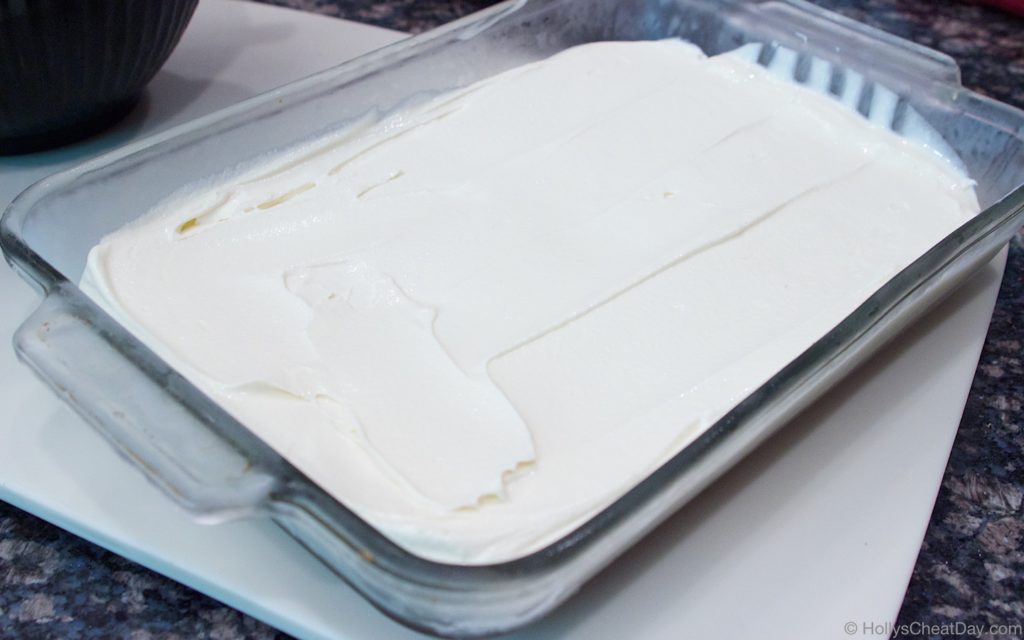
 all spread out and re-frozen…
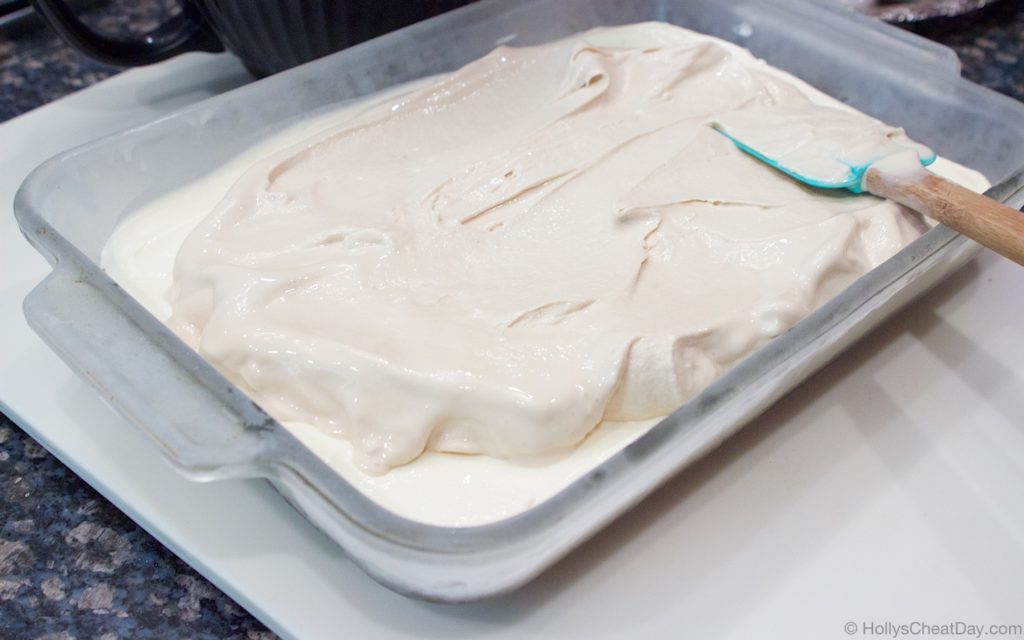
 then the second layer of ice cream…
 and while that’s re-freezing, heavy whipping cream getting whisked…(as a side note I put the melted Biscoff cookie butter on top of the 2nd layer, I just forgot to take a picture of it)…
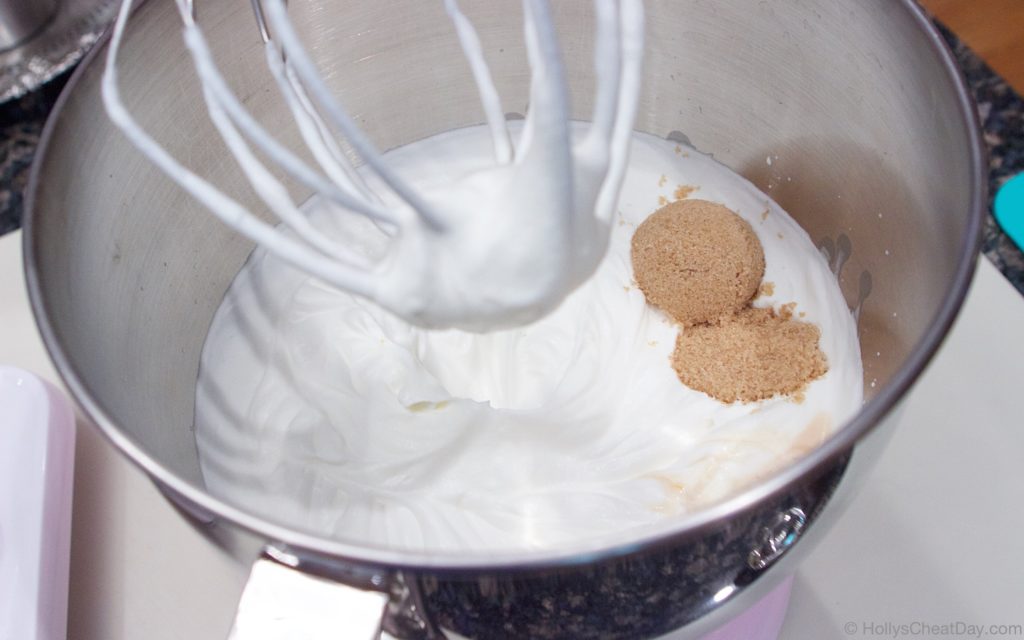
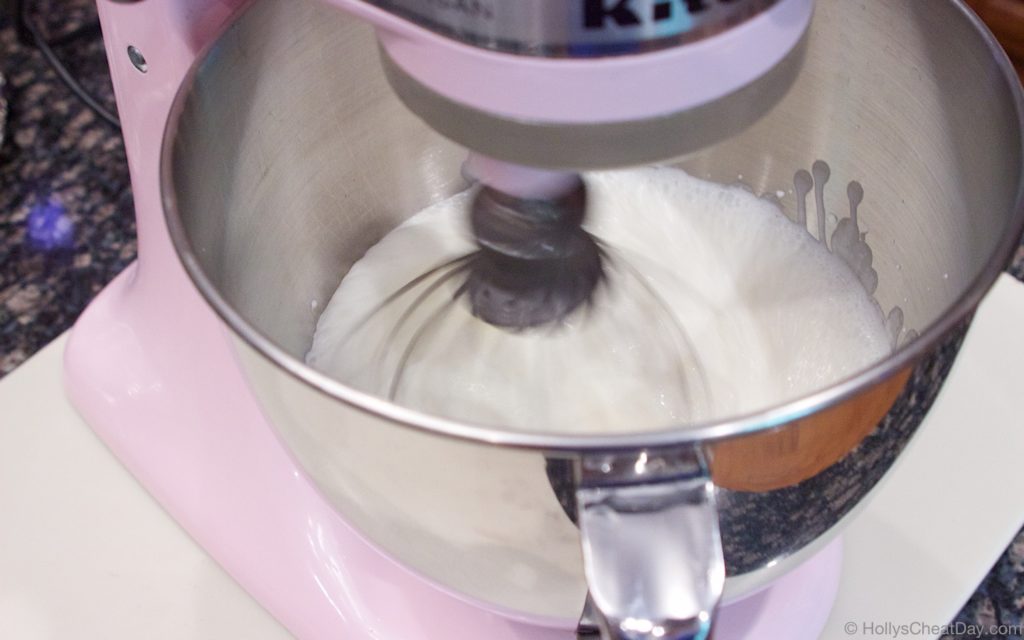 then add the brown sugar…
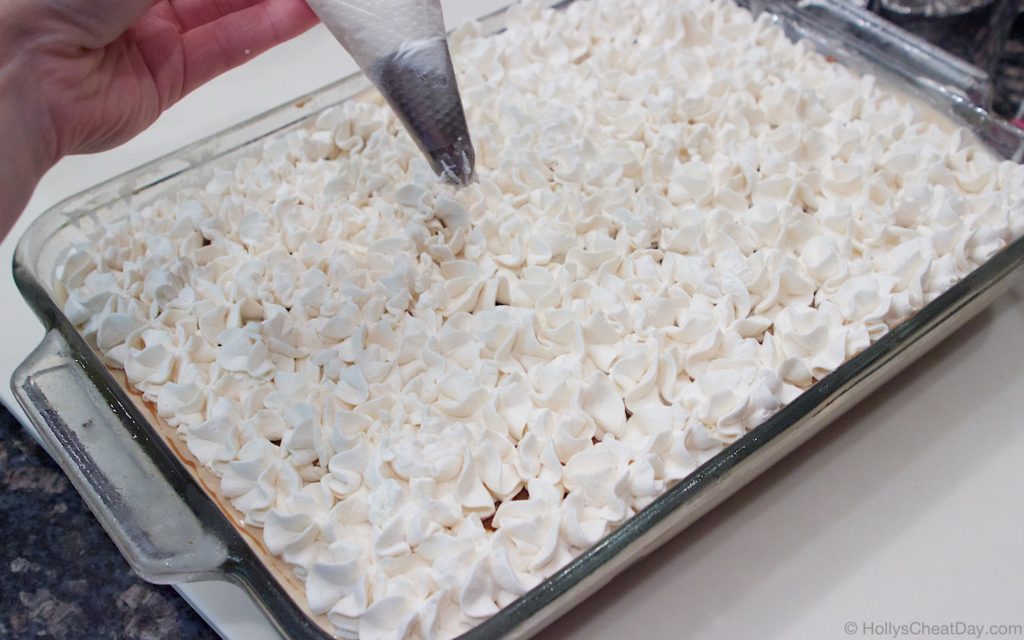
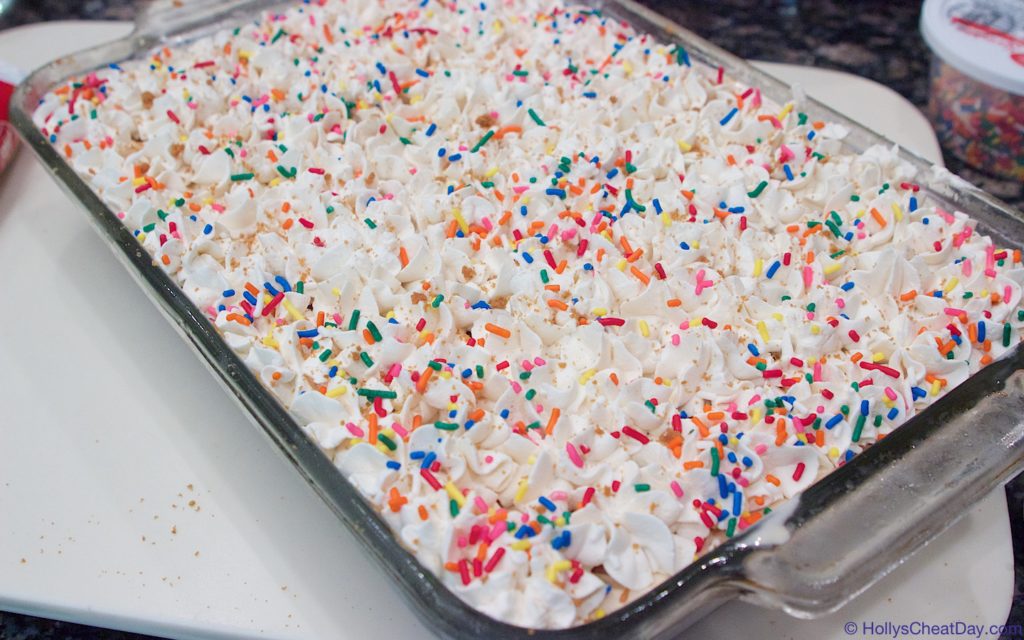
 then I piped the whipped cream on top (you can totally just spread it on, I was just feeling fancy that day)
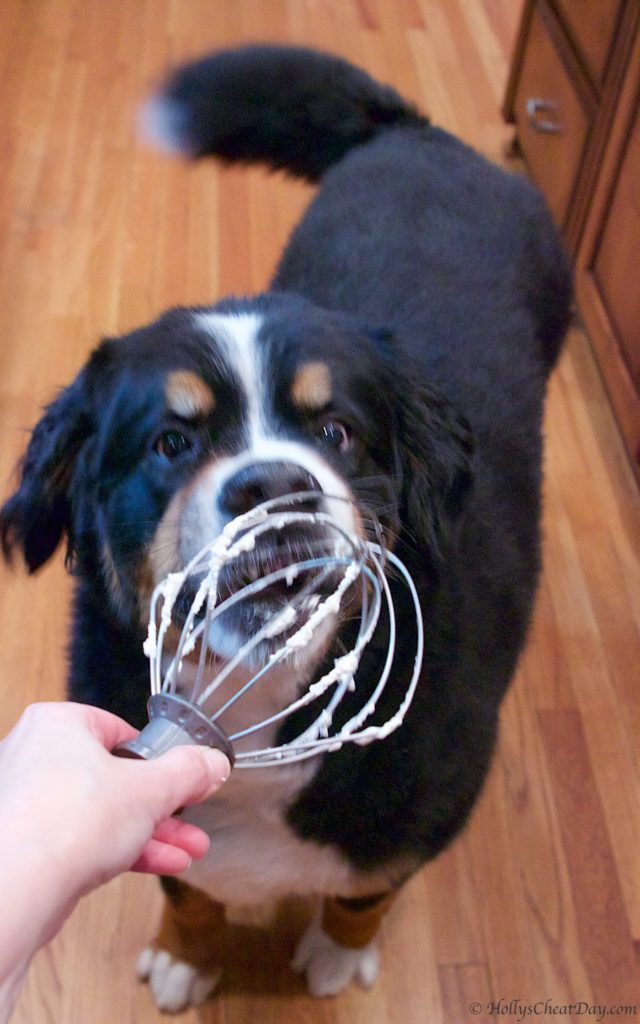
 my sous chef had been having a fit for the whipped cream, so obvi once I was done she got to enjoy this, she was so excited I literally could not get a clear photo of her haha…
 then lots of sprinkles & even a few Biscoff cookie crumbles…
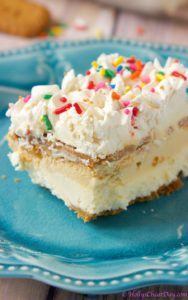
 and enjoy!!!
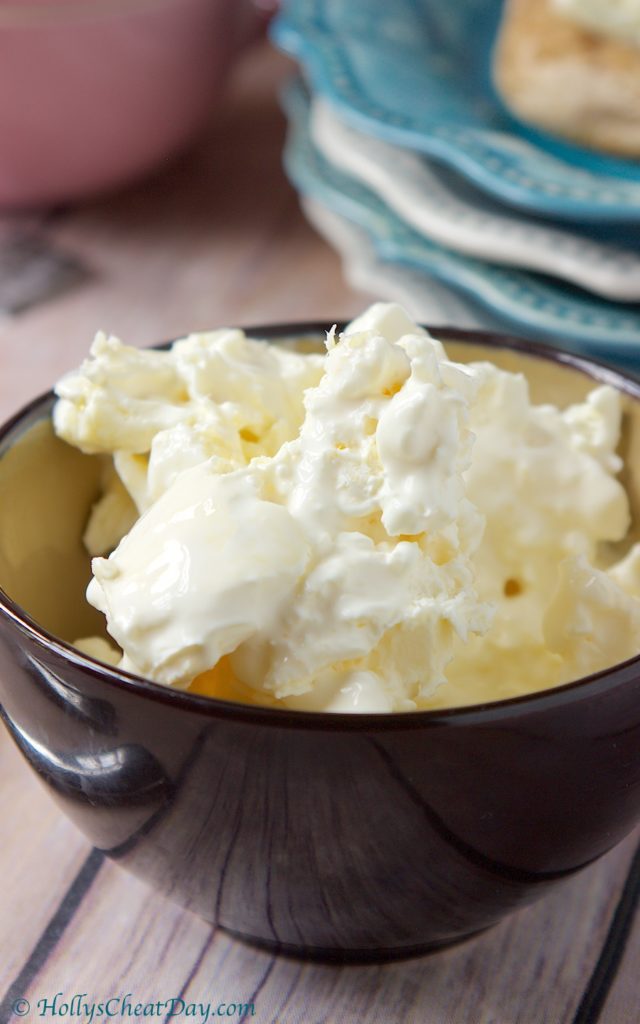
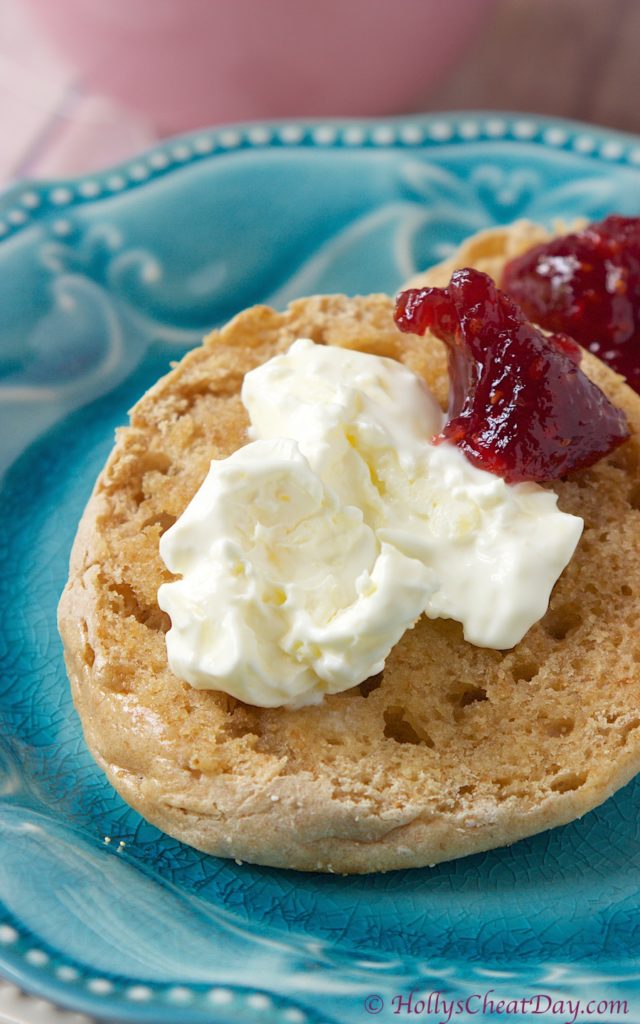 Anyways, so for years I had heard how delicious this cream was, and it wasn’t until about a month ago when I went to the afternoon tea at The Grand Floridian that I actually got to enjoy it, and boy did I. Well, here in the U.S. you can’t just pick this stuff up at the store and I knew I was already completely obsessed, so obviously I was going to have to figure out how to make it. I saw many recipes for it (if you can even call 1 ingredient a recipe) on the interwebs and every. single. one. said under no circumstances use Ultra Pasteurized Heavy Cream.
  Well, after visiting no less than 6 stores, calling 2 more, and even contacting a few dairies (!!!!), it became apparent that literally nowhere within at least 200 miles of me is there just Pasteurized Heavy Cream (insert my super irritated face here). So after Milkgate, I figured what the heck, if I waste a whole quart and tons of time attempting to make it, then so be it, at least I tried (insert me looking up prices of cows and if my HOA would allow one).
 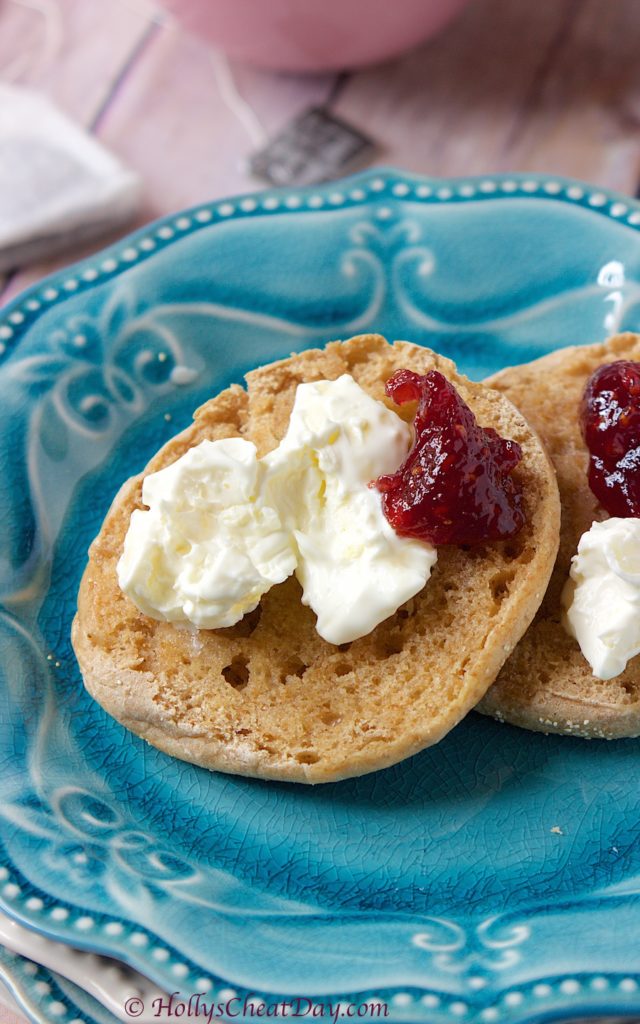 OMG y’all, Ultra Pasteurized worked perfectly!!! I can’t tell you how elated I was when I nervously took my pot out of the fridge the next morning and it was perfectly thick and dreamy on top. If you want to know what Devonshire cream tastes like, just imagine the most perfectly rich butter mixed with the most perfectly rich whipped cream and that’s this incredible stuff. I
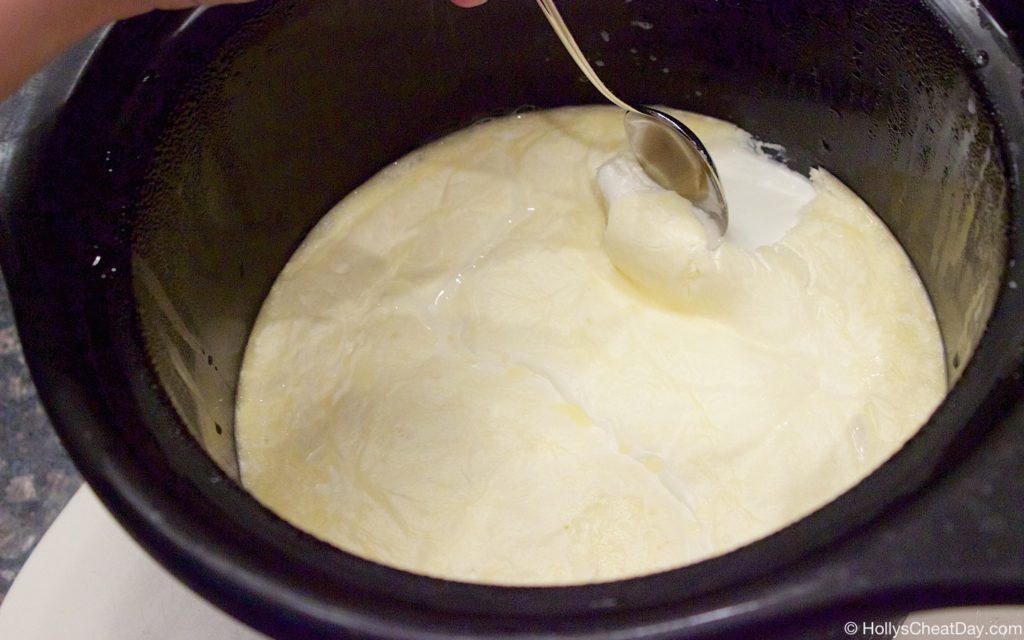
 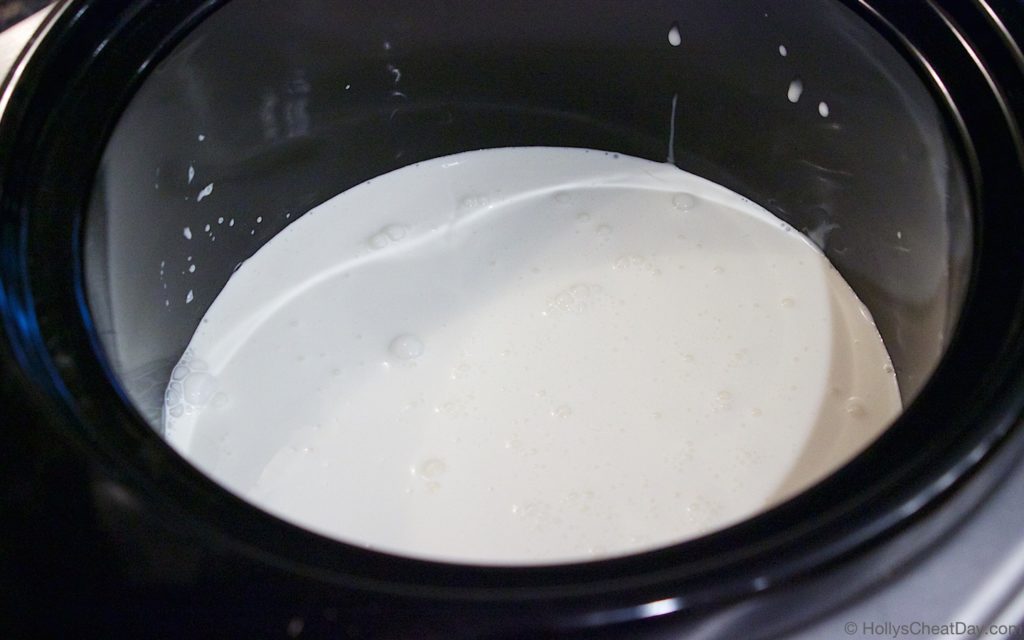 after sitting on ‘warm’ for 12 hours in the crockpot (you can see it’s still really thin but more cooked looking)…
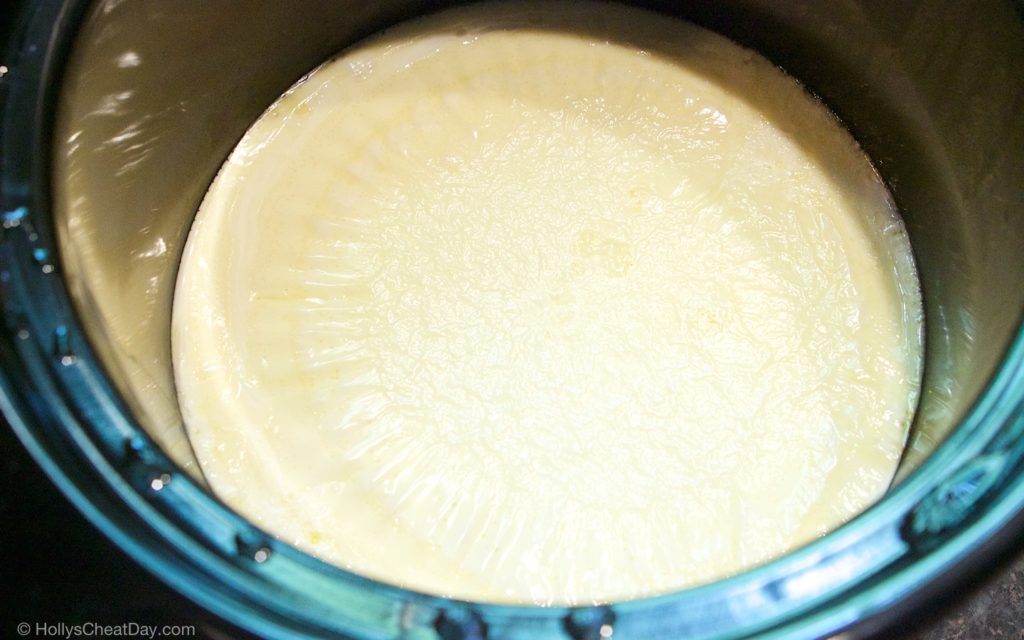 after sitting in the fridge overnight (look how much it’s thickened)…
 then, scooping all of that amazing goodness off the top…
 and enjoy!!!!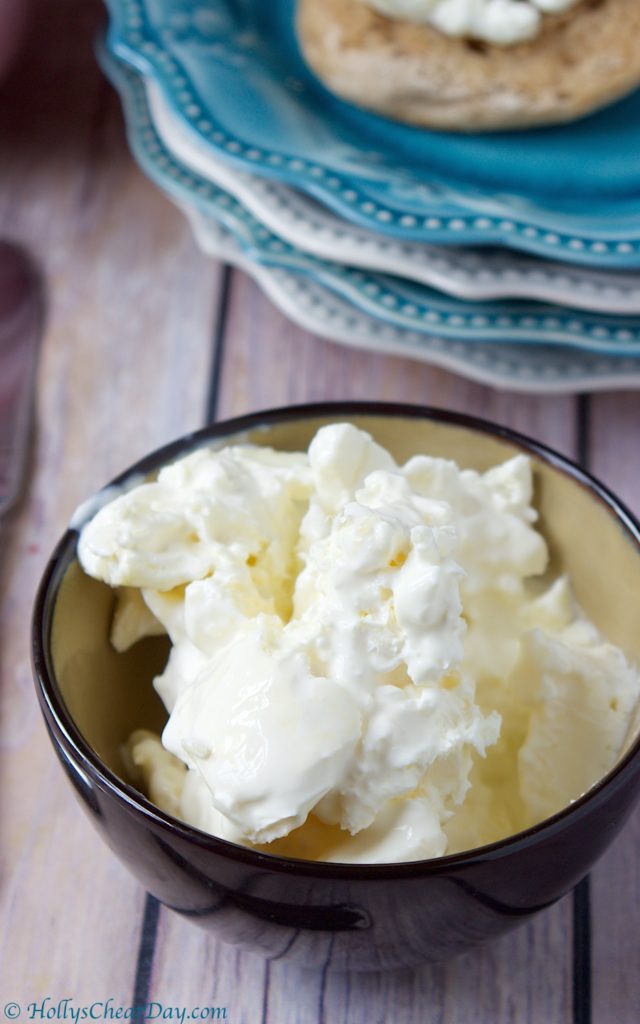


 This is why I can’t stand going to see movies on non cheat days because it’s pretty torturous sitting there smelling all of that delicious popcorn and seeing the candy when you get to sit there
  Enjoying this delicious combo regularly at the theater over the years got me thinking about a homemade spin that included all of the peanut buttery goodness and crunch of our ‘creation’ at the theater. I decided it should be a peanut butter base on the popcorn and then there definitely needed to be the added crunch of some mini M&M’s, and because I love peanut butter, I thought some extra peanut butter chips could be thrown in as well.
 OMG y’all, this popcorn turned out to be freaking fantastic! It is sooo rich, but you’ll fool yourself into thinking that you’ll have just a little bite, but you will just keep going back for more and a little bit more and then you will look up and it will all be eaten haha. This popcorn is crunchy, with all the flavor of peanut butter and the little chocolate bits of the M&M’s is just wonderfully decadent. This is a must make, and it’s pretty darn easy to throw together too. I hope you all have a wonderful day and thank you so much for stopping by!!!
 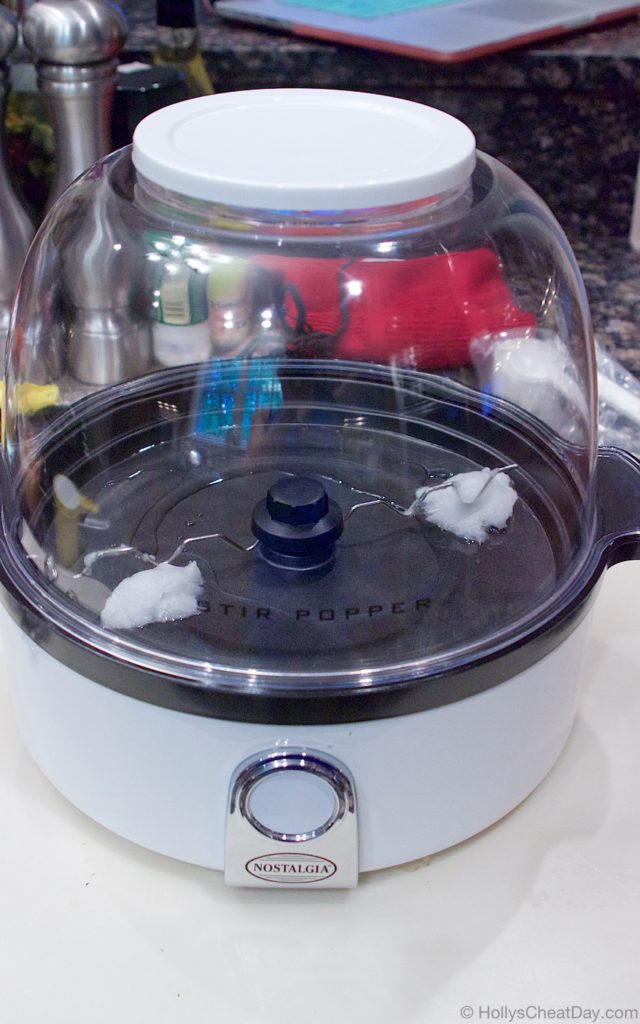 popcorn kernels…
 once the popcorn is done, place sugar and corn syrup in your saucepan…
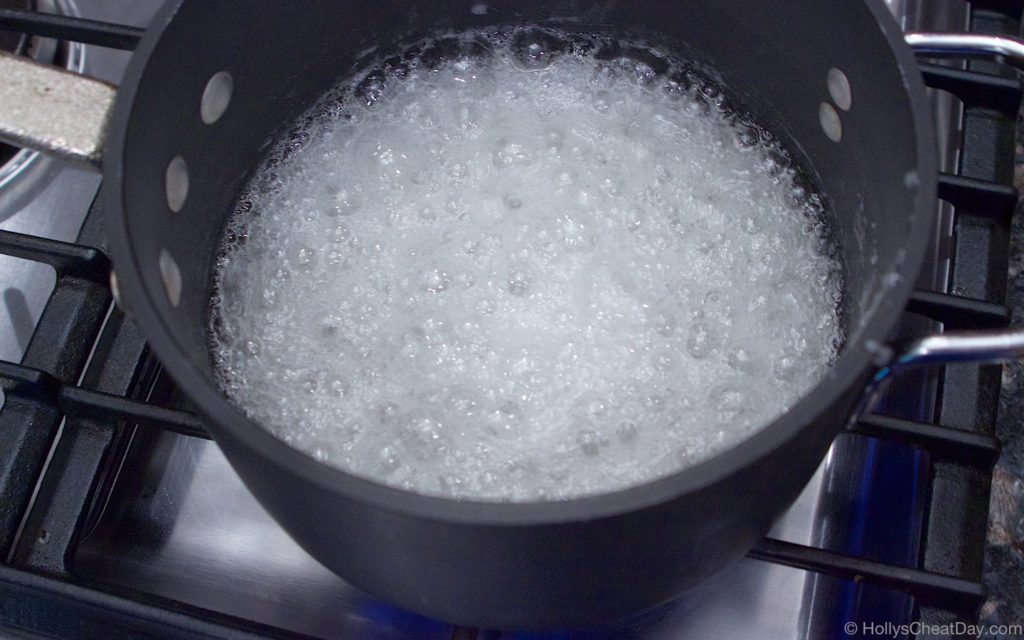
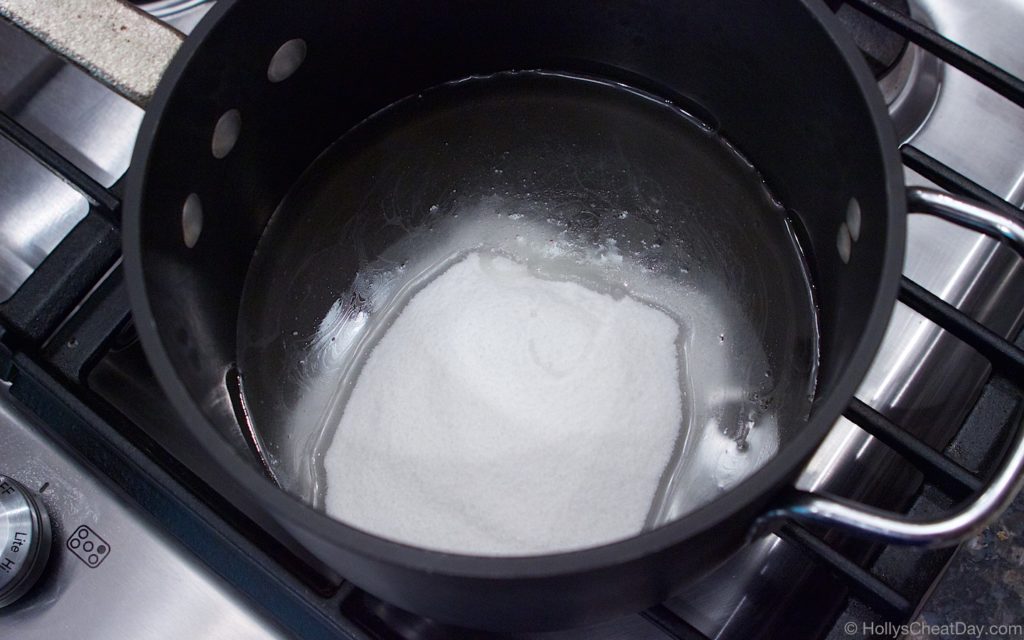 boiling…
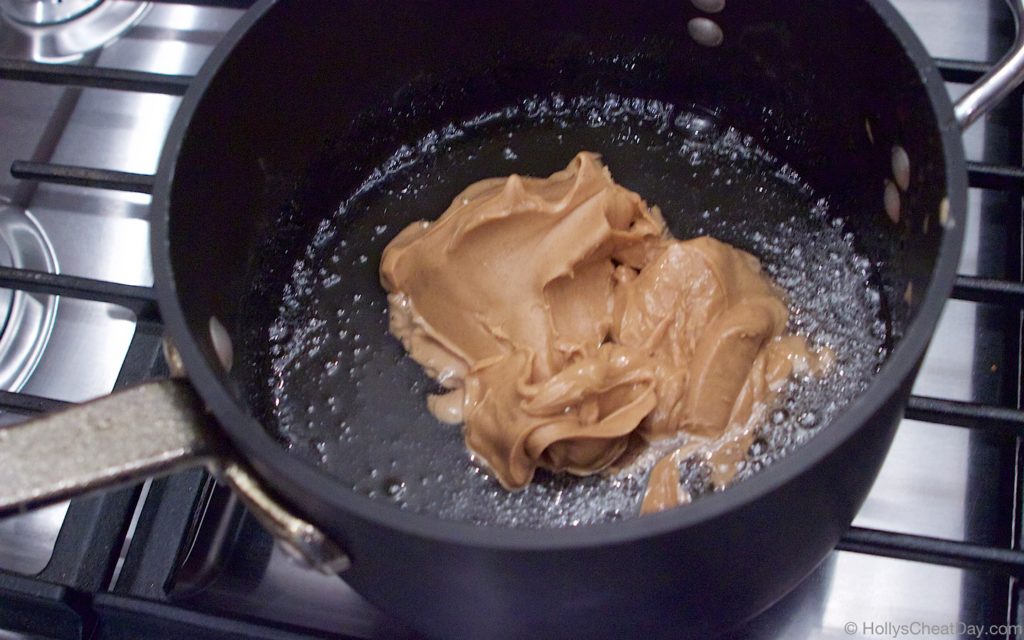
 then throw in the peanut butter and vanilla…
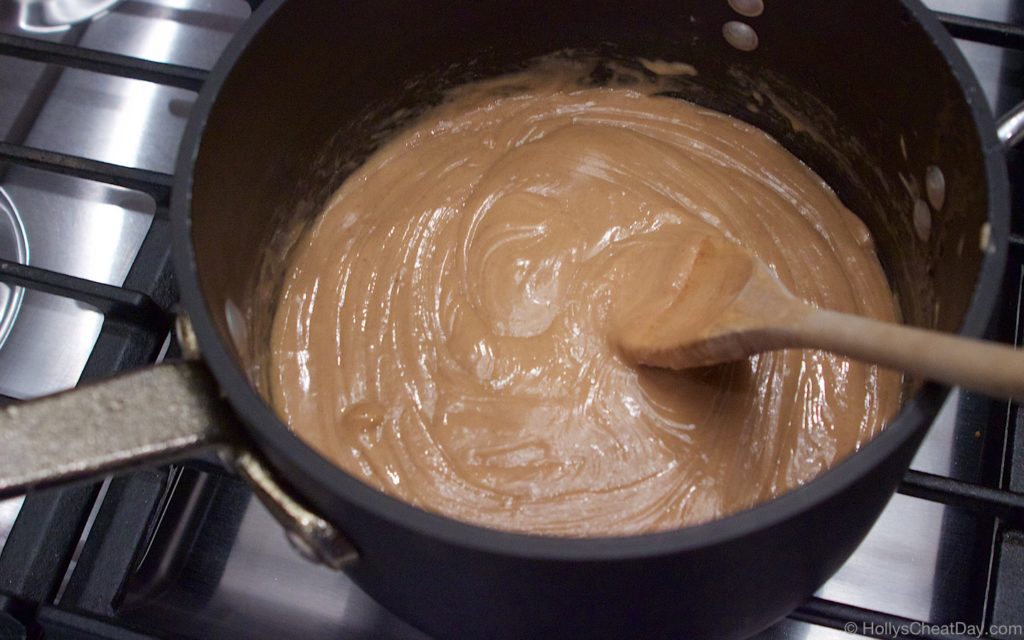
 all mixed up…
 then pour all over your popcorn…
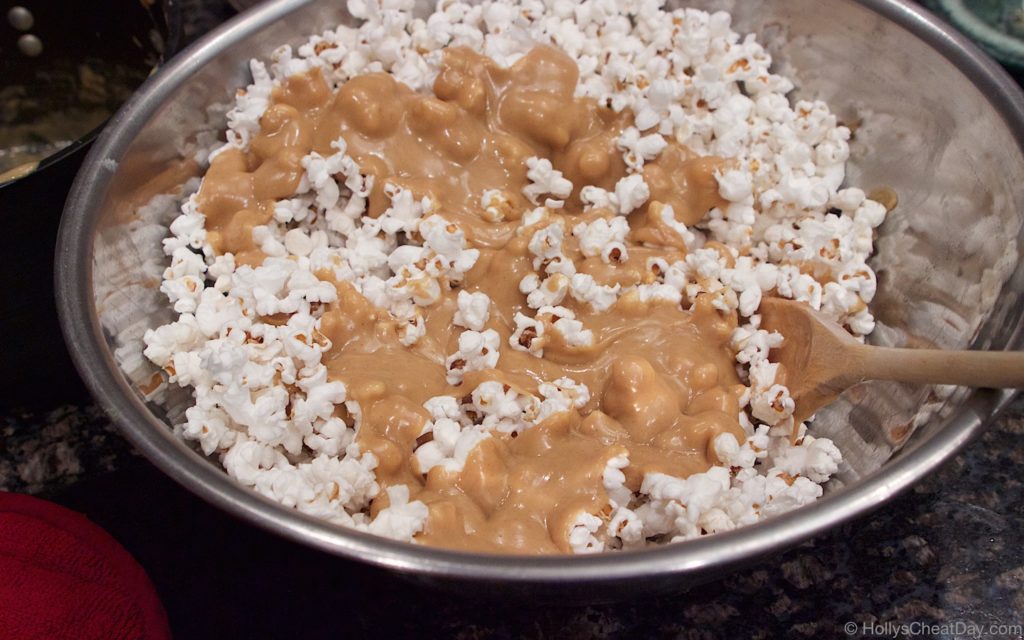 mix up…
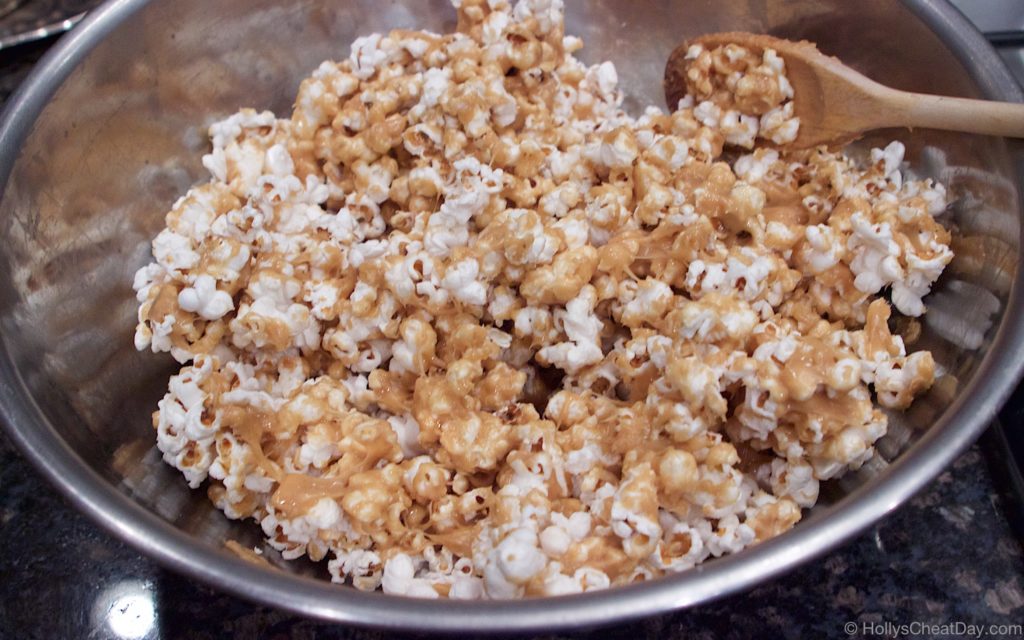 place onto your tray, then pour M&M’s and peanut butter chips all over…
 then bake for a bit…
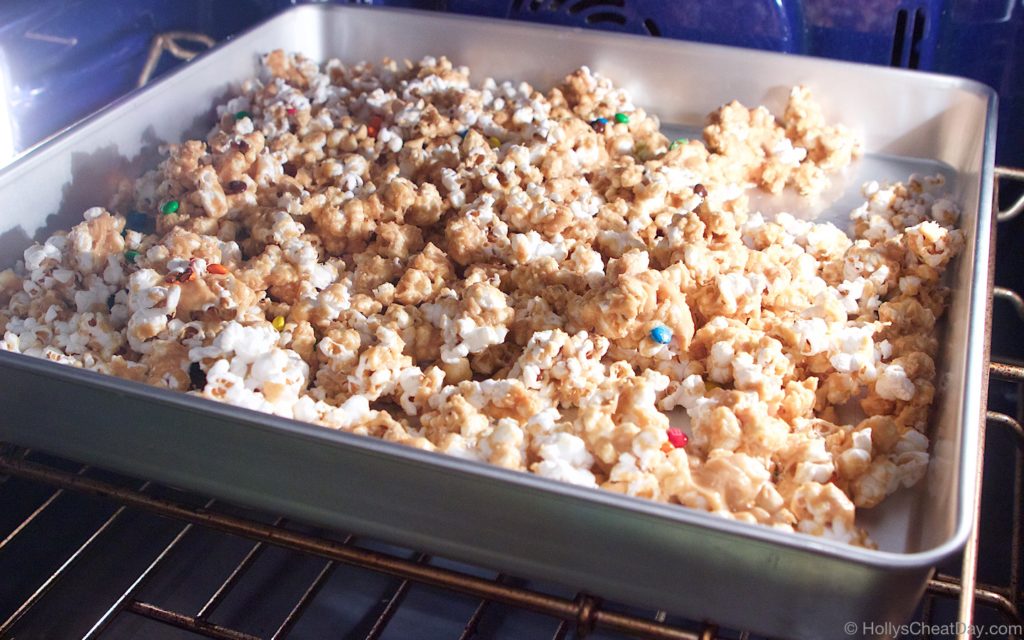 and enjoy!!!


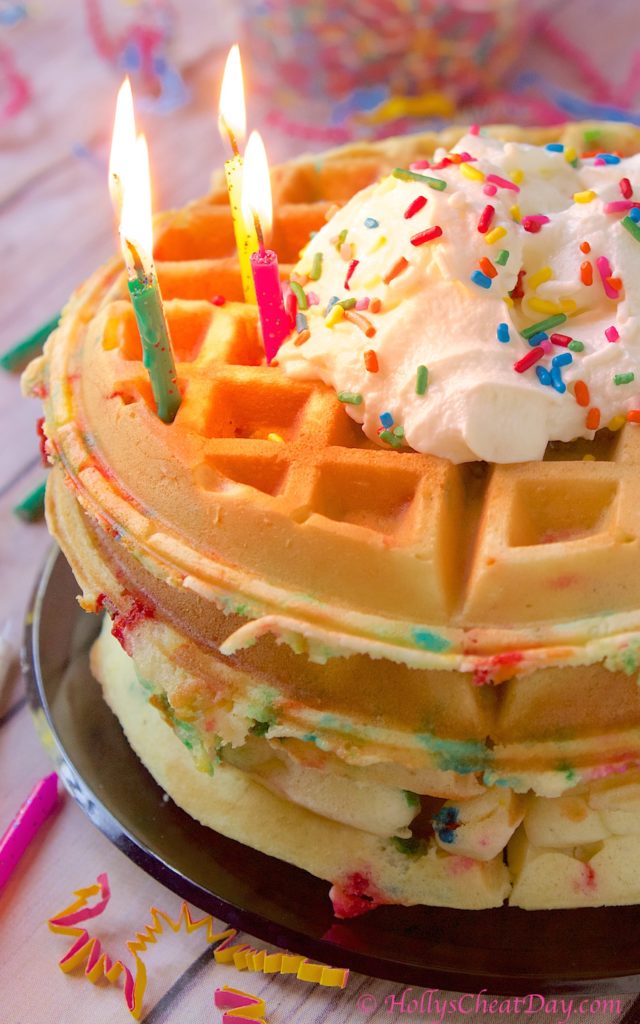 It always makes me laugh when family and friends start asking me what I want for my birthday because ultimately the only thing I ever want is food (and maybe Lululemon gift cards hehe). My favorite foods from my favorite restaurants are always the first thing to pop into my head, but only asking for food makes me feel like a goob
 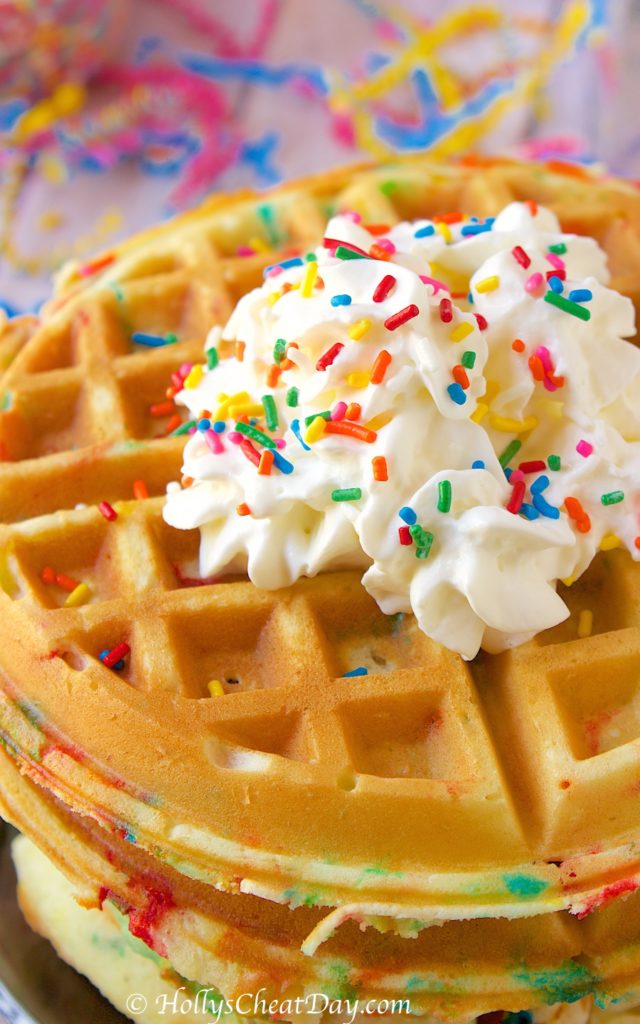 What I do do (I said doodoo hehe, also I am turning 5 this year, obvi) is make myself birthday waffles and I went extra special this year and made myself Funfetti Cake Waffles, OMG yes, actual cake batter waffles with all the extra awesomeness that is lots and lots of sprinkles. Y’all these waffles are ridiculous.
 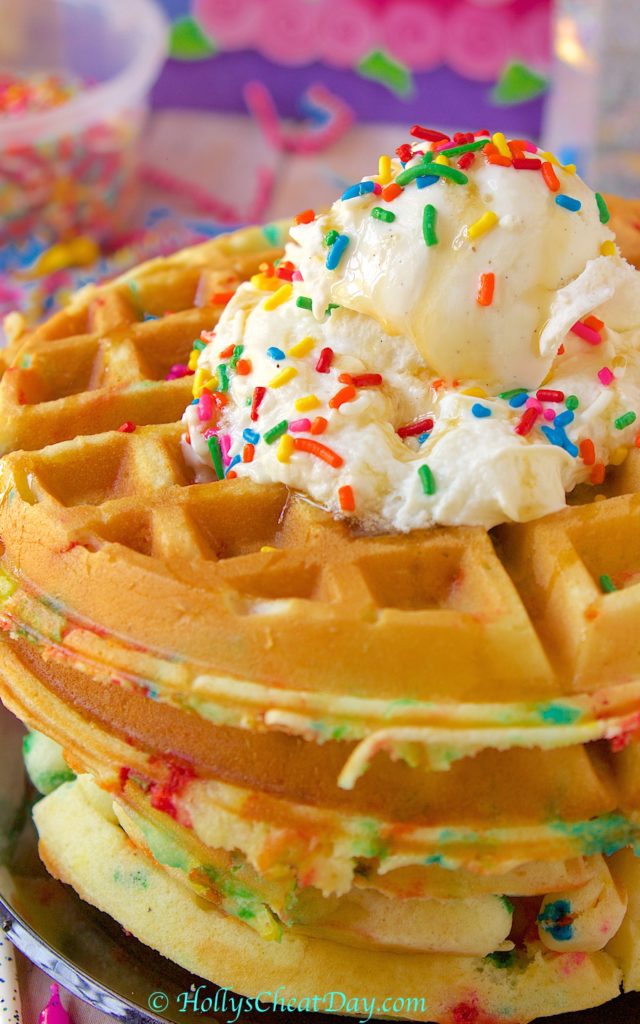 All the flavor and softness of cake, everything that is perfect about a waffle and let’s not forget how adorably birthday-ishly festive they are. Basically I’m obsessed and these will be made every birthday morning from now on, or of course any cheat day. Thank y’all so much for stopping by and I hope you all have a fantastic day!!!
  eggs, oil, water…
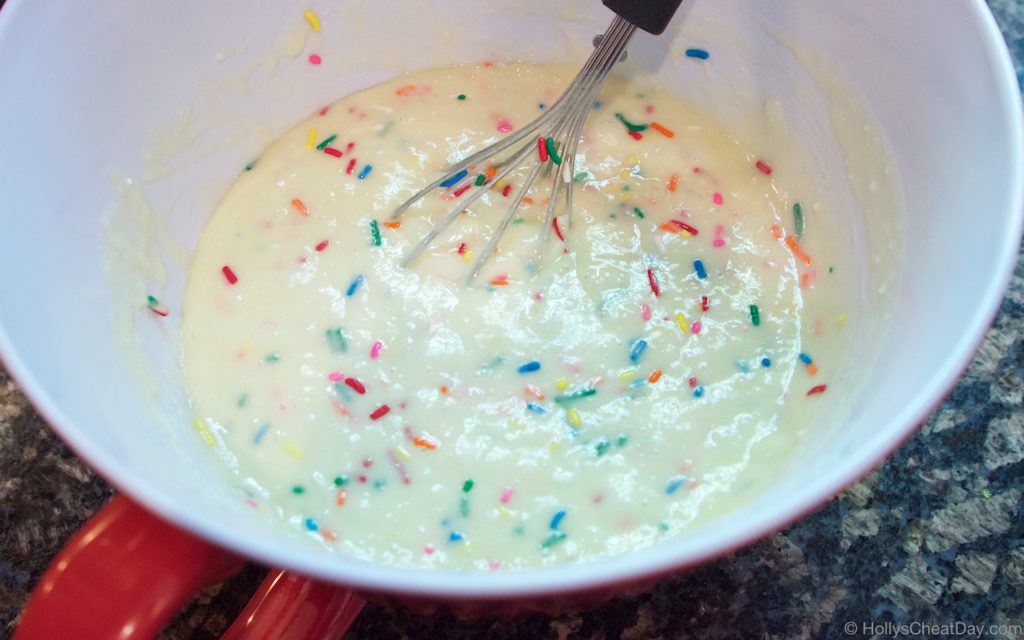
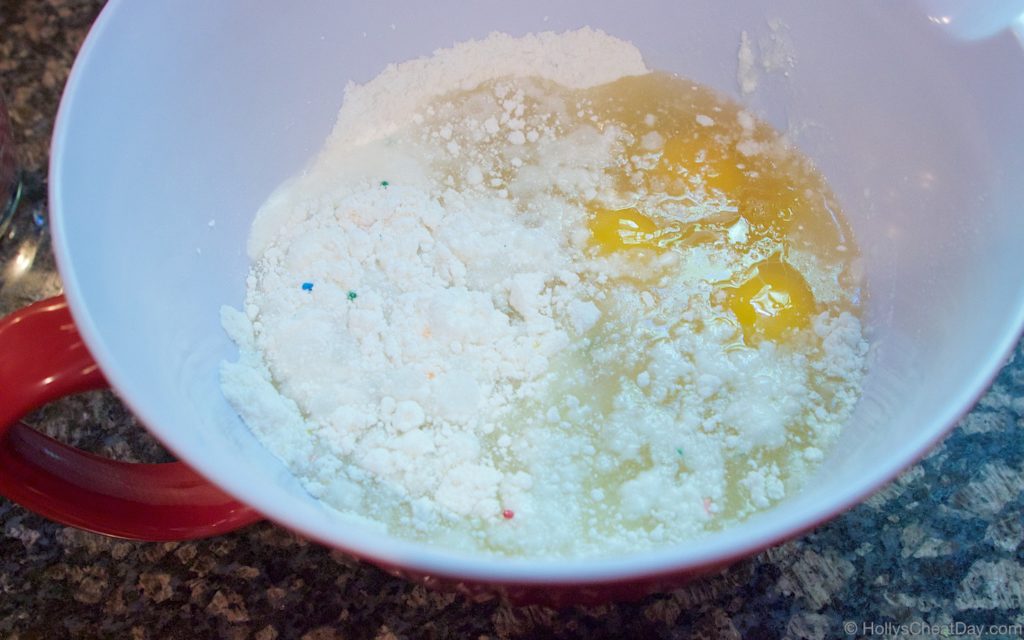 all mixed up (and forgot to take a pic with the extra sprinkles)…
 into your waffle maker…
 and enjoy!!!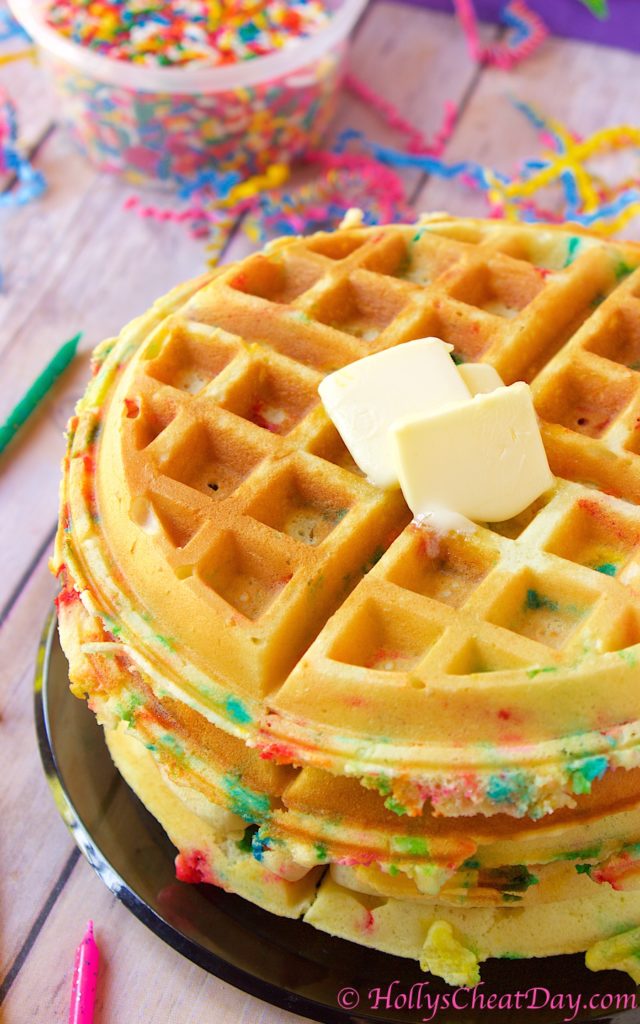


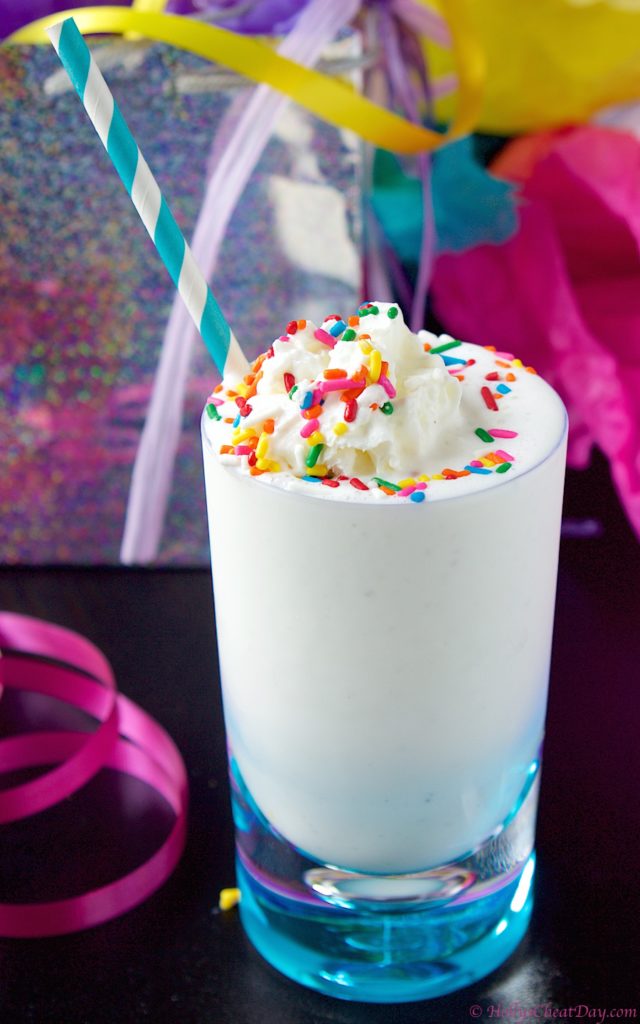 Oh well… if it’s lame, my bad, if it’s cool, then I will say it again with this cocktail. This cocktail is so rich and creamy with the ice cream and delicious liqueurs, and let’s not forget fun because sprinkles haha.
 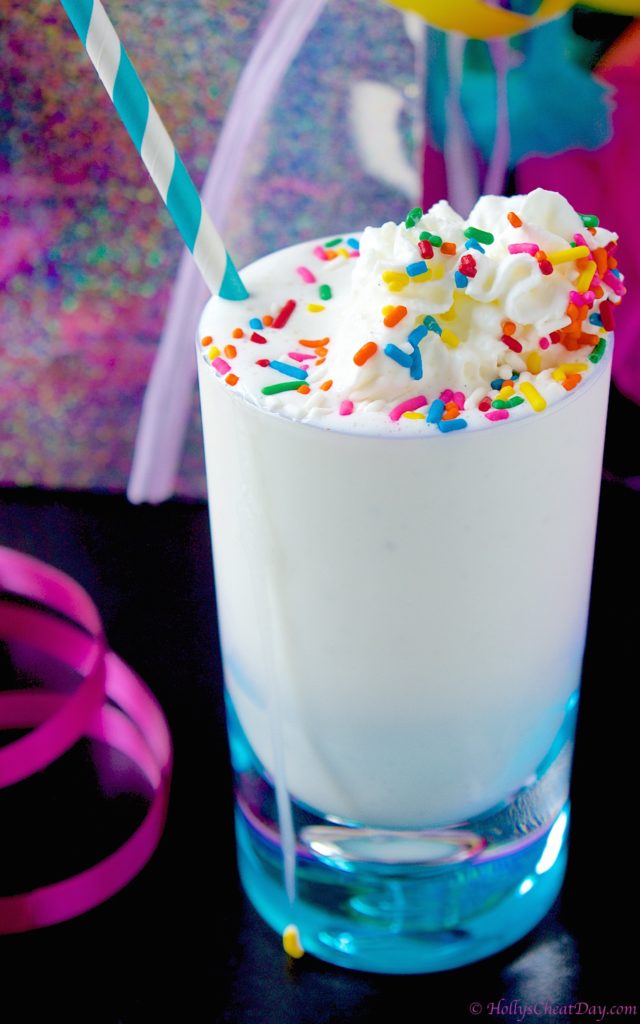 Because it’s a real holiday (and not just my b-day) and wanting to keep this extra short and sweet so everyone can get to their families, friends and food, I hope you can enjoy this cocktail soon and thank you so much for stopping by!
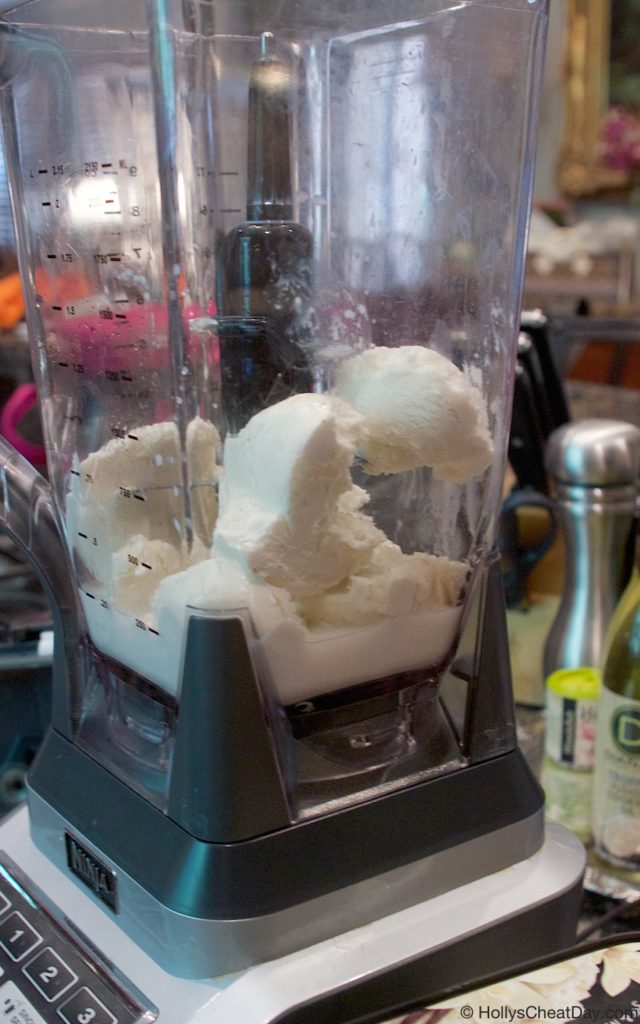
 now the ice cream…
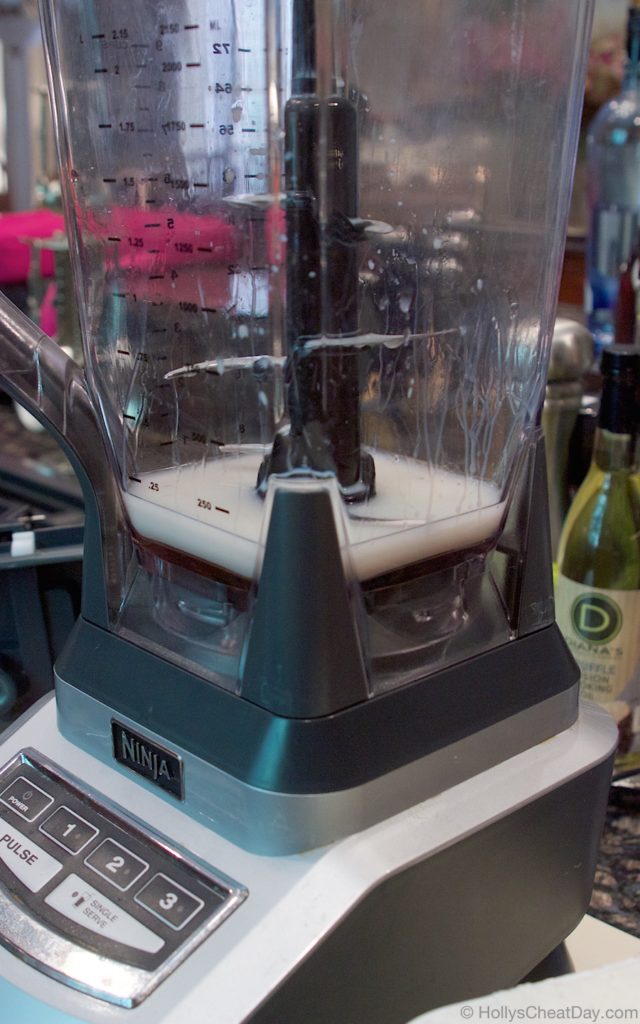
 blend it all up and enjoy!!!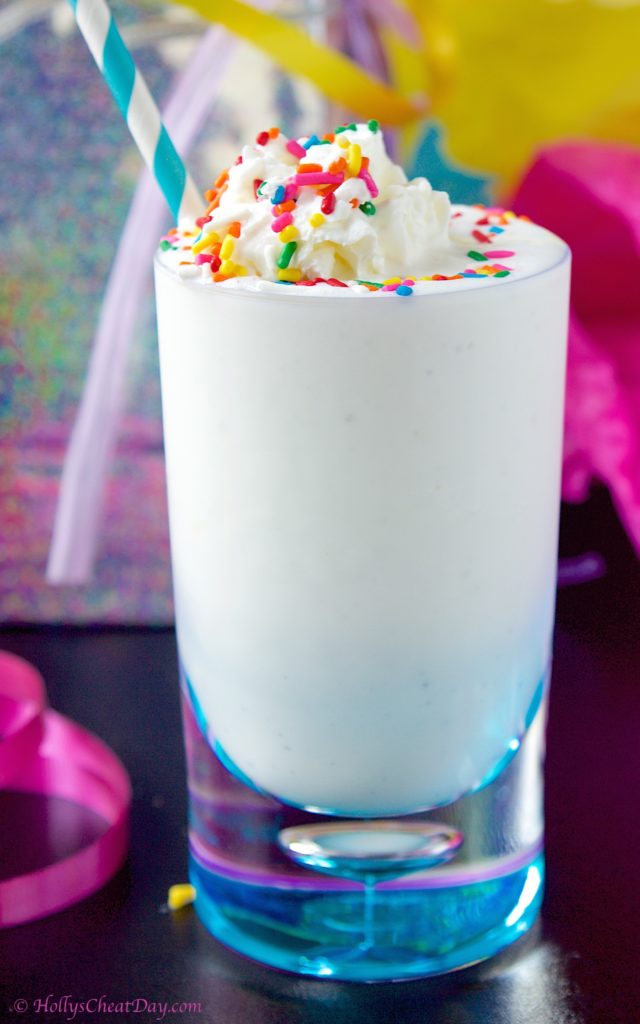

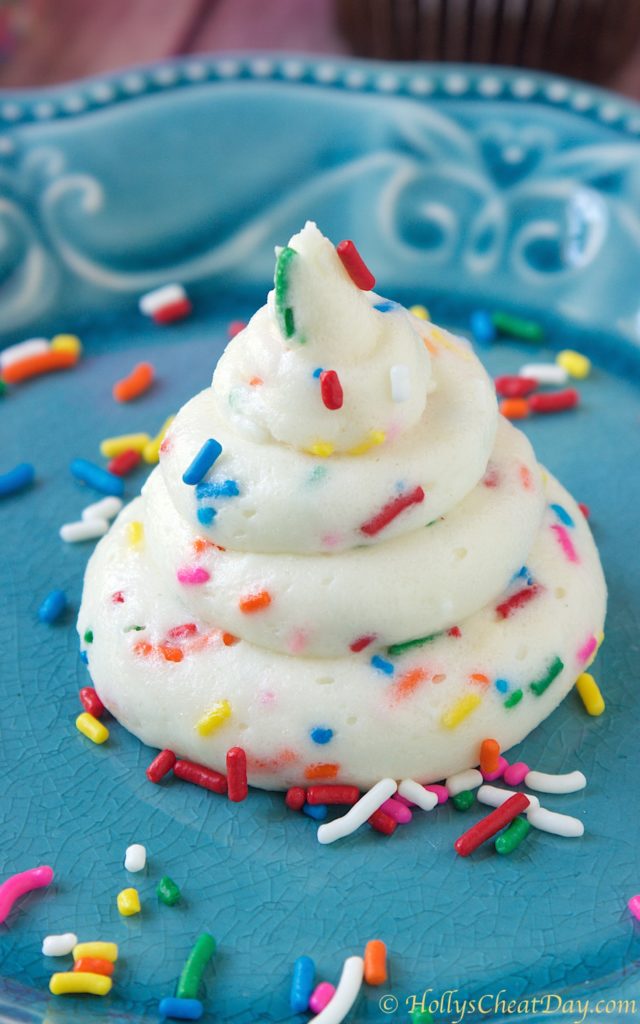 I love that you can easily tweak your frosting recipes with a little this and a little that until you get it juuust right. That is exactly what I did with this recipe, hence the hodge podge order of my ‘how to’ pictures, I just kept adding to it what it needed to get it to the exact flavor that I wanted (but simplified in the recipe section, don’t worry).
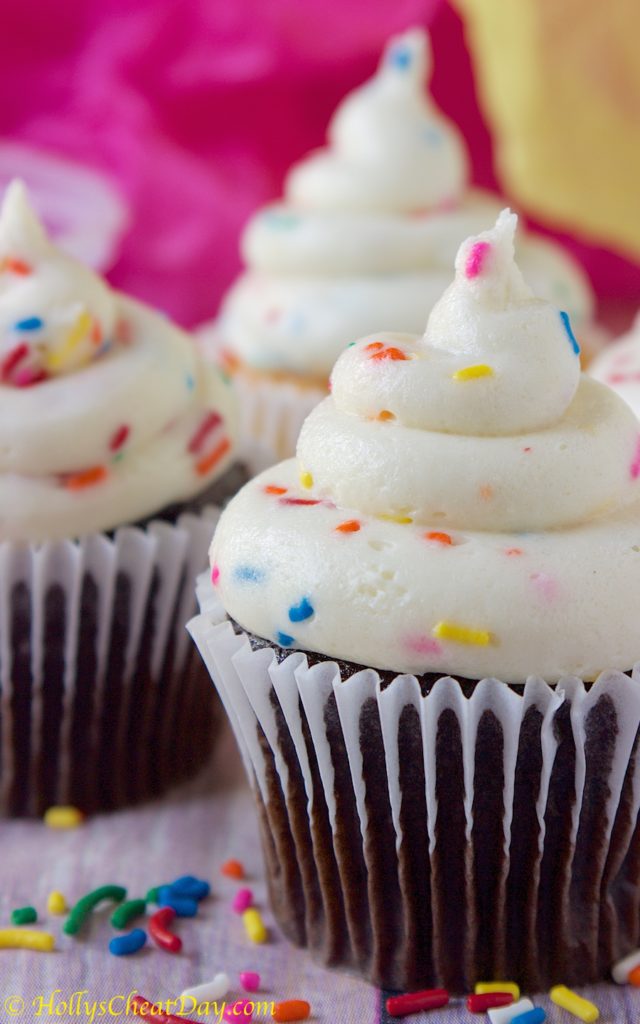
 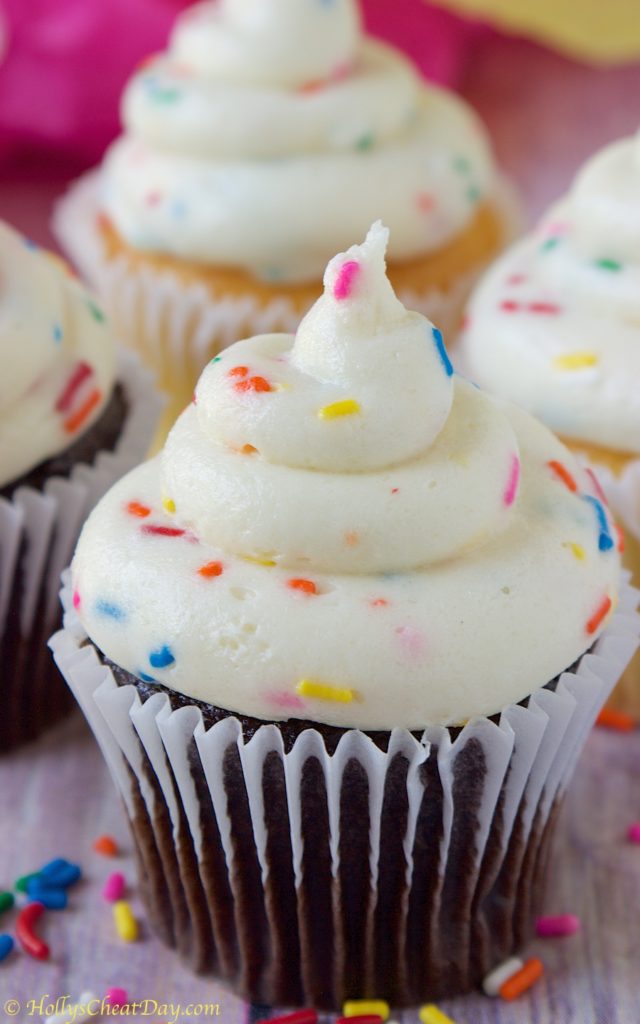 You guys! you don’t even know how amazing this frosting is! OMG it tastes just like funfetti cake batter, if I didn’t think I would
 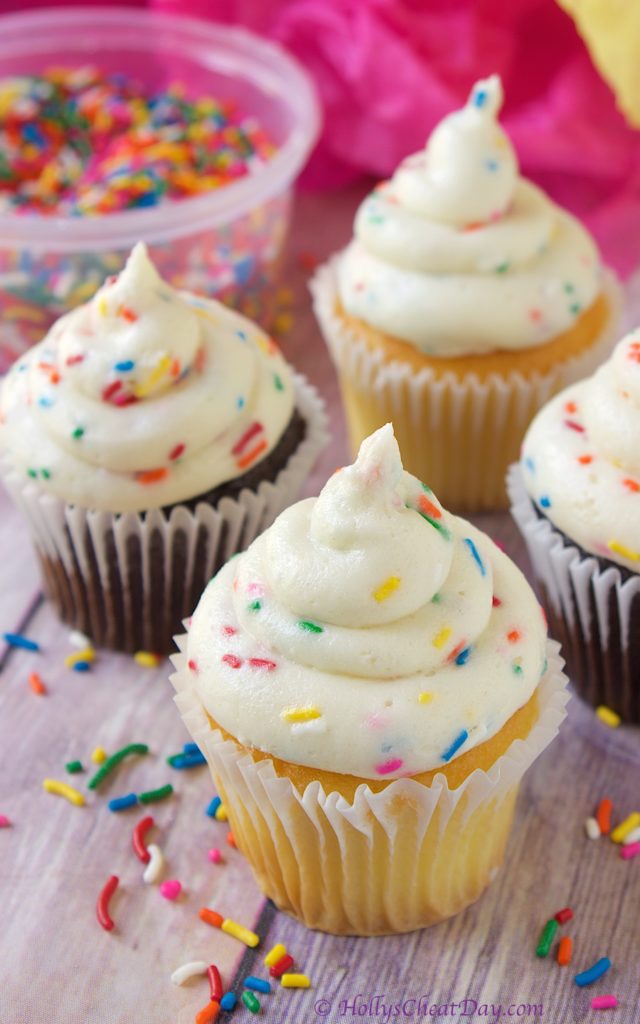 Which one tasted better? That would be like picking my favorite child (you know, if I actually had kids) because this frosting made both vanilla and chocolate cupcakes taste amazing either way. You totally need this frosting on every single cake item in your life, or just in a spoon. I promise you will love this. Thank you so much for stopping by and I hope you have a wonderful day!!!
  mix up and add your powdered sugar…
 some of the cake mix and cream cheese…
 mix, mix , mix and add some heavy cream…
 then all of the sprinkles…
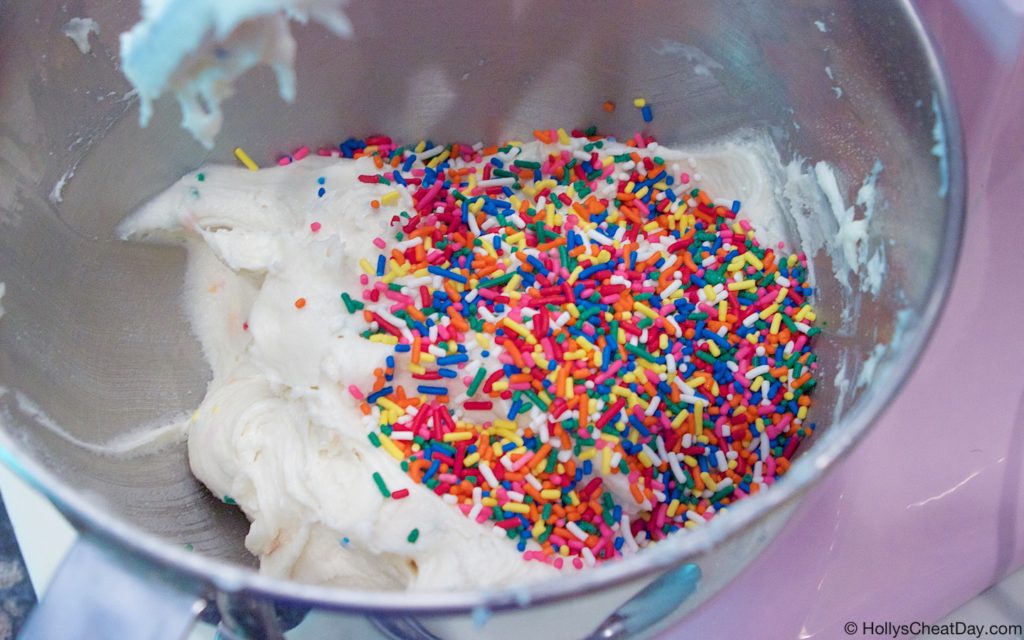 mix, mix, mix and enjoy!!!
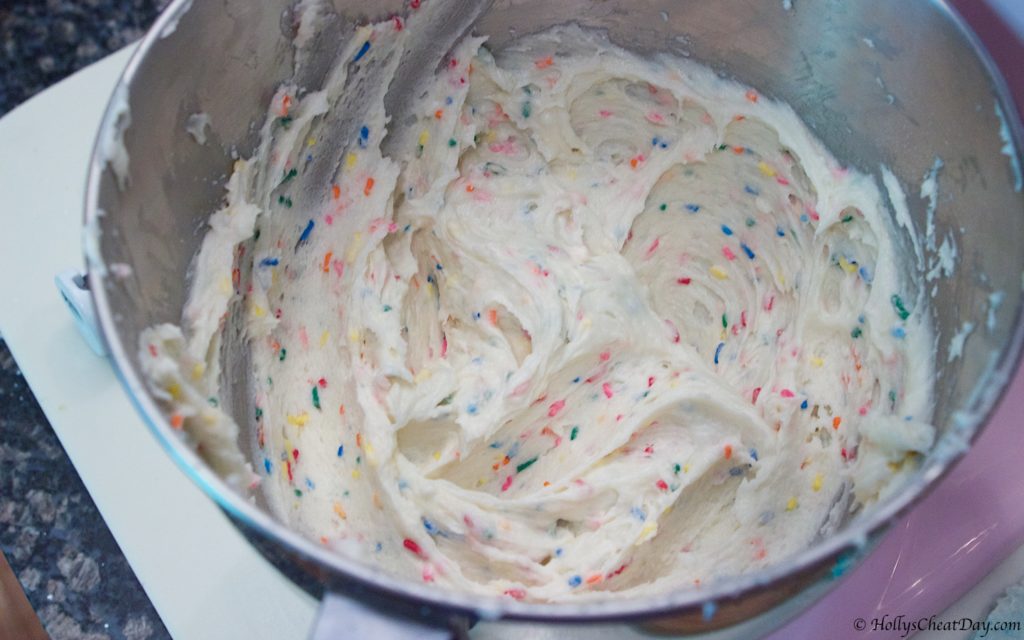 and enjoy!!!