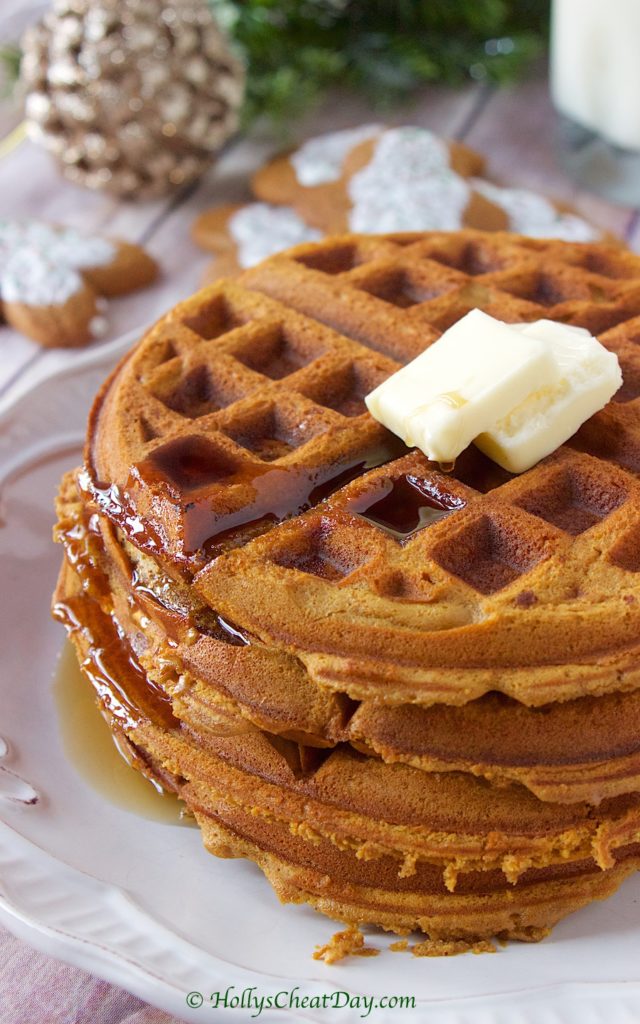
Happy Happy Thursday everybody !!! To think, we’re thiiis much closer to the weekend, Friday eve’s are just the best, aren’t y’all getting excited? Well, I know I am, not that I have anything planned, but the thought of catching up on Netflix and basically sitting around and doing nothing sounds just thrilling to me haha.
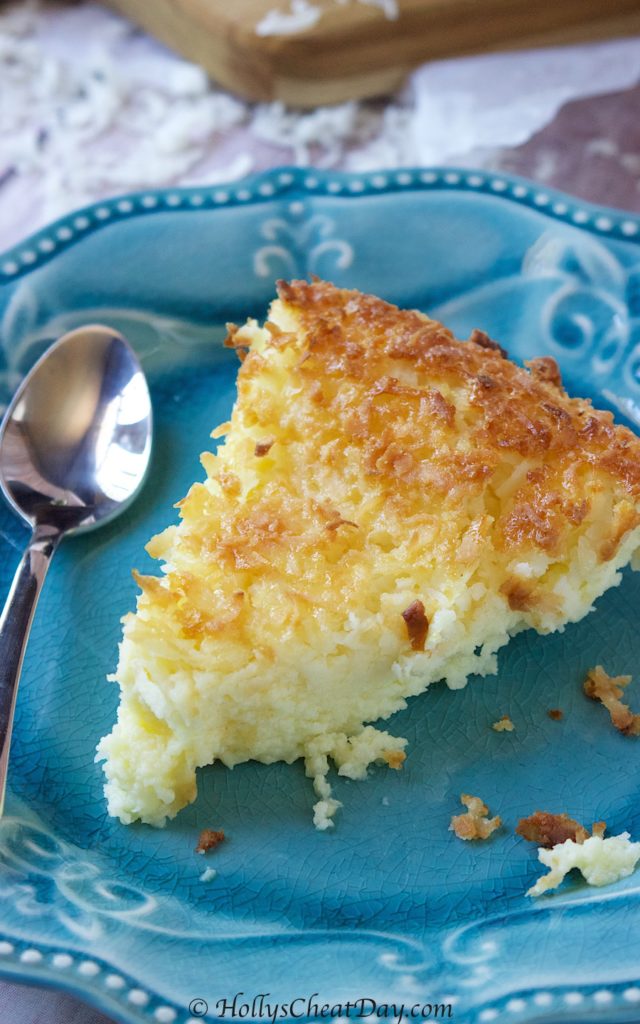 If you too have wonderful plans of doing absolutely nothing as well, but would maybe like to quickly and effortlessly whip up a homemade dessert, boy do I have the recipe for you today.
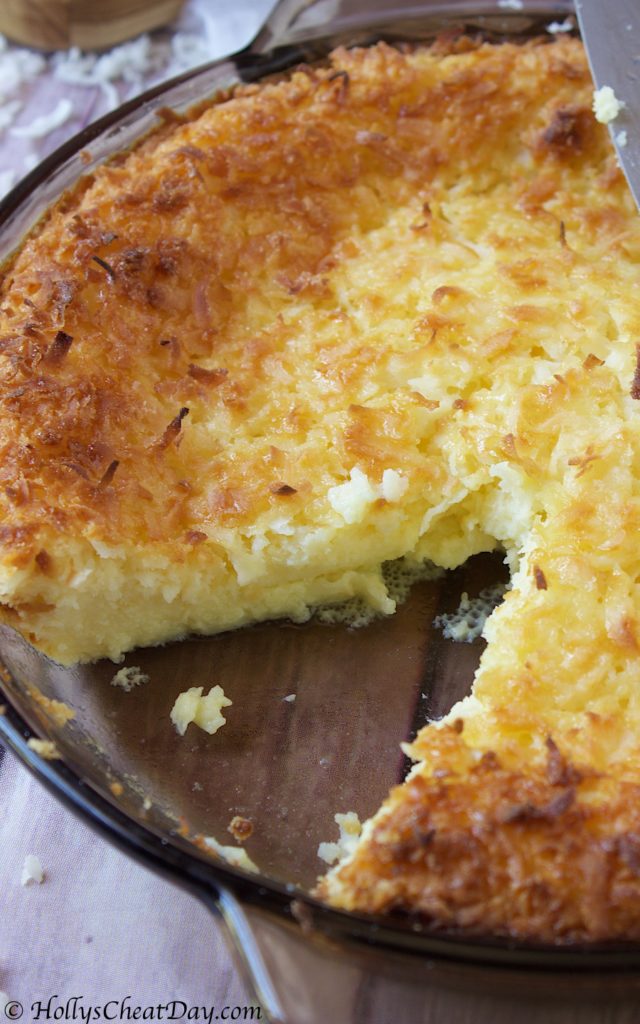 I just love a good custard, not only for the ease that they’re made but they’re just so creamy and simply decadent. Now, you throw coconut into something then I’m definitely on board. Y’all, I had this custard ready to go and in the oven in about 10 minutes, it baked exactly 40 minutes and was ready to eat, sooo not complicated.
 This dessert is definitely my new go-to quick but seemingly fancy dessert. I hope you all have a fantastic rest of this work week, a fantastic weekend and thank you so much for stopping by. Hopefully you get a chance to make this delicious and easy coconut custard soon.
all of the ingredients except the coconut flakes…
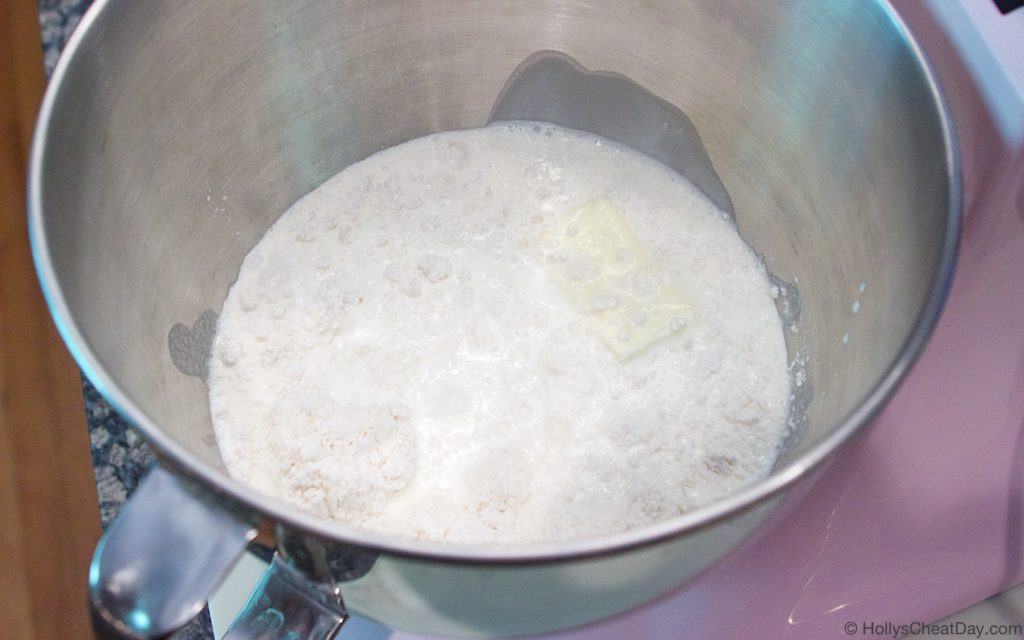 all mixed up…
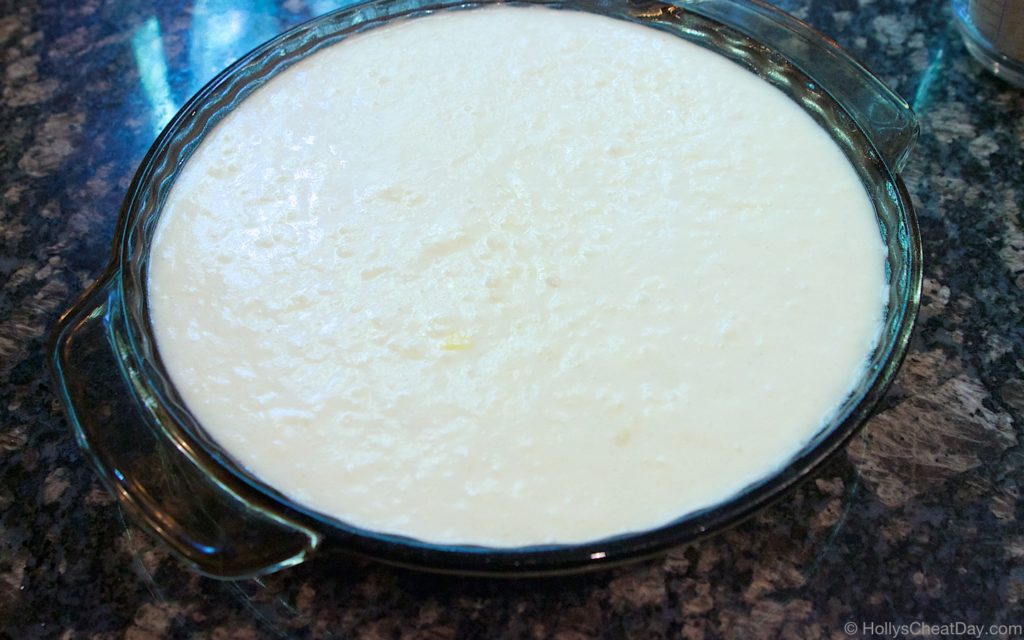
 into your pie pan…
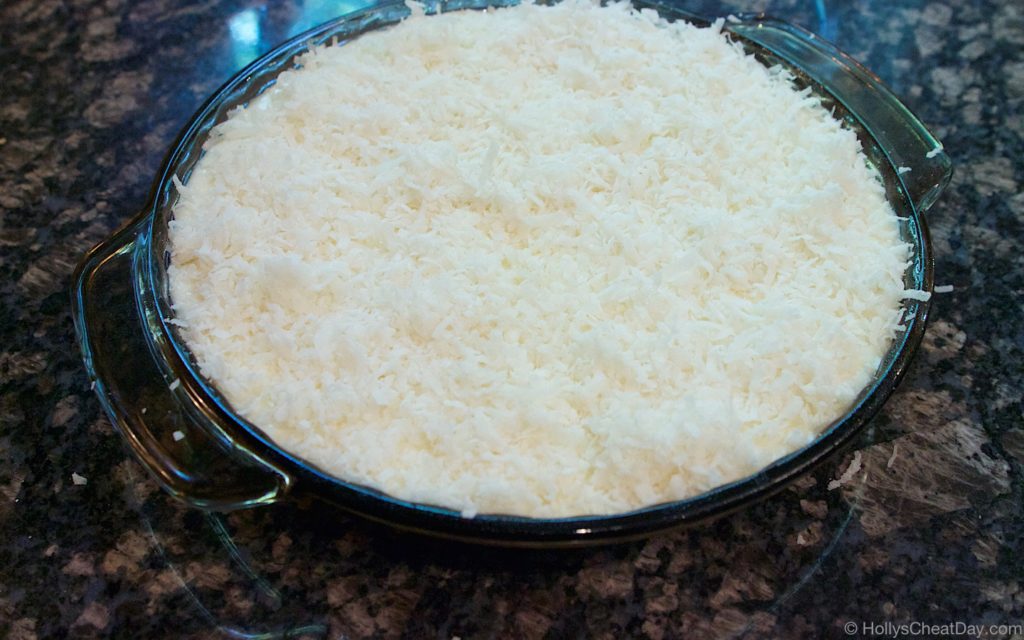
 covered in coconut flakes…
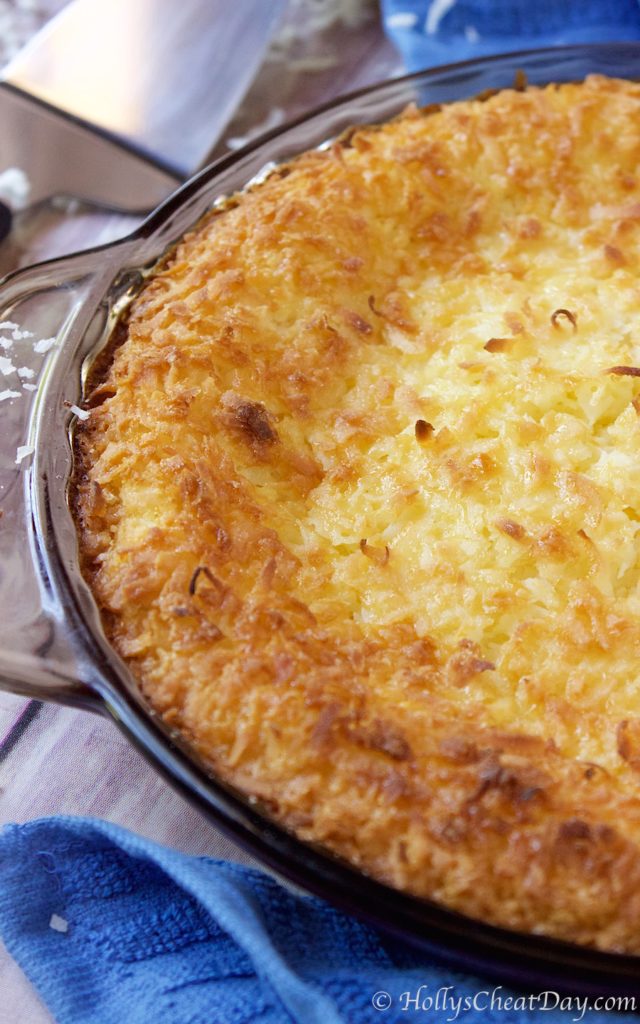
 bake, bake, bake…
 and enjoy!!!
  mmm…
mmm…
- 1 Cup of Milk.
- 1 Cup of Heavy Cream.
- 3/4 Cup of Sugar.
- 2 Drops of Coconut Extract.
- 1/2 Cup of All-Purpose Baking Mix (I used Bisquick).
- 4 Eggs.
- 1/4 Cup of Butter, Softened.
- 1 Tablespoon of Vanilla Extract.
- 1 1/3 Cup of Sweetened Flaked Coconut.
- 9" Deep Dish Pie Pan.
- Preheat your oven to 350 degrees F.
- With a handheld or stand mixer with whisk attachment, in your bowl, place the milk, baking mix, heavy cream, eggs, coconut extract, vanilla and sugar and beat on high for about 1 minute or until well combined.
- Pour the batter into your pie plate, and evenly sprinkle the coconut on top.
- Bake for 35-40 minutes or until the center of the pie isn't jiggly and is golden brown.
- Let cool and enjoy!!!
- If you want a more potent coconut flavor feel free to add more coconut extract.

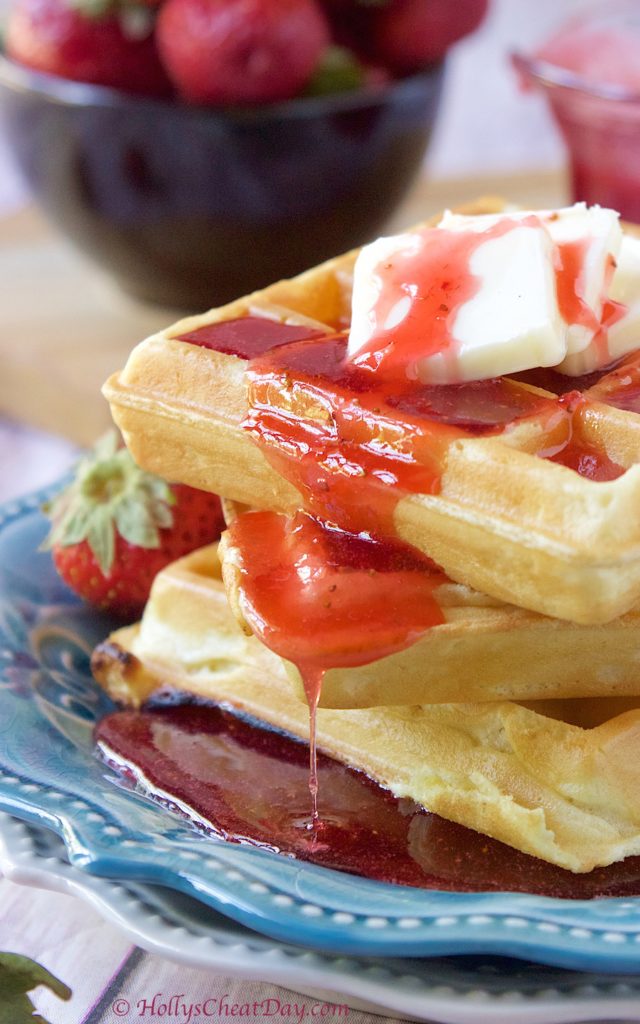 I think this is another recipe that might get passed over because (and trust me I’ve felt the same way) most people would just go buy an already made strawberry syrup. Well, let me tell you, that would be a mistake, because this incredible strawberry syrup totally raised the bar on everything it was put on.
 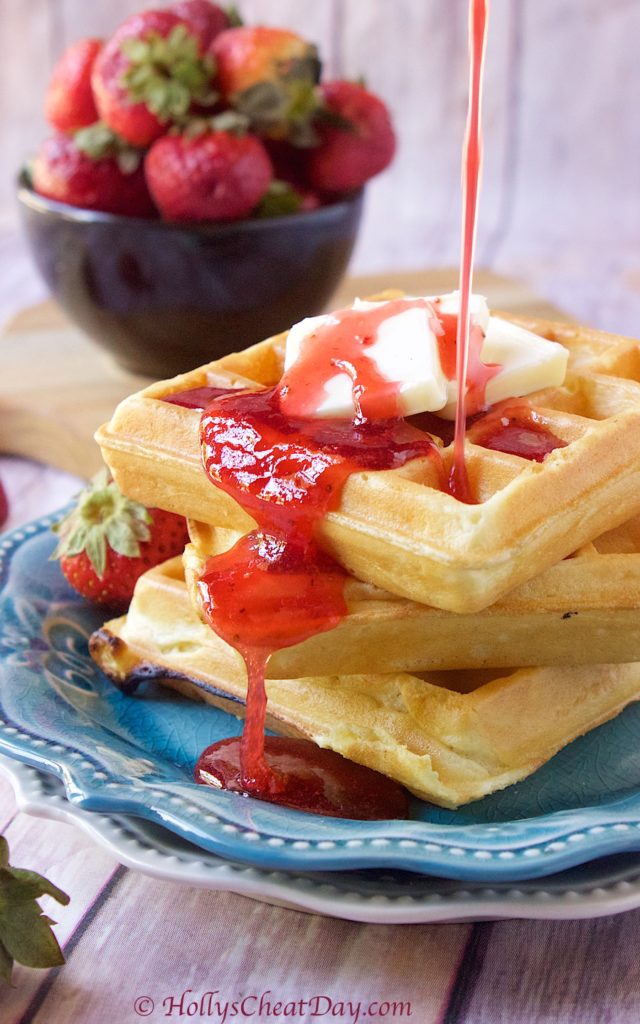 On my last cheat day, I whipped this stuff up, and thought I might throw some on some ice cream and OMG y’all, it is freaking incredible on ice cream. That combo was so good I figured it would be equally as good on some Belgian waffles and holy freaking moly, I honestly didn’t think it was possible to love waffles anymore and this syrup totally did that.
 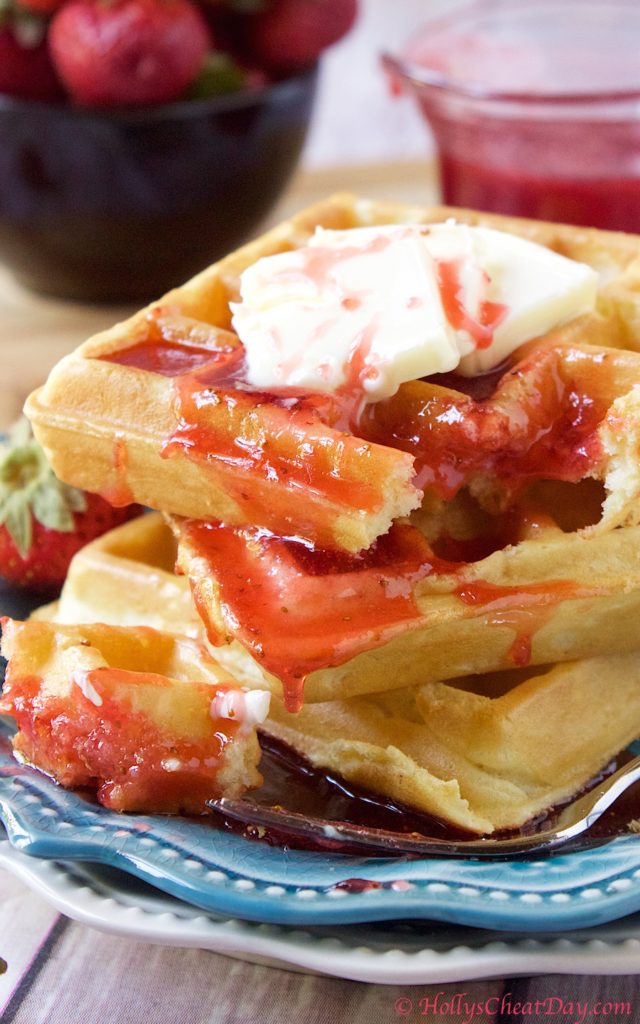 For a recipe that is this super quick and easy to make, it totally tastes unbelievably decadent and mouth watering. Just go ahead and raise your brunch bar y’all with this insanely delicious strawberry syrup I promise you will be happy you did. I hope you’re having an incredible week so far and thank you so much for stopping by my little neck of the woods.
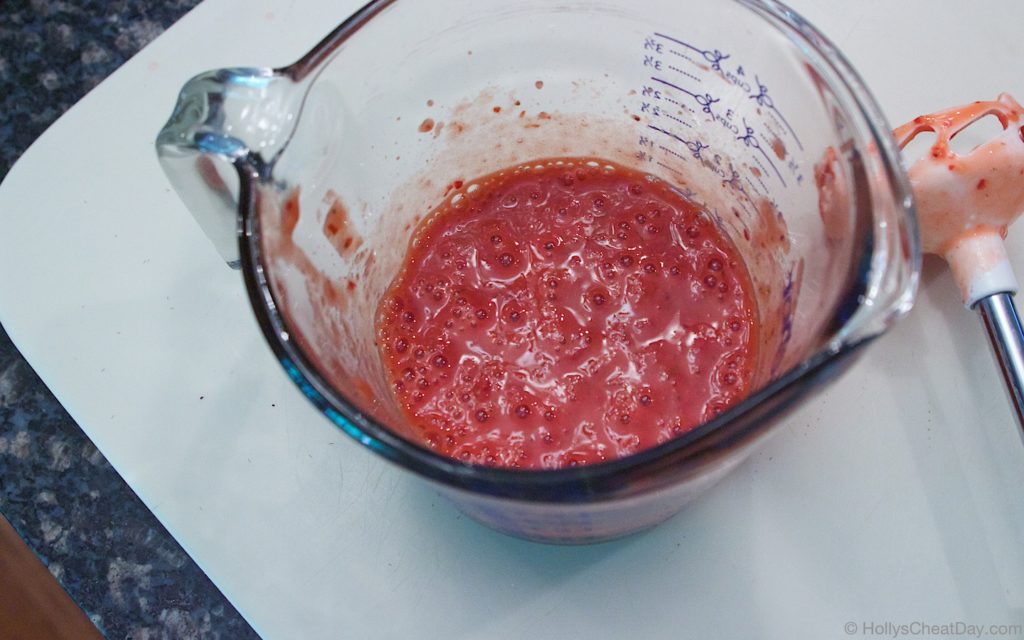
 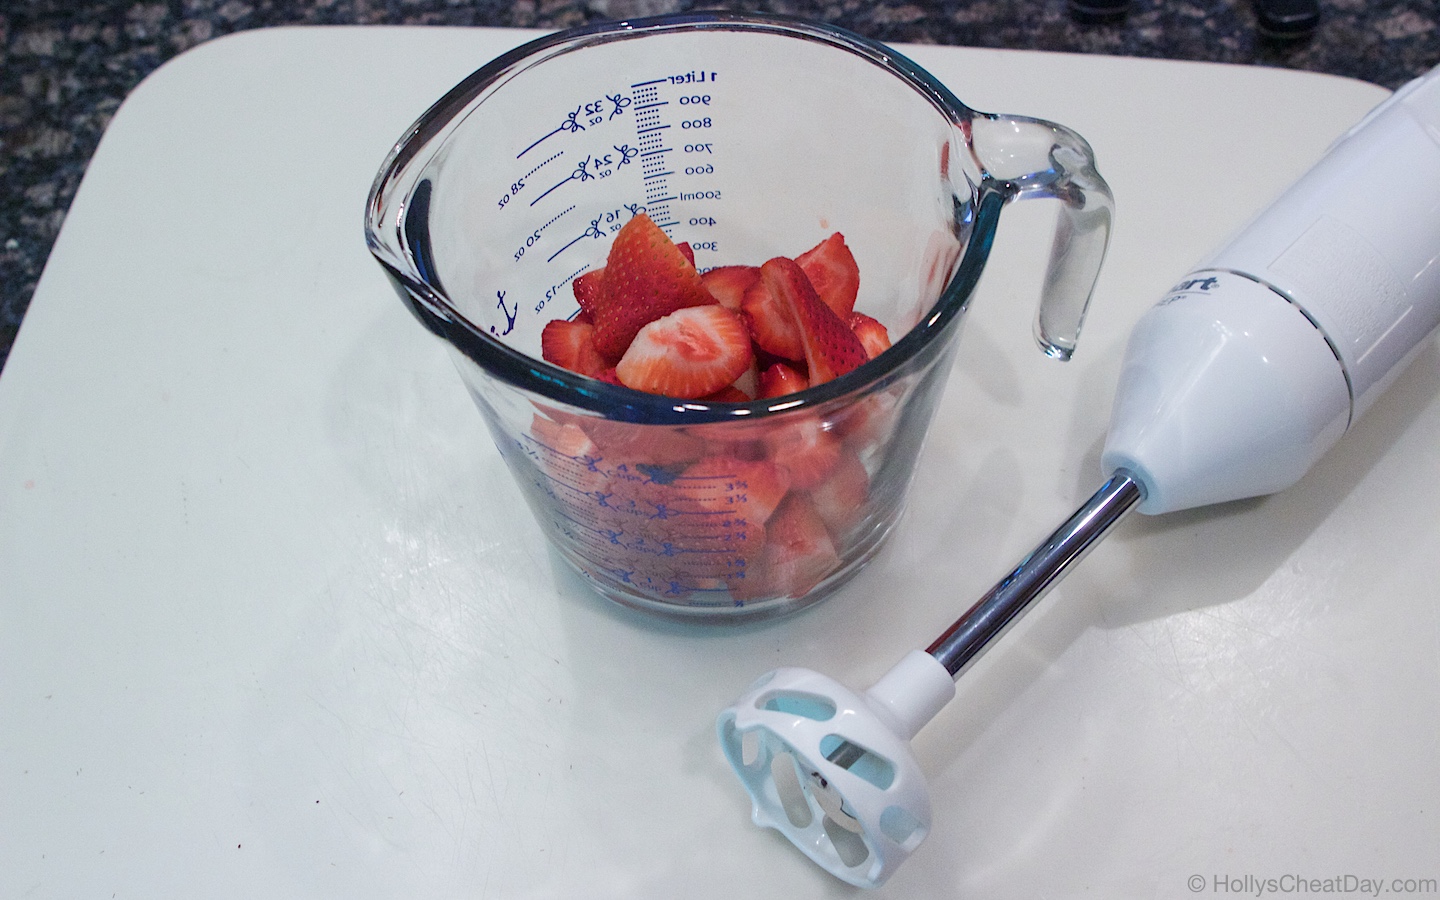 all blended up…
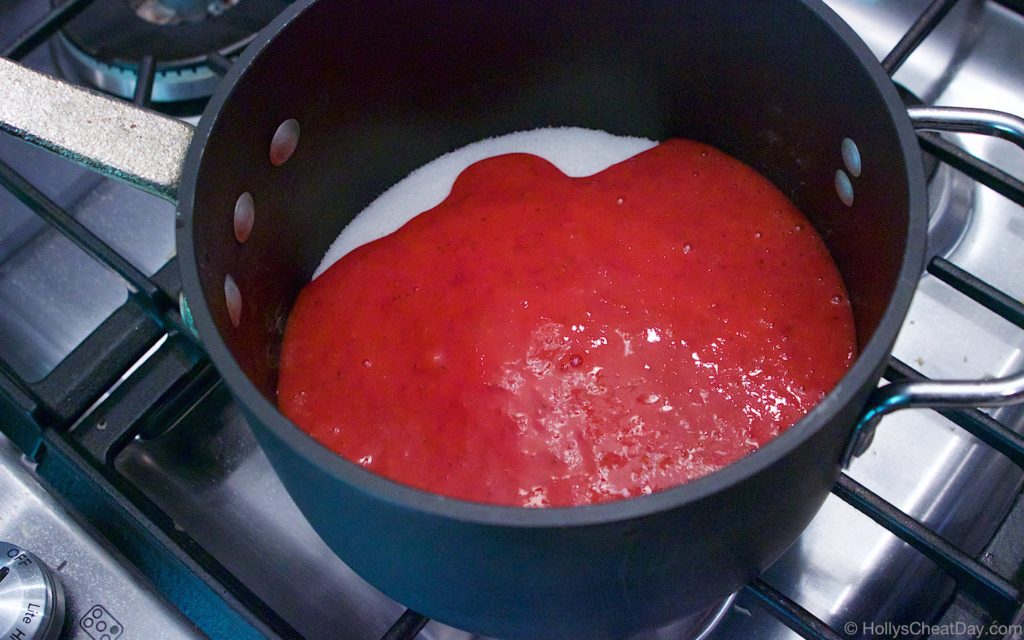
 sugar, lemon juice and strawberry syrup into your saucepan…
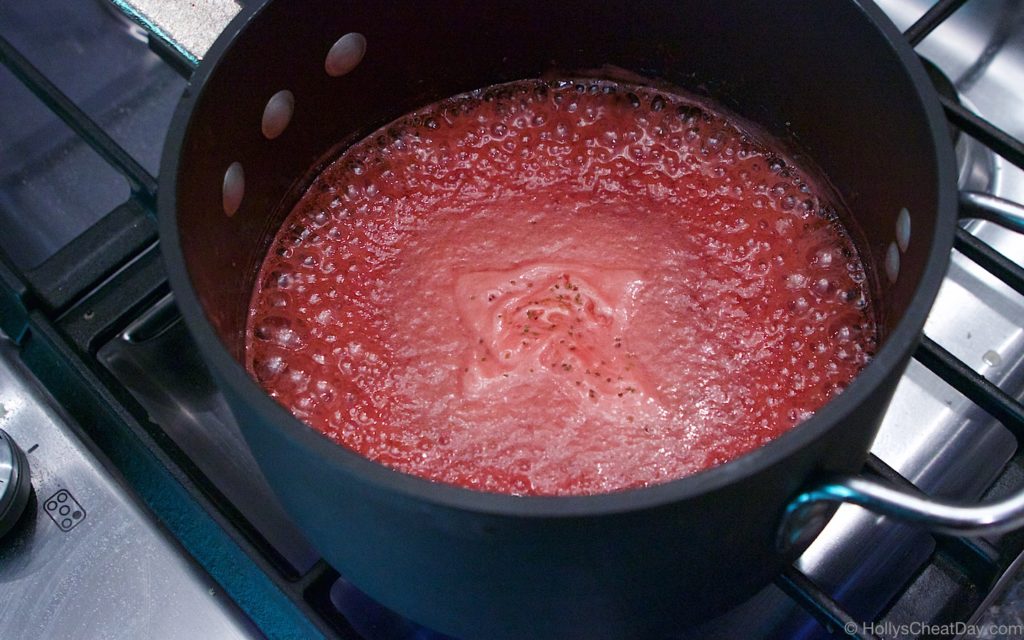
 get it boiling…
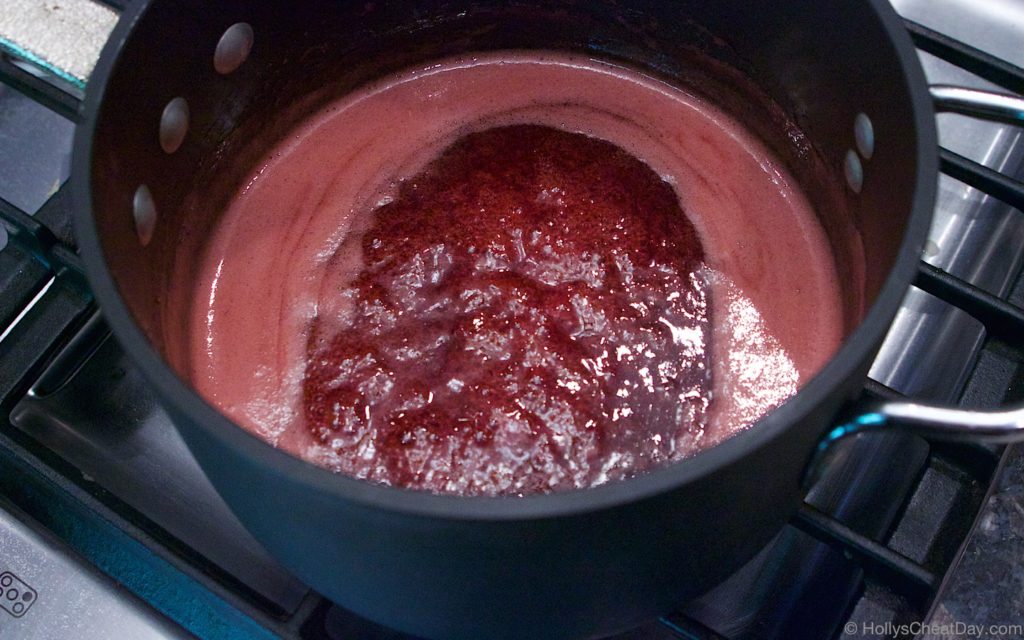
 all done and ready to cool…
 and enjoy!!!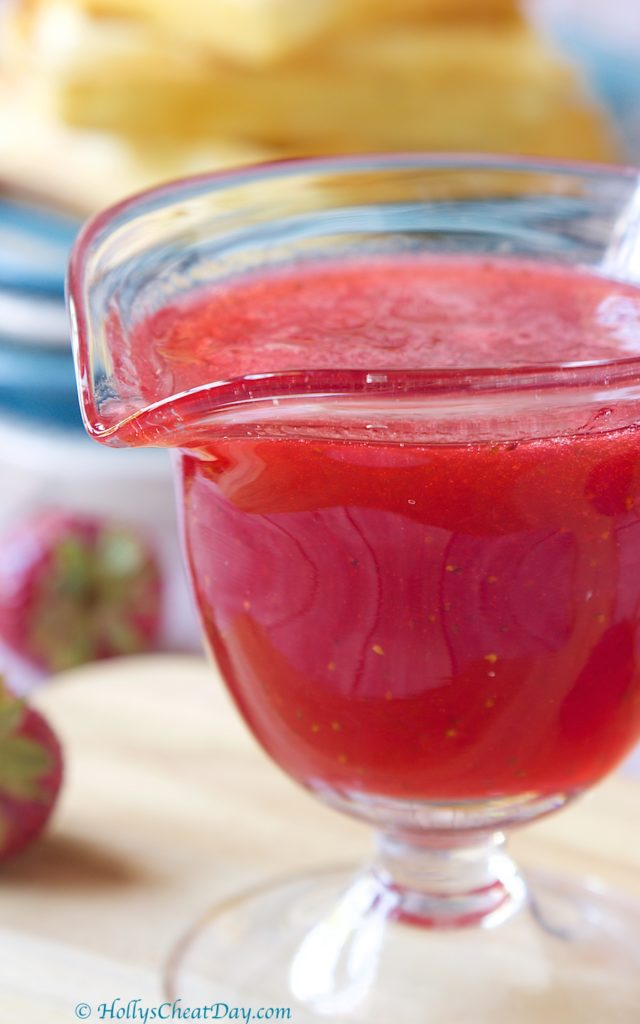


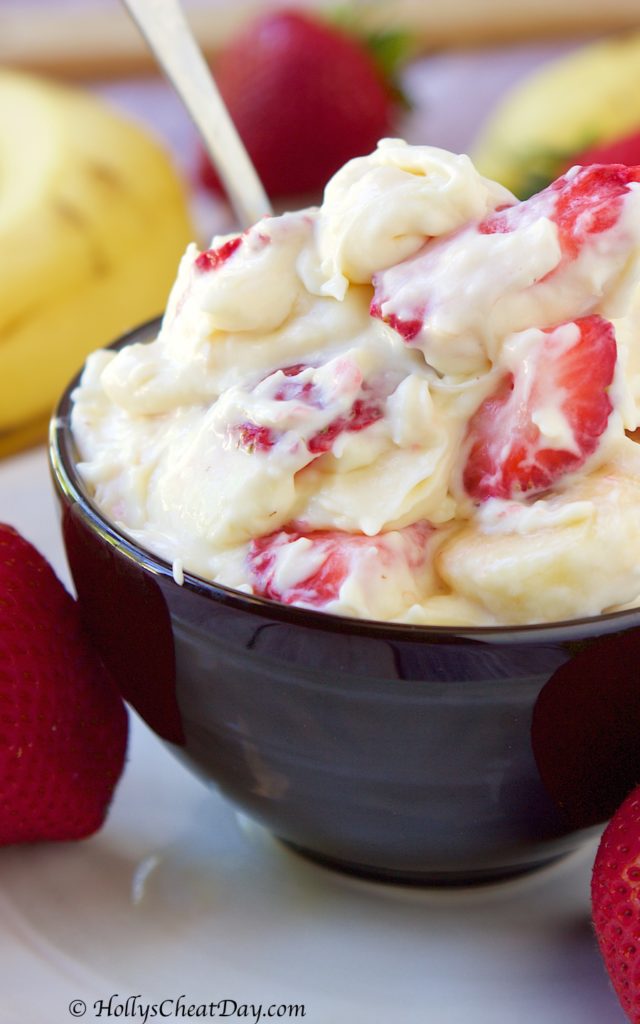 All I know, is that I was practically knocked over by the incredible strawberry smell (which happens to be one of my favs) that was wafting from the produce department and I just knew that I had to make this cheesecake ‘salad’ for my next cheat day. A couple of years ago I had this salad at some gathering (honestly cannot remember what the heck it was) but aside from the fact that I don’t remember the event, I do remember this salad (shocker I only have food on the brain).
 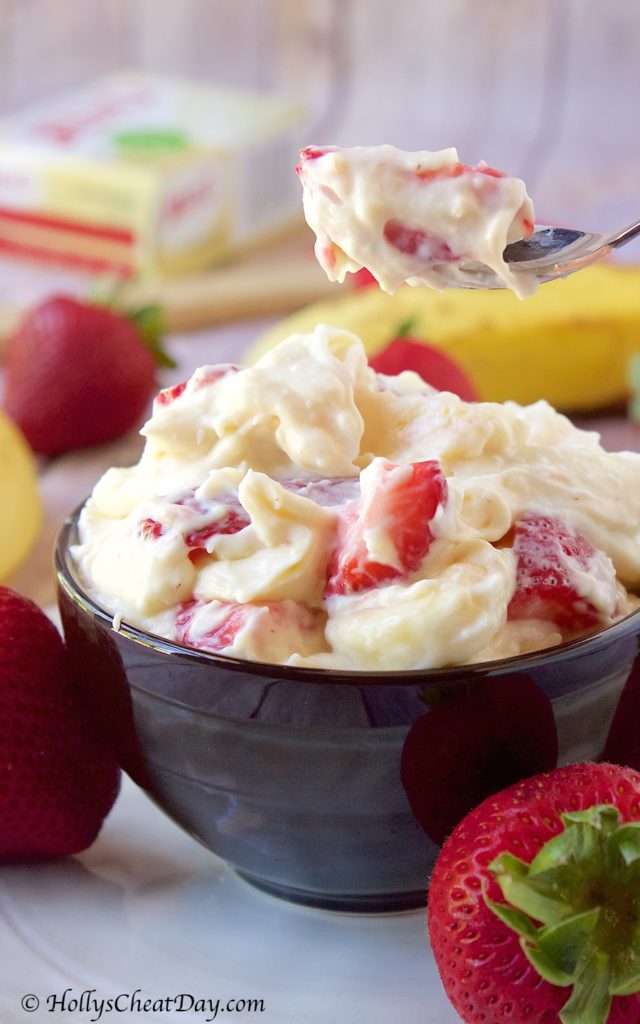 The host or hostess of this gathering served this salad with strawberries only and it was just to die for. Sweet, decadent and the slight feeling that I wasn’t being completely ‘bad’ since there is fresh fruit in it hehe. I was elated when they gave me this recipe and it’s sooo easy to make. Really just a few ingredients, and no need for an oven which is starting to be a good thing with the rising temperatures.
 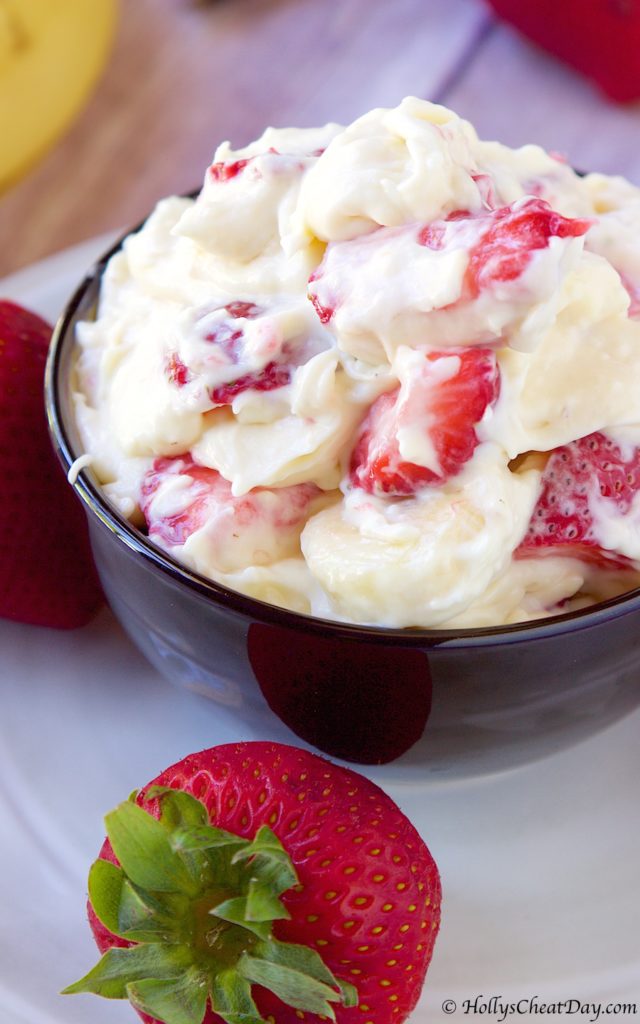 I threw bananas into this salad because I’m partial to the whole strawberry/banana combo but please feel free to substitute any fruit that you love because I see this cheesecake mixture tasting amazing with pretty much everything. This would make for a wonderful side dish or even just dessert for your next gathering. I hope you’re having a wonderful week so far and thank you so much for stopping by.
  just so y’all know, I literally touched the cream cheese and my sous chef ended up like this (she is cc obsessed)
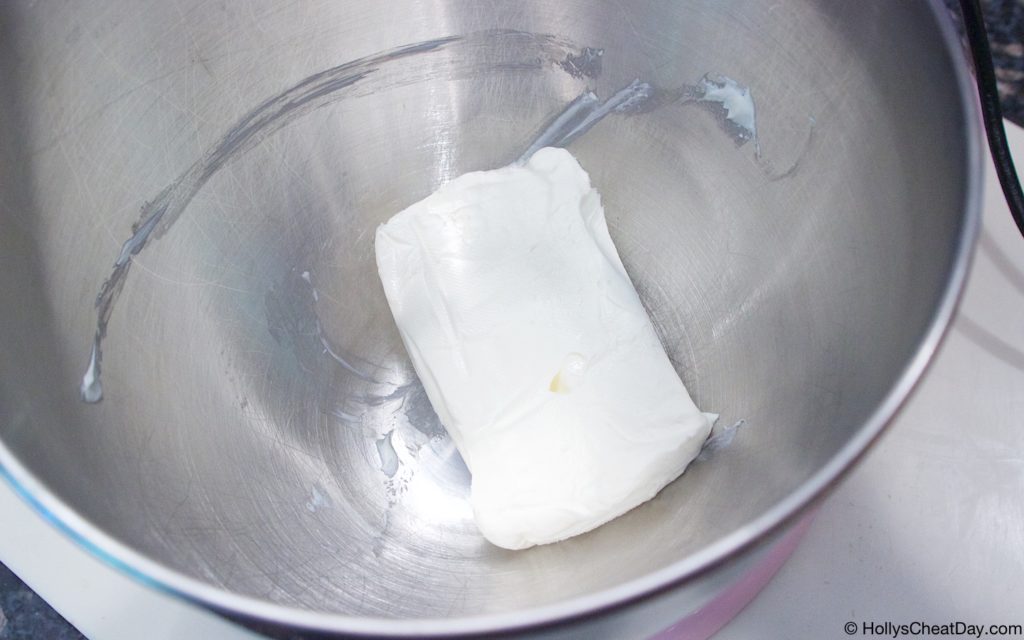
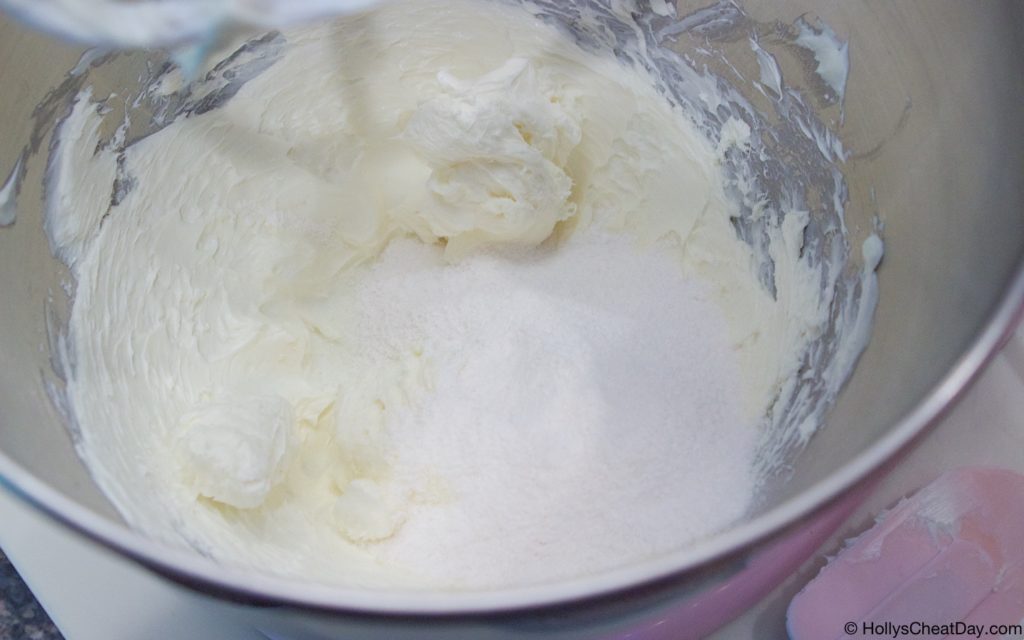
 beat the cream cheese then add the pudding mix (with a very large dog underneath you, obvi)…
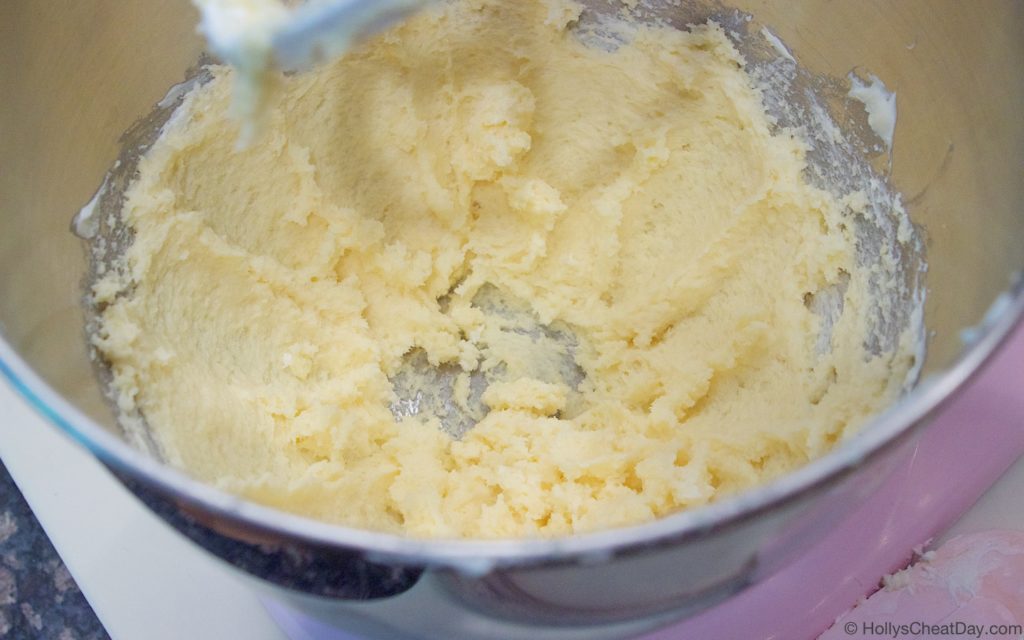
 mix together…
 this is me demonstrating slowly adding the cream (yes, it’s important to not dump it all in at once)…
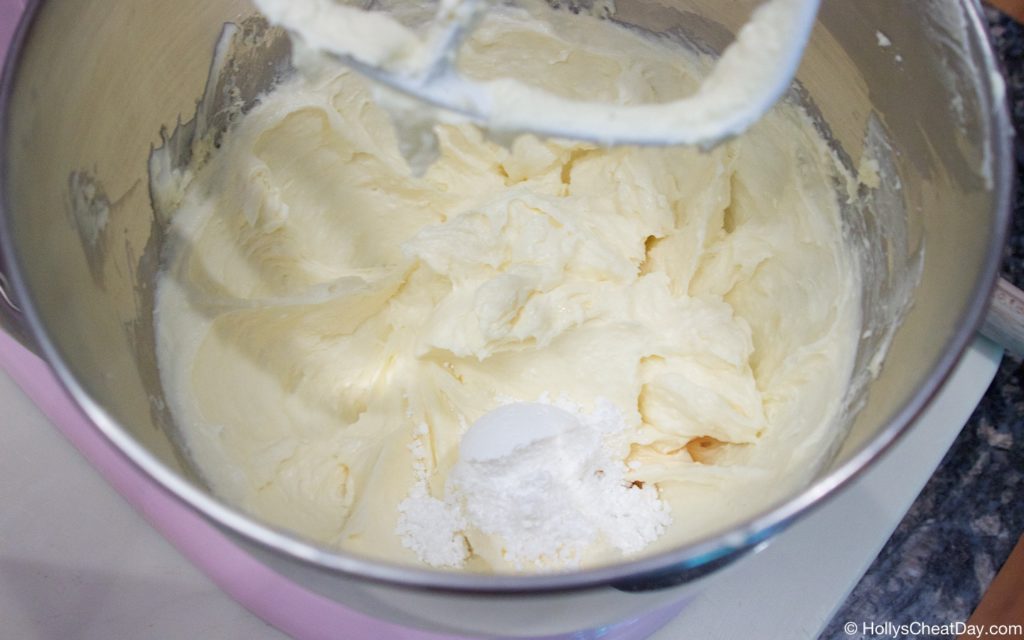
 all mixed in, then add powdered sugar and vanilla…
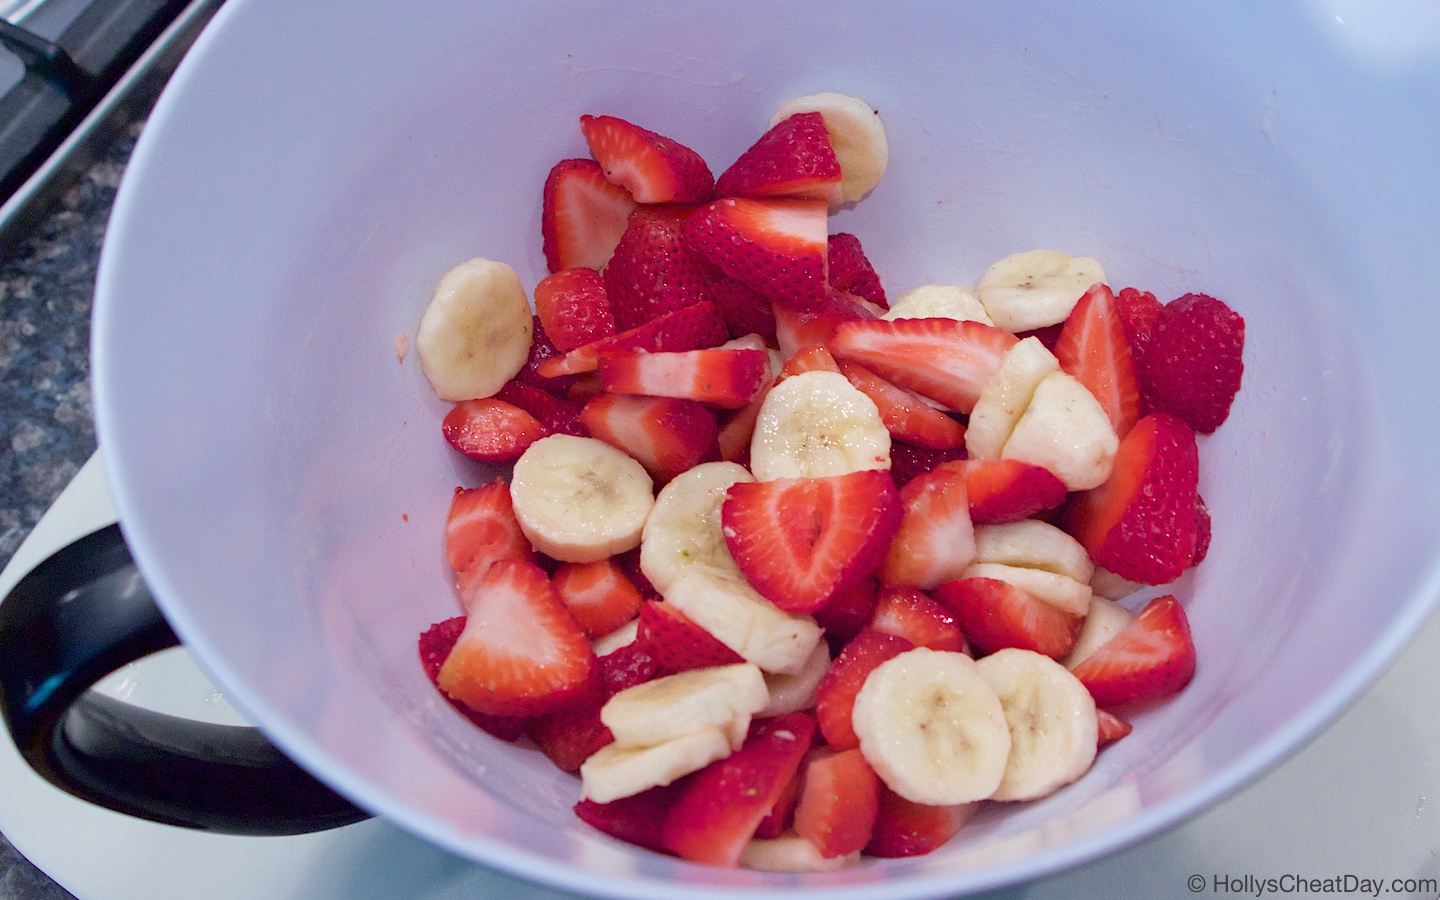
 now, the strawberries and bananas mixed in with lemon juice…
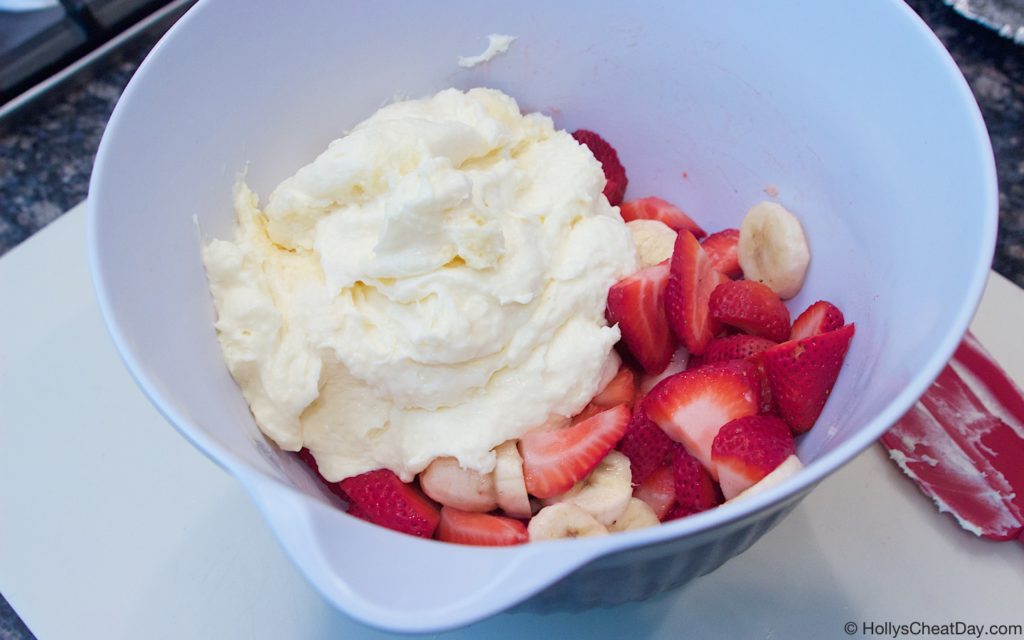
 the cheesecake mixture…
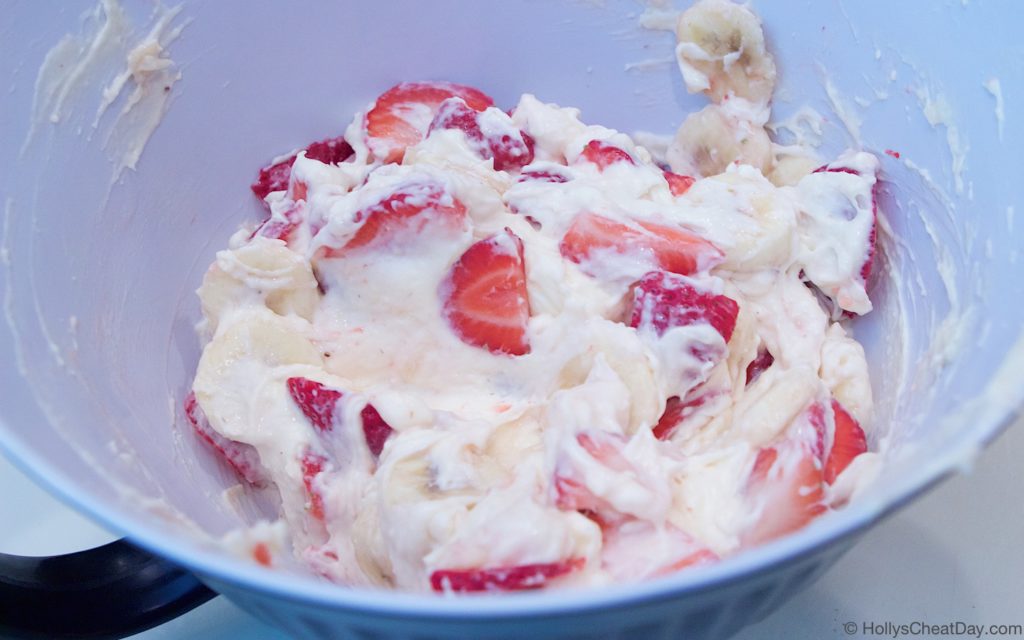
 all mixed in and ready to be eaten…
 and enjoy!!!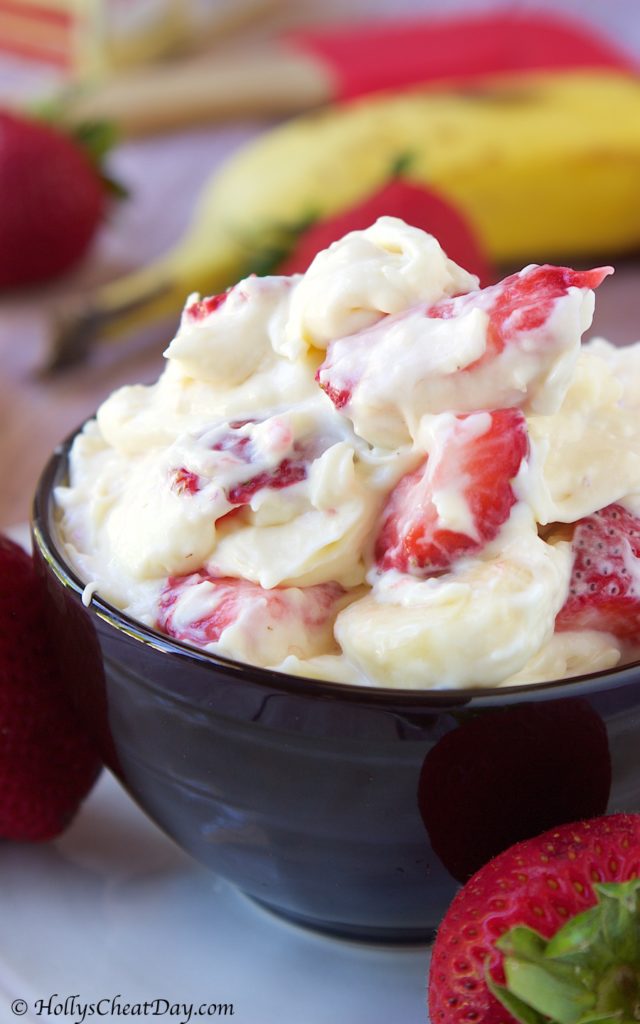


 No joke, I had been having a giant hankering for all things chocolate, caramel and marshmallow-ey for 4 days non-stop last week. Y’all it got so bad that I wondered if there was a patch that existed haha, FYI there isn’t one. Sooo I knew that for my next cheat day, these 3 delicious elements absolutely all had to be included in whatever I made…so, say hello to these amazing caramel marshmallow brownies!
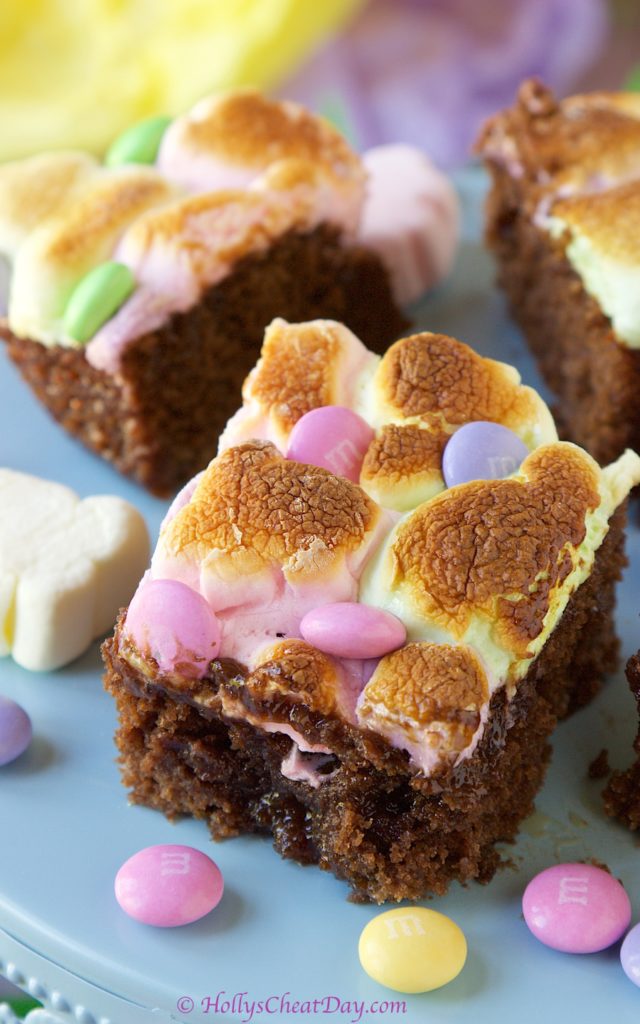 I knew that I had to use my mom’s amazing brownie recipe (which is basically the best chocolate cake ever), and there was certainly no time to waste by making homemade caramel sauce, hence the caramel sundae sauce I used instead, and to make it extra festive, I put these adorable little bunny marshmallows on top.
  I must forewarn you, the heavenly smell that will come out of your kitchen while these brownies bake is soo drool worthy you almost won’t be able to contain yourself, then you top these bad boys off with caramel and marshmallows, OMG hello eye rolling worthy goodness. I’ll just say it, go make these, your day will be better for it, because there is just no denying these decadent bites of awesome 😀 Thank you so much for stopping by and I hope you have a wonderful day!!!
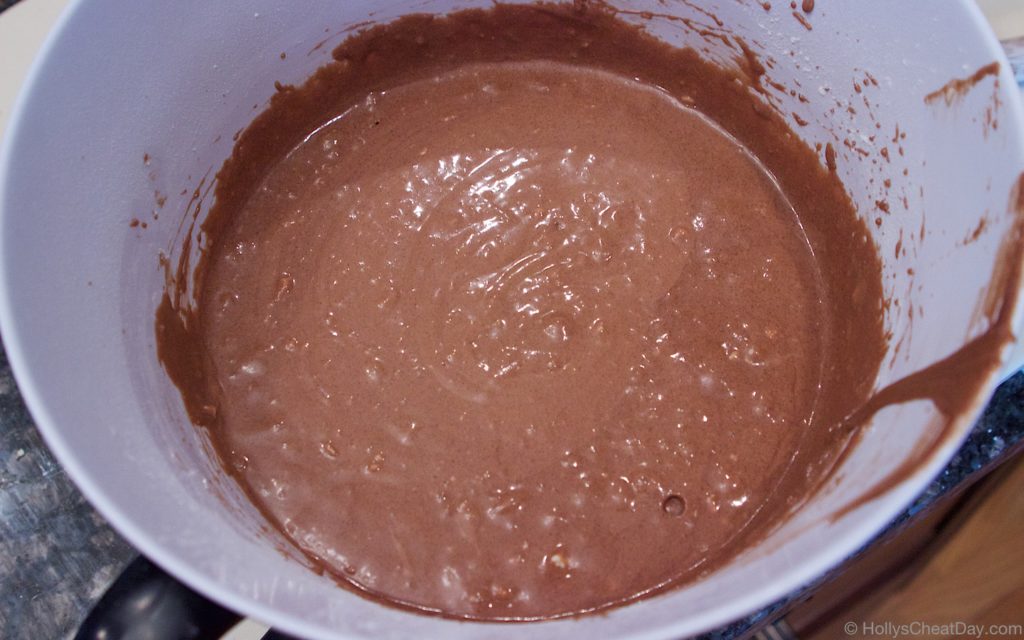
  mix, mix, mix…
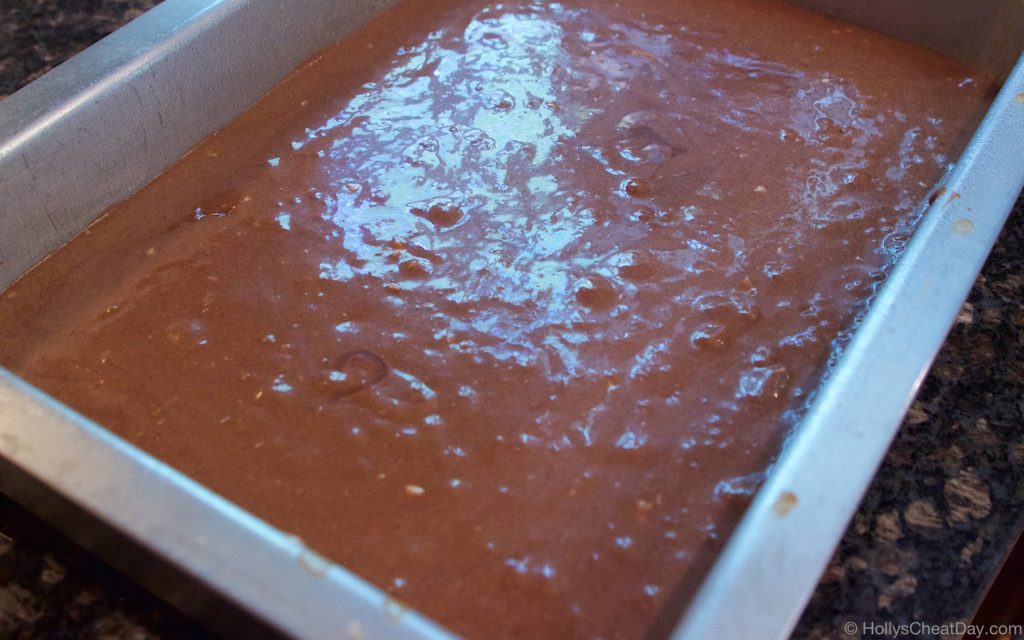
 into your pan…
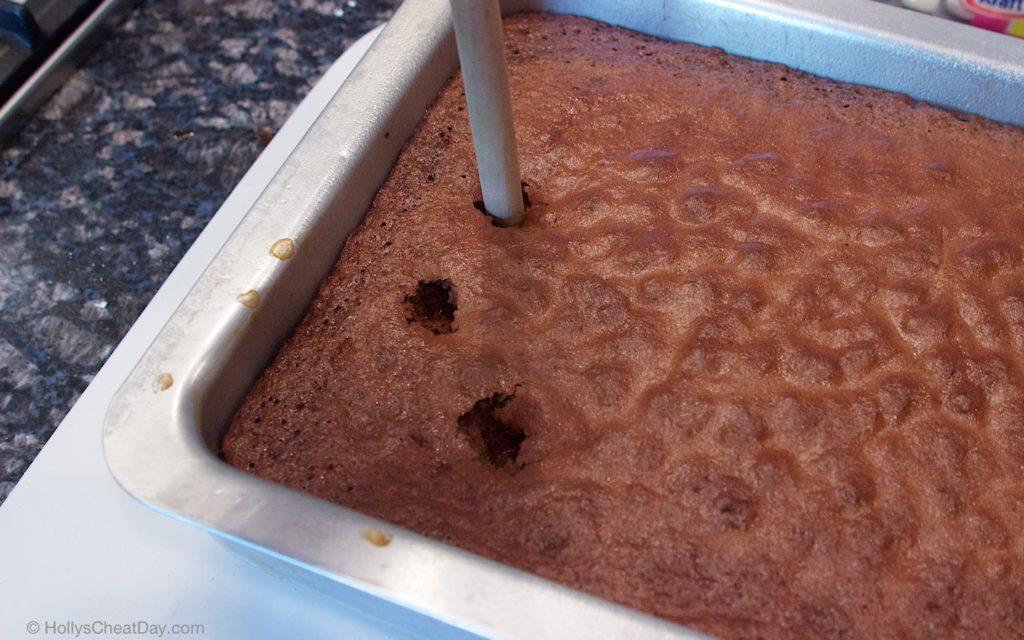
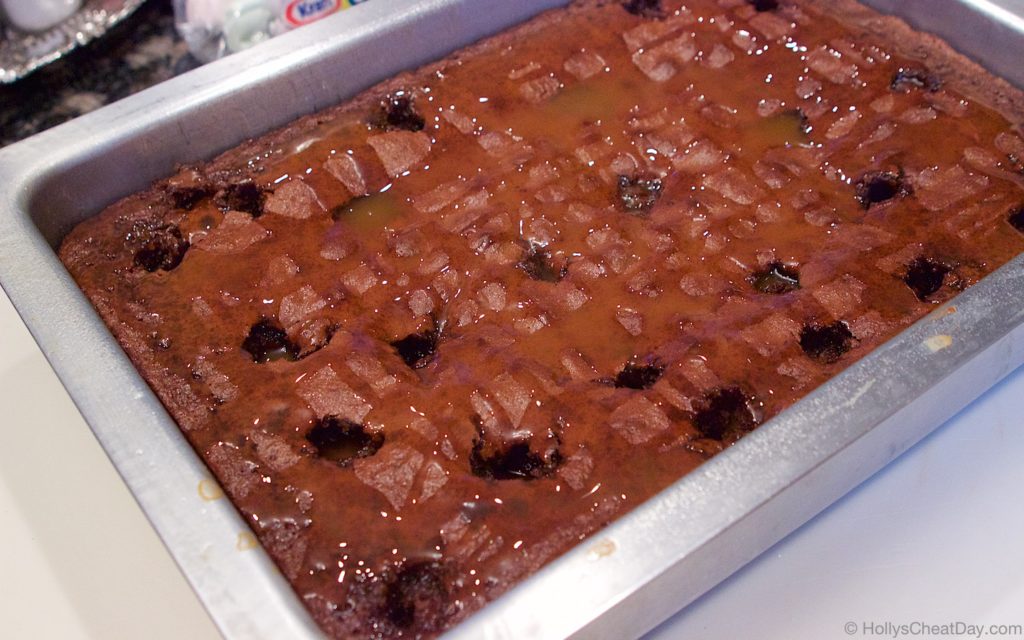
 bake, bake, bake, then poke some holes into it…
 then pour all of that delicious caramel on top…
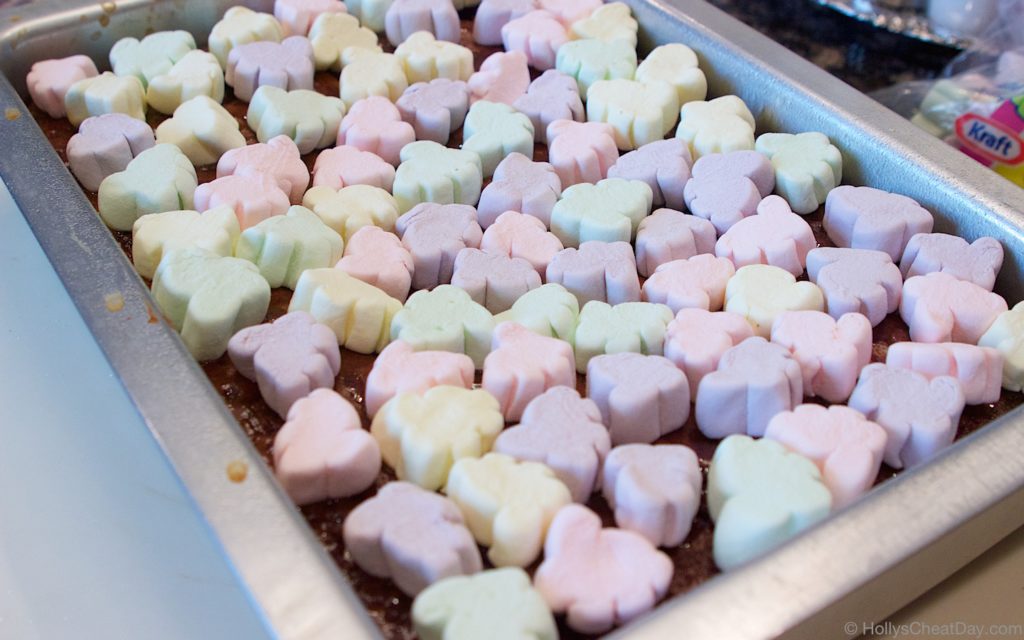
 then cover in (adorable) mini marshmallows…
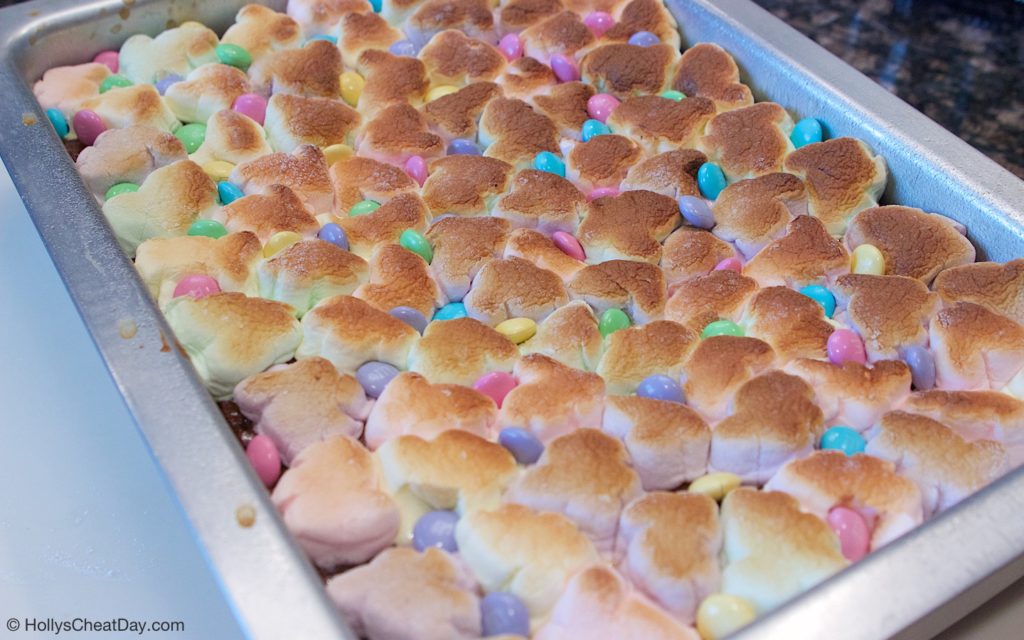
 broil the little bunnies hehe and stick in some equally adorable M&M’s…
 and enjoy!!!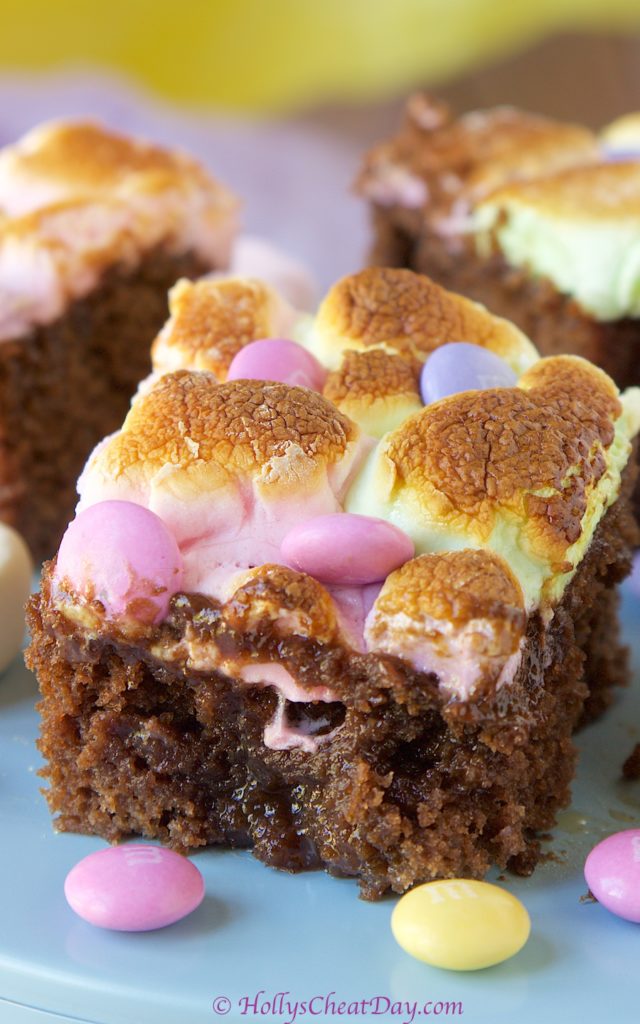


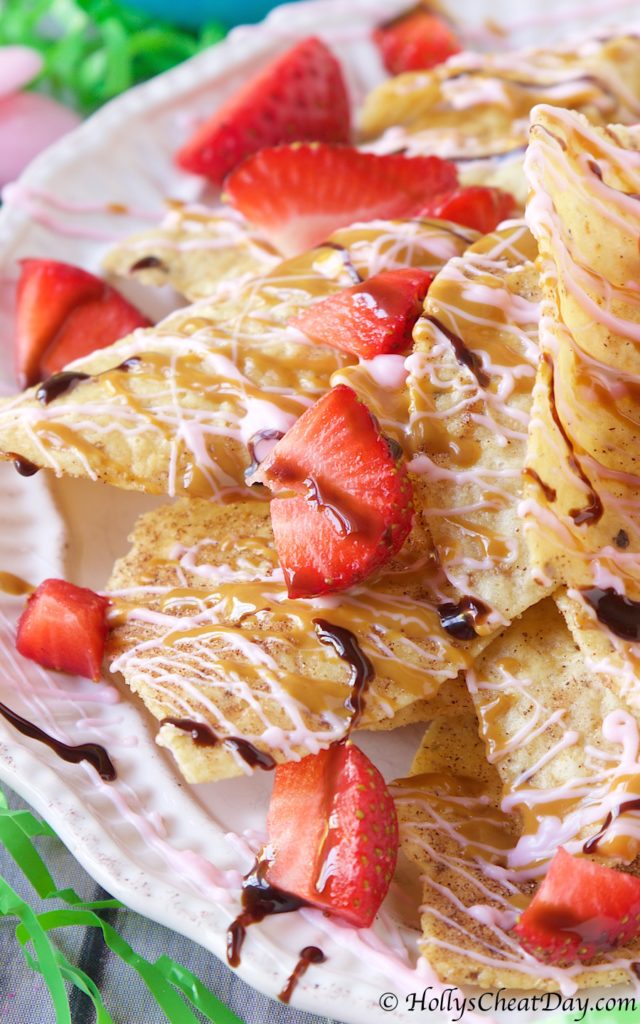 Anyways, so lets get to the good stuff and the reason that you are all here…delicious food! Having mentioned my love/obsession with nachos in the past, I will not write
 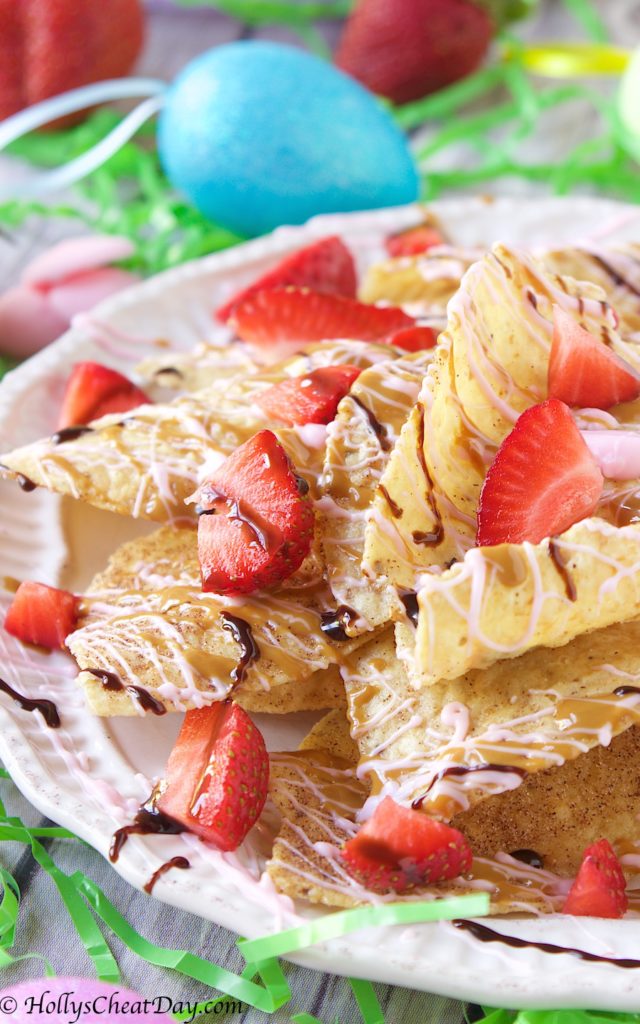 These are absolutely the perfect amount of sweet & salty, crunchy mixed with the texture of the soft sweet strawberries, and lets not forget the incredible addition of the melted cookie butter. The only thing that I would have done differently in this recipe is make more of it! Y’all just do yourselves a wonderful favor and make these dessert nachos, they’re sooo delicious and easy to make. I hope y’all are having a wonderful day and thank you so much for stopping by!!!
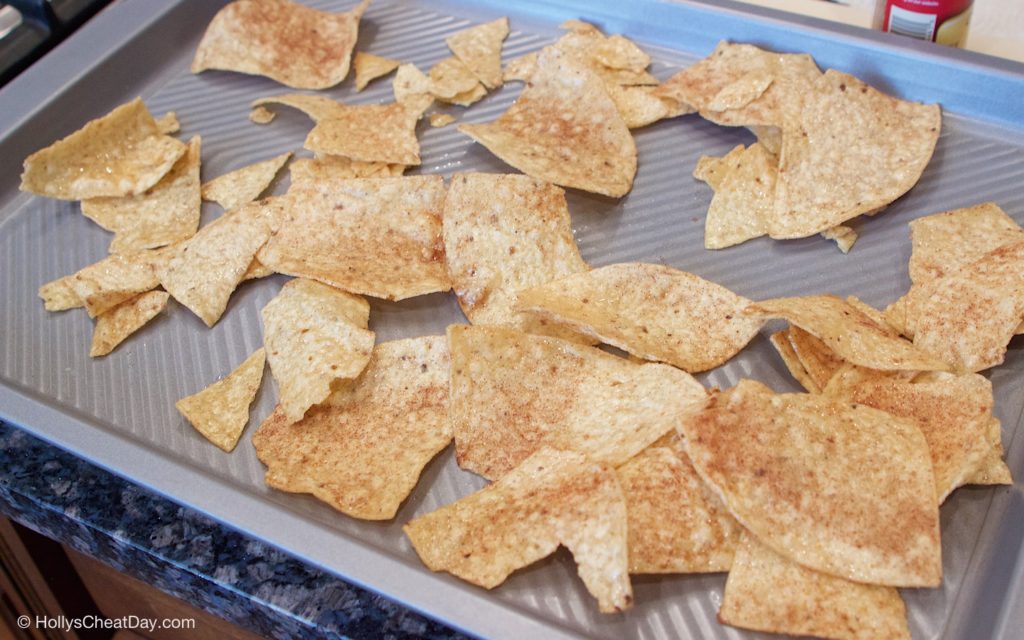
 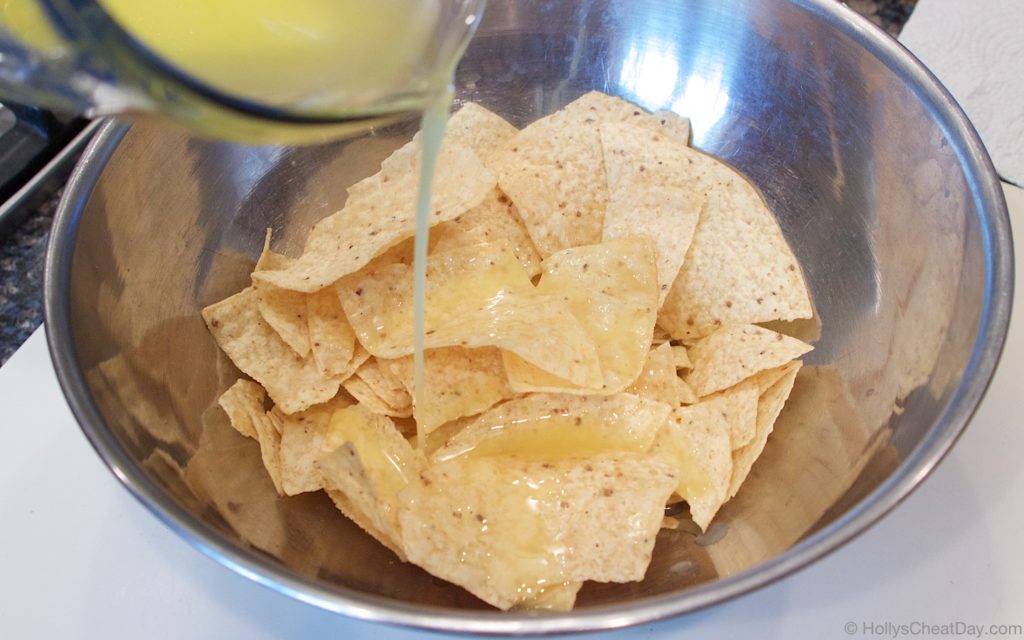 once the chips are covered in butter, add your cinnamon/sugar…
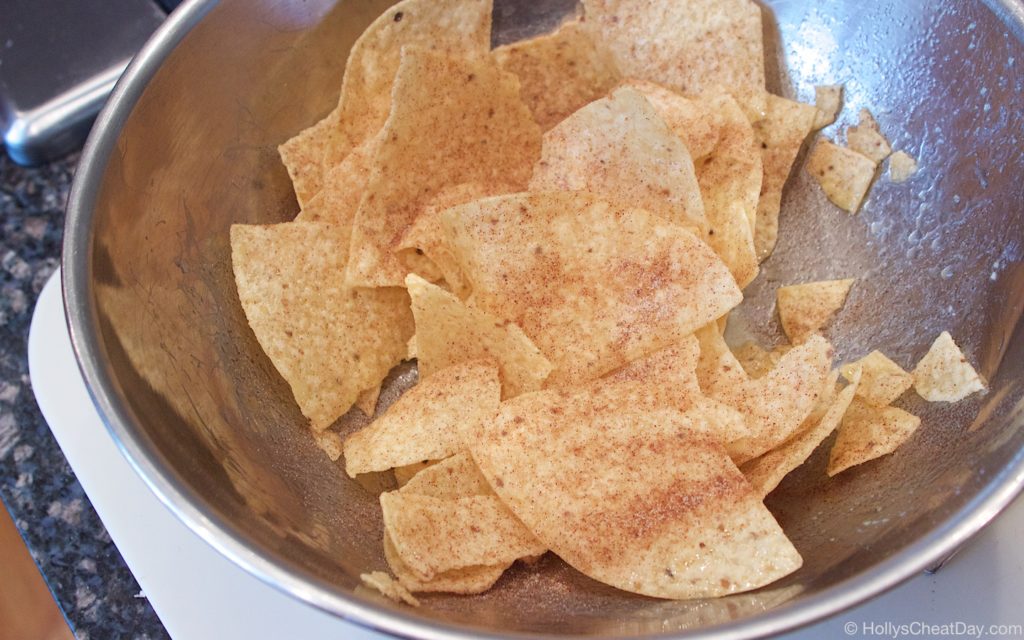 place on a tray and broil them for a few minutes…
 then pile on all the stuff you want and enjoy!!!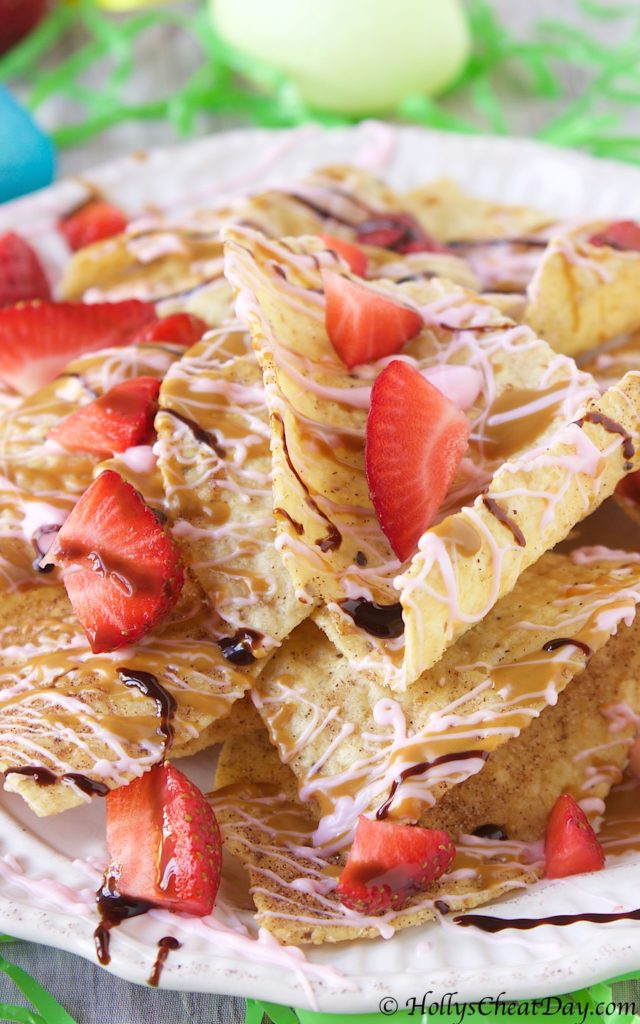


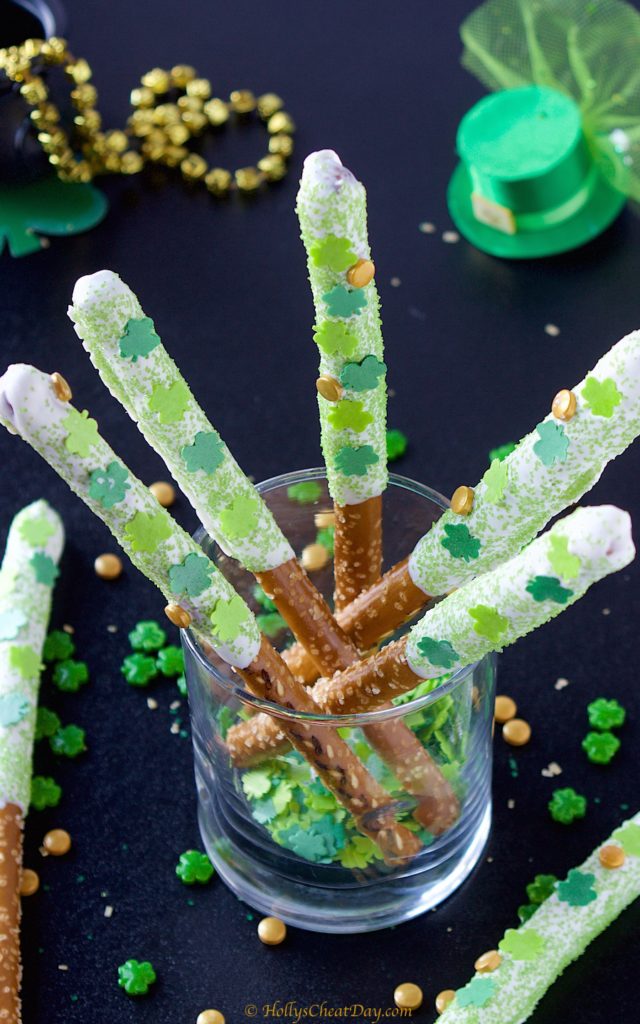
 Well, I guess that whole luck of the Irish didn’t quite rub off when I made these because early early AM on Monday while driving to the gym, some unseen and unknown object was in the road, jumped up and cut about a 4 inch long gash in my tire. Let’s just say I didn’t get very far on that tire. Y’all, it was pitch black out and the road I was stopped on had no turn offs anywhere, so I’m just hanging out on a road that people fly by on with nowhere to go sitting with my flashers on.
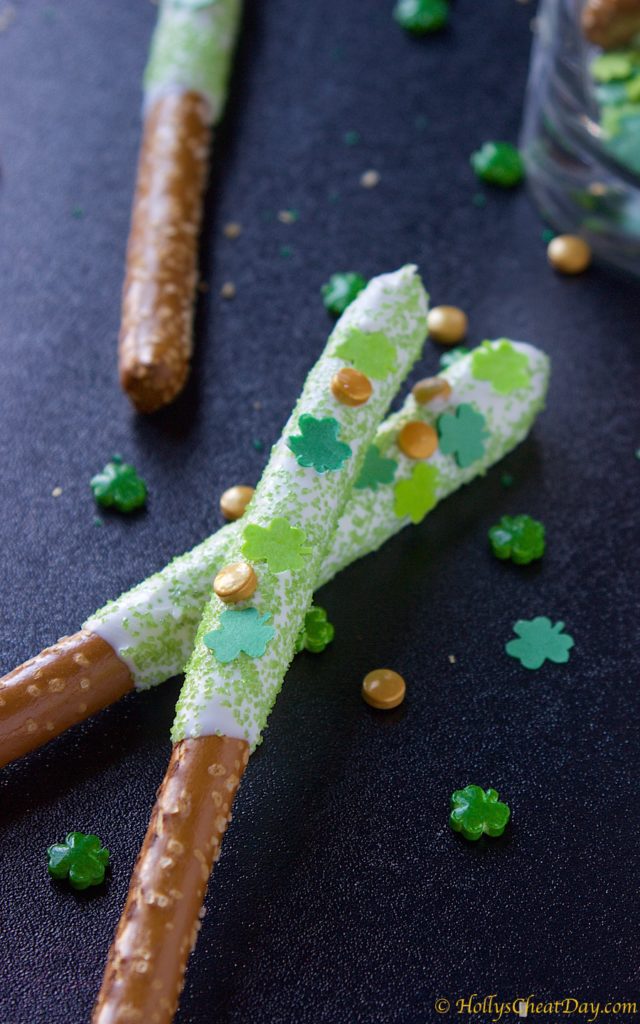 I was a little terrified to be sure, but God bless the kind police officers who not only blocked the road so no one would hit me but also changed my tire. Also, you will notice down below that the ‘Recipe Card’ that usually accompanies my posts is for some reason not wanting to work, so I will be putting this recipe right here in the text, sorry if it looks super janky haha. I do absolutely love these pretzel bites though, so easy to make and hello, sweet and salty, my absolute favorite. I hope y’all had a wonderful day and thank you so much for stopping by!!!
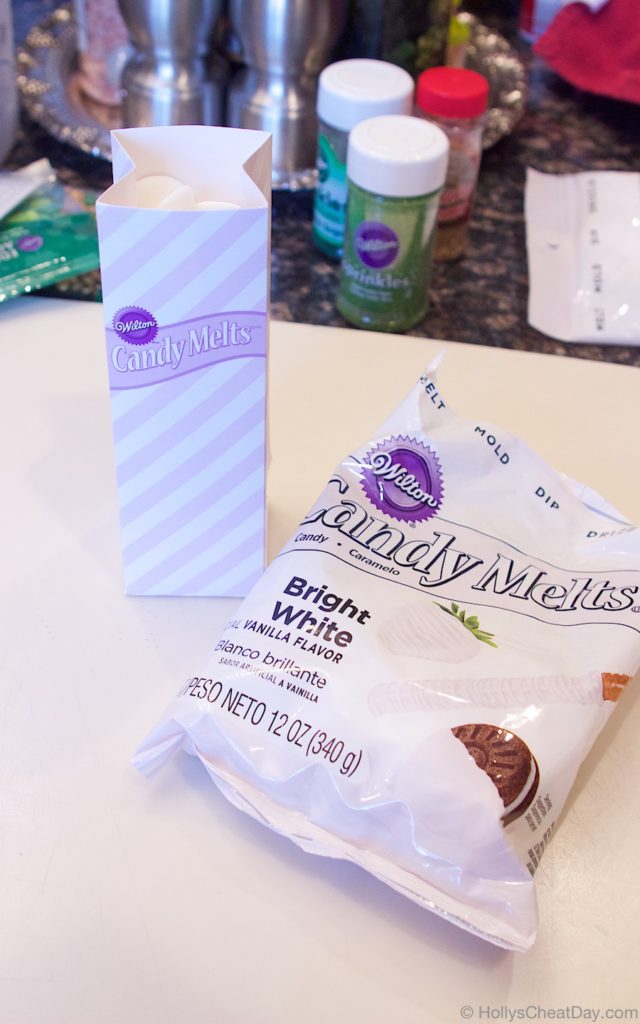 chocolate melted and ready to be dipped…
 then, ready for sprinkles…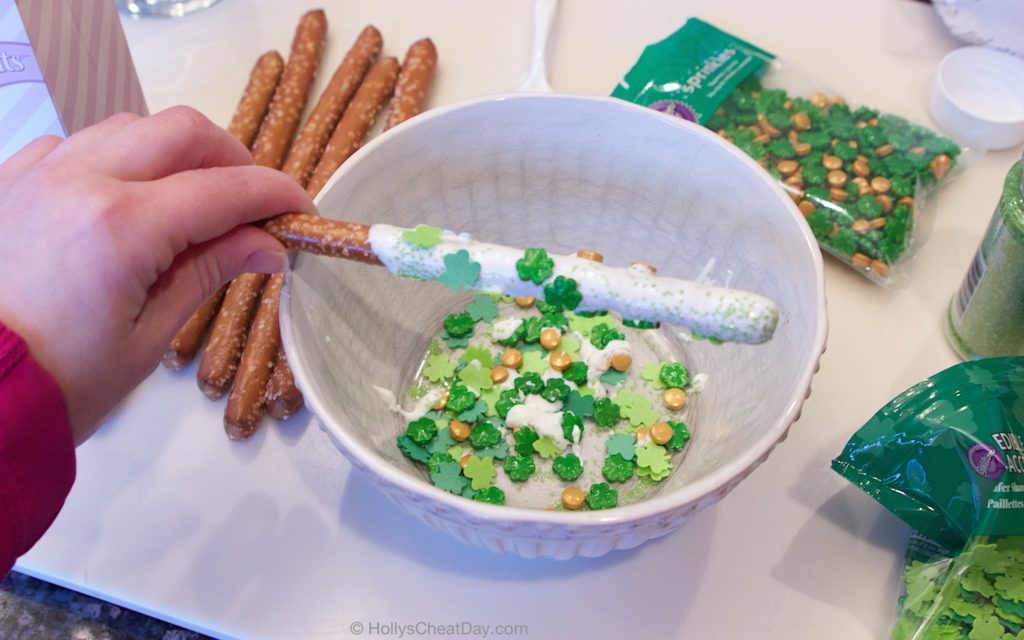

 Basically what I’m saying is that I literally have had no time to do anything food post-wise, hence why this wasn’t posted yesterday, and hence again why I’m frantically writing this because y’all this dip is too stinking good not to share as soon as possible.
  This dip is easy, it’s super quick and soooooo amazingly good. I mean, it doesn’t hurt that I dipped one of my absolute favorite cookies into it…droool. Anyways, so if you’re looking for that sweet and decadent dip for Super Bowl Sunday, here you go! I hope you have an absolute wonderful day, a wonderful weekend and thank you so much for stopping by!!!
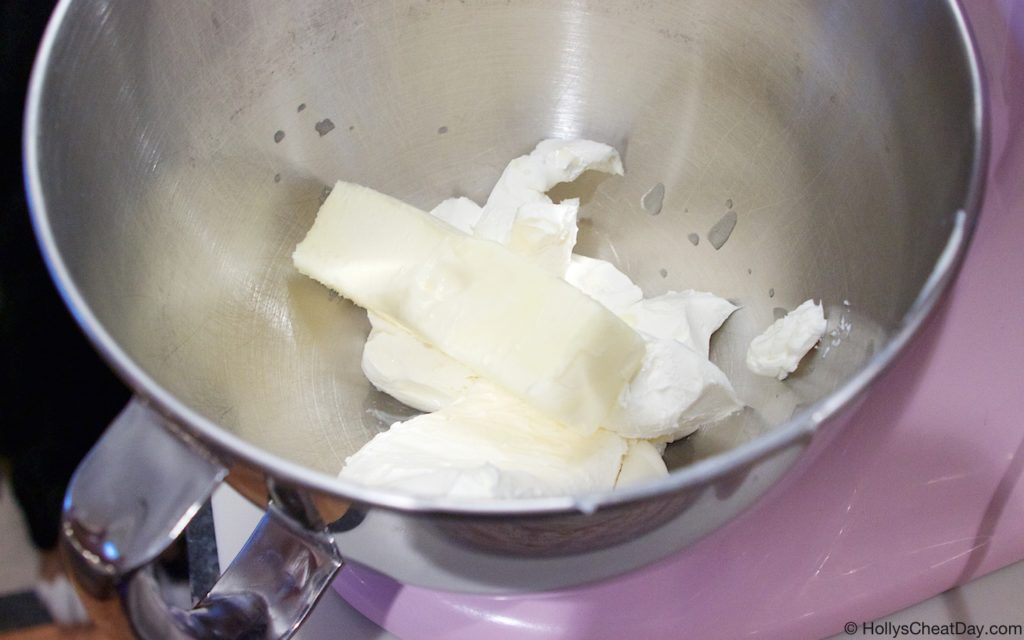 mix, mix, mix, then the rest of your ingredients…
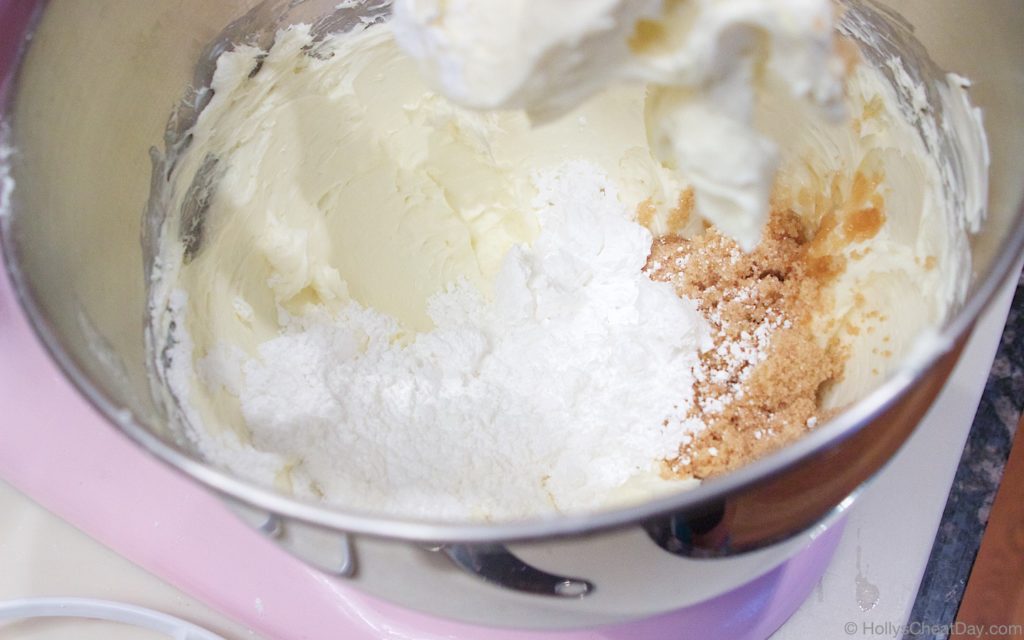 mix, mix, mix…
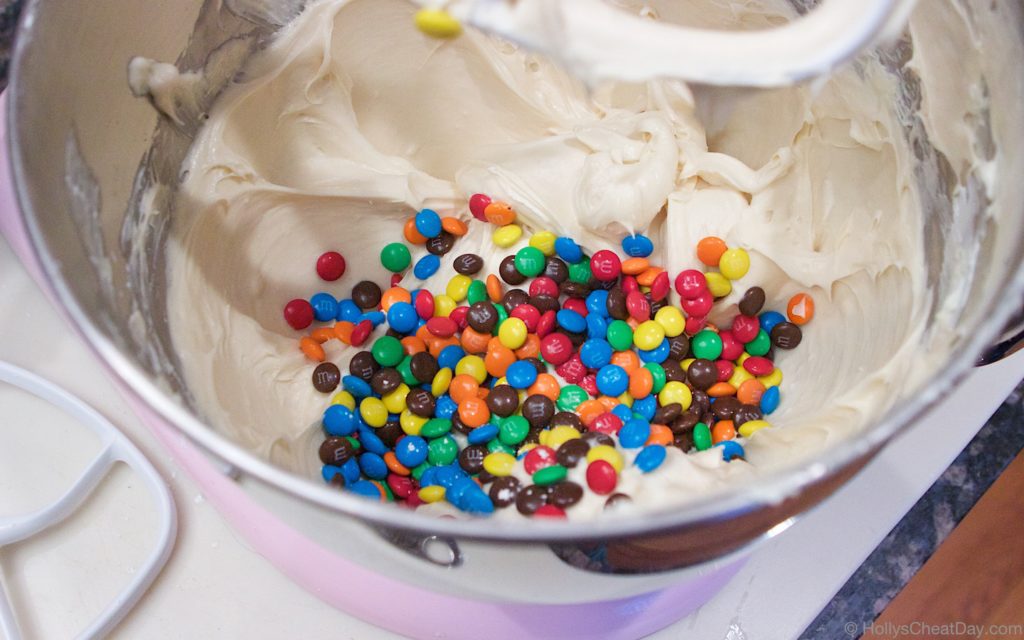
 now the mini M&M’s…
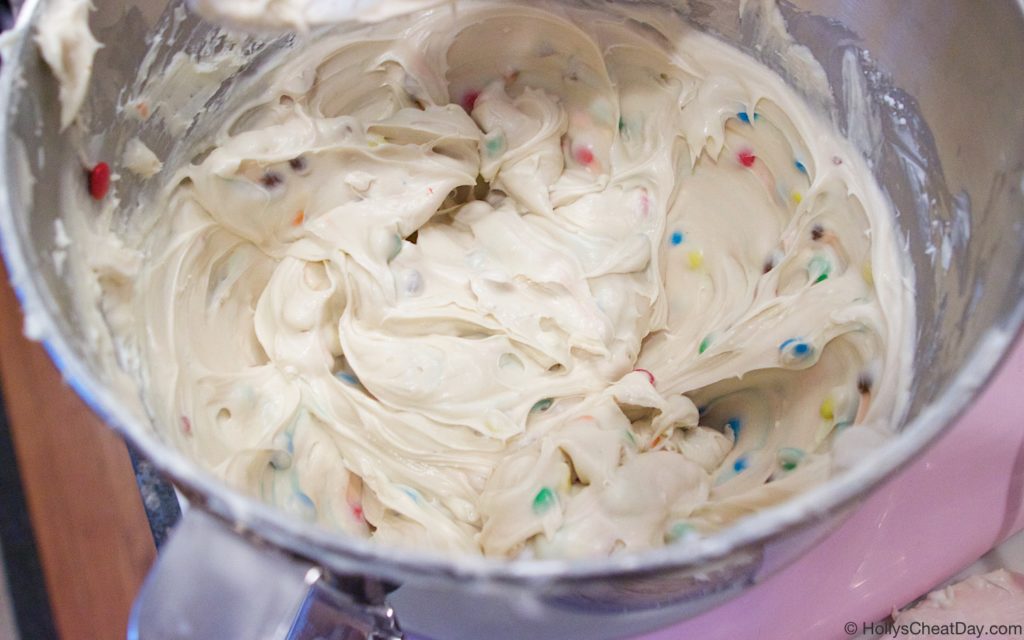
 mix again…
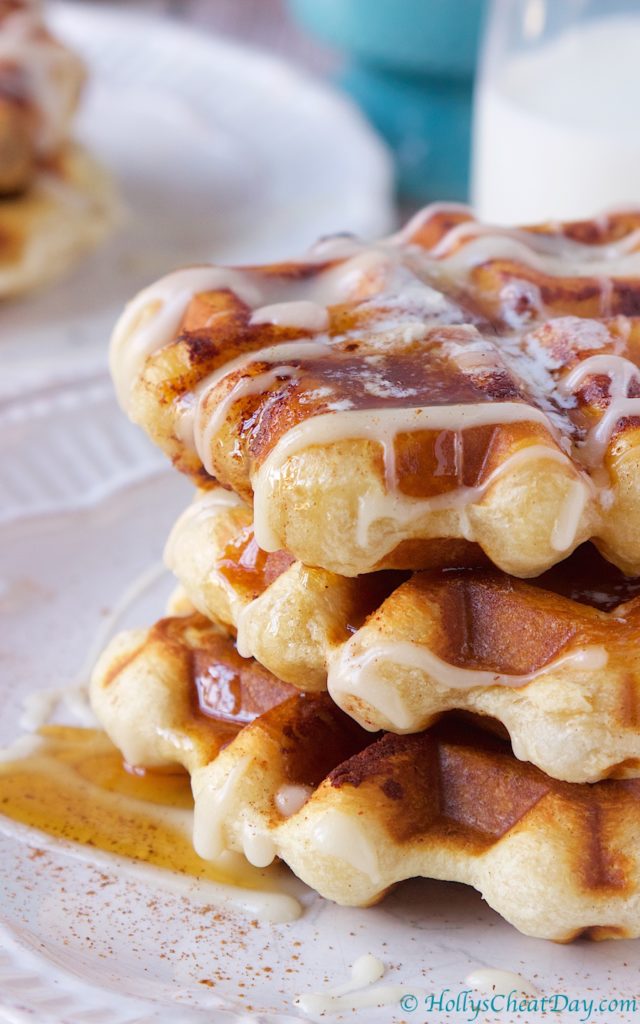
 and enjoy!!!
 and enjoy again!!!


 If you’re not from the South you probably won’t get how scary that can be, because it never fails that ice always, always accompanies it, and y’all there is just no driving to be done when there’s ice. Sooo, with the very real possibility of people being housebound for possibly several days, a mad dash is made to the grocery store and you buy as many essentials (bread, milk, peanut butter,
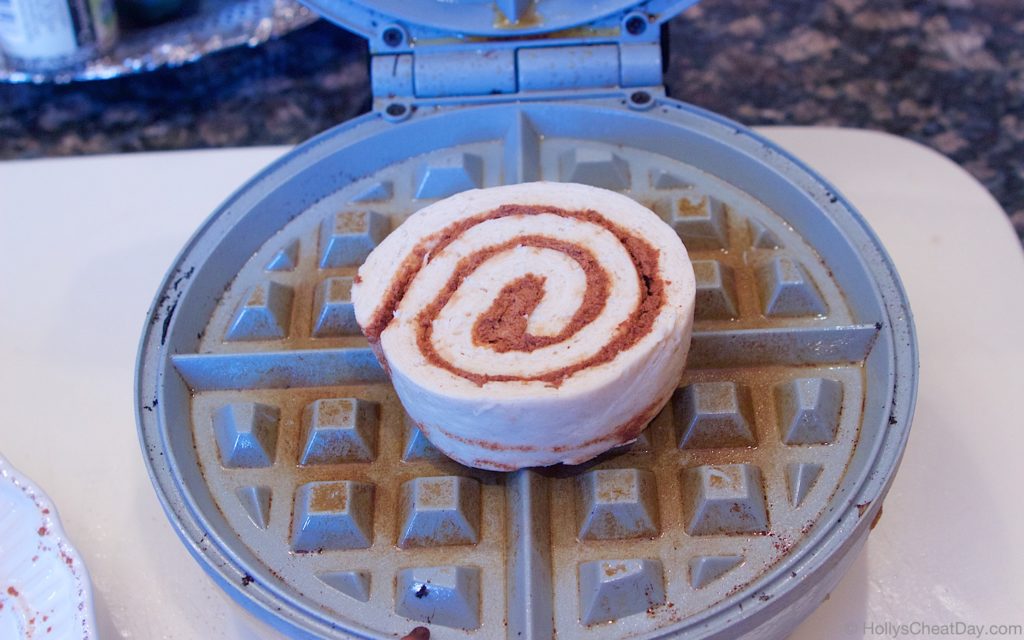
  Basically everything was gone, including the ingredients for the recipe I had been planning on making, so I had to improvise. Cinnamon roll waffles are something I’ve been wanting to make for a while, and lucky for me there was literally this one lone can of cinnamon rolls left in the whole store, so there you go, that’s how this wonderful treat came about.
  Just so y’all know, I did get iced in, and spent the better part of Sunday pouring buckets of hot water on the driveway then taking a shovel to it in hopes of getting out of the driveway to go to work in the morning. Oh, also, it’s going to be 70 degrees this coming weekend…like I said, temperamental. I hope you guys get to enjoy this recipe soon (if you can even call it a recipe because it’s so simple) and thank you so much for stopping by. Have a wonderful day and weekend!!!
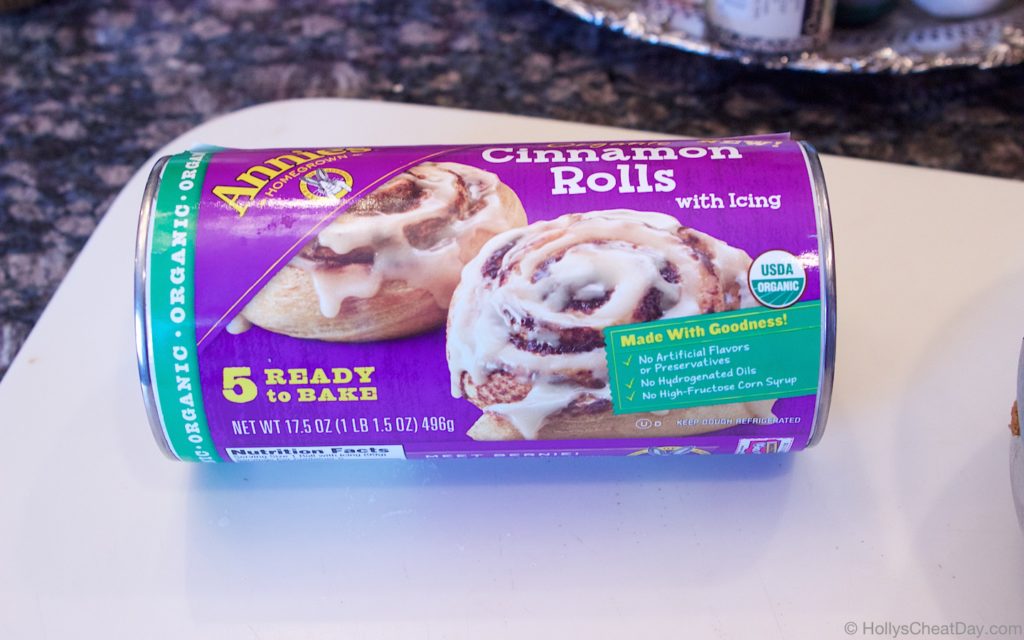 onto your waffle iron…
 and enjoy!!!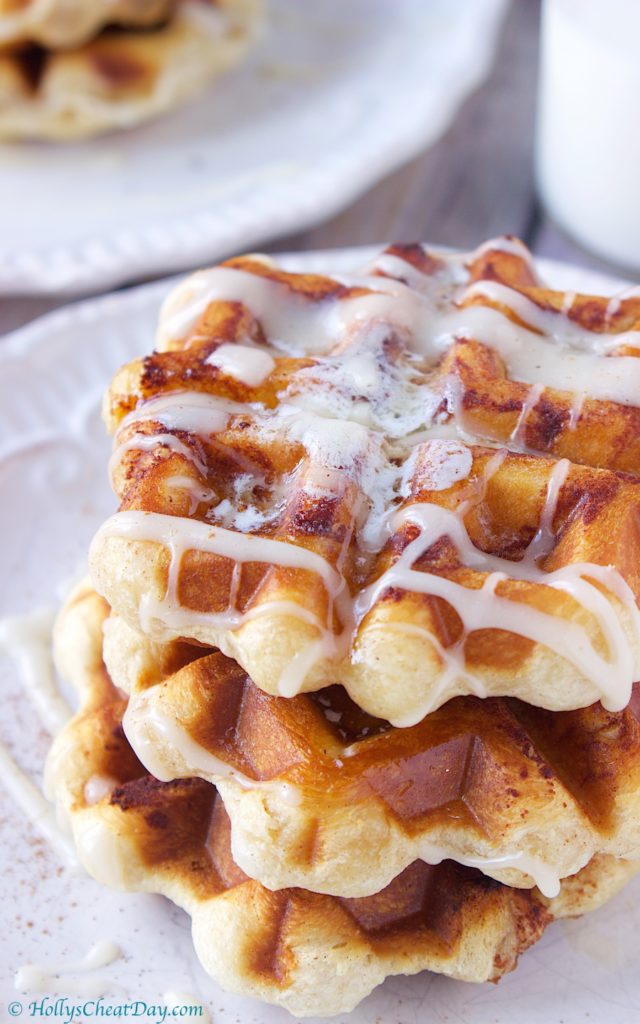


 I remember no other details of that party except for the homemade peppermint ice cream (of course I would remember the food haha). As I have mentioned once or twice, peppermint has never been my go-to flavor of choice for anything, but not one to be offensive (I try not to anyway) I tried the ice cream and I was blown away by how awesome it was.
  I guess I assumed it was going to taste medicinal or something but the super rich creaminess of the ice cream with just a hint of peppermint, (and my favorite) the chunks of candy canes in it, mmmmm, I was hooked. I might have had another bowl or two (y’all I’ve always loved food) at the party, but it has always stuck with me at how good it was and I just knew I had to make some for my cheat day to share with y’all.
  I decided to use my super easy vanilla ice cream recipe, throw in just a dash of peppermint extract and lots of chunks of candy cane, and y’all, it’s dang perfection! This ice cream is even better than I had anticipated, and I could not get enough, it is sooo good. I hope y’all get to enjoy this soon, thank you so much for stopping by and I hope you have a wonderful day!!!
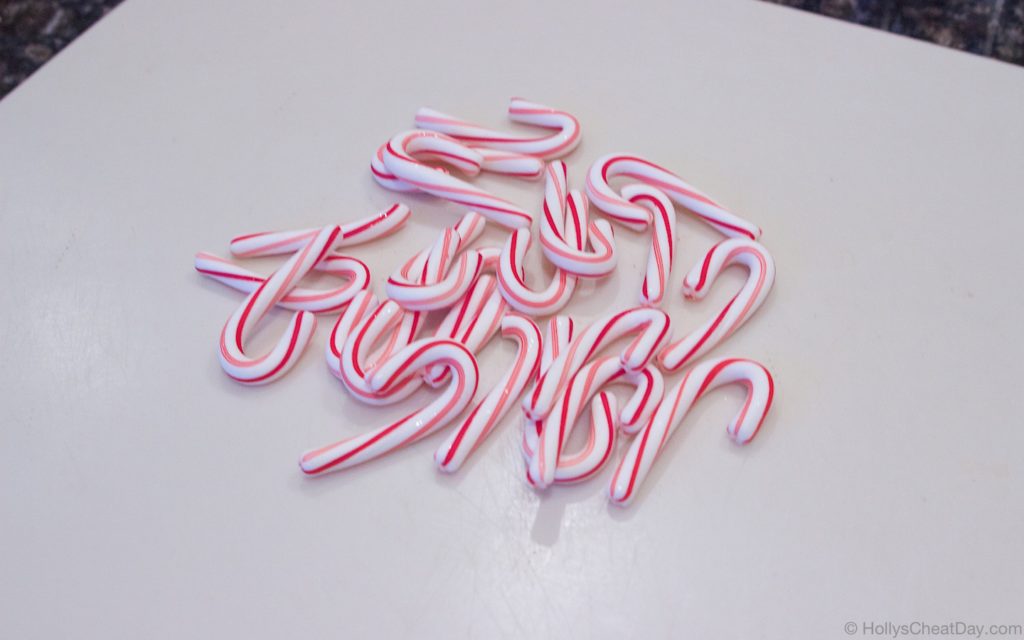 crushed up…
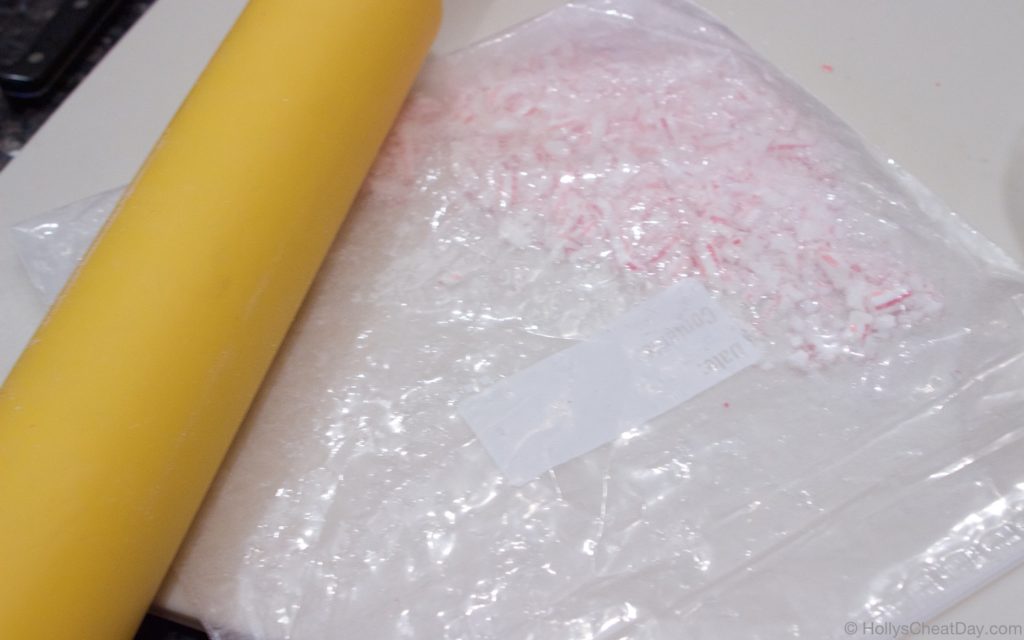 all ingredients (except the candy canes) into your bowl…
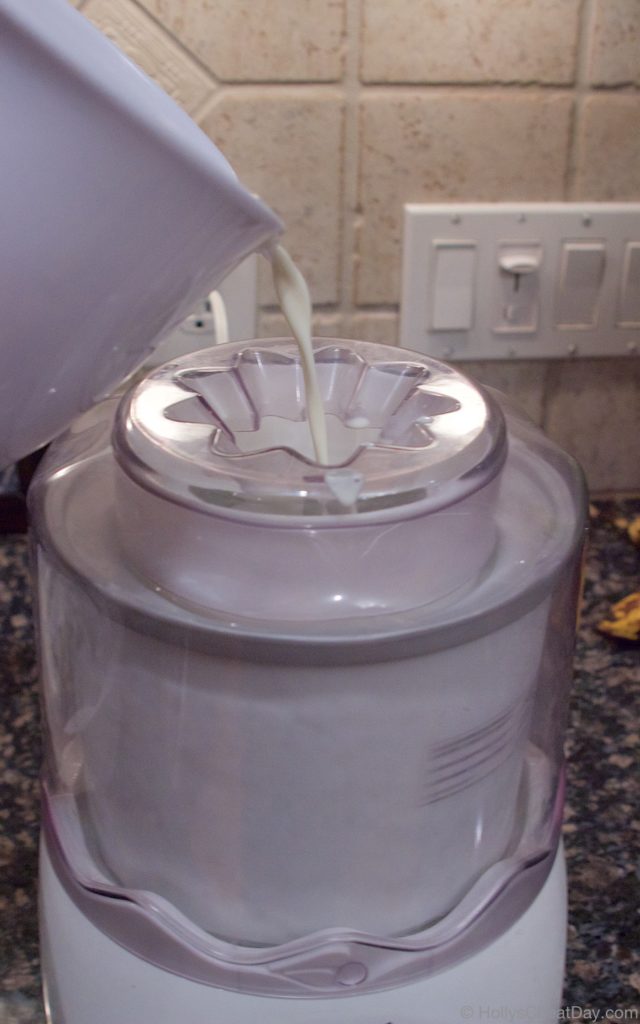
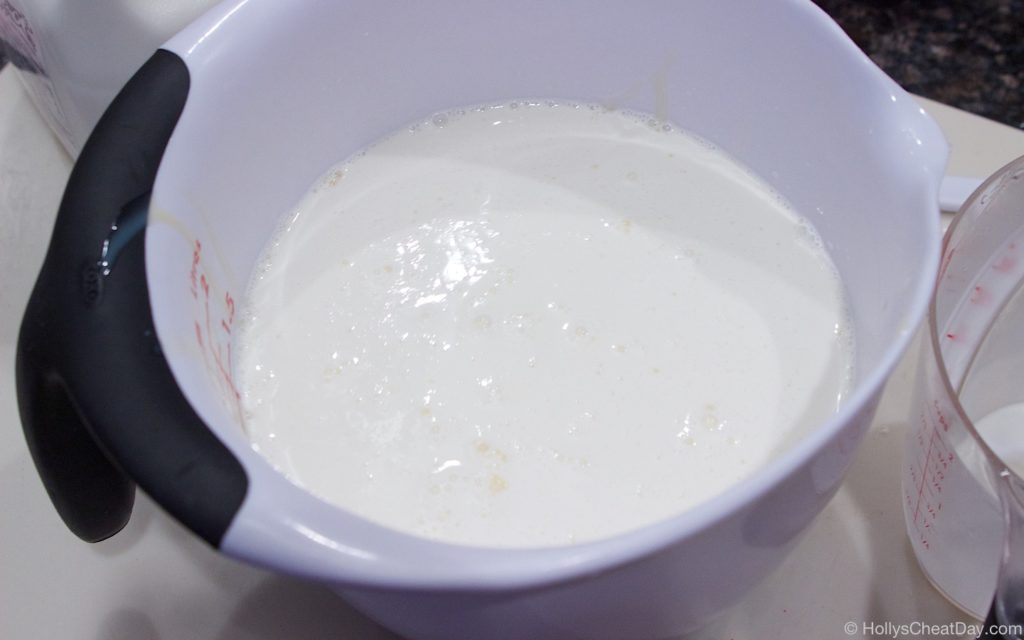 into your yogurt/ice cream maker…
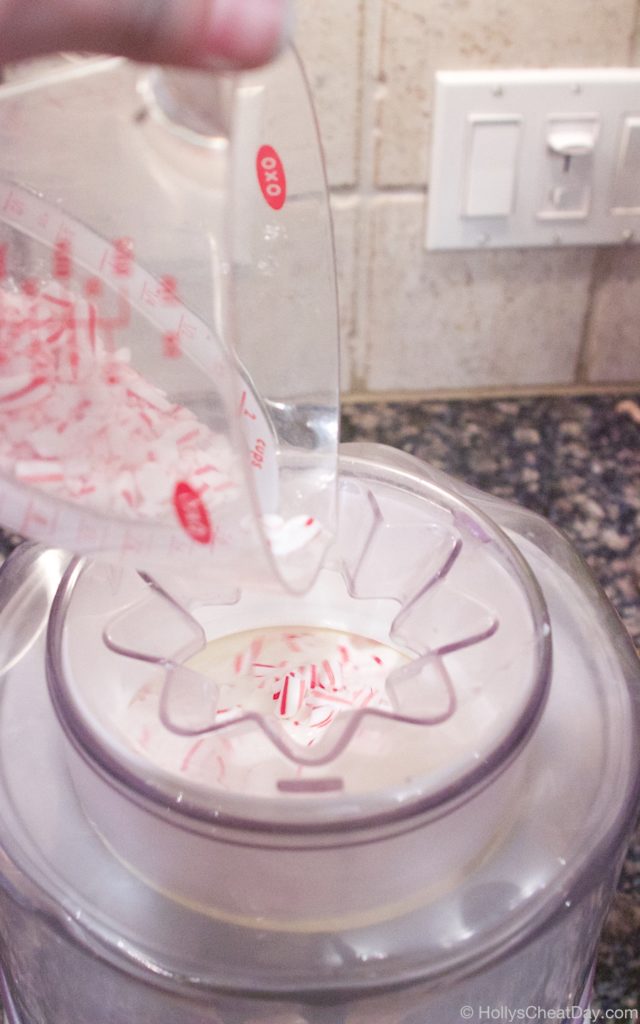
 when almost done, add 1/2 of your crushed candy canes…
 into your container…
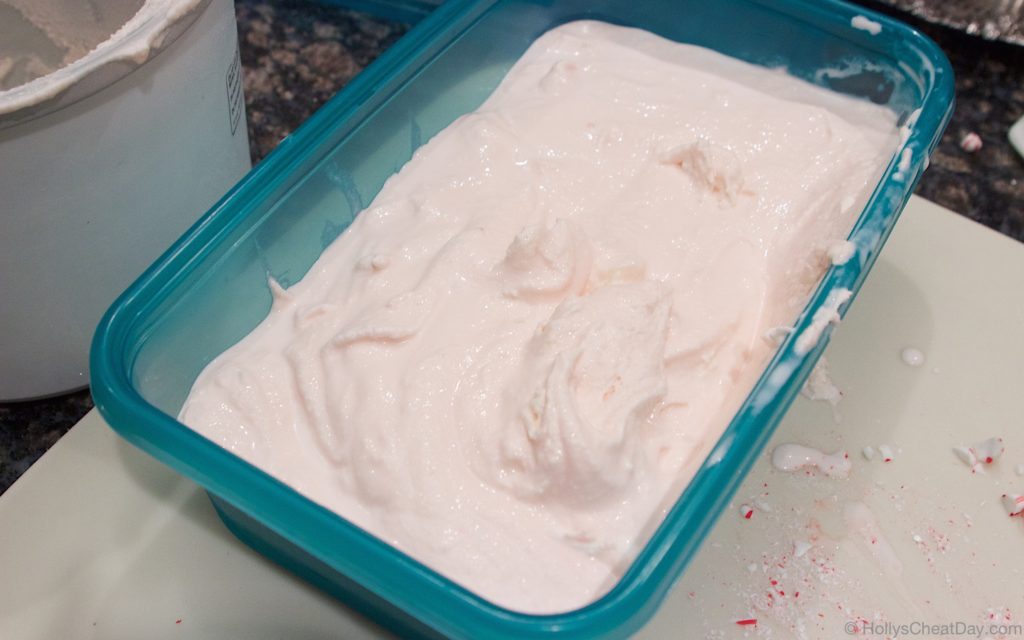 then add the rest of the candy canes…
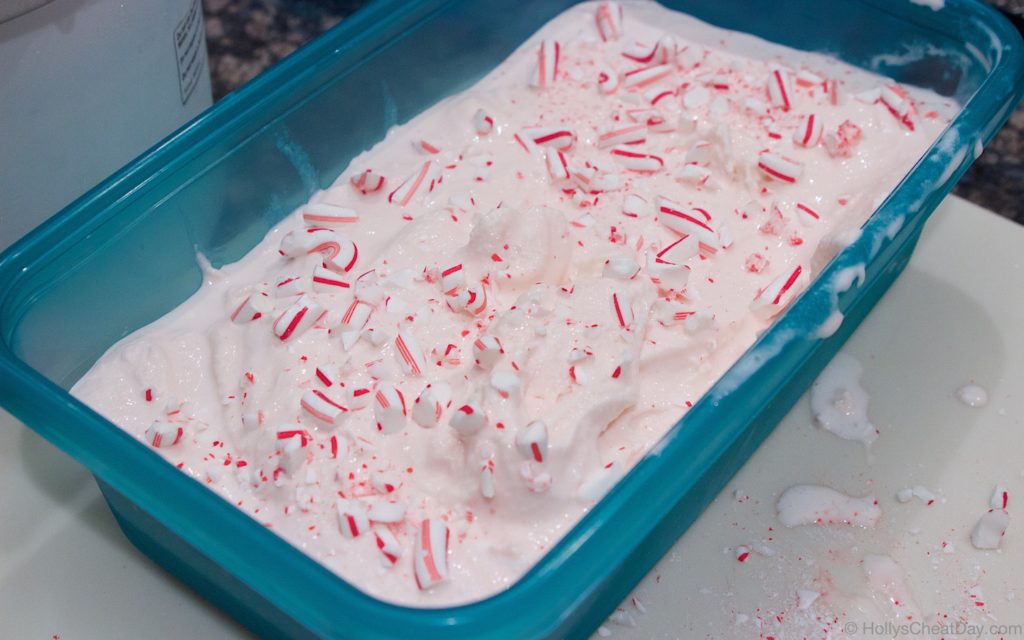 and enjoy!!!


 Where the heck has the time gone?! Sorry, I realize have already used a lot of exclamation marks, but I just want y’all to get the full effect of panic that is going on in my brain haha. I don’t know why, but I feel like this year has been especially hard to find things to buy for my friends and family. Normally, I have ongoing lists of ideas months in advance, but this year, nada…
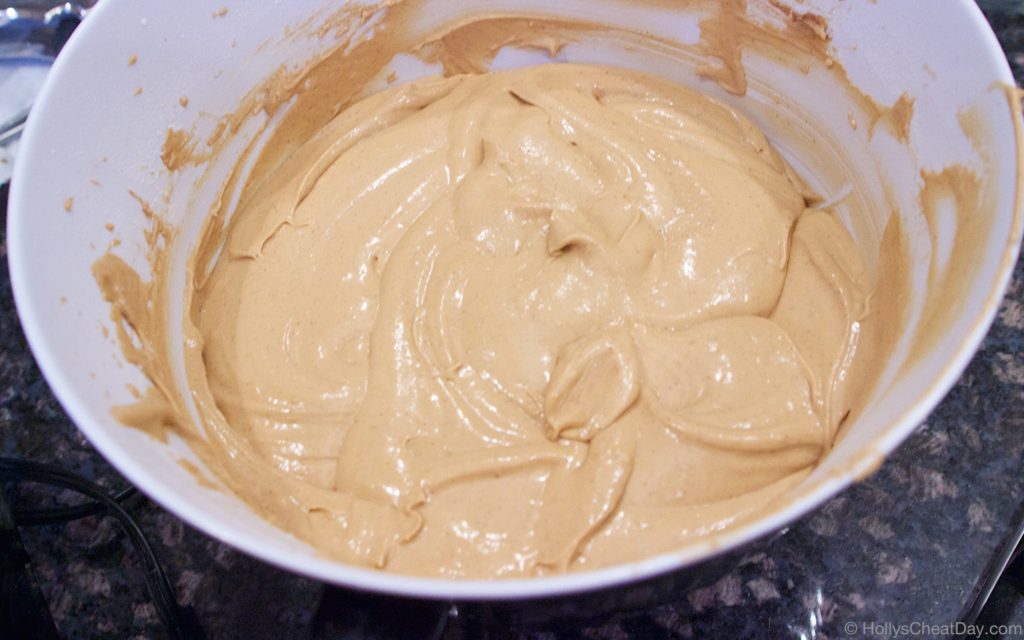
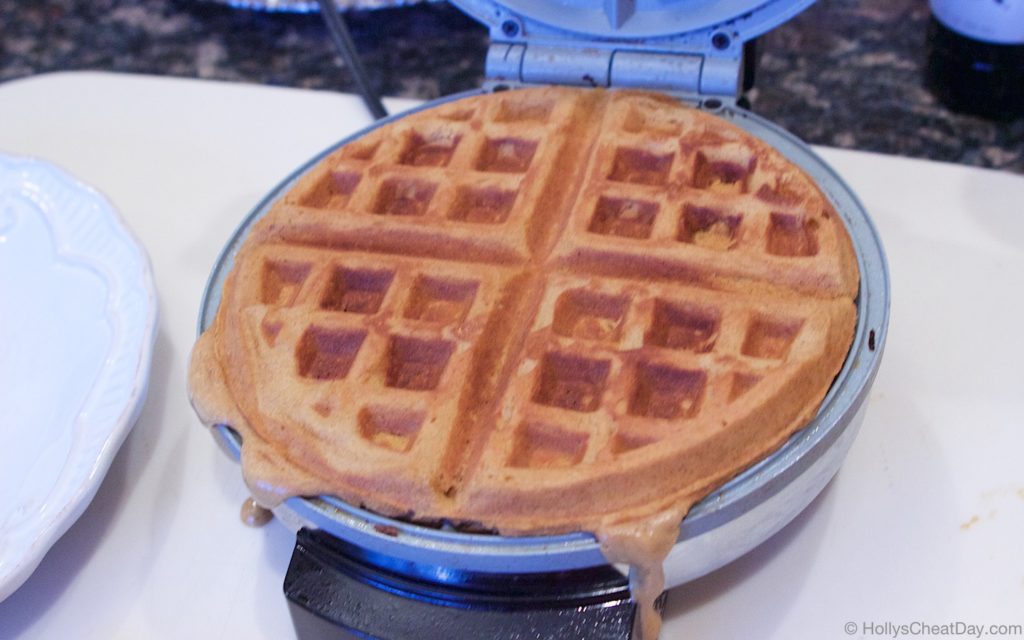
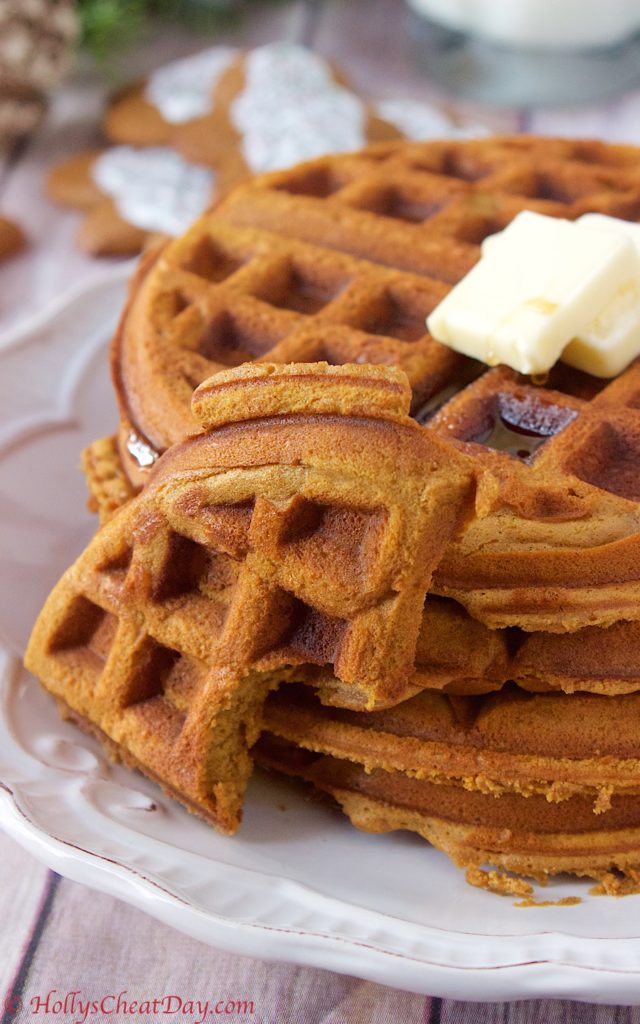 …and I just want to point out that everyone’s wish lists that I requested have been quite sparse (I’m looking at you, mom and dad). Anyways, let’s get to the good stuff shall we? I would like to introduce you to my new BFF’s these Gingerbread Waffles. Oh yes, these are precisely as delicious as you would expect. The batter was the first indication that these would be amazing because it’s more like cake batter, thick, decadent, tons of flavor.
  I’m not a fan of the word moist by any means, but these waffles turned out deliciously moist with tons of gingerbread flavor. Definitely expect these to cook in your waffle iron quite a bit longer than a normal waffle, but they’re sooo worth the wait. I hope you get to make these bad boys your next breakfast or brunch, thank you so much for stopping by and have a wonderful day!!!
 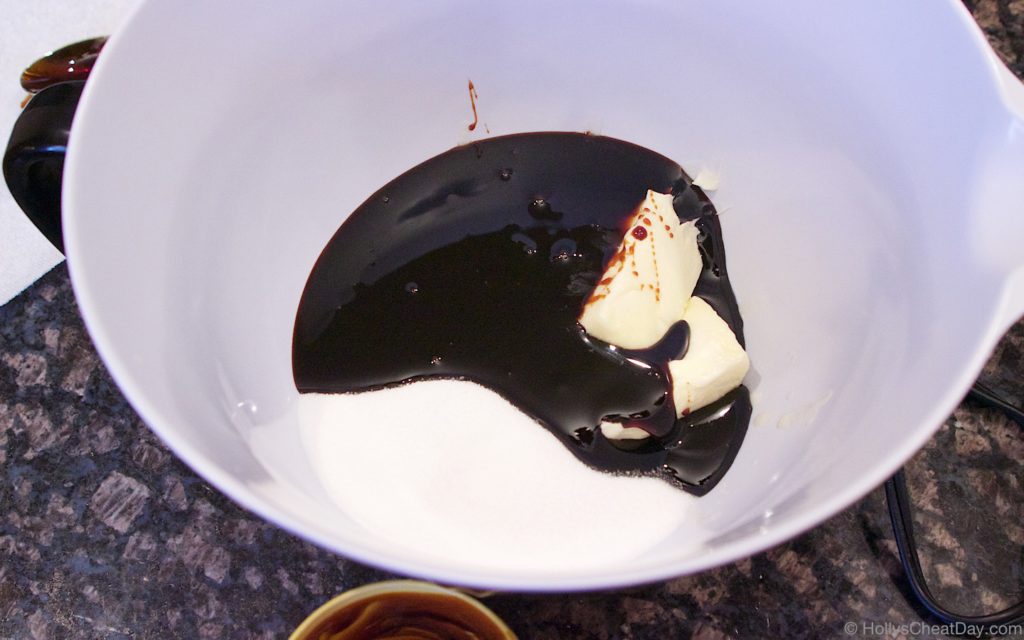 mixed together…
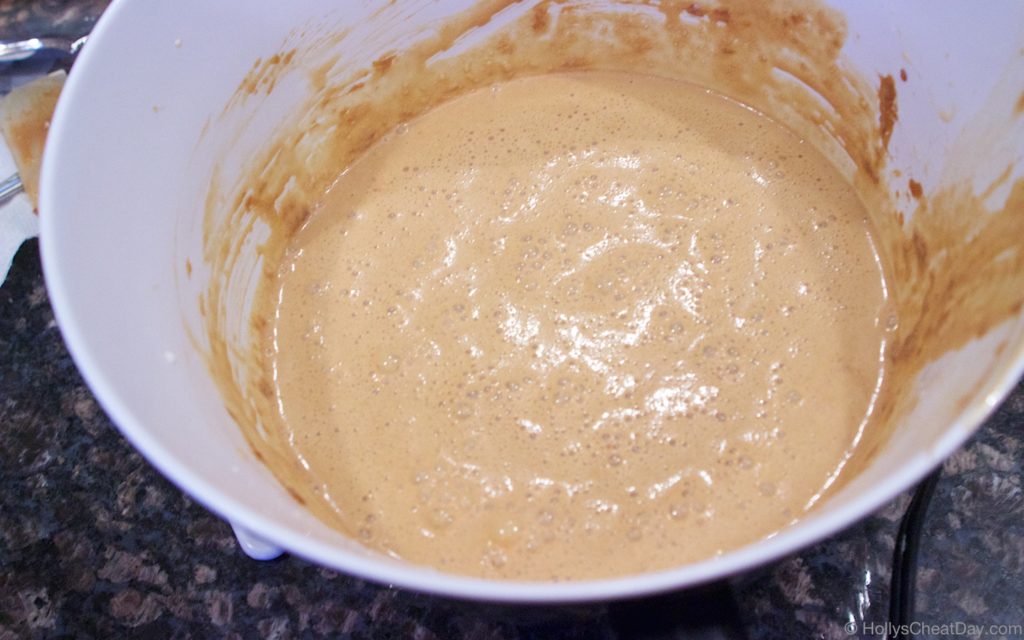
 now eggs and milk…
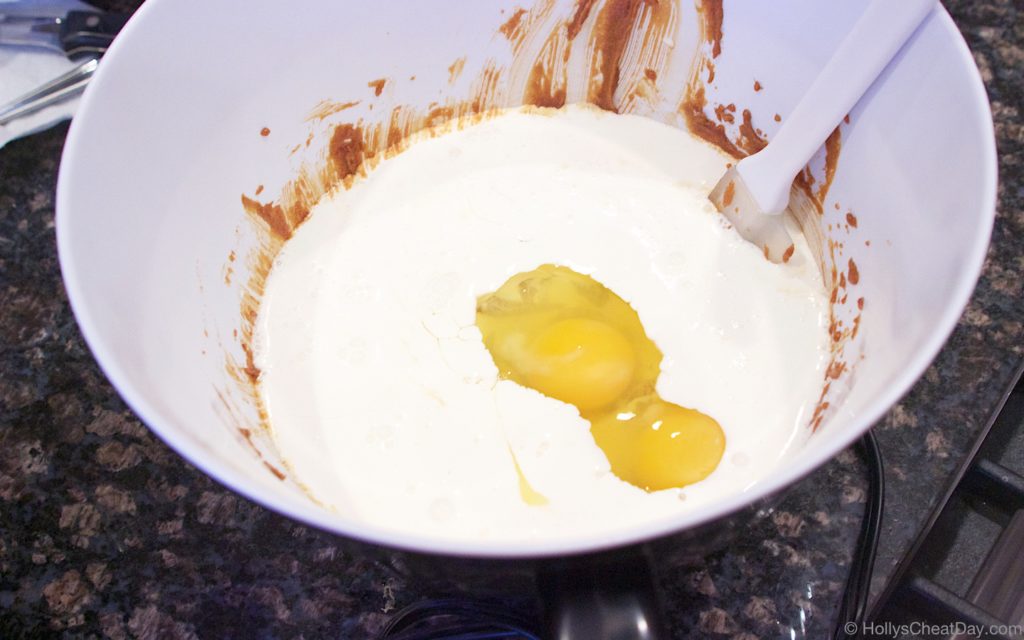 mix, mix, mix…
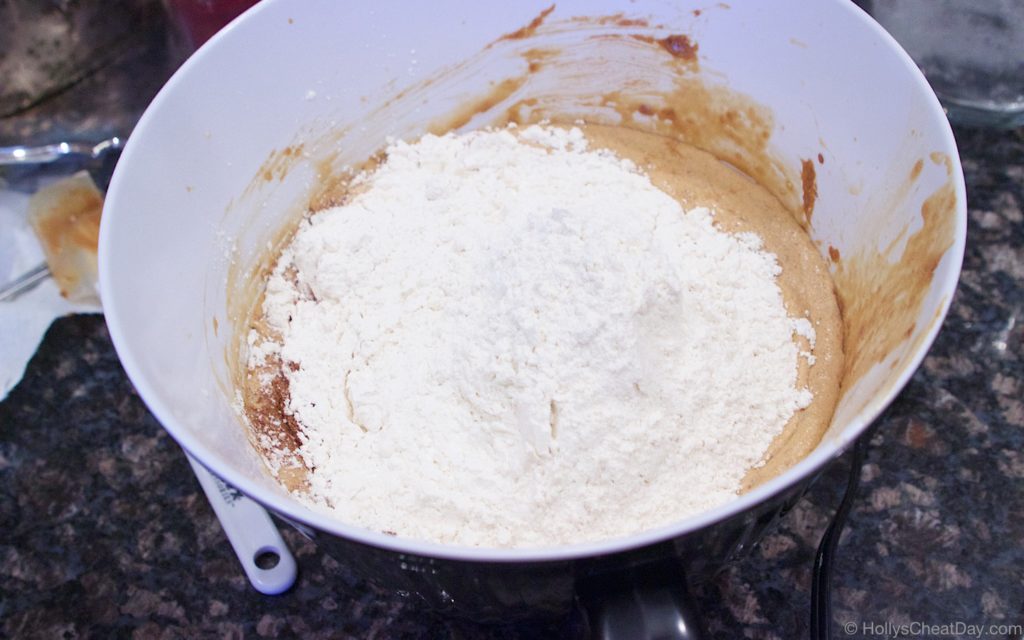
 now, flour, spices and baking powder…
 mix, mix, mix…
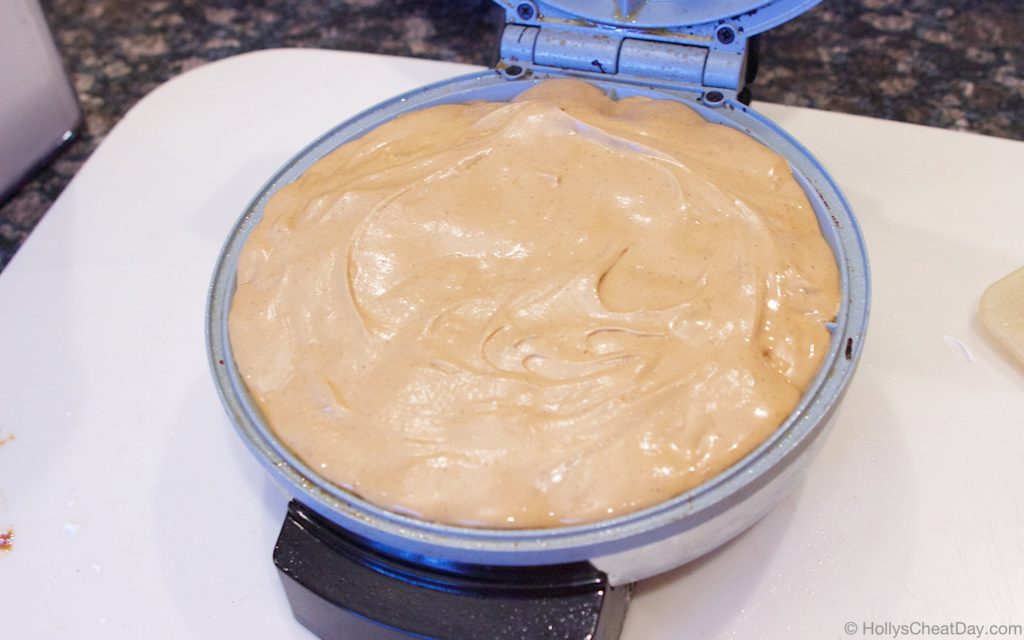
 into your waffle iron…
 bake, bake, bake…
  and enjoy!!!