HOLLY'S CHEAT DAY

...because one day a week I have to be bad

  • Home
  • About
    • Who Is Holly?
    • FAQ
    • Contact
  • Recipes
    • Bars/Brownies
    • Breakfast
    • Cake
    • Candy
    • Cheesecake
    • Cookies
    • Cupcakes
    • Dessert
    • Dip
    • Drinks
    • How To
    • Junk Food Review
    • Lighter Side
    • Pie
    • Savory

Donut Grilled Cheese

March 6, 2018 By Holly

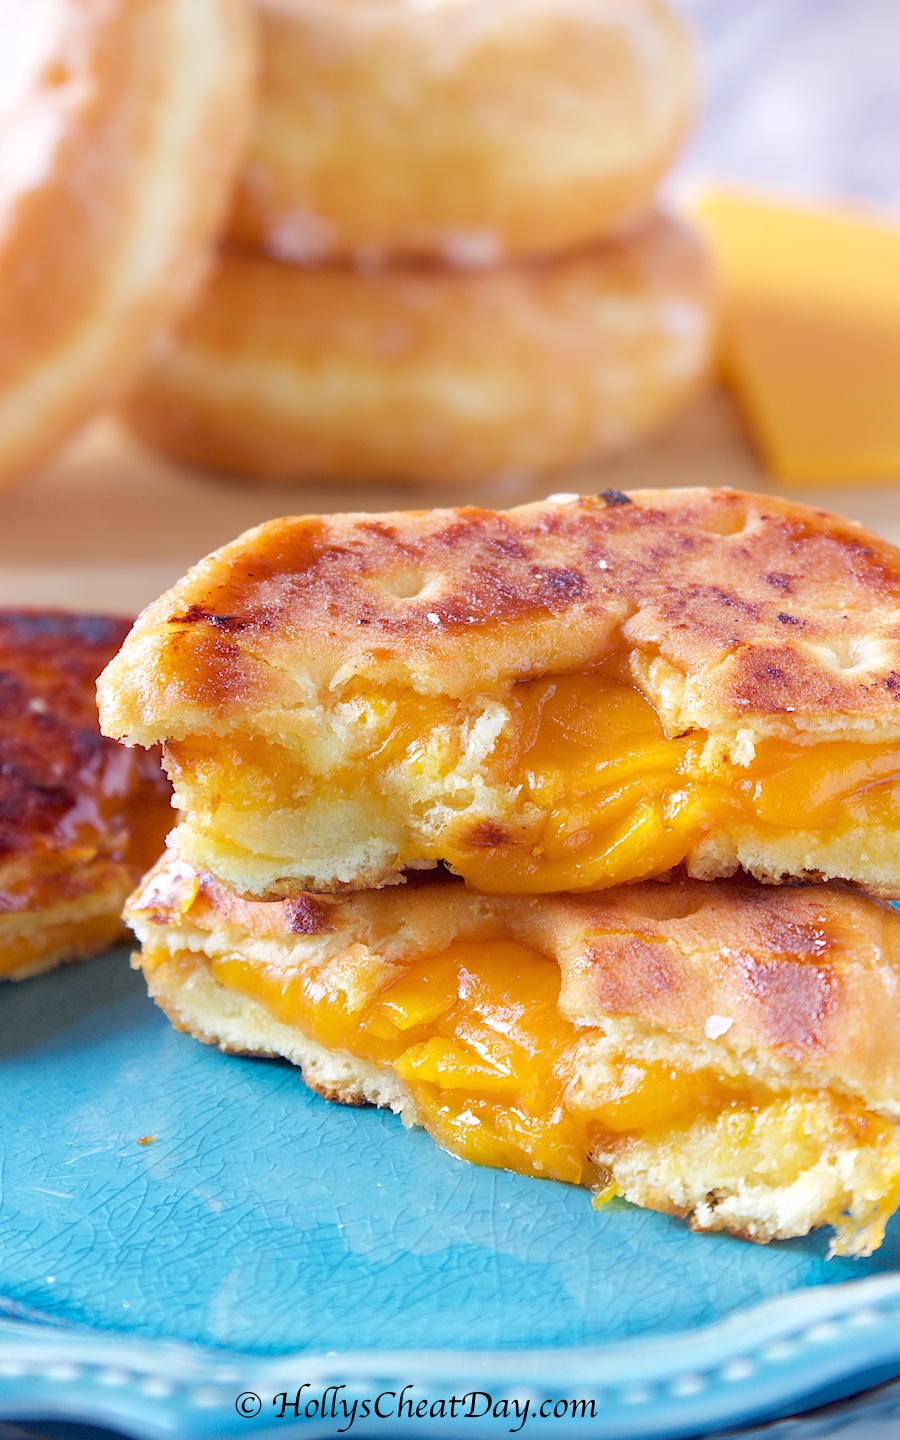
Happy Happy Tuesday everybody!!!  So,  I’m going to admit something-in case you didn’t already know from the title of this recipe and/or many of my past posts-I definitely can have trashy taste in food, you know, like County Fair food.  It’s fine, I was in denial for a long time but now, I’ll just go ahead and admit it.  I just can’t help it, anything fried, any weird kind of combos put together and then fried, count me in!  Speaking of possibly weird combos, say hello to the Donut Grilled Cheese. 

I wish that I could take all the credit for the invention of this absolutely delectable creation, but I can’t.  I had my very first donut grilled cheese at this wonderful restaurant called Tom & Chee.  This place has exactly what the name implies, lots of different grilled cheeses and tomato soup.  I originally went in there to get their mac and cheese grilled cheese, but when I saw that they also had a grilled cheese on a donut, OMG, I did what any other red blooded American would do and I ordered both, obviously.  The mac and cheese grilled cheese was incredible for sure, but y’all, that slight crunch of the caramelized sugar on the donut mixed with the sharp bite of the melted cheese, hallelujah! food Heaven! 

I was, as you might imagine completely dumb struck by all of the awesomeness and knew that I absolutely, positively had to recreate this amazing food item at home.  Y’all, it just doesn’t get any easier than this recipe, slightly grill up 2 donut halves, then slap on whatever cheese you love most, put it together and place back onto your grill and let all the cheese get nice and melty and voila, you have the best trashiest food you’ll ever have.  I really can’t emphasize enough, that if you too would like to take a delicious trip down Hillbilly lane, just take about 5 minutes and make yourself one of these Donut Grilled Cheeses.  As always, thanks so much for stopping by and have a wonderful day!  If you get the opportunity to make this, let me know in the comments!        

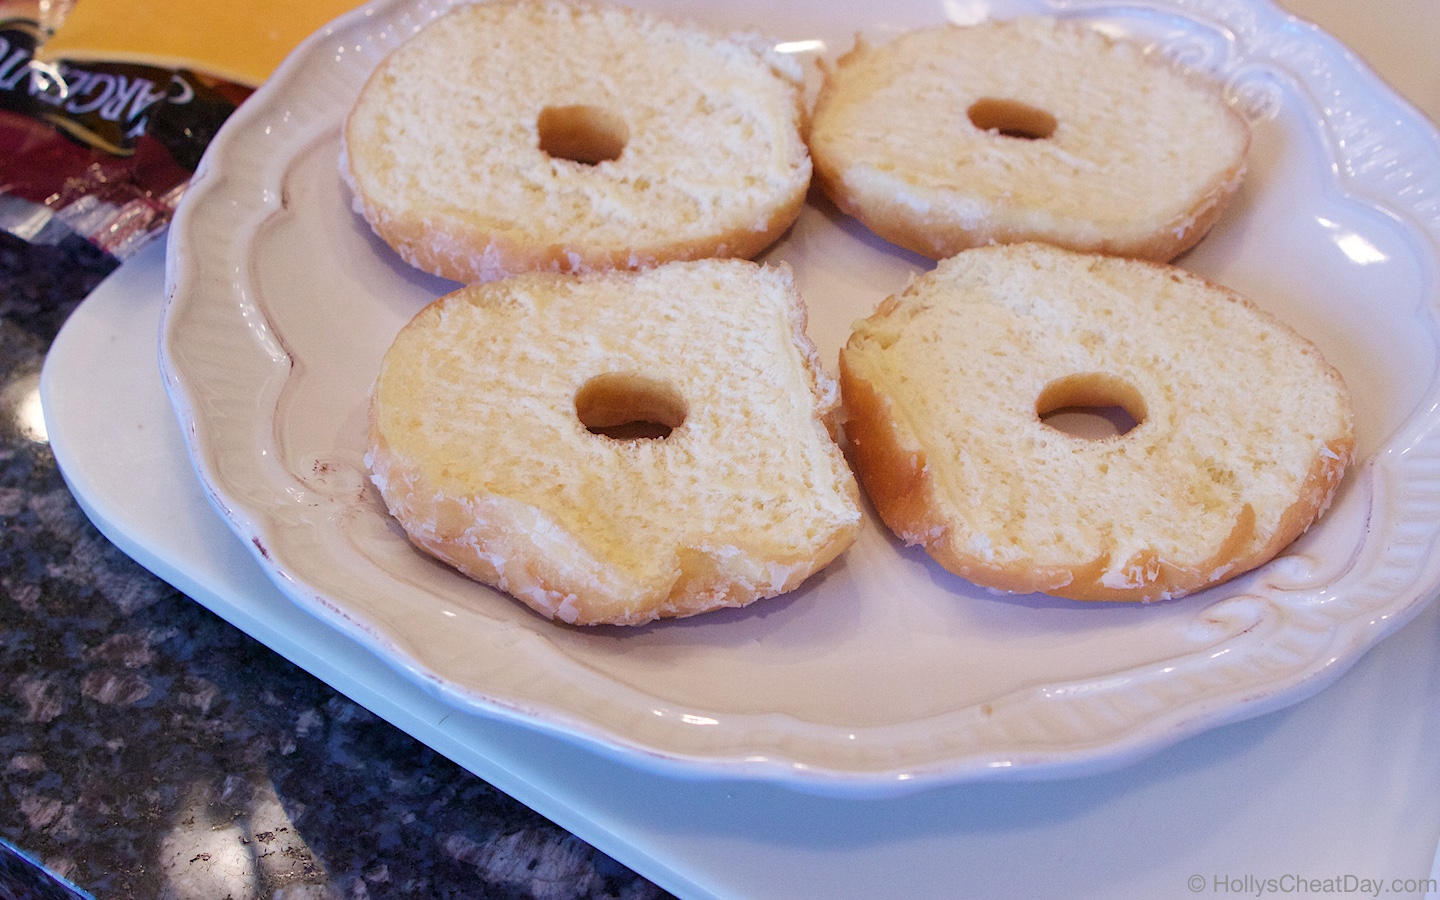
First, cut your donuts in half with a bread knife…

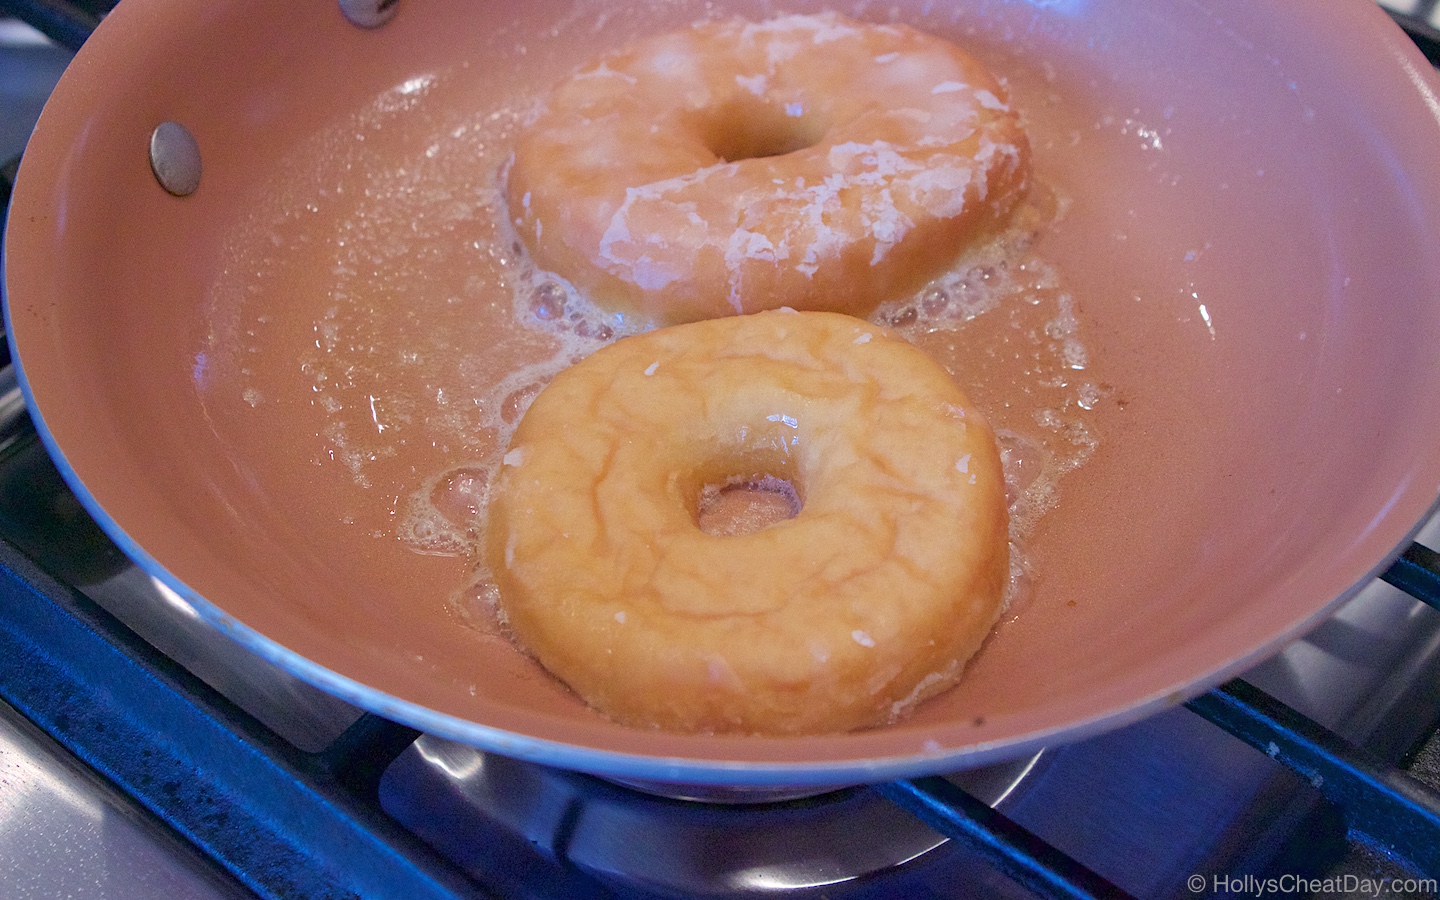
Now, place them in/on your grill to get a little sear on each side, not too much though…

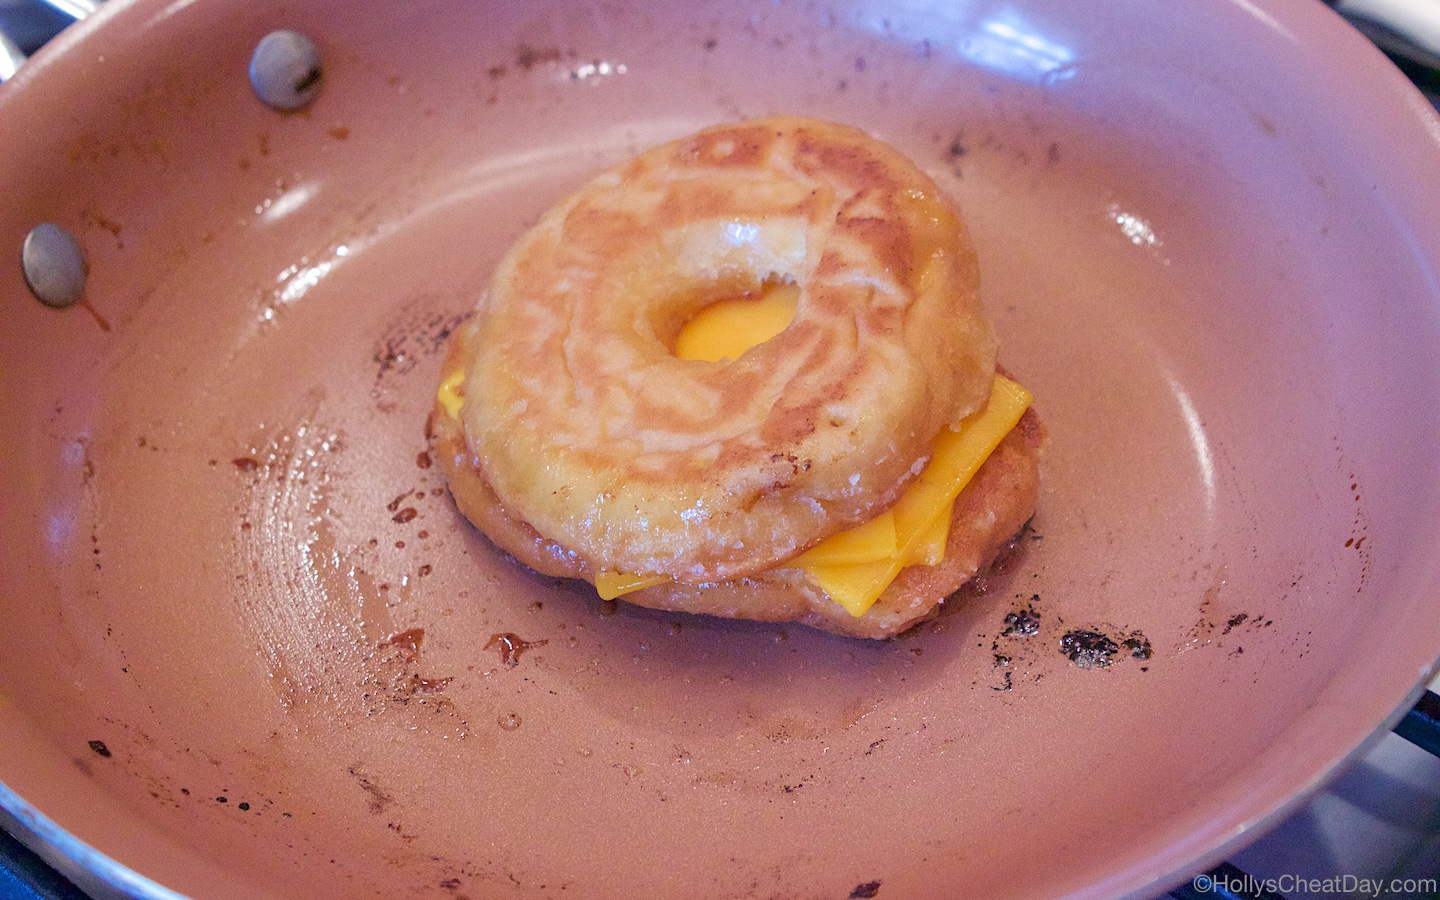
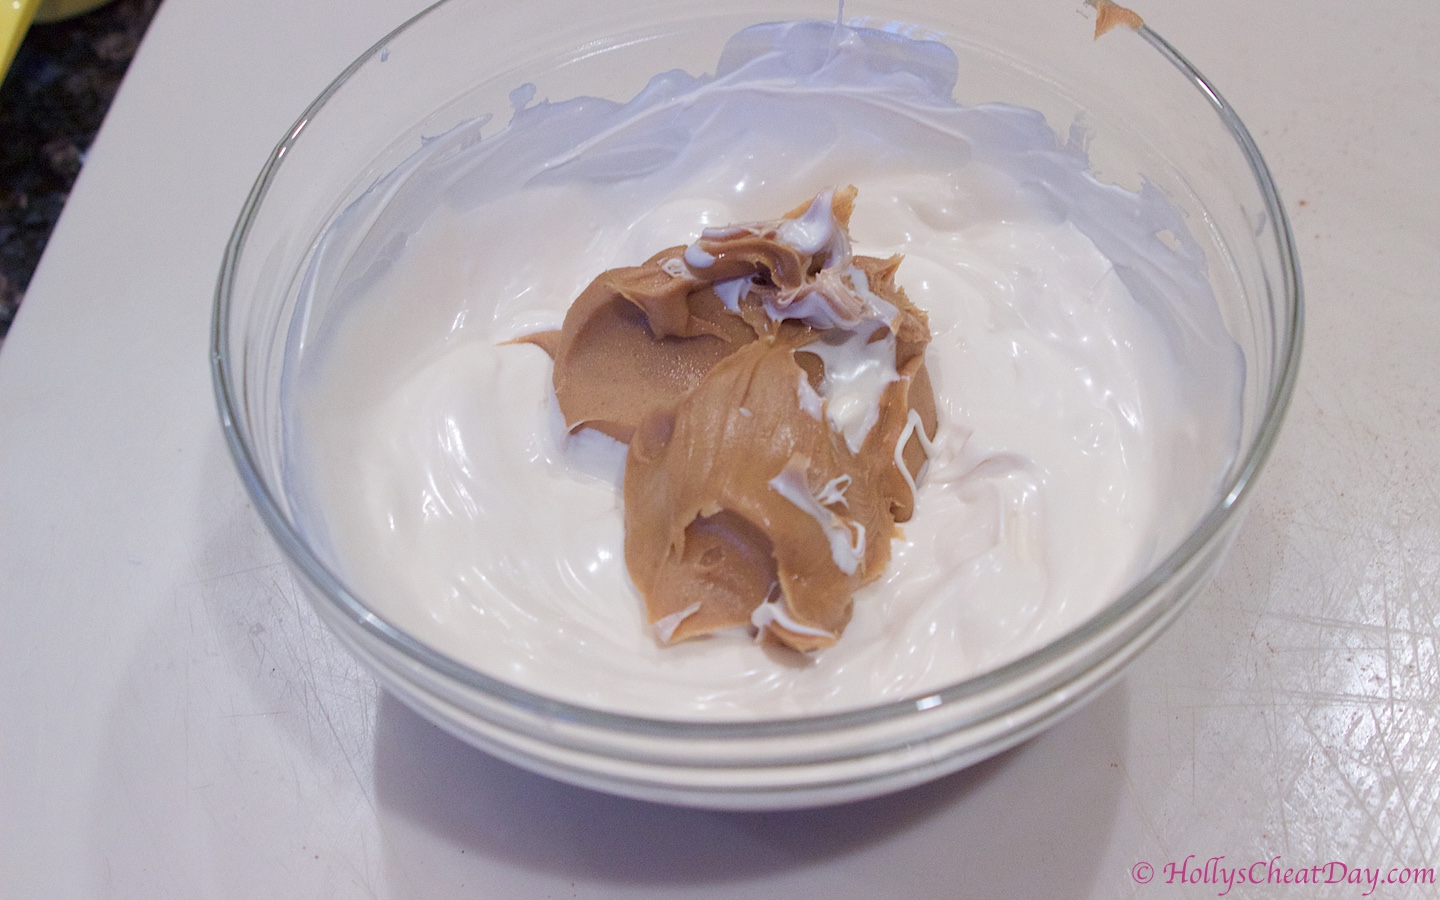
Get that cheese on that delicious donut…

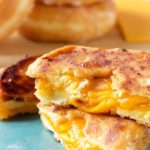
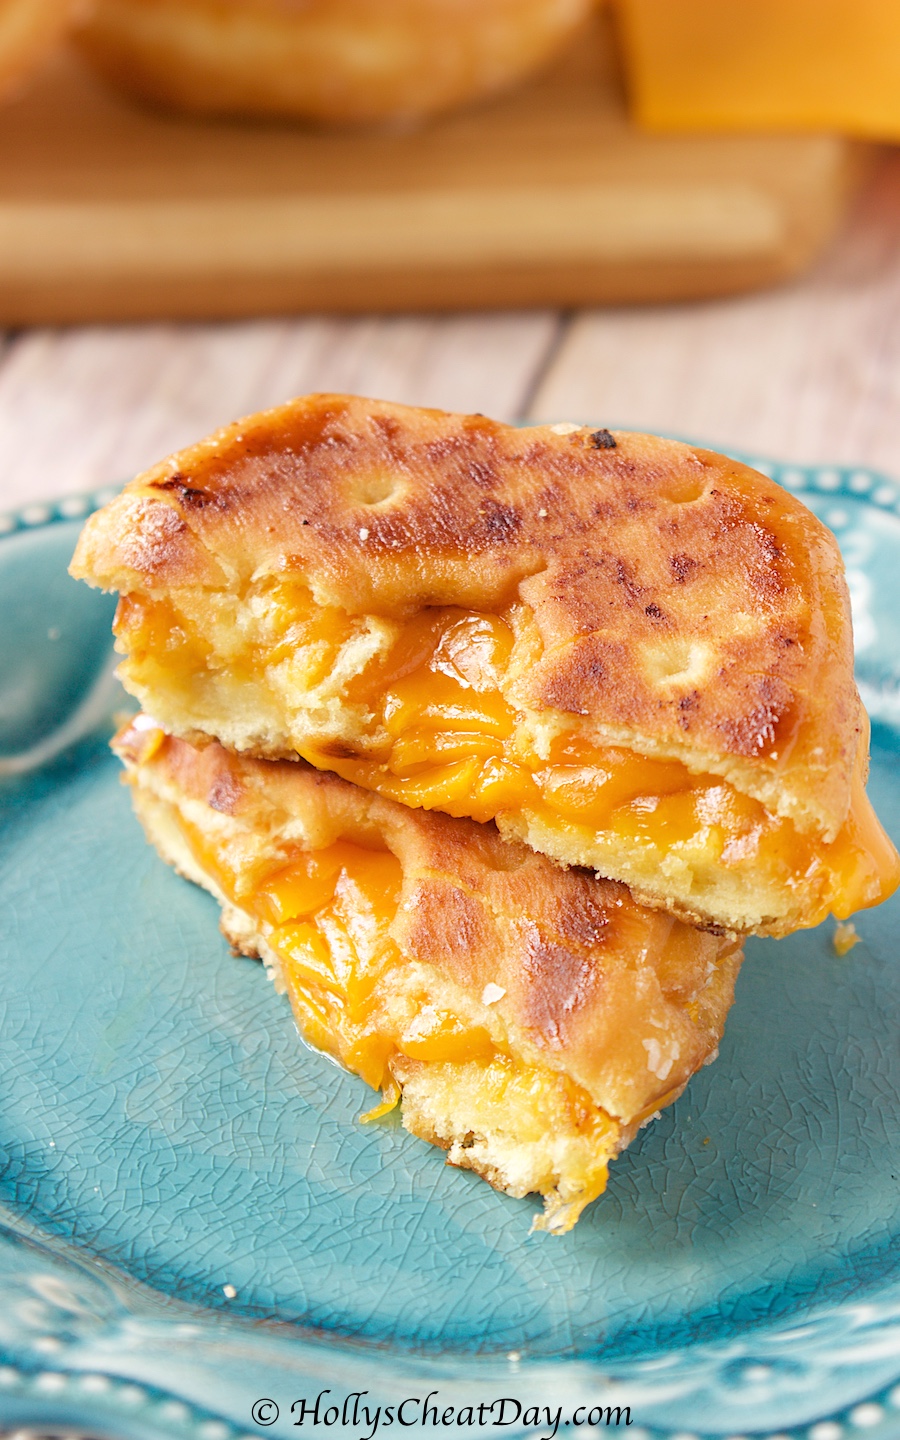
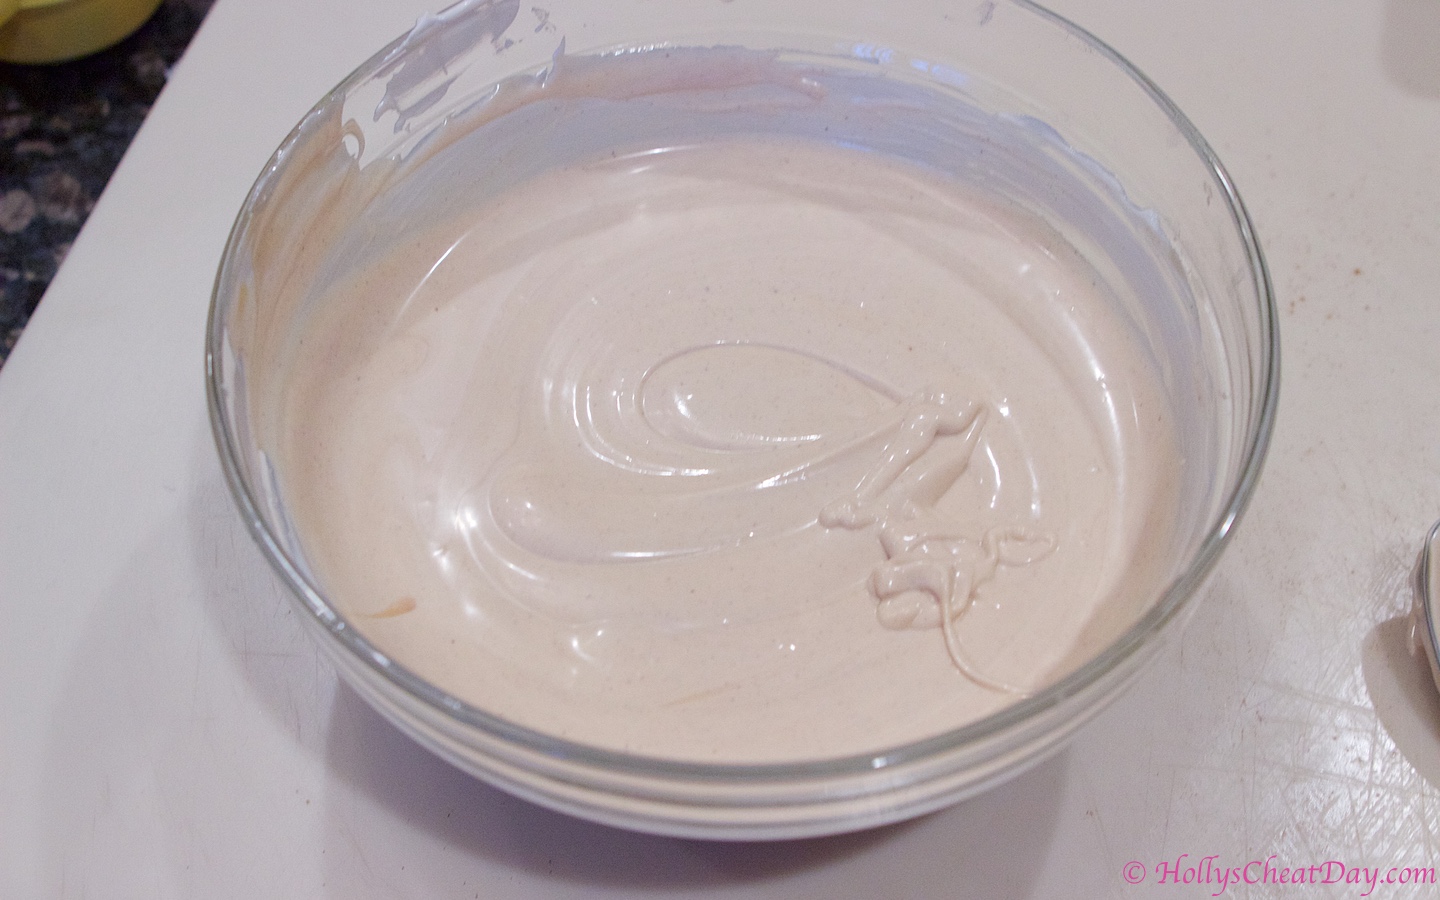
Put it all together and get that cheese nice and melted…

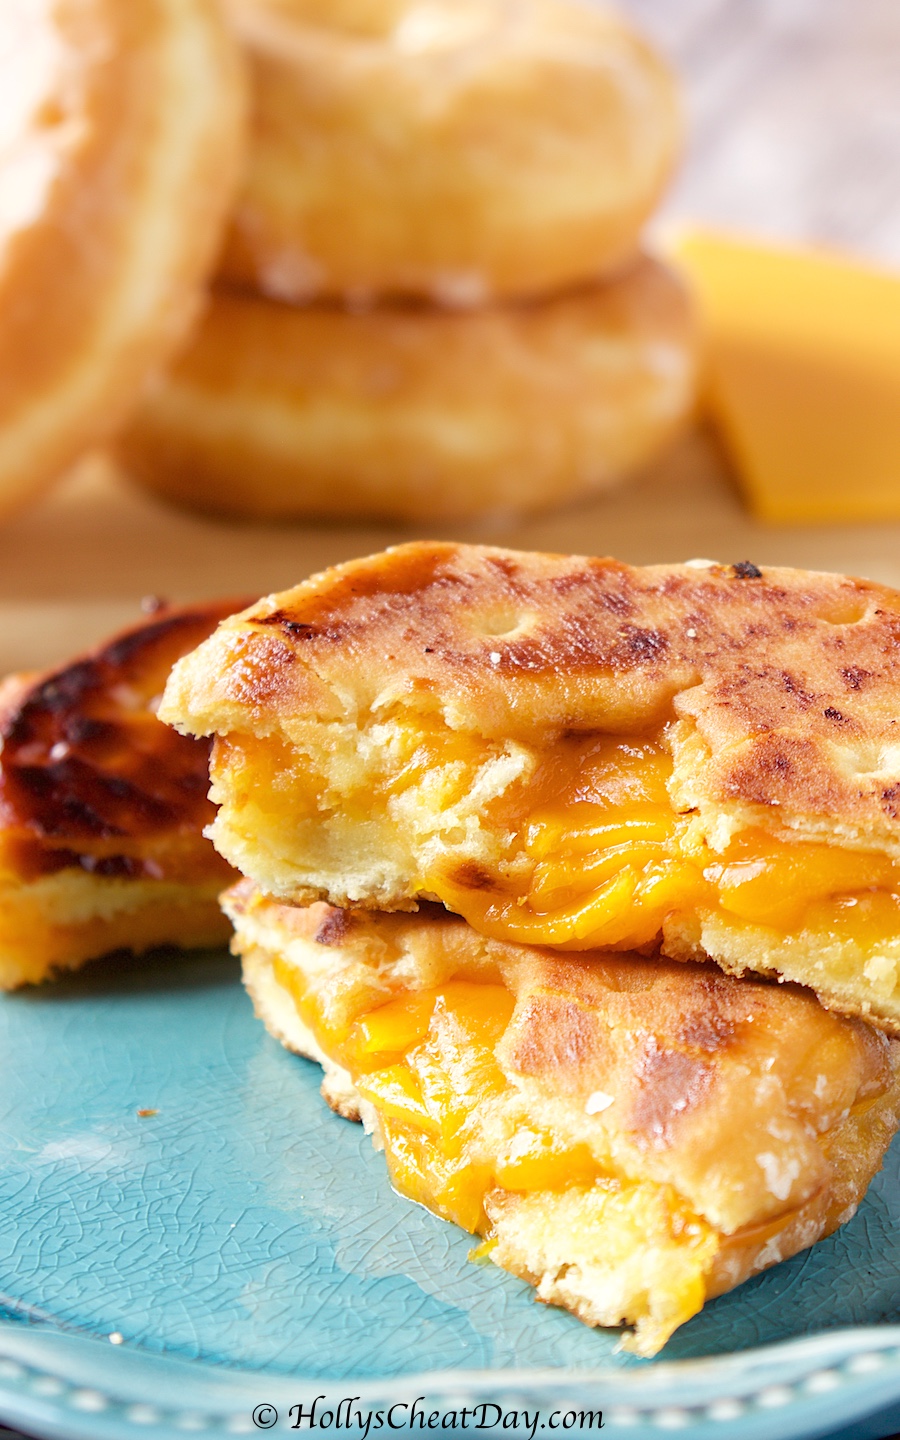
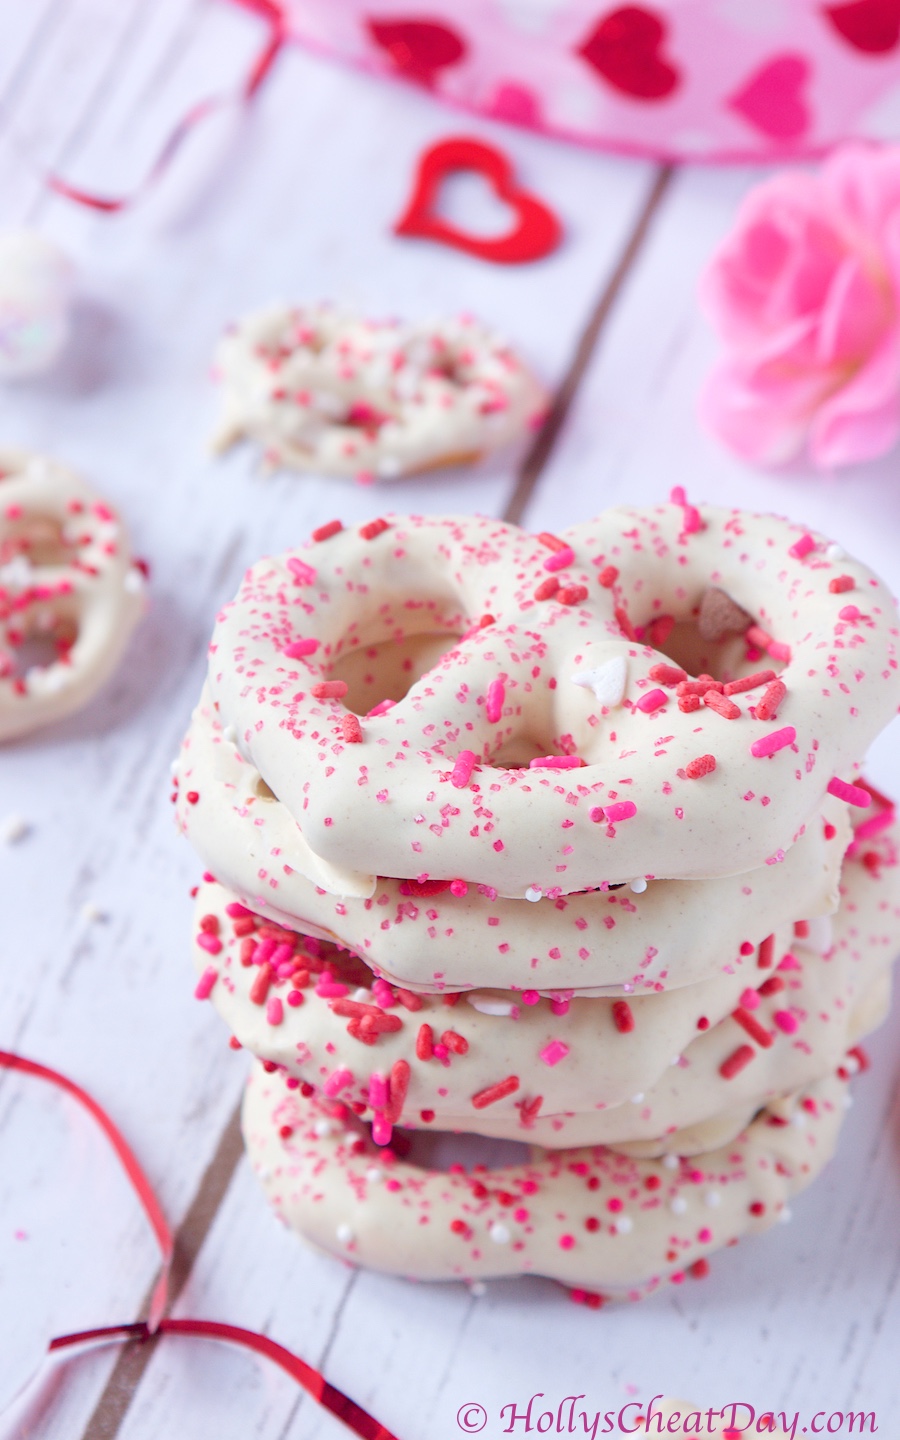
and enjoy, you will, I promise!!!

Donut Grilled Cheese
2018-03-05 16:32:59
A delicious grilled cheese made on a glazed donut.
Write a review
Save Recipe
Print
Ingredients
  1. 6-12 Glazed Donuts, Halved (I Used Publix Brand).
  2. 4-8 Ounces of Sharp Cheddar (Or Whatever You Prefer).
  3. 2-4 Tablespoons of Unsalted Butter.
  4. A Large Pan or Grill.
Instructions
  1. Using a bread knife, carefully cut your donuts in half, set aside.
  2. Heat your pan or grill on low, medium heat, also place your butter into your pan and melt it.
  3. Now, grill both sides of your donuts for about 30 seconds, take out of your grill and place the desired amount of cheese you would like.
  4. Put your grilled cheese together, place back into your pan and grill each side less than a minute or until desired melting of the cheese is reached.
  5. Cut in half and enjoy!!!
HOLLY'S CHEAT DAY https://www.hollyscheatday.com/

Filed Under: All Recipes, Dessert, Savory

Holly’s Junk Food Review Series: Ample Hills Ice Cream Pt. 2

March 1, 2018 By Holly

Happy Happy Thursday y’all !!! Welcome to Part 2 of my Ample Hills Creamery review, you know, the one that was delivered straight to my door? 😀

So, Let’s get to it!

First, we have Nonna D’s Oatmeal Lace Ice Cream…

Looks yummy…

So basically they had me at ‘Brown Sugar Cinnamon Base’ because soo many of my favorite recipes include brown sugar and cinnamon, so there you go.  Per usual, I’m going to be very honest, this one was slightly disappointing.  Not because it was bad at all, but just because the last oatmeal-esque ice cream was the protein heavy, lower calorie Halo Top and it was absolutely delicious.  I was certain that this one with pieces of real oatmeal cookie and a brown sugar and cinnamon base would make this one a for sure 10 out of 10, but honestly the flavors didn’t smack me in the face like I was hoping they would.  Also, like a lot of mix-ins, the flavor of the cookies was, for the most part lost, and the texture like the gooey butter cake was a lot chewy.  Only because this one was disappointing, I’m giving this one a 6 out of 10, had I not had high hopes it would have gotten a 7.5 out of 10.

Next we have The Munchies…

you can see some of the mix-ins…

So as a lot of you know already, I’m definitely team sweet & salty, hence my utter excitement at this ice cream that has a pretzel infused base with a bunch of salty and sweet stuff thrown in. You guys, I really hate to do this because I genuinely love giving glowing reviews on here, but again, this one…disappointing.  The ice cream base didn’t taste nearly as sweet & salty as I had been hoping it would, and the mix-ins, didn’t exactly mix in.  When I would stick my spoon into the container, the pieces of crackers, potato chips etc.  would come out in this weird frozen chunk, not seamlessly blending in like they should.  If I hit an especially salty bit of stuff in the ice cream it was good, but overall this one was just meh, but then again maybe my expectations were just too high, or the ice cream being super frozen and shipped just didn’t do the ice cream texture any justice.  Overall, I’ll give this one a 6.5 out of 10, but I will absolutely recommend grabbing some of their ice cream flavors fresh from their shops if you’re near one.  As always, thanks so much for stopping by and have a wonderful day!!!

Filed Under: All Recipes, Junk Food Review

Peanut Butter Cookie Butter Pretzels

February 27, 2018 By Holly

Happy Happy Tuesday y’all!  I would just like to say that I am aware that I just did a pretzel post a couple weeks ago for Valentine’s Day, but sometimes I can be a very disorganized food blogger and I forget about posts that I have made, yet not posted yet.  Today is one of those recipes.  Y’all, no joke these amazing peanut butter cookie butter pretzels were made back in August I believe and for some reason I had convinced myself that I had posted this recipe when in reality I had not. 

Like I have said before, sometimes life just gets in the way and sometimes I’m just a Forgetful Fran haha.  Well, anyways, let’s get to the good stuff.  I originally saw this recipe somewhere on Instagram and in that original recipe they only used peanut butter.  Well, as team PB as I am, I am also as equally team Biscoff Cookie Butter, and I thought it would be sooo fun and super yummy to mix them up. 

Now, I’m sure some of y’all are probably wondering which one ended up being my favorite, the peanut butter or the cookie butter, and not to be completely annoying but I seriously loved both equally.  Obviously, the pretzels with only the peanut butter had that awesome extra sweet and salty thing going for it, but the cookie butter ones had that great rich sweetness to go with the salt of the pretzel, and well it’s a toss up. 

Because I never knew which one I was going to get after covering them with the white chocolate, it was always a nice surprise for either flavor to be picked up.  These are such an easy-slightly messy-but super fun treat to make, and heck, feel free to use both peanut butter & cookie butter like I did, or even shake it up with something you really love like Nutella or almond butter, totally up to you!  Anyways, thank you so much for stopping by and I hope you have a wonderful day!!! 

First, white chocolate chips…

nice and melted…

place your peanut butter/cookie butter covered pretzels into the white chocolate…

place onto your tray & they’re ready to go back into the freezer for a bit…

take out of the freezer and enjoy!!!

Peanut Butter Cookie Butter Pretzels
2018-02-26 11:45:26
Delicious jumbo pretzels filled with peanut butter and cookie butter, then covered in white chocolate.
Write a review
Save Recipe
Print
Ingredients
  1. 12 Jumbo Salted Pretzels.
  2. 4-8 Ounces of Peanut Butter.
  3. 4-8 Ounces of Biscoff Cookie Butter.
  4. 12 Ounces of White Chocolate Chips.
Instructions
  1. Place wax paper onto a large cookie sheet, set aside.
  2. Fill each individual pretzel with peanut butter and/or cookie butter and place in the freezer for at least 30 minutes-I left mine in for 60 minutes.
  3. Now melt your chocolate chips in a microwave safe bowl.
  4. Using a fork or spoon dip your pretzels into your melted chocolate, making sure to cover each pretzel completely and place back onto your baking sheet.
  5. Once all are covered and on the sheet, place back into the freezer or fridge for about 20 minutes to set up, and enjoy!
HOLLY'S CHEAT DAY https://www.hollyscheatday.com/

Filed Under: All Recipes, Candy

Holly’s Junk Food Review Series : Ample Hills Ice Cream Pt.1

February 22, 2018 By Holly

Happy Happy Thursday y’all!  Even though it’s been a short week due to the holiday and all, I still feel like it’s been dragging, I guess I’m just anxious for the weekend…again, hehe.  Let’s get to the good stuff shall we?  Ample Hills Creamery is this ice cream place in New York, which BTW they also have a location at Disney’s Boardwalk, which I hope to get to on our next trip, anyways, and I kept hearing about how delicious their stuff was.  Well, I then also heard that they ship ice cream straight to your door, holy cow!, isn’t a great time to be alive? I mean, ice cream delivered to your door?  Well, anyways, I immediately ordered a 4 pack of their most delectable sounding ice creams and waited longingly at my door for it to arrive haha, not really, but close enough.

First we have the Snap, Mallow Pop…

mmmmm…

So this ice cream is basically marshmallow ice cream with real chunks of Rice Krispie Treats throughout.  Y’all this ice cream flavor ended up being my absolute favorite one! Holy cow, the krispie treats somehow magically stayed crispy and there was no shortage of them throughout.  The ice cream base was rich and creamy, and I’m pretty sure the Rice Krispie Treats were the best I’ve ever had.  I had literally planned on just trying some of this flavor but ended up eating half the pint, woops.  This stuff is amazing, it easily gets a 10 out of 10.

Next, we have the Ooey Gooey Butter Cake…

definitely looks promising…

So, by name only, this ice cream was the one that I was the most excited to try.  I’ve made butter cake a million times over the years and it’s always as incredibly delicious as the first time I had it, and I heard over and over again about how this is Ample Hill’s most famous one and how it’s a must try.  Well, this is a great ice cream, absolutely, I just don’t think it’s their best.  My biggest peeve was that the gooey butter cake was really, really chewy.  I totally understand that that might happen due to the whole being frozen part, but it was soo chewy I was having to dig it out of my teeth, which is always cute haha.  So this is a rich and decadent ice cream, but I bet I would give it a much higher score if I had it fresh from one of their stores instead of from a super frozen pint.  I will give this one a 7.5 out of 10. 

Thank y’all so much for stopping by and I hope you all have a wonderful rest of the week!

Filed Under: All Recipes, Junk Food Review

White Chocolate Cheesecake Cookies

February 20, 2018 By Holly

Happy Happy Tuesday y’all!!! I hope everyone had a wonderful and hopefully like mine, long weekend.  Long weekends are just the best aren’t they?  It may only be one extra day, but it’s so nice to know that the usual stuff I’m running around like crazy to get done on Saturday or Sunday- so I’ll actually get an opportunity to have some down time-can wait a little bit.  Not that my weekend was any less busy, but still, that one extra day can be just so wonderful. 

Anyways, speaking of wonderful, some recipes that you believe will be wonderful in one way, end up being wonderful in another, but not expected way.  These cookies are a great example of this.  Adding pudding mix to cake mixes and cookies is a fantastic way to add extra flavor and moisture, and I was really hoping that by adding in cheesecake pudding mix to regular sugar cookie mix would turn these into full on cheesecake flavored cookies. 

Well, these cookies didn’t exactly turn into full on cheesecake flavored cookies, but they did turn out oh so soft with a little extra hint of yum.  You could totally use regular chocolate chips for these cookies, but I really think that the white chocolate chips were the perfect addition to these soft, flavorful cookies. 

These were super duper easy and quick to make.  No need to chill the dough, and no need to take 50 steps to put these together, literally just throw all the ingredients into one bowl and voila delicious cookies.  I hope you all have a wonderful day and thank you so much for stopping by!!!

First, all ingredients except the chocolate chips into the bowl…

All mixed together…

Now add your white chocolate chips…

Mix, Mix, Mix…

Roll out onto your cookie sheet…
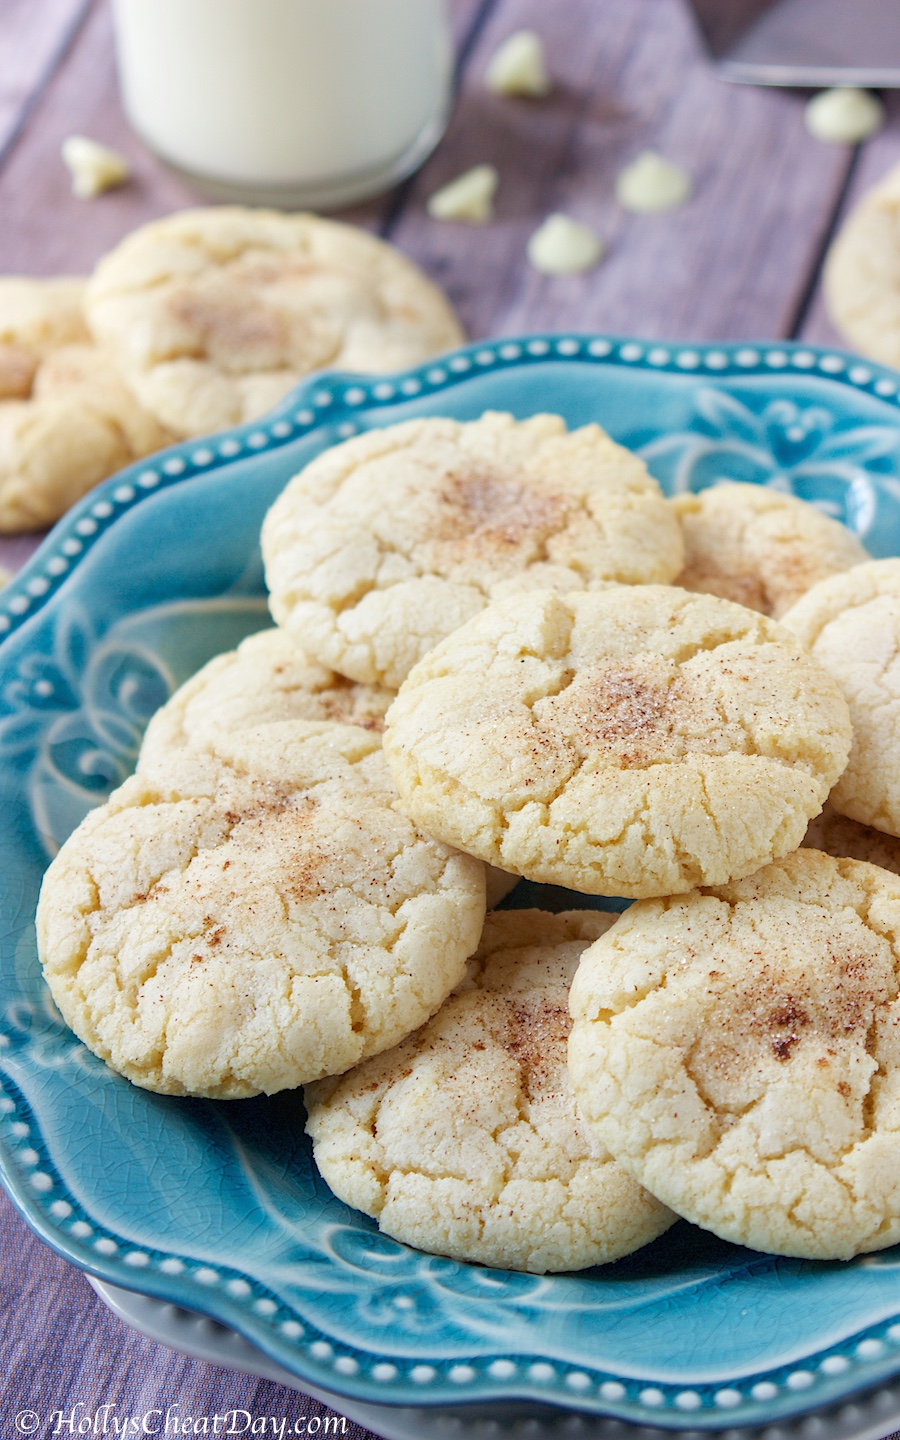
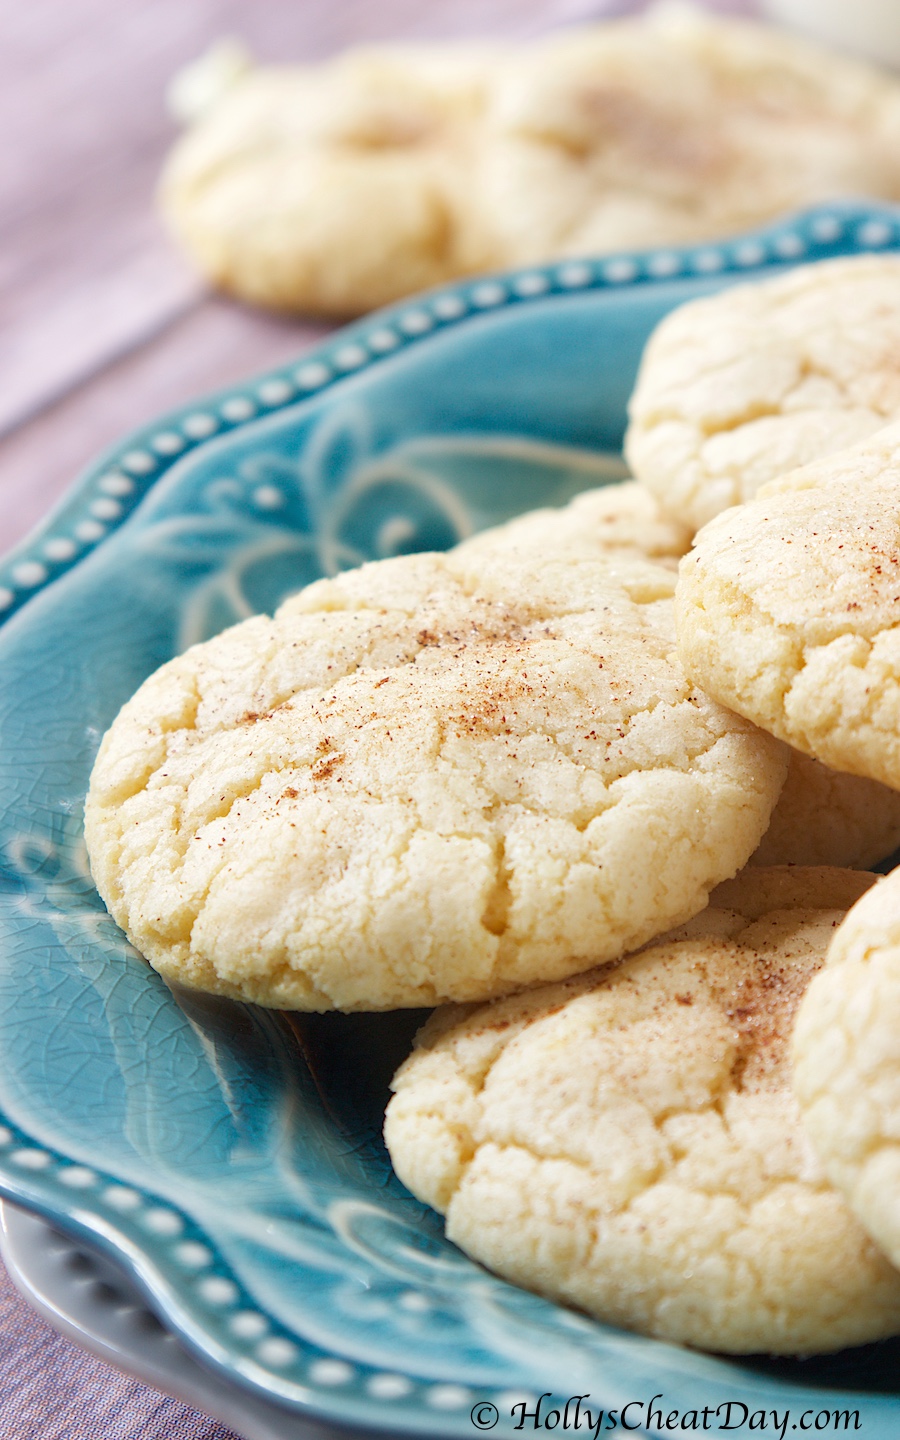
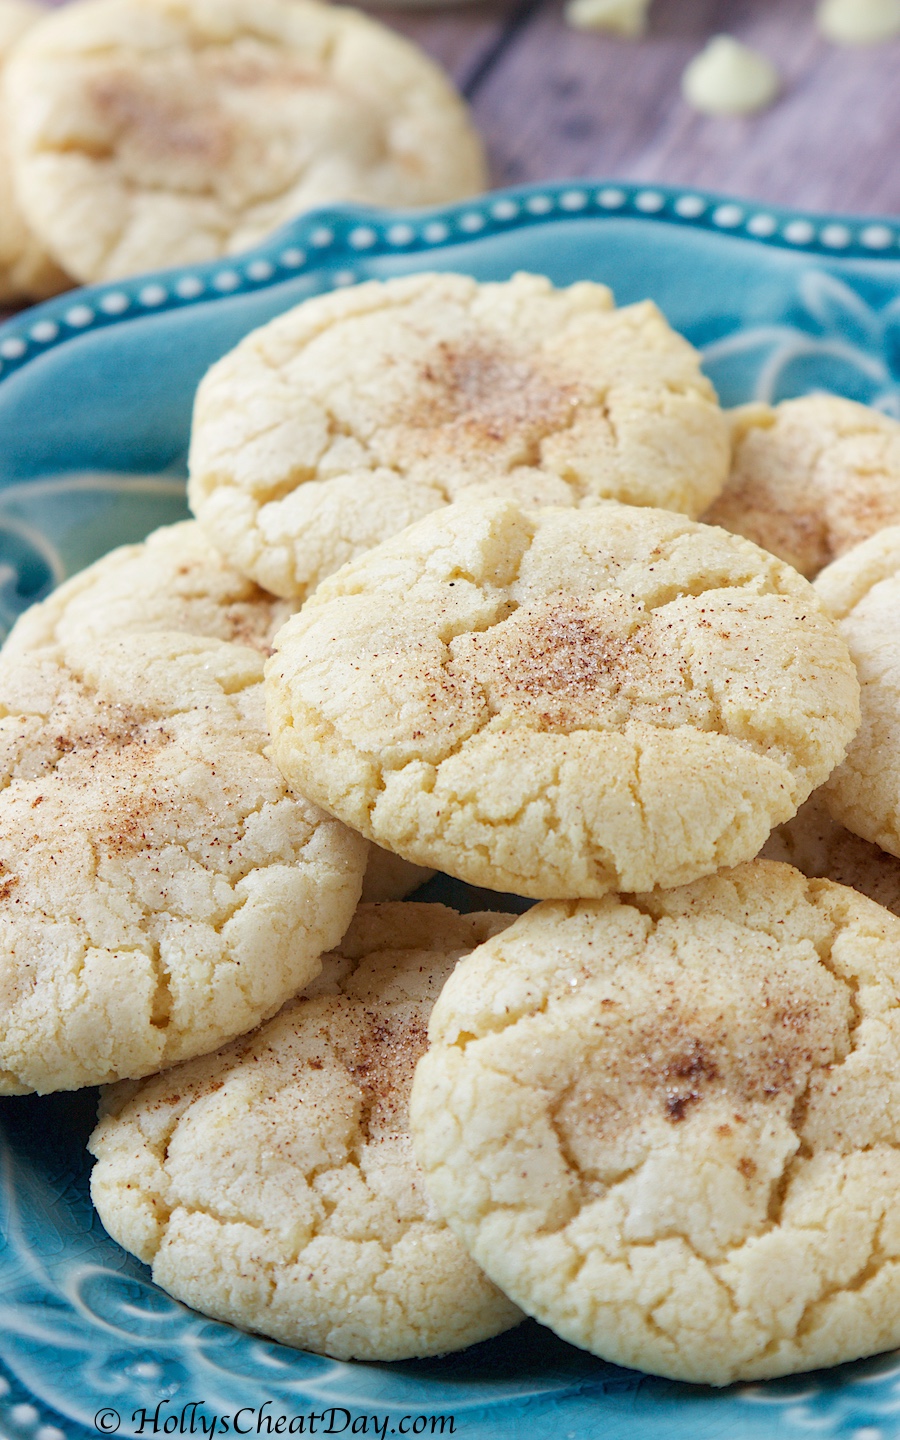
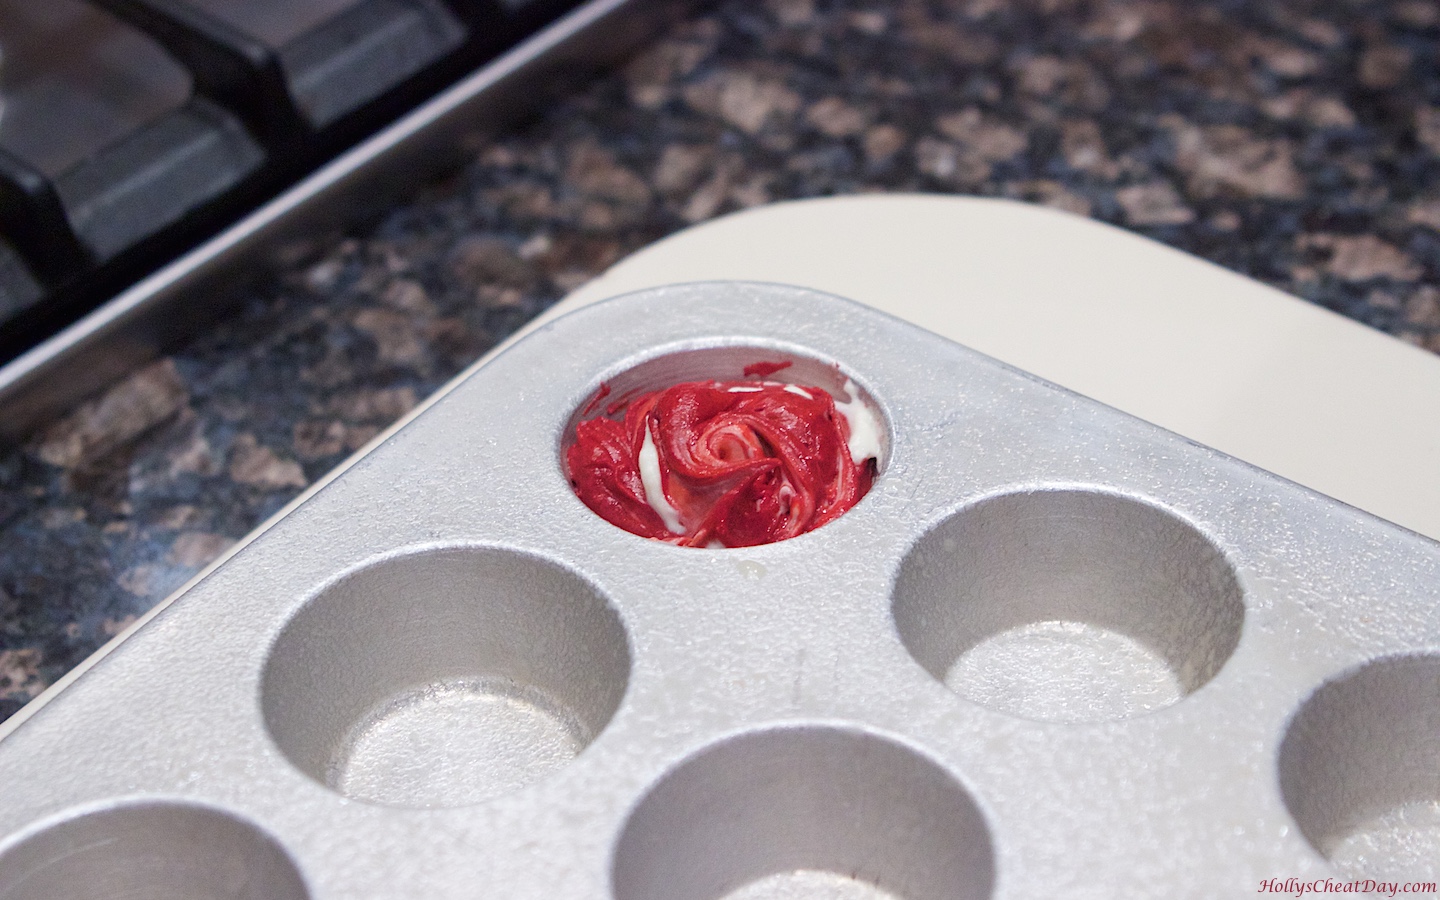
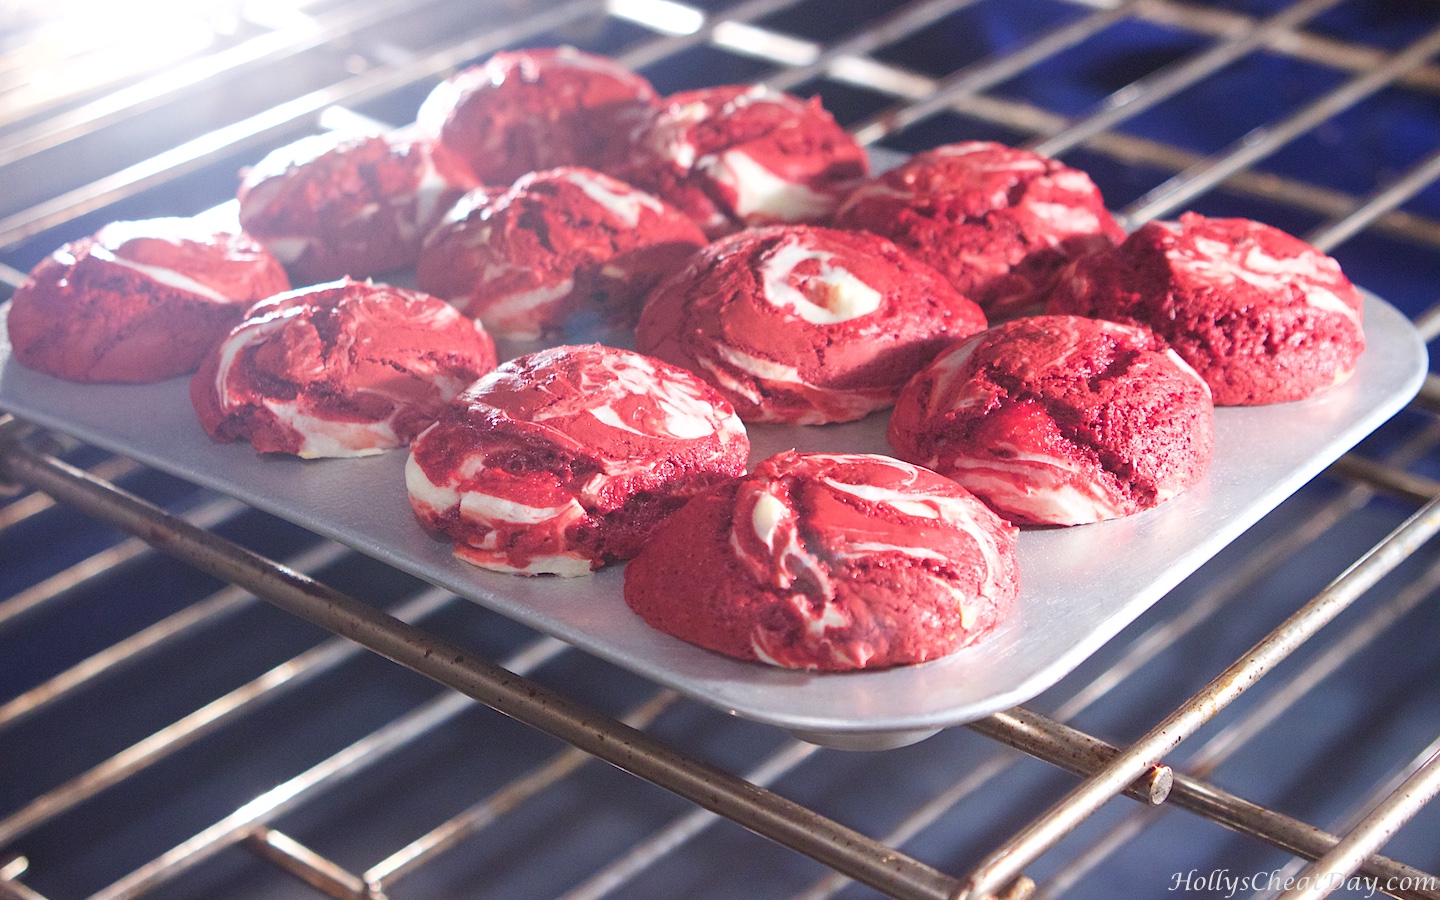
Bake, Bake, Bake & Maybe sprinkle a little bit of cinnamon and sugar on top…

and enjoy!!!

White Chocolate Cheesecake Cookies
2018-02-16 09:31:27
Deliciously simple cookies filled with white chocolate chips and a hint of cheesecake flavor.
Write a review
Save Recipe
Print
Ingredients
  1. 1 (17.9 Oz) Package of Sugar Cookie Mix, Plus the Ingredients the Bag Calls For.
  2. 1 Stick (1/2 Cup) of Unsalted Butter, Melted (Cookie Mix Bag Ingredient).
  3. 1 Tablespoon of Water (Cookie Mix Bag Ingredient).
  4. 1 Egg (Cookie Mix Bag Ingredient).
  5. 1 Tablespoon of Ground Cinnamon.
  6. 1 (3.4 Ounce) Box of Cheesecake Flavored Dry Pudding Mix.
  7. 1 Cup of White Chocolate Chips.
  8. 2 Tablespoons of Cinnamon and Sugar, Mixed Together, For Garnish.
Instructions
  1. Preheat your oven to 350 degrees F (According to the Cookie Mix Bag).
  2. With a hand held or stand mixer with paddle attachment, place the cookie mix, melted butter, water, egg, 1 Tbs of Cinnamon, and the dry pudding mix and mix until just combined.
  3. Now add in your white chocolate chips and mix until just incorporated.
  4. Lightly spray a cookie sheet with non stick spray, and roll your cookie dough into one in balls and place on your cookie sheet about 2 inches apart.
  5. Bake for 10-12 minutes (I took mine out at 12, but I think they would have been even better at 10).
  6. Sprinkle the tops with the cinnamon and sugar mixture while still warm if you like and enjoy!
HOLLY'S CHEAT DAY https://www.hollyscheatday.com/

Filed Under: All Recipes, Cookies

Holly’s Junk Food Review Series : Churro Marshmallows

February 15, 2018 By Holly

Happy Happy Thursday y’all !!! Welcome to another junk food review! So a few weeks ago I was wandering around Target, like we all do, and I happen to come across a few bags of these Smashmallows.  I happen to be a big fan of marshmallows, in stuff, on stuff, all by themselves…so I thought these might be fun to try.  I picked up the Cinnamon Churro flavor because it definitely sounded the best of all of them.

seems promising…

Wow, y’all these were crazy, crazy disappointing.  From the moment that I opened the bag, the smell that came wafting out was not one that I had expected.  I was hoping for delicious cinnamon & sugar and instead the smell that came out was almost medicinal, or like a cleaning product.  Well, despite the off putting smell I still tried one, and though it tasted better than it smelled, it was just not good at all.  I really have no idea how something as seemingly simple as a sugar and cinnamon covered marshmallow could taste so gross and nothing like any of those ingredients is beyond me.  Basically, if you see these guys hanging around Target, just keep walking.  I hope you all are having a wonderful day and thank you so much for stopping by!

Filed Under: All Recipes, Junk Food Review

Easy Peanut Butter Pretzels

February 13, 2018 By Holly

Happy Happy Tuesday y’all!!! I’m way excited to share today’s recipe with you guys. Not only are these little delicious bites of awesome super duper Valentine’s Day themed but also the perfect mixture of sweet and salty, and if y’all need to know anything about me, it’s that I looove sweet & salty, and I’ve never met a doughnut I didn’t love haha. 

Sometimes the most simple recipes are just the best, amiright? and it really doesn’t get much more simple than these guys.  I prepped, prepared and these pretzels were ready to eat in about 30 minutes, and honestly I really think that the sprinkles gave these guys a little extra bit of awesome. 

Really, you could totally change the theme of these pretzels for just about any holiday, pastel sprinkles-Easter, green sprinkles-St. Patrick’s Day, red, white & blue-4th of July, well y’all get the point.  Anyways, these are just the perfect amount of peanut butter taste, with a bit of white chocolate, and the wonderful salty crunch of the pretzel thrown in. 

Not a fan of peanut butter? no problem, maybe consider melting in some cookie butter instead, yummm.  These are really fun, handheld and just yummy, I highly recommend you make a batch of these delights as soon as possible.  Have an absolutely wonderful day & Valentine’s Day and thank you so much for stopping by!!!    

First, the candy melts…

nice and melted & now for the peanut butter to be melted too…

PB officially melted and mixed in…

and then time for the pretzel to be coated in this deliciousness…

add some sprinkles and enjoy!!!

Easy Peanut Butter Pretzels
2018-02-11 14:08:43
The perfect sweet and salty treat, pretzels covered in melted white chocolate and peanut butter.
Write a review
Save Recipe
Print
Ingredients
  1. 1-12 Ounce Bag of White Candy Melts or White Bark.
  2. 1/3 Cup of Creamy Peanut Butter.
  3. 2-3 Cups of Jumbo Salted Pretzels.
  4. Sprinkles for Decoration (Optional).
Instructions
  1. Line a large baking sheet with wax paper, set aside.
  2. In a medium glass or microwave safe bowl, place your candy melts in, and microwave for 2 minutes at 50% power, intermittently taking out to stir.
  3. Once melted, place your peanut butter into the melted white chocolate & place back into the microwave for about 30 seconds or until the peanut butter is completely melted and stirs in smoothly.
  4. Now take one pretzel at a time and place into your chocolate, with a fork flip it over to cover the other side.
  5. Lift the pretzel out with the fork, letting the excess chocolate drip off and place onto your wax paper.
  6. If you would like to put sprinkles onto your pretzels, do so now before the chocolate sets.
  7. Let your chocolate set for about 10 minutes and enjoy!
HOLLY'S CHEAT DAY https://www.hollyscheatday.com/

Filed Under: All Recipes, Candy, Dessert

Repost – Red Velvet Cheesecake Bites

February 9, 2018 By Holly

Happy Happy Friday y’all!!! Here we have another repost of a personal favorite of mine.  These are absolutely delicious and not to mention a whole lot of fun.  Have a wonderful day and thanks so much for stopping by!!!

Happy Monday everyone!! I am so excited to share today’s recipe with y’all…because more mini food!  These maybe mini bites of awesome but they’re certainly not lacking in the wow factor in taste or looks. 

red-velvet-cheesecake-bites-stack| HollysCheatDay.comRed velvet is always such a beautiful deep red color with a subtle chocolaty sweetness, and this time I added a little cheesecake swirl, yum, yum, yummy y’all.  I will say that these delicious little bites were just slightly more time consuming than a plain ole’ sheet cake or cupcakes, but so worth it!

red-velvet-cheesecake-bites| HollysCheatDay.com These are so perfectly hand held and nomable, moist (can we please invent a better word?), soft with just enough sweetness, and sooo pretty. 

red-velvet-cheesecake-bites| HollysCheatDay.comYes, I know, I used a cake mix which is technically cheating, but I think the amount of work it took to make the cheesecake mix that’s dramatic I know and then how I slaved away also, dramatic swirling the red velvet & cheesecake together earned me the right to use a cake mix 🙂  Have a wonderful start to your week, and I hope you get a chance to make these delicious mini bites of Heaven. 

First…cake mix, eggs, water, oil…

red-velvet-cheesecake-bites| HollysCheatDay.comall mixed up, look how yummy…

red-velvet-cheesecake-bites| HollysCheatDay.comnow for the cheesecake mix, cream cheese…

red-velvet-cheesecake-bites| HollysCheatDay.comall whipped up, time for eggs and sugar…

red-velvet-cheesecake-bites| HollysCheatDay.comall mixed up…

red-velvet-cheesecake-bites| HollysCheatDay.coma little red velvet mix & a little cream cheese mix…

red-velvet-cheesecake-bites| HollysCheatDay.comnow a little more red velvet…

red-velvet-cheesecake-bites| HollysCheatDay.comswirl them all up…

red-velvet-cheesecake-bites| HollysCheatDay.comall swirled…

red-velvet-cheesecake-bites| HollysCheatDay.comlook how pretty they bake up…

red-velvet-cheesecake-bites| HollysCheatDay.comyummies!!!

red-velvet-cheesecake-bites| HollysCheatDay.com

Red Velvet Cheesecake Bites
2015-09-11 10:38:42
Yields 24
Mini bites of red velvet cake with a cheesecake swirl.
Write a review
Save Recipe
Print
THE RED VELVET CAKE
  1. 1 Box of Red Velvet Cake Mix
  2. 3 Large Eggs.
  3. 1 Cup of Water.
  4. 1/3 Cup of Vegetable Oil.
  5. 2 (12 Count) Mini Muffin Tins.
THE CHEESECAKE FILLING
  1. 1 (8 Ounce) Package of Cream Cheese, Softened.
  2. 3 Tablespoons of Granulated Sugar.
  3. 1/2 Teaspoon of Vanilla.
  4. 1 Large Egg Yolk.
FOR THE RED VELVET CAKE
  1. Preheat the oven to 350 degrees F.
  2. With a handheld or stand mixer with paddle attachment place your cake mix, eggs, water and vegetable oil in your bowl, mix all ingredients until smooth, set aside.
FOR THE CHEESECAKE FILLING
  1. With a handheld or stand mixer with paddle attachment cream your cream cheese until smooth, then add your sugar, vanilla and egg yolk mixing all ingredients together until well incorporated, set aside.
ASSEMBLY
  1. Spray your mini muffin tins liberally with bakers spray.
  2. Spoon 3/4 of a tablespoon of red velvet batter into your muffin pan.
  3. Then spoon 1 1/2 teaspoons of cheesecake mixture on top of your red velvet batter.
  4. Then place 1 teaspoon of red velvet batter on top of your cheesecake mixture.
  5. Using a toothpick, swirl the red velvet batter and cheesecake batter together.
  6. Bake for 12-14 minutes (I took mine out at 14) or until the cheesecake is fully baked.
  7. Let cool completely.
HOLLY'S CHEAT DAY https://www.hollyscheatday.com/

Filed Under: All Recipes, Cheesecake, Dessert

Holly’s Junk Food Review Series : Little Debbie Strawberry Cakes

February 7, 2018 By Holly

Happy Happy Wednesday y’all!!! Just in case y’all were not aware yet, Valentine’s Day is exactly a week from today.  Like with most holidays, the best part to me is the food.  I personally think that Valentine’s Day has some of the best food items, because everything is chocolate, strawberry and red velvet, mmm.  Also, I happen to think that desserts that are pink and red taste better, pretty sure that’s a scientific fact hehe.  Anyways, I’m going to wave my hillbilly flag a little bit and admit that I love Little Debbie snack cakes, I know, I know, I should only be enjoying fancy, fresh from the bakery desserts, but there’s just something about their little snack cakes.  When I saw these Be My Valentine Strawberry Cakes in the store, there was no hesitation in buying them because for one, they’re heart shaped, omg, and second, they’re strawberry, and I have had a life long love of strawberry cake…

 so cute!

So, first off, these didn’t disappoint even a little, actually they far exceeded my expectations.  In typical Little Debbie fashion these are inexplicably soft and moist.  I don’t know what magic they possess, but really, how do they keep these delectable little cakes so fresh tasting in a little plastic bag?  The strawberry flavor these have is spot on, and the super duper creamy filling pairs perfectly with the flavorful cake.  I thought the frosting on the exterior of the cake might end of being white chocolate, but it’s your standard vanilla which was perfectly delicious.  If you come across these little cakes in your local grocery store, absolutely pick up a box or two, especially since these are limited edition.  I give these a solid 9 out of 10.  Thanks for stopping by and have a wonderful day!!!

Filed Under: All Recipes, Junk Food Review

Repost-Kiss Me Quick Cocktail

February 5, 2018 By Holly

Happy Happy Monday y’all!!! This cocktail is sooo worth a repost, and a must make for your Valentine’s Day! This one is a little more work than the average cocktail, but worth every bit.  Have a wonderful day and thank you so much for stopping by!!!

Happy Happy Cocktail Thursday y’all!!!  Ok so I don’t know if you guys have realized yet, but next Tuesday is Valentine’s Day! Can you guys believe it? I can’t, the year is already flying by, but it’s totally worth it because Valentine’s Day is all about red, pink, hearts, themes,  love and fun. 

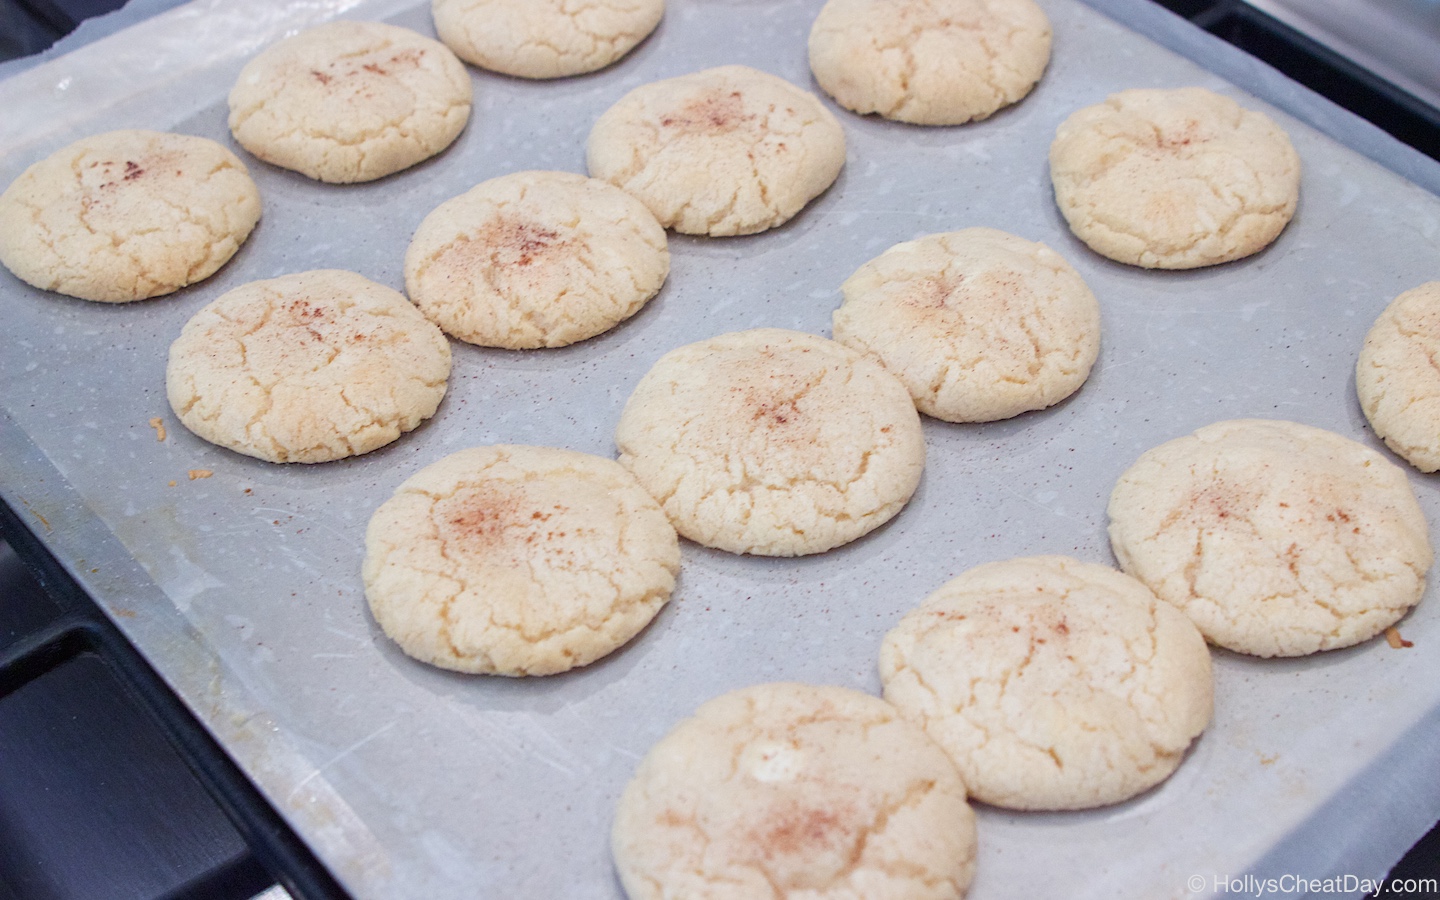
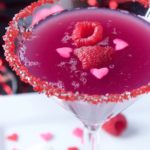
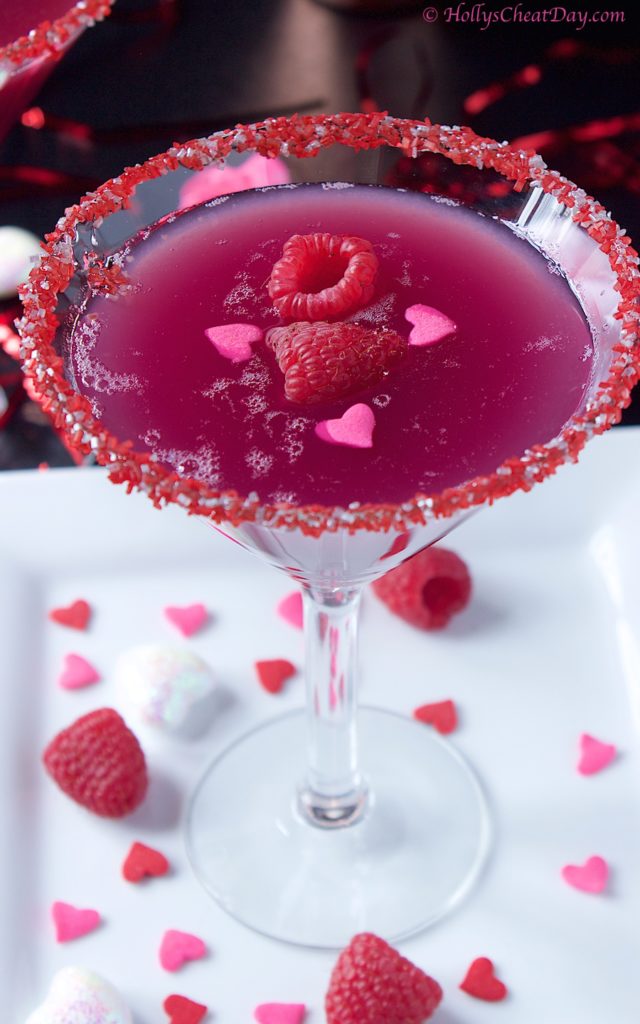
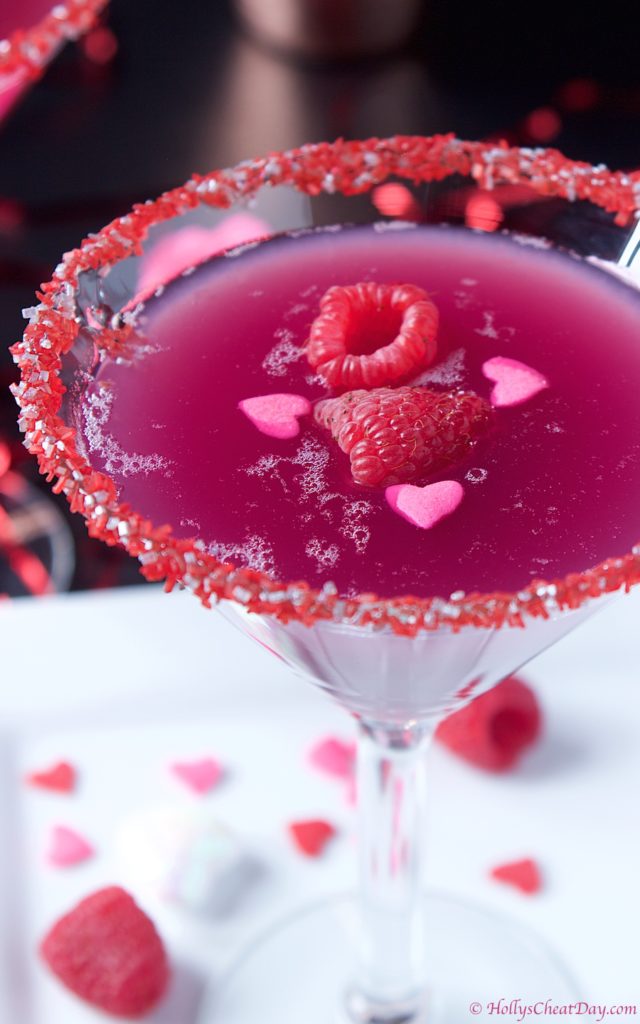
Luckily, today’s cocktail is aaaalll of those things, with a bonus of it being freaking delicious.  This Kiss Me Quick Cocktail (OMG so cute right?) is a bit more work than most cocktails I post here, but I just couldn’t pass up making this lovely and beautiful raspberry sauce to go in it. 

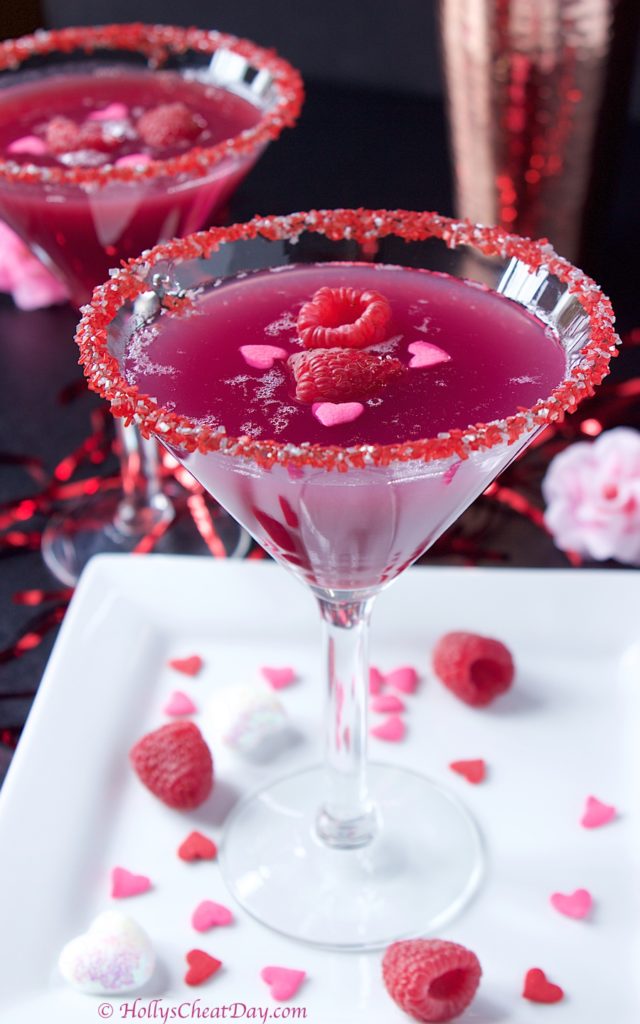
This delicious libation also includes pineapple juice (which IMO makes everything better) and Cake Vodka (also not too shabby haha).  If you want to make this extra Valentine’s-ey then I highly recommend throwing in some cute heart sprinkles like I did for your Valentine.  I think this is such a fun and fruity cocktail and I hope you get to make this too.  Thank you so much for stopping by and I hope you have a wonderful day!!! 

for the raspberry sauce… sugar and water…

then the raspberries…

after simmering for a while…

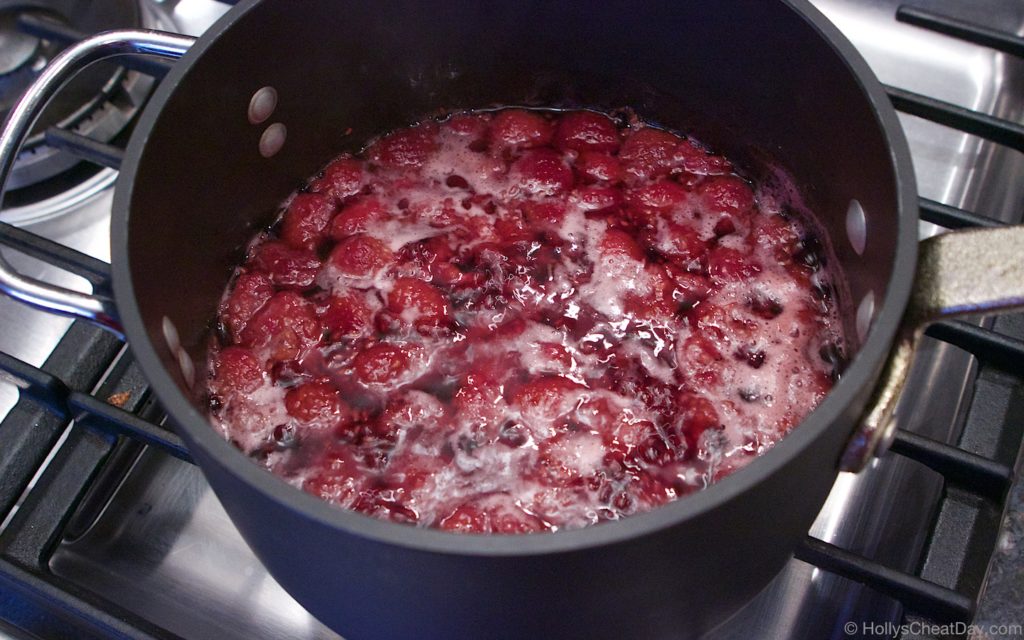
nice and strained (the fruit left over)…

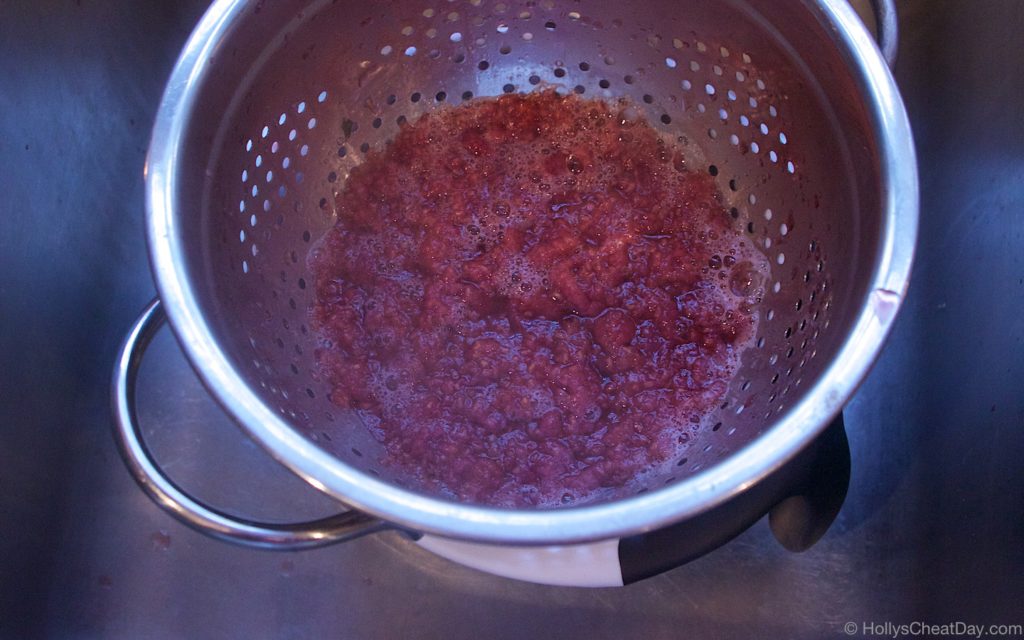
back into your saucepan (minus the fruit leftovers) and cook for a bit longer…

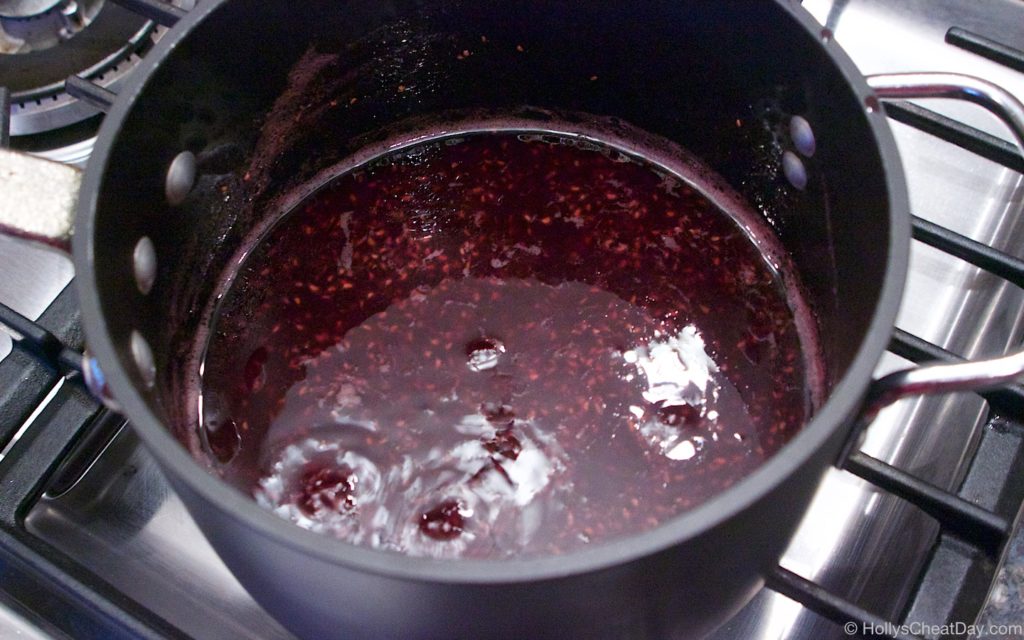
raspberry sauce done…

now for the cocktail, raspberry sauce into your glasses…

then the pineapple juice and cake vodka…
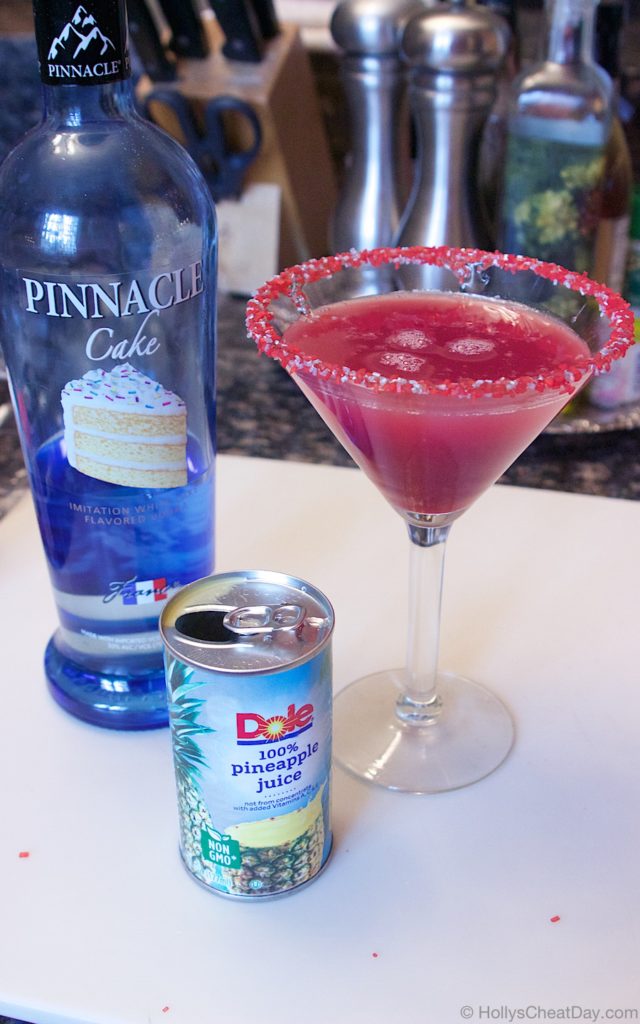
and enjoy!!!

Kiss Me Quick Cocktail
2017-02-08 16:02:15
Yields 2
Delicious and fruity cocktail to enjoy with your Valentine, filled with a fresh raspberry syrup.
Write a review
Save Recipe
Print
KISS ME QUICK COCKTAIL
  1. 8 Ounces of Fresh Raspberry Sauce, Divided.
  2. 4 Ounces of Vanilla Cake Vodka, Divided.
  3. 8 Ounces of Pineapple Juice, Divided.
RASPBERRY SAUCE
  1. 1 Cup of Granulated Sugar.
  2. 2 Cups of Water.
  3. 12 Ounces of Fresh Raspberries.
FOR THE KISS ME QUICK COCKTAIL
  1. Place 4 ounces of the raspberry sauce in each glass, then 2 ounces of the vodka in each glass, then 4 ounces of the pineapple juice in each glass, mix them up and enjoy!
FOR THE RASPBERRY SAUCE
  1. In a medium saucepan, place the water and granulated sugar in it and on medium-high heat mix together until the sugar dissolves.
  2. Now add the raspberries and bring to a boil, then lower the heat and let simmer for 25 minutes.
  3. Remove your saucepan from the heat and strain the raspberry/sugar mixture over a bowl, throw away the fruit from the strainer then place the syrup back into your saucepan.
  4. Simmer the raspberry sauce for 15 more minutes, then strain again, let cool and place into your drink.
HOLLY'S CHEAT DAY https://www.hollyscheatday.com/

Filed Under: All Recipes, Drinks

  • « Previous Page
  • 1
  • …
  • 5
  • 6
  • 7
  • 8
  • 9
  • …
  • 48
  • Next Page »
logo
Food Advertisements by
Holly's Cheat Day Profile Pic

Hey, y’all! My name is Holly, and welcome to my Cheat Day...where Gluttony and other Delectable Indulgences are celebrated!    Read More...
logo
Food Advertisements by
logo
Food Advertisements by
Copyright © 2017 ❤ Holly's Cheat Day ❤ Privacy Policy