HOLLY'S CHEAT DAY

...because one day a week I have to be bad

  • Home
  • About
    • Who Is Holly?
    • FAQ
    • Contact
  • Recipes
    • Bars/Brownies
    • Breakfast
    • Cake
    • Candy
    • Cheesecake
    • Cookies
    • Cupcakes
    • Dessert
    • Dip
    • Drinks
    • How To
    • Junk Food Review
    • Lighter Side
    • Pie
    • Savory

Easy Gingerbread Poke Cake

December 23, 2018 By Holly

Happy Happy Sunday y’all and welcome to another cheat day! Christmas is less than 48 hours from this very moment and I imagine that there are a few (gazillion) of you that might not be the ultimate Christmas unicorn either…you know, the ladies out there that have all gifts bought & wrapped, all meals prepped and ready to go and are currently chilling waiting for the magical day to arrive with trumpets sounding and a glittery sunrise to greet them…or something remotely close to that.
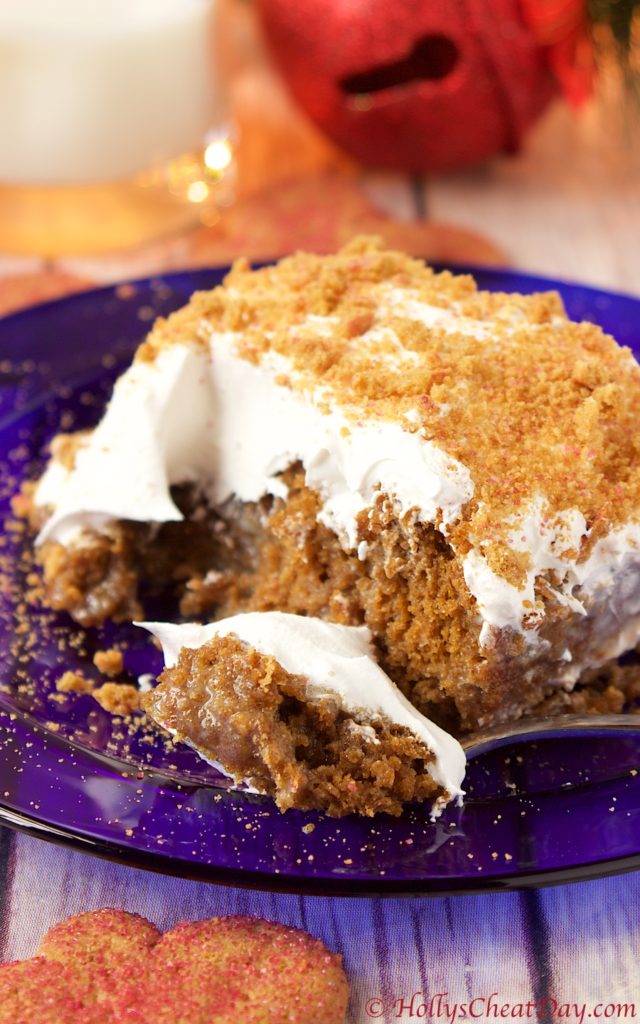
I like to think of myself as more of Christmas ass donkey, clumping along forgetting things I have written clearly on my to-buy list, and losing all track of time and getting further and further behind until I feel like a crazy person. Soooo, with that said, guess what? I have a totally easy and delicious recipe to share with y’all today.

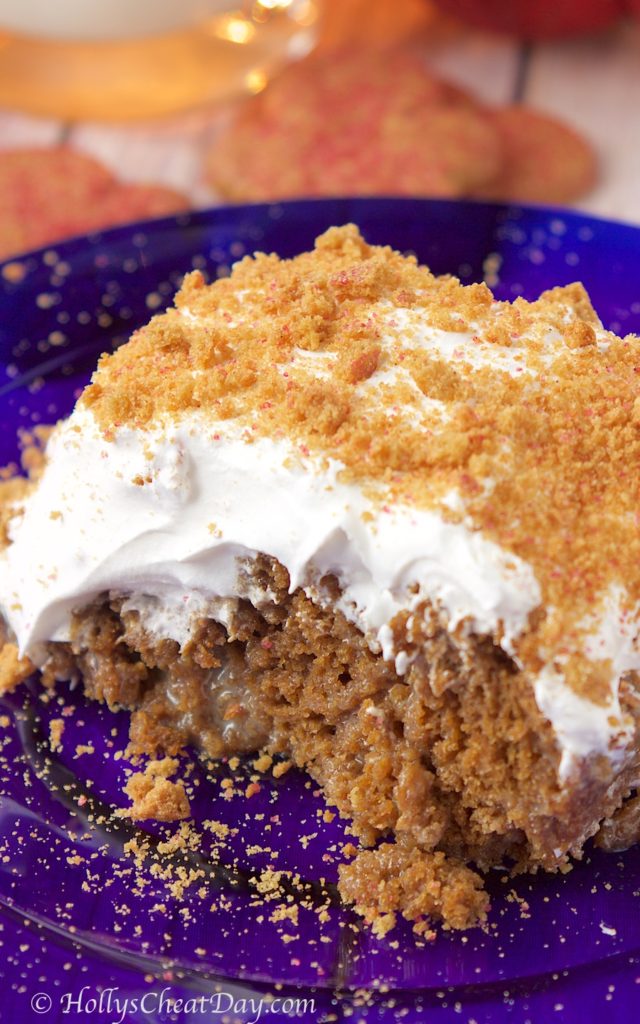
This cake is sooo moist and flavorful you guys, and it’s a wonderfully doctored cake mix, so it’s ready in a snap. Is this the most beautiful dessert you’ll ever make? Heck no, but it’s an A+ on the Holly’s Easy/Delicious scale…that I just made up.
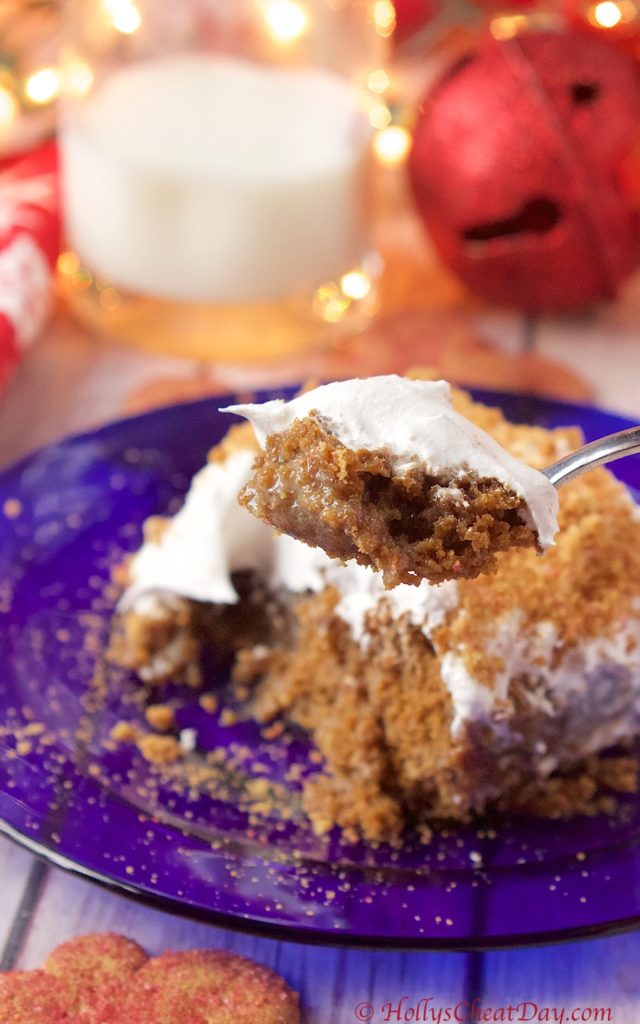
This was a huge hit when I made this for my family a few weeks ago, so much so, I’ll be making one tomorrow and I’m totally not stressing because it’s so easy. Anyways, this donkey needs to get a move on and try to finish up all things on my seemingly never ending to-do list. Y’all have a wonderful day and thanks so much for stopping by!!!

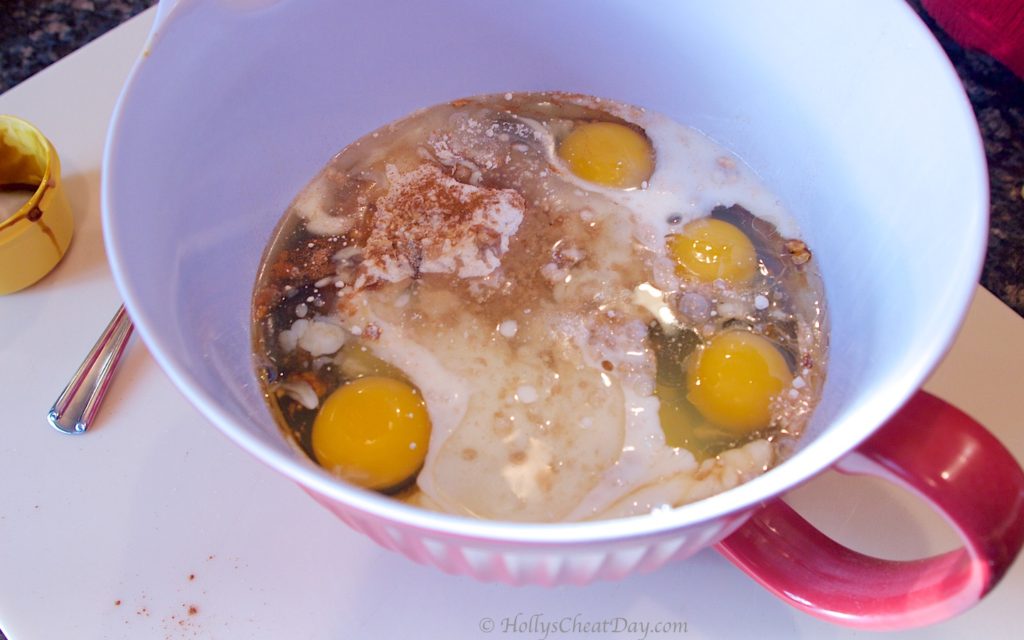
All of your ingredients into your (one) bowl…
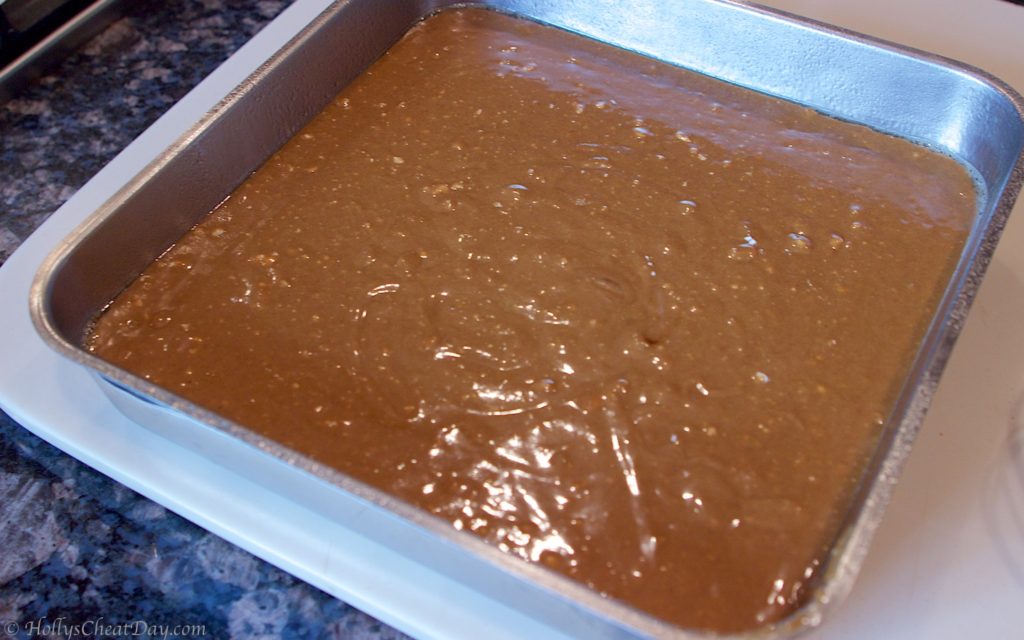
mix it all up and pour into your pan…
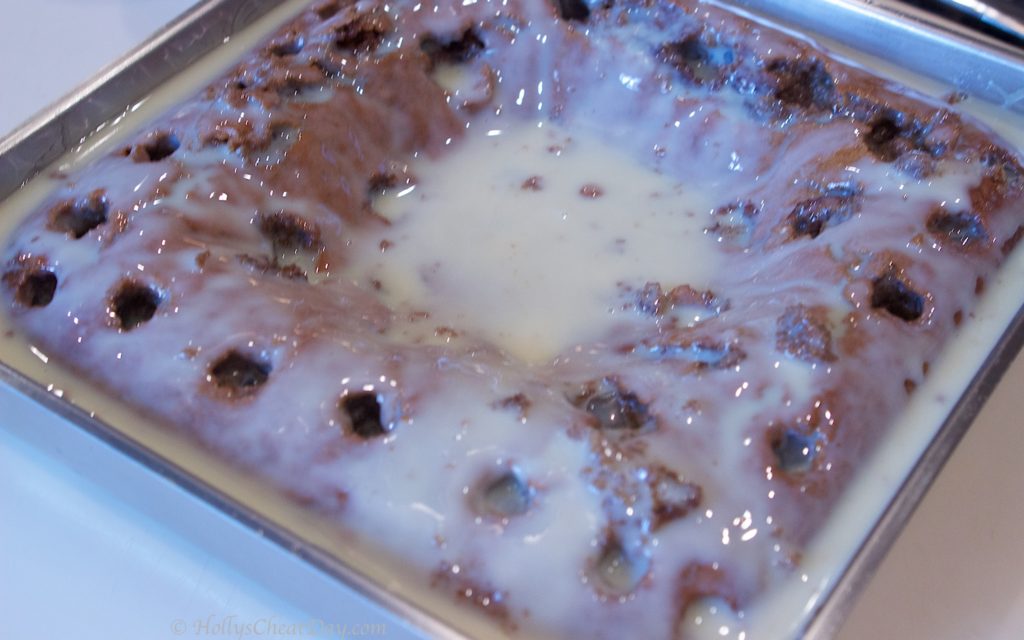
this part looks gross, but poke holes in your cooled cake and pour sweetened condensed milk all over…
then cover the whole top of the cake with Cool Whip & gingersnap cookie crumbles…
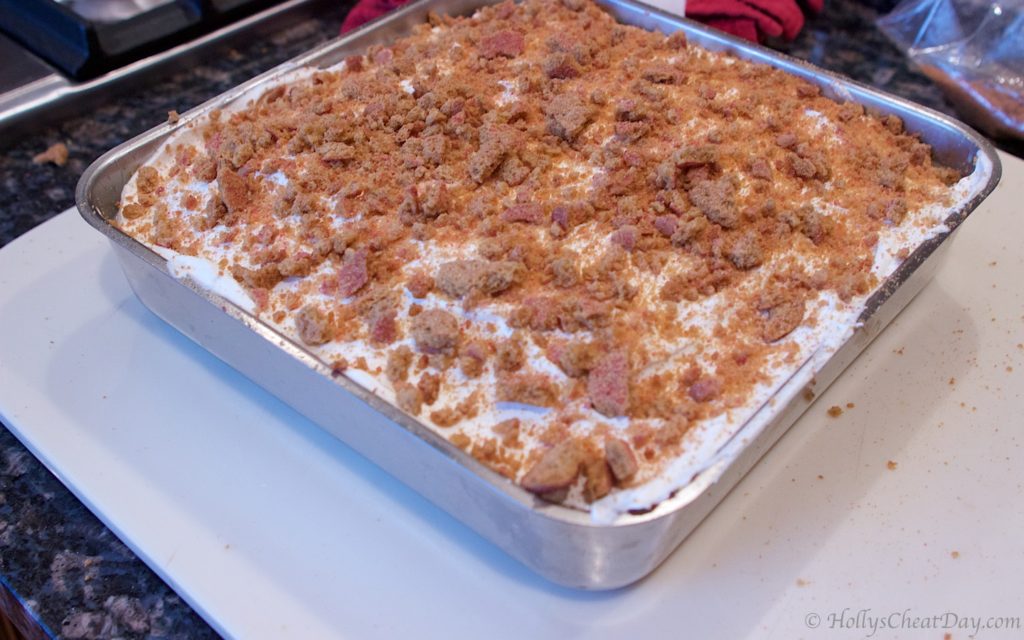
Let it chill in the fridge for a while, then enjoy!!!
RECIPE:

INGREDIENTS:

1-15.25 Ounce Box Spice Cake Mix.
1 Teaspoon Ground Ginger.
1 Tablespoon Ground Cinnamon.
1/2 Cup Buttermilk.
1/2 Cup Molasses.
1/3 Cup Vegetable or Canola Oil.
4 Large Eggs.
14 Ounce Can Sweetened Condensed Milk.
1-8 Ounce Tub Cool Whip – Thawed.
12-15 Gingersnap Cookies – Crushed

HOW TO:

Preheat your oven to 350 degrees F.
In a large bowl, add the dry cake mix, spices, buttermilk, molasses, eggs and oil and mix until well combined.
Pour into an 8×8 pan and bake for 28-30 minutes or until an inserted toothpick comes out clean.
Allow your cake to cool completely and once cooled with the end of a wooden spoon, poke holes all over the top of your cake and then pour the sweetened condensed milk all over the top of your cake. Cover the entire top of the cake with the Cool Whip, then sprinkle the crushed gingersnap cookies all over the Cool Whip. Place your cake back in to the fridge for at least another hour and enjoy!

Filed Under: All Recipes, Cake, Dessert

Milk & Cookie Bars

December 19, 2018 By Holly

Happy Happy Wednesday y’all and welcome to another cheat day post!!! Holy heck you guys, Christmas is sooo almost here and I can honestly say I’ve never been this far behind in my shopping & wrapping…maybe ever.  I literally woke up this past Saturday and had the very stressful realization that I had done basically no Christmas shopping and only had a little over a week to get it done. 

Seriously, thank goodness for Amazon you guys, because fast forward 2 hours and I was pretty much dunzo with all of my shopping.  Will all of it arrive in time? yeah, not so sure, but it’s all good, if it doesn’t then my loved ones will continue to get gifts into the New Year. 

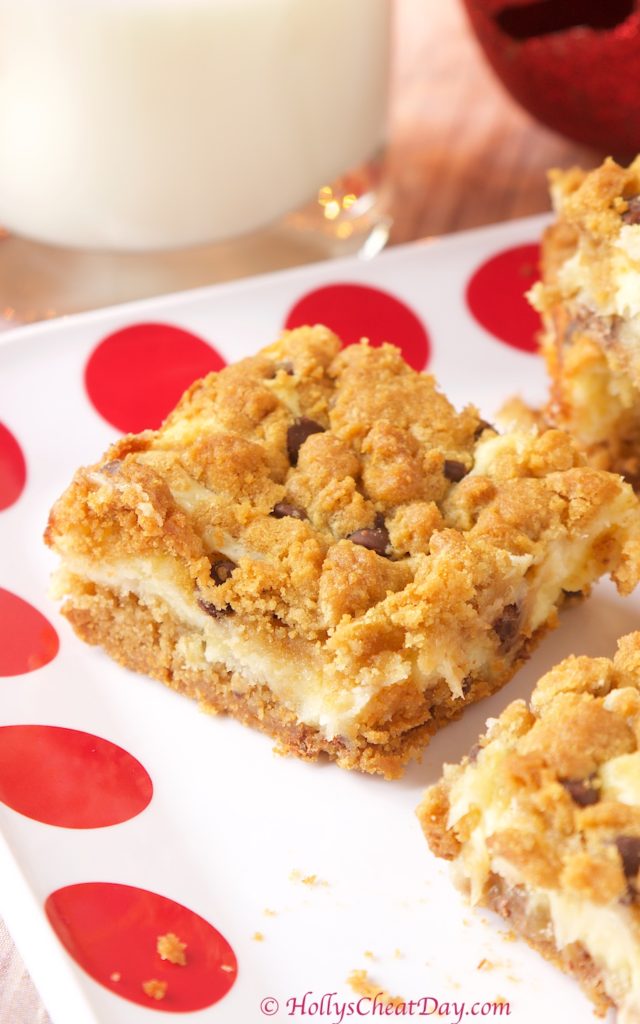
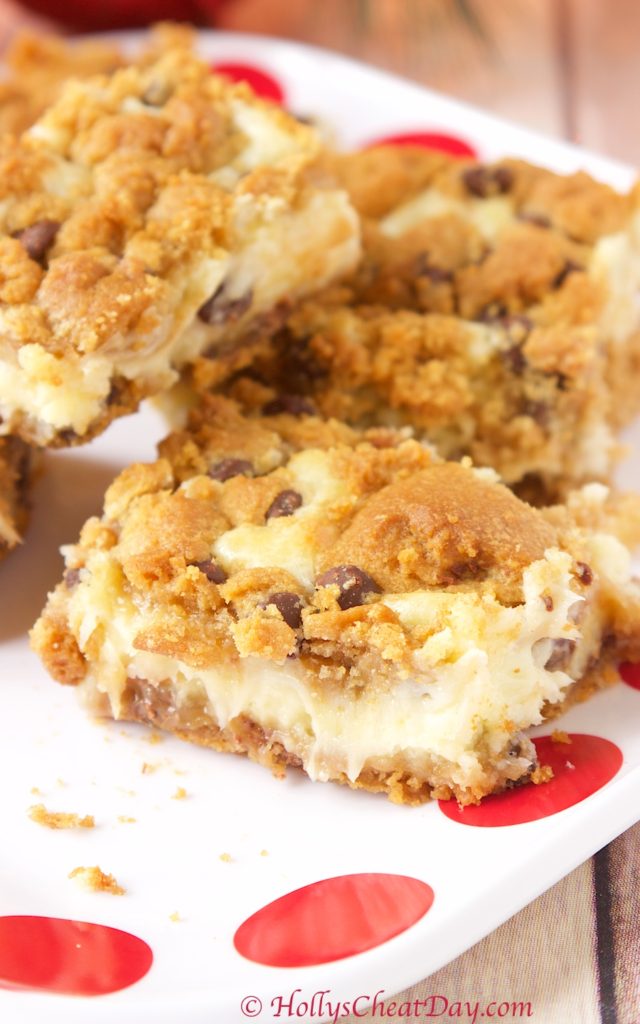
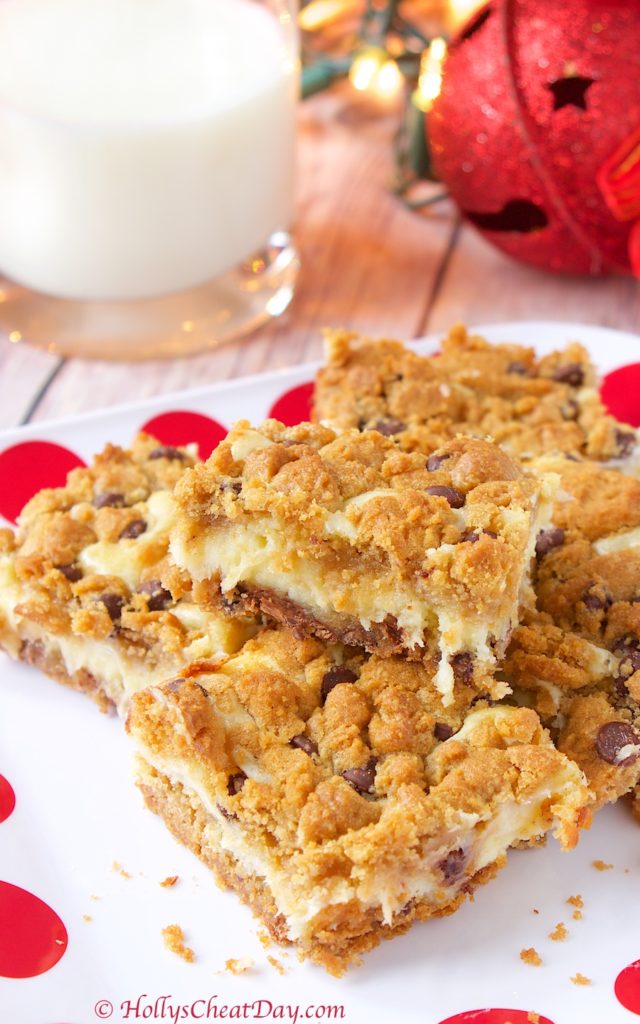
Obviously, y’all are not here to listen to my stress induced (of my own making) tirade, so let’s get to the good stuff…the food! I had a thought a few weeks ago, that Santa might be sick of the same old milk & cookies and maybe he might enjoy an absolutely delightful dessert that brings the traditional ingredients into one. 

So technically, the ‘milk’ in these bars is a delicious cream cheese, but cream cheese has milk in it, sooo close enough.  Also, I took the easy way out and used store bought cookie dough which I recommend because these bars were thrown together in about 15 minutes and sooo delicious y’all.  I think that these bars would be the perfect addition to your Christmas day, or for Santa on his travels, either way, these are a must make.  Thank you so much for stopping by and I hope you all have a wonderful day!!!

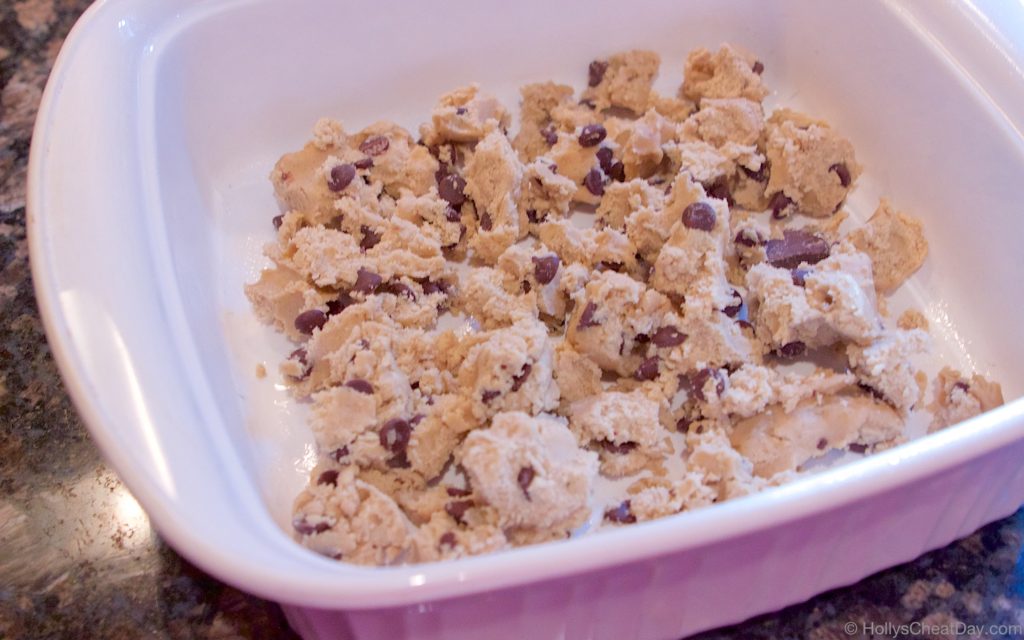
First, place your cookie dough in your pan…

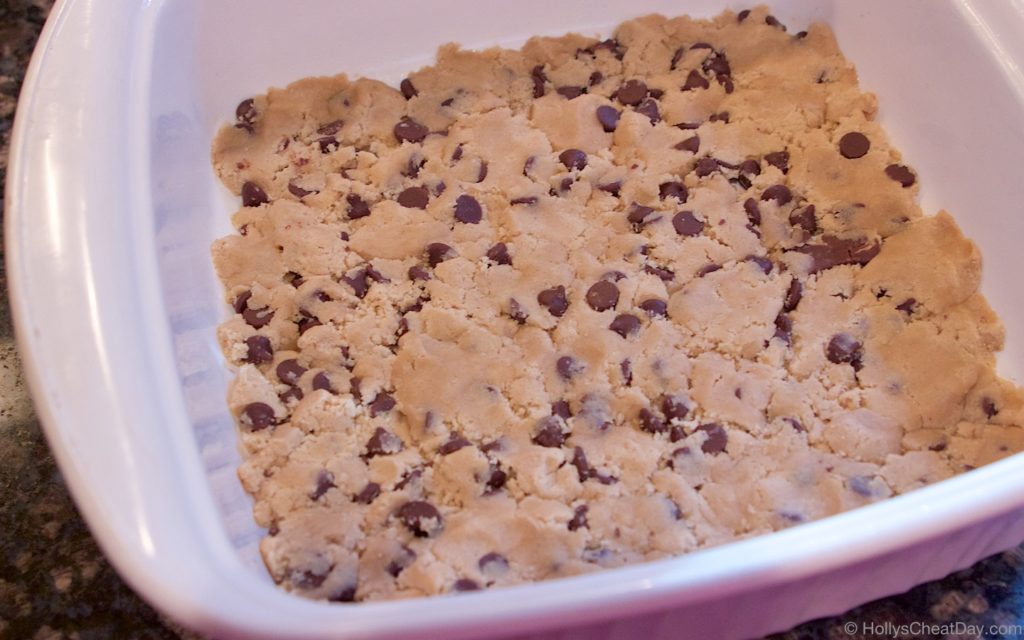
then, smoosh it into the bottom of your pan…

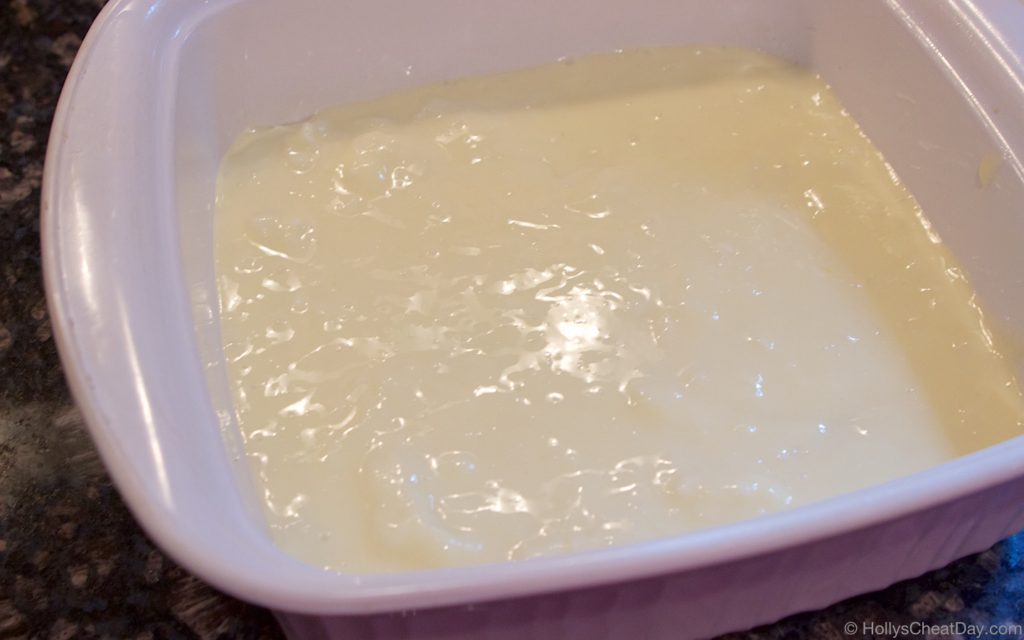
cream cheese mixture on top of your cookie dough…

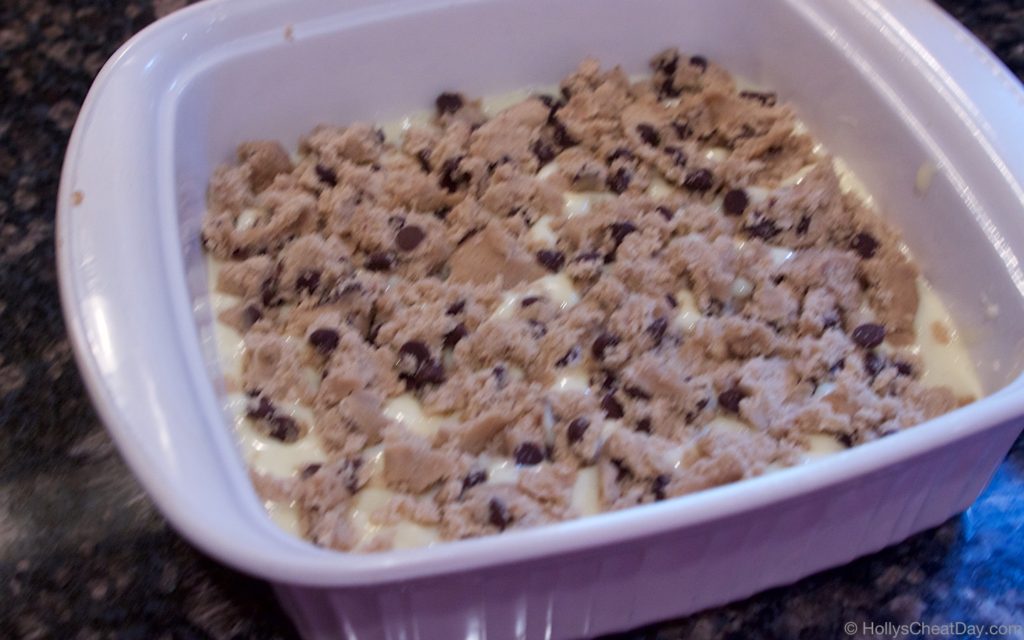
then the rest of your cookie dough on top, and possibly the blurriest picture I could have taken…

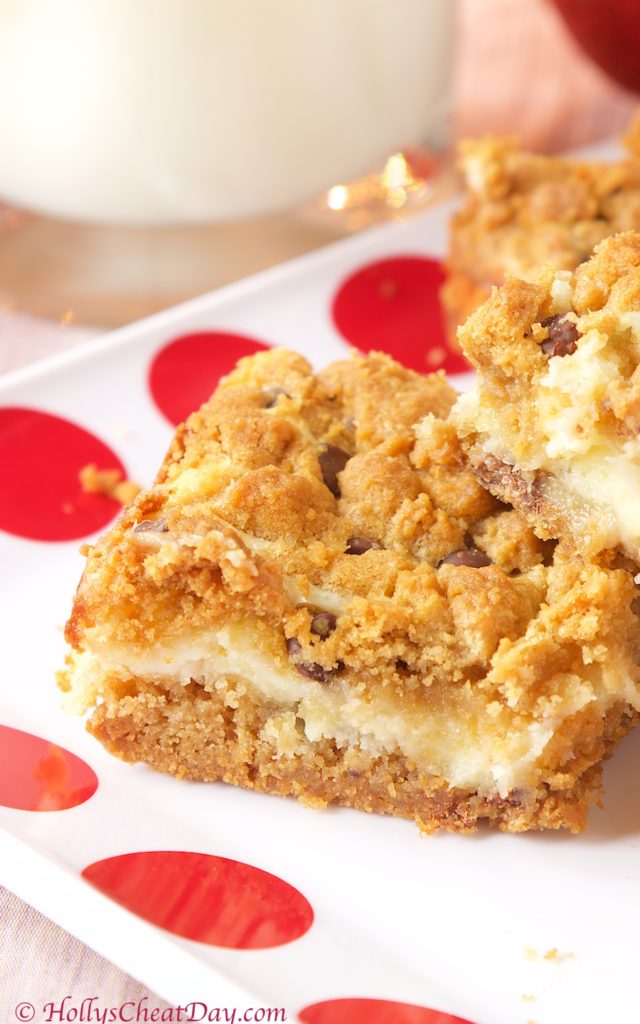
bake, bake, bake and enjoy!!!

RECIPE:

1 (8 Ounce) Package of Cream Cheese, Softened.
½ Cup of Granulated Sugar.
1 Large Egg.
1 (16.5 Ounce) Chocolate Chip Cookie Roll, Divided.

Pre-heat your oven to 350°F. With a handheld or stand mixer with paddle attachment, beat cream cheese, sugar and egg until smooth.

In a 9 or 8 inch square pan, break up half of cookie dough, pressing into the bottom until an even layer is formed. Spread your cream cheese mixture over your cookie dough. Then crumble the remaining half of dough over the cream cheese mixture.

Bake 30 to 35 minutes or until golden brown and firm to the touch.  Refrigerate at least 2 hours or until chilled. Cut into bars and enjoy!!!


Filed Under: All Recipes, Bars/Brownies, Cookies

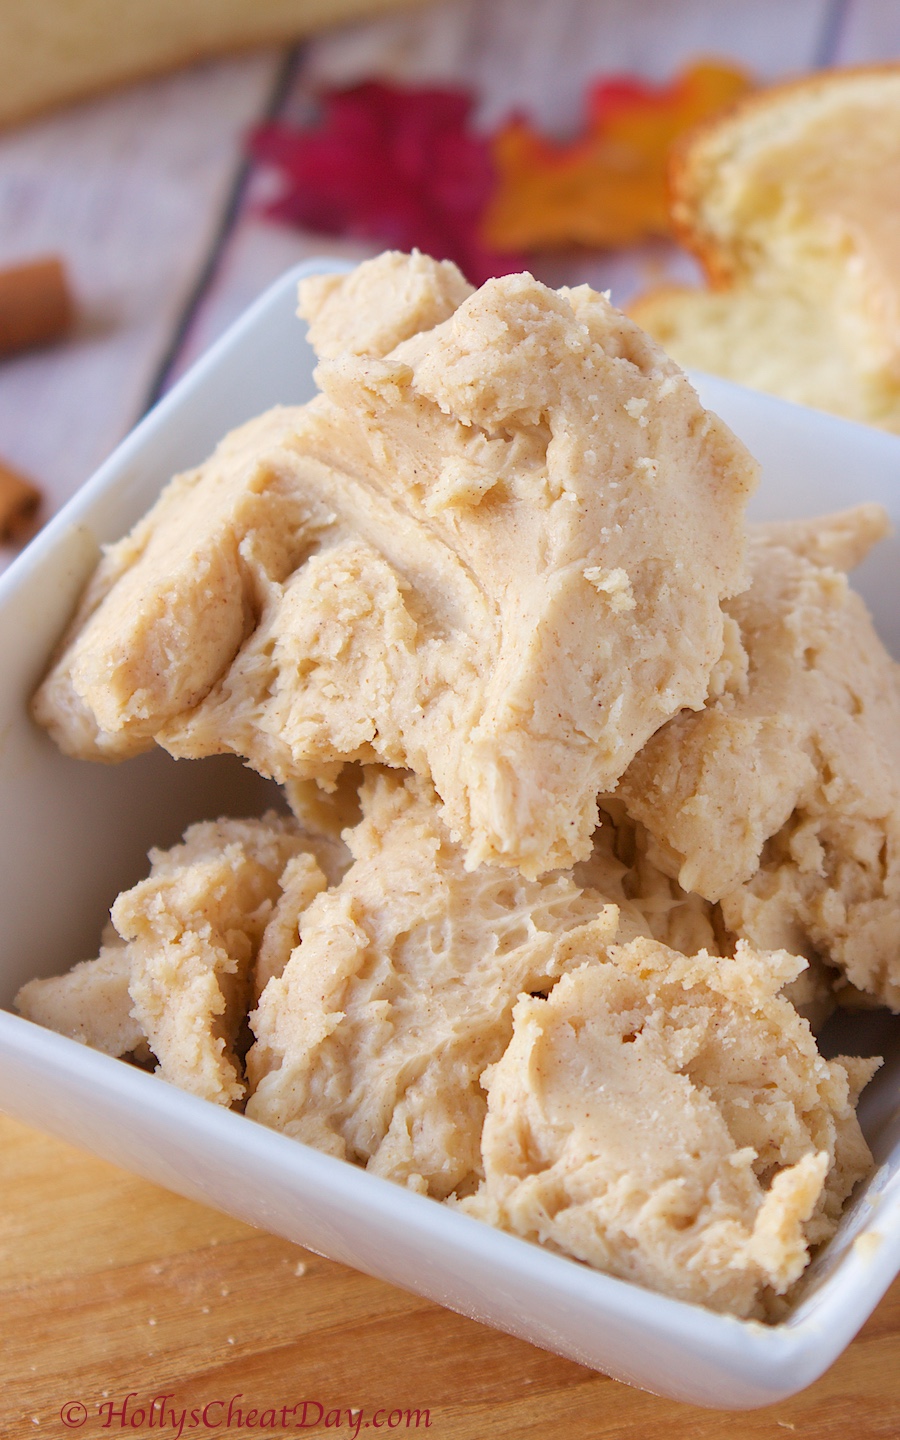
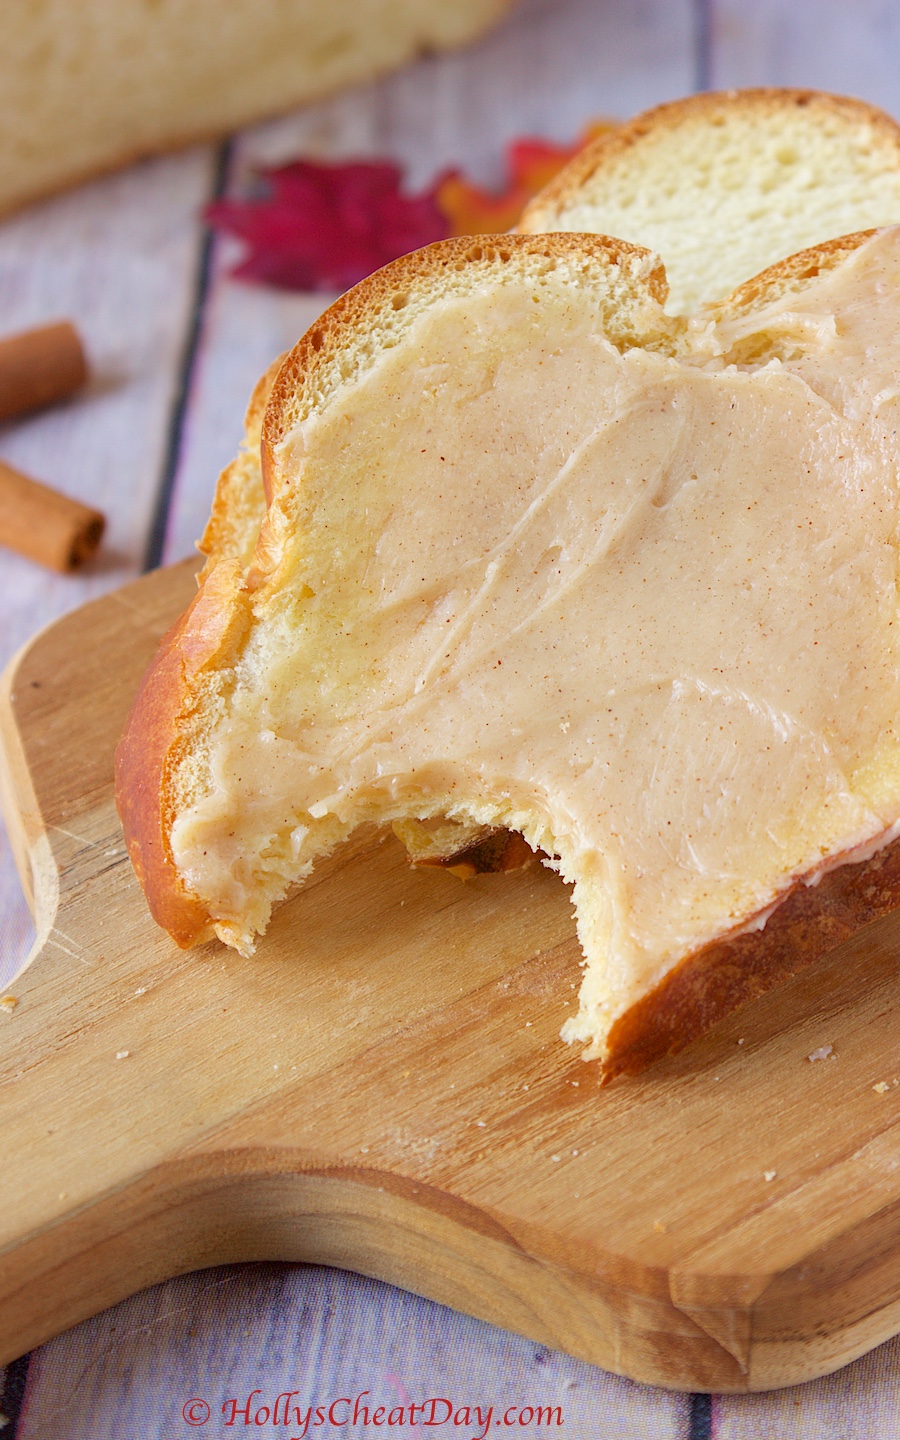
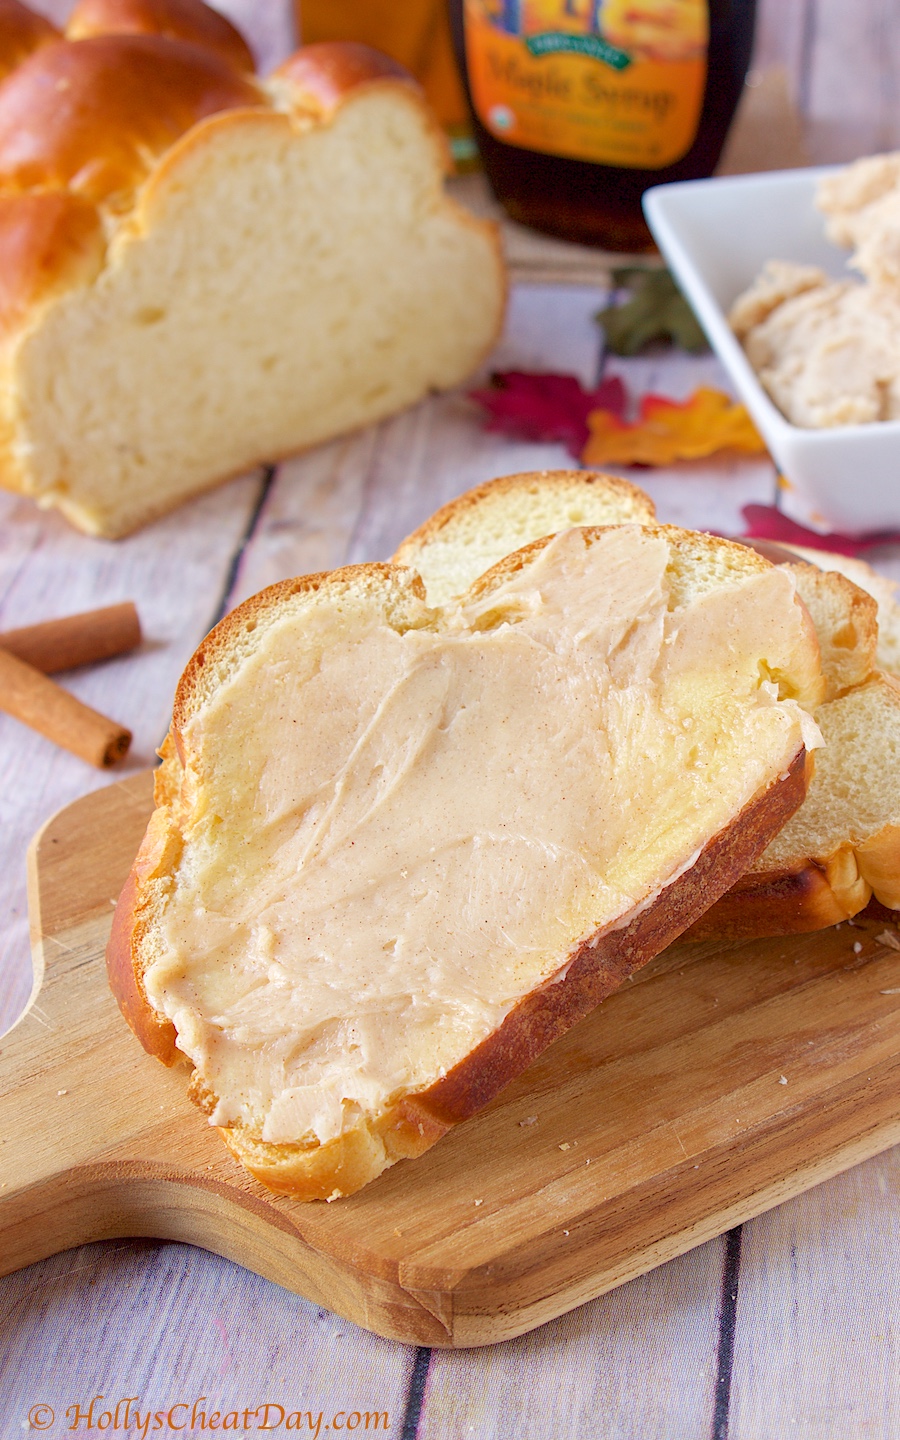
Maple Cinnamon Butter

December 3, 2018 By Holly

Happy Happy Monday y’all!!! Tis December, and yes I feel like using the word ‘Tis’ is totally acceptable when it’s December, because it feels wonderfully Dickens-esque…or something like that.  I personally was completely finished decorating for Christmas by November 2nd, because I just can’t get enough of all of the beautiful decorations and I want to get to enjoy them for as long as possible.  I realize that normal people usually wait until at least the day after Thanksgiving to decorate, so I assume it is now totally fine for me to bring out the seasonal recipes as well. 

 Sometimes I think that the simplest foods are the best.  Like butter for example.  I think we all have those restaurants that the food is just okay, but they have the best rolls with deliciously sweetened butter served with it, hence the only reason that you’re even there. 

That is definitely what I was trying to recreate with this recipe.  Maple and cinnamon make everything better and I assumed they would do the same with butter and boy was I right. 

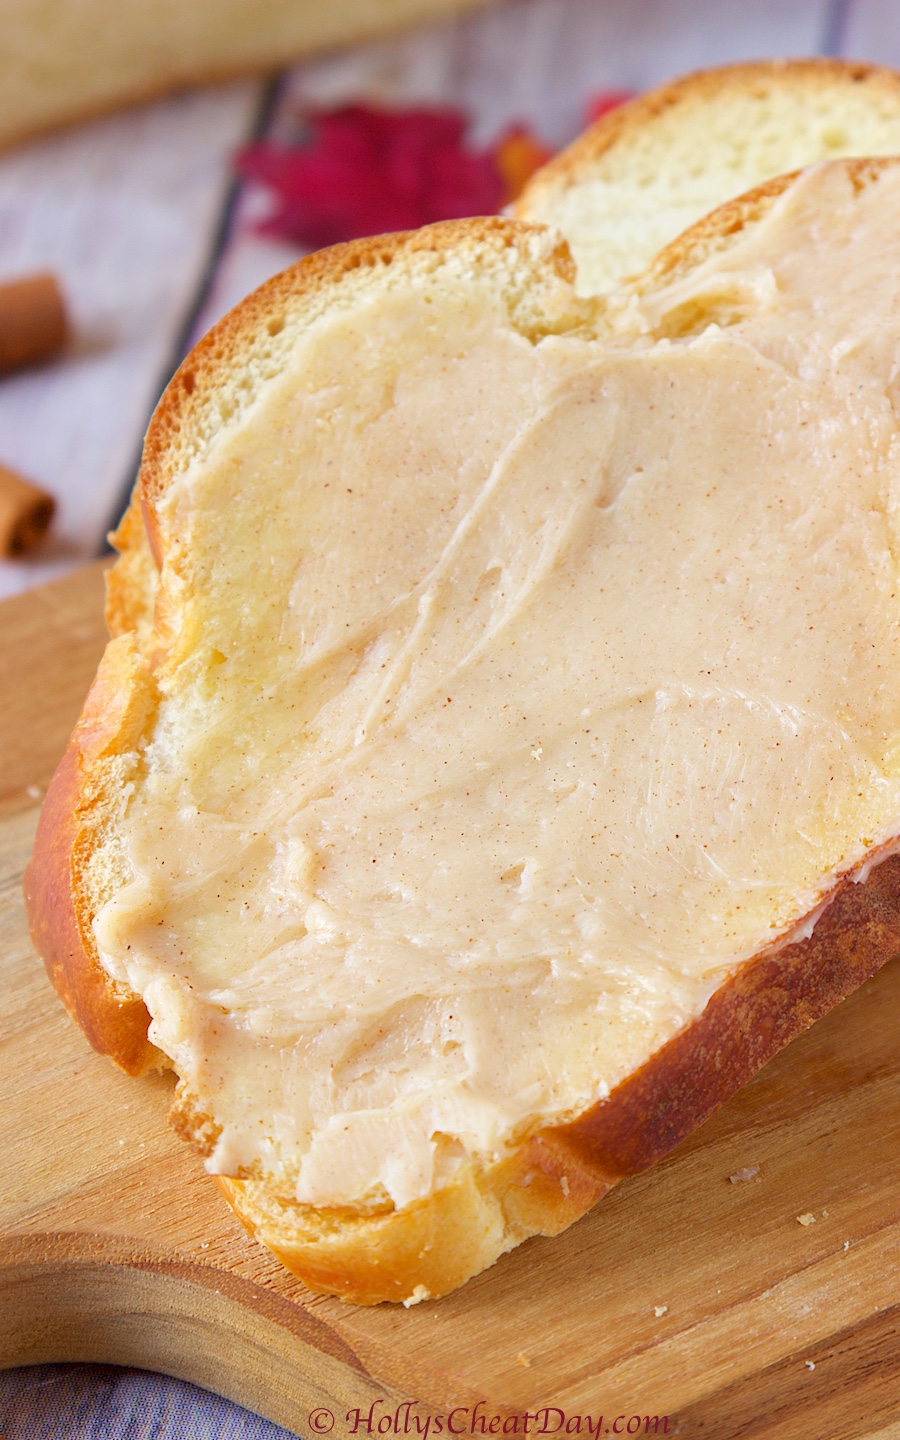
This butter is sinfully delicious and the star of the show on a toasted piece of bread.  The simplicity of this recipe also means it’s crazy easy to make too, so most definitely a win-win.  Also, this makes a whole lot of butter, so you will definitely have plenty around to enjoy for the next few weeks.  I totally think that y’all should make some of this and enjoy it on pretty much everything haha.  Thanks so much for stopping by and I hope you have a wonderful day!!!

MAPLE CINNAMON BUTTER RECIPE:

4 Sticks of Unsalted Butter, Room Temperature.
1 Cup of Maple Syrup.
2 Tablespoons of Cinnamon.
1 Teaspoon of Salt.

With a handheld or stand mixer with paddle attachment, place your unsalted butter into your bowl and whip until light and fluffy.
Add in the rest of your ingredients and with your mixer on low at first, then slowly increasing the speed.
Scrape down the sides of the bowl and continue mixing until all ingredients are incorporated fully.
Keep refrigerated and try to take out the butter at least 30 minutes prior to enjoying.

Filed Under: All Recipes, Dessert, Dip

REPOST-Easy Pumpkin Pie Bars

November 21, 2018 By Holly

Here’s an oldie but a goodie, I thought some of y’all might need a really easy, quick and possibly last minute dessert for Turkey Day, so here you go!

Happy Happy Wednesday & Thanksgiving Eve y’all!!!  I hope I’m not the only one running around trying to get what feels like everything under the sun done right now.  These feelings are most likely exacerbated by the fact that I have to work all day, so a billion things are left to do this evening and tomorrow morning very early. 

Easy-Pumpkin-Pie-Bars | HollysCheatDay.comI’m a slightly type A chick, so not being completely organized and ahead of schedule makes me feel just a tad bit coo-coo feeling.  My apologies, I’m blathering about how stressed I feel when most likely all of you feel precisely the same way haha.  Soooo,  I’m here today to give you another recipe that shouldn’t cause you any stress to make, because at this hour before Thanksgiving that is exactly what we need, amiright? 
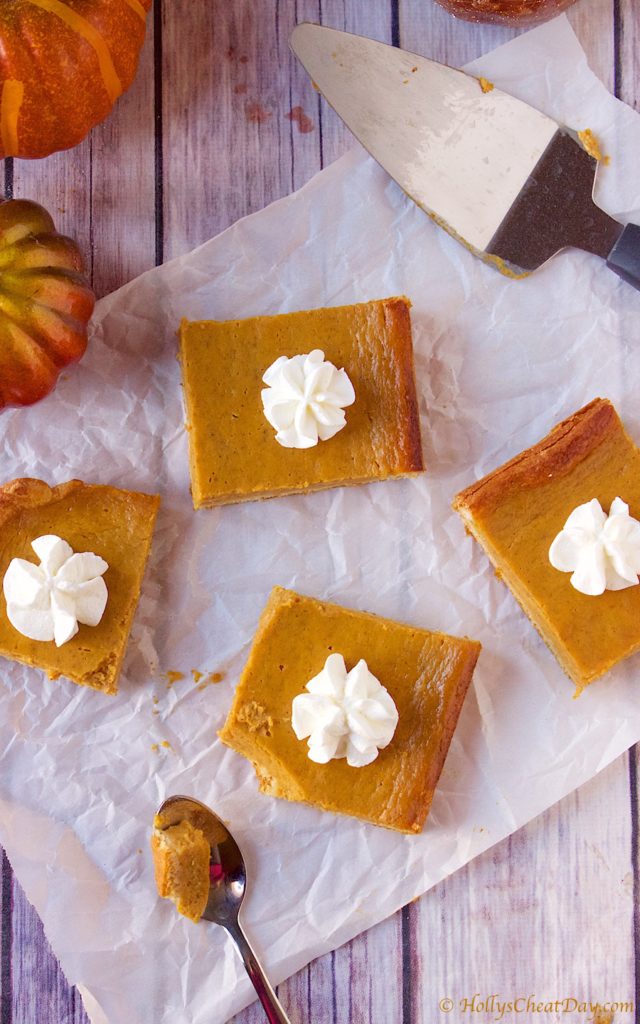
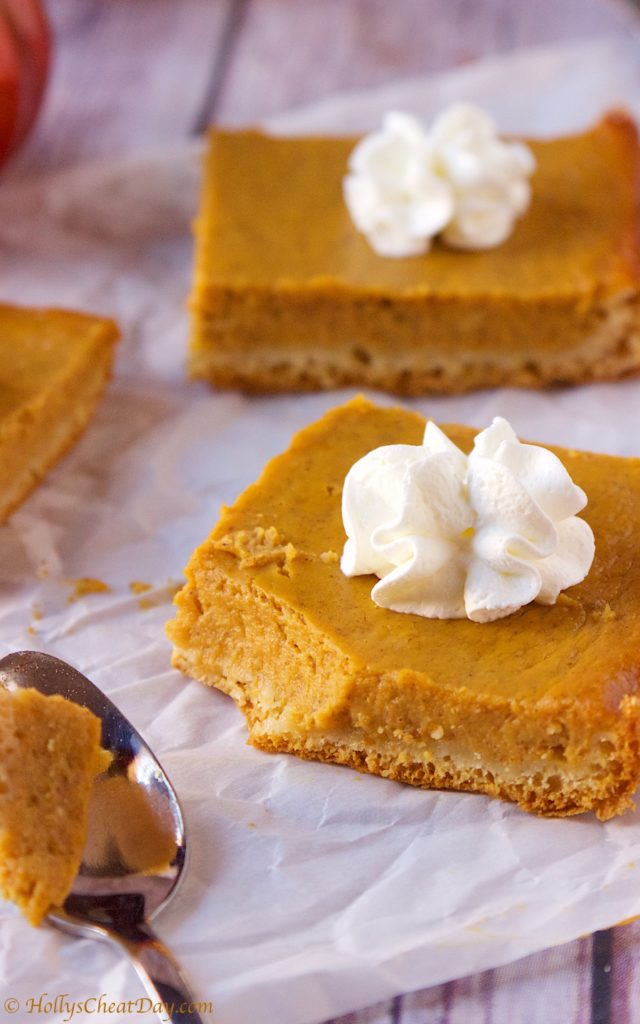
Easy-Pumpkin-Pie-Bars | HollysCheatDay.comThese Easy Pumpkin Pie Bars are a wonderful recipe that I snagged from Pillsbury’s website.  I looove pumpkin pie, but as I have mentioned before, pies have a tendency to be my Kryptonite, because of that whole pie crusts never behave for me deal, which is why I knew I had to make these bars because they just looked so easy to make.  BTW they totally are easy to make, and let’s not forget it’s pumpkin pie in perfect handheld wonderfulness. 
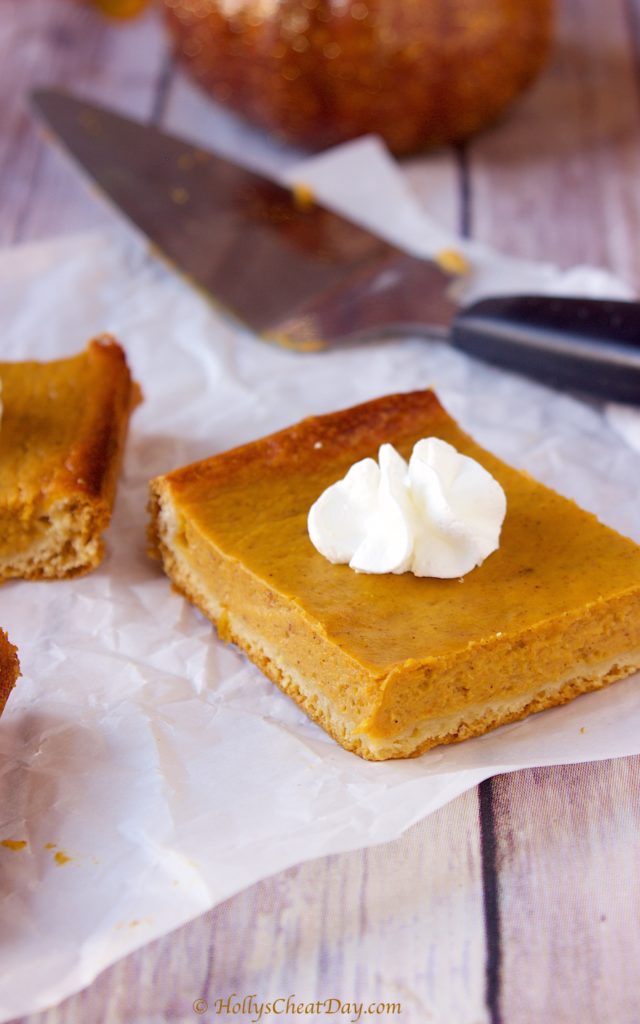
Easy-Pumpkin-Pie-Bars | HollysCheatDay.comThe only thing that’s really time consuming is waiting for these bars to completely cool before you can cut them up.  Anyways, I hope you can add these to your Thanksgiving meal and as always thank you so much for stopping by!  Happy Thanksgiving to everyone of you and I hope you have a wonderful time with your loved ones.
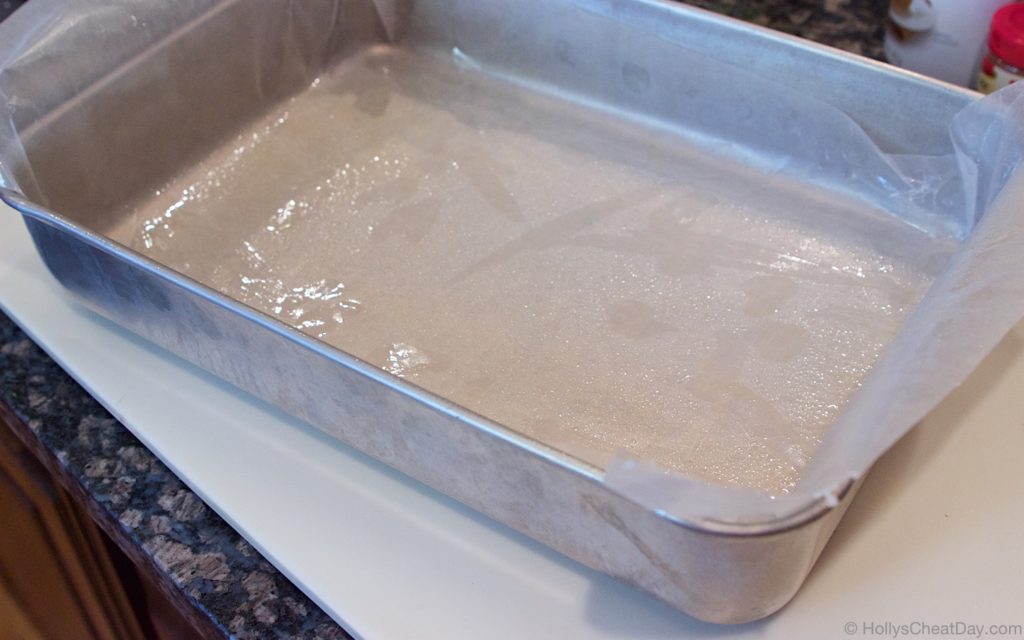
First, wax paper into your pan…

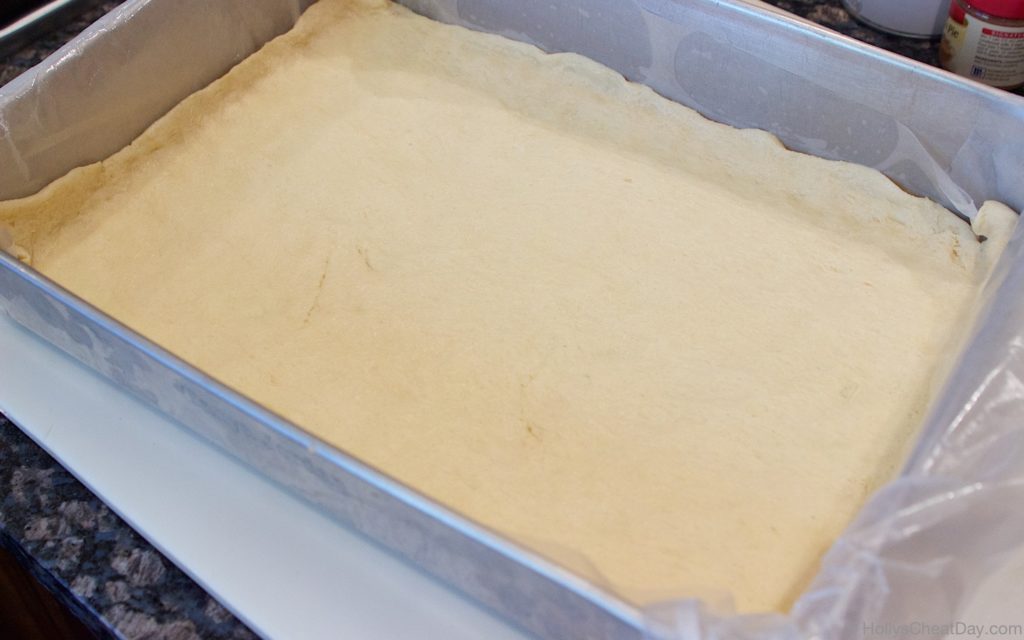
easy-pumpkin-pie-bars | HollysCheatDay.comthen press your crescent dough sheet into your pan…
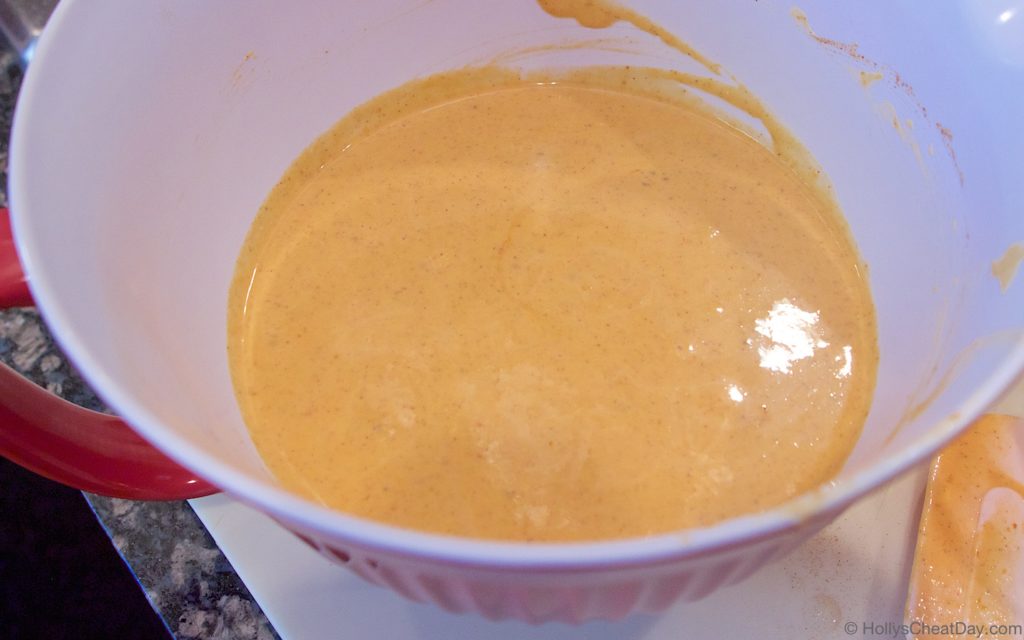
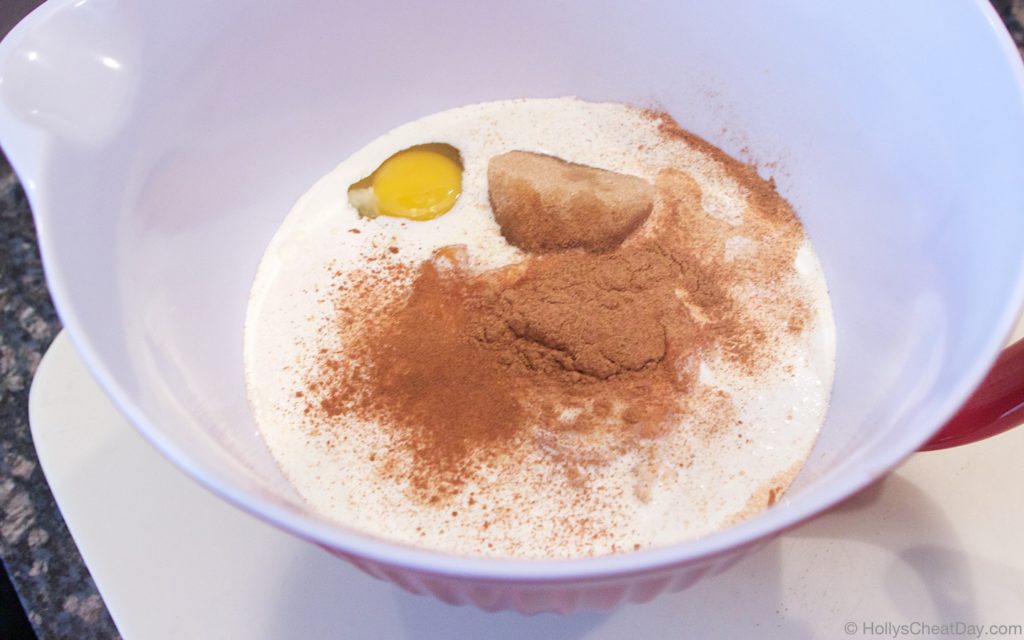
easy-pumpkin-pie-bars | HollysCheatDay.complace all of your ingredients into your bowl…
easy-pumkin-pie-bars | HollysCheatDay.commix, mix, mix…

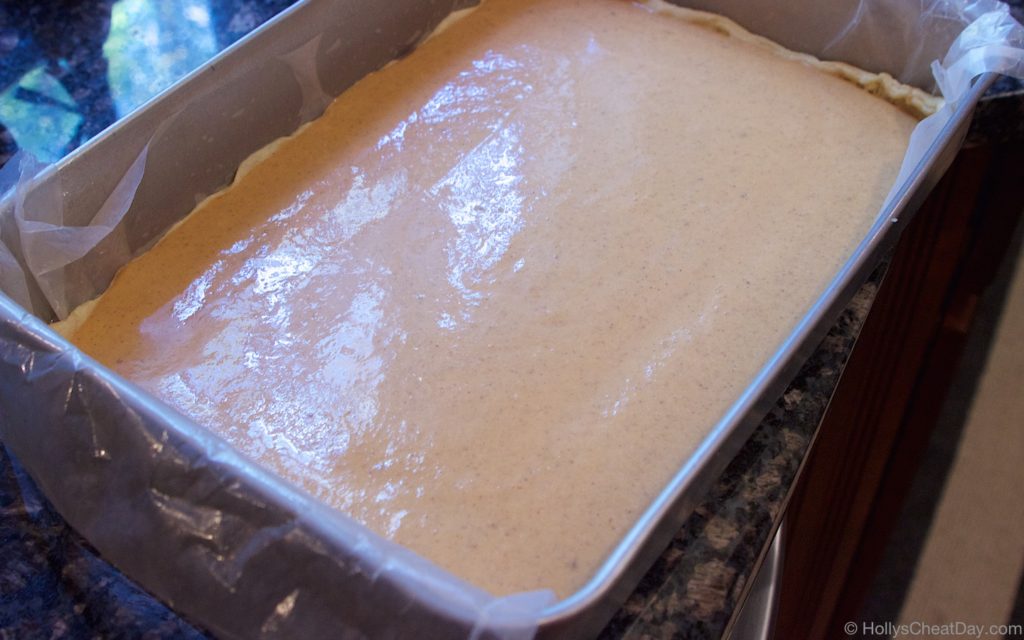
easy-pumpkin-pie-bars | HollysCheatDay.comthen pumpkin mixture into your pan…

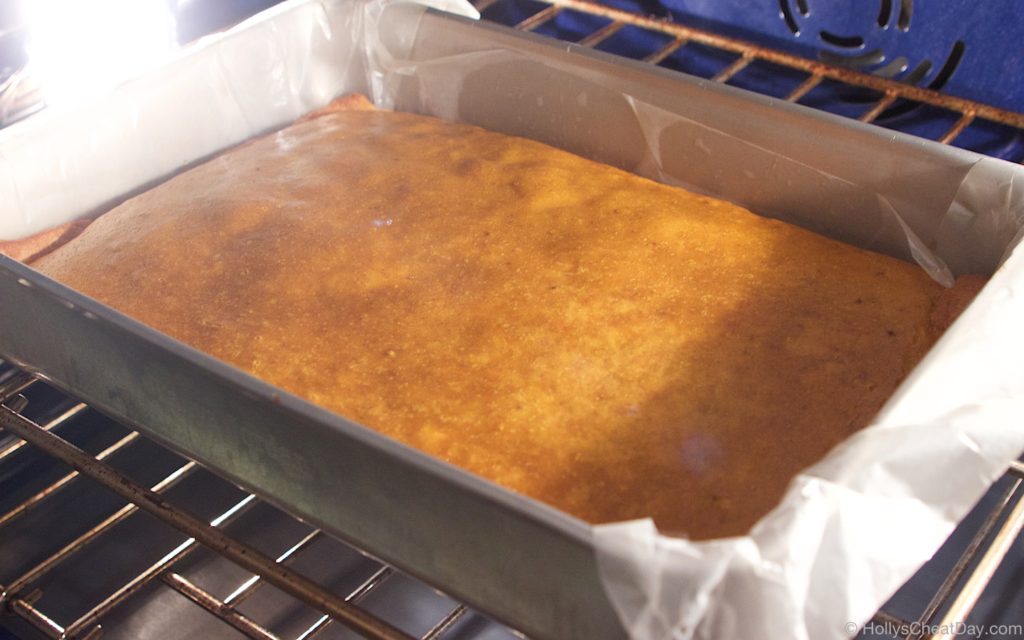
easy-pumpkin-pie-bars | HollysCheatDay.combake, bake, bake…

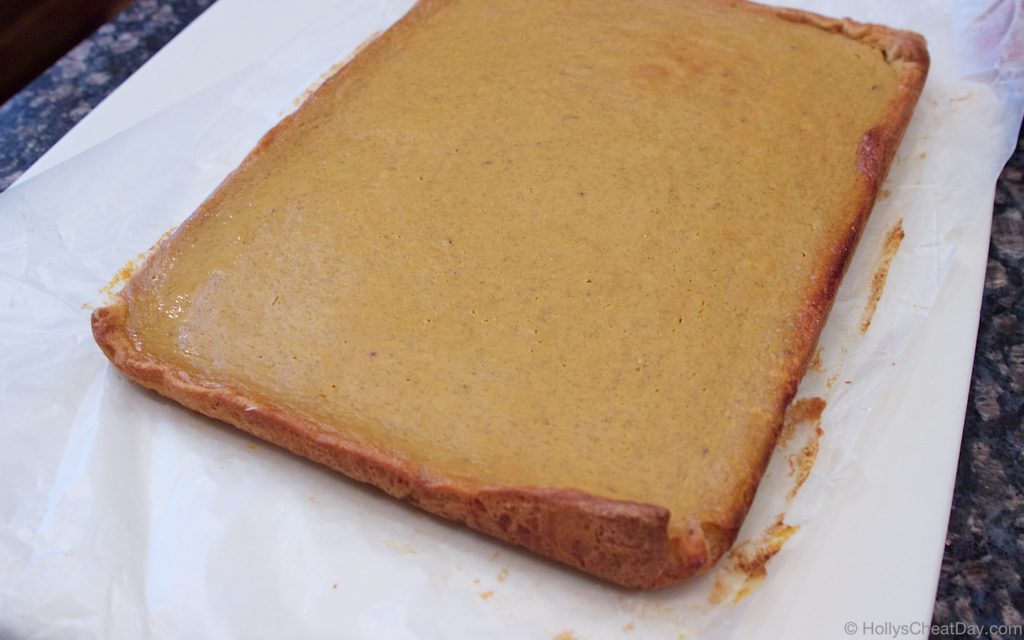
easy-pumpkin-pie-bars | HollysCheatDay.comafter cooling, take out of the pan…

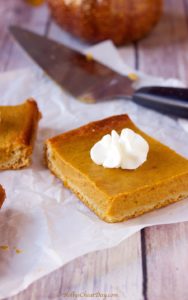
easy-pumpkin-pie-bars | HollysCheatDay.comand enjoy!!!

Easy-Pumpkin-Pie-Bars | HollysCheatDay.com


Easy Pumpkin Pie Bars
2016-11-21 14:08:10
Pumpkin Pie in every bite of these easy to make pumpkin pie bars.
Write a review
Save Recipe
Print
Ingredients
  1. 1 Can Pillsbury Crescent Dough Sheet.
  2. 2 Eggs.
  3. 1 (15 Ounce) Can of Pumpkin Puree.
  4. 1 Cup of Heavy Whipping Cream.
  5. 1/2 Cup of Packed Brown Sugar.
  6. 1/4 Cup of Corn Syrup.
  7. 1 Tablespoon of Pumpkin Pie Spice.
  8. Dash of Cinnamon.
  9. 1/2 Teaspoon of Salt.
  10. 9x13 Pan.
  11. Wax Paper.
Instructions
  1. Preheat your oven to 350 degrees F.
  2. Line your 9x13 pan with wax paper so there are several inches hanging off of the sides.
  3. Spray your wax paper with non-stick cooking spray.
  4. Carefully roll out the crescent dough sheet and place into your pan, gently pushing it to meet the edges and a little up the sides, set aside.
  5. In a large bowl, place the eggs, pumpkin puree, whipping cream, brown sugar, corn syrup, pumpkin, cinnamon, and salt and mix with a spoon until well combined.
  6. Now pour your pumpkin mixture onto the crust in your pan.
  7. Place your pan on the middle rack of your oven and bake for 45-50 minutes (I took mine out at 50).
  8. Take your pan out of the oven letting cool slightly, then cover your pan and place in the fridge to cool completely.
  9. When cooled, gently take the whole pumpkin pie out by grabbing the wax paper, and after removal, cut into pieces and enjoy!
Notes
  1. I garnished the bars with whipped cream, to make, I whipped 1 cup of heavy whipping cream with 1/2 cup of sugar, and piped onto the bars.
Adapted from Pillsbury
HOLLY'S CHEAT DAY https://www.hollyscheatday.com/

Filed Under: All Recipes, Dessert

The Only Dressing Recipe You’ll Ever Need

November 20, 2018 By Holly

***Happy Tuesday y’all!!! Thanksgiving is only a couple of days away, and I thought it my duty and job to re-post this dressing, because just like the title says, this is hands down the only one you’ll ever need!  I felt so inclined to share this for a 3rd time (excuse the 4 year old not so great food photos below) because I watch a lot of cooking on TV, and y’all, the stuff that they call dressing or stuffing looks like absolute crud, #sorrynotsorry.  I think I text my sister something about wanting to punch people in the face for their crap recipes, or something along those lines…This dressing is just so dang awesome and nothing like you’ve ever eaten before…because I love all of you and want what’s best for you, please just take the time and make this for your Thanksgiving.  Have a wonderful day, K, bbbyyeee!!!***

Yes, I am going to say it…this is the best dressing you will ever, ever, eevveerr have in your life.  You know how I know this? because as a whole, I don’t like dressing, it’s too dry, too weird, too something, and don’t even get me started on folks who put dadgum oysters or some other awful in it…for reals,  this dressing is on my list of favorite foods of all time.  Did you hear that? I said one of my favorite foods of all time, and y’all, I know some food.  Also, I have never seen dressing anywhere made like this, but that probably has something to do with the fact that my great great grandmother Josie (on my mom’s side) made up this recipe and lucky for us passed it down to the ladies in the family.  So this is basically a secret family recipe, but to heck with the secret part, this is just too darn good not to share y’all.  I have had people who despised dressing who I force fed coaxed into trying it and are now dressing converts and request it every year.  Yes, there are some steps involved in this recipe but it’s worth every damn darn delicious bite. 

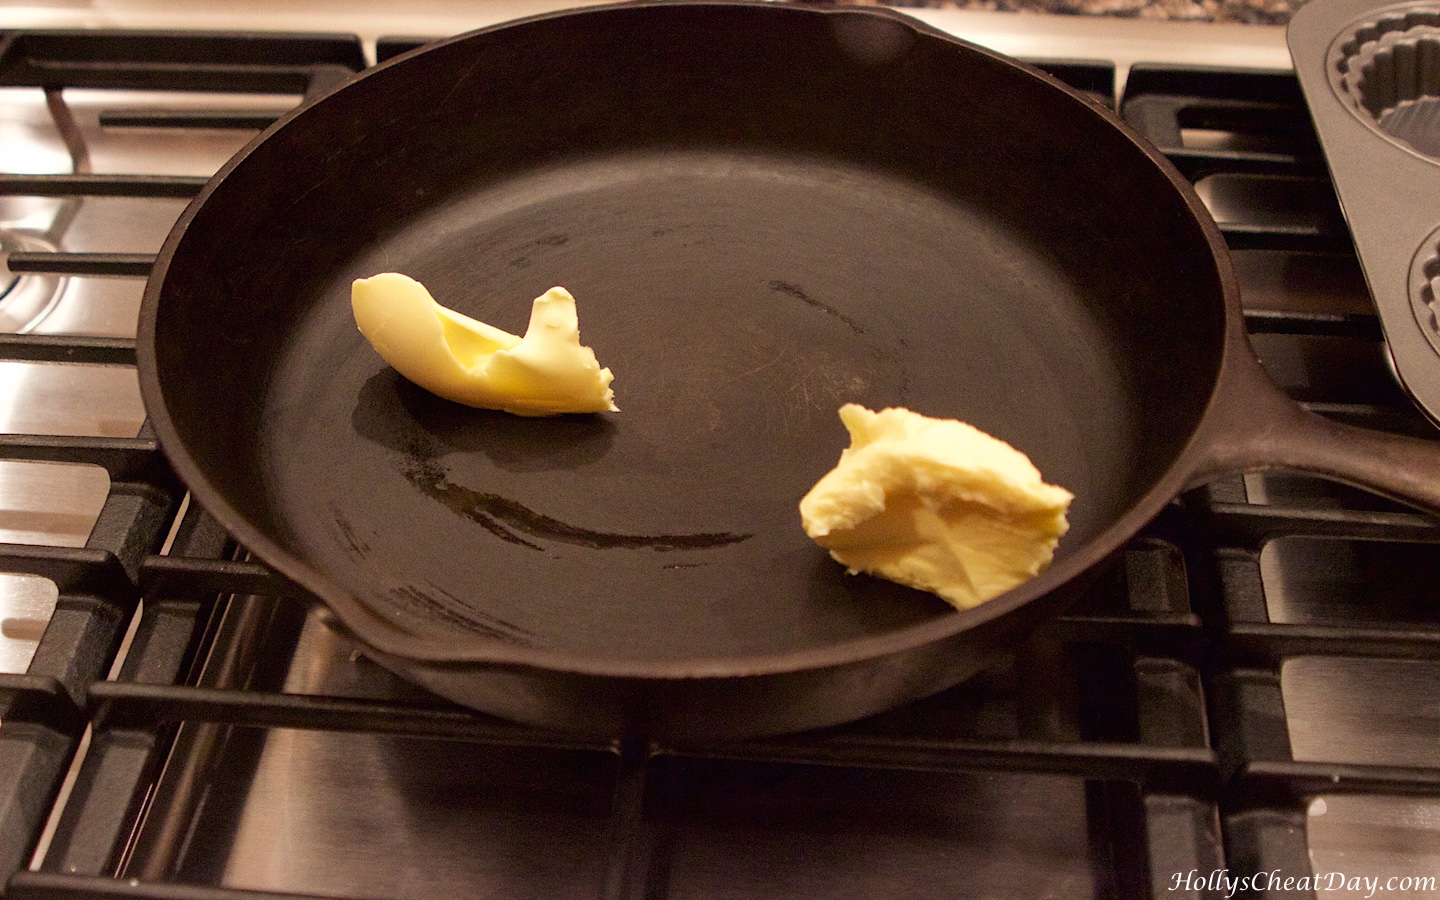
best-cornbread-dressing | HollysCheatDay.comLet’s make some cornbread shall we?..Let’s start with some good ole Crisco and an iron skillet..

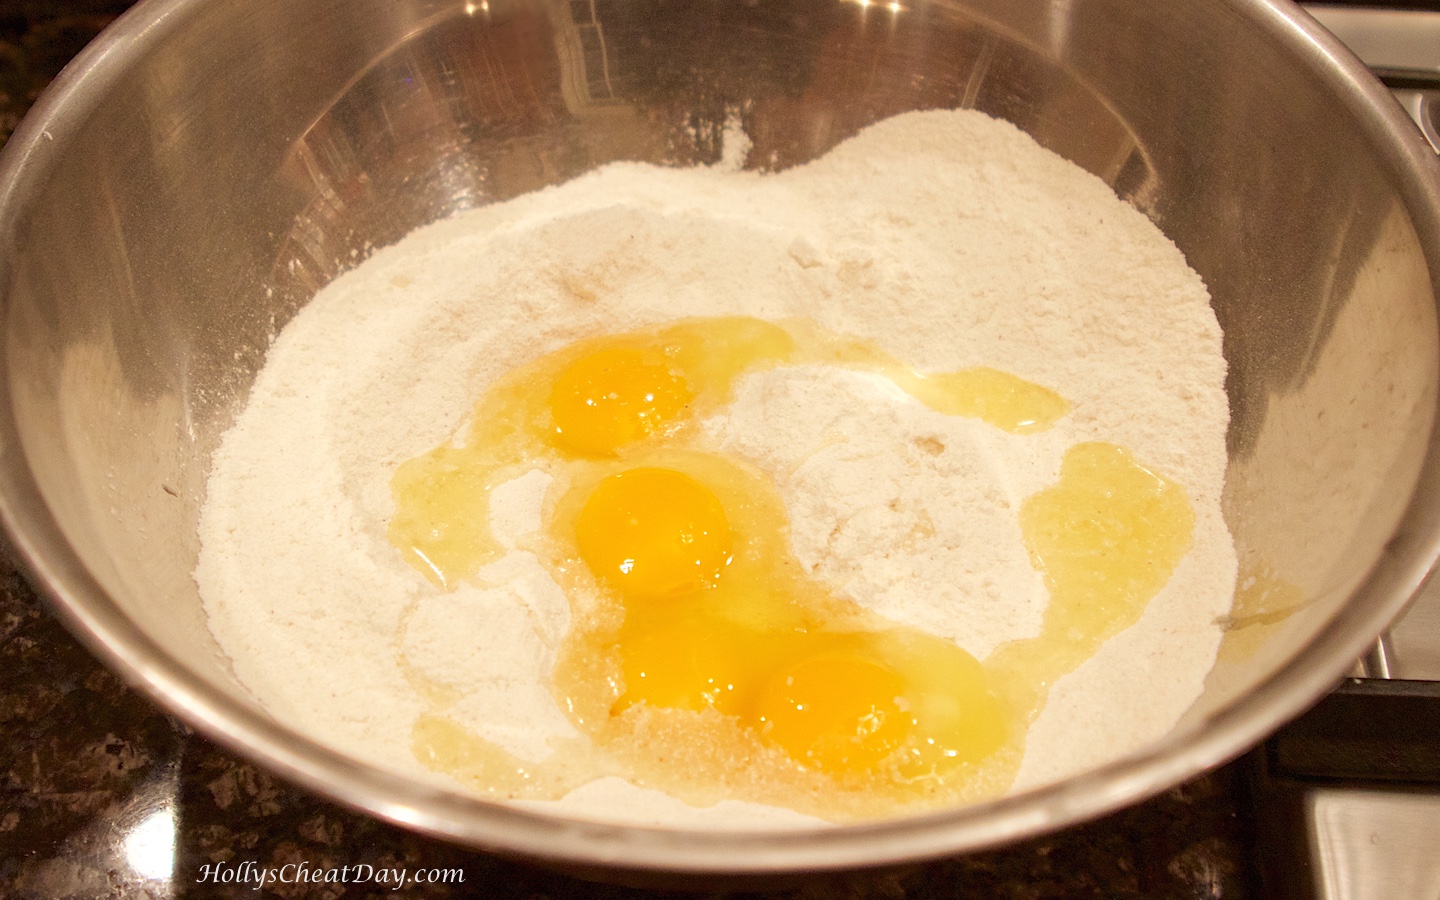
best-cornbread-dressing | hollyscheatday.comCornmeal and eggs…

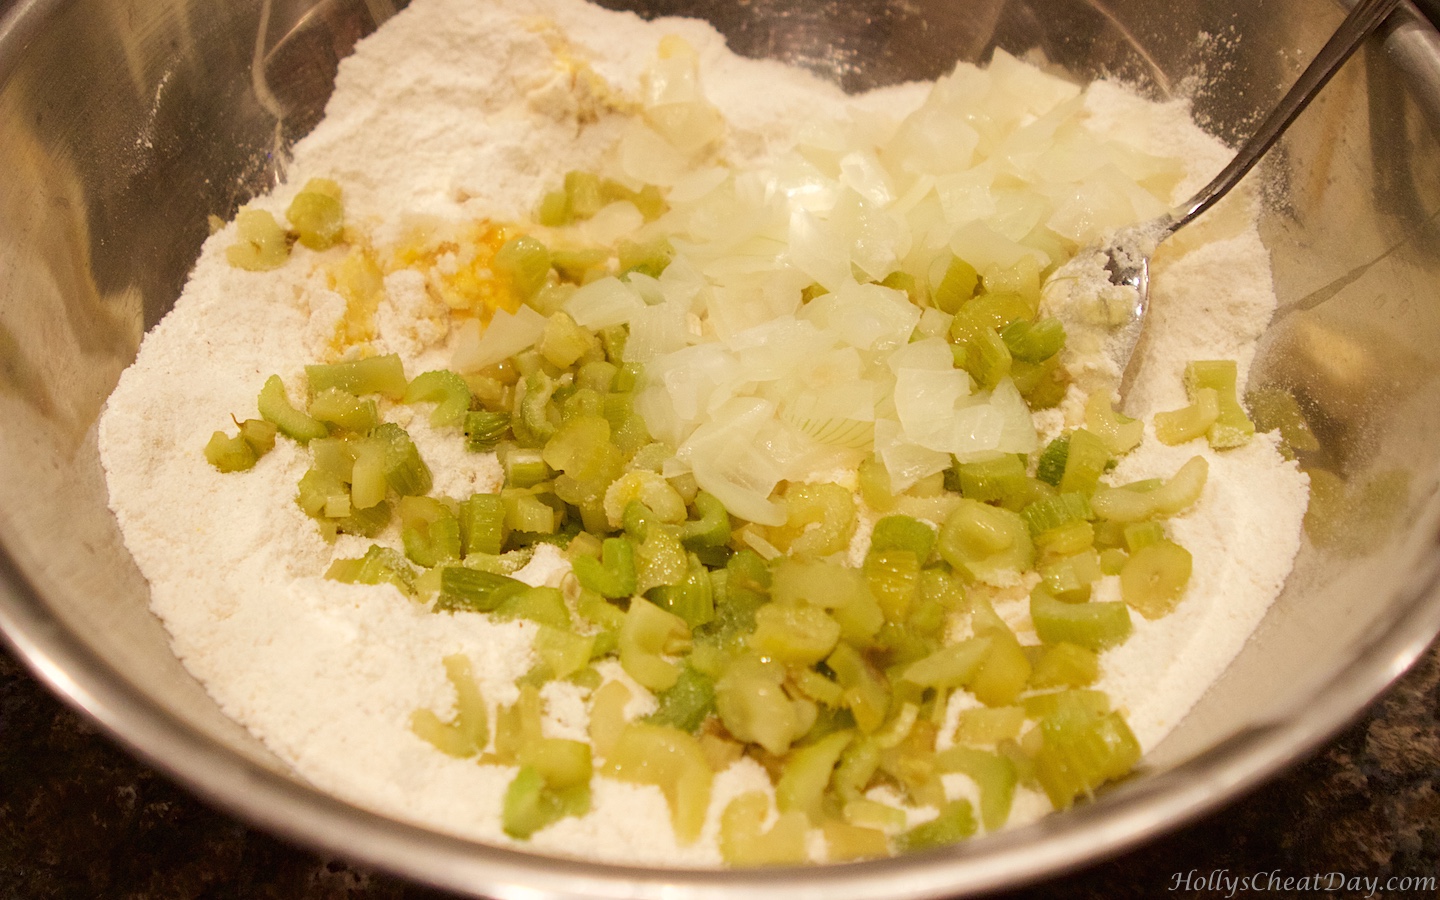
best-cornbread-dressing | HollysCheatDay.comThen your sauteed onions and celery…

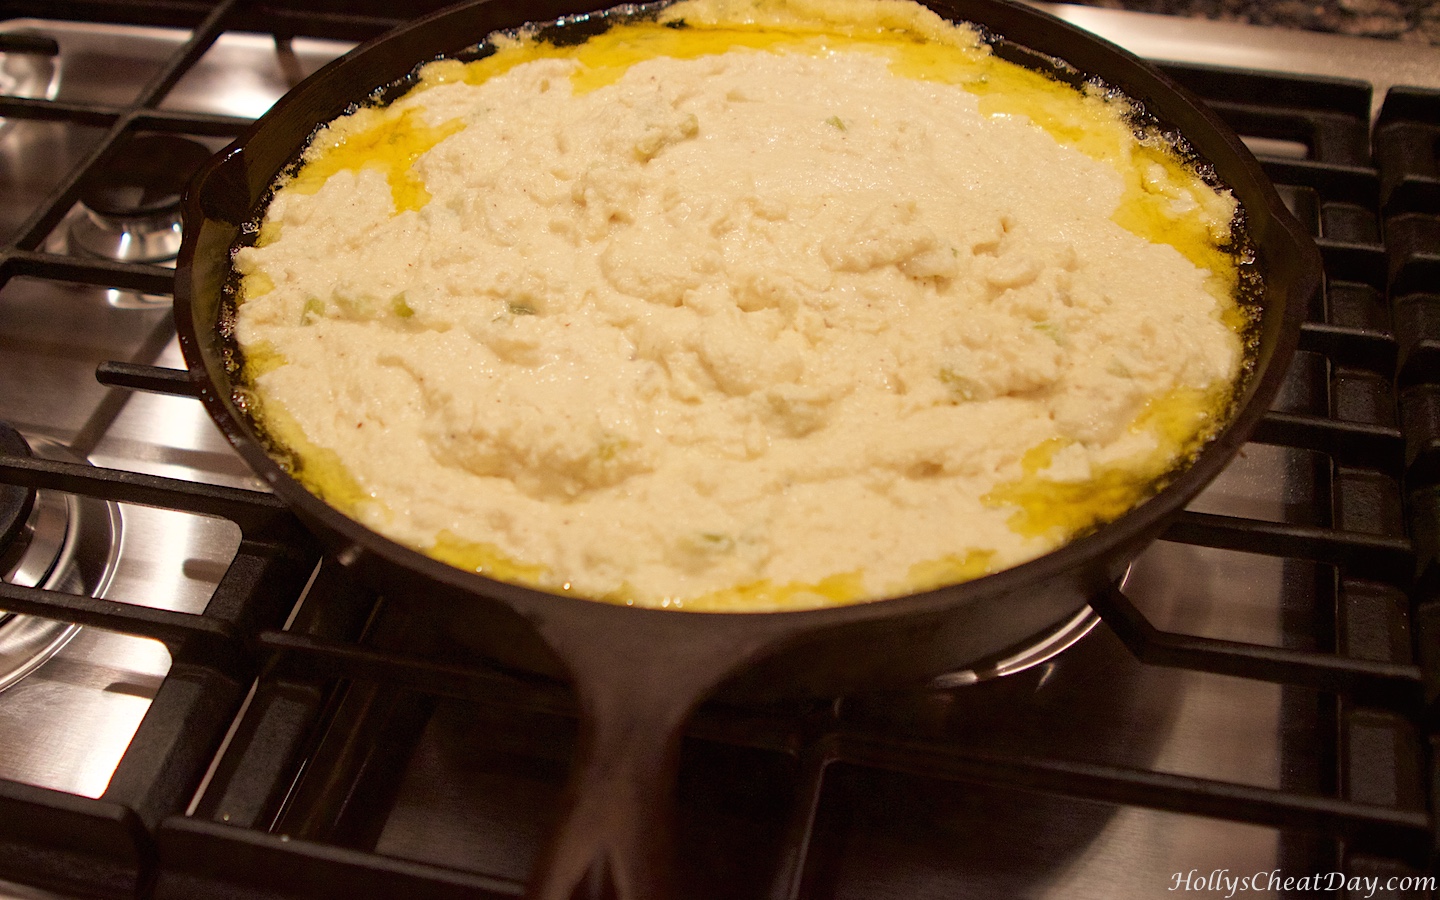
best-cornbread-dressing | HollysCheatDay.comThen throw in the rest of your ingredients, mix well and throw in your iron skillet…

best-cornbread-dressing | HollysCheatDay.comBake it up until it looks like so…

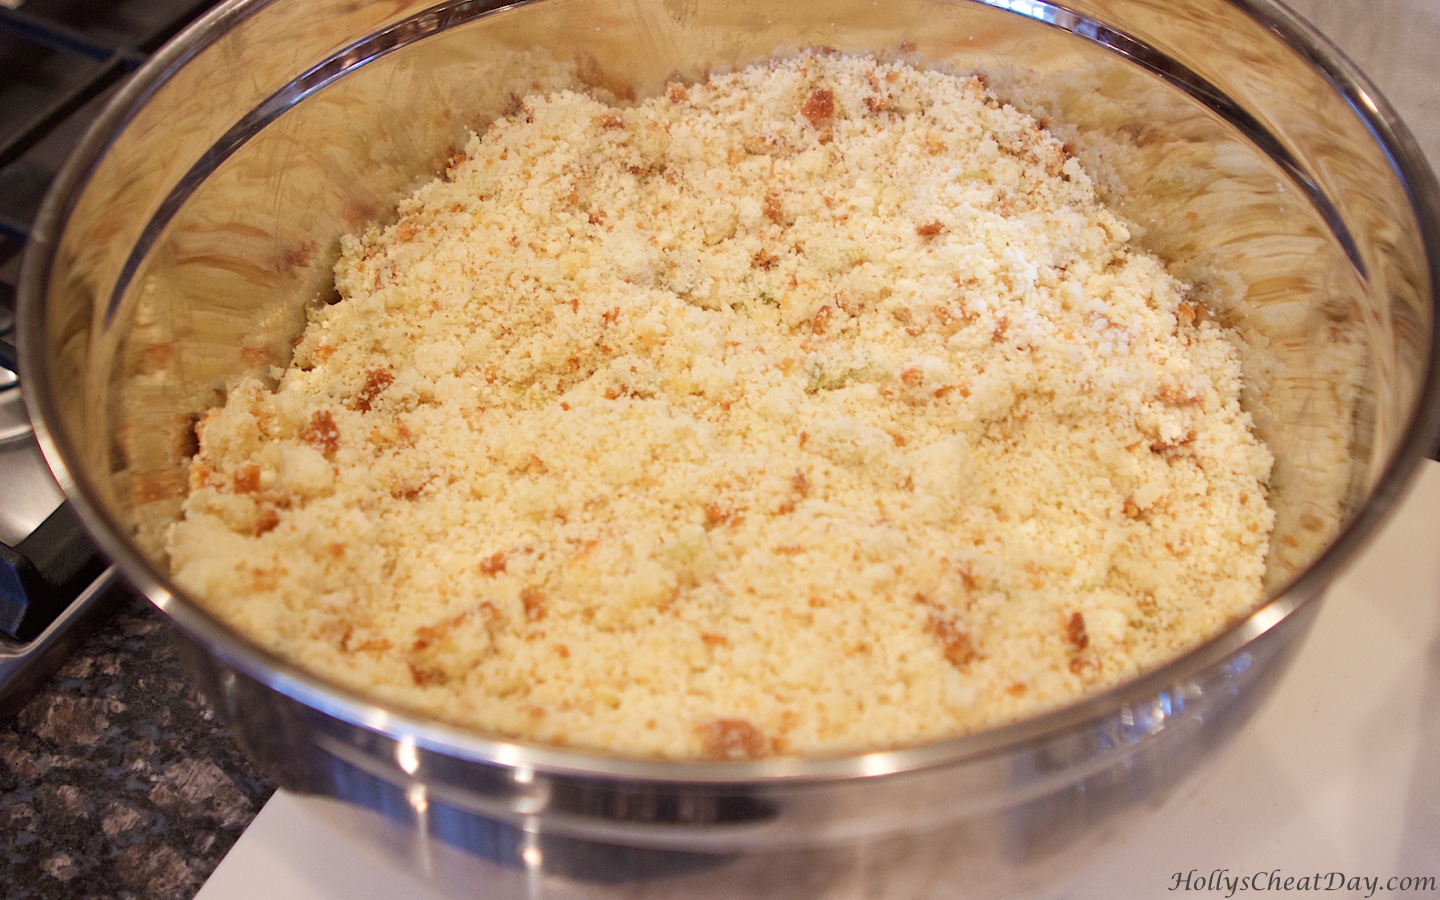
best-cornbread-dressing | HollysCheatDay.comAfter sitting overnight (preferably) finely crumble your cornbread in a bowl…

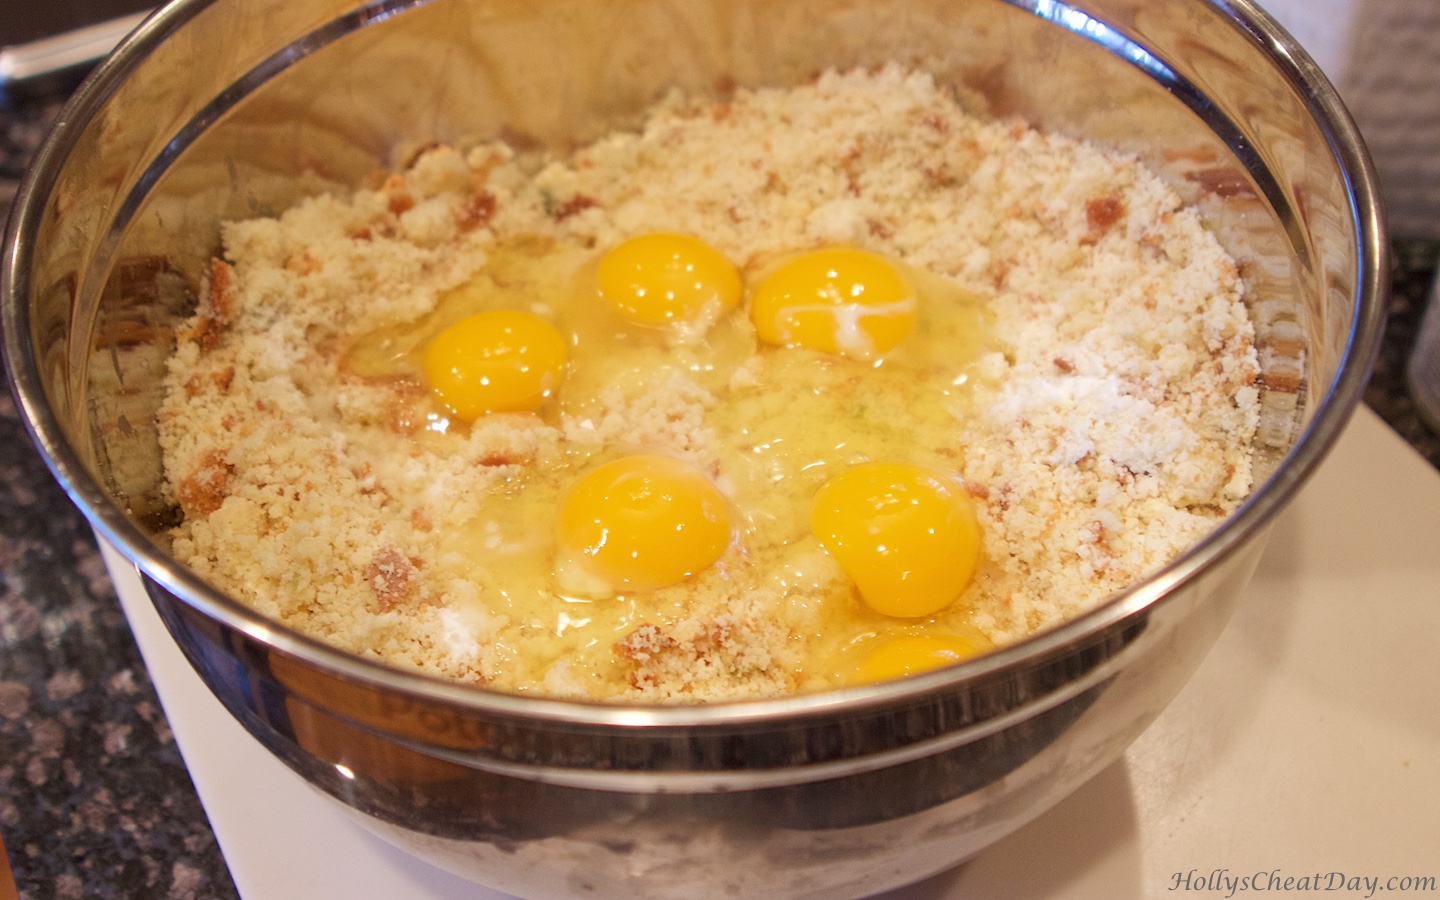
best-cornbread-dressing | HollysCheatDay.comAdd  your melted butter and eggs…

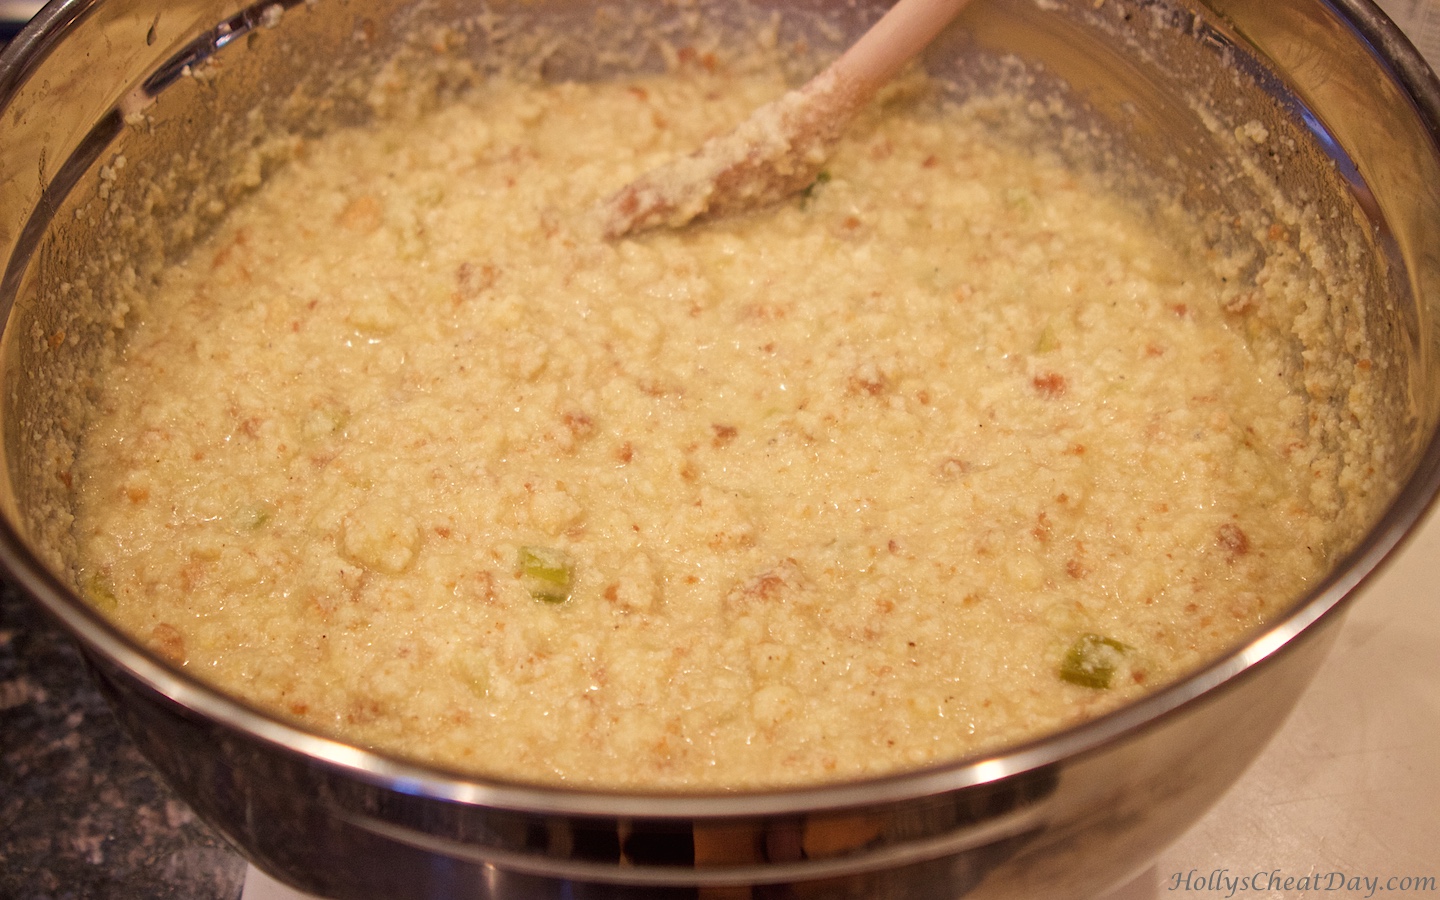
best-cornbread-dressing| HollysCheatDay.comThen add the rest of your ingredients and the texture should look like this, real ‘liquidy’…

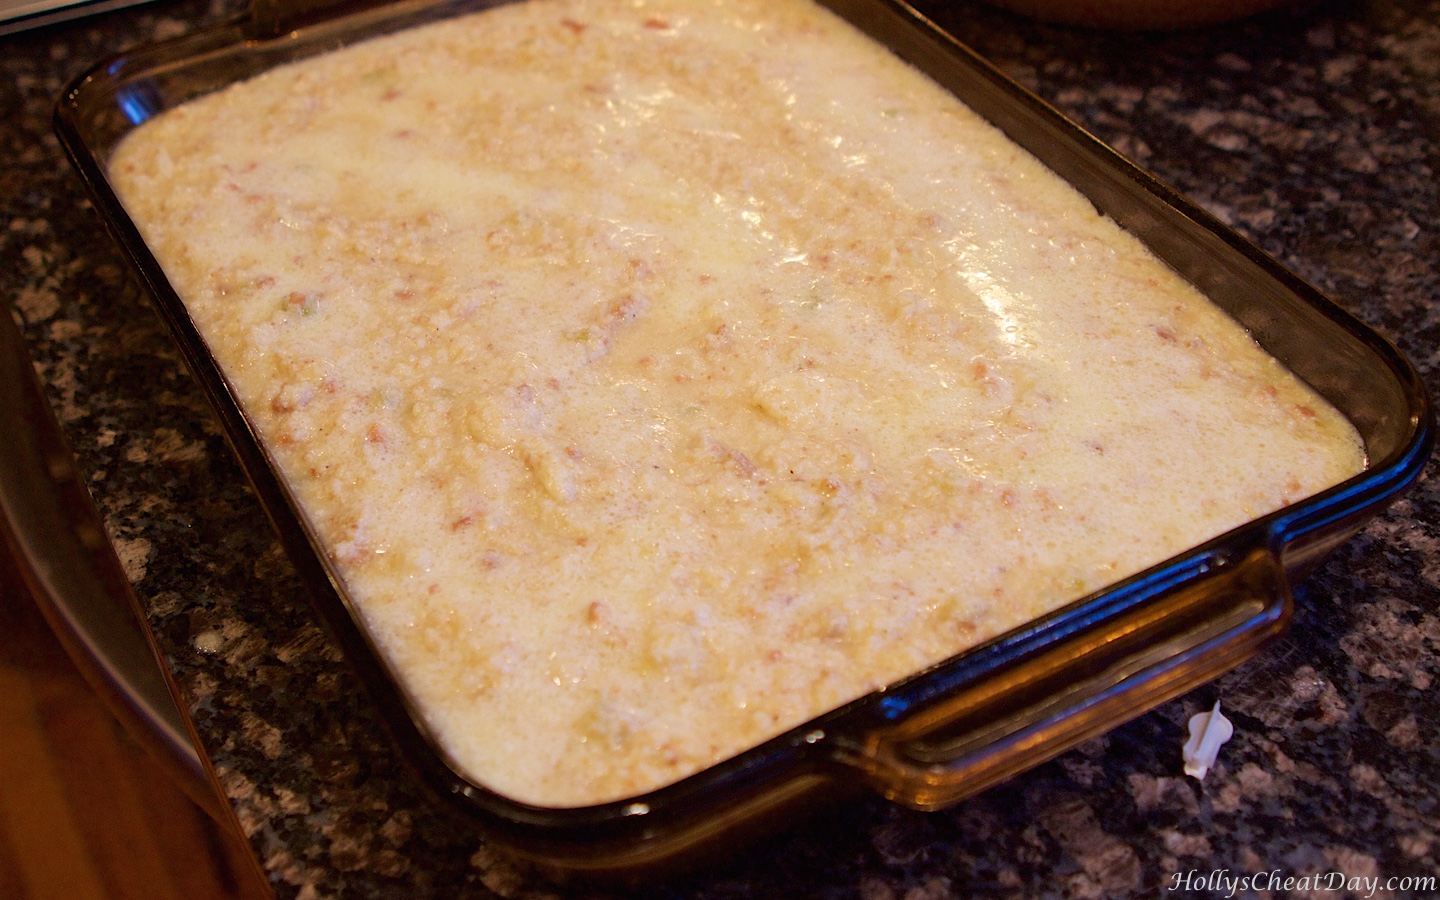
best-cornbread-dressing| HollysCheatDay.comPlace all in your pan…

best-cornbread-dressing| HollysCheatDay.comThen pour your butter on top…

best-cornbread-dressing | HollysCheatDay.comWhile baking, stir intermittently as the sides start to set…

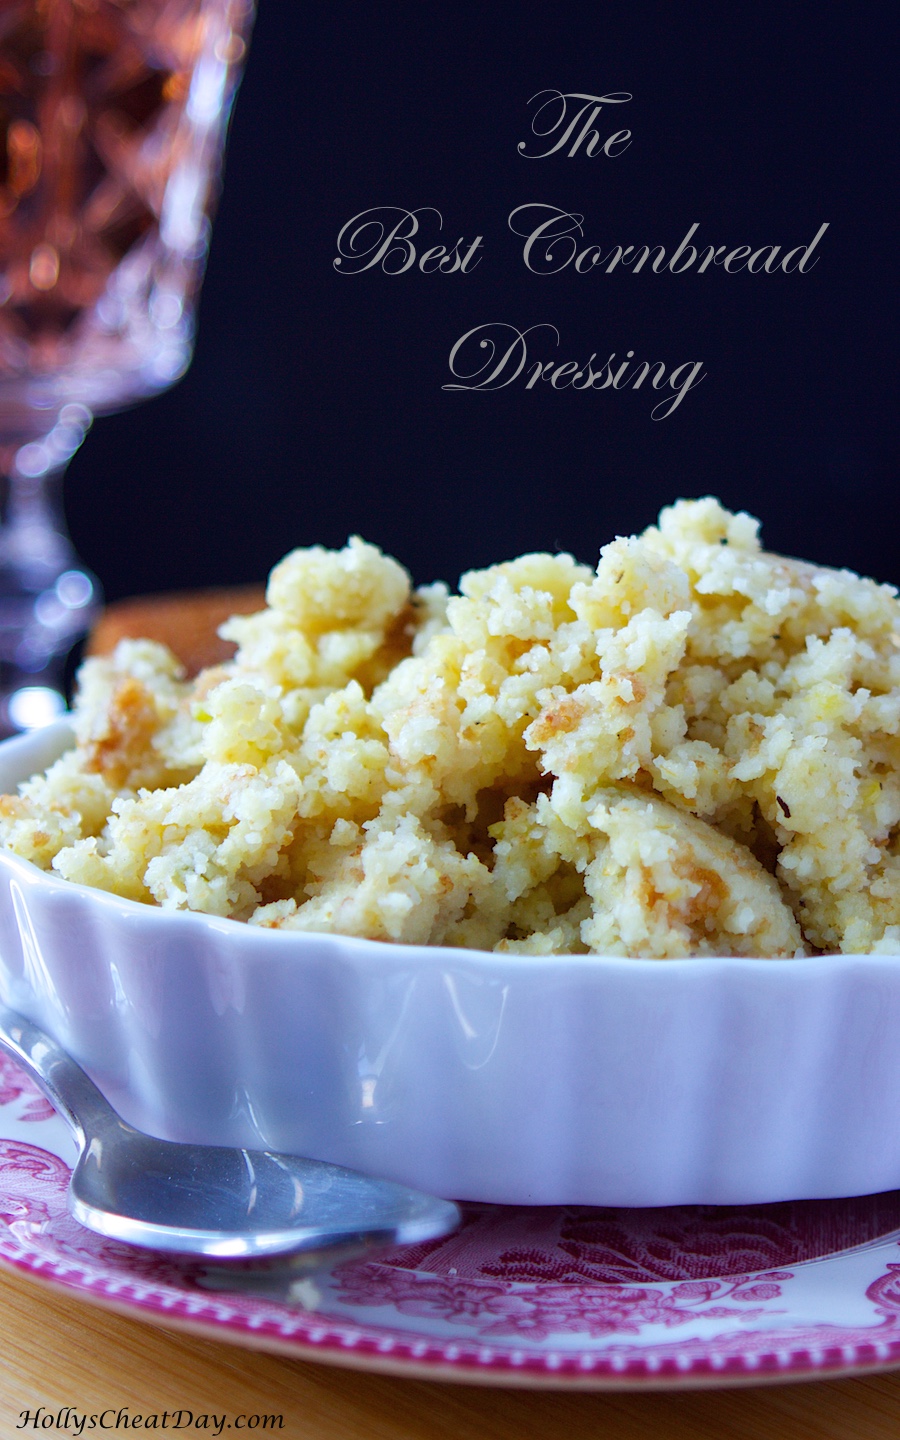
best-cornbread-dressing | HollysCheatDay.comAnd enjoy!

best-cornbread-dressing | HollysCheatDay.com

The Best Dressing Ever
2014-12-04 11:00:49
The most moist and flavorful cornbread dressing you will ever have.
Write a review
Save Recipe
Print
FOR THE CORNBREAD
  1. 1-12" Iron Skillet or Pan.
  2. 2 Cups Chopped Celery, sauteed.
  3. 1 Large Onion Chopped, sauteed.
  4. 6 1/2 Cups of Self-Rising Cornmeal.
  5. 3/4 Cup of Crisco, melted and divided evenly.
  6. 4 Large Eggs.
  7. 4 Cups of Milk.
FOR THE DRESSING
  1. 1-9x13 Pan.
  2. The Cornbread, crumbled.
  3. 48 Ounces of Chicken Broth.
  4. 6 Eggs.
  5. 1/2 Teaspoon of Baking Soda.
  6. 2 Sticks of Unsalted Butter, Melted, Poured in Mixture.
  7. 1 Stick of Unsalted Butter, Melted, Poured on Top After in Pan.
CORNBREAD (Make Day Before)
  1. Preheat your oven to 350 degrees F.
  2. In a large bowl place your measured out cornmeal.
  3. Melt your Crisco and pour half in your iron skillet or pan, coating the pan well.
  4. In a pan, saute your celery and onions until soft.
  5. To your cornmeal add your eggs, then place both your celery and onions in your bowl.
  6. Now add your milk and the other half of your melted Crisco and mix until all well incorporated.
  7. Bake your cornbread for 45-50 minutes until a toothpick inserted comes out clean.
  8. After your cornbread has cooled completely, wrap thoroughly and tightly with cellophane and let it sit overnight on your countertop (it isn't absolutely necessary to sit out, but it does give the best taste because it lets all the flavors really seep into the cornbread).
DRESSING
  1. In a large bowl, with your hands, finely crumble your cornbread (I had about 1/3 of the cornbread left because it makes such a large serving of cornbread).
  2. To your crumbled cornbread, add your 2 sticks of melted butter, eggs, chicken broth and baking soda, and mix until well incorporated (yes it is supposed to be very liquidy).
  3. Add salt and pepper to taste (I add quite a bit of both).
  4. Pour your mixture into a well buttered 9x13 pan.
  5. Evenly pour your 1 stick of melted butter on top.
  6. Bake your dressing for about 30 minutes, but start checking after 10, because when the pan starts to slightly set around the edges you need to stir the whole pan, put back in the oven, and keep repeating the stirring every time it starts to set until it's done. The key to this dressing is not to over cook this dressing, it will be super moist and awesome if you don't.
Notes
  1. I shouldn't say this, but if you're feeling hurried, lazy etc. instead of sauteing the onions and celery you can totally microwave the heck out of them, just as long as they're soft you're good.
By Tanya
HOLLY'S CHEAT DAY https://www.hollyscheatday.com/

Filed Under: All Recipes, Dinner

Easy Crockpot Apple Cider

November 19, 2018 By Holly

Happy Happy Monday!!! The countdown is on y’all, it’s T-minus 4 days until Thanksgiving and let’s be real, I have a feeling a lot of us do the majority of cooking the Wednesday before the big day, so we’ve just a got a few days to get ready. 

Again, I’m here to (hopefully) relieve some of your cooking stress and offer up a super duper easy and quick drink, that will be perfect to keep around all day for your family and guests to enjoy.  I absolutely love apple cider and I love homemade apple cider even more, but like a lot of things made from scratch, that’s a whole lot of work for a simple, albeit wonderful Fall drink. 

I like to think that I took the best of both worlds and made a truly wonderful apple cider.  Yes, the base of this drink is a store bought apple cider, but I threw in a few things to give it more of a homemade taste, and I think this drink turned out incredible.  The smell that will be emanating from your kitchen is just down right heavenly, I promise. 

This drink was thrown together in about 5 minutes, and I let it hang out in the crockpot for a couple of hours to really get the flavors from the cinnamon and cloves to meld in and wow, this is some of the best apple cider I’ve ever had.  May I suggest to the adults of legal drinking age, possibly throwing in some Brandy?  I didn’t try it, but I may do just that on Thanksgiving, because I have a feeling it will be equally as delicious, and fun.  Thanks so much for stopping by y’all, and I hope you all have an absolutely wonderful day.  Please, none of you stress yourself out too much with the cooking 😀

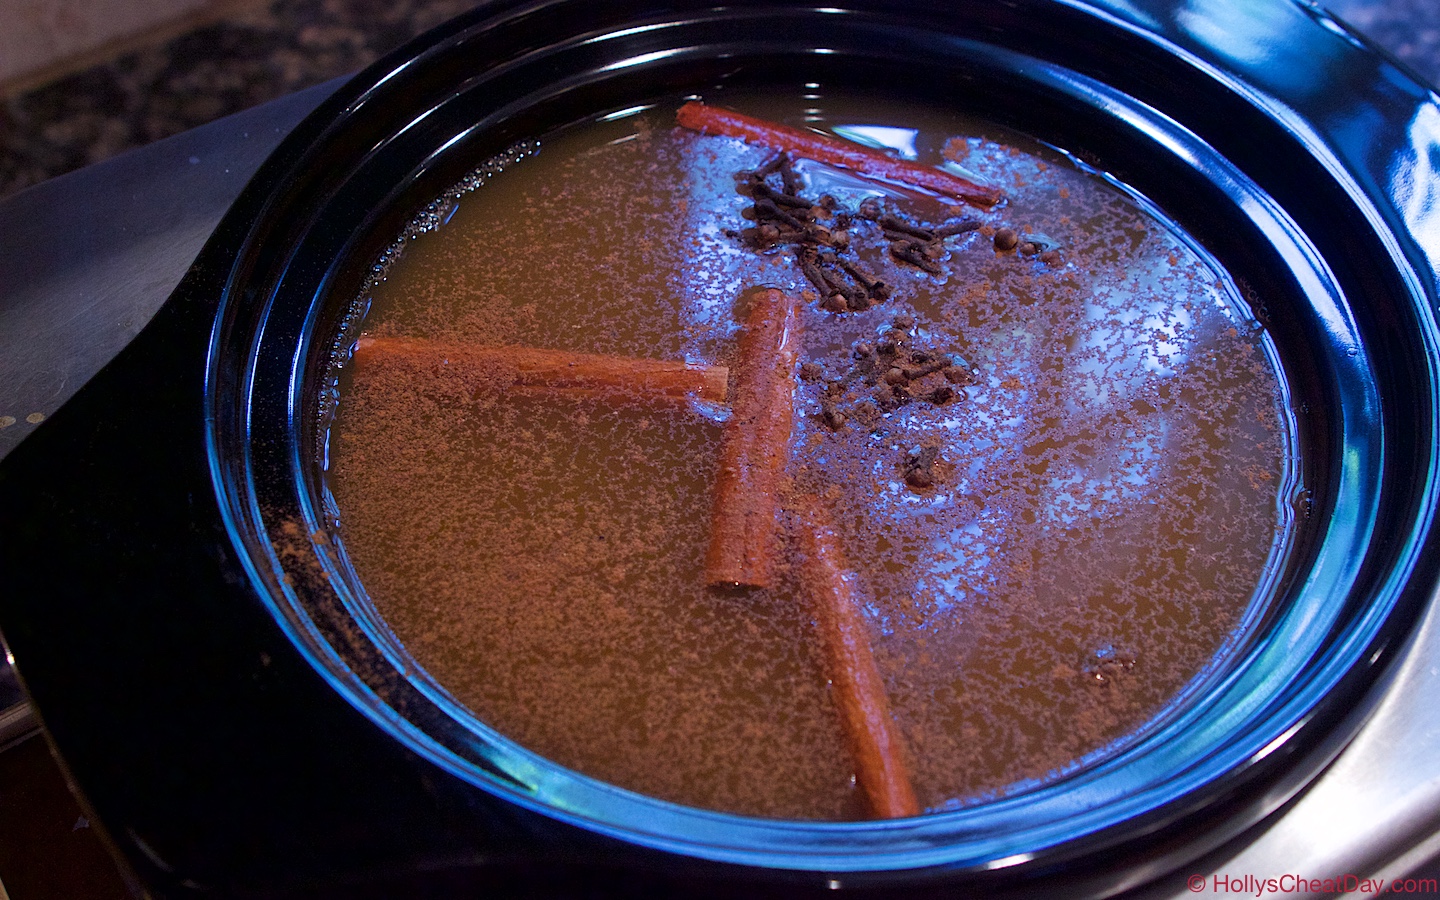
Oh look, the one step, all of the ingredients in a crockpot…


Cook for a bit and enjoy!!!

Easy Crockpot Apple Cider
2018-11-17 18:29:43
The best of homemade and store bought come together in this super easy to make crockpot apple cider.
Write a review
Save Recipe
Print
Ingredients
  1. 1 Gallon of Apple Cider (which, about 2 cups worth wouldn't fit in my crockpot).
  2. 1 Cup of Orange Juice.
  3. 4-5 Cinnamon Sticks.
  4. 2 Teaspoons of Cloves, Whole.
  5. 1 Dash of Nutmeg.
Instructions
  1. Place all ingredients into your crockpot, cook on high with lid on for at least an hour.
  2. Place on the low setting to serve.
HOLLY'S CHEAT DAY https://www.hollyscheatday.com/

Filed Under: All Recipes, Drinks

Holly’s Junk Food Review Series: Ample Hills Creamery Mickey Mouse Celebration Ice Cream

November 16, 2018 By Holly

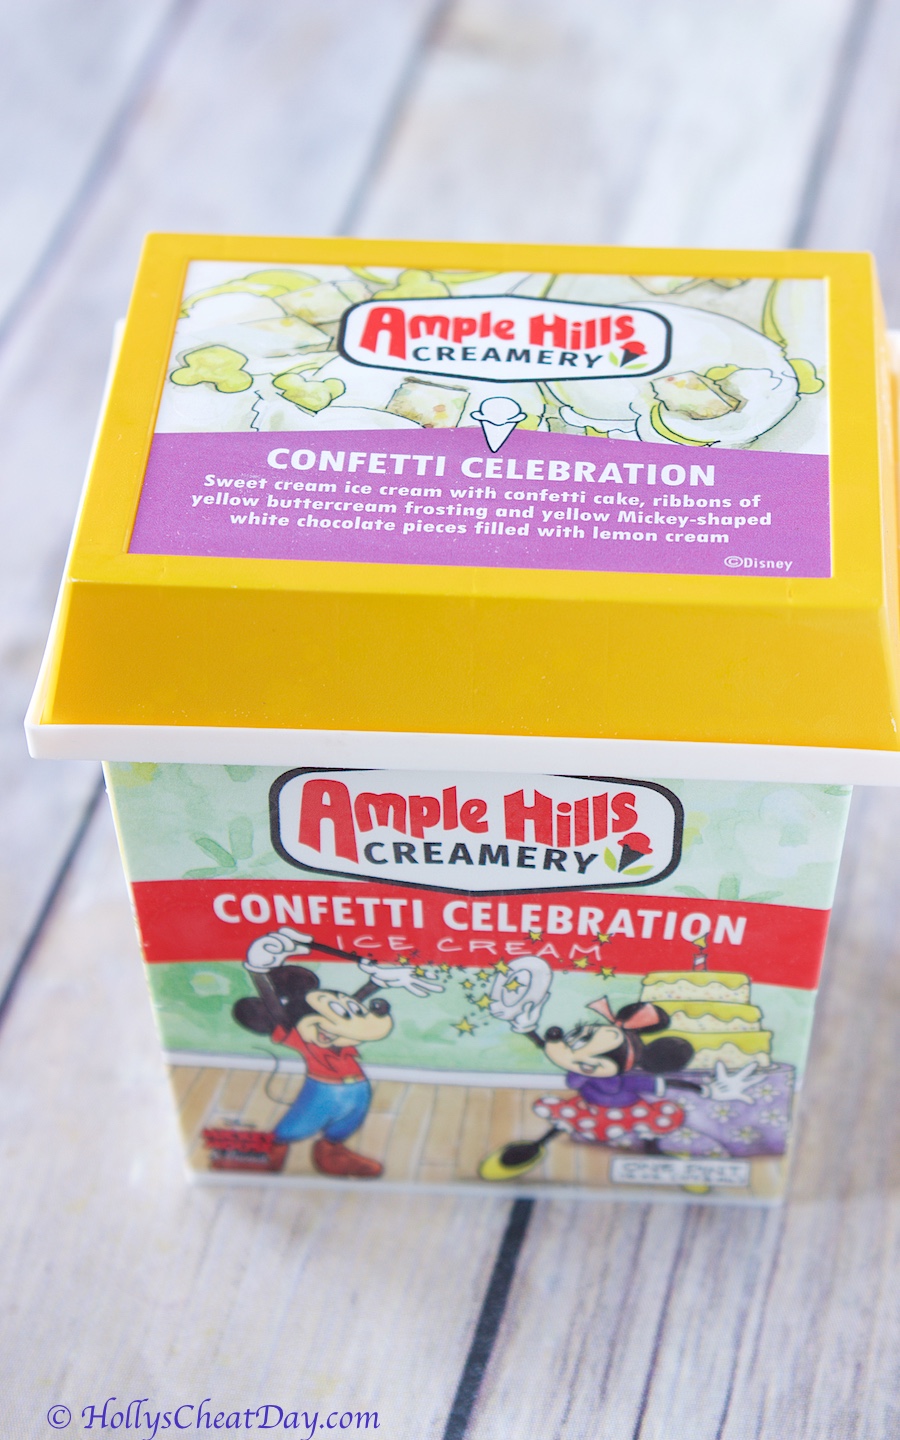
Happy Happy Friday y’all and welcome to another Junk Food Review!!! So in case y’all didn’t know, I’m a gigantic Disney fan, the movies, Walt Disney World etc., and Sunday is Mickey Mouse’s 90th birthday.  It’s incredible all of the amazing things that have come from Walt’s creation of one little mouse.  Ample Hills Creamery (which, FYI there is a scoop shop at Walt Disney World’s Boardwalk) put together a wonderful set of ice creams specifically for Mickey’s 90th.  I originally ordered this ice cream back in August the moment they were announced, and the shipping dates kept changing, so when they finally arrived a couple weeks ago, I couldn’t wait to try, I mean come on, look at their cartons!

First, let’s try the Confetti Celebration, which is a ‘sweet cream ice cream with confetti cake, ribbons of yellow buttercream frosting and yellow Mickey-shaped white chocolate pieces filled with lemon cream’..

you can see some of the swirls of buttercream here…
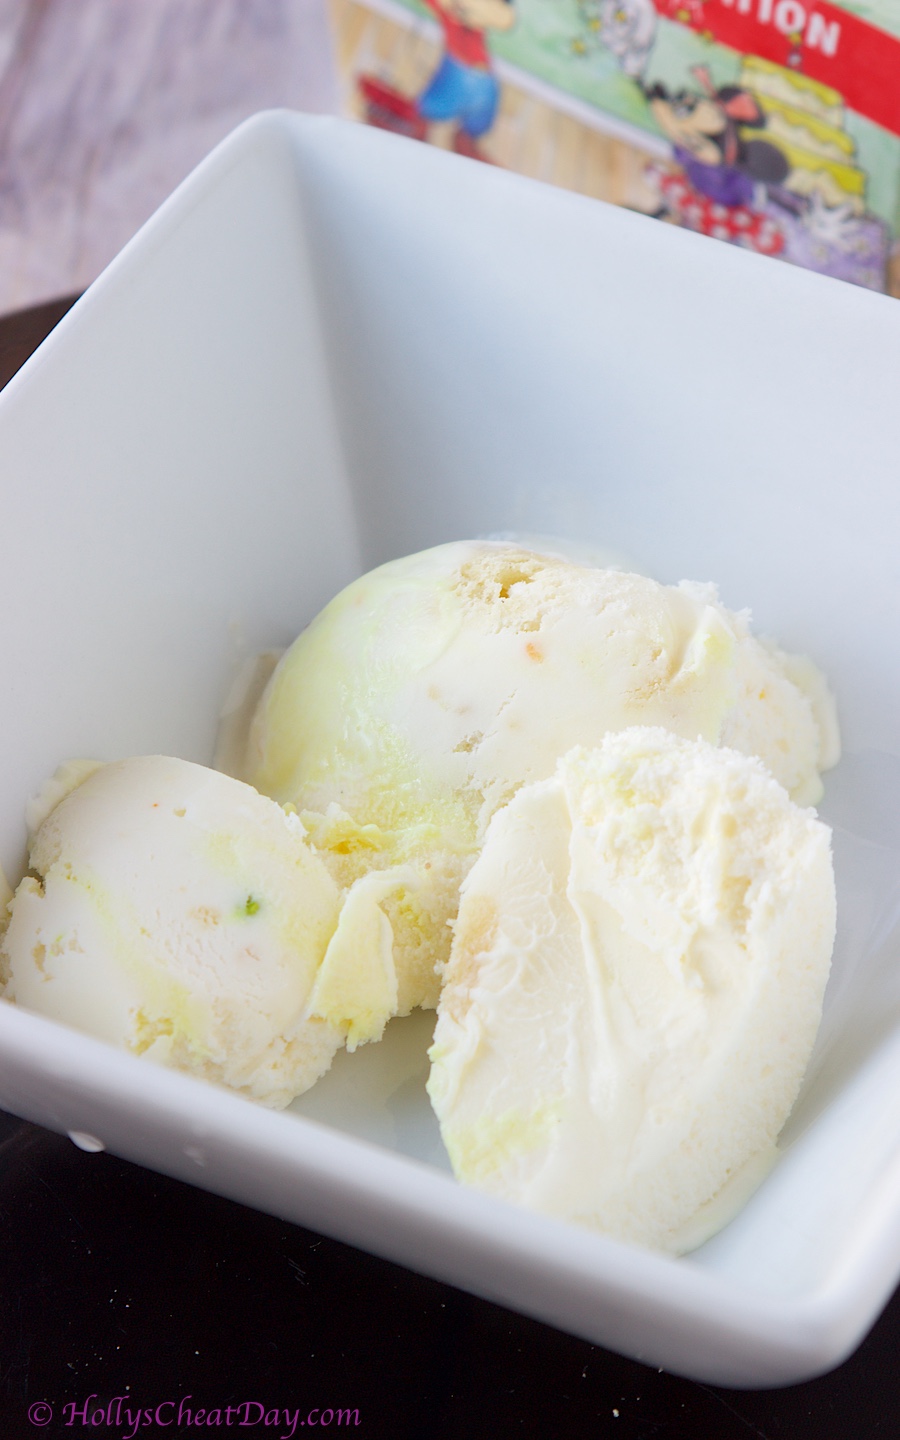
Alrighty, I was definitely the most excited to try this flavor for sure.  This is a very sweet ice cream, the buttercream swirls taste just like the canned frosting you can get at the store (which to me is a good thing), I loved the crunch of the white chocolate pieces, but I didn’t really taste the lemon cream inside them, which is totally cool.  This ice cream is good, but it didn’t end up being as tasty as I had anticipated.  Just know if you get this ice cream it is super duper sweet.  I give this one a 7 out of 10.
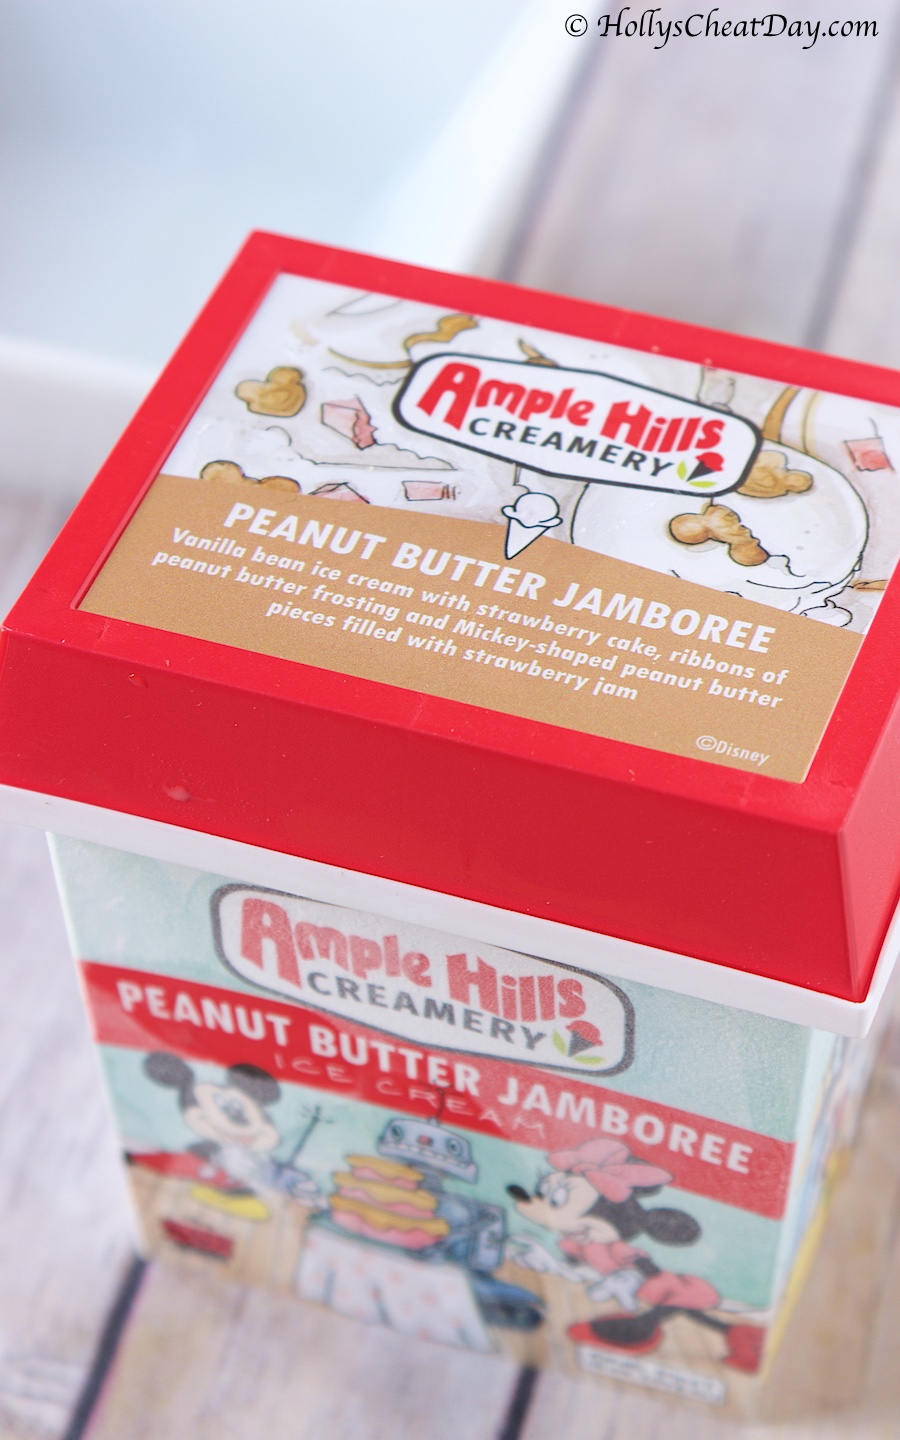
Next we have the Peanut Butter Jamboree, a ‘vanilla bean ice cream with strawberry cake, ribbons of peanut butter frosting and Mickey-shaped peanut butter pieces filled with strawberry jam’…

you can definitely see that peanut butter swirl here…
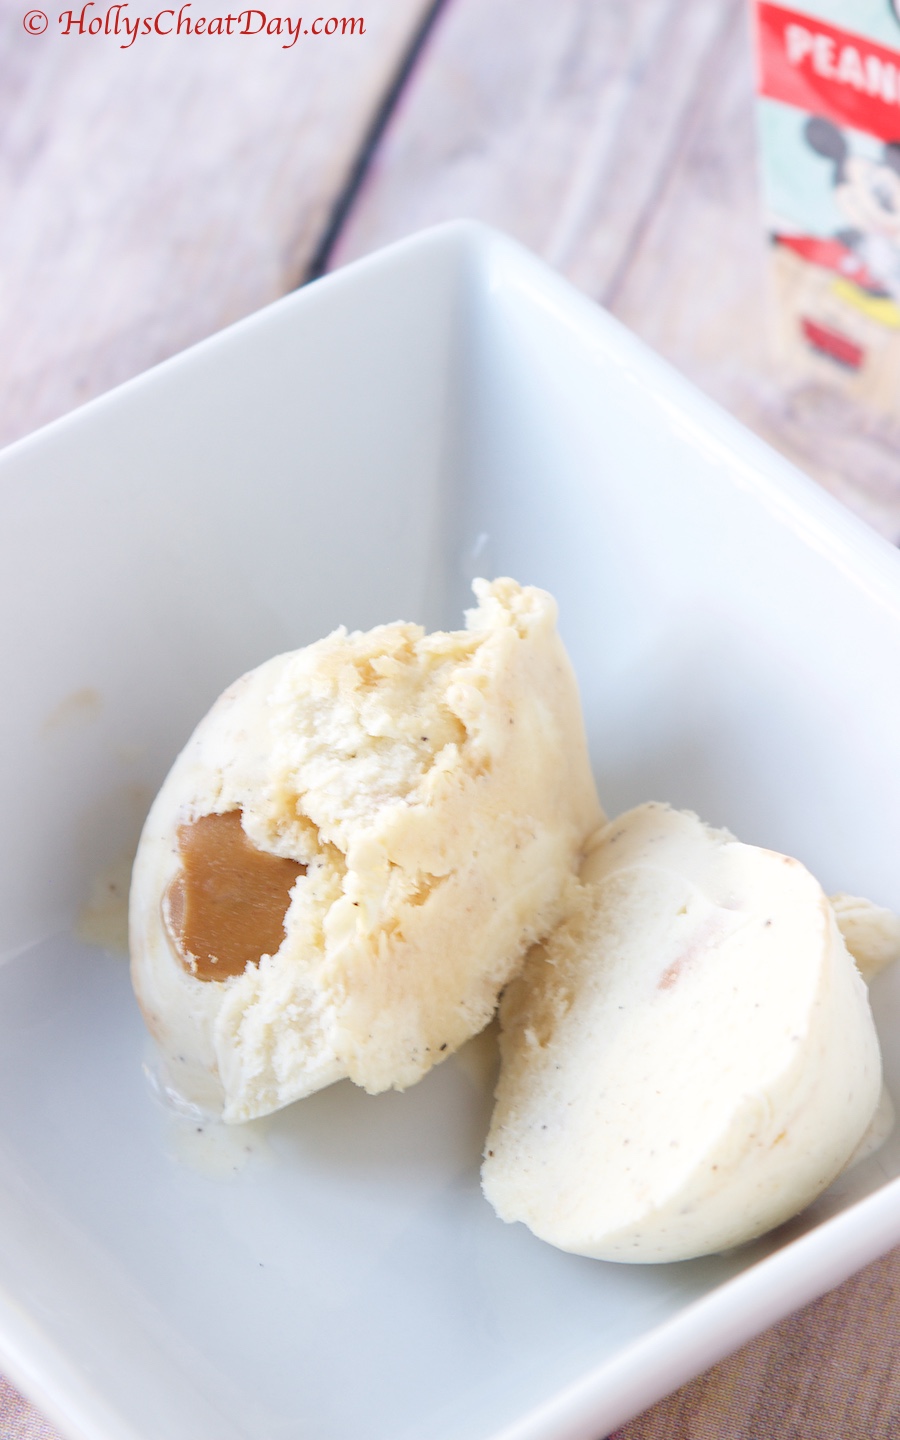
Ok y’all, I really don’t like giving bad reviews but wowza this one needs some work.  I love love love strawberry cake, but whatever is in this ice cream pretending to be strawberry cake is some gummy, artificial strawberry flavored gunk, I almost didn’t eat any more of this ice cream after my first bite was filled with this stuff.  Luckily, I took another bite and it was pretty much all peanut butter swirl and it was fantastic.  If they had left out the strawberry flavored gunk, this ice cream would be a 10 out of 10, since it’s not, its a 4 out of 10.  I never did find any Mickey shaped pieces either, BTW.
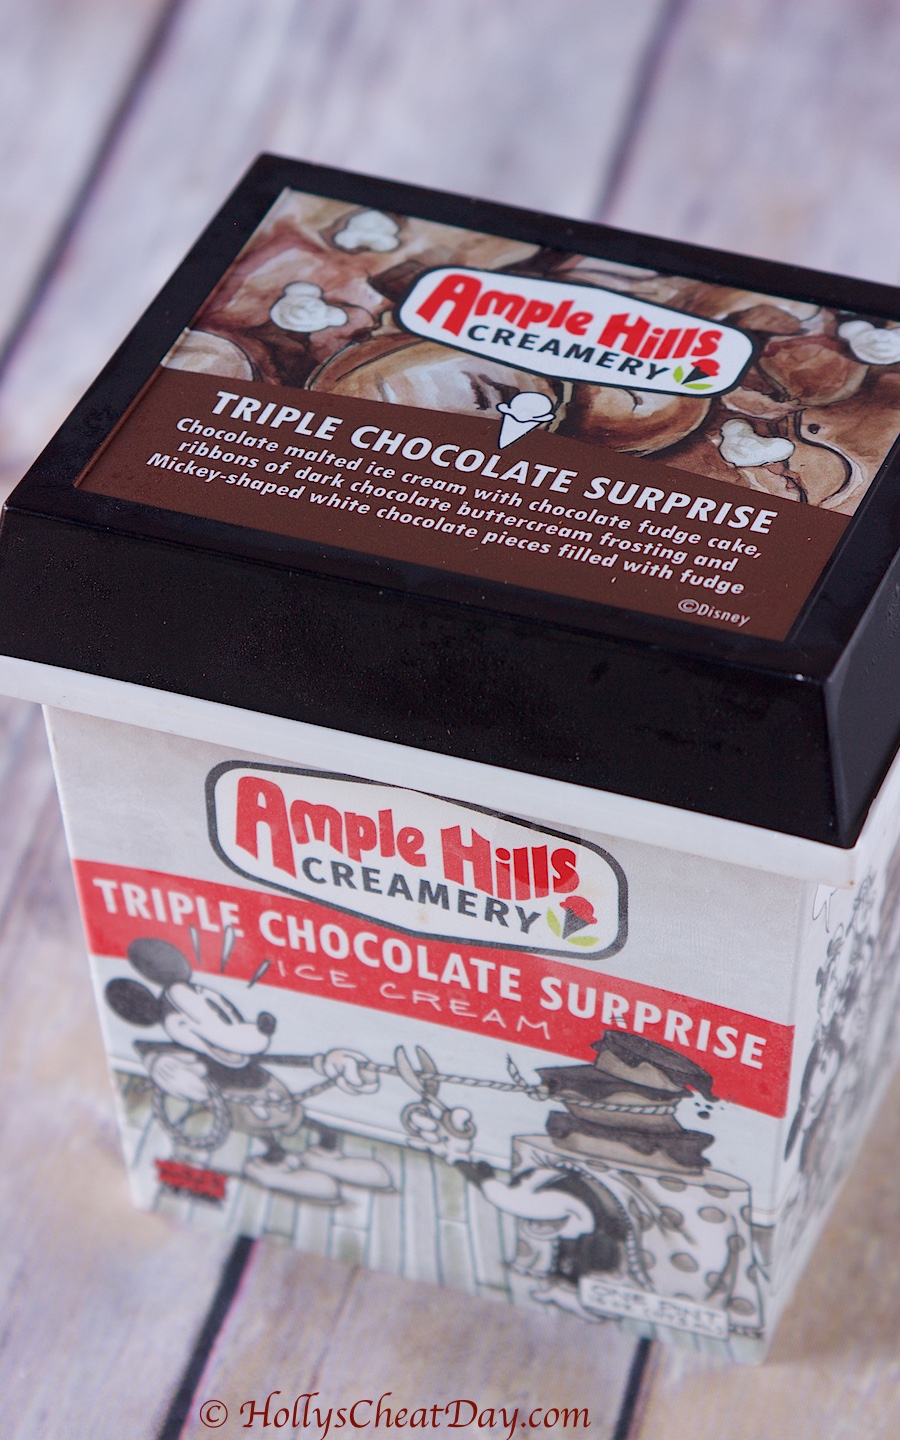
Lastly, we have the Triple Chocolate Surprise, a ‘chocolate malted ice cream with chocolate fudge cake, ribbons of dark chocolate buttercream frosting and Mickey-shaped white chocolate pieces filled with fudge’…


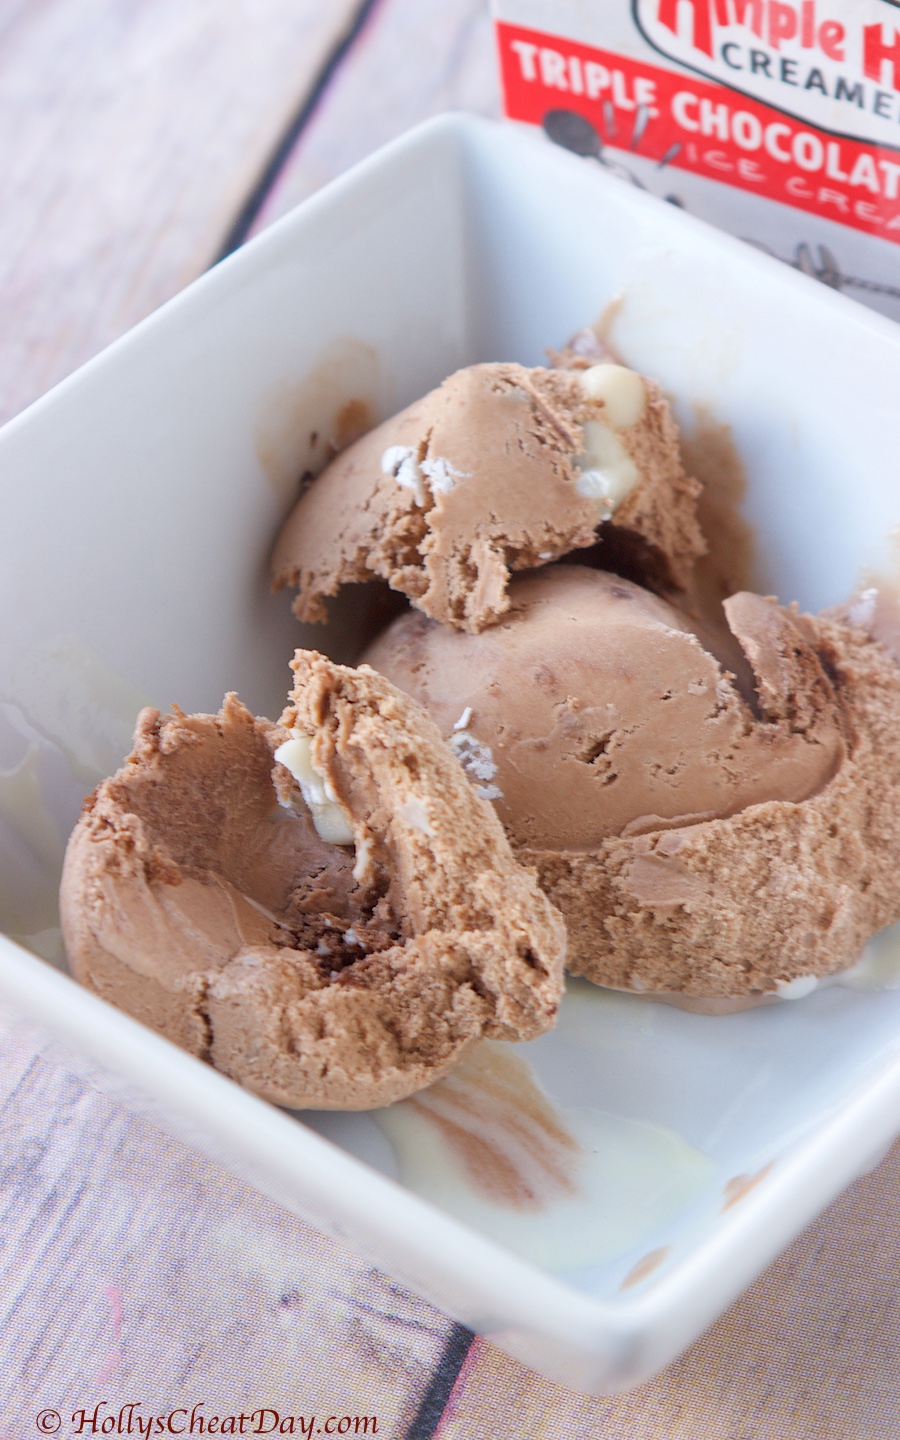
look at all of that chocolatey goodness…

It’s funny how the one I was the most whatevs about, turned out to be my favorite flavor.  I don’t usually gravitate towards chocolate ice cream, but this one knocked it out of the park.  Lots of awesome layers of chocolate throughout (none bitter, even with dark chocolate buttercream) and the white chocolate pieces were really the icing on the cake-so to speak-because they added a wonderful crunch and sweetness.  I absolutely love this flavor and give it a 9 out of 10.

Thanks so much for stopping by and I hope you have a wonderful weekend. 

Happy Birthday Mickey, 90 is looking great on you, haha.

Filed Under: All Recipes, Junk Food Review

Easy Cinnamon Pie

November 15, 2018 By Holly

Happy Happy Thursday y’all! and holy wow, it’s officially a week until Thanksgiving, my how it creeps up on me every year.  I would love if I had the power to move the holidays around a bit…you know, put them a little further apart? 

We seriously just got done with Halloween, and already Thanksgiving is here?  Wouldn’t it be awesome is Halloween could be moved to the beginning of October, maybe bump Thanksgiving up a week or two, so then, maybe it wouldn’t feel like Christmas is about a second from Thanksgiving, what do y’all think?

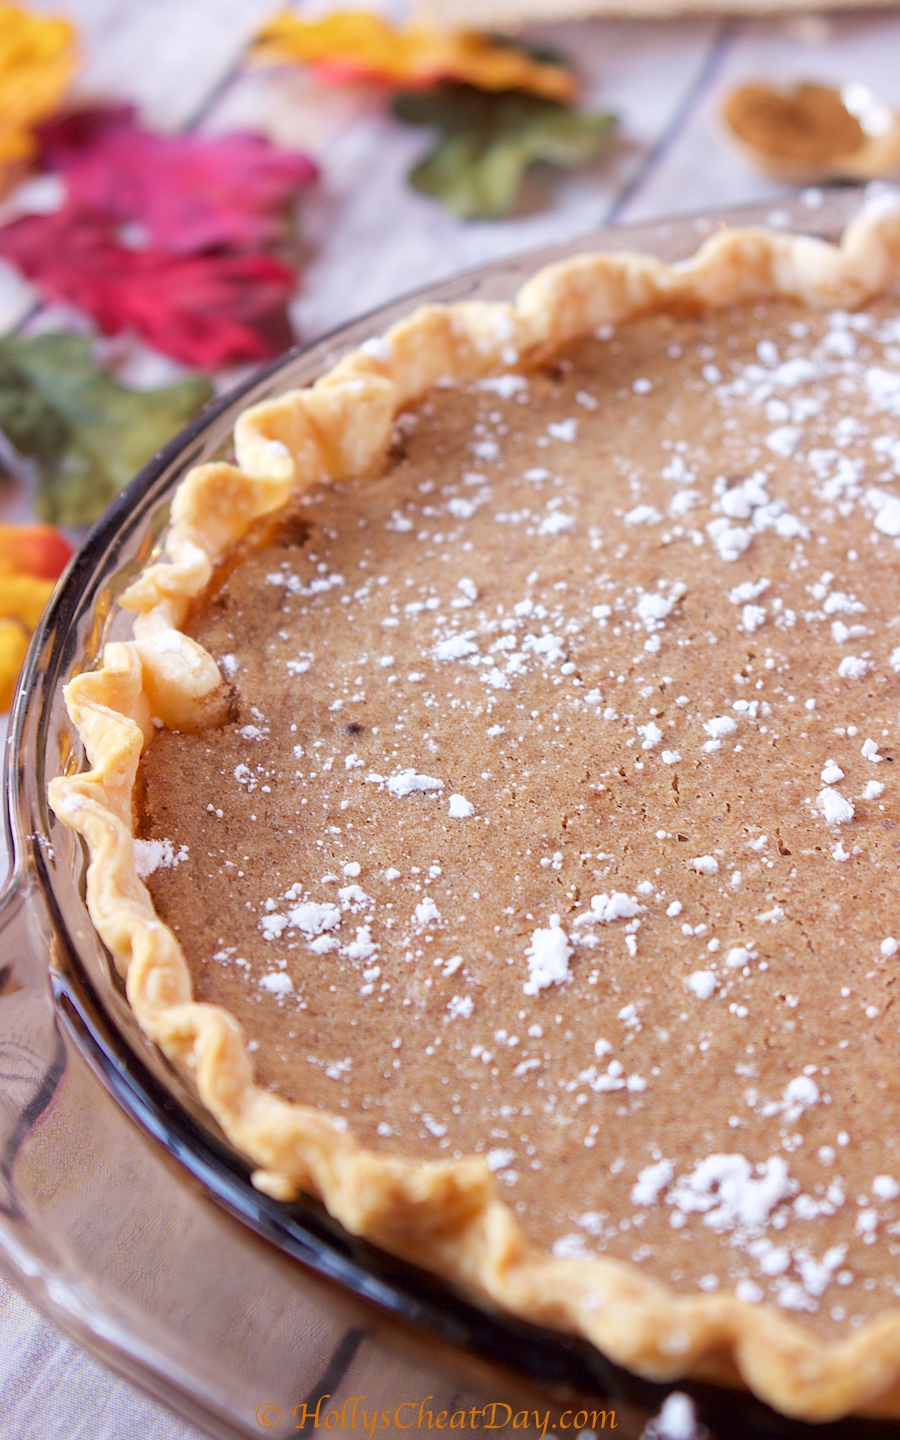
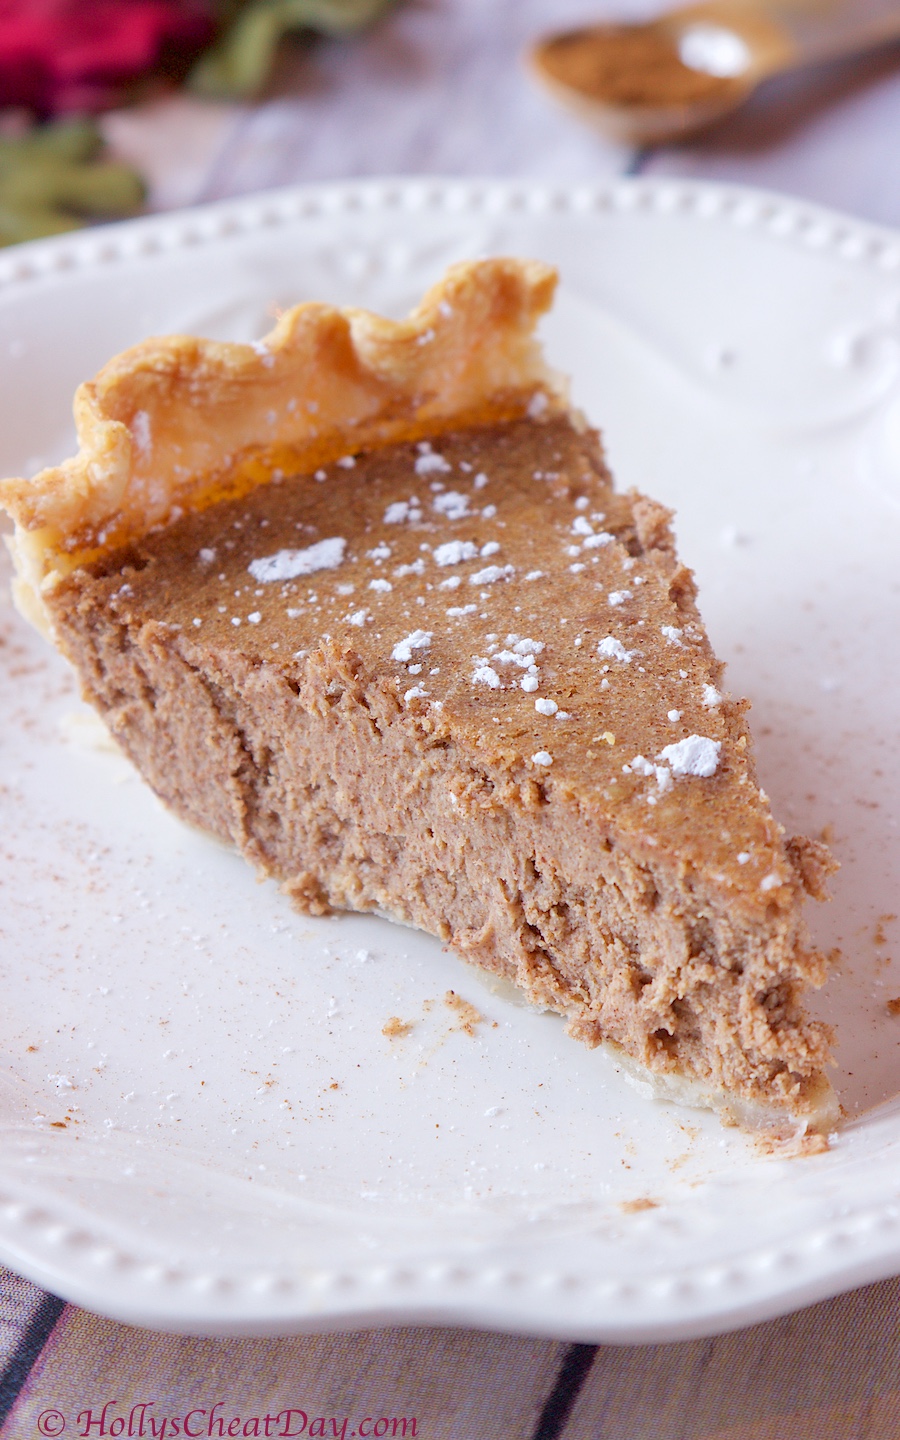
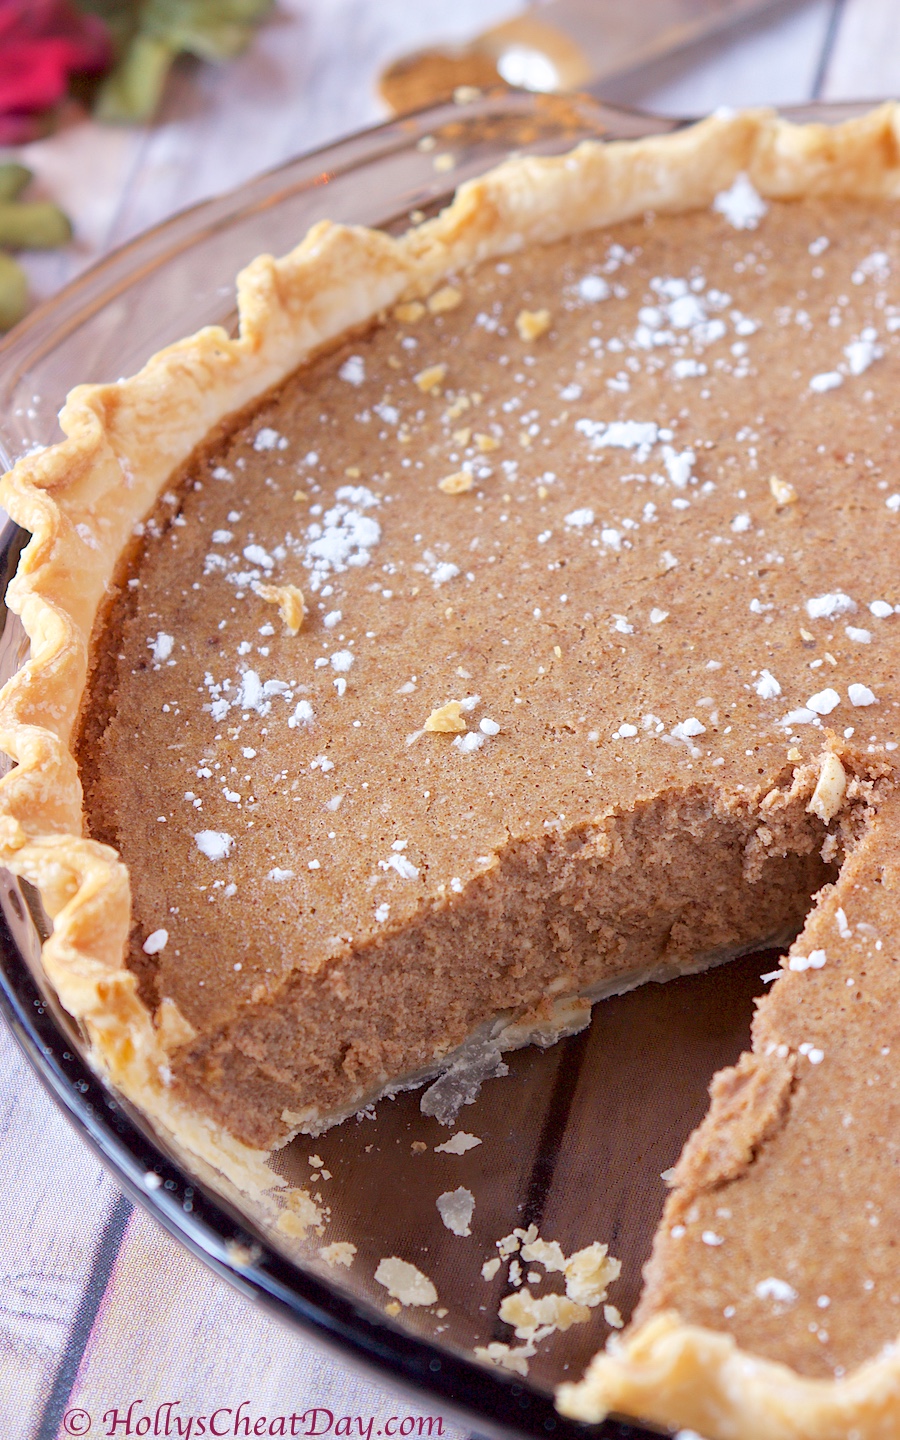
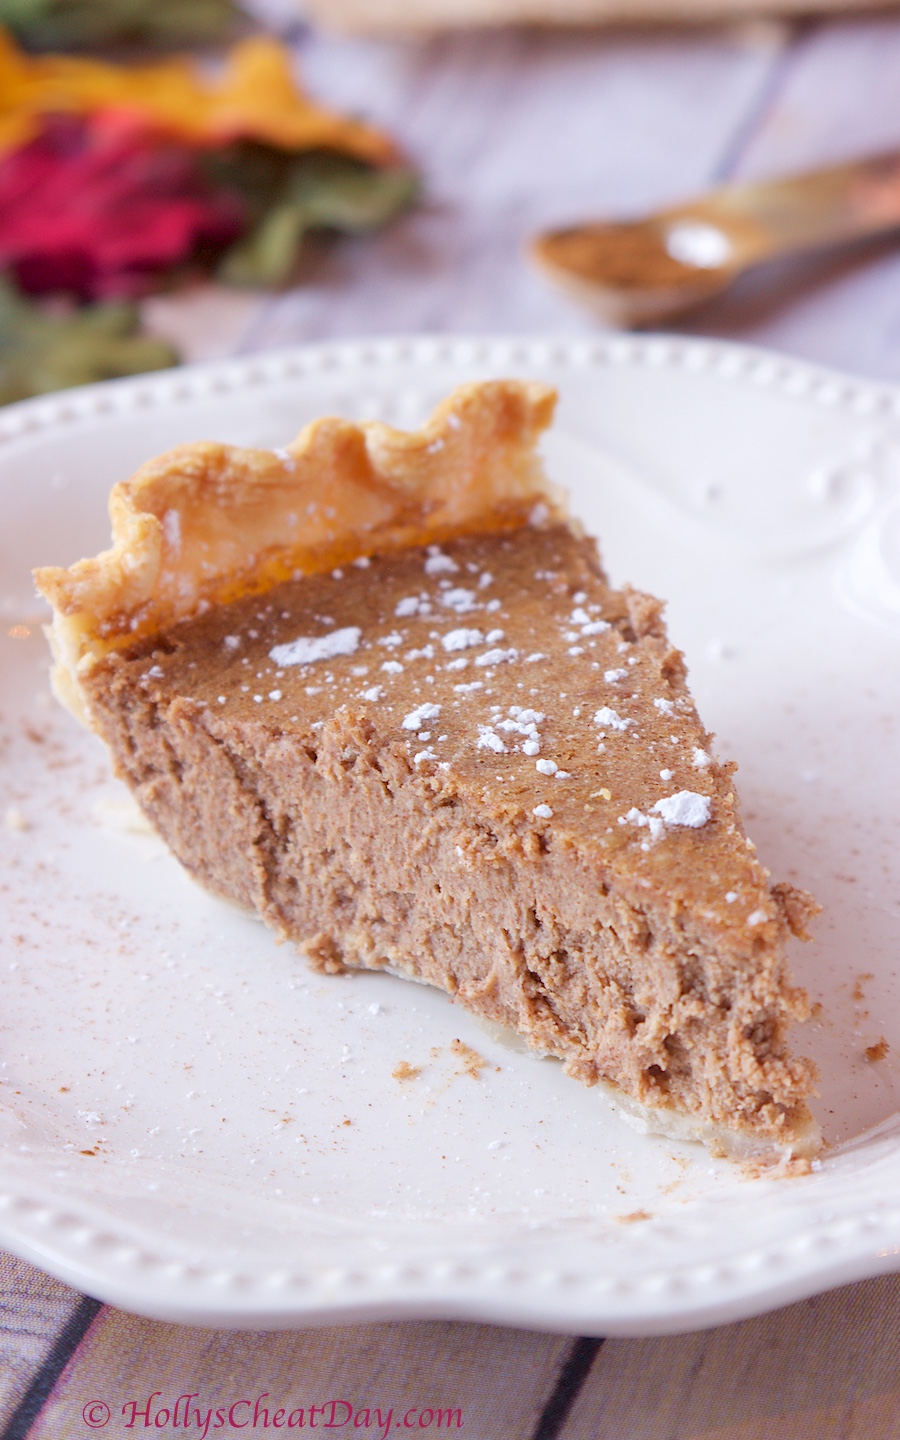
I think it’s genius, but as I stated earlier, I don’t exactly have the pull to make stuff like that happen haha.  What I can do, is maybe give y’all some totally awesome, and totally easy desserts for the impending holiday(s).  As an avid cinnamon lover, seriously I put it on just about everything, and when I heard about a cinnamon pie, I knew that it was absolutely something that had to be stuffed in my face made. 

I found a few recipes floating around, and I decided to take the (hopefully) best parts of each.  There was a slight hiccup with the first pie that I made, in that I think it had waaaay too much cinnamon, like, it was kind of burning my sinuses while eating it, so I definitely cut that down and then baked it for a little less time and voila! pure yumminess. 

Obviously I cheated and used a store bought pie crust, which you totally can too, but I feel like a homemade pie crust with a tad bit of sweetness to it would be fantastic.  I hope this recipe helps if you’re having a slight dilemma of what to make, but this is so perfectly Fall-ish and really really simple to make.  Thanks so much for stopping by and have a wonderful day!

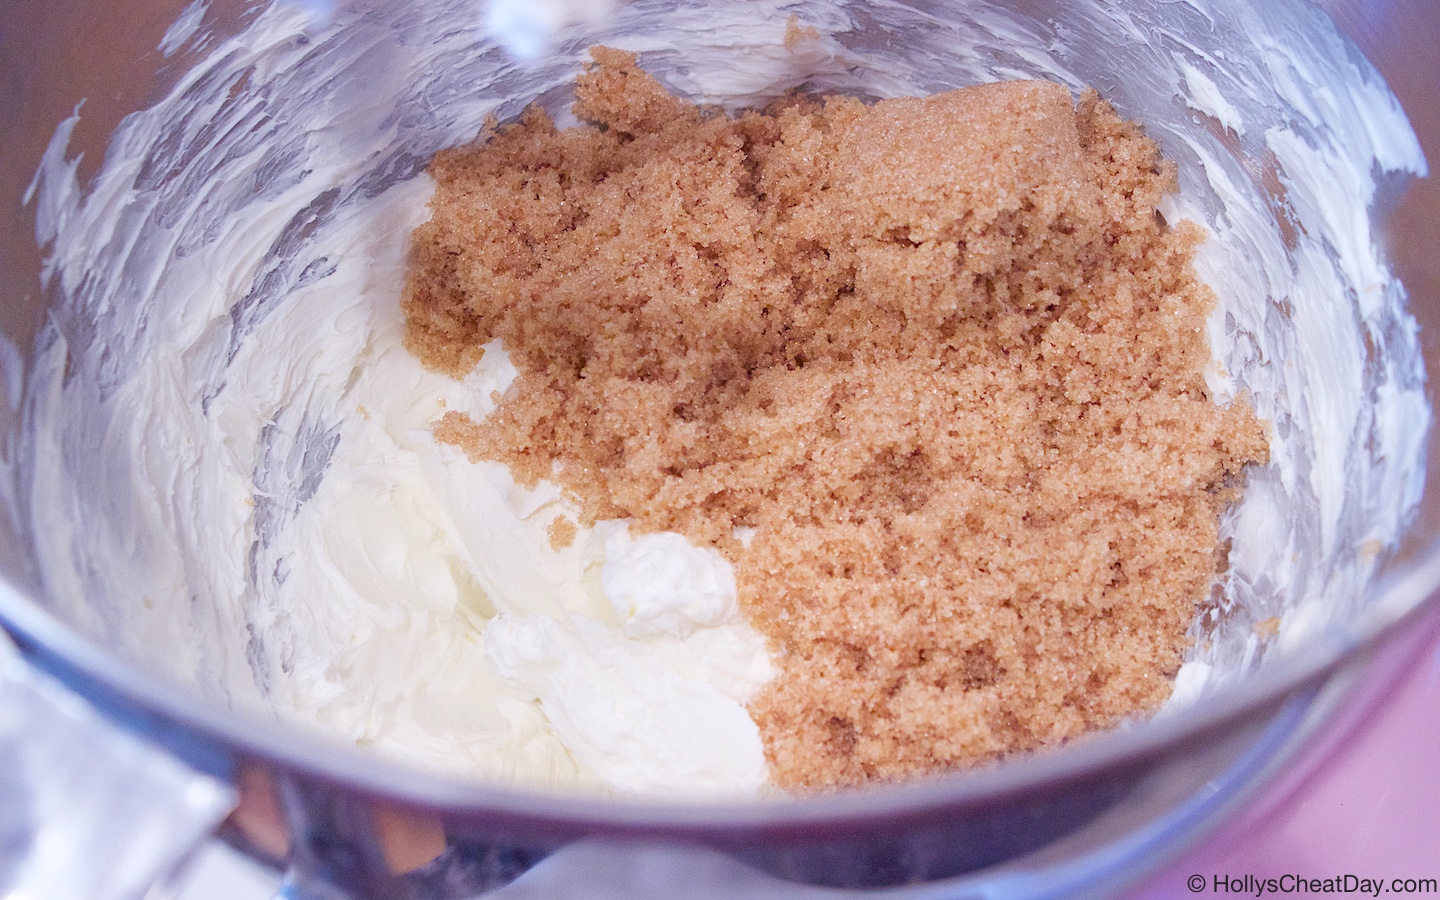
first, cream your cream cheese, then add the brown sugar…

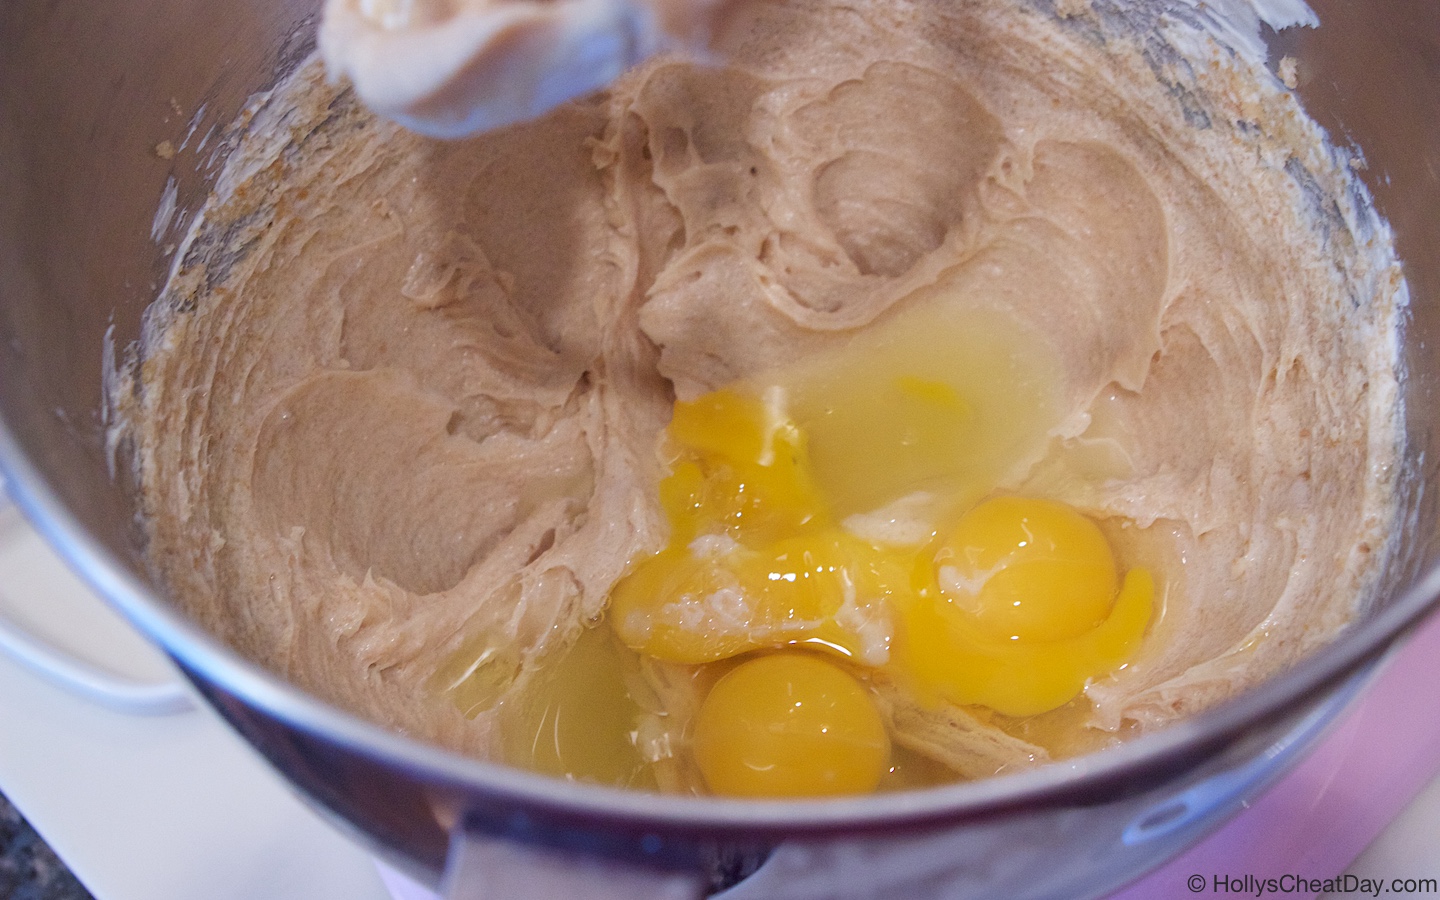
  now, add your eggs…


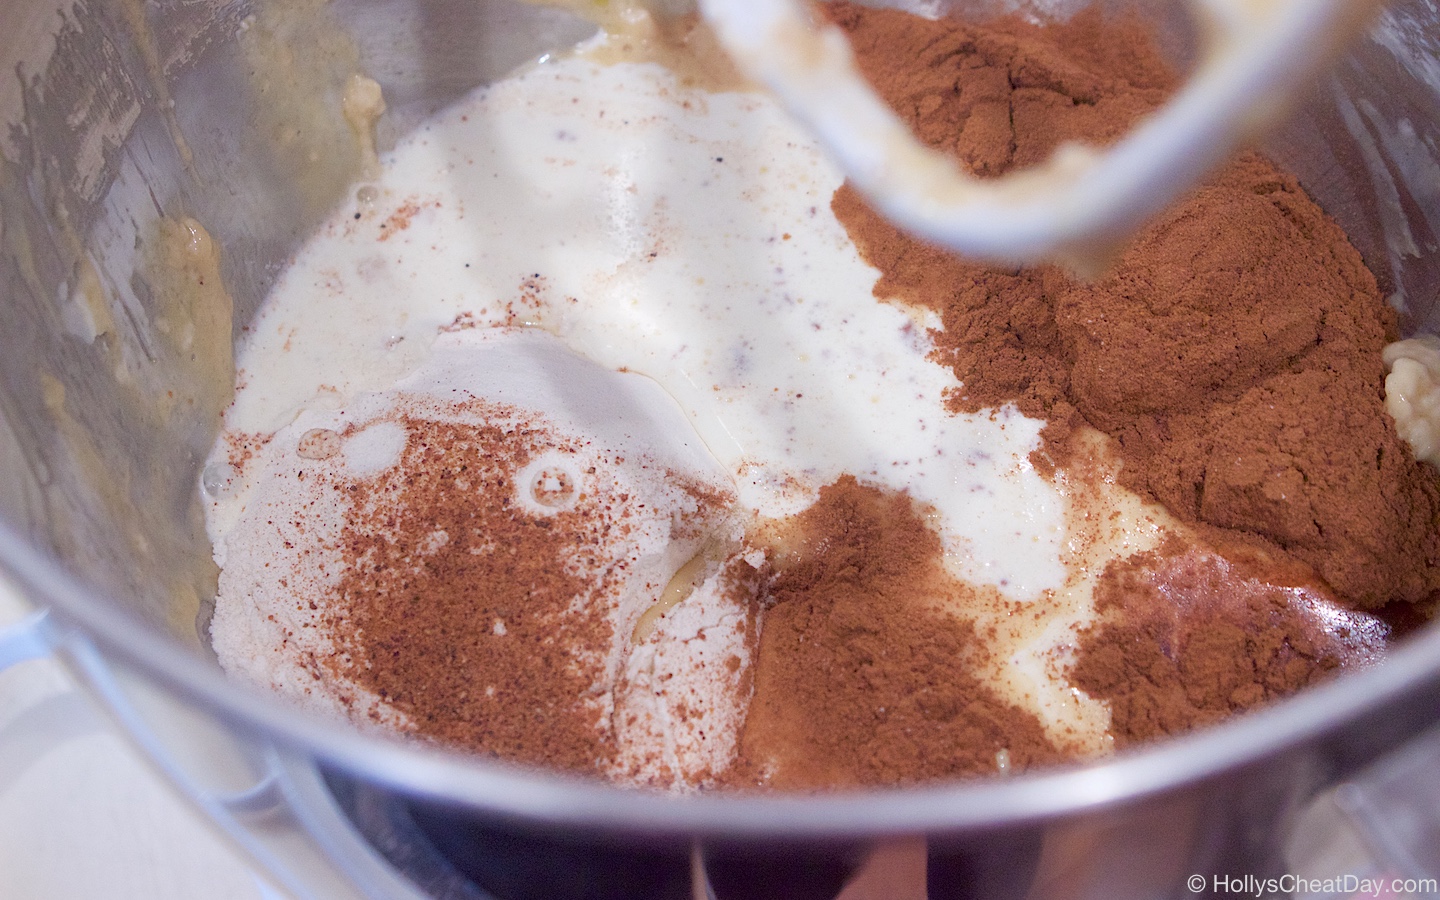
now, the rest of your ingredients and mix, mix, mix…

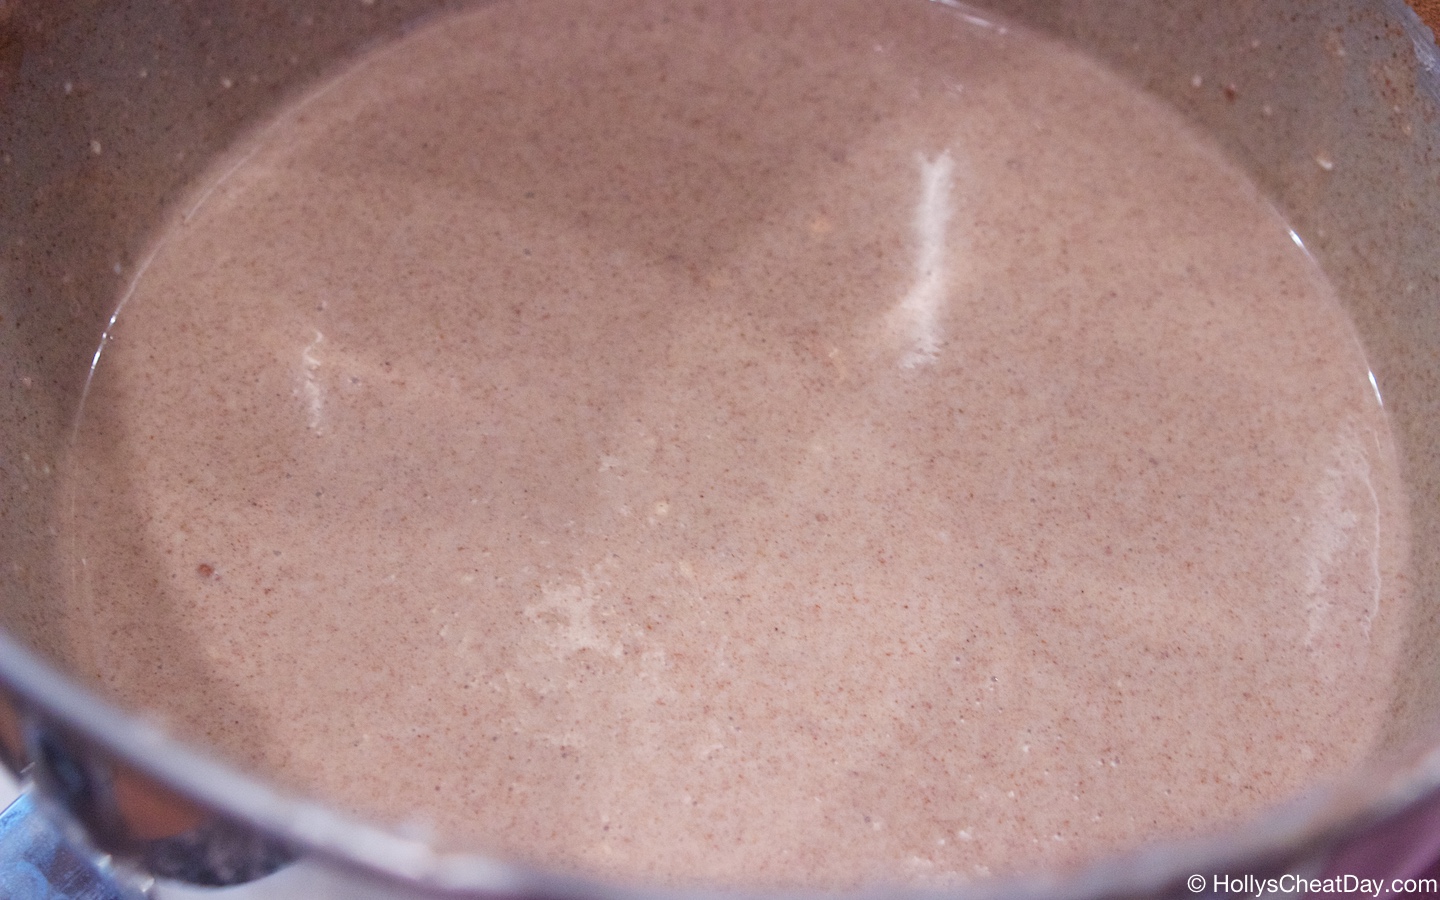
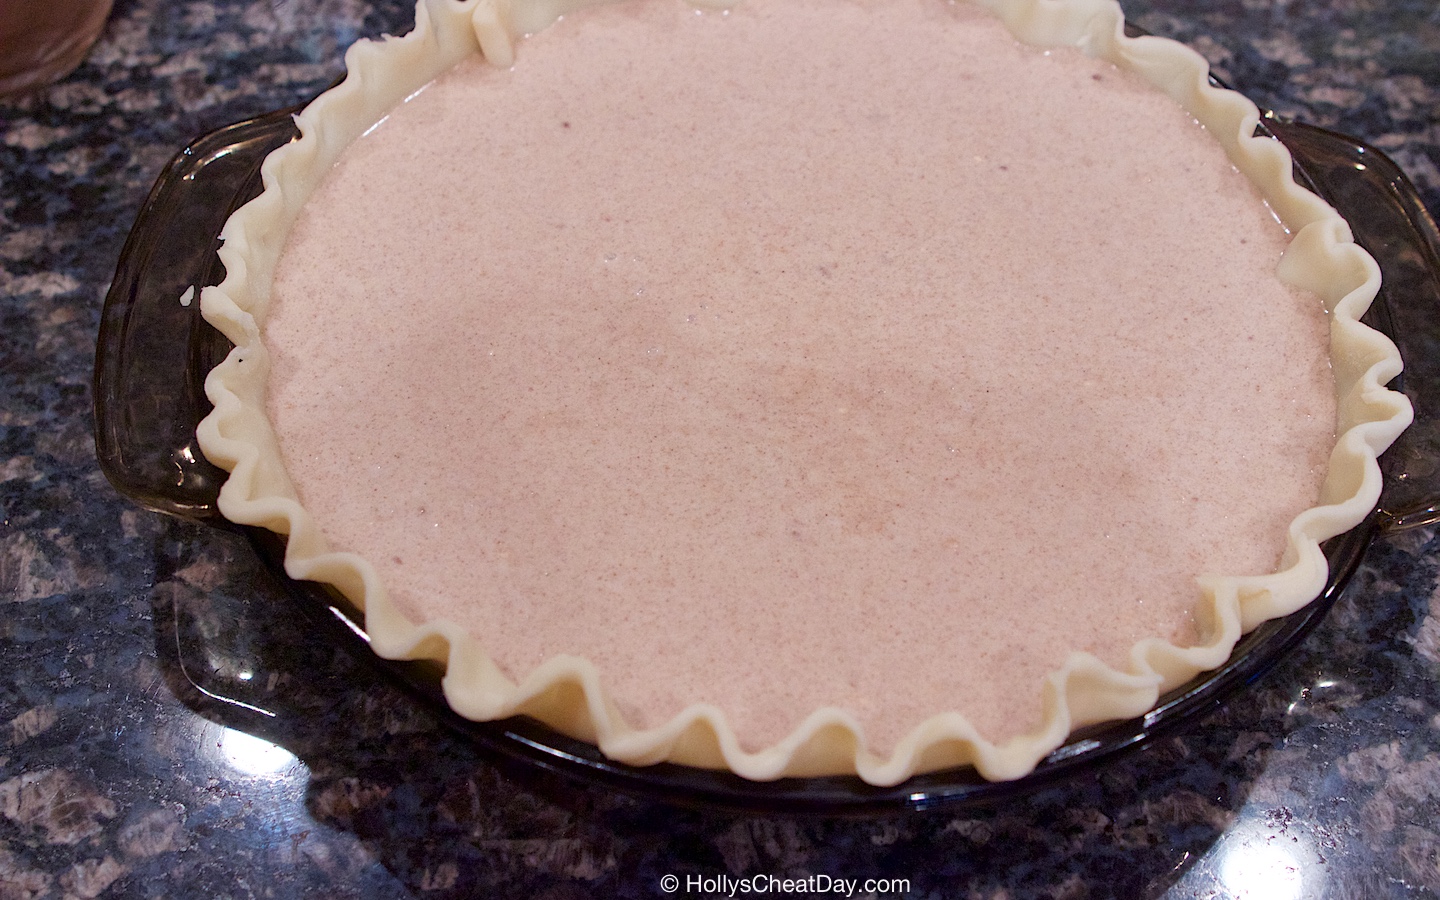
ready to go into your pie crust…

yummm, ready for the oven…

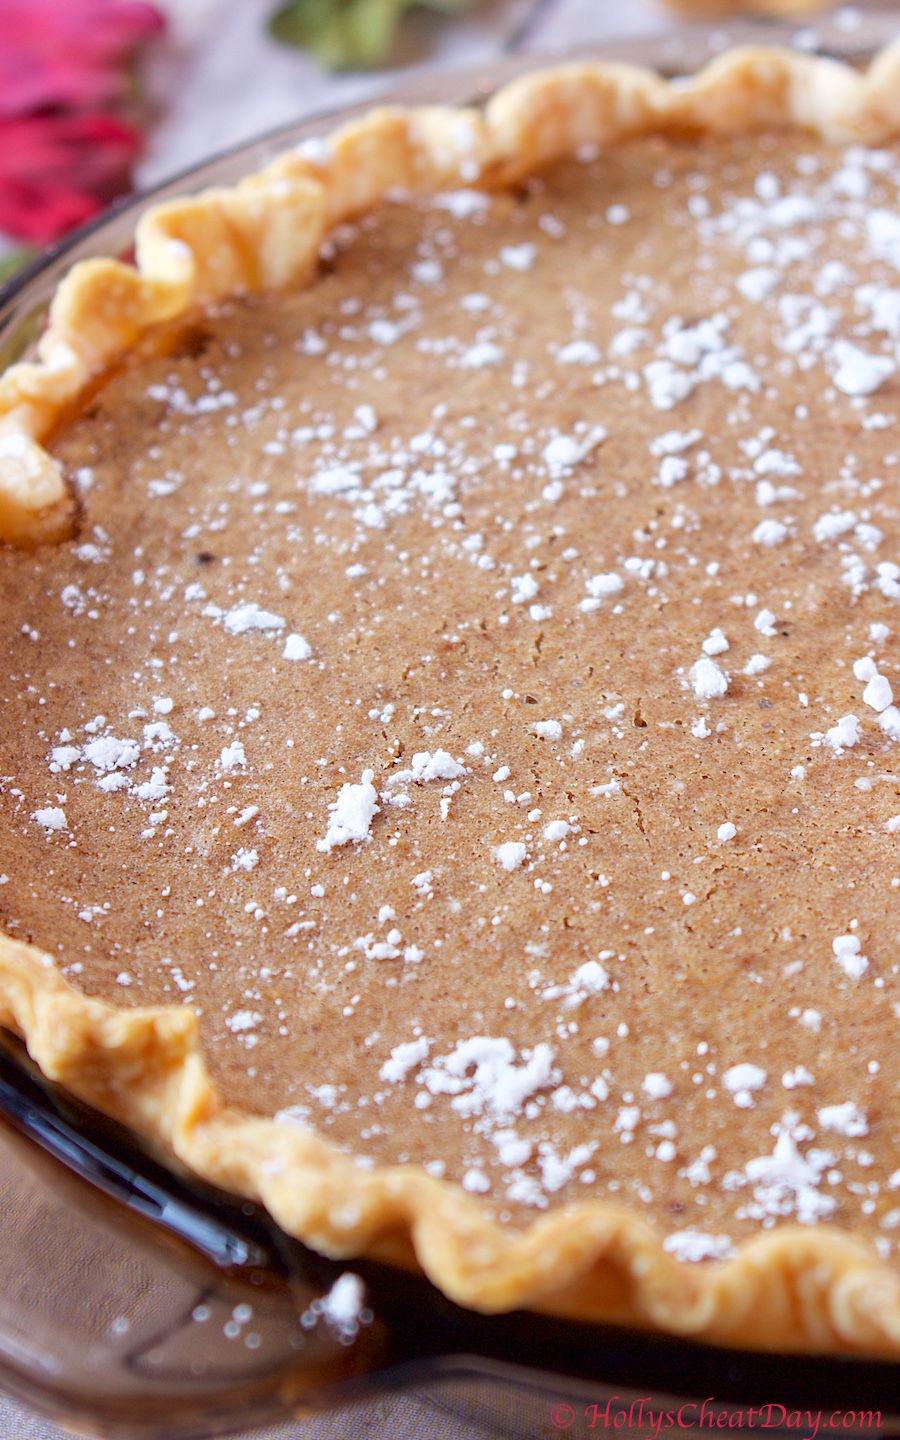
bake, bake, and enjoy!!!

Cinnamon Pie
2018-11-14 17:27:07
Delicious Thanksgiving pie, filled with Cinnamon.
Write a review
Save Recipe
Print
Ingredients
  1. 1-8 Ounces Block of Cream Cheese, Softened.
  2. 1 Cup of Brown Sugar.
  3. 2 Large Eggs.
  4. 1 Egg Yolk.
  5. 1 1/4 Cups of Heavy Cream.
  6. 1/4 Cup of All Purpose Flour.
  7. 2 Tablespoons of Ground Cinnamon.
  8. 1 Tablespoon of Vanilla.
  9. 1 Teaspoon of Salt.
  10. 1/4 Teaspoon of Ground Nutmeg.
  11. 1-9" Pie Crust, Store Bought or Homemade.
Instructions
  1. Preheat your oven to 350 degrees F.
  2. Roll your pie dough out into your 9" pie pan, cutting off any excess and crimp the edges of your dough, place in the fridge until ready to use.
  3. With a handheld or stand mixer with paddle attachment, beat your cream cheese until smooth, then add in the brown sugar and beat until incorporated to the cream cheese.
  4. Scrape down the sides of the bowl and add in the eggs and egg yolk and mix until smooth.
  5. Now add in your heavy cream, flour, cinnamon, vanilla, salt and nutmeg and mix until well incorporated.
  6. Pour your pie mixture into your pie pan and bake for 30-35 minutes or until the center isn't jiggly anymore.
  7. Cover your pie and let cool completely in the fridge.
  8. Let your pie stand for at least an hour before serving, and enjoy with a dusting of powdered sugar or ice cream!
HOLLY'S CHEAT DAY https://www.hollyscheatday.com/

Filed Under: All Recipes, Pie

White Chocolate Peanut Butter Truffles-Happy 4th Blogiversary!

October 27, 2018 By Holly

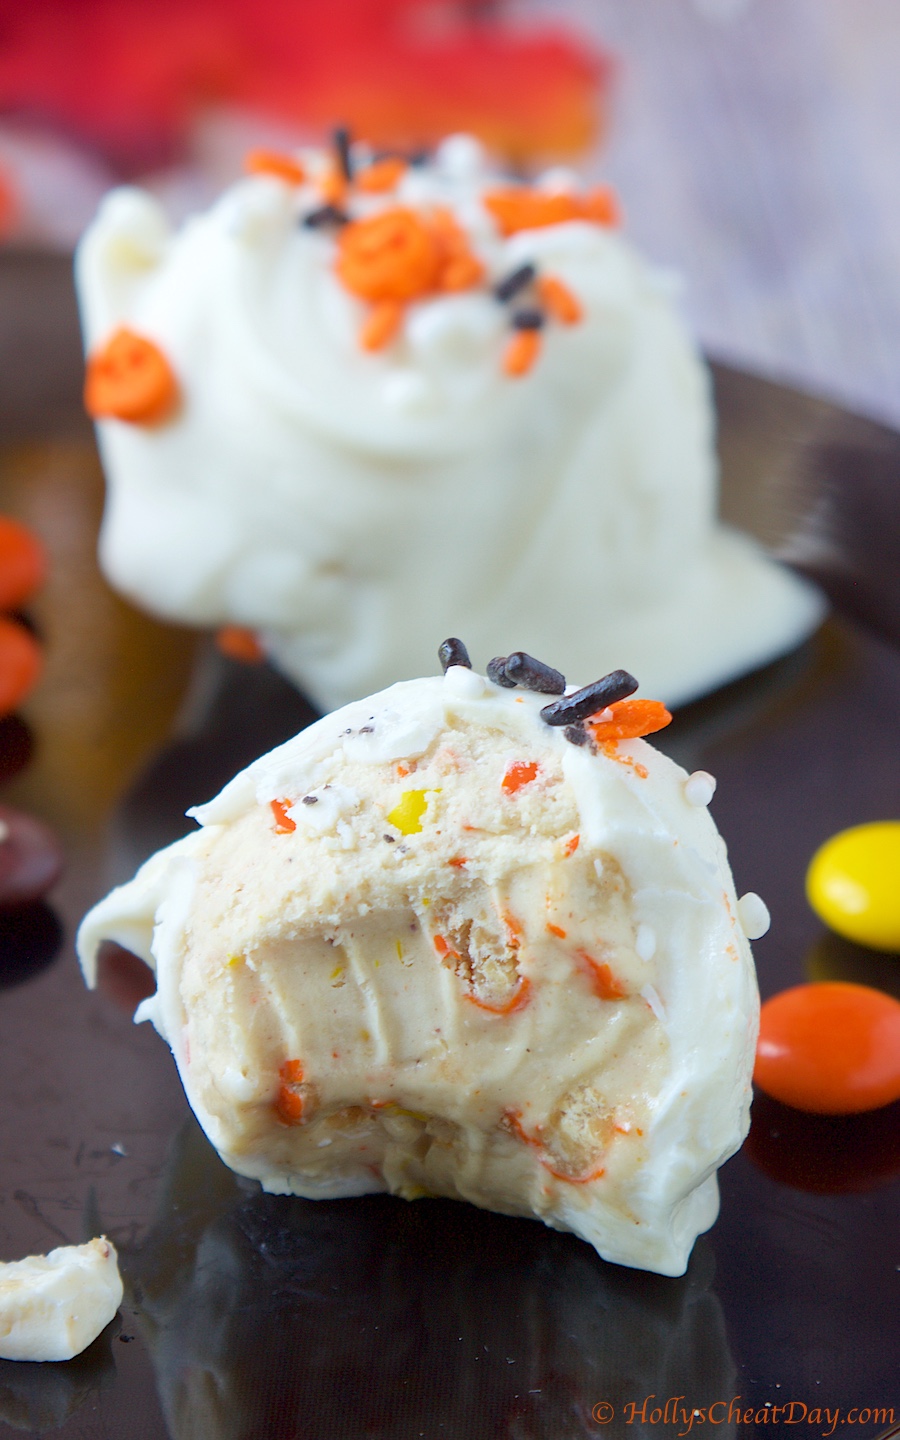
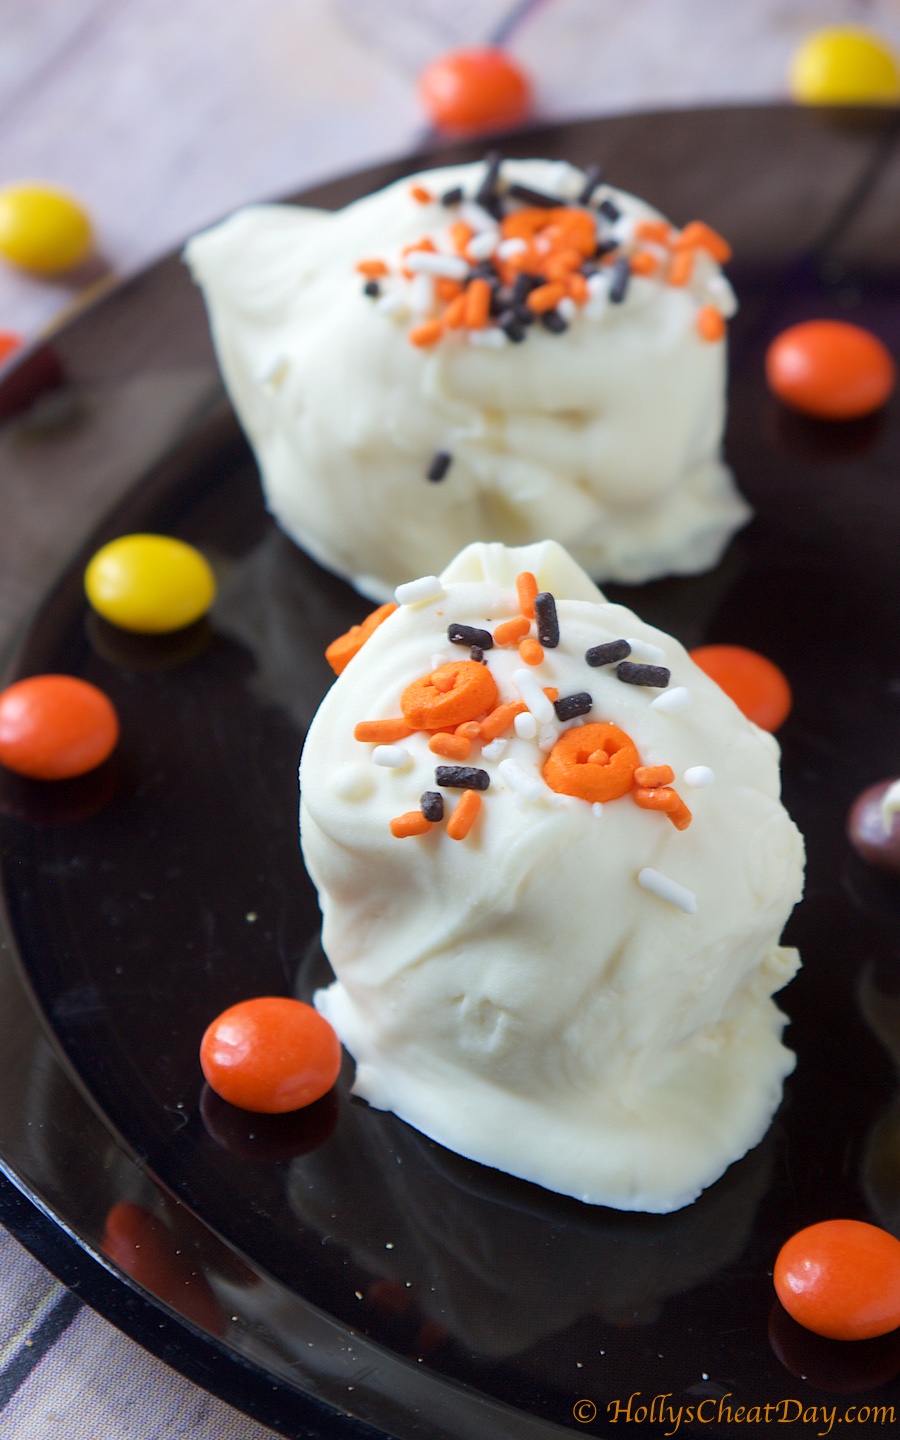
Happy Happy Saturday & Happy 4th Anniversary of HollysCheatDay.com!  I cannot even comprehend that I’ve already been food blogging for 4 years, my how time flies.  I figured the best way to celebrate the 4th anniversary would be to make something not only Halloween themed, but also something that contains a few of my favorite things (Reese’s Pieces, Peanut Butter & White Chocolate, FYI haha). 

My inspiration for these delightful balls that’s what she said  is due to all of these wonderful candy bars such as Kit Kat, Reese’s Peanut Butter Cups, and Snickers, coming out with white chocolate versions in recent months, which I actually think are even better than the originals and have made white chocolate one of my new favorite ingredients.  I think that white chocolate is especially delicious with peanut butter, hence today’s recipe. 

I had originally planned on putting mini Reese’s Pieces, but after a lot searching and only finding a 5 lb bag of these guys, I decided that regular Reese’s Pieces would have to do.  Luckily, the regular sized Reese’s Pieces were kind of chopped up with the paddle attachment while being mixed, so no biggie there.

Okay, so if you’re one of those weirdos  that is quick to think that something is ‘too sweet’ or ‘too rich’ then these are not for you.  If you’re normal not sensitive to really rich stuff then these little bad boys are for you.  Wowza these are so delicious, and I really think that the white chocolate coating bumped these up ten fold.  The little crunch of the  Reese’s Pieces bits in each truffle is just darn delicious y’all.  Also, these could totally be themed for anything in the next few months, red & green sprinkles..boom, Christmas, red & pink sprinkles..boom, Valentine’s Day…I’m just telling y’all you need these in your mouth life.  Thank you so much for stopping by and have a wonderful weekend!!!

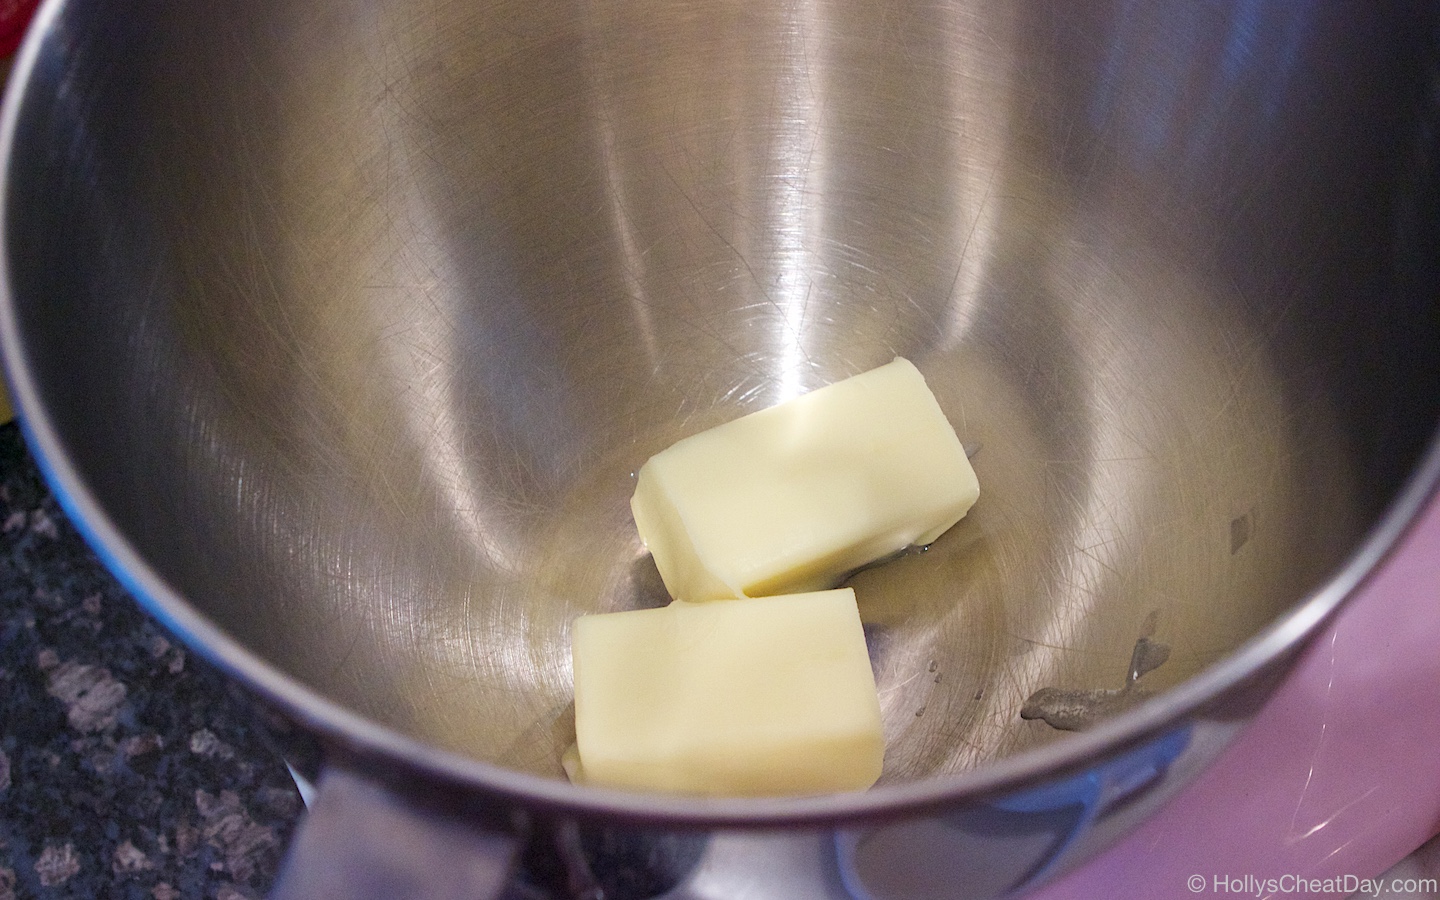
butter ready to whipped in the mixer…


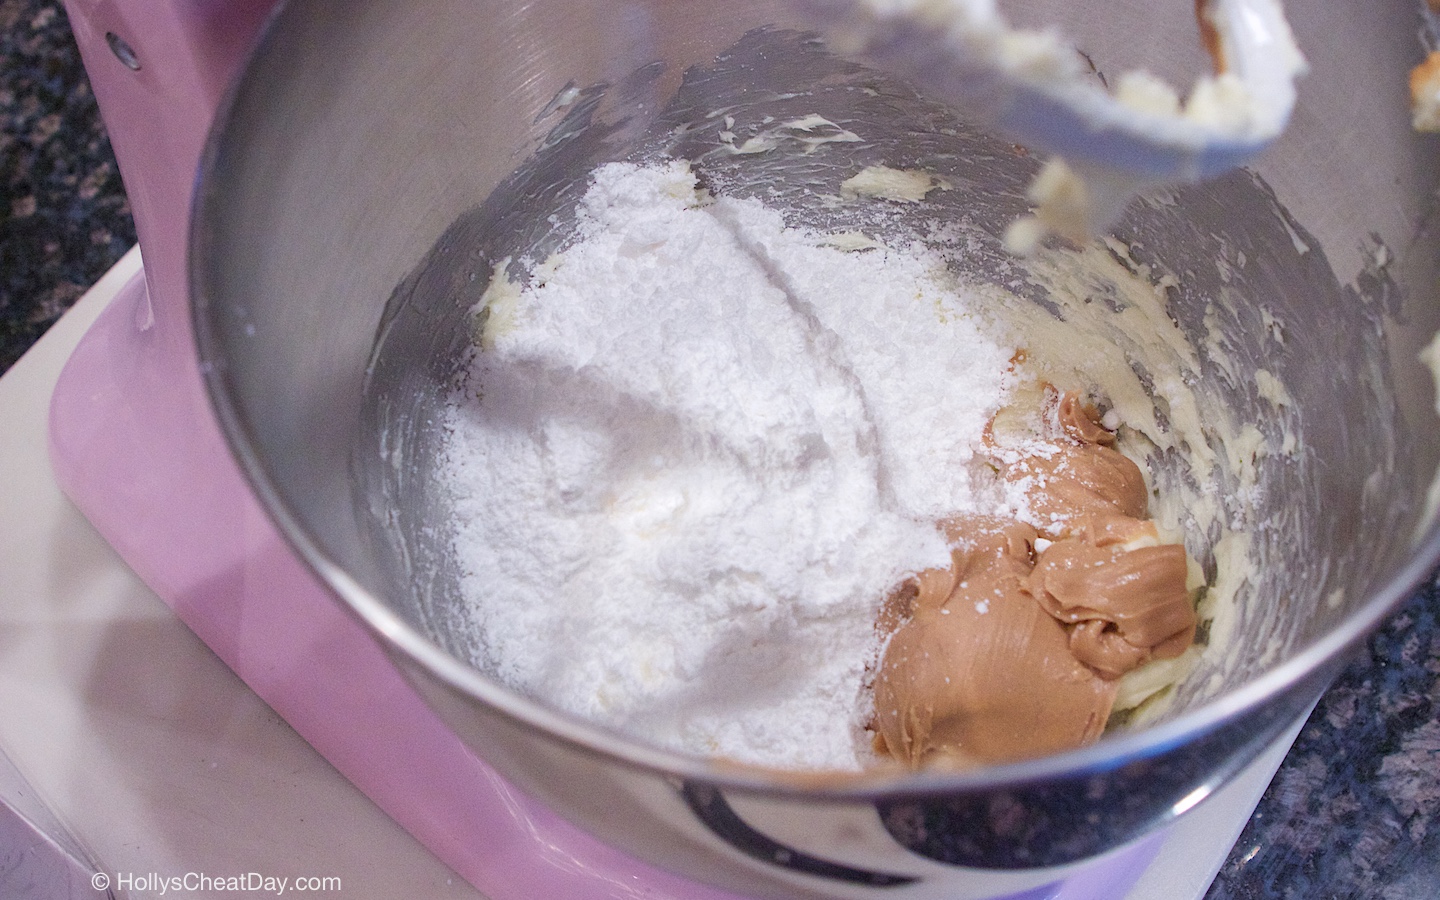
                                    mix, mix, mix, now add vanilla, powdered sugar and peanut butter…

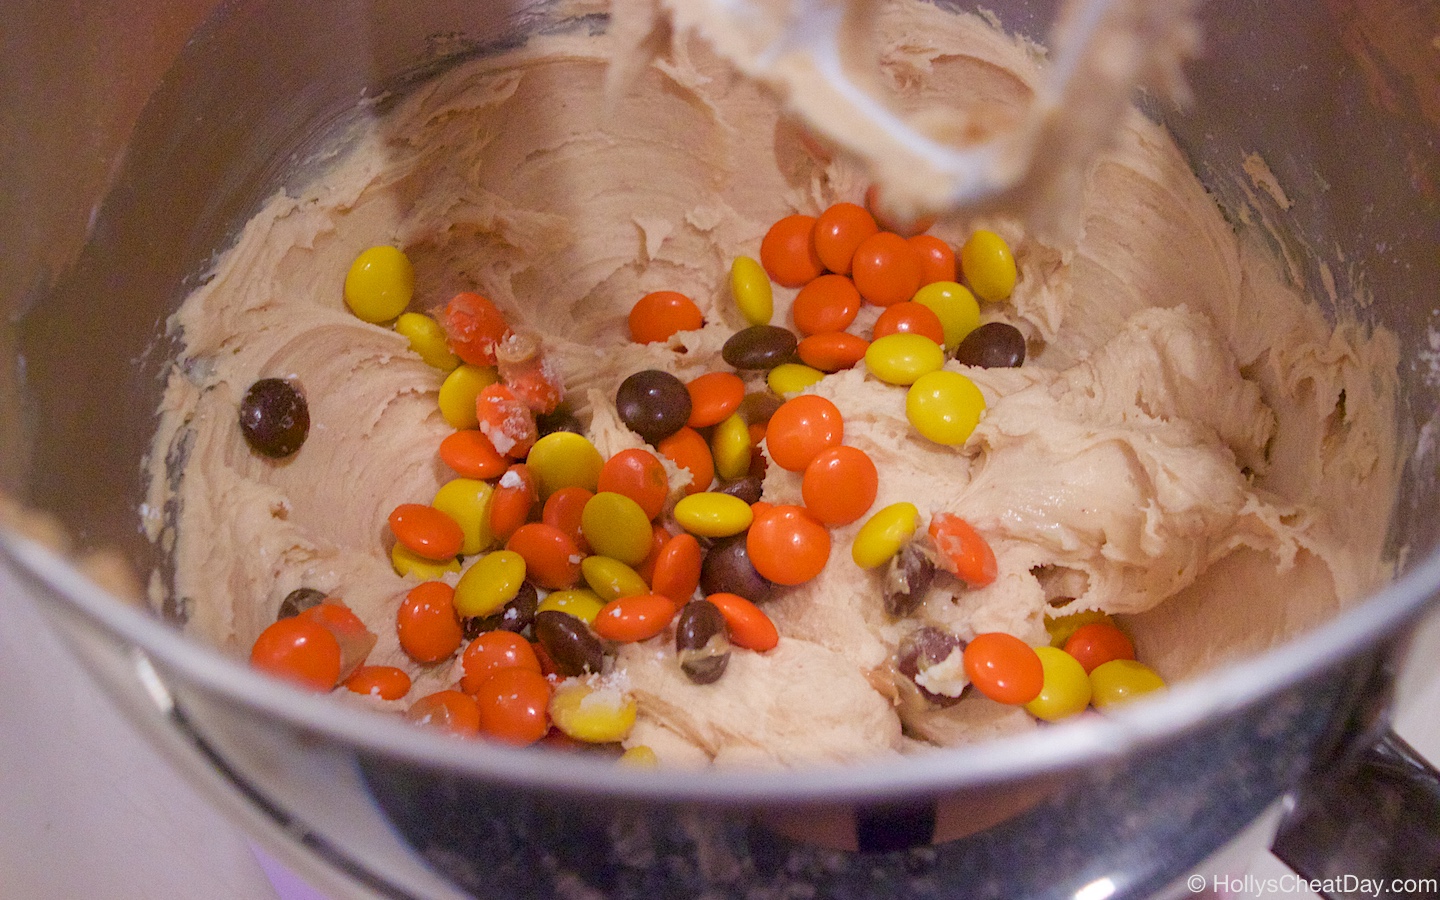
                                                         mix again, then add in the Reese’s Pieces…

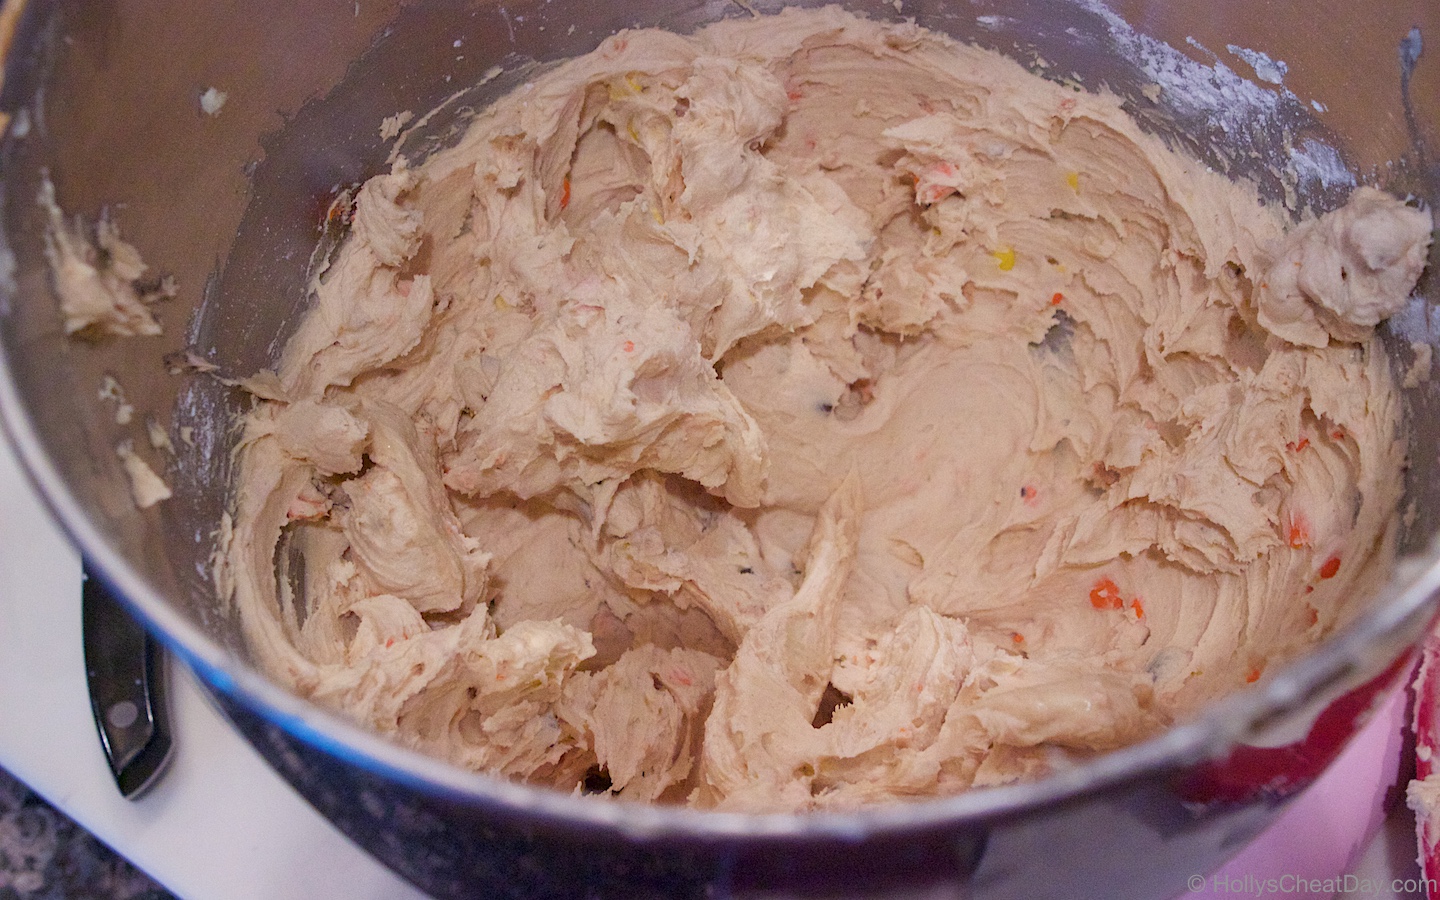
                                                                                  all mixed up…

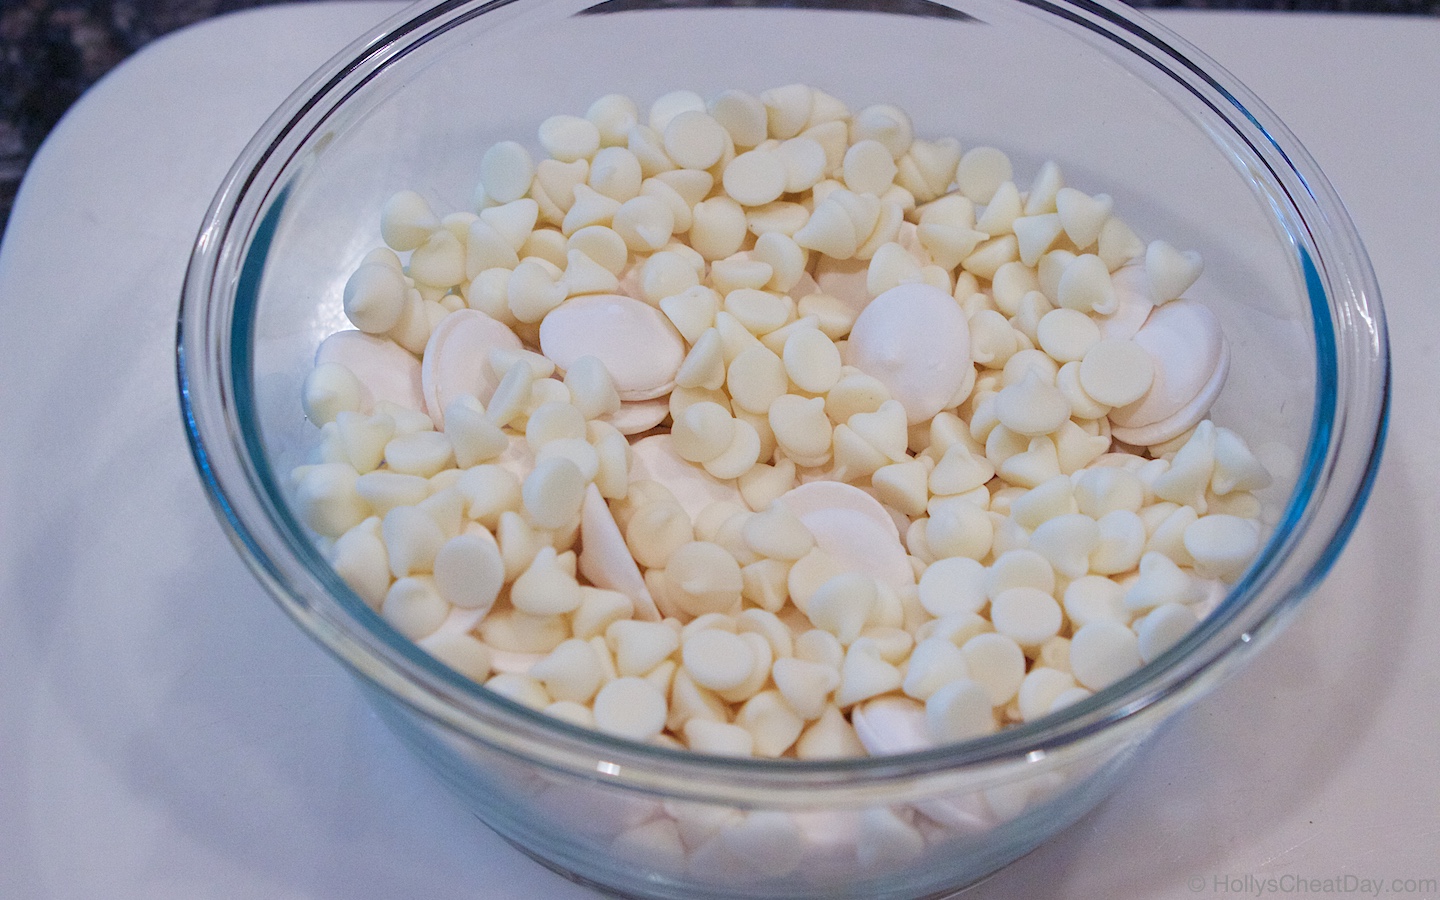
                                                            white chocolate chips ready to be melted…

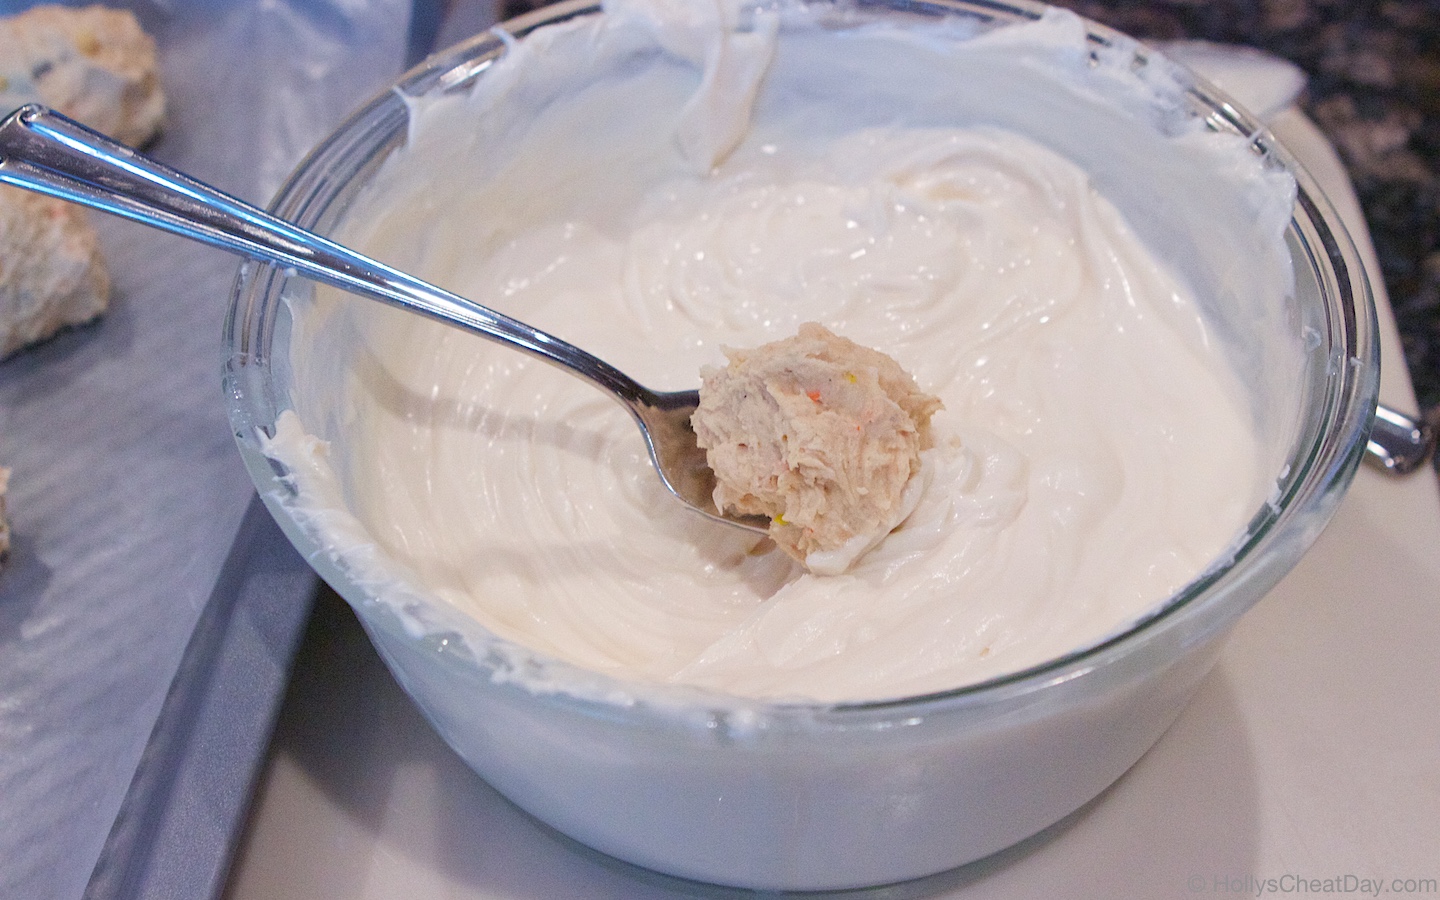
                                                        dip the wonderful truffles in the white chocolate…

                                                  mmm, ready to go hang out in the fridge for a bit…

                                      and here is the recipe, since my recipe card is again, not working…


PEANUT BUTTER TRUFFLES:
1 Stick (8 Tablespoons) of Unsalted Butter, Softened.
1 Tablespoon of Vanilla Extract.
1/2 Cup of Creamy Peanut Butter.
1 1/2 Cups of Powdered Sugar.
1 Cup of Reese’s Pieces.

WHITE CHOCOLATE COATING:
12-14 Ounces of White Chocolate Chips.
3-6 Tablespoons of Coconut Oil.
Decorative Sprinkles (Optional).

FOR THE PEANUT BUTTER TRUFFLES:
With a handheld or stand mixer with paddle attachment, beat your butter until smooth.
Then add your peanut butter, vanilla and powdered sugar and mix again.
Now add your Reese’s Pieces and beat until they are evenly combined and have broken into smaller pieces.
On a large baking sheet with wax paper placed on it, roll your dough into about 1 inch sized balls, and place in the freezer for at least 30 minutes.

WHITE CHOCOLATE COATING:
Place your white chocolate chips into a medium to large sized bowl with 1-2 tablespoons of the coconut oil and microwave in 30 second intervals, taking out and stirring until completely melted. Add more coconut oil if needed to make the white chocolate coating thinner for ease of dipping the peanut butter truffles.
With a spoon or fork dip your truffles into the white chocolate making sure to completely cover, place back onto your baking sheet and add your sprinkles on top if desired.
Once all truffles are completed, place into the fridge to set for about 30 minutes.
Serve and enjoy!!!

Filed Under: All Recipes, Candy, Dessert

Holly’s Junk Food Review Series: Halloween Treats

October 19, 2018 By Holly

Happy Happy Friday y’all and welcome to another edition of my junk food review series.  With less than 2 weeks until Halloween, tis the season for all things candy corn, pumpkin flavored and pretty much anything in the color of orange. 

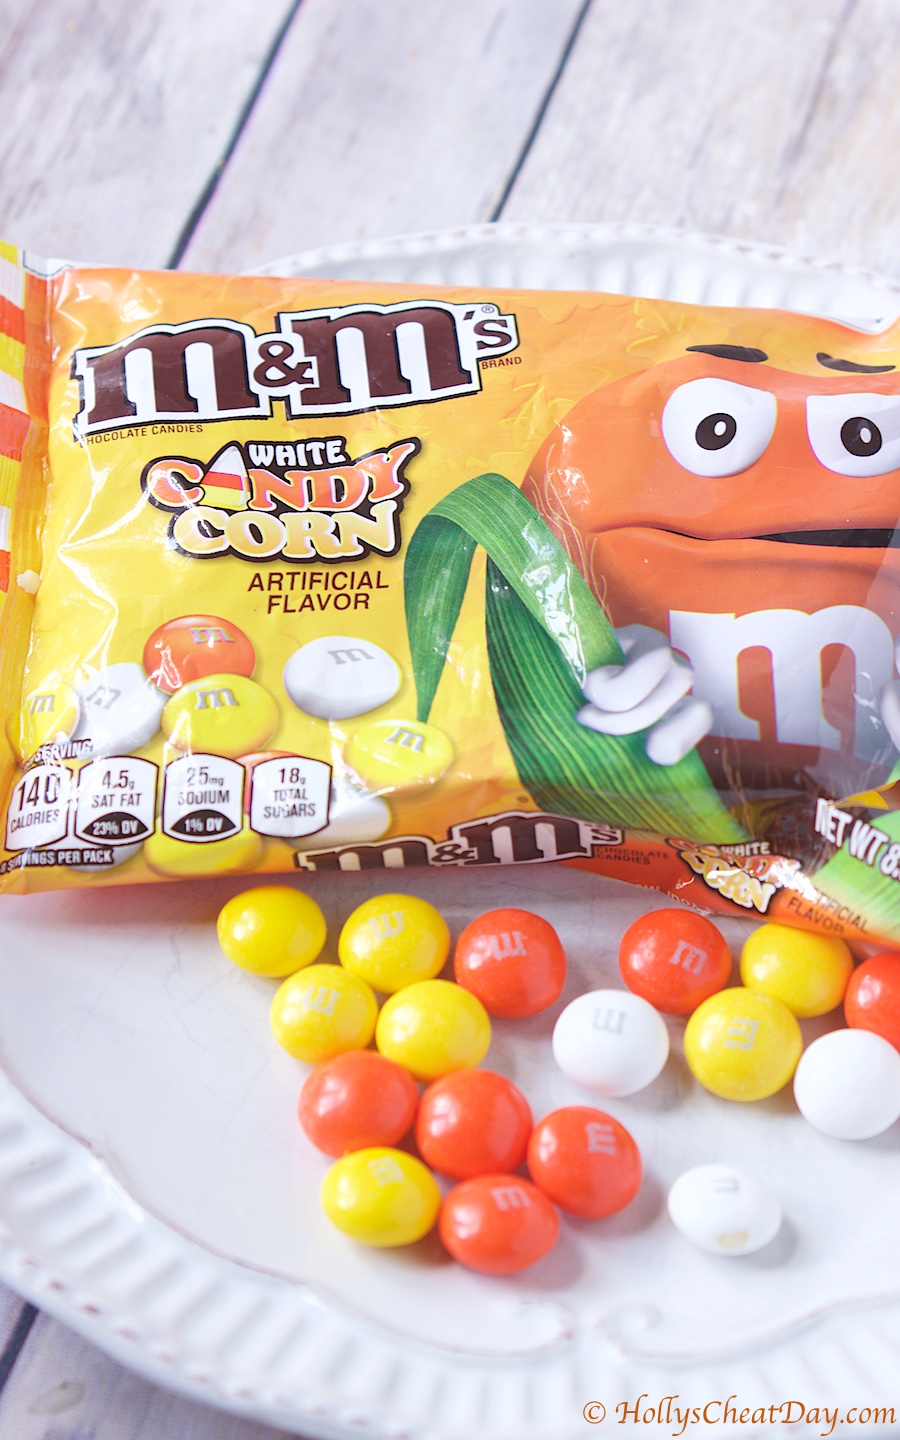
Let’s get to it, the first junk food item are the White Candy Corn M&M’s which are not a new item this year, but I don’t think I ever got around to buying any last season…

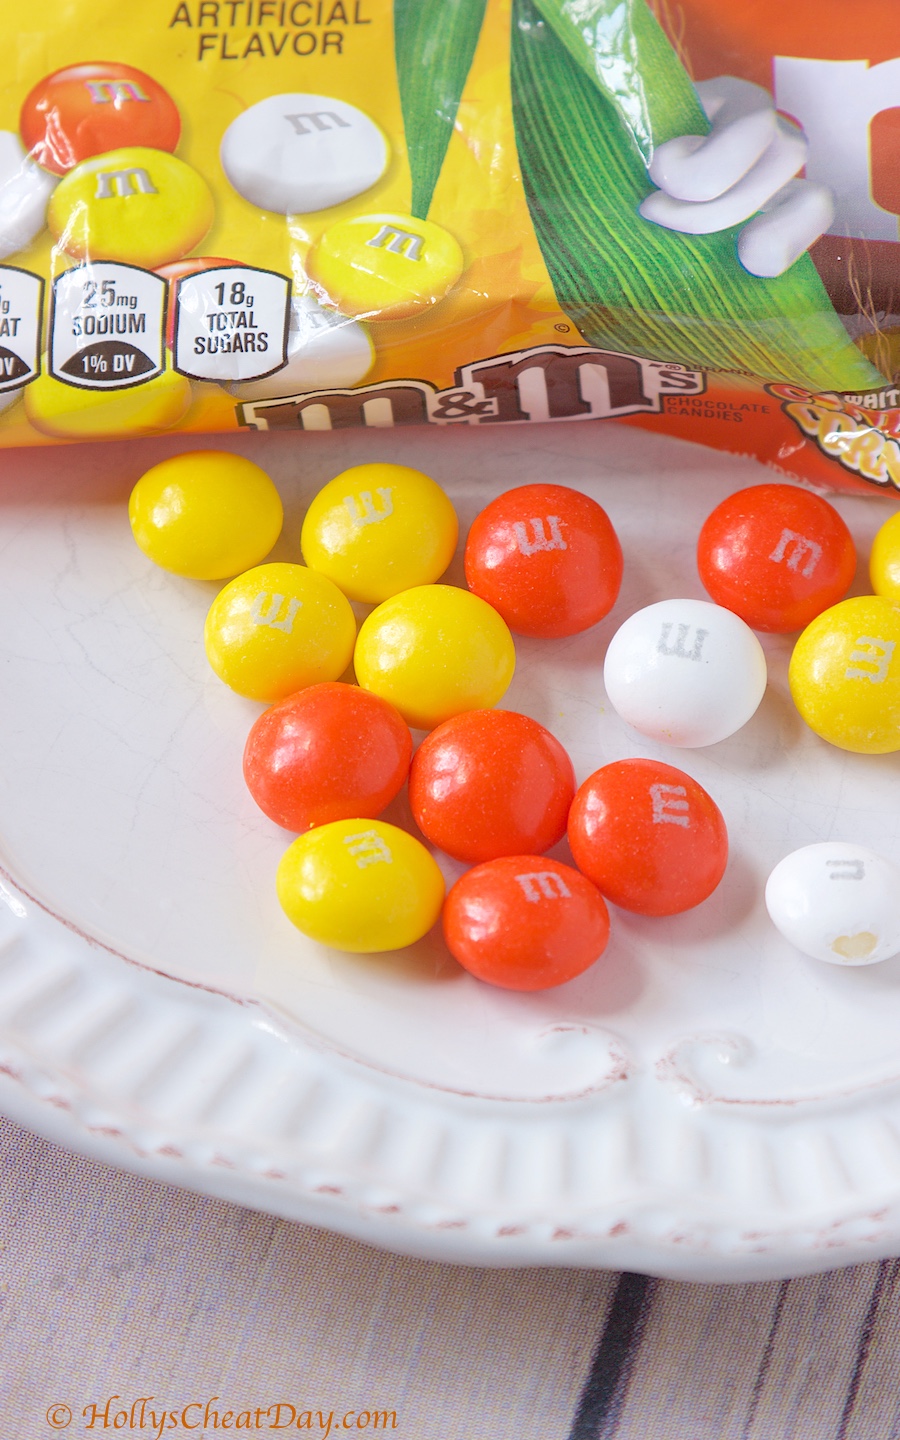
look at all of those Fall colors…

So I totally get that Candy Corn is one of those food items that you either love it or you hate. I happen to love candy corn, so I was definitely excited to get a hold of these M&M’s.  Soo these are pretty good, I don’t necessarily think that they taste like candy corn, these are just really really sweet white chocolate M&M’s that have an almost caramel type flavor to it.  Overall these are tasty, but I won’t be stockpiling these to last me until next year, and let’s be real if I want candy corn, I’ll just go buy some.  These get a 6.5 out of 10.

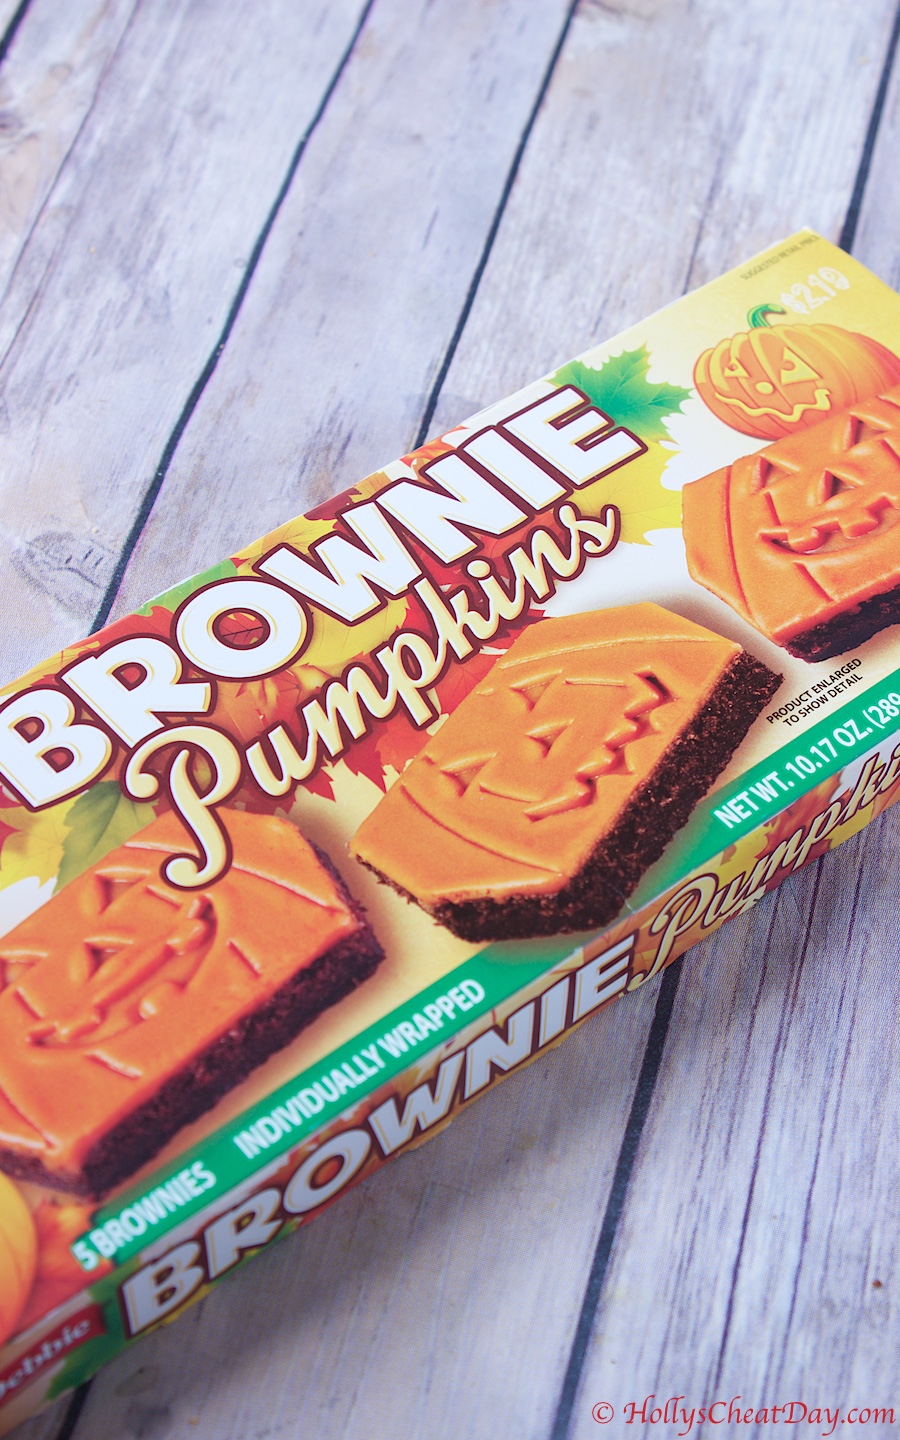
Next, we have these adorable looking Brownie Pumpkins made by Little Debbie…


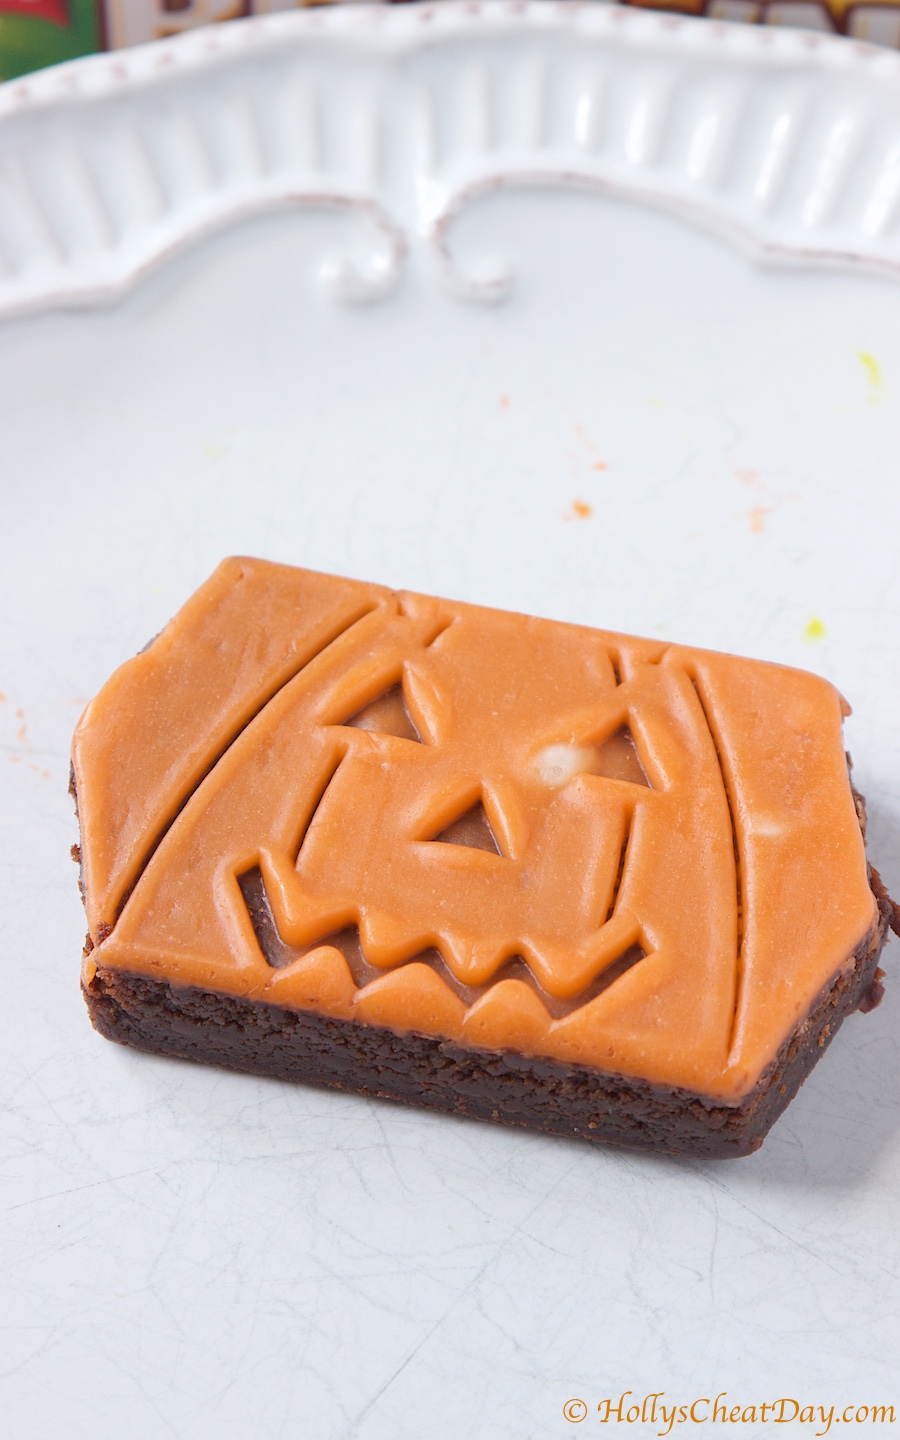
I mean, how cute is this?

Okay, so I was really excited about these, because Little Debbie products to me are always consistently delicious and consistently moist.  The only thing I wondered when I bought these were, is that pumpkin flavored frosting on top? Is there any pumpkin in these at all or are these just basic cute little brownies?  The box gave 0 description, so I just figured, what the heck?  Gosh, I don’t like giving bad reviews, but holy cow these were soooo disappointing, these were basically dry and extremely dense.  The orange ‘icing’ on top, if you can even call it that was indistinguishable from the rest of the brownie and added no moisture whatsoever.  I was hoping that these would taste like those  awesome little cosmic brownies, but they definitely did not.  These get a 3 out of 10, don’t waste your money on these.  

Anyways thanks so much for stopping by and have a wonderful Friday and weekend!!!

Filed Under: All Recipes, Junk Food Review

  • « Previous Page
  • 1
  • 2
  • 3
  • 4
  • …
  • 48
  • Next Page »
logo
Food Advertisements by
Holly's Cheat Day Profile Pic

Hey, y’all! My name is Holly, and welcome to my Cheat Day...where Gluttony and other Delectable Indulgences are celebrated!    Read More...
logo
Food Advertisements by
logo
Food Advertisements by
Copyright © 2017 ❤ Holly's Cheat Day ❤ Privacy Policy