HOLLY'S CHEAT DAY

...because one day a week I have to be bad

  • Home
  • About
    • Who Is Holly?
    • FAQ
    • Contact
  • Recipes
    • Bars/Brownies
    • Breakfast
    • Cake
    • Candy
    • Cheesecake
    • Cookies
    • Cupcakes
    • Dessert
    • Dip
    • Drinks
    • How To
    • Junk Food Review
    • Lighter Side
    • Pie
    • Savory

A Labor Day Cocktail

August 29, 2018 By Holly

Happy Wednesday y’all!!! So, per usual I’m going to keep things real with y’all and admit that this cocktail was originally supposed to be posted for The Fourth of July, weeelll, I actually moved on The Fourth and I just plum forgot about it, oops. 
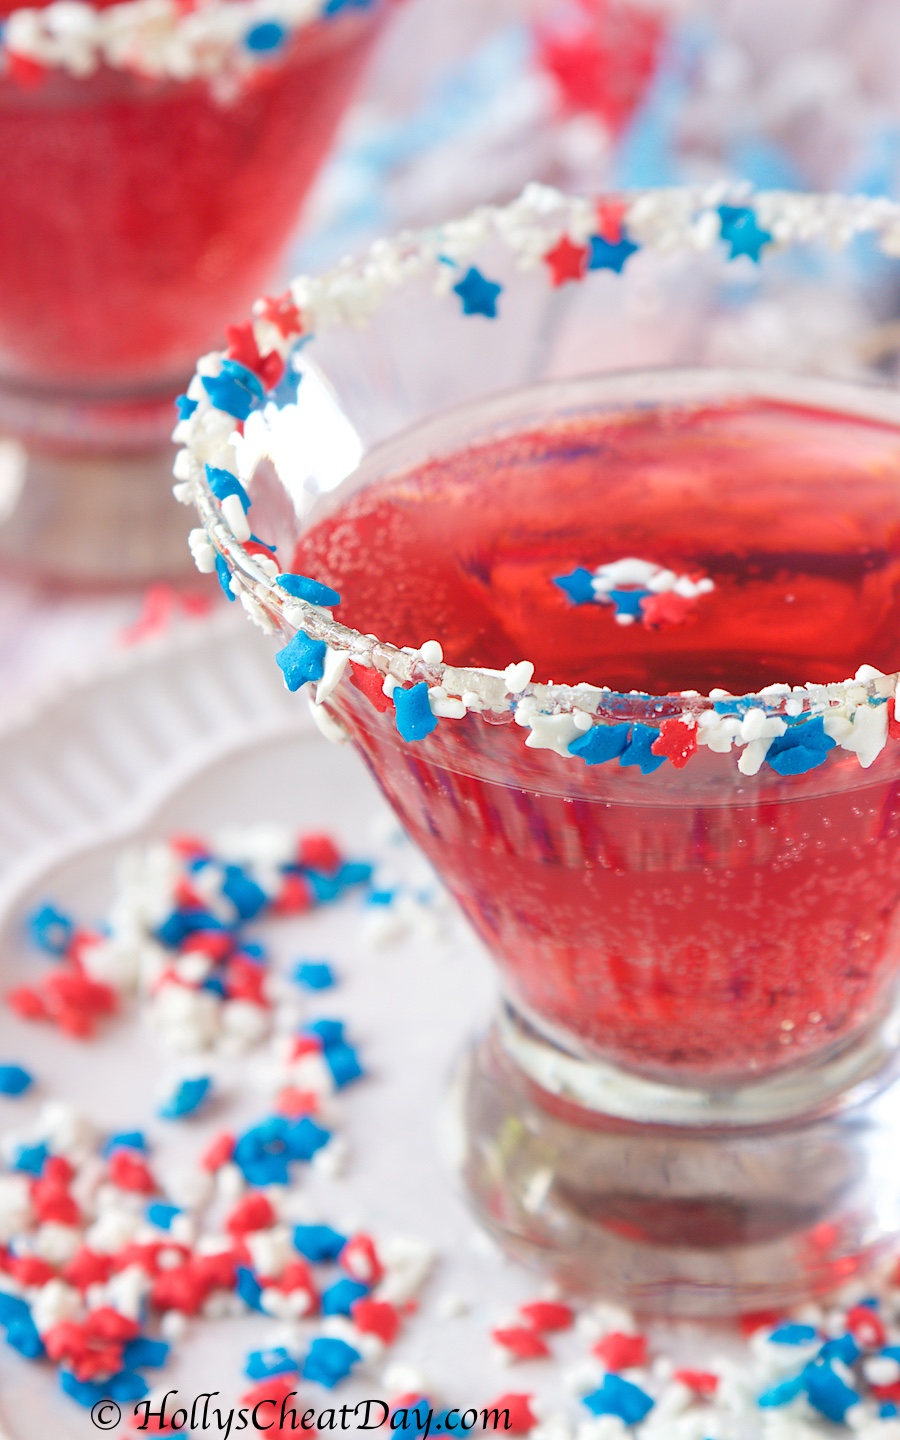
Sooo, we can’t let a great recipe, especially a cocktail recipe, go to waste, now can we? As you can see from the photos, the general red, white and blue screams Fourth of July, but hey, Labor Day is an American holiday so it totally works too. 
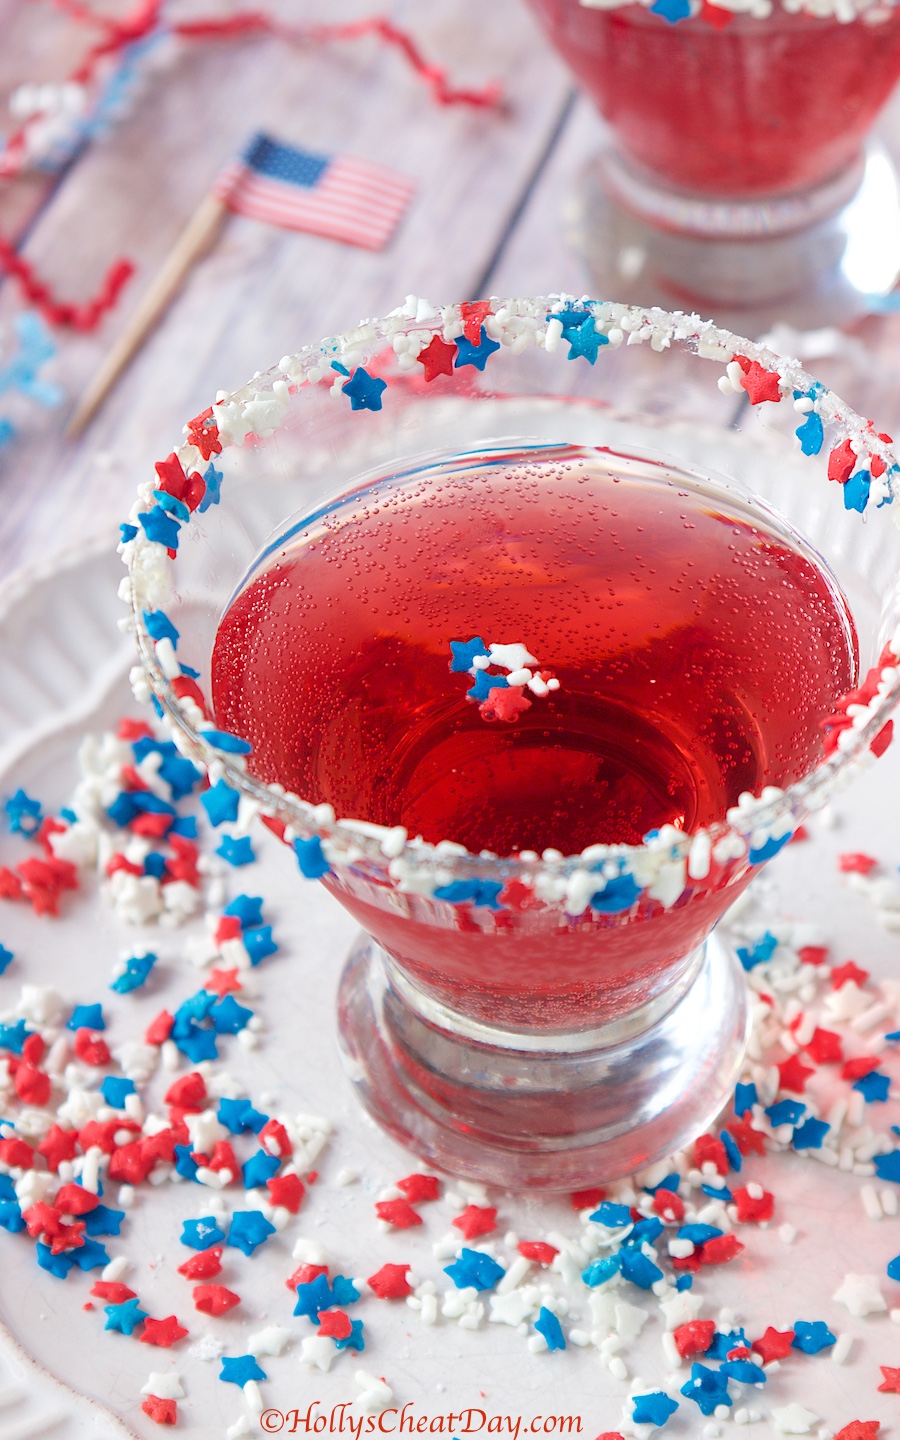
At the very least you guys, this cocktail contains all of 3 ingredients, so it’s not like there’s a lot of work involved, which obviously is the last thing you should be doing on Labor Day. 
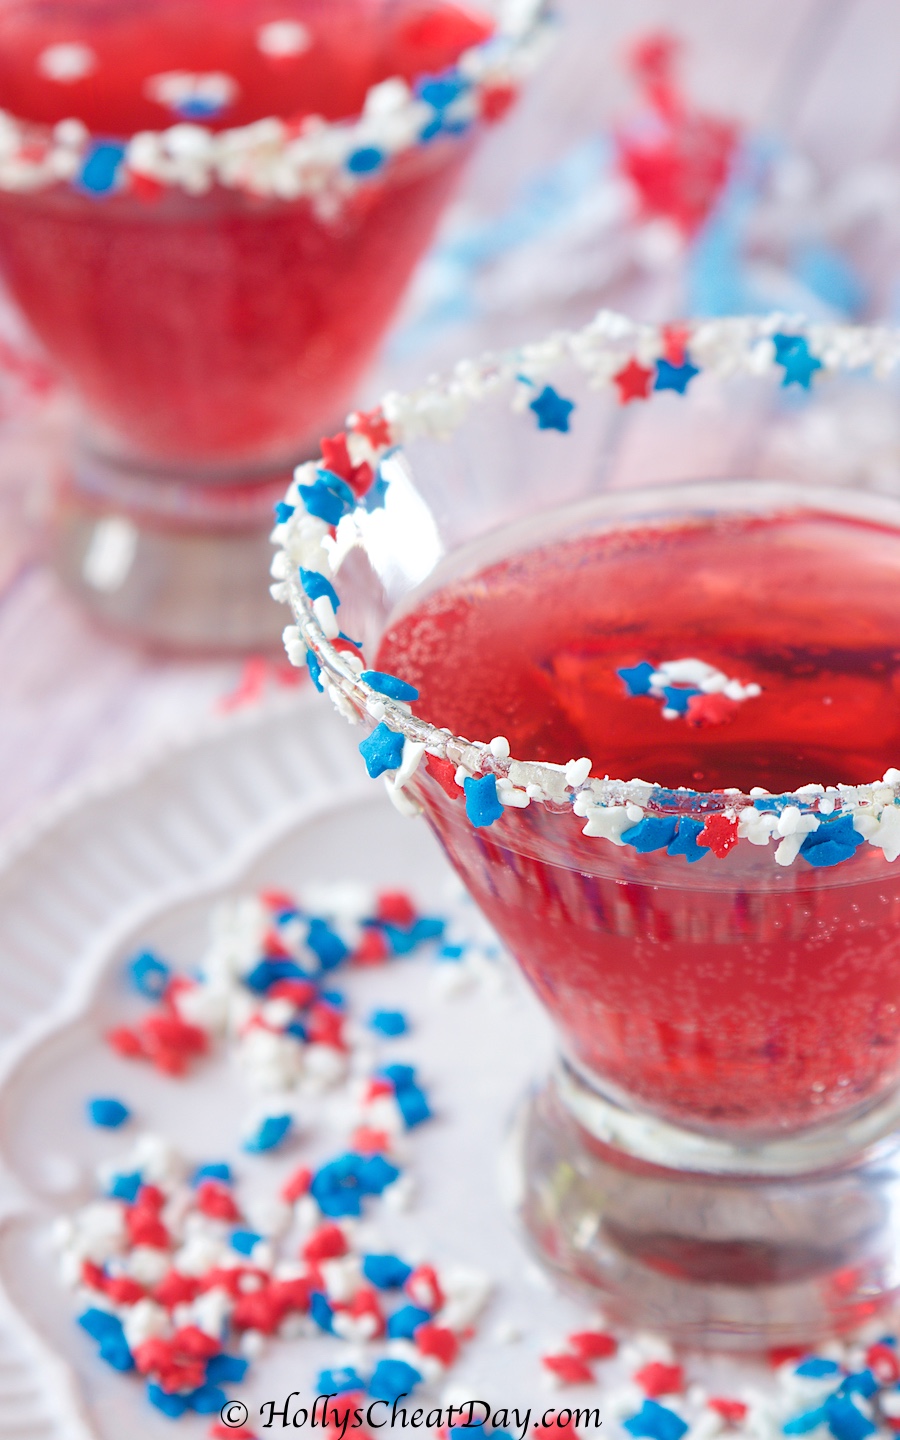
I’m keeping this blog post nice and short today like me, so enjoy some photos of the drink you definitely need in your life this coming long weekend.  Thanks so much for stopping by and I hope you have a fantastic day!

The recipe card for my blog post has decided not to work, so here are the ingredients and instructions:

2 Ounces of Vodka.
4 Ounces of Cranberry Juice.
4-8 Ounces of Ginger Ale.
Lime, for Garnish if you want.

Place your Vodka and cranberry juice in your glass, stir together.

Fill the rest of the glass with Ginger Ale and enjoy!

Feel free to add more vodka for a stronger cocktail.

Filed Under: All Recipes, Drinks

Holly’s Junk Food Review Series: 5 Daughters Bakery Doughnuts

August 23, 2018 By Holly

Happy Happy Thursday y’all!!! and Happy Junk Food Review Day! πŸ˜€

It’s no secret that my dessert/cheat day obsession is doughnuts, so obviously I’m always on the prowl lookout for new and exciting doughnut places.  Don’t get me wrong, Krispy Kreme is the OG and they will always be a favorite of mine due to their delicious consistency, but there’s something to be said about a local doughnut shop.

Due to the whole doughnut stalking problem that I just mentioned, I had already heard of 5 Daughters Bakery because they’re known for their ‘100 layer doughnut’ which is basically one big ass giant cronut.  Well, I figured I would give them a try if I was ever back in Nashville again, then low and behold, one day I heard angels sing the totally amazing news that they were opening one at Ponce City Market, right here in the ATL, which ironically is where my gym is haha.  Obviously I knew I had to get there ASAP my next cheat day when they opened. 

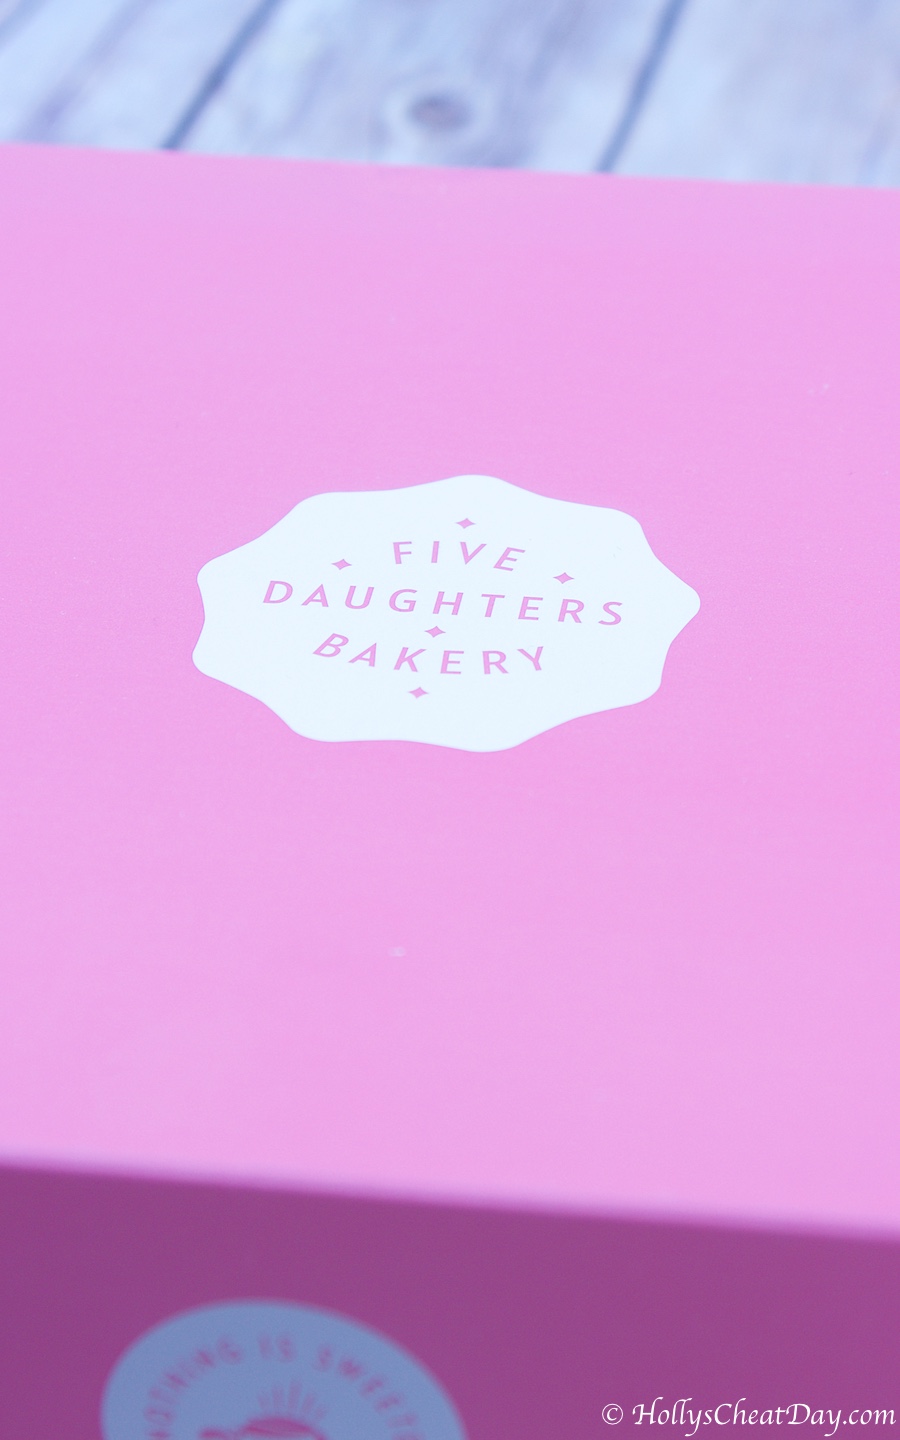
Here’s their cute doughnut box, which BTW only holds 6 of these things because they’re so massive…

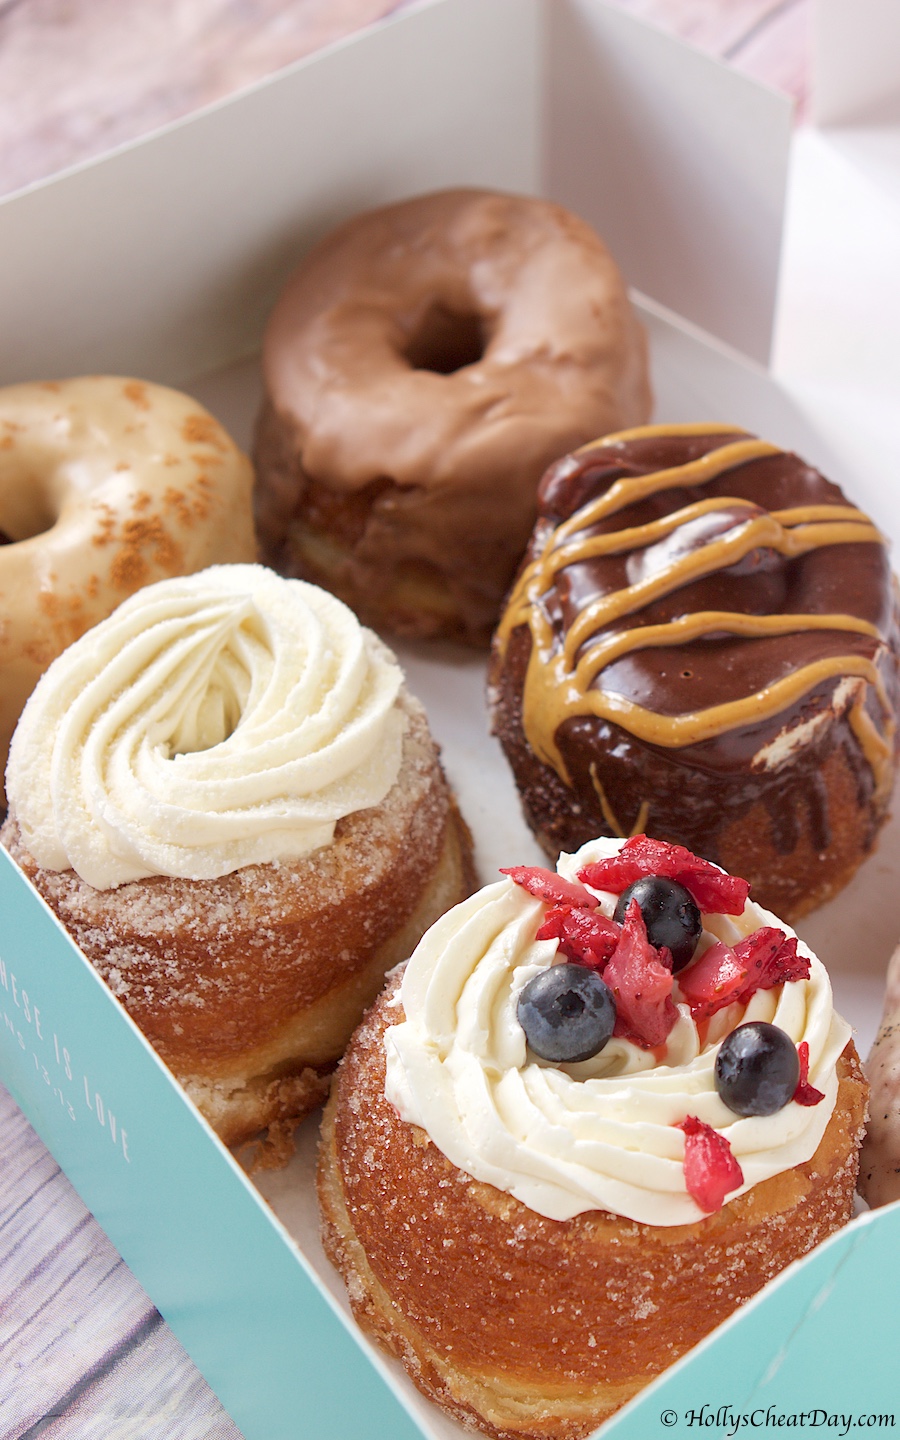
How glorious do these look?…

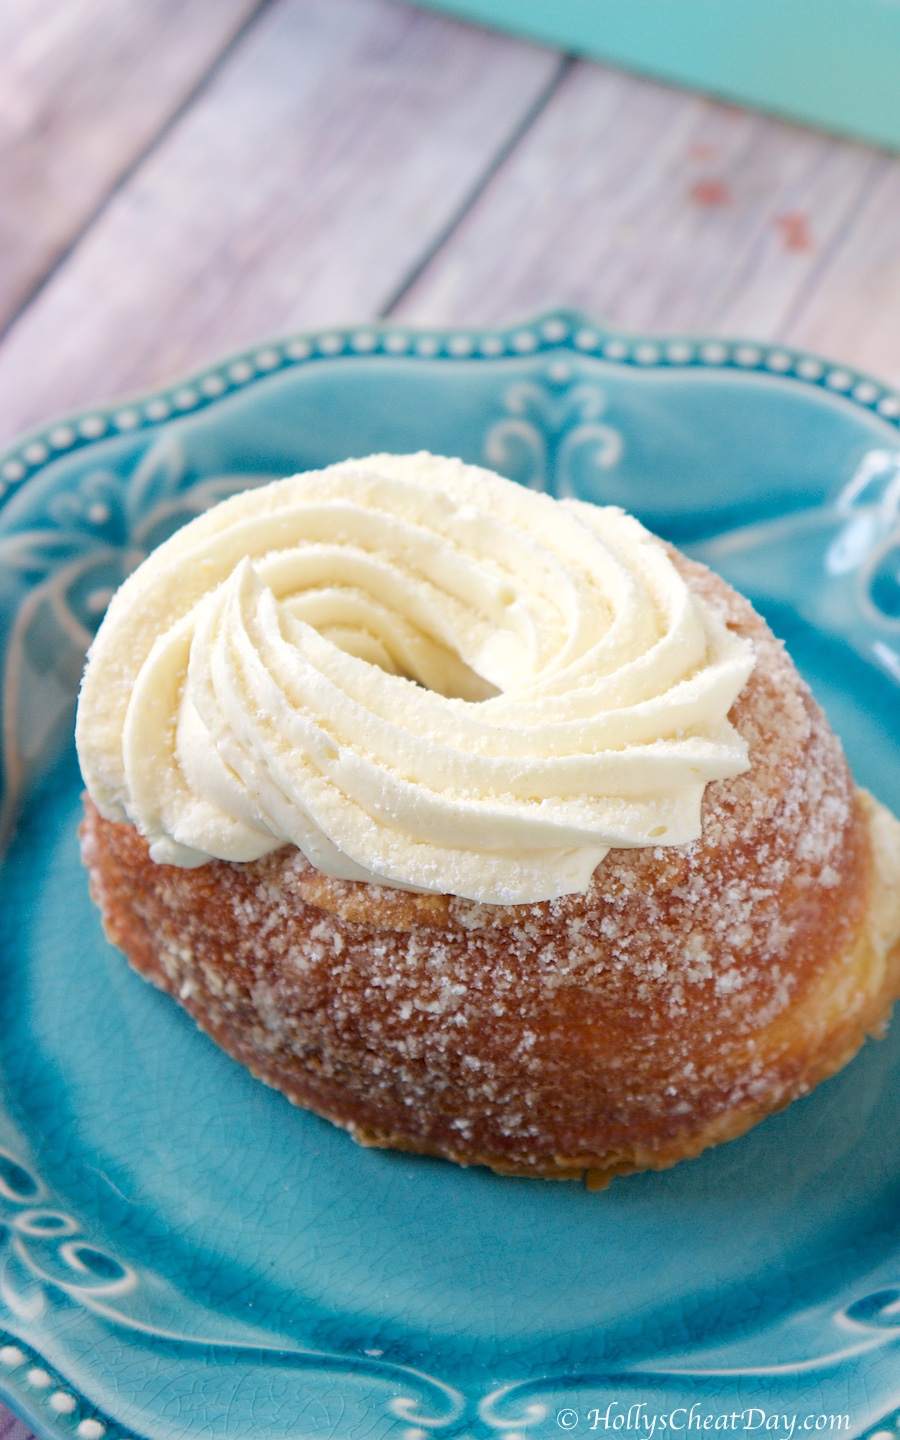
Here’s their most popular one, the vanilla cream frosted & vanilla cream infused (oh yes)…

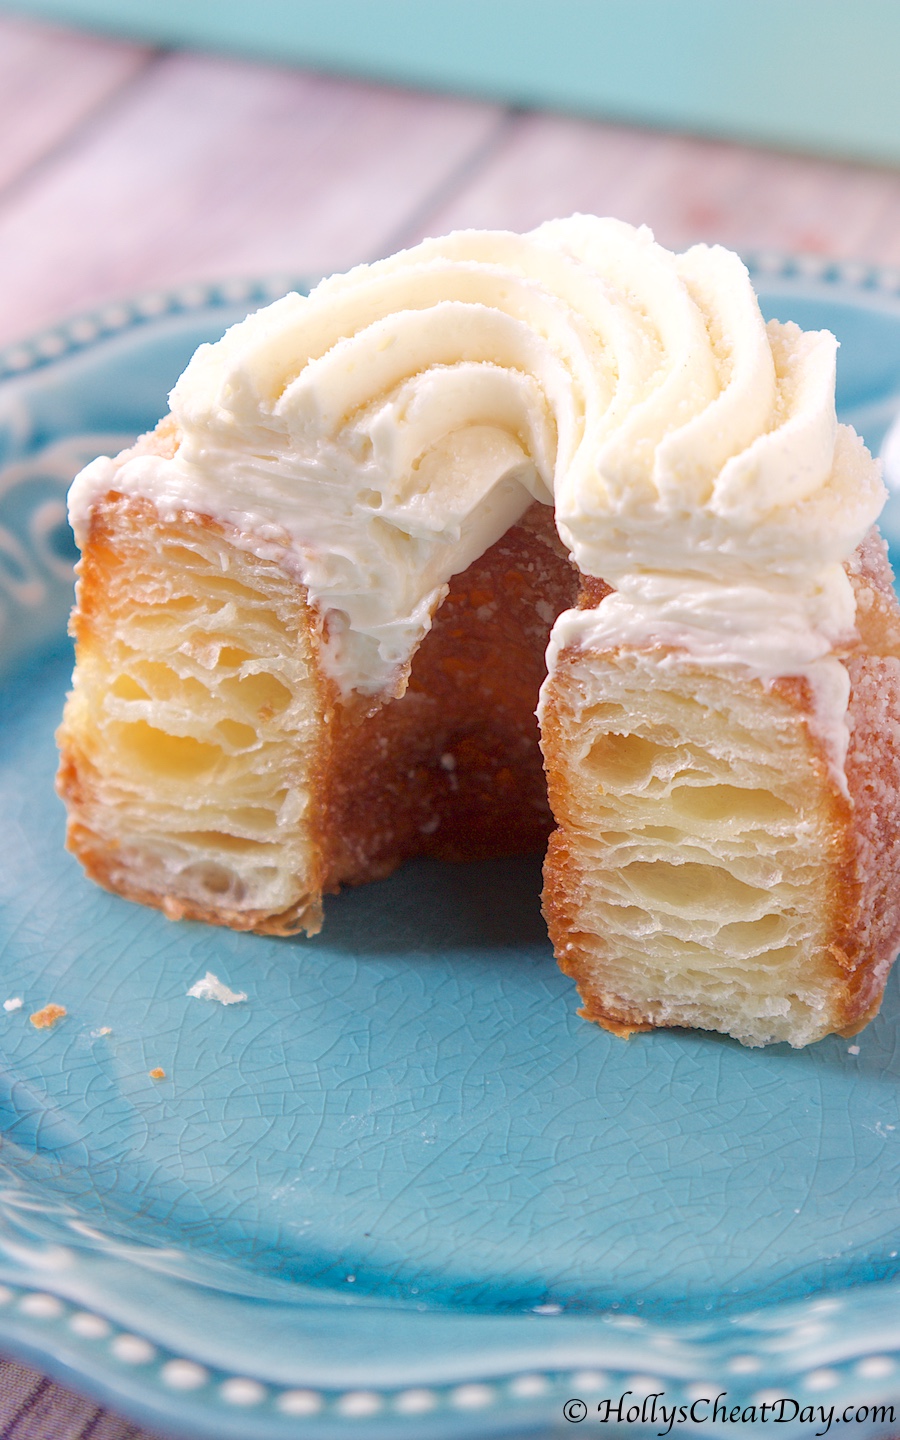
Cut in half (you can’t see it, but this is filled with that awesome cream)…

Alrighty, now to the review…so basically these are absolutely incredible.  You would think that as enormous that these are they would be dry, but they’re totally not.  They’re buttery, fluffy and absolutely decadent with that incredible swiss buttercream frosting on top and bonus, they are filled with it!  I think they may have created the most perfect doughnut (well for me anyway), it takes the best of a croissant, a doughnut and they made the most perfect light and fluffy buttercream (not too sweet at all, I promise) to go with it.  My absolutely only complaint is how dang expensive these are.  Since I knew I wanted to buy enough to share with friends & family, try all of their flavors and do a review of them, I wanted to pre-order them to make sure I got what I wanted because I know they sell out really quickly.  Well, their rule is that pre-orders can only be made if no less than 3 dozen are bought, ok fine, but that was almost $200!!! (seriously, I started to wonder if they’re made by unicorns or something, sheez) I probably looked like the biggest maniac when I left their with 7 boxes and 2 giant bags to carry them haha.  What I do suggest if you are near one of these delectable bakeries, is just get there prior to them opening and pick out some good ones, and trust me, they’re all good.  Aside from being ding dang expensive, they still get a 10 out of 10.

  Thanks so much for stopping by and have a wonderful day!!!

Filed Under: All Recipes, Junk Food Review

Fried Peanut Butter & Jelly Sandwich

August 21, 2018 By Holly

Happy Happy Tuesday!!! I’m back! Again! haha, seriously y’all, I promise I’ll start posting more regularly again, for reals I’ve been the worst food blogger ever, but life has been super duper busy, which I’ll take, because honestly I get bored easily haha. 

Anyways, I believe most kids, and parents are back into the swing of things for the new school year by now and can I just say how happy I am that I’m done with school… even thinking about it sends bouts of anxiety coursing through me haha.  I got to thinking the other day of things I actually miss about being a kid in school, and obviously the whole not being an adult part was pretty great, getting to see your friends everyday was cool, but hands down my daily peanut butter and jelly sandwiches always brought a smile to my face at lunch. 

I still crave peanut butter and jelly sandwiches, and it got me wondering if I could amp up one of my fav time kid foods to be more adult like–no, I didn’t put alcohol in this, but that’s something to think about–and I came up with frying one of these bad boys.  Now you can’t just throw something in a buttery pan and call it fried, I knew it had to be coated in something equally awesome and I figured Frosted Flakes would do the trick–so much for being adult like. 

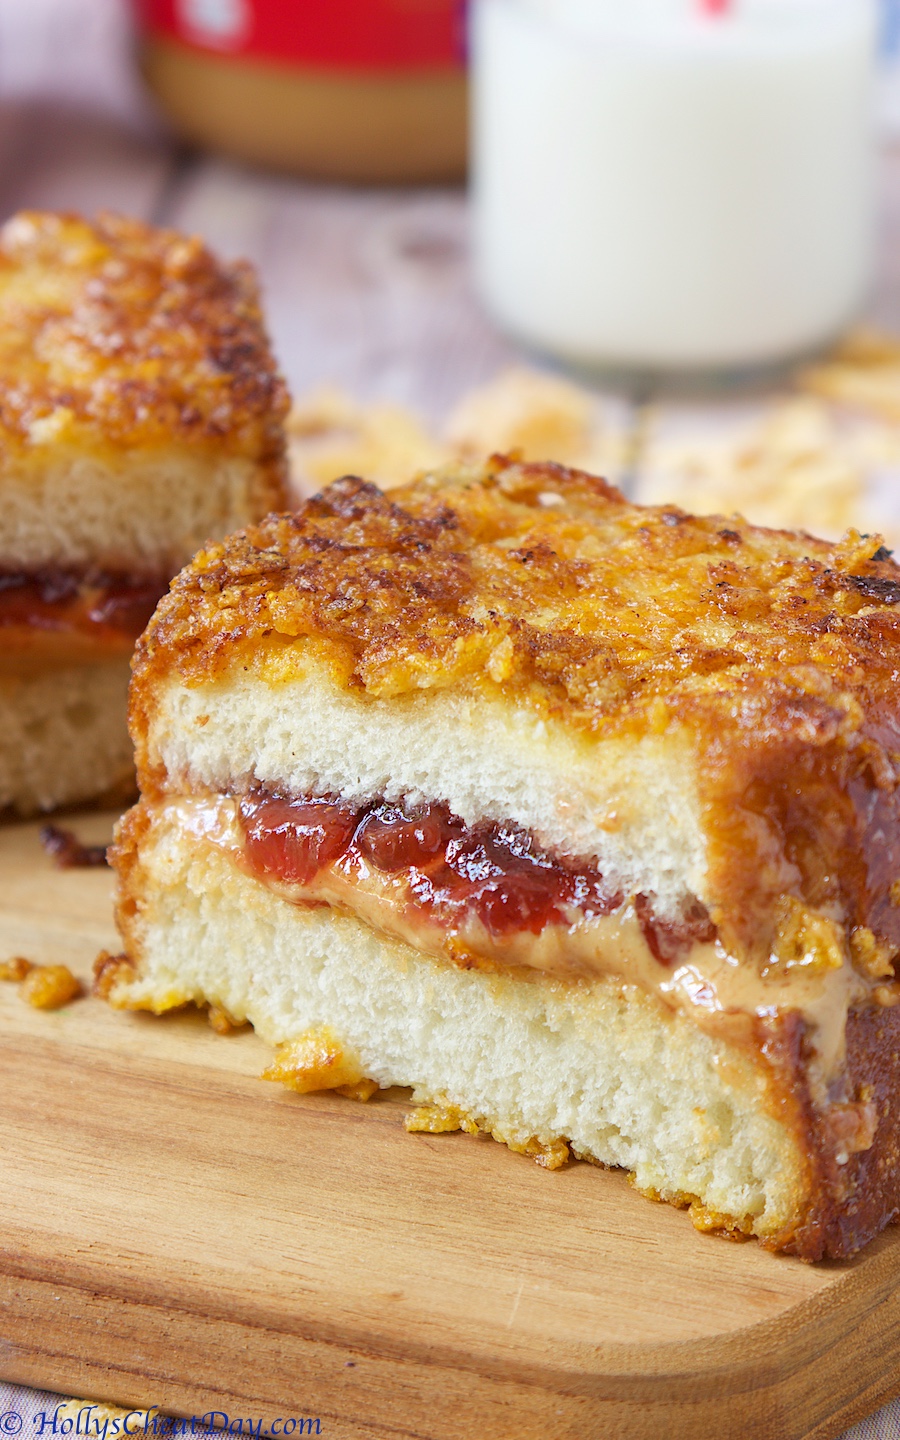
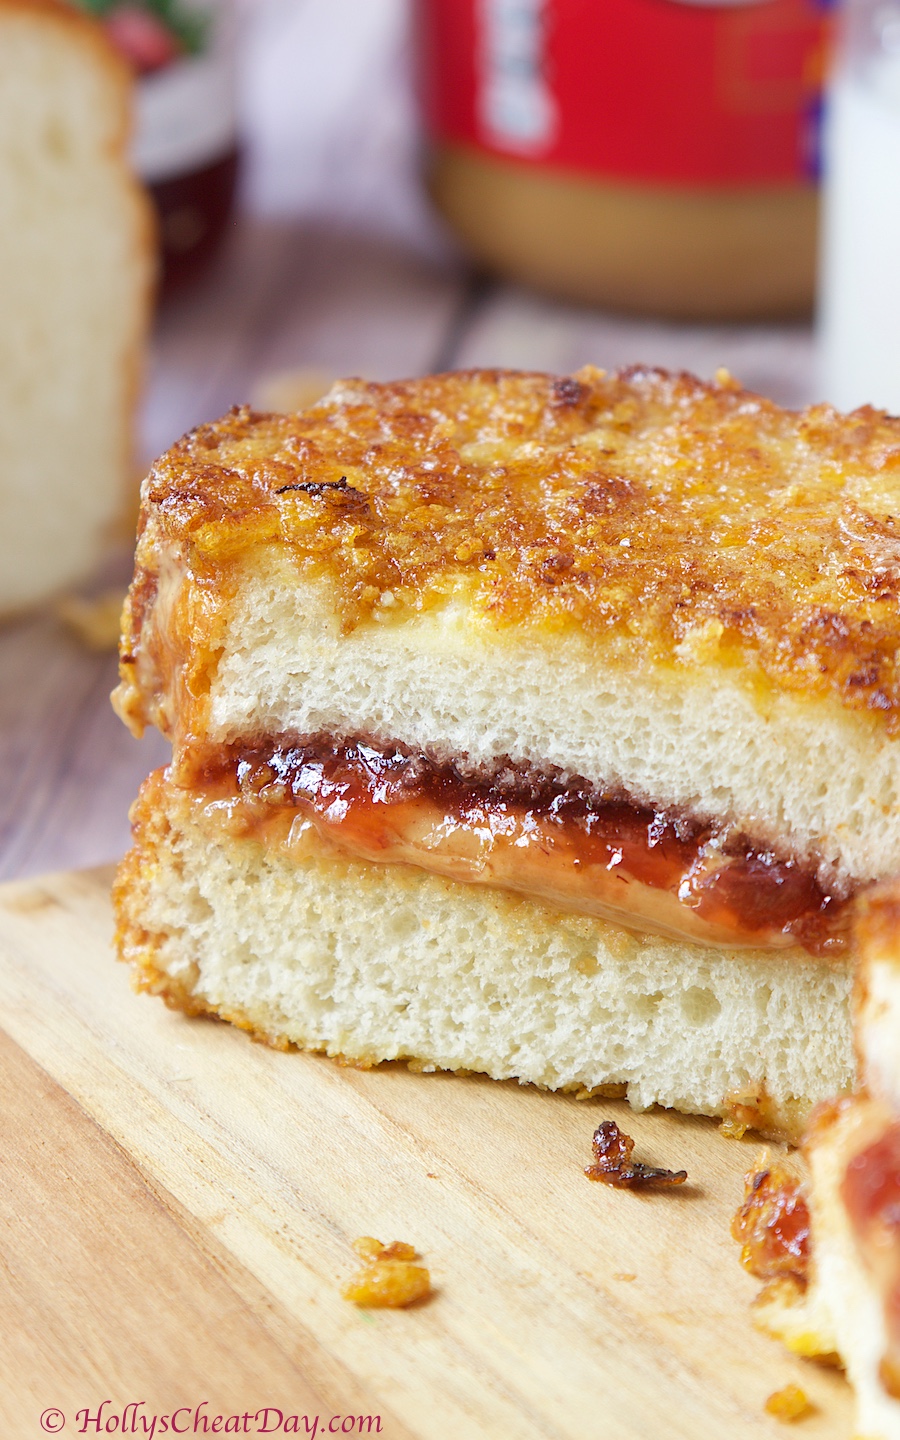
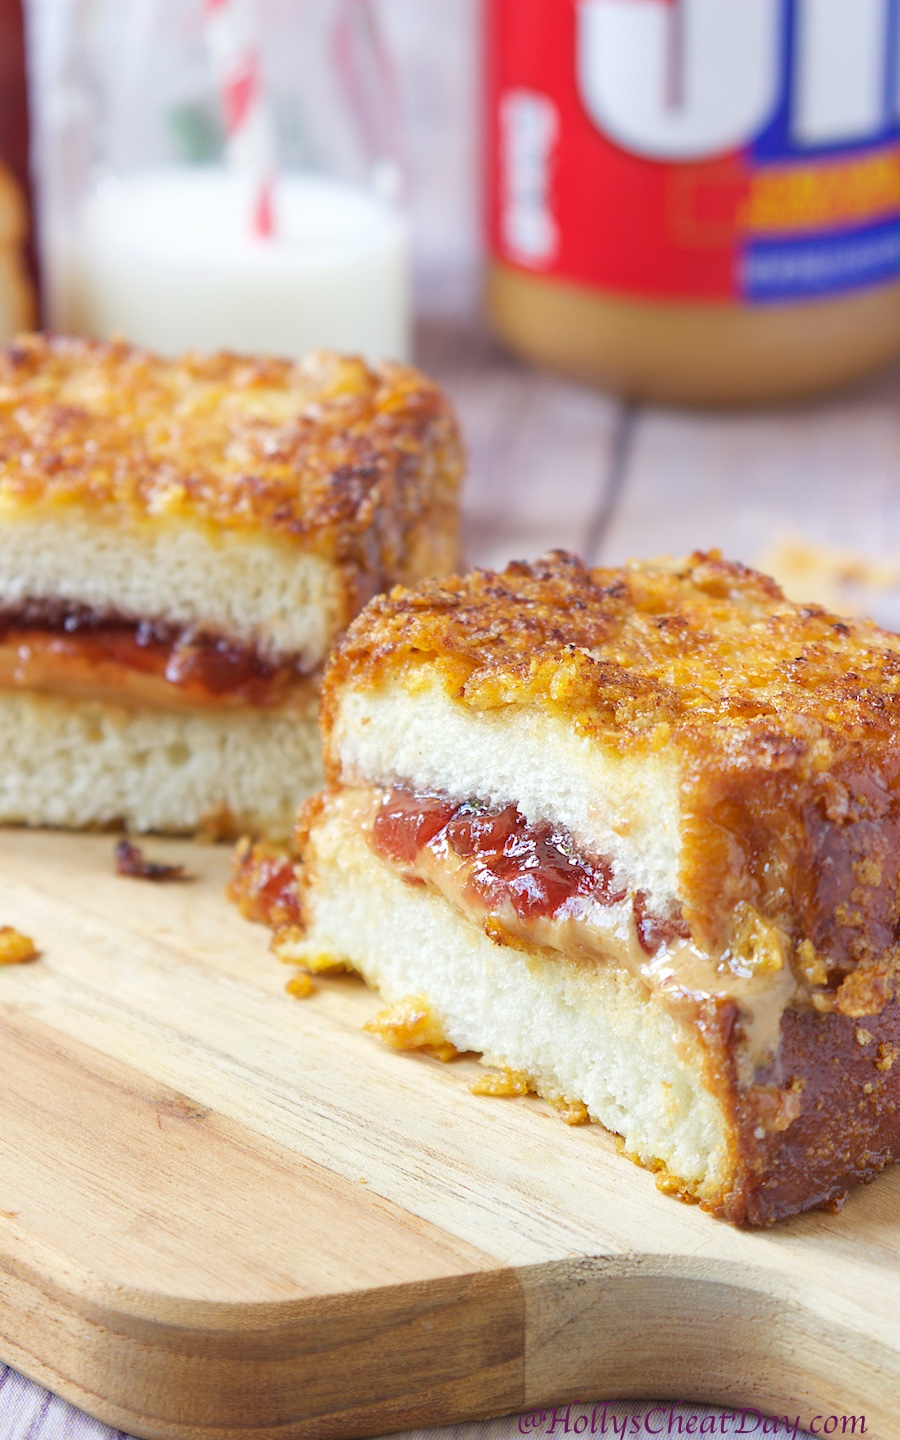
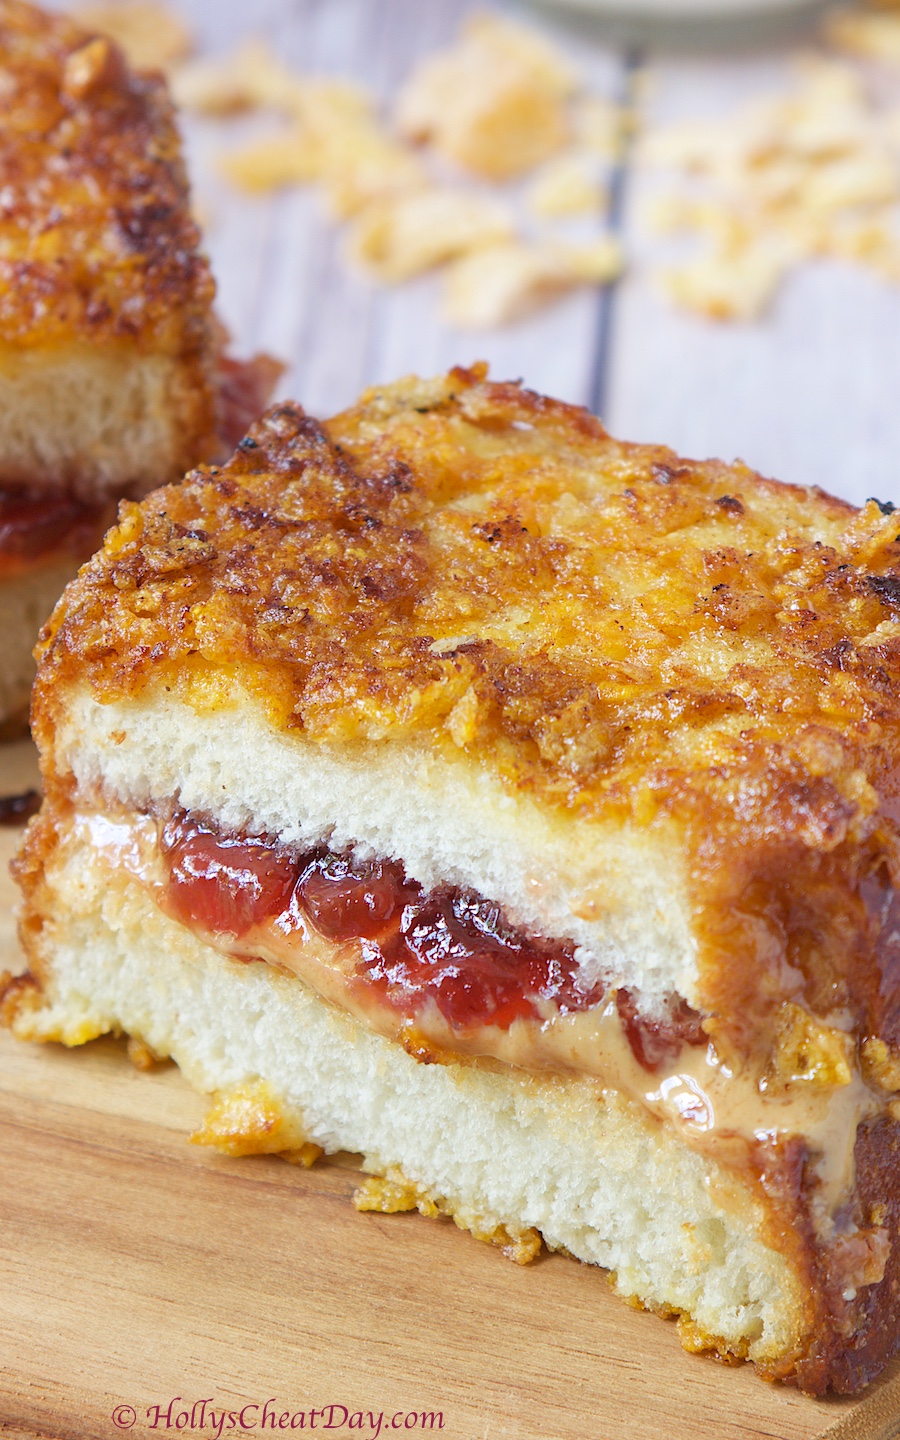
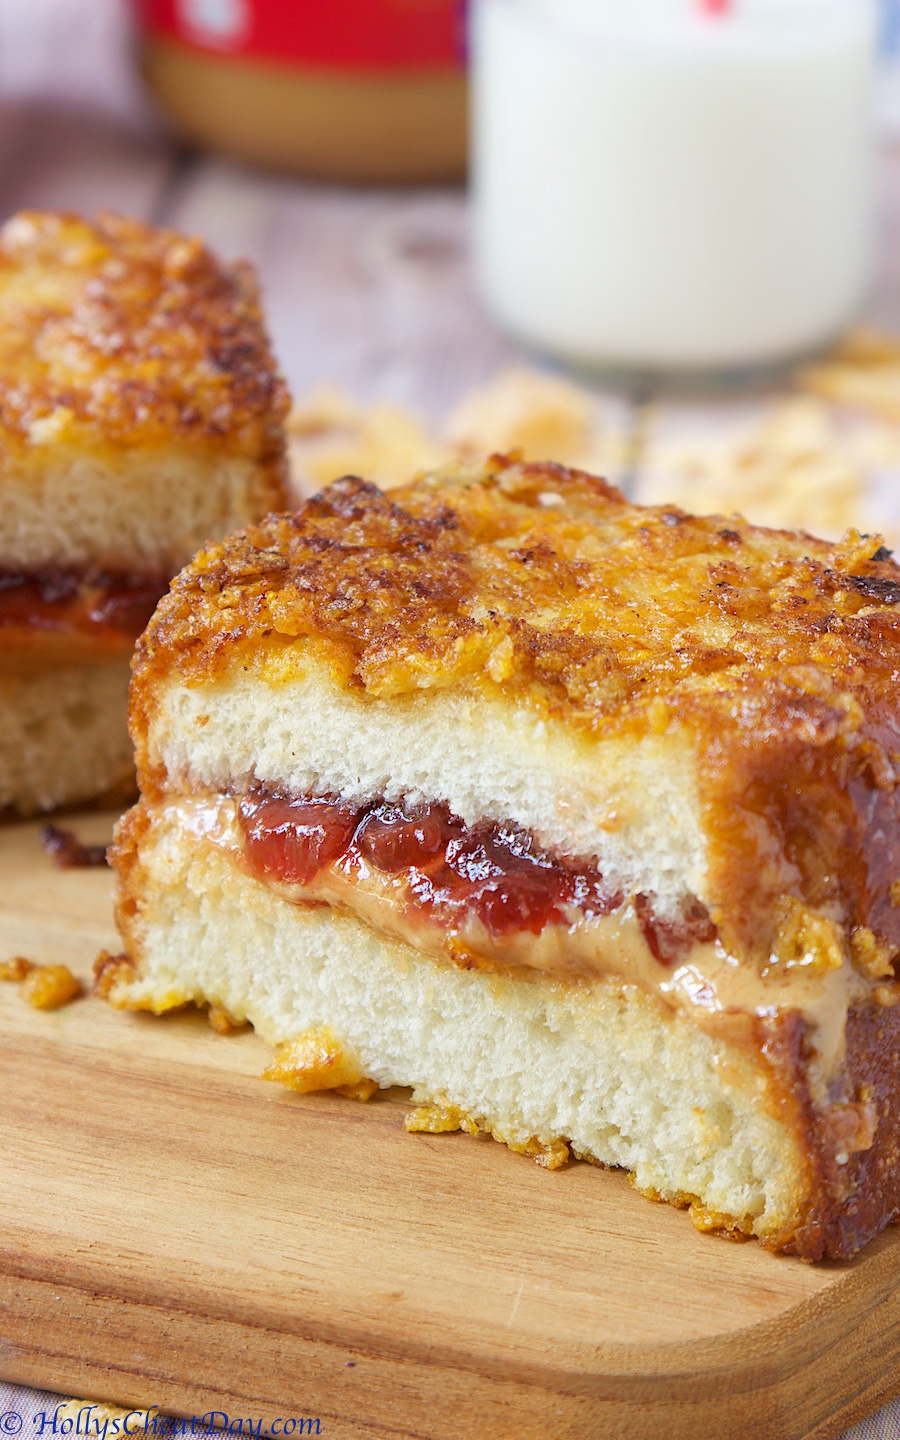
Y’all, can I just say how incredibly, insanely awesome this fried PB & J turned out? Holy moly, the crunchy outside, the melty soft inside, drooollll.  I also got a little fancy and bought a fresh baked loaf of bread, unsliced so I could cut my own gigantic slices, and I’m so happy I did, because more is usually better with food haha.  Anyways, I hope y’all get to enjoy this soon and thank you so much for stopping by, have a wonderful day!

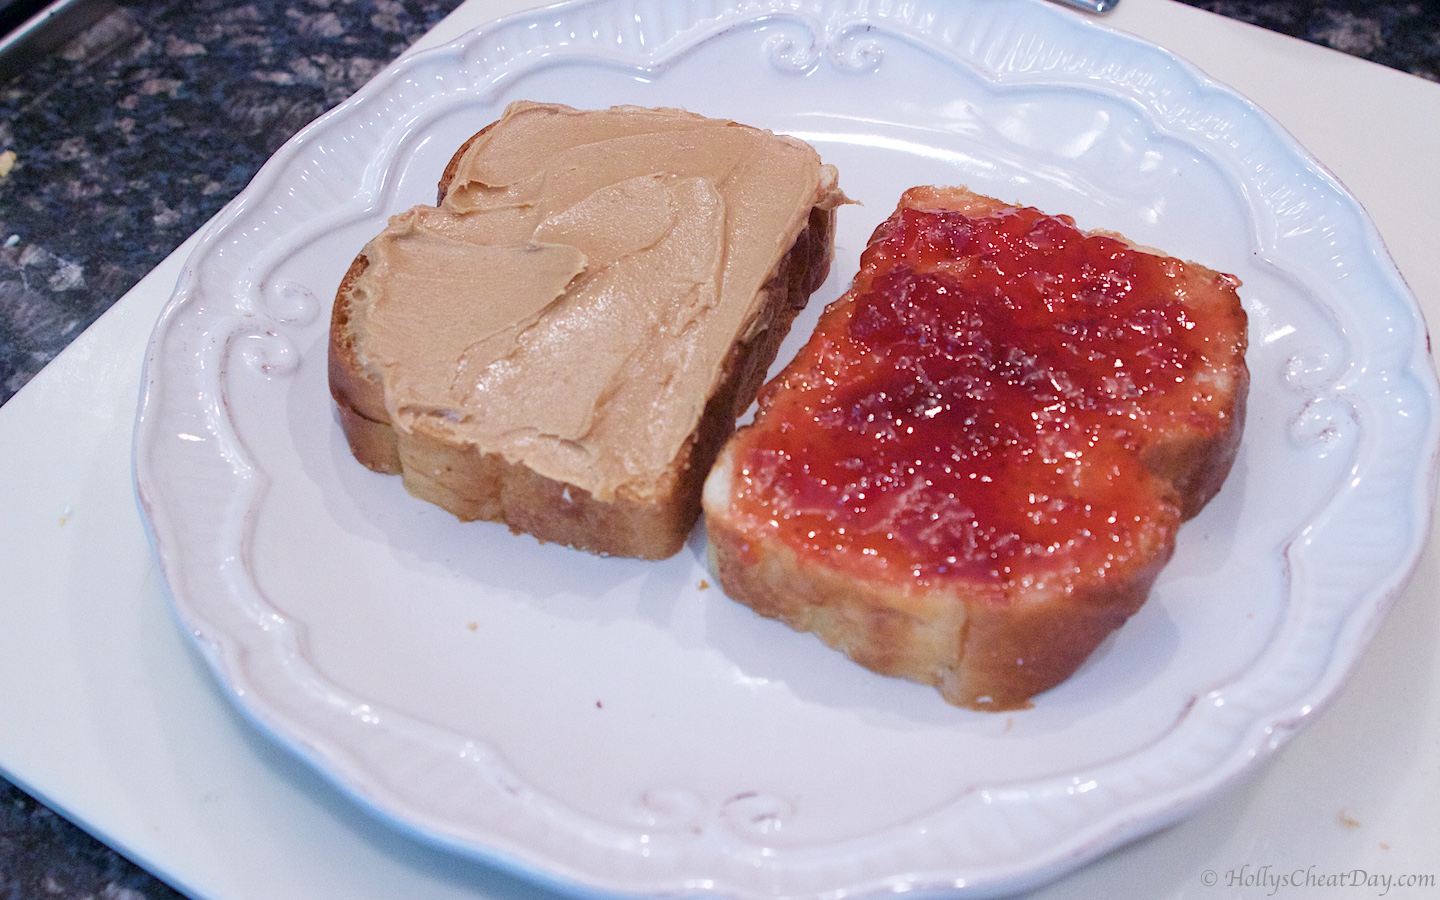
First, peanut butter and jelly onto your bread…

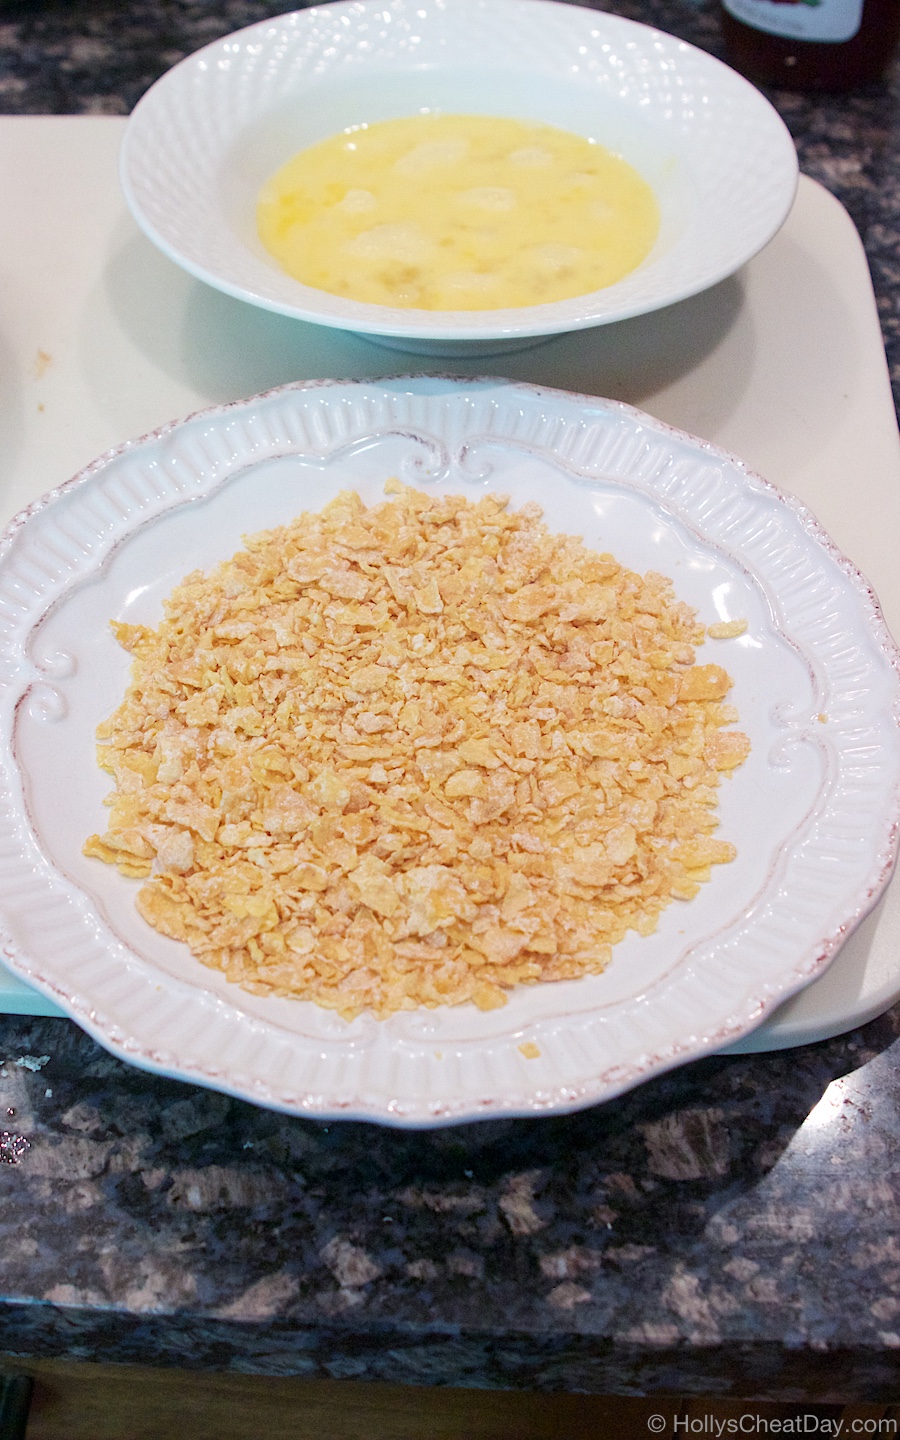
get your crushed up Frosted Flakes and egg wash ready for dipping…

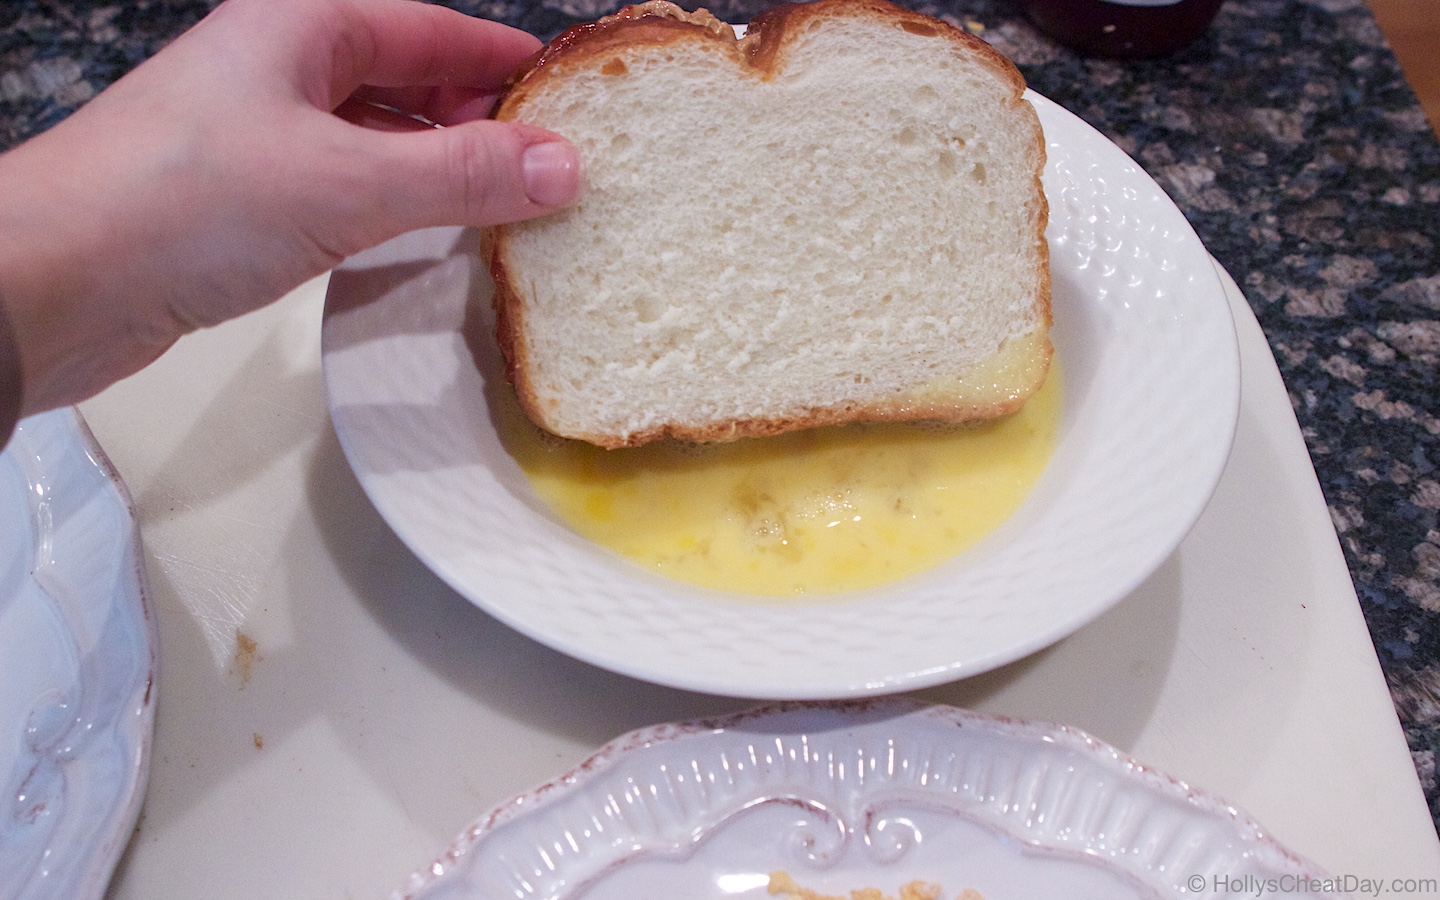
fully coat your sandwich in the egg wash…

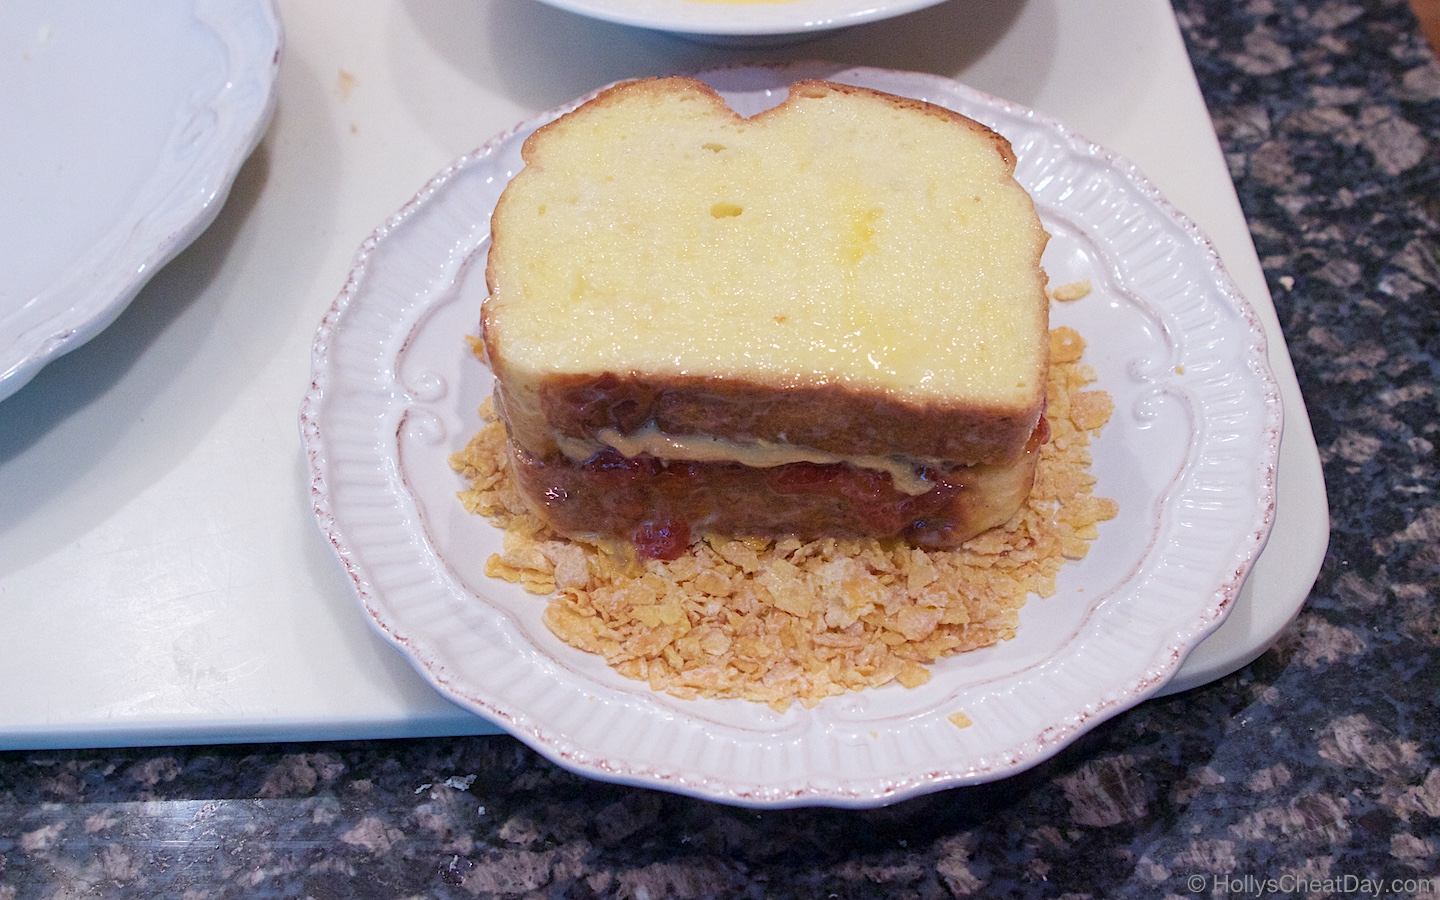
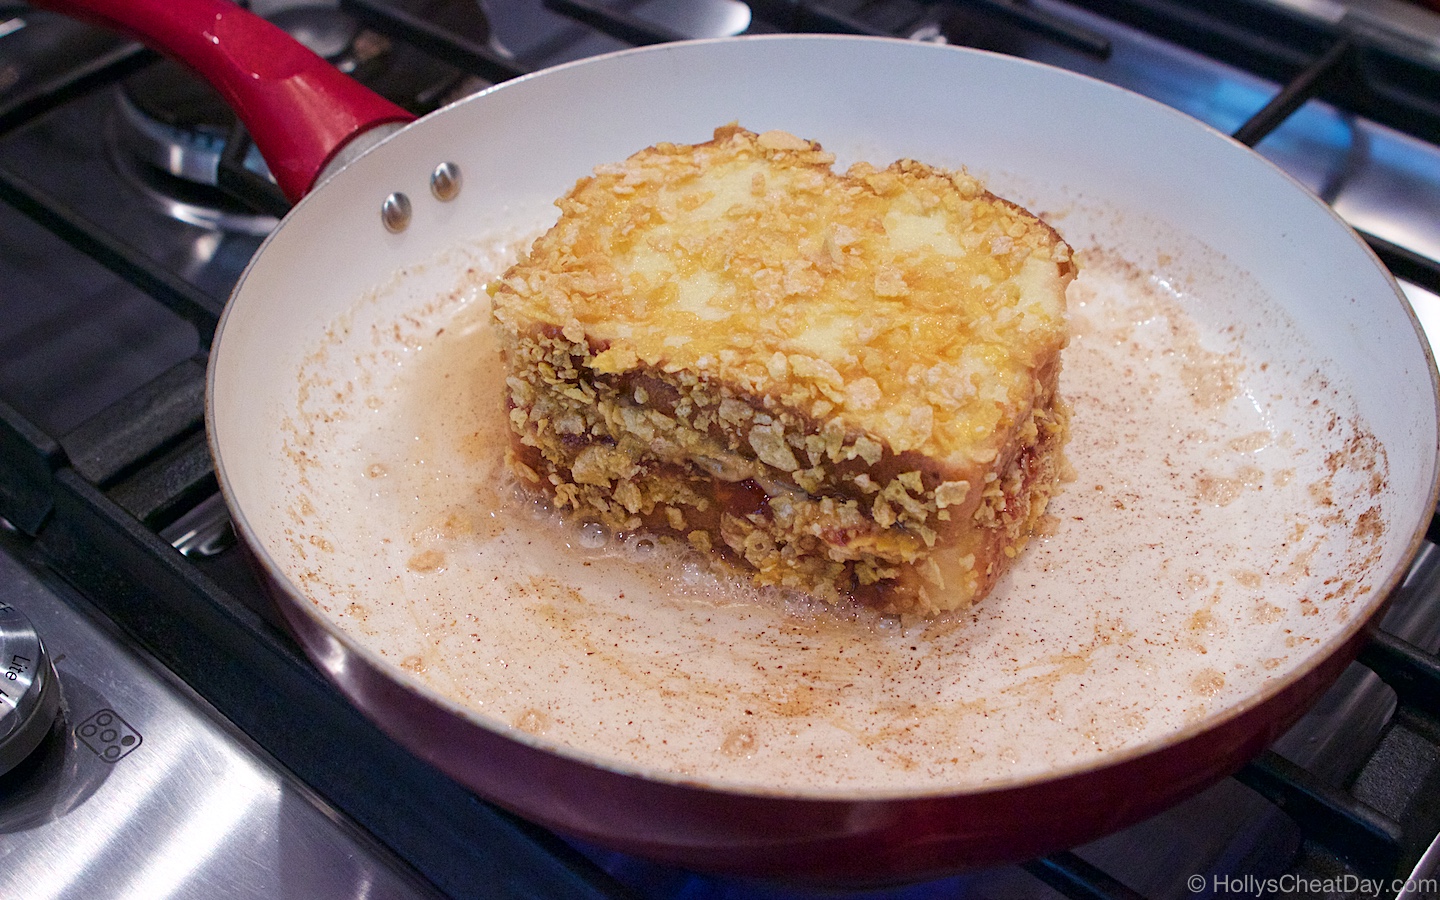
then fully coat in the Frosted Flakes…

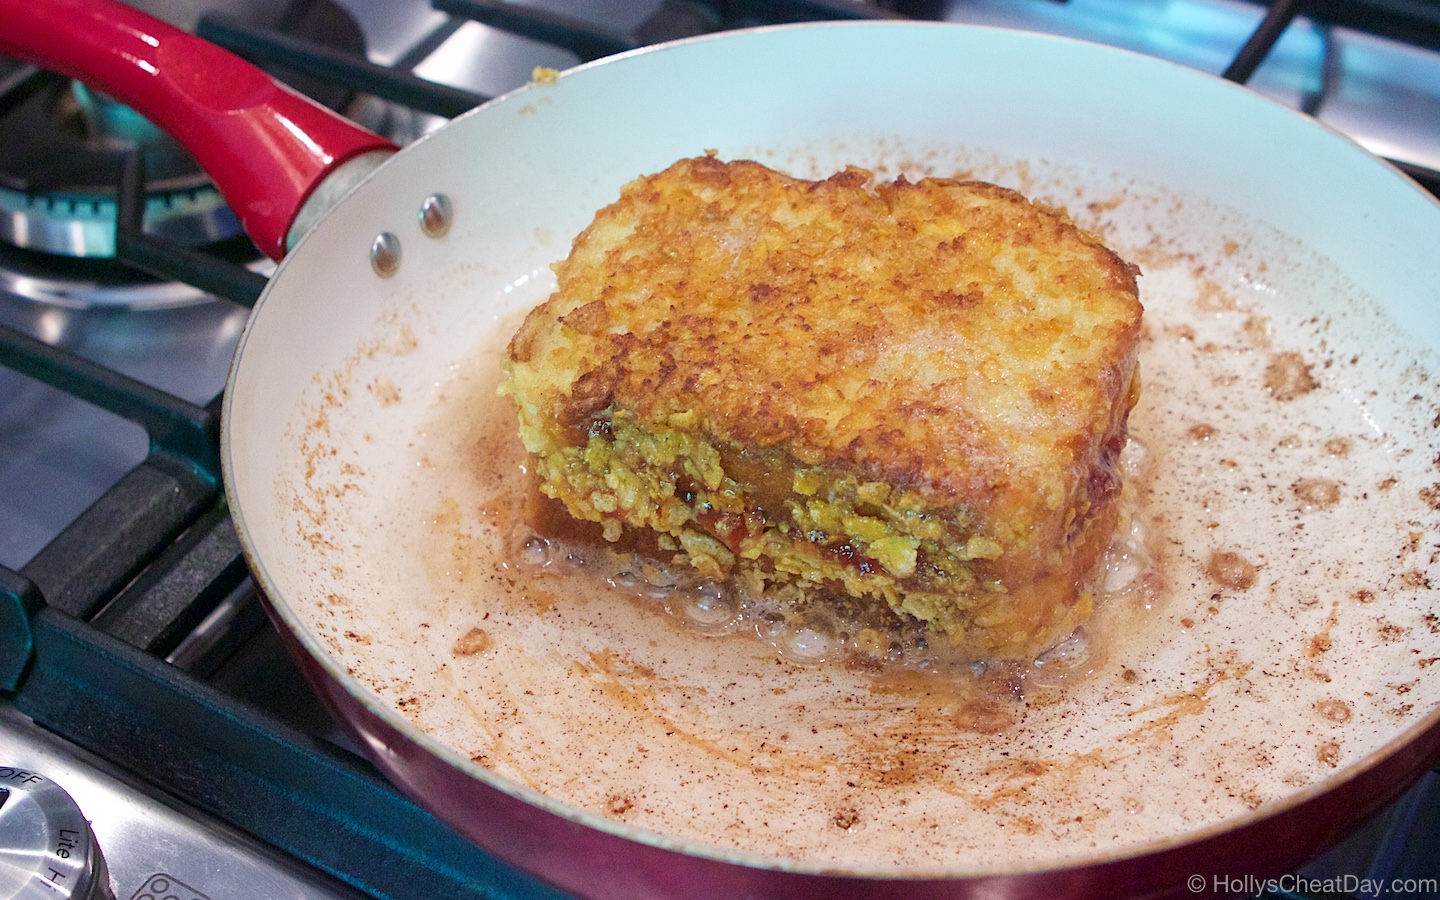
get the first side perfectly grilled…

then the other side…

and enjoy!!!

Fried Peanut Butter & Jelly Sandwich
2018-08-20 09:07:16
A new and delicious take on the classic peanut butter and jelly sandwich.
Write a review
Save Recipe
Print
Ingredients
  1. Thickly sliced bread (or a regular bread of your choice).
  2. 1-2 Cups of Frosted Flakes Cereal, Crushed.
  3. 2 Eggs.
  4. 2-3 Tablespoons of Milk.
  5. Peanut Butter.
  6. Jelly.
Instructions
  1. Measure out 1-2 cups of Frosted Flakes and crush them up with your hands, place on a plate and set aside.
  2. In a small bowl, whisk up your eggs and milk until well combined, set aside.
  3. Place a large pan on medium heat, melting a few tablespoons of butter into it.
  4. Take your slices of bread and put your desired amount of peanut butter and jelly on either side, then take the whole sandwich and dip into your egg wash on each side, then dip into the frosted flakes, making sure to heavily coat.
  5. Now place your sandwich into your pan for a couple of minutes on either side (or until desired crispness is reached), slice in half and enjoy!!!
Notes
  1. I bought a fresh baked loaf of bread that wasn't sliced, just so I could control the thickness of the slices, if you can do this as well I highly recommend it, it was ridiculously decadent.
By Holly
HOLLY'S CHEAT DAY https://www.hollyscheatday.com/

Filed Under: All Recipes, Dessert, Dinner

3 Ingredient Espresso Mousse

July 24, 2018 By Holly

Happy Happy Tuesday Y’all!!! With my incredibly long absence from this food blog, you might have surmised that I’ve just been super duper busy, and you would be correct.  Since the last time that I posted, I have wrapped 1 show, started and wrapped another show, and I have just started a new show and to top it all off, I have been moving all at the same time, with no time off… so basically I have been running around like a crazy person for weeks. 

Believe me, I’m not complaining to not having had any time off, when you work in the freelance world, that’s ideal, but I have had little to no time to sleep, let alone write a post haha.  So basically, please forgive my long absence and if any of you too, have been burning the candle at both ends, but have a crazy desire for a homemade dessert, well, you’re in luck. 

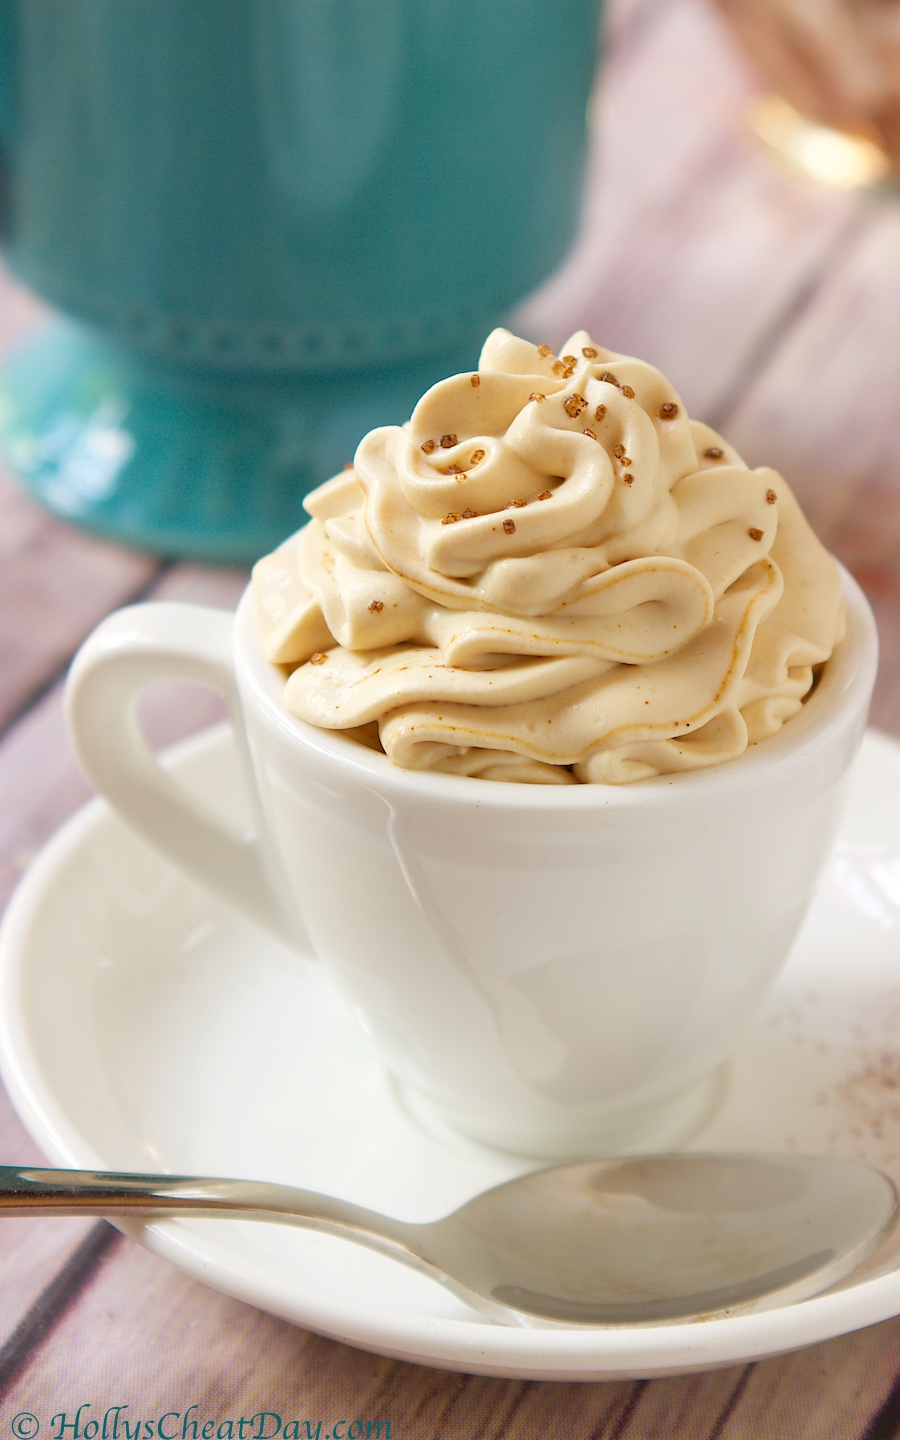
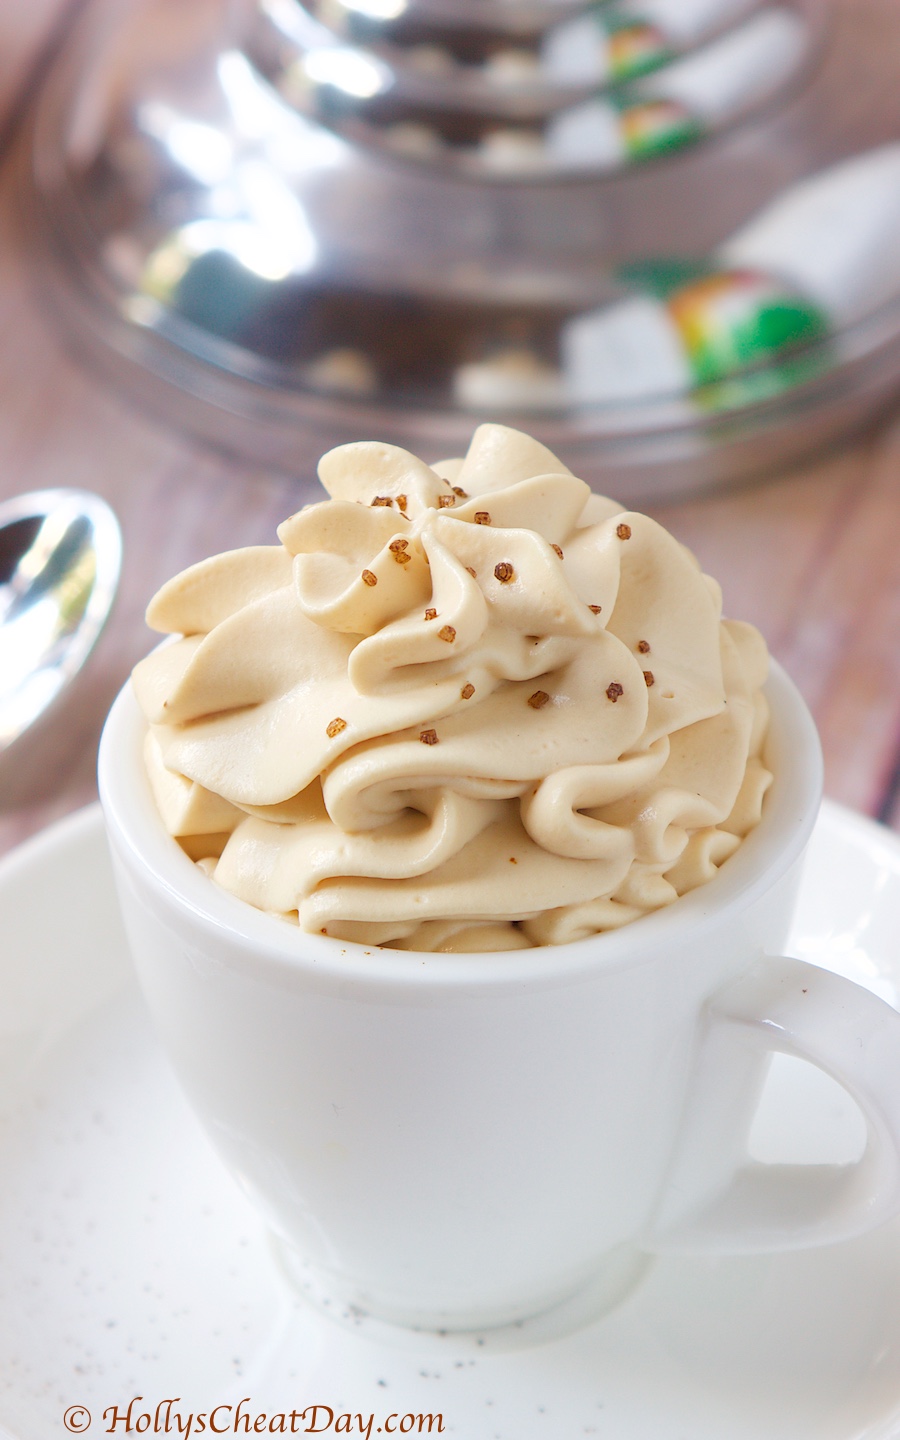
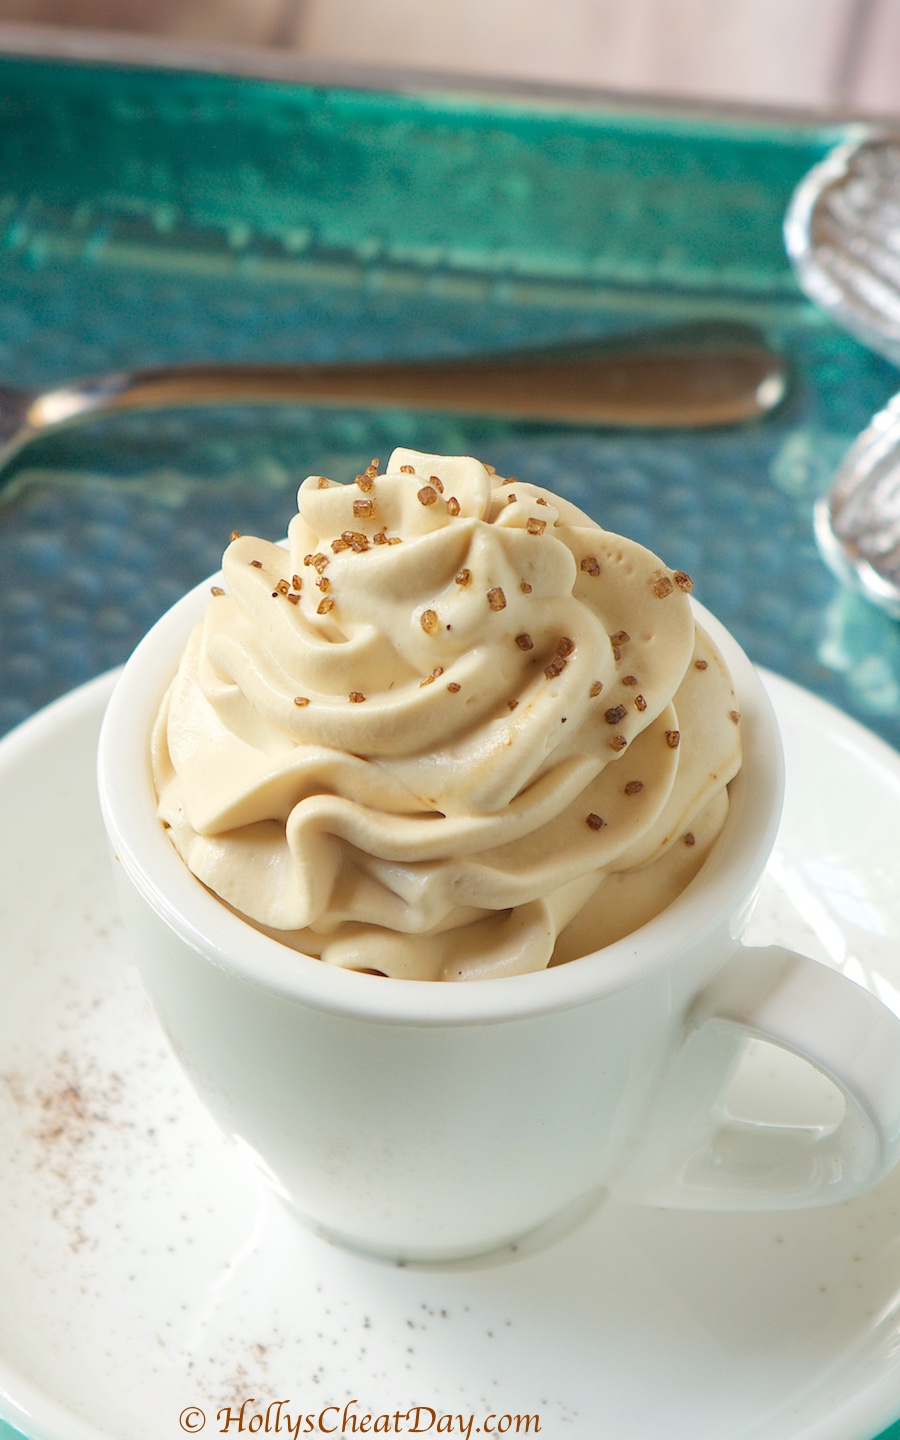
As the title says, this is a 3 ingredient recipe, but don’t let that make you think that this will be lacking in flavor, because oh boy, this stuff is phenomenal.  As a coffee and espresso lover, this dessert is so in my wheelhouse.  The small amount of espresso used in this recipe gives just the perfect amount of coffee flavor, and the deliciously whipped cream is soo smooth and decadent, droool y’all. 

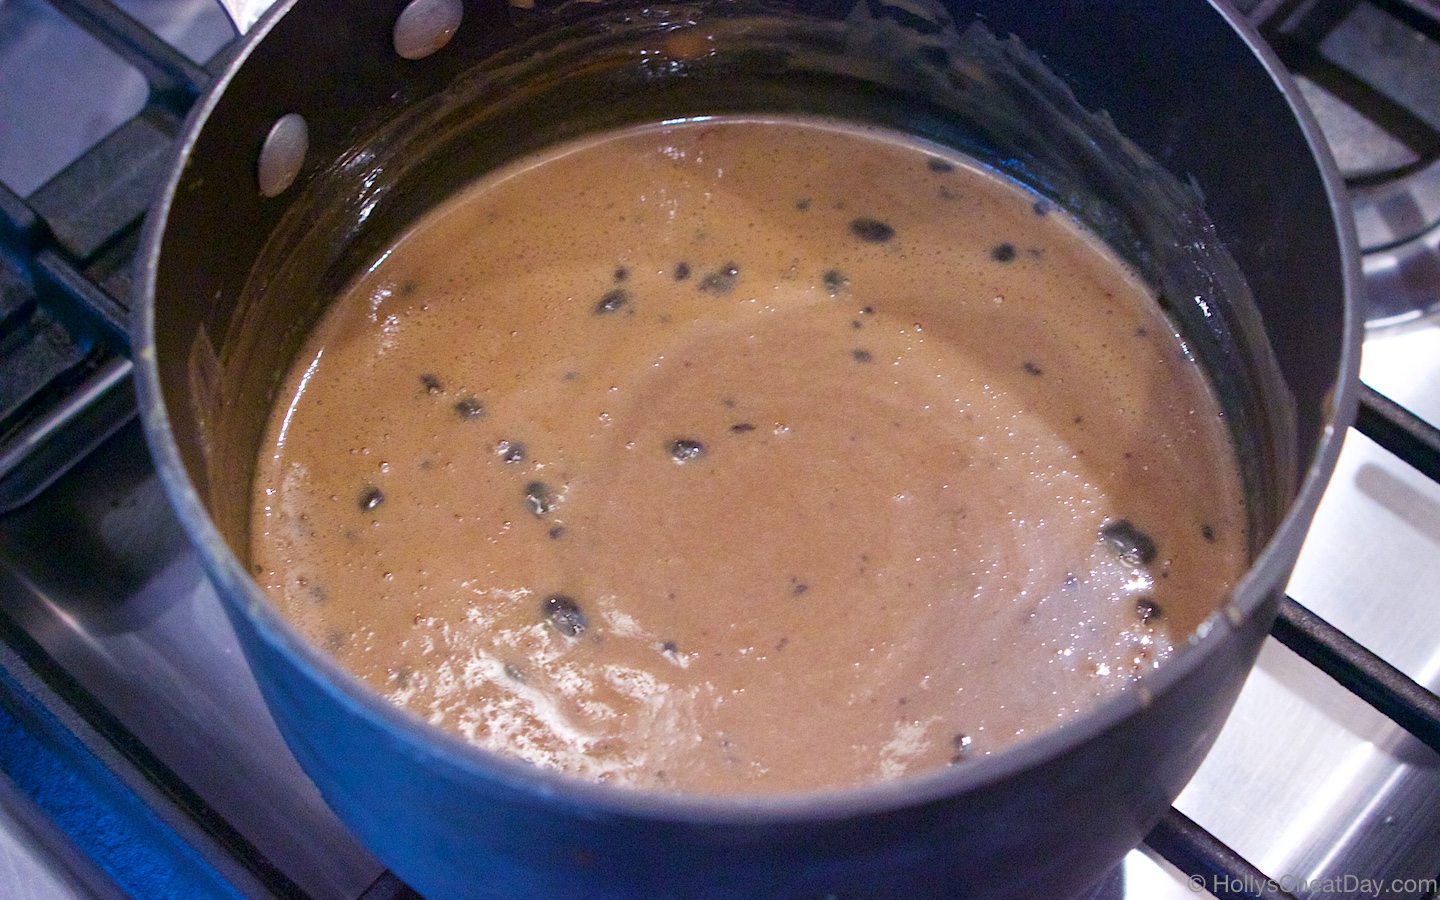
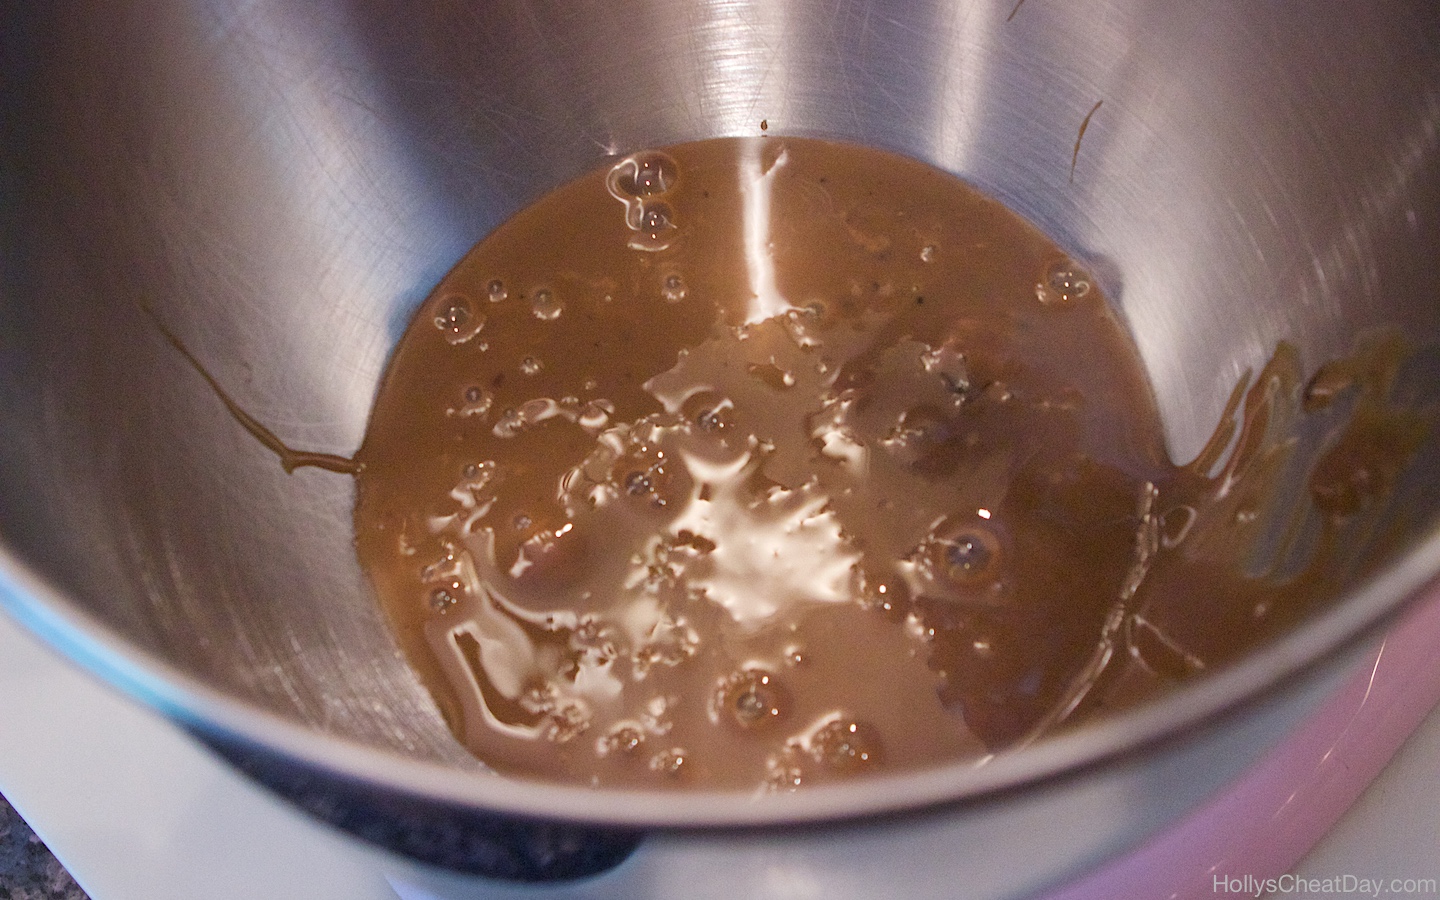
A quick heads up, when you cook the espresso with the sweetened condensed milk, it’s going to be ugly as sin, but don’t worry, it’s delicious and the heavy whipping cream will whip the ugly right out of it haha.  Also, since it’s hot as Hades pretty much everywhere, feel free to throw this stuff in the freezer for an easy homemade ice cream, you’re welcome.  I hope y’all are all having a fantastic week so far and thank you so much for stopping by.     

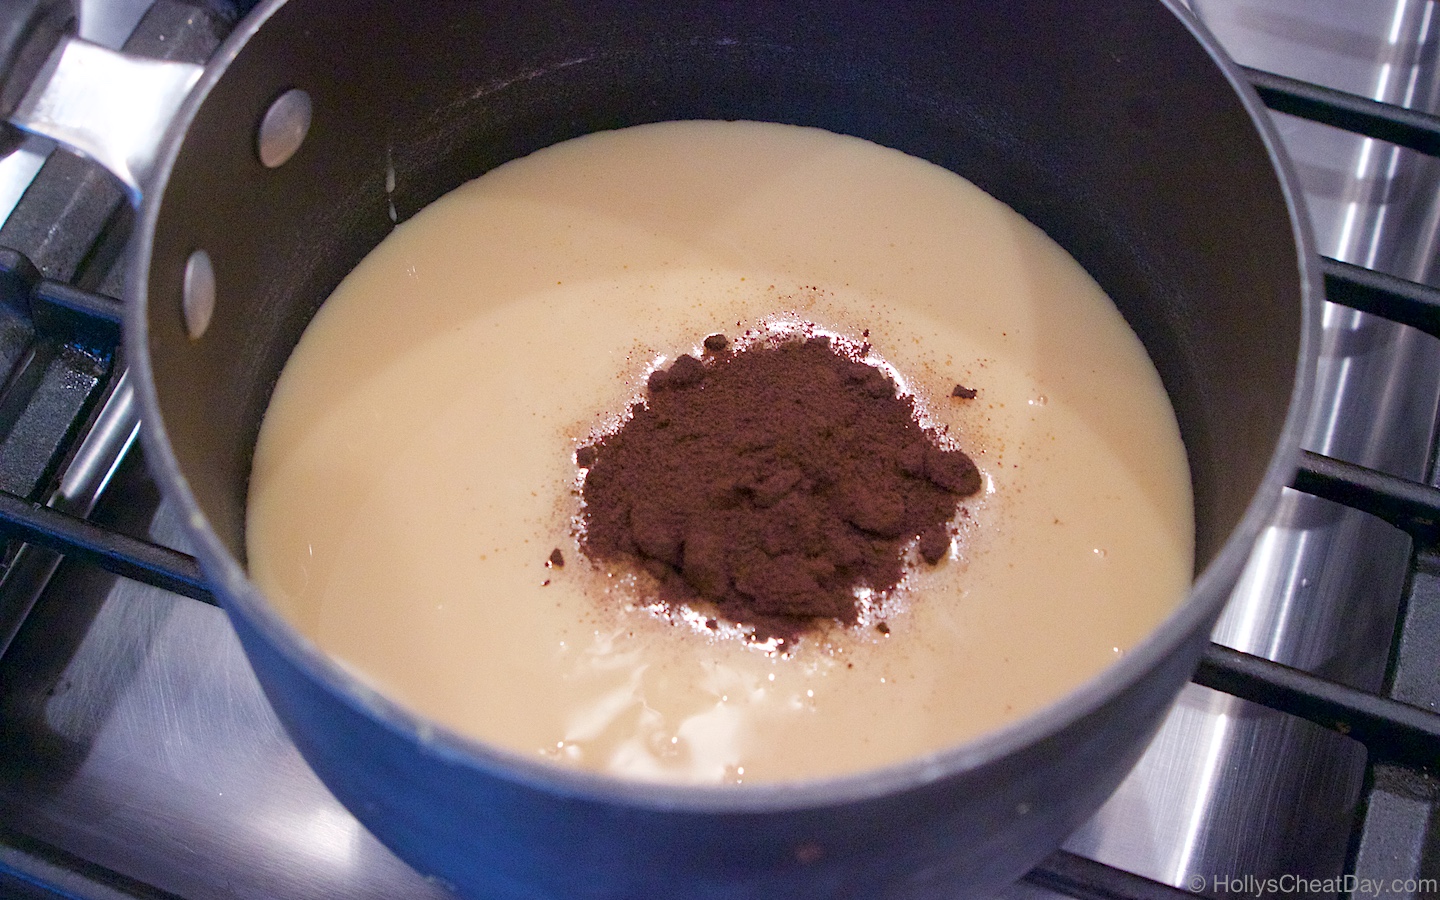
instant espresso placed into saucepan with sweetened condensed milk…

all cooked together and ready to get chilled in the fridge…

the unattractive looking espresso/condensed milk in your mixing bowl…

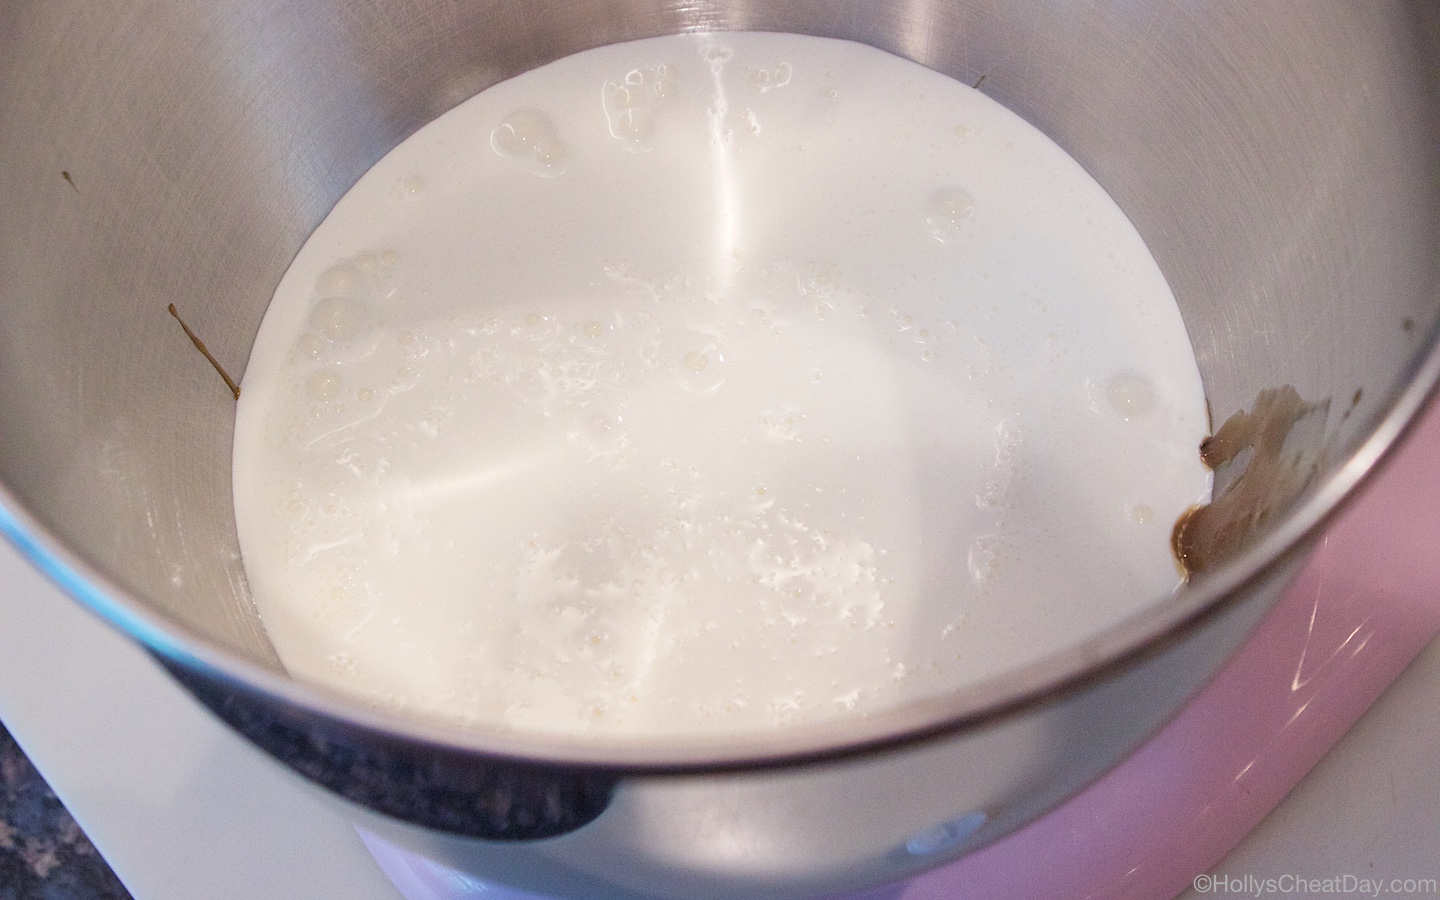
heavy whipping cream into your bowl too…

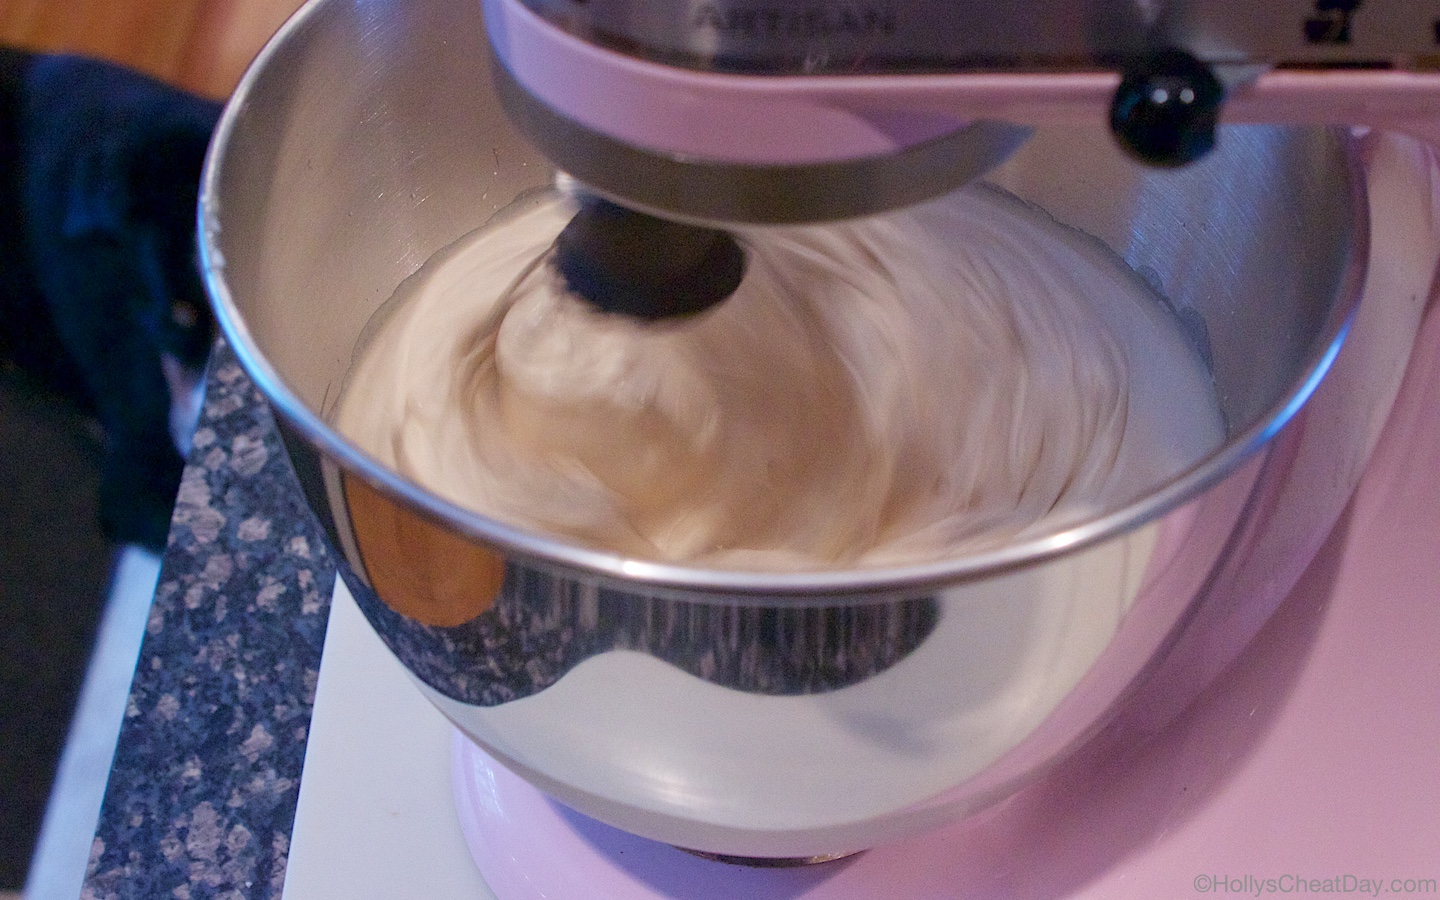
then whisk the heck out of it until stiff peaks form…

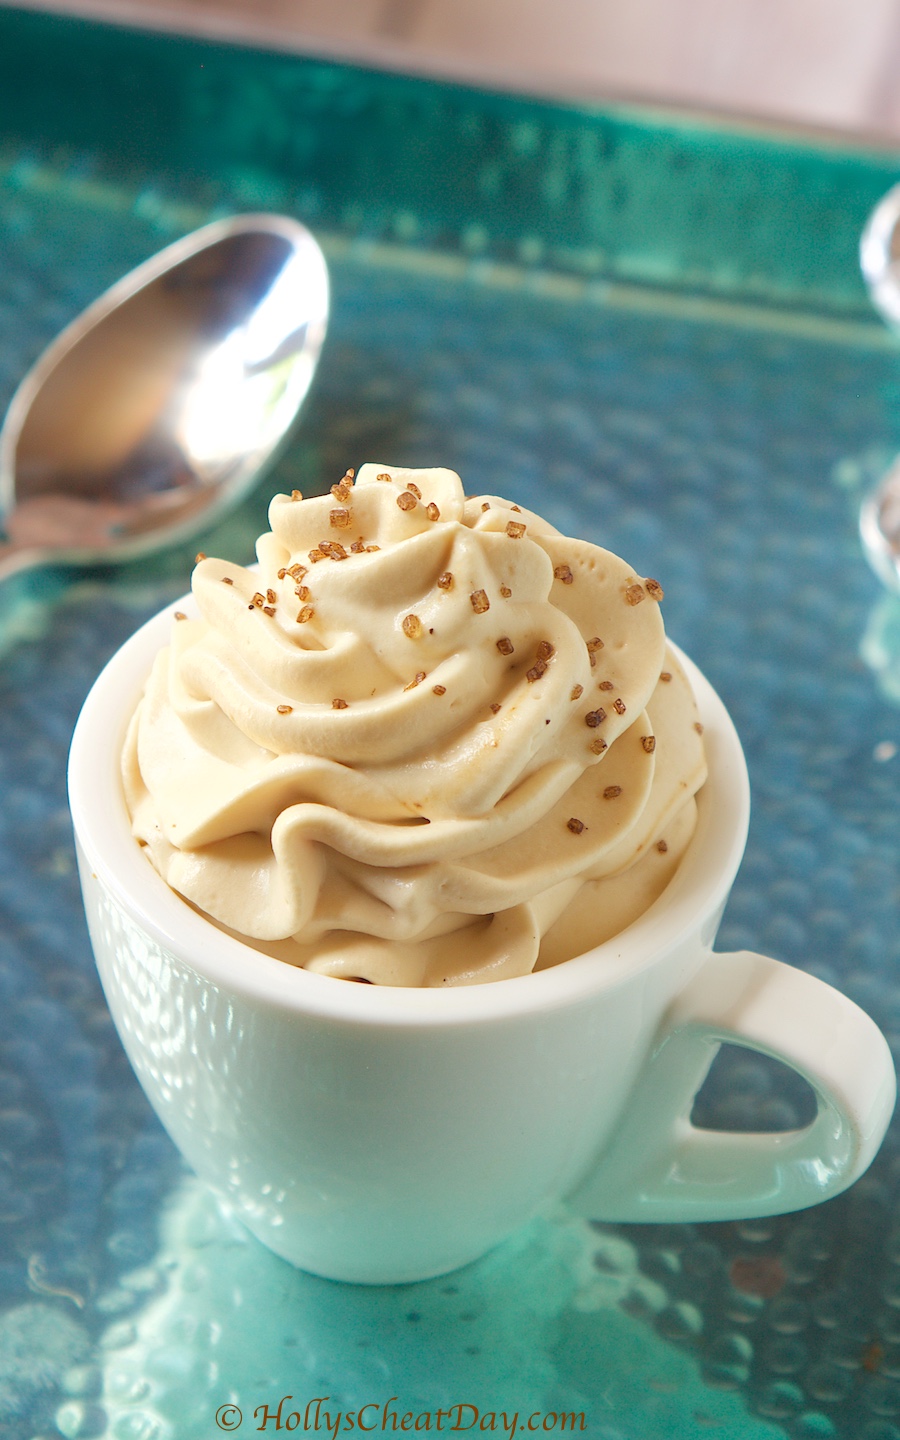
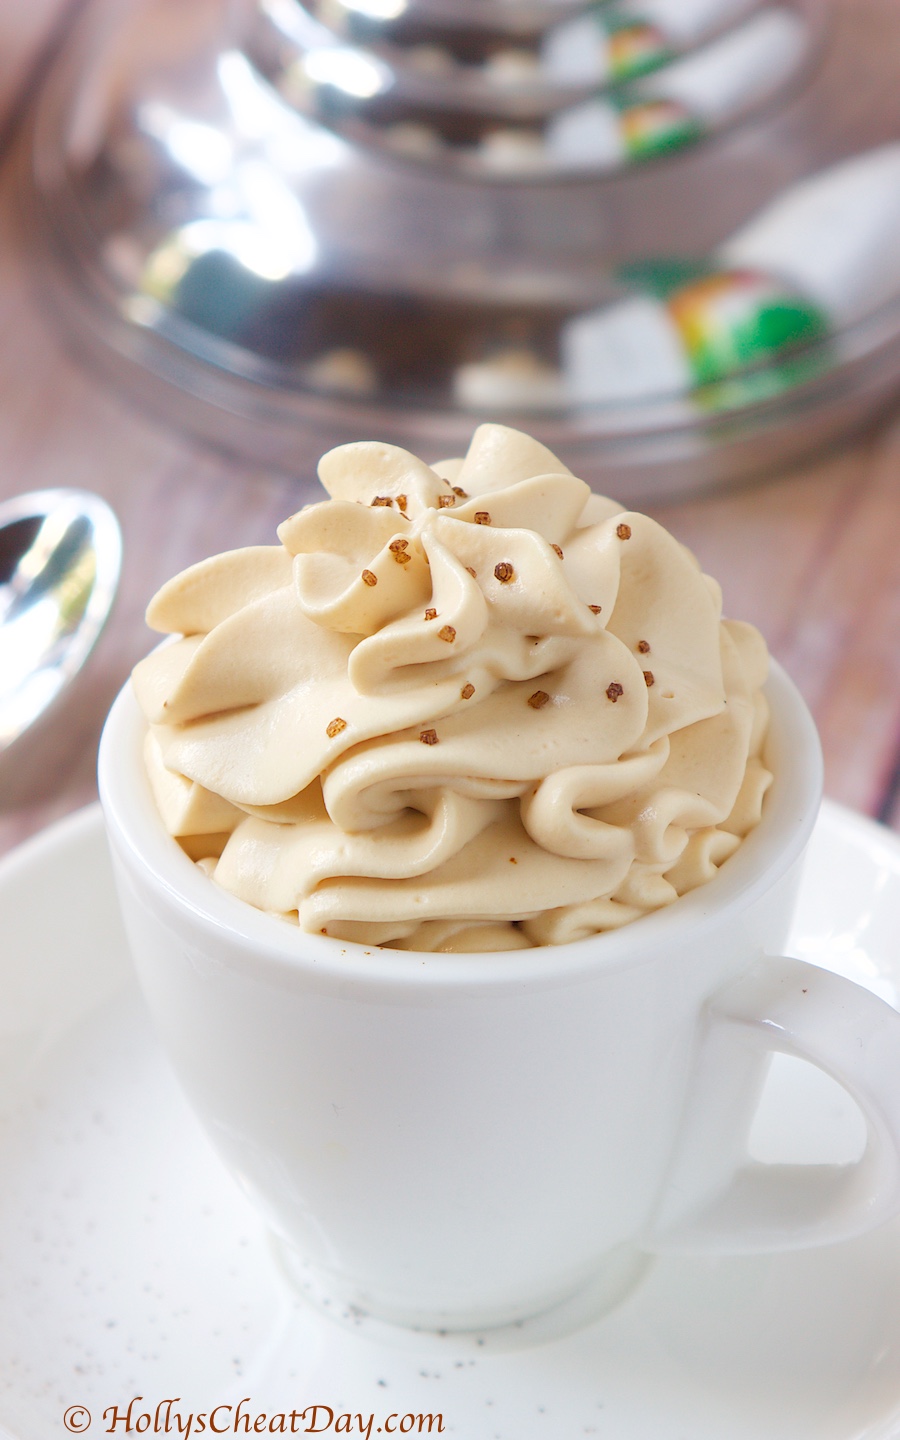
then enjoy!!!

3 Ingredient Espresso Mousse
2018-07-24 07:40:20
Deliciously easy mousse, made with only 3 ingredients you probably already have.
Write a review
Save Recipe
Print
Ingredients
  1. 1-14 Ounce Can of Sweetened Condensed Milk.
  2. 1 Pint of Heavy Whipping Cream.
  3. 1 Tablespoon of Instant Espresso.
Instructions
  1. In a small saucepan on low-medium heat, cook your sweetened condensed milk with your instant espresso until well combined, less than 5 minutes.
  2. Place your condensed milk/espresso mixture in the fridge for about 30 minutes or until cooled.
  3. Now with a handheld or stand mixer with whisk attachment, (I recommend placing your mixing bowl in the freezer for a few minutes before using) pour your heaving cream into your mixing bowl, along with the espresso/milk mixture and whisk until stiff peaks form.
  4. Serve immediately, or freeze it for a homemade ice cream, and enjoy!!!
HOLLY'S CHEAT DAY https://www.hollyscheatday.com/

Filed Under: All Recipes, Dessert

REPOST-Funfetti Cake Batter Frosting

May 30, 2018 By Holly

Happy Happy Wednesday y’all!!! and I’m going to be super lame and say Happy Birthday to me! Since it’s my birthday I wanted to repost a favorite fun recipe I did last year.  This frosting is so colorful, fun, easy to make and so, so delicious, I mean, you can’t go wrong with lots and lots of sprinkles!!! Anyways, y’all enjoy this wonderful recipe, thank you so much for stopping by and have a fantastic day!!! 

Happy Happy Tuesday everybody!!! Y’all, I’m way excited to share this recipe with you guys today, not just because this is an easy recipe,  but because it’s frosting… just frosting!!  Frosting is one of my absolute favorite things in the whole world to make homemade.  I know, you can totally buy frosting pre-made in those cute little cans, and that stuff is definitely tasty, but let’s face it, not nearly as delicious as the real thing. 

I love that you can easily tweak your frosting recipes with a little this and a little that until you get it juuust right.  That is exactly what I did with this recipe, hence the hodge podge order of my ‘how to’ pictures, I just kept adding to it what it needed to get it to the exact flavor that I wanted (but simplified in the recipe section, don’t worry). 
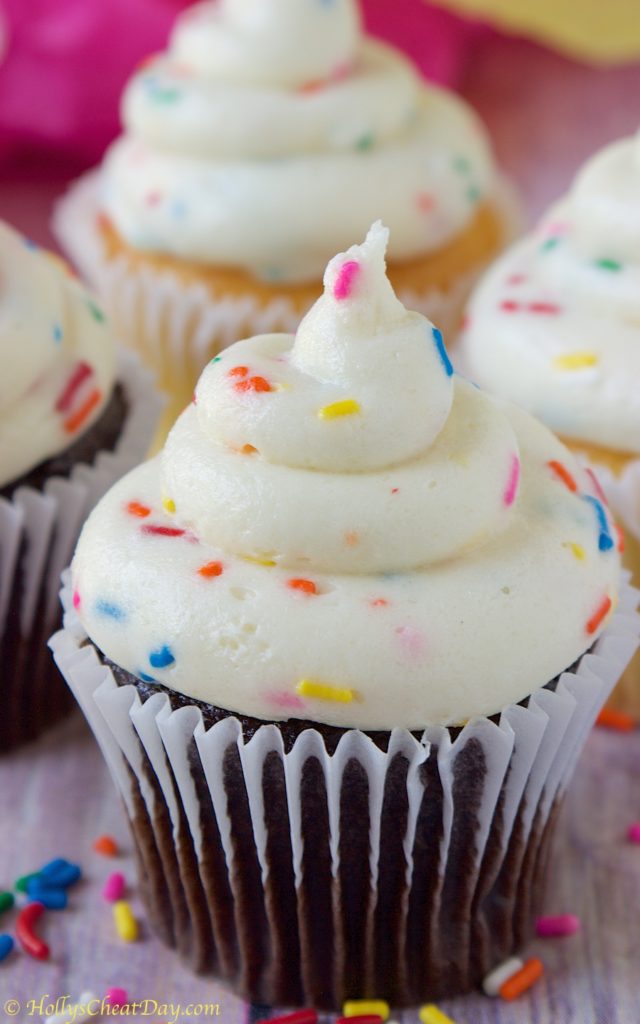
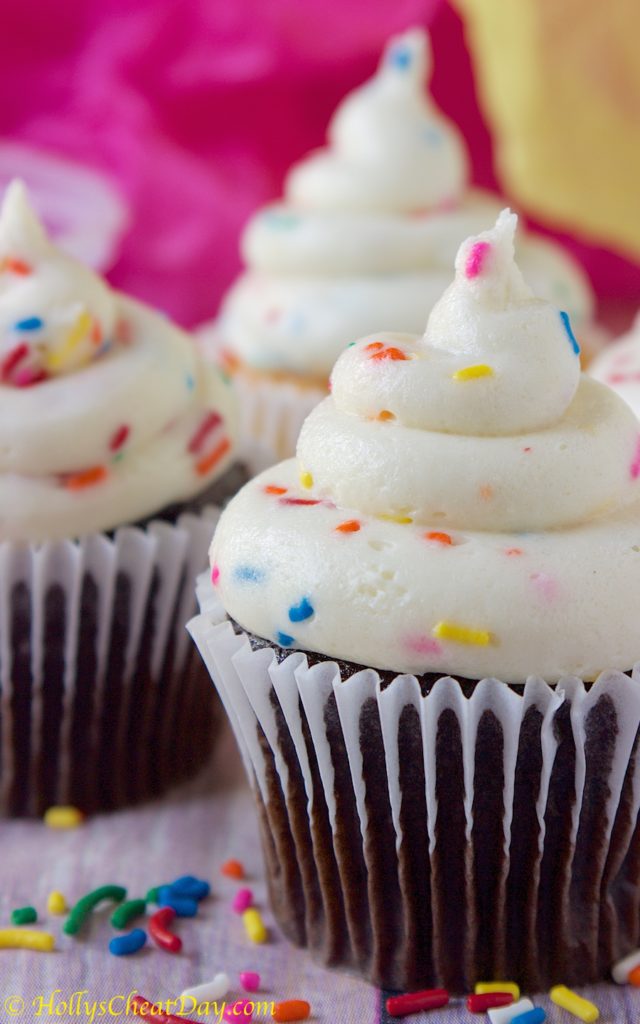
You guys! you don’t even know how amazing this frosting is! OMG it tastes just like funfetti cake batter, if I didn’t think I would go into insulin shock be sick, I would have eaten every freaking bite of this stuff with a spoon, or you know, a shovel.  Publix totally hooked me up with some naughty naked vanilla and chocolate cupcakes, and I piled about a pound of this absolutely incredible frosting on every single one. 
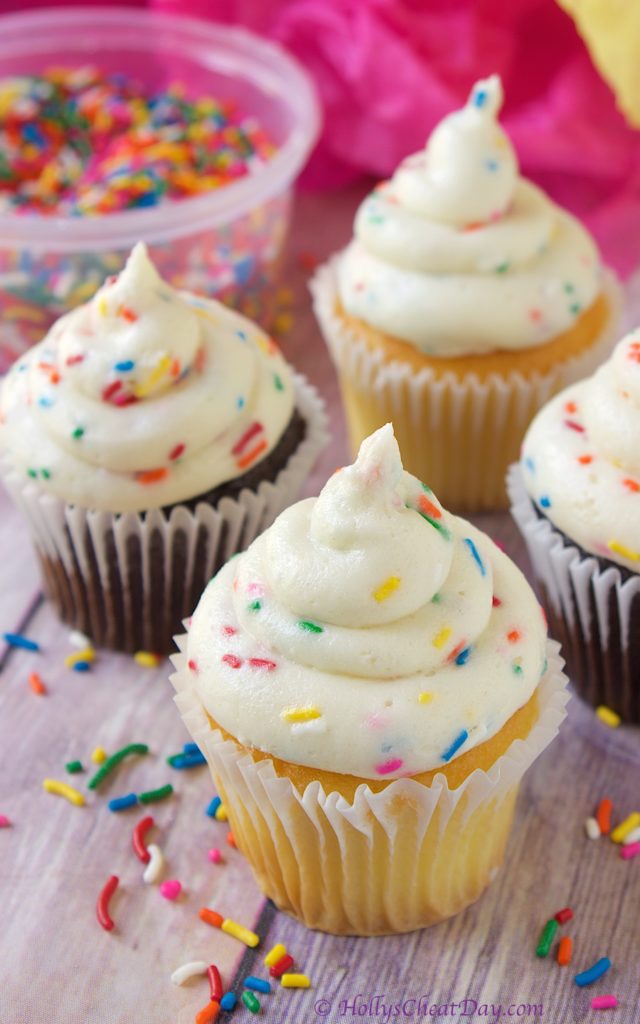
Which one tasted better? That would be like picking my favorite child (you know, if I actually had kids) because this frosting made both vanilla and chocolate cupcakes taste amazing either way.  You totally need this frosting on every single cake item in your life, or just in a spoon.  I promise you will love this.  Thank you so much for stopping by and I hope you have a wonderful day!!!  

but first, butter!

mix up and add your powdered sugar…

some of the cake mix and cream cheese…

mix, mix , mix and add some heavy cream…

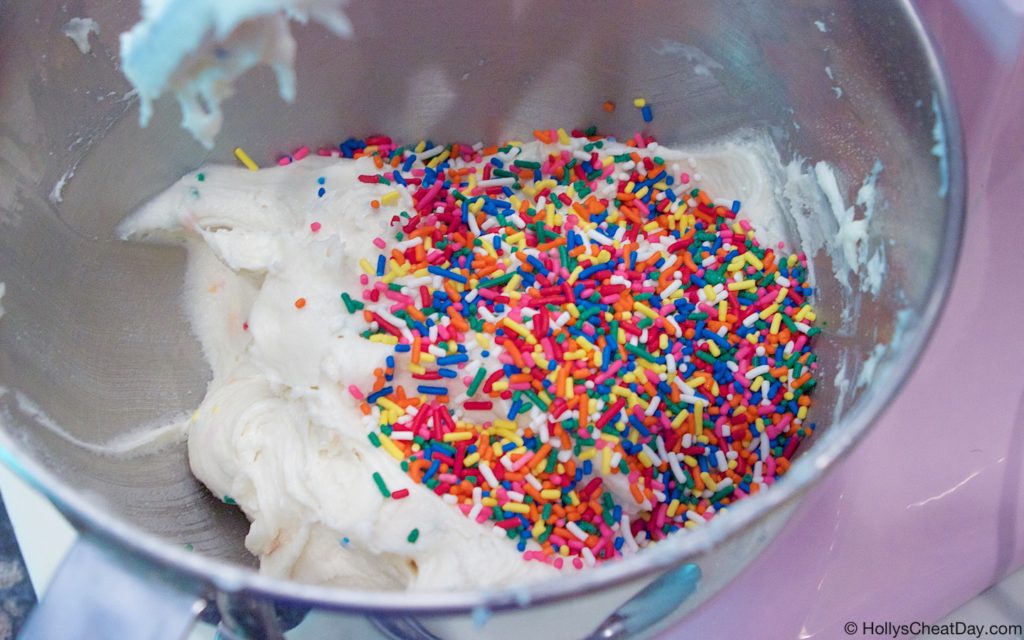
then all of the sprinkles…

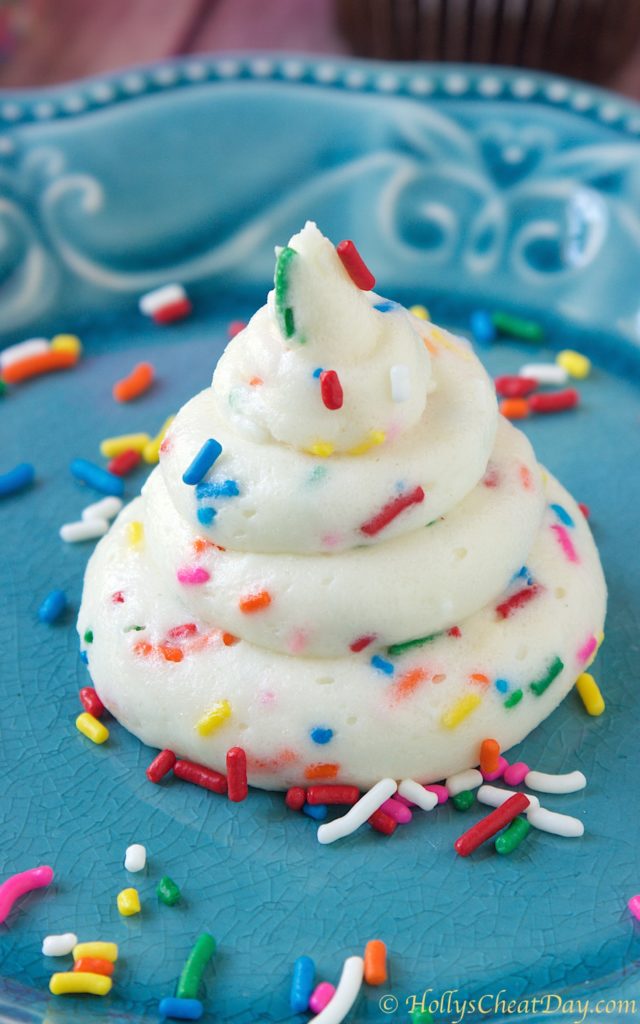
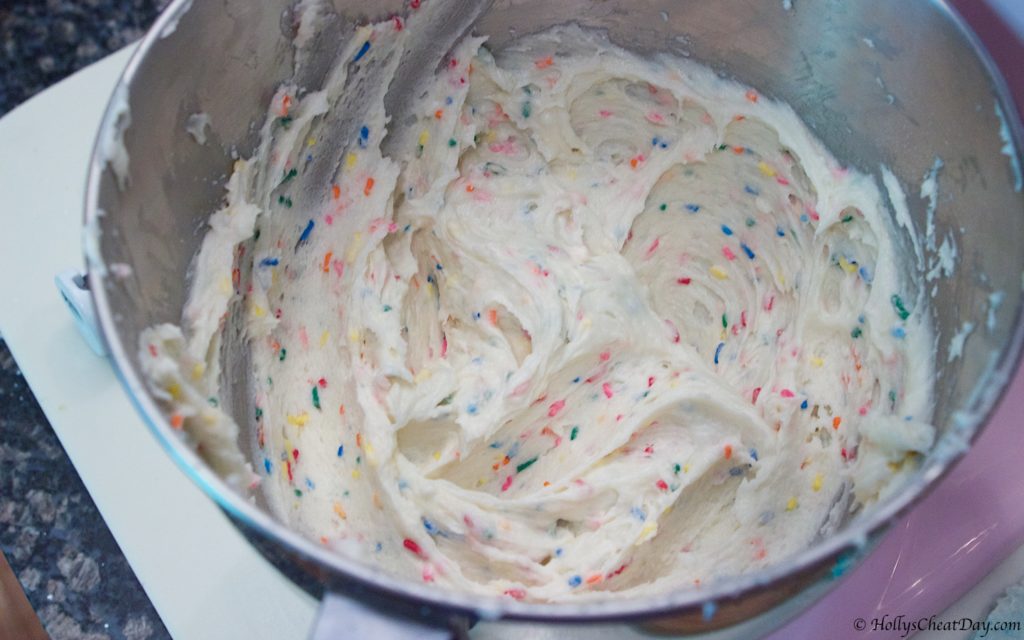
mix, mix, mix and enjoy!!!

and enjoy!!!
Funfetti Cake Batter Frosting
2017-05-22 14:40:20
All the flavor of funfetti cake in every bite of this delicious frosting, you will want to put it on everything.
Write a review
Save Recipe
Print
Ingredients
  1. 3 Cups of Powdered Sugar.
  2. 2 Sticks (1 Cup) of Unsalted Butter, Room Temperature.
  3. 1 (15.25 Ounce) Box of Funfetti Cake Mix.
  4. 4 Ounces of Cream Cheese, Room Temperature.
  5. 2/3 Cup of Heavy Cream.
  6. 1 Tablespoon of Vanilla Extract.
  7. A Dash of Salt.
  8. 1/2-2/3 Cup of Extra Sprinkles (Optional).
Instructions
  1. With a handheld or stand mixer with paddle attachment, place your butter and cream cheese into your bowl and beat until light and fluffy.
  2. Now, 1 cup at a time, beat in your powdered sugar until all is mixed in.
  3. Now add in your heavy cream and vanilla and mix again.
  4. Now add in the whole box of dry funfetti cake mix about a 1/3 at a time until all is mixed in.
  5. Add in your extra sprinkles, and if you would like your frosting thinner, feel free to add in more heavy cream a tablespoon at a time.
  6. Place into a large piping bag or plastic big, snip off the end and pipe on everything in sight and enjoy!
By Holly
HOLLY'S CHEAT DAY https://www.hollyscheatday.com/

Filed Under: All Recipes, Dessert

Classic Lemon Bars

May 23, 2018 By Holly

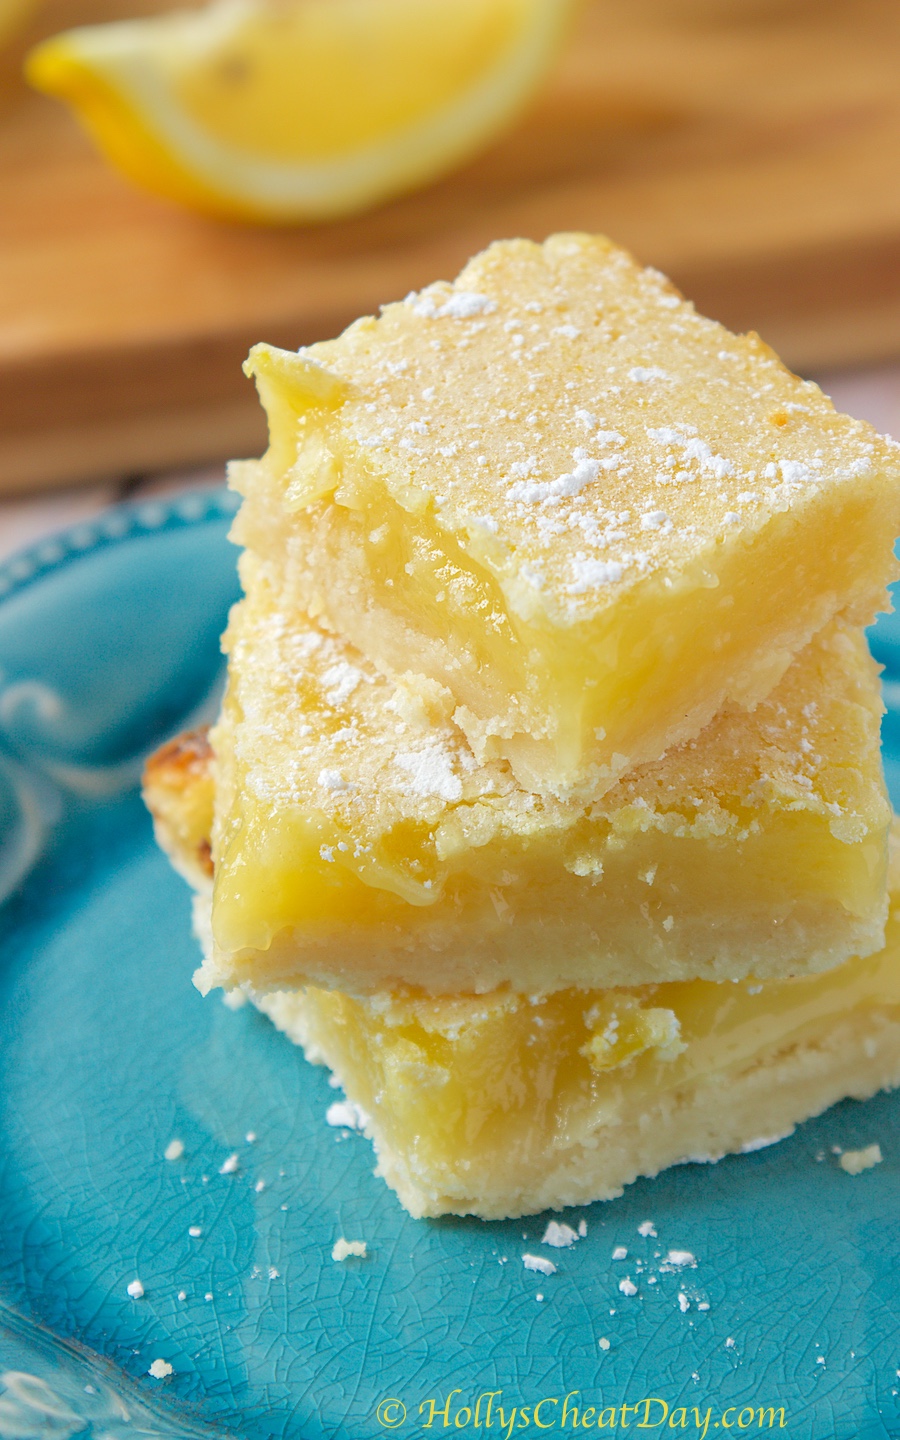
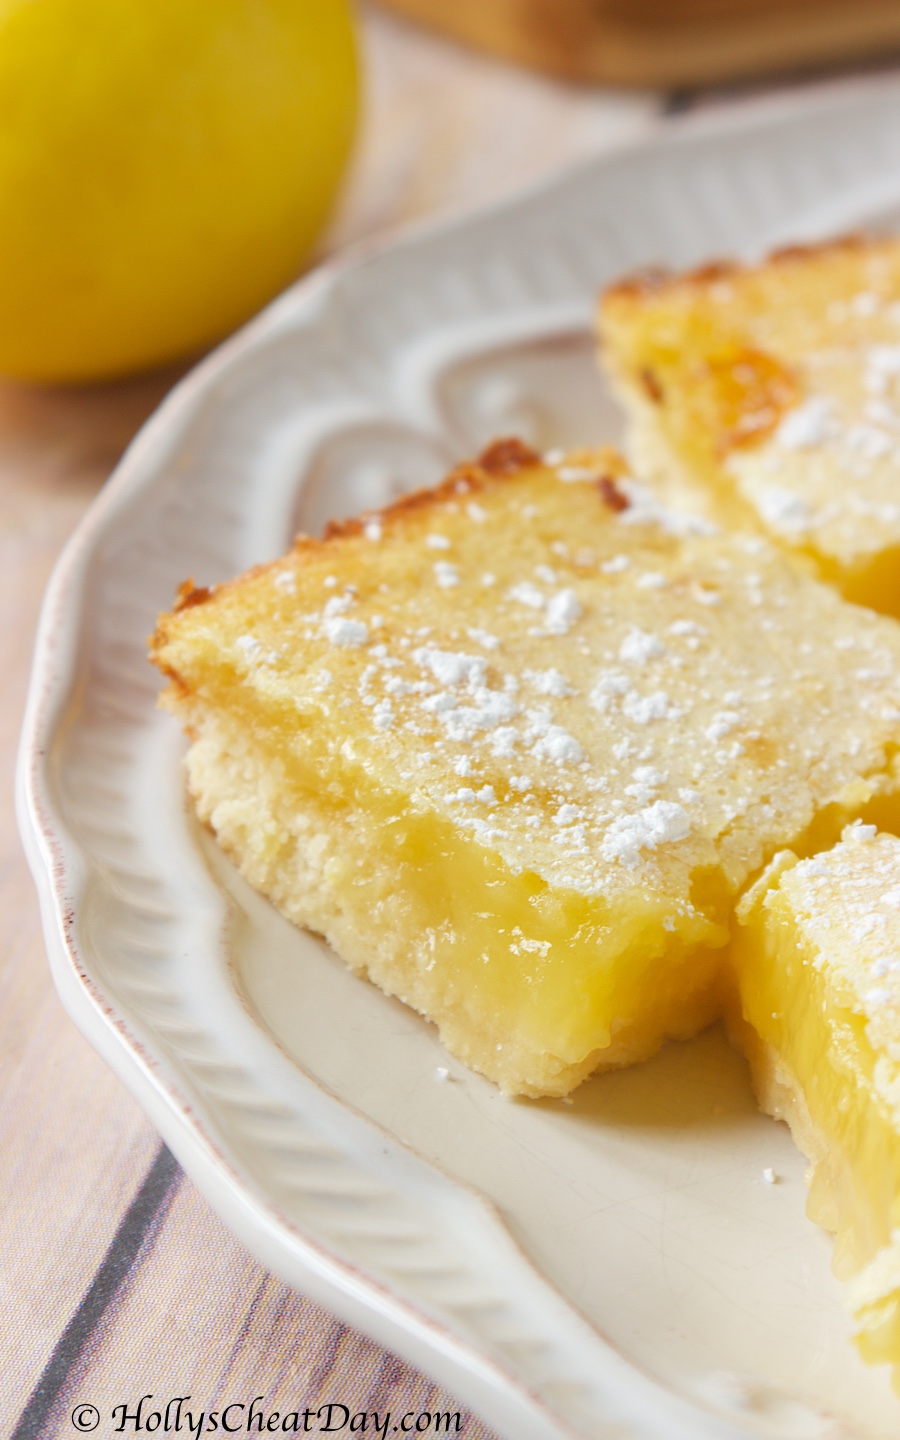
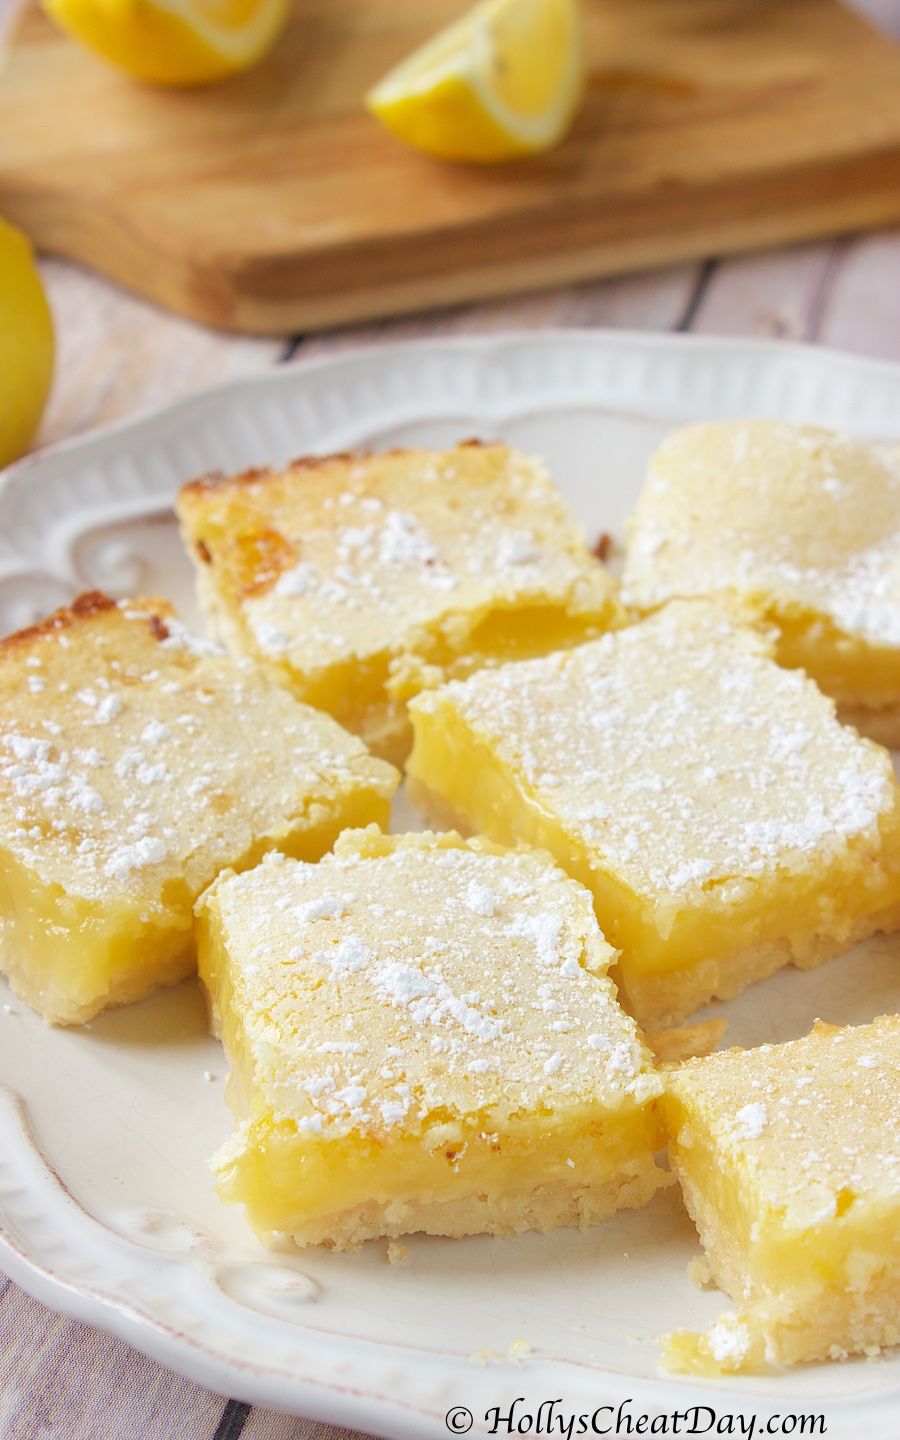
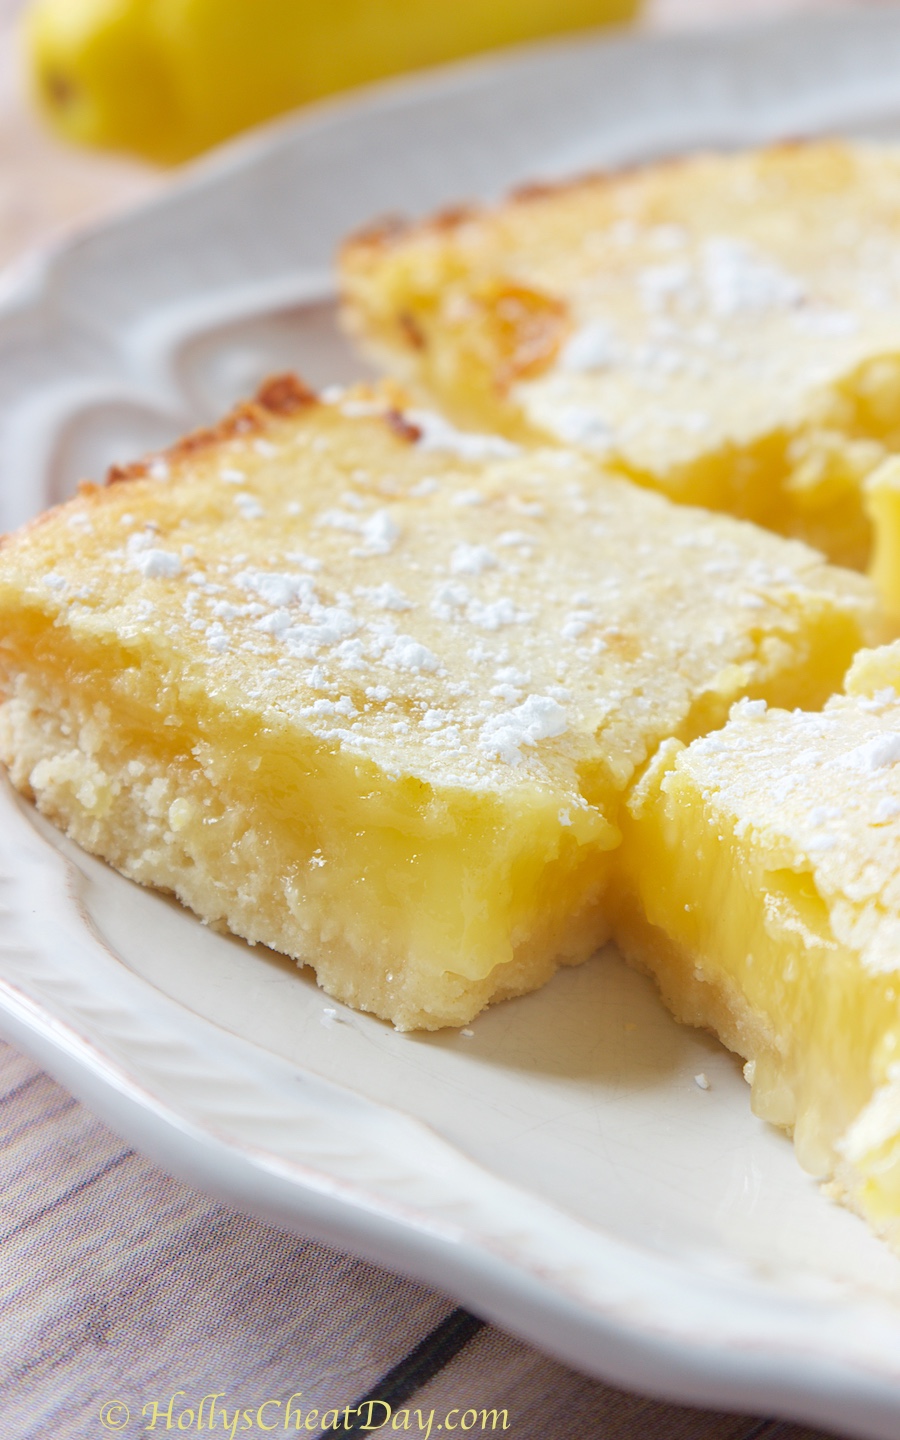
Happy Happy Wednesday y’all!!!  It’s super freaking hot and humid already here in the ATL, which means hello wonderfully citrus desserts of all shapes and sizes, because I feel like tart treats seems less heavy in this heat…they’re not, but oh well ha!

Y’all, these are just the most perfectly classic lemon bars, and I’m so proud of myself because I wanted to make these 1,000% from scratch.  A lot of times, I have cut corners, i.e., cake mixes, juice from a bottle, etc., which is totally cool,  but this time I was totally set on juicing every bit of the 1 cup of lemon juice that I needed. 

Seven lemons later and maybe a few stinging squirts to the eyes that’s what she said and boom! fresh freaking lemon juice for these delectable bars, which I have to be honest really made all of the difference in these.  Was it a crud ton more work? absolutely! was it worth it? also a big yes on that as well. 

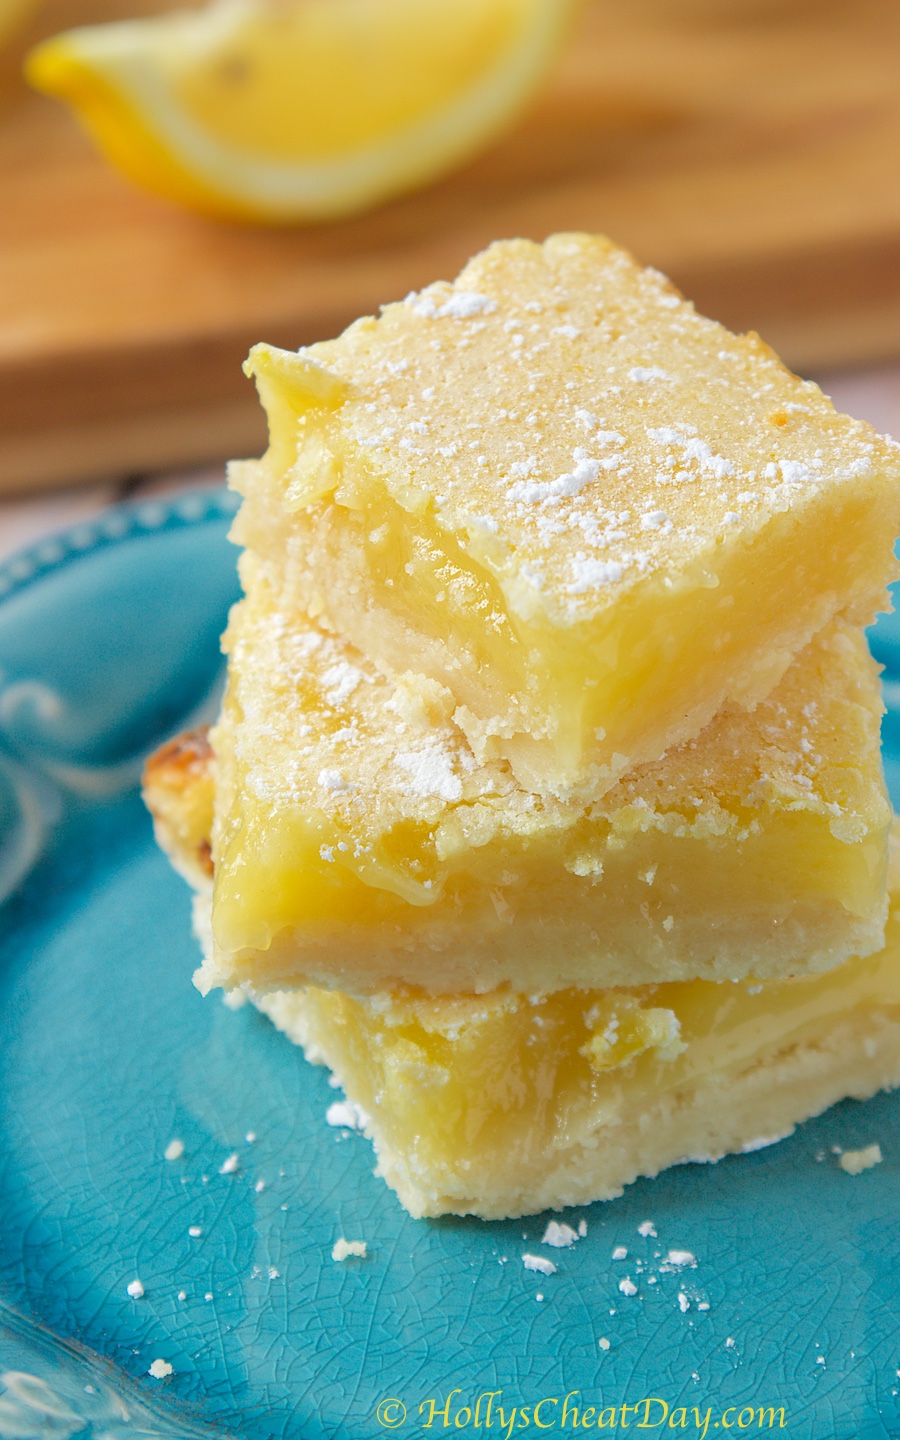
These bars are definitely more work than a lot of recipes I post here, but y’all they weren’t that difficult to make, just a few more steps and sooo dang delicious.  These are fantastically tart and sweet, with the perfect crust accenting these bars.  I hope I’ve sold some of y’all on making these tart treats as soon as possible…may I also add that there is a big holiday weekend coming up and these just might be perfect to serve.  Thanks so much for swinging by and I hope you all have a wonderful day!!!

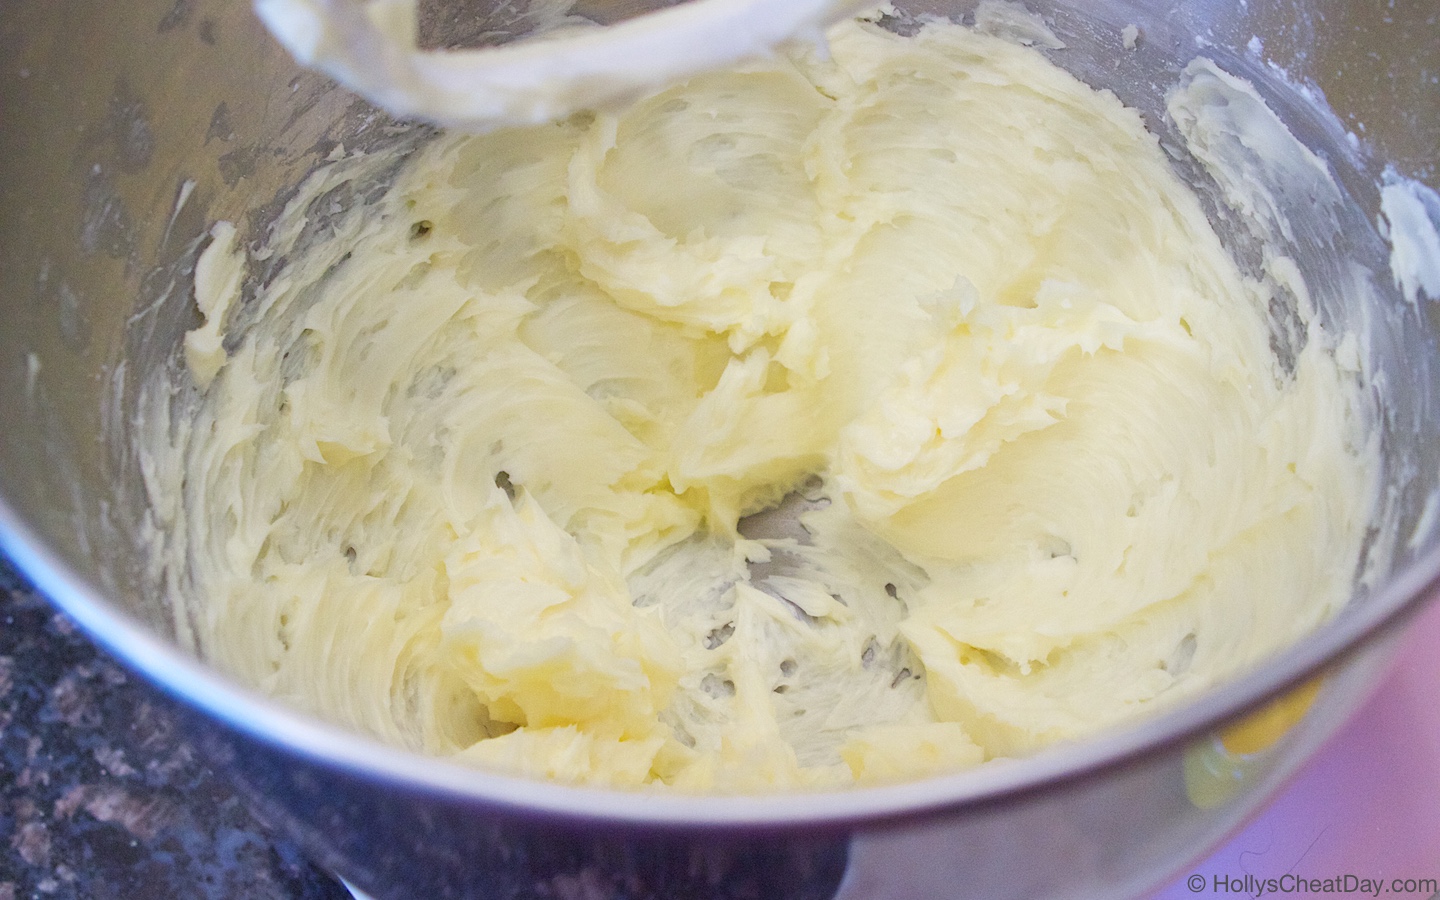
First, for the crust, butter and sugar…

Mix, Mix, Mix…

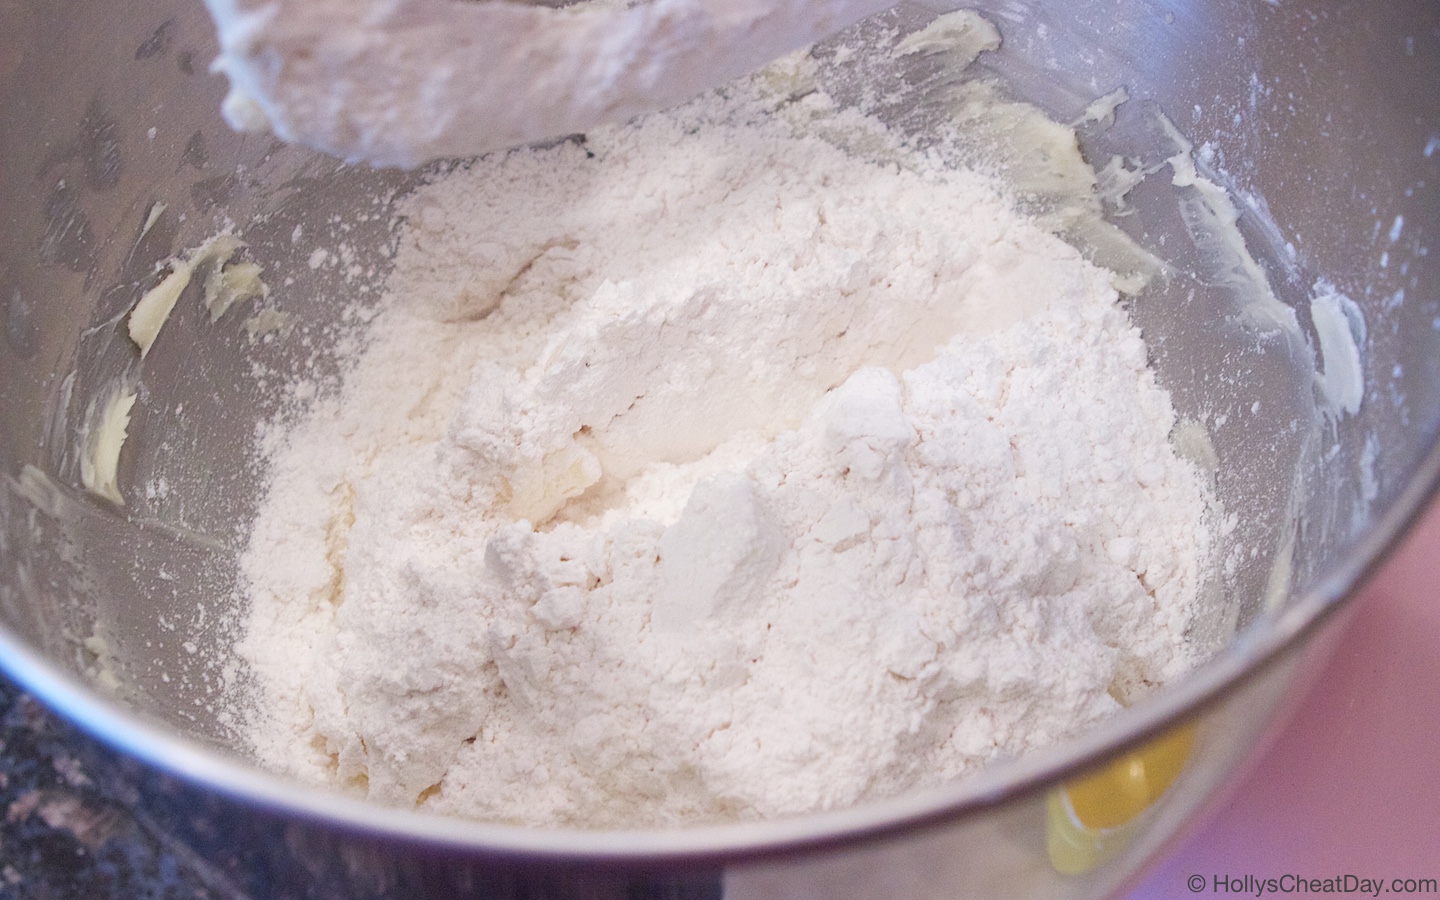
Now your flour…

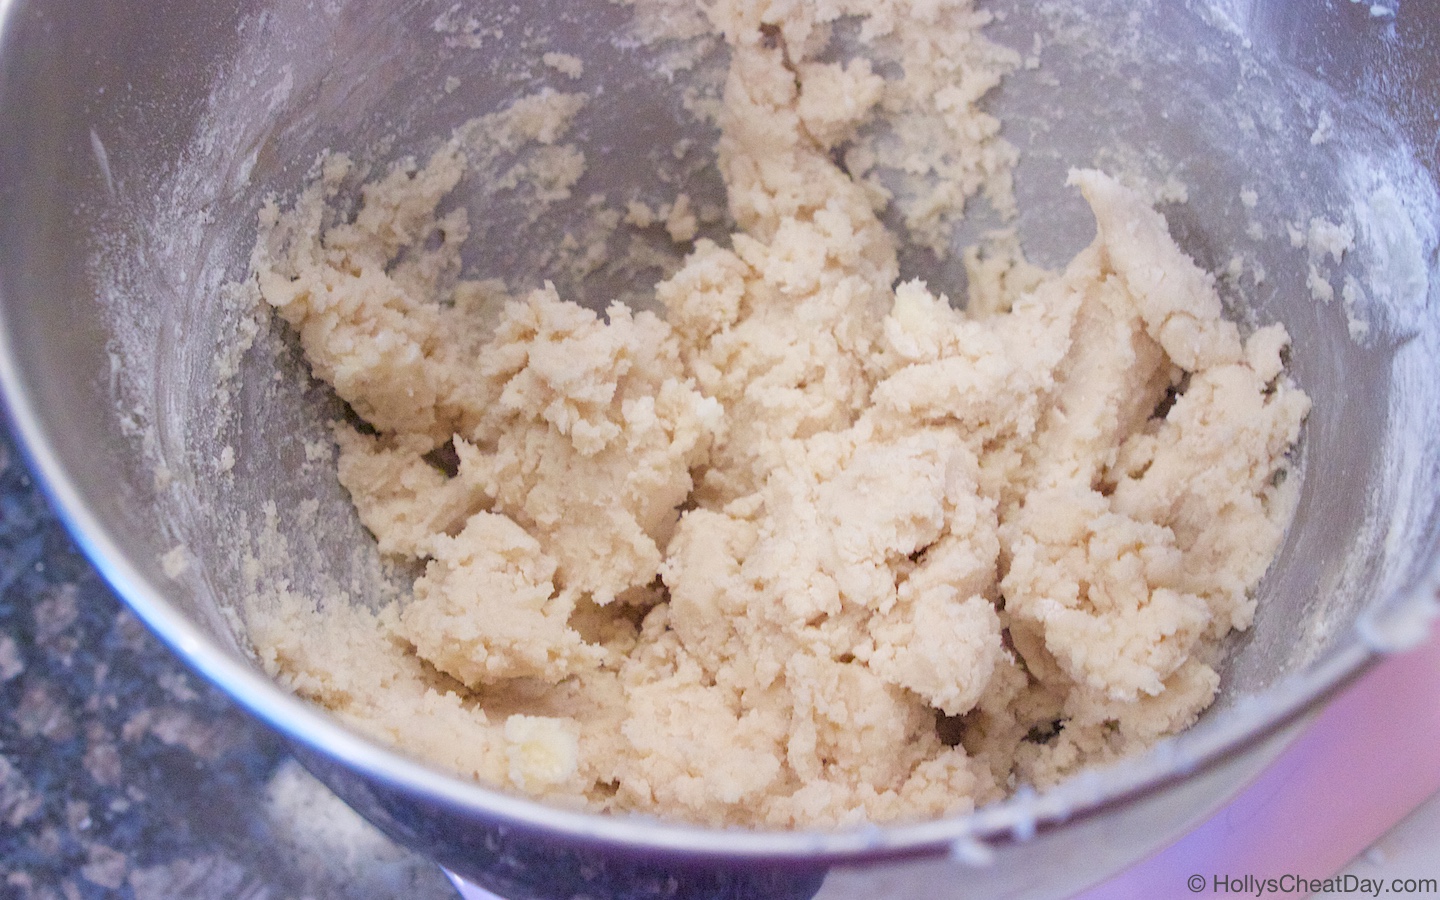
All mixed and ready to go into your pan…

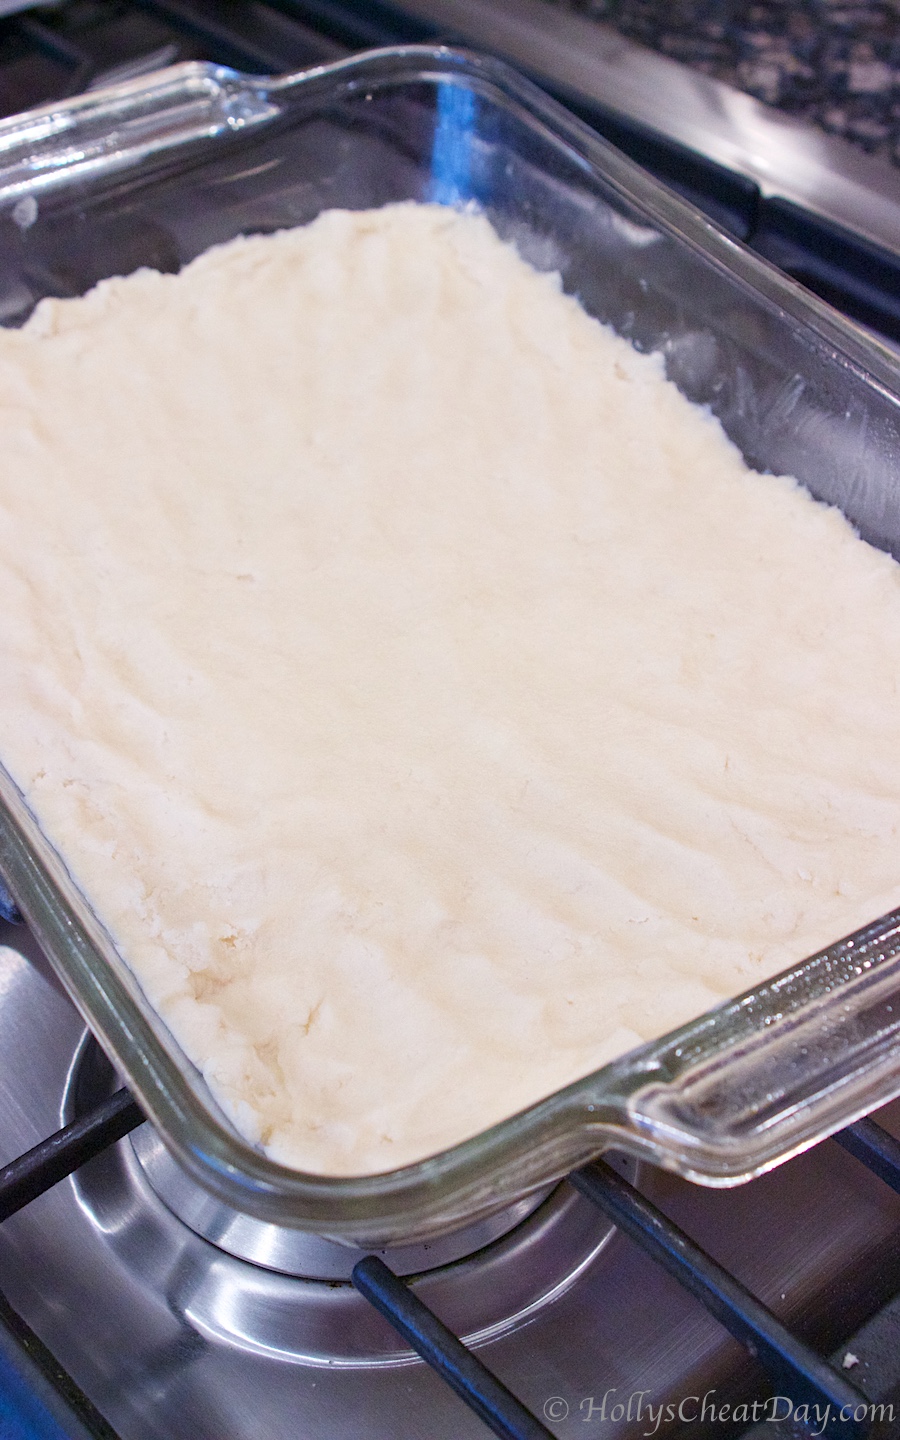
Into your pan…

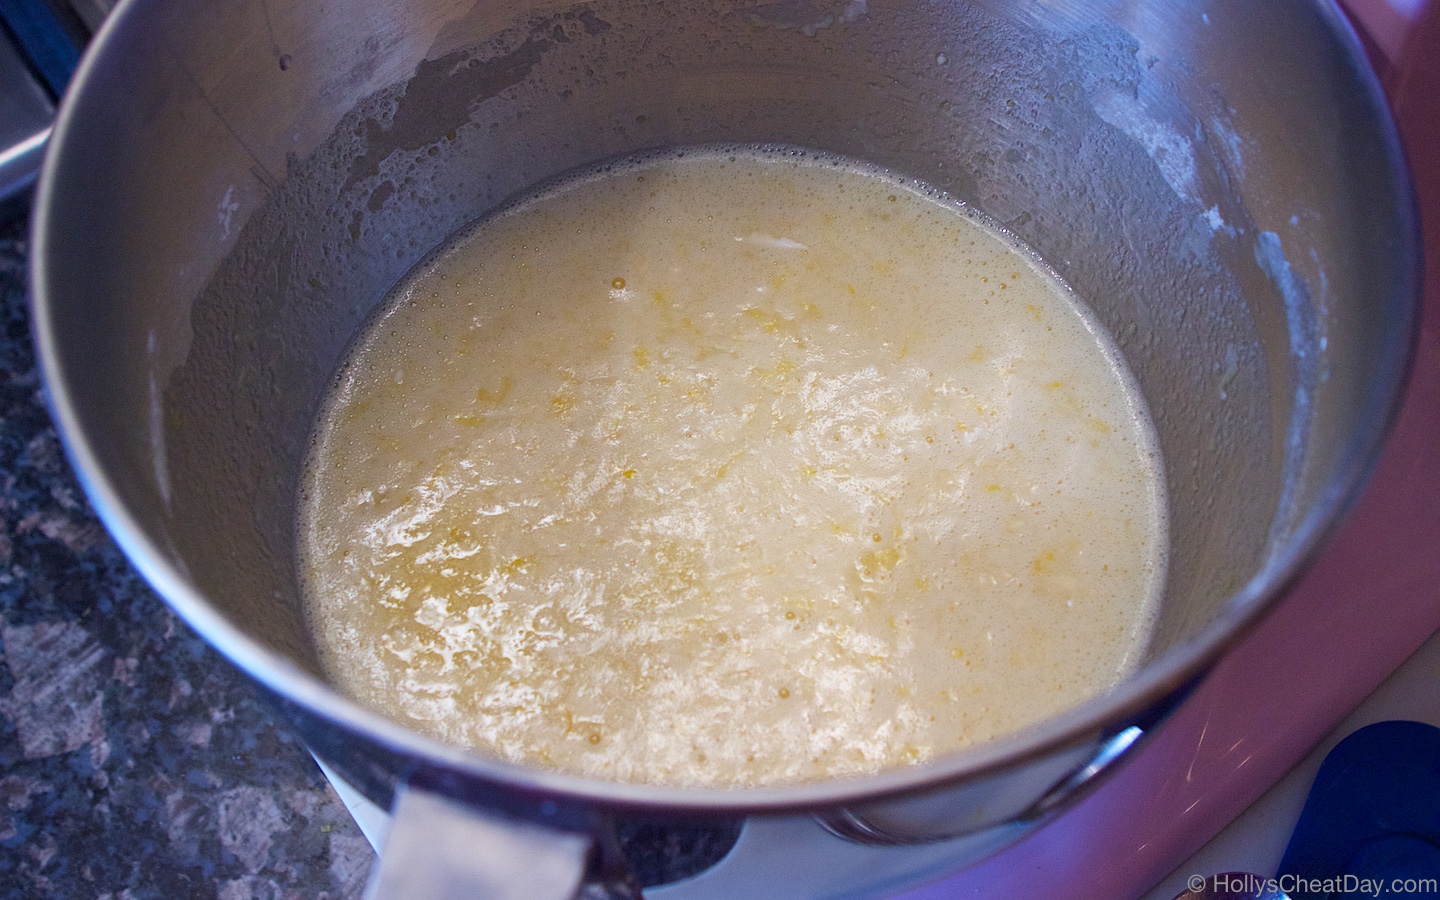
Bake your crust, and while it’s cooling start with the lemon filling…

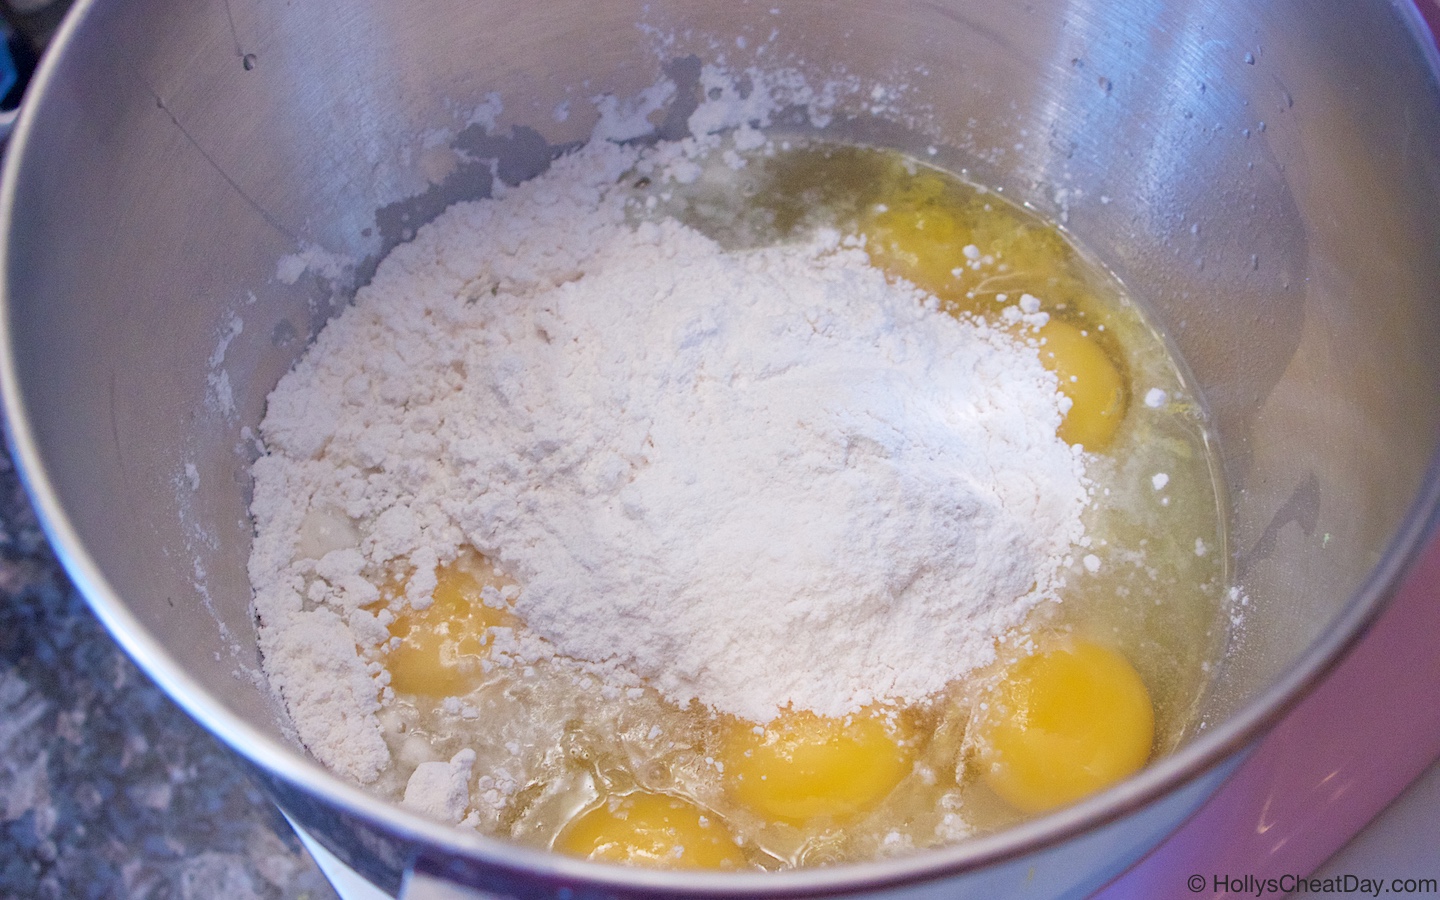
All mixed up…

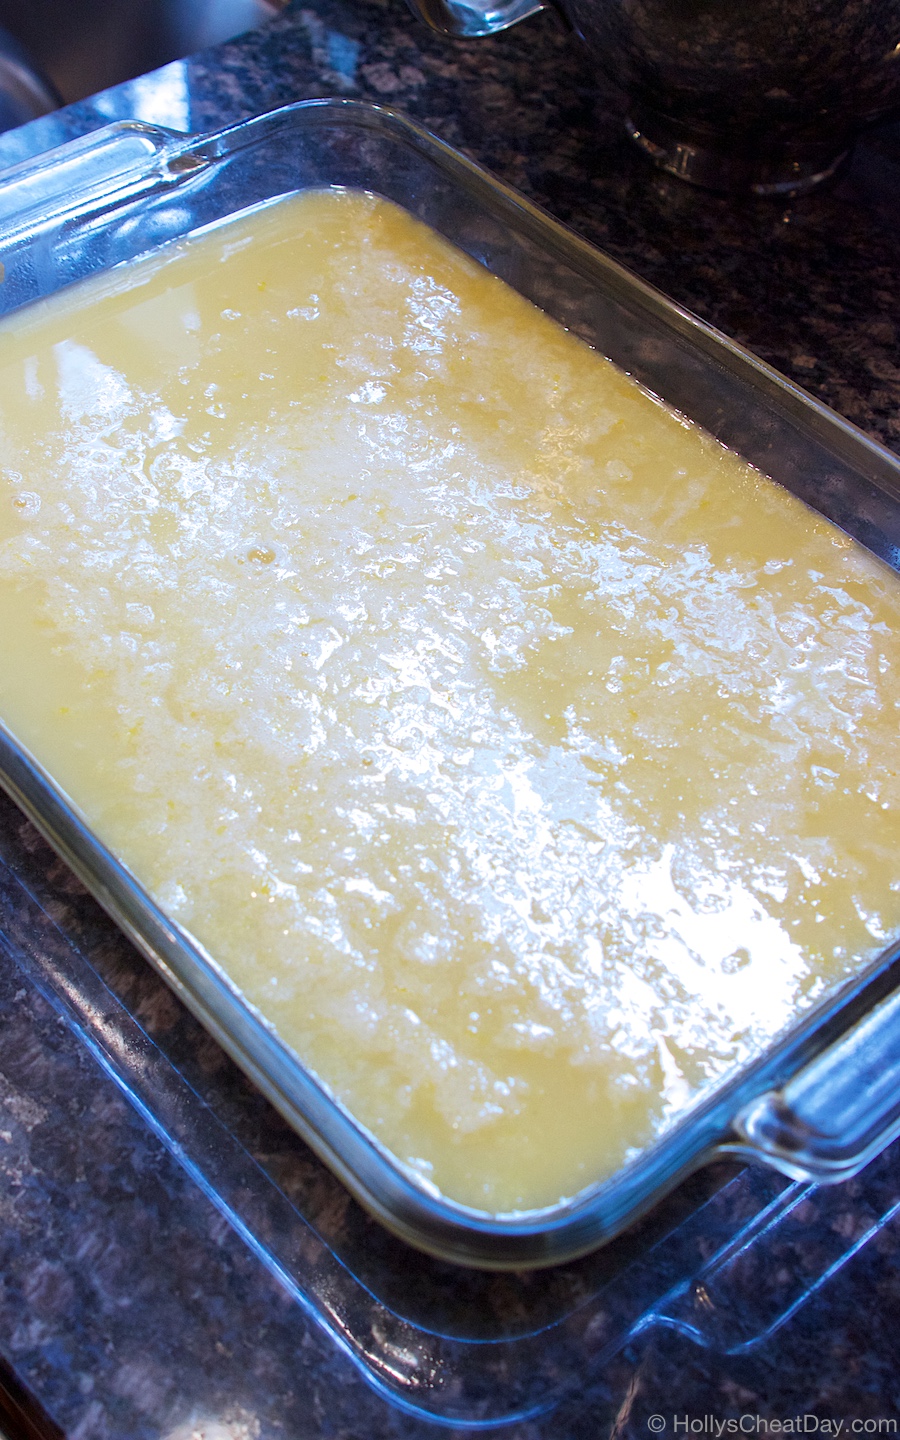
Now onto your crust…

bake, bake, bake and enjoy!!!
Classic Lemon Bars
2018-05-21 14:03:01
Delicious tart bars filled with all the flavor of lemon.
Write a review
Save Recipe
Print
THE CRUST
  1. 1 Cup (16 Tablespoons) of Unsalted Butter, Room Temperature.
  2. 1/2 Cup of Powdered Sugar.
  3. 2 Cups of All Purpose Flour.
  4. 9x13 Pan.
THE LEMON FILLING
  1. 6 Large Eggs, Room Temperature.
  2. 3 Cups of Granulated Sugar.
  3. 1-2 Tablespoons of Lemon Zest.
  4. 1 Cup of Lemon Juice (It took 7 Lemons).
  5. 1 Cup of All Purpose Flour.
FOR THE CRUST
  1. Preheat your oven to 350 degrees F.
  2. With non-stick spray, liberally spray the bottom of your 9x13 pan, set aside.
  3. With a handheld or stand mixer with paddle attachment, beat your butter and 1/2 cup of powdered sugar together until fluffy.
  4. Now, stir in your all purpose flour until just combined.
  5. Press your dough out evenly into the bottom of your 9x13 pan until the crust reaches the edges of your pan, and bake for 15 minutes or until just slightly brown.
  6. Make sure to let this crust cool completely before adding in the filling.
FOR THE LEMON FILLING
  1. In a large bowl with a handheld of stand mixer with whisk attachment, mix together the eggs, granulated sugar, lemon zest, lemon juice and flour.
  2. Pour this mixture onto your cooled crust and bake at 350 degrees F for 30-35 minutes, or just until the filling isn't jiggly anymore.
  3. Let cool, maybe dust with some powdered sugar and enjoy!!!
Notes
  1. Feel free to add more lemon zest if you really want the flavor to pop.
HOLLY'S CHEAT DAY https://www.hollyscheatday.com/

Filed Under: All Recipes, Bars/Brownies

REPOST-Mini Earl Grey Tea Cookie Cups

May 18, 2018 By Holly

So y’all know that this had to happen right? Another re-post of another British-esque food, for the Royal wedding obvi,  and it just so happens to be one of my absolute favorite creations ever.  These little gems are also some of my family’s favorite too, so much so that the last time I made them, they were consumed so quickly that I had to make a whole new batch that day, that’s how good these are :-D.  I hope y’all will also be up super early tomorrow morning to see the dress, umm, I mean watch the wedding haha.  Have a fantastic weekend and thank you so much for stopping by!

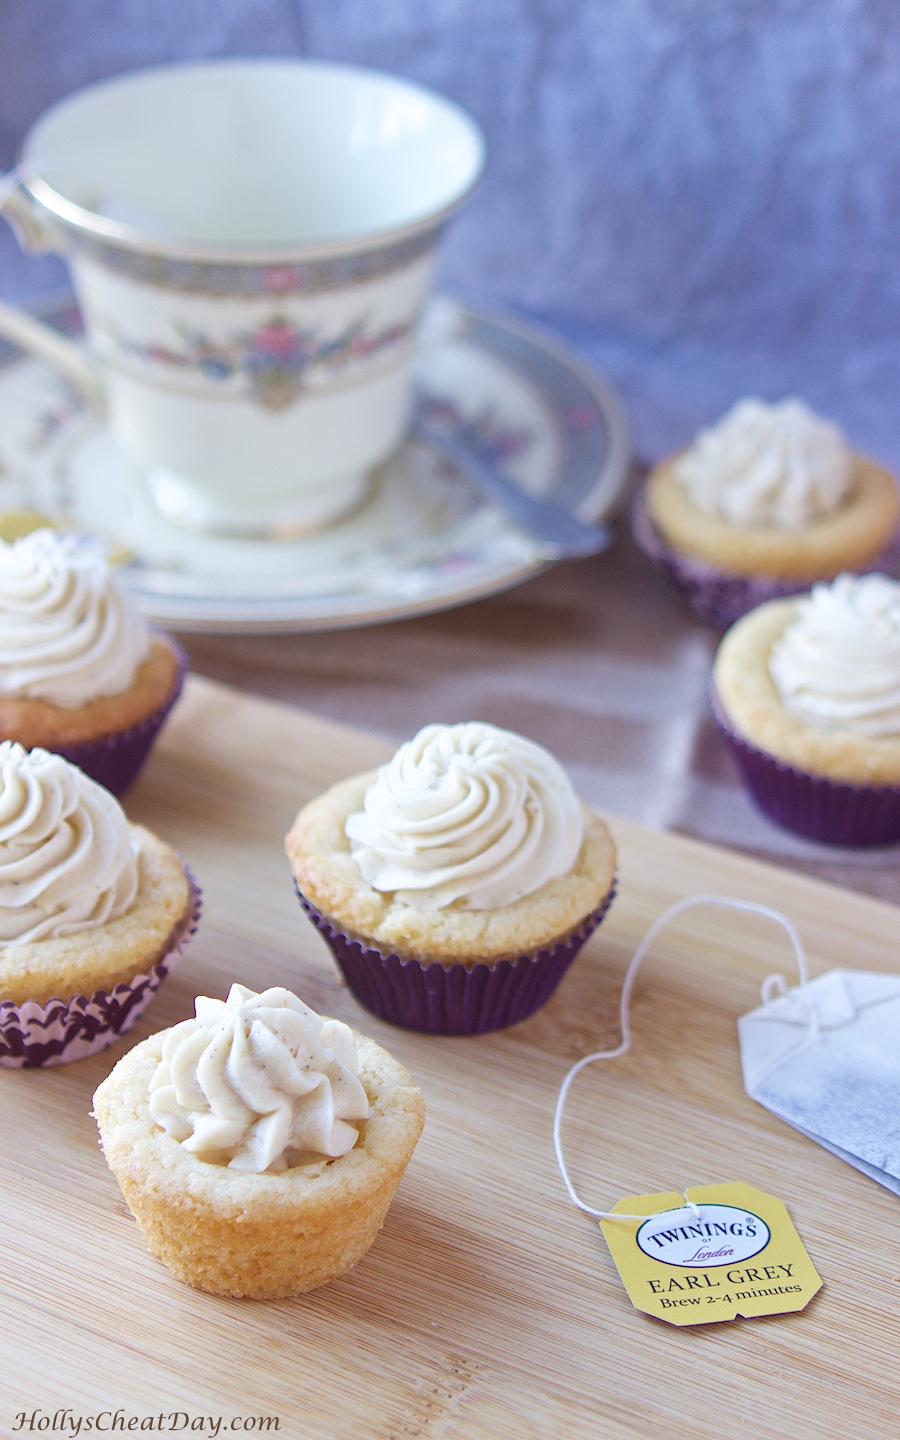
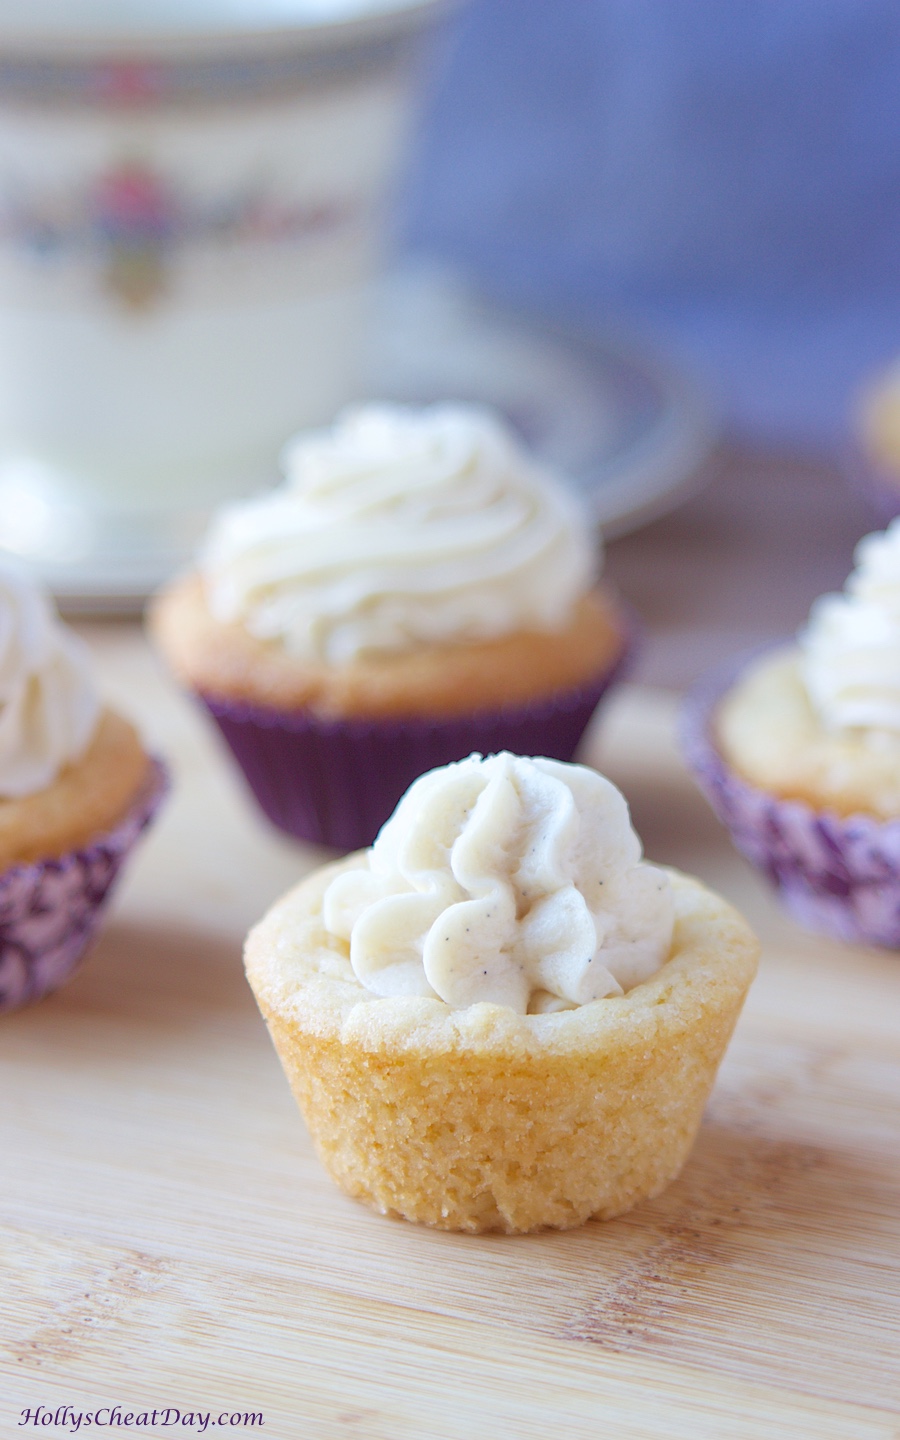
Sometimes culinary ideas just pop into my head,  and sometimes they turn out to be blah, but ladies and gentlemen, this is not one of those times.  I have to preface this with a confession that I have a serious tea obsession I’m so wild and crazy aren’t I? and a life goal is to go to a real, honest to goodness tea house in London.  Scones, crumpets, clotted cream, beautiful men accents, elegant teapots and cups aaahh, sounds lovely.  Anyways,  I have wanted to combine my baking and tea obsessions together for a while and I sooo did y’all.  These are perfect mini sugar cookie cups filled with the most amazing whipped frosting brimming with Earl Grey Tea and vanilla bean… y’all these are eye-rollingly good, everyone in  my family absolutely loved these and they were devoured gone within hours.  These are extremely unique pats self on back but more importantly, amazingly delicious and perfectly bite sized.  I would also like to think that they would be perfect at any afternoon tea, cheers!  πŸ˜‰

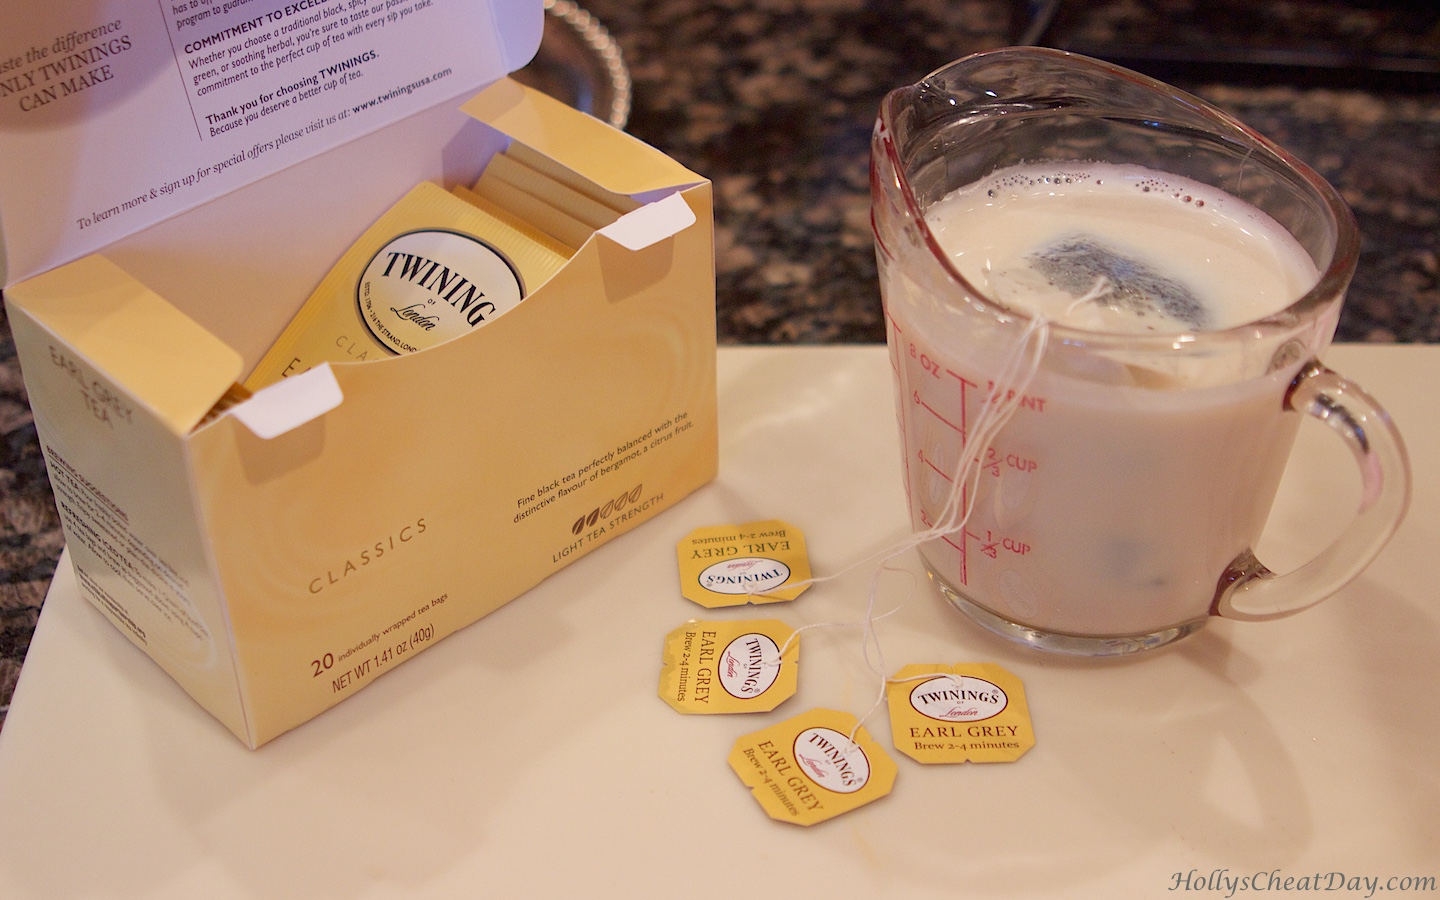
tea-and-cookie-cups| HollysCheatDay.comFirst, steep your tea in your warmed milk…

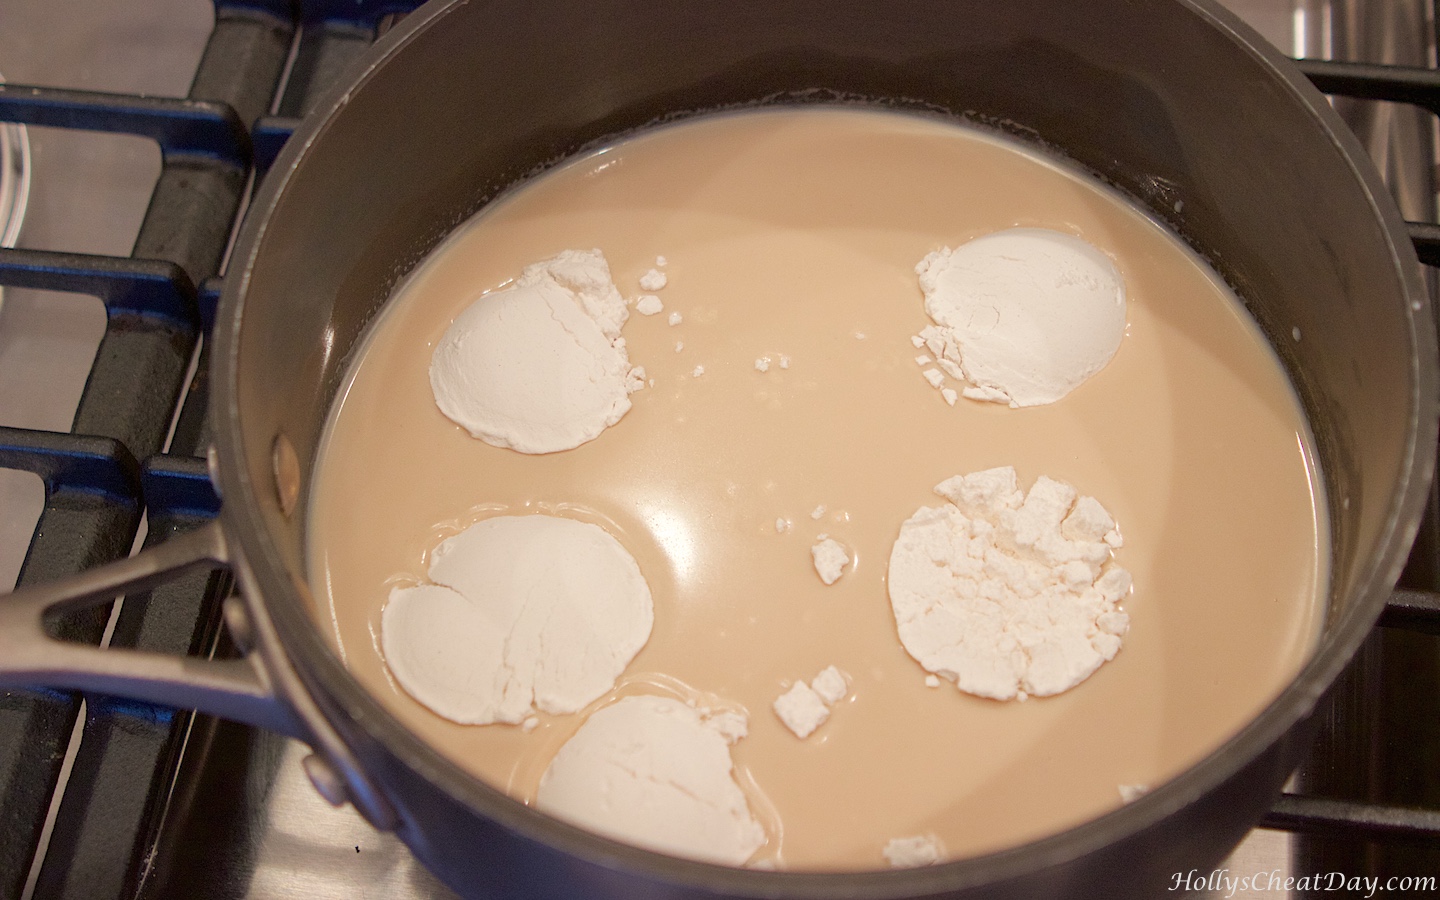
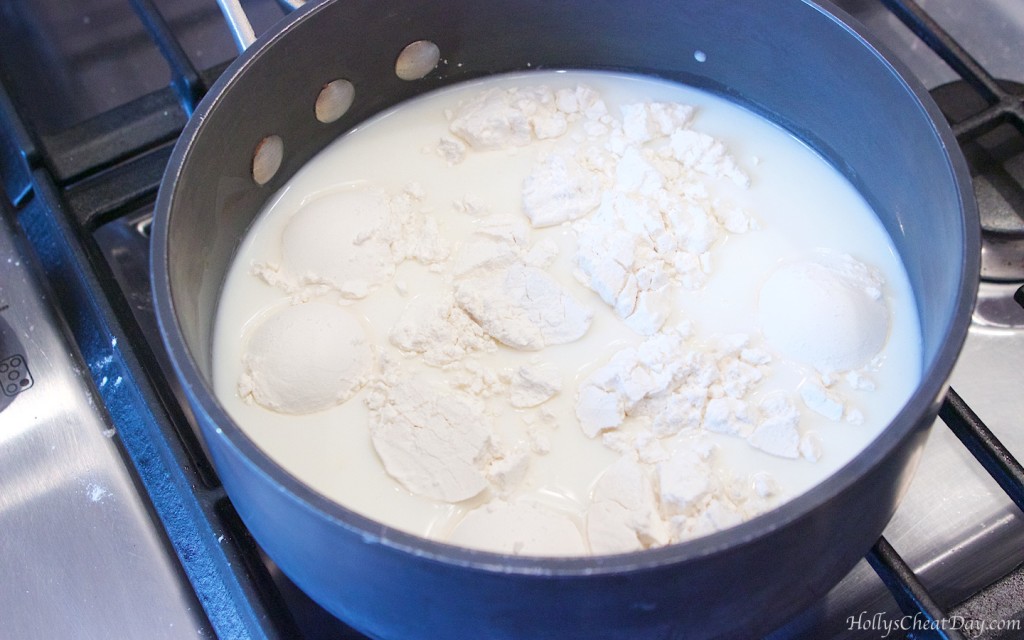
tea-and-cookie-cups| HollysCheatDay.comIn a saucepan place your tea milk and flour…

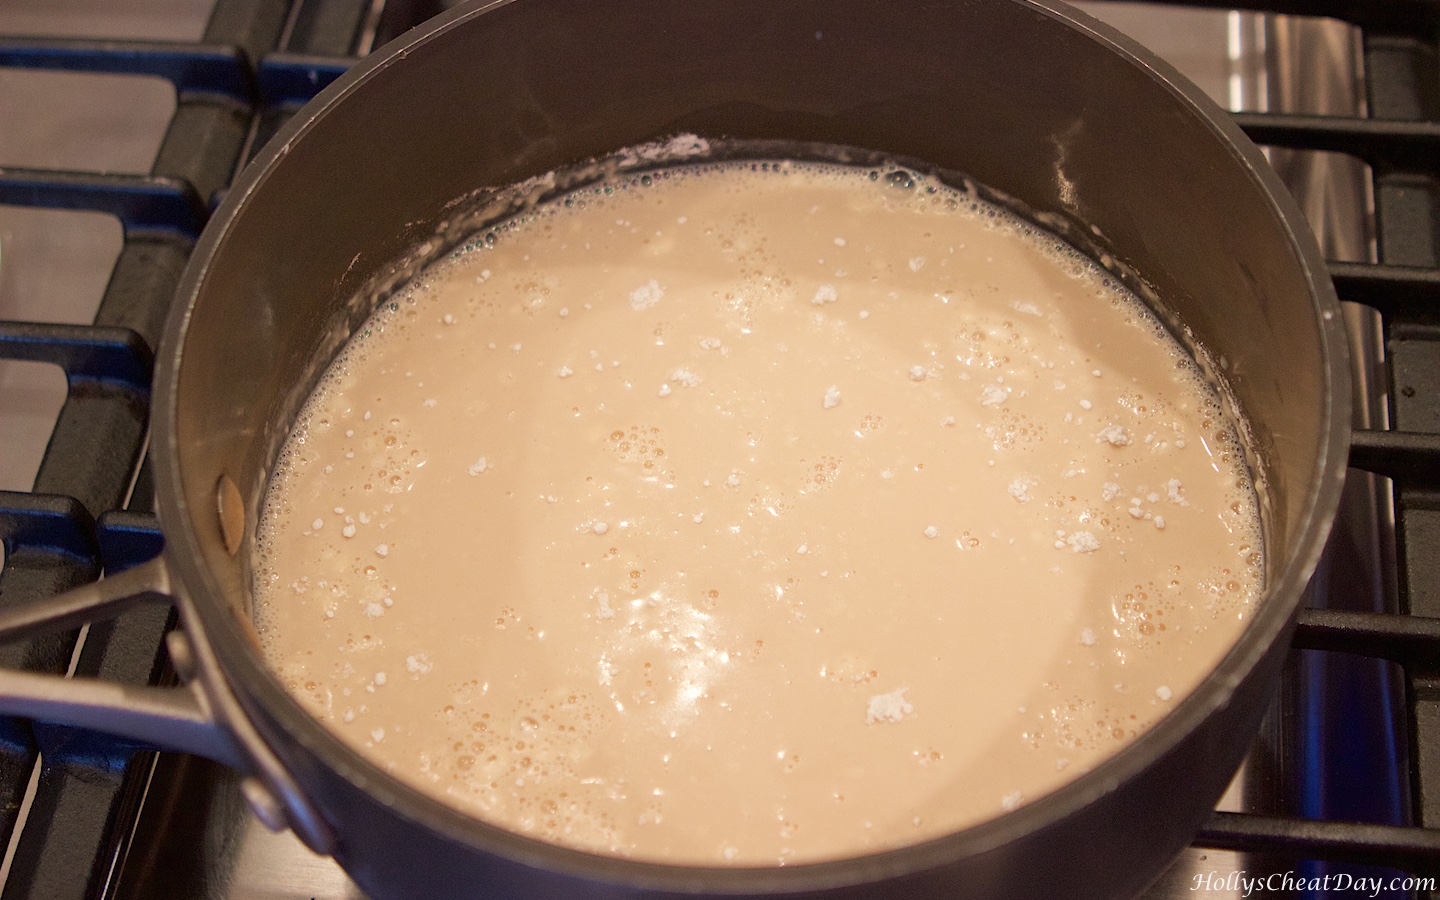
tea-and-cookie-cups | HollysCheatDay.comMix it up while heating…

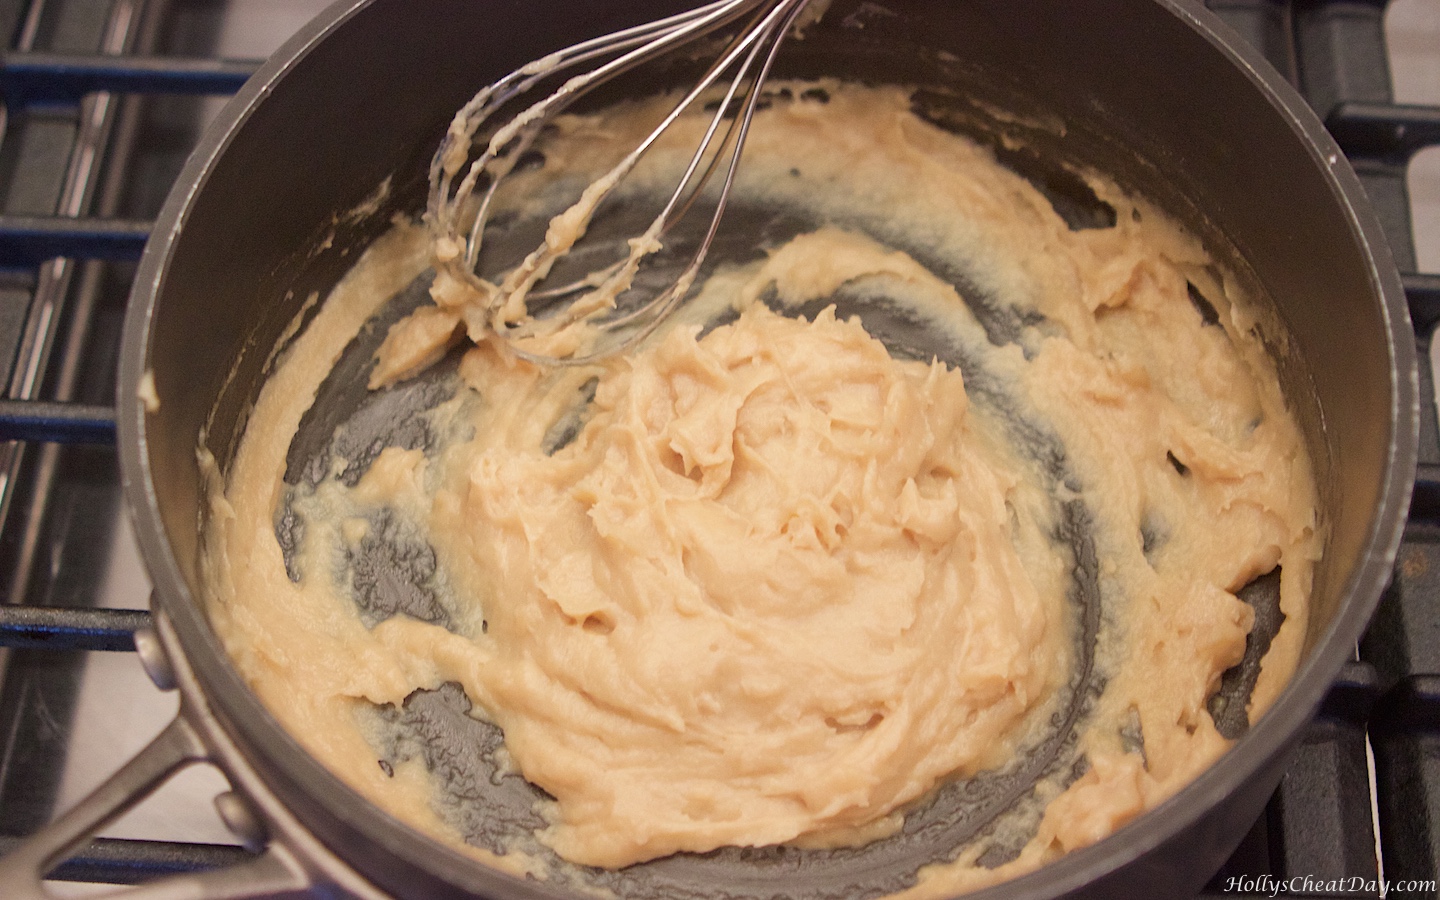
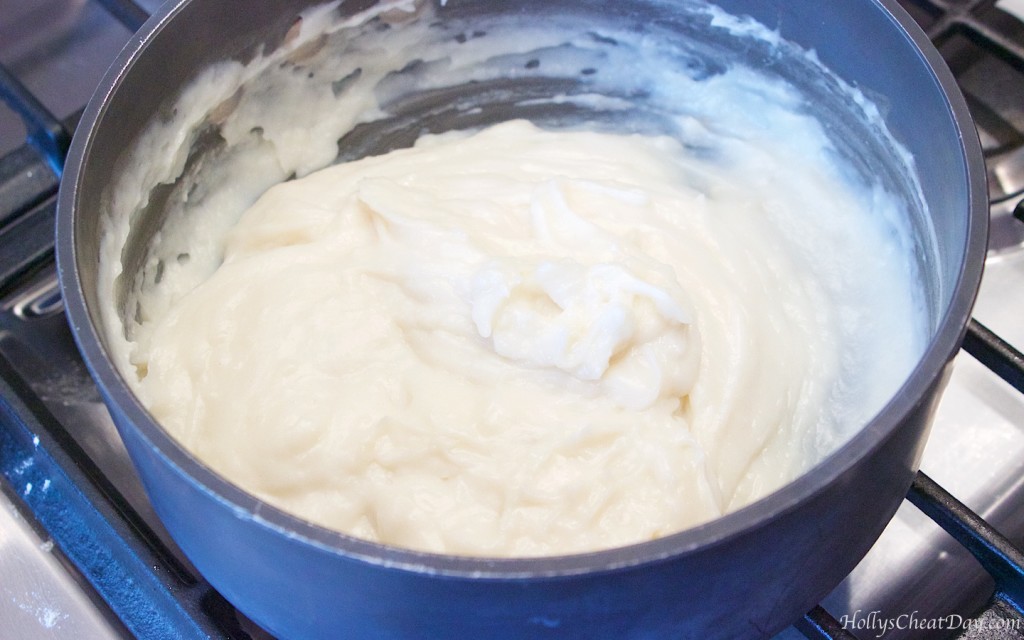
tea-and-cookie-cups | HollysCheatDay.comRemove from heat when it reaches this texture…

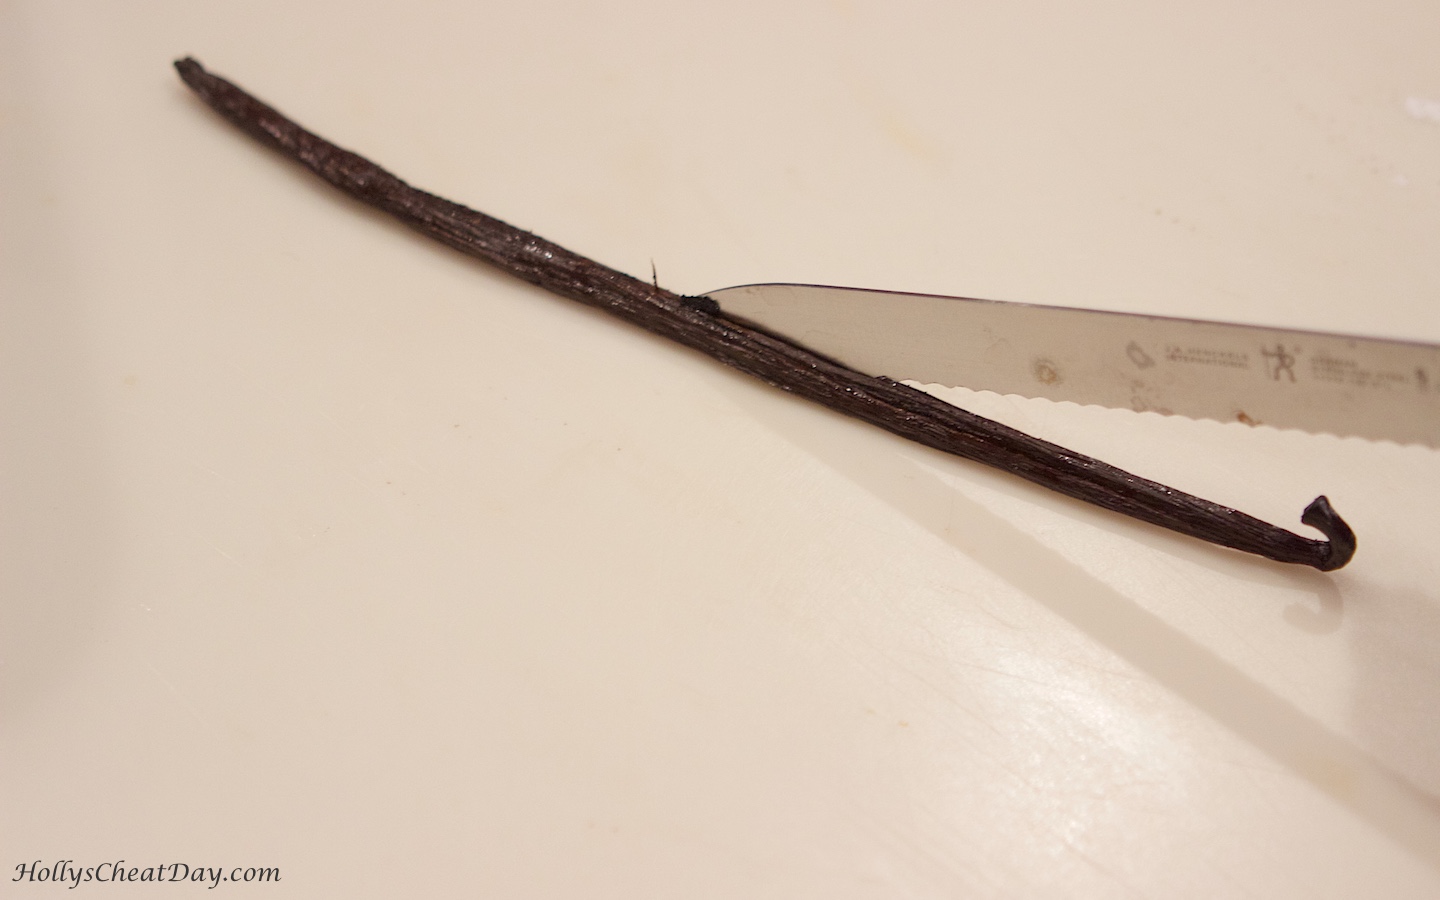
tea-and-cookie-cups | HollysCheatDay.comCut your vanilla bean down the center…

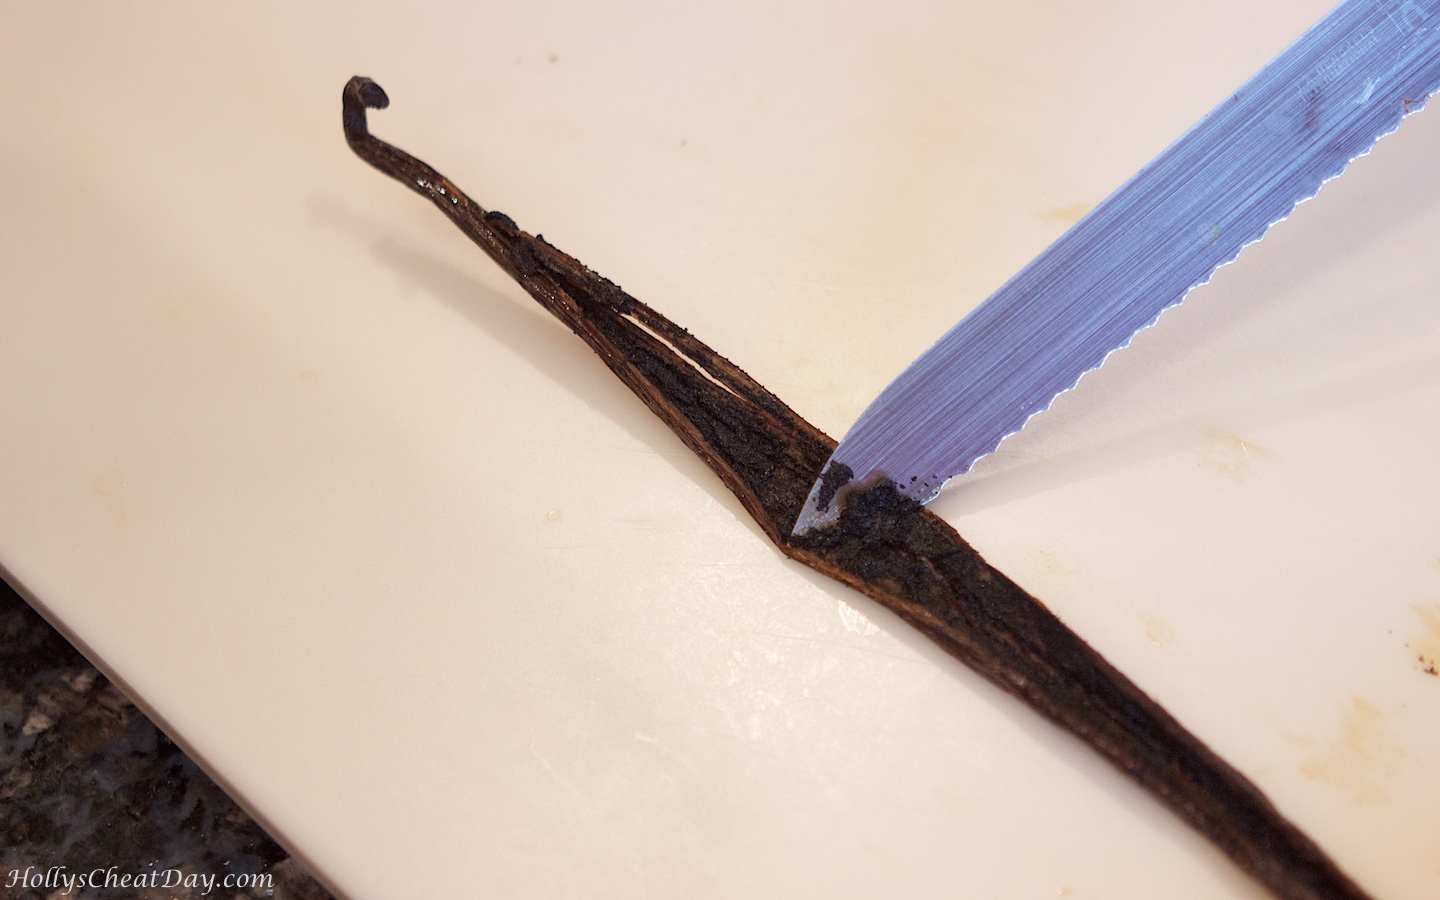
tea-and-cookie-cups | HollysCheatDay.comScrape out all of that goodness and mix into your milk/flour mixture..

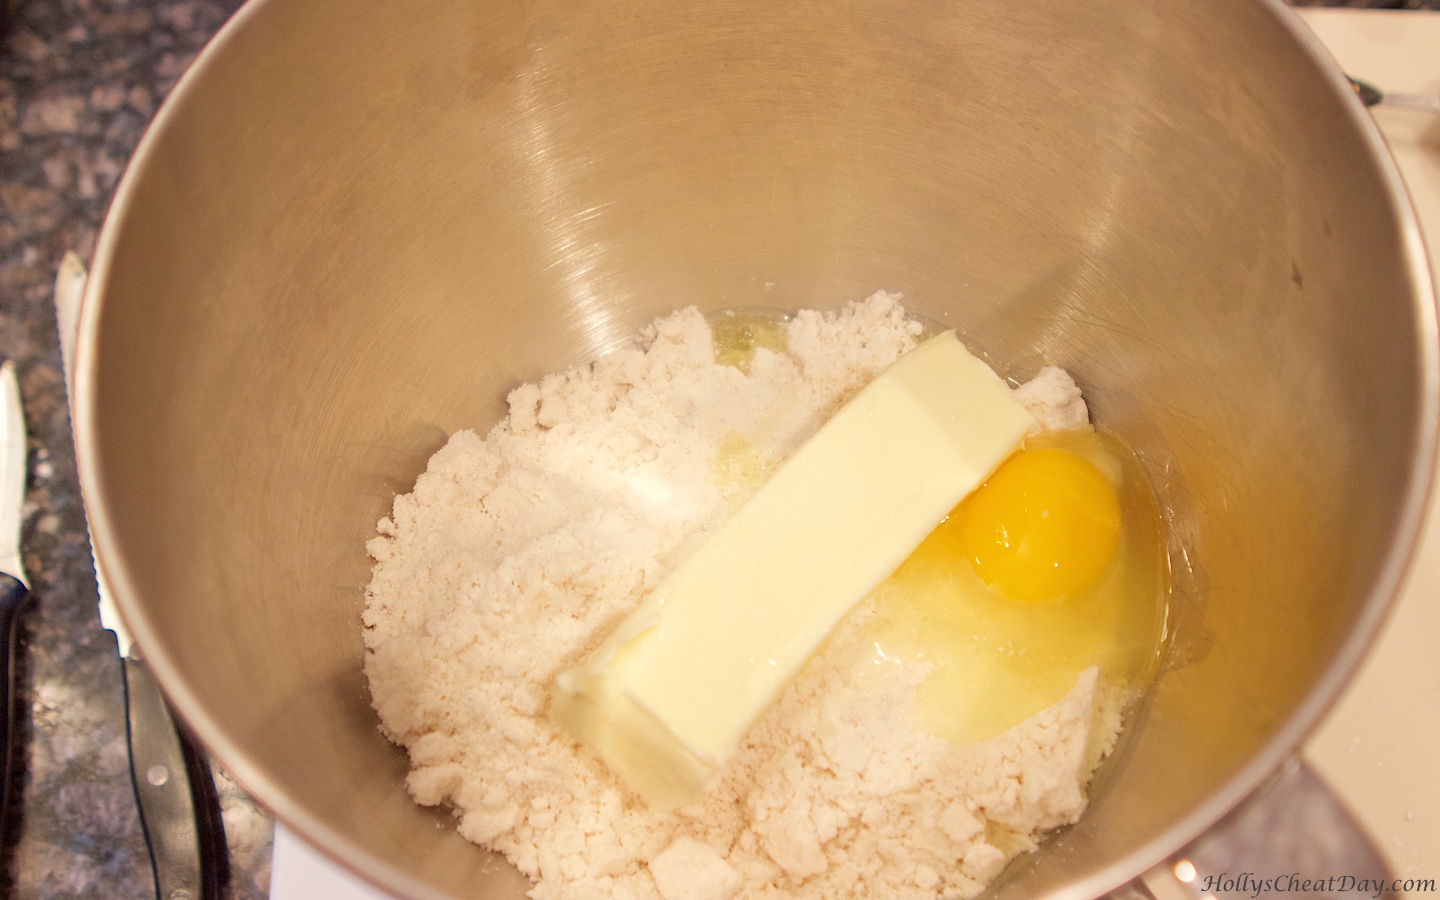
tea-and-cookie-cups| HollysCheatDay.comPlace your cookie mix, butter and egg into your bowl…

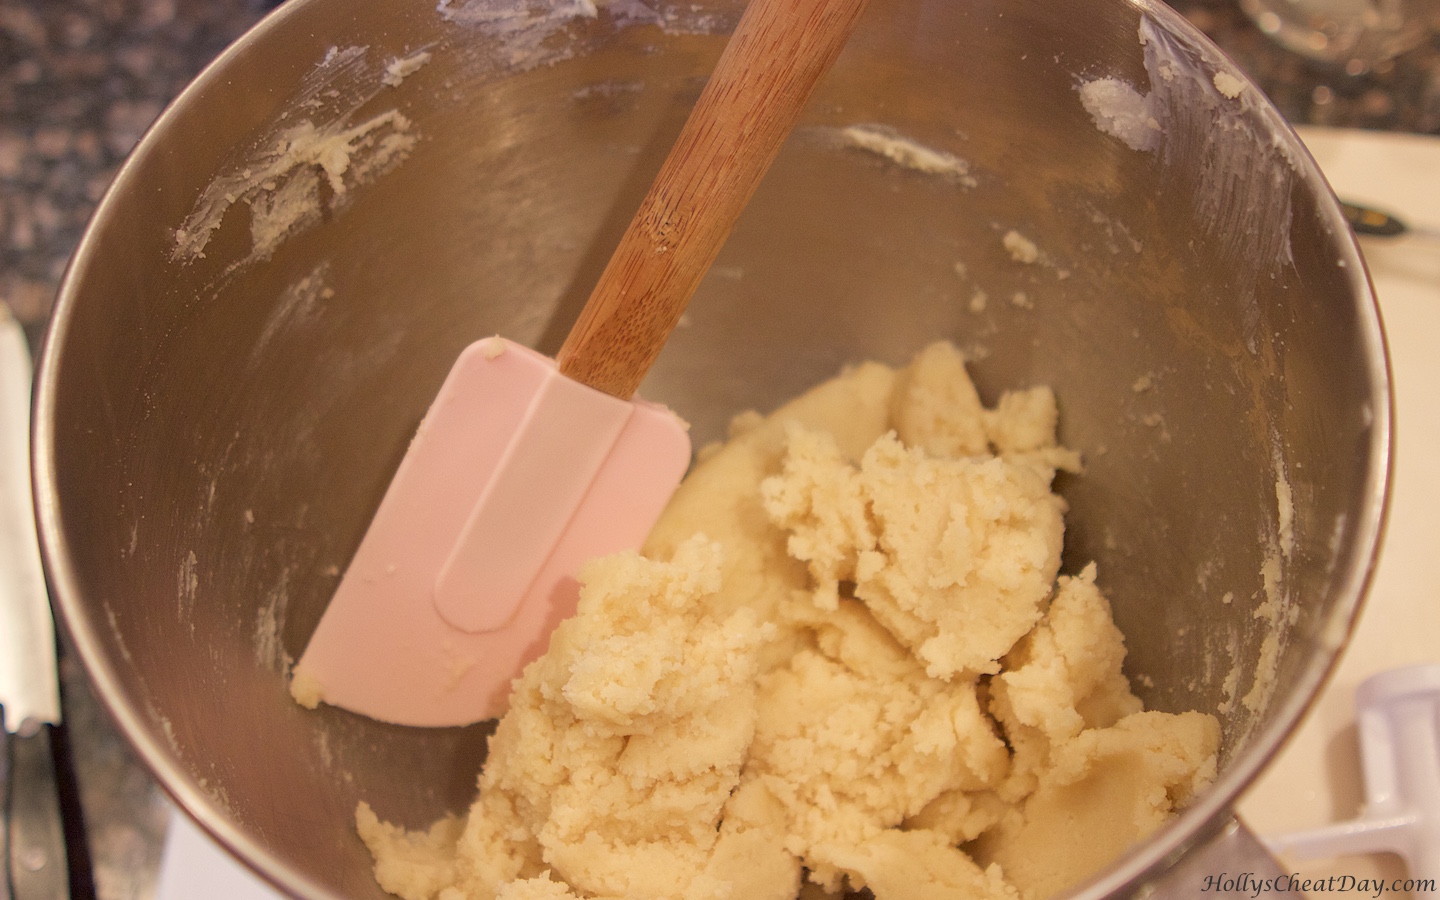
tea-and-cookie-cups | HollysCheatDay.comMix it up until you get your dough…

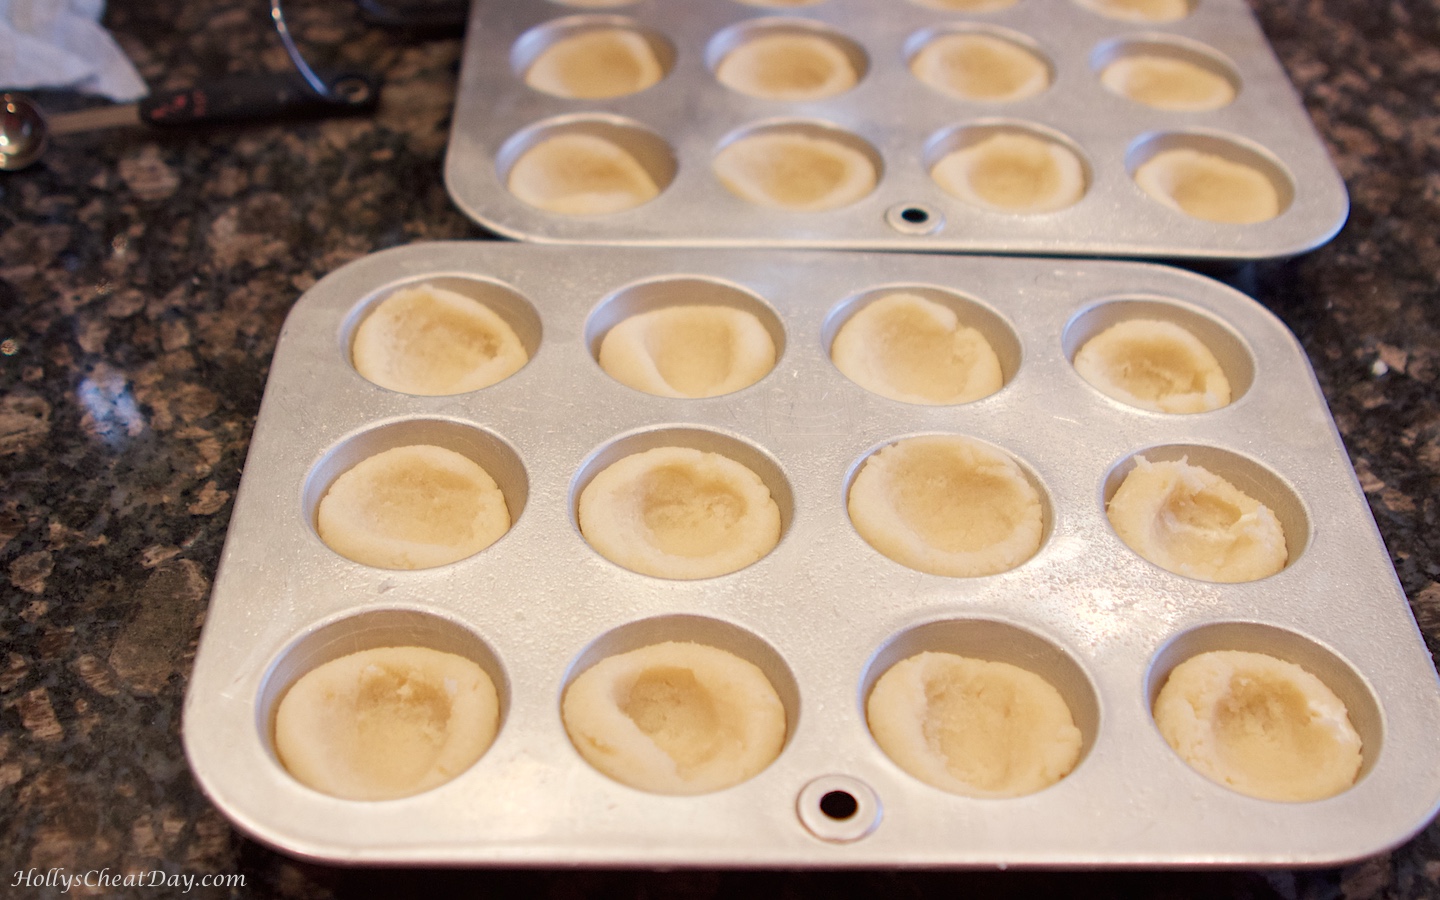
tea-and-cookie-cups| HollysCheatDay.comPlace in your mini muffin tins, pressing in the middle and up the sides…

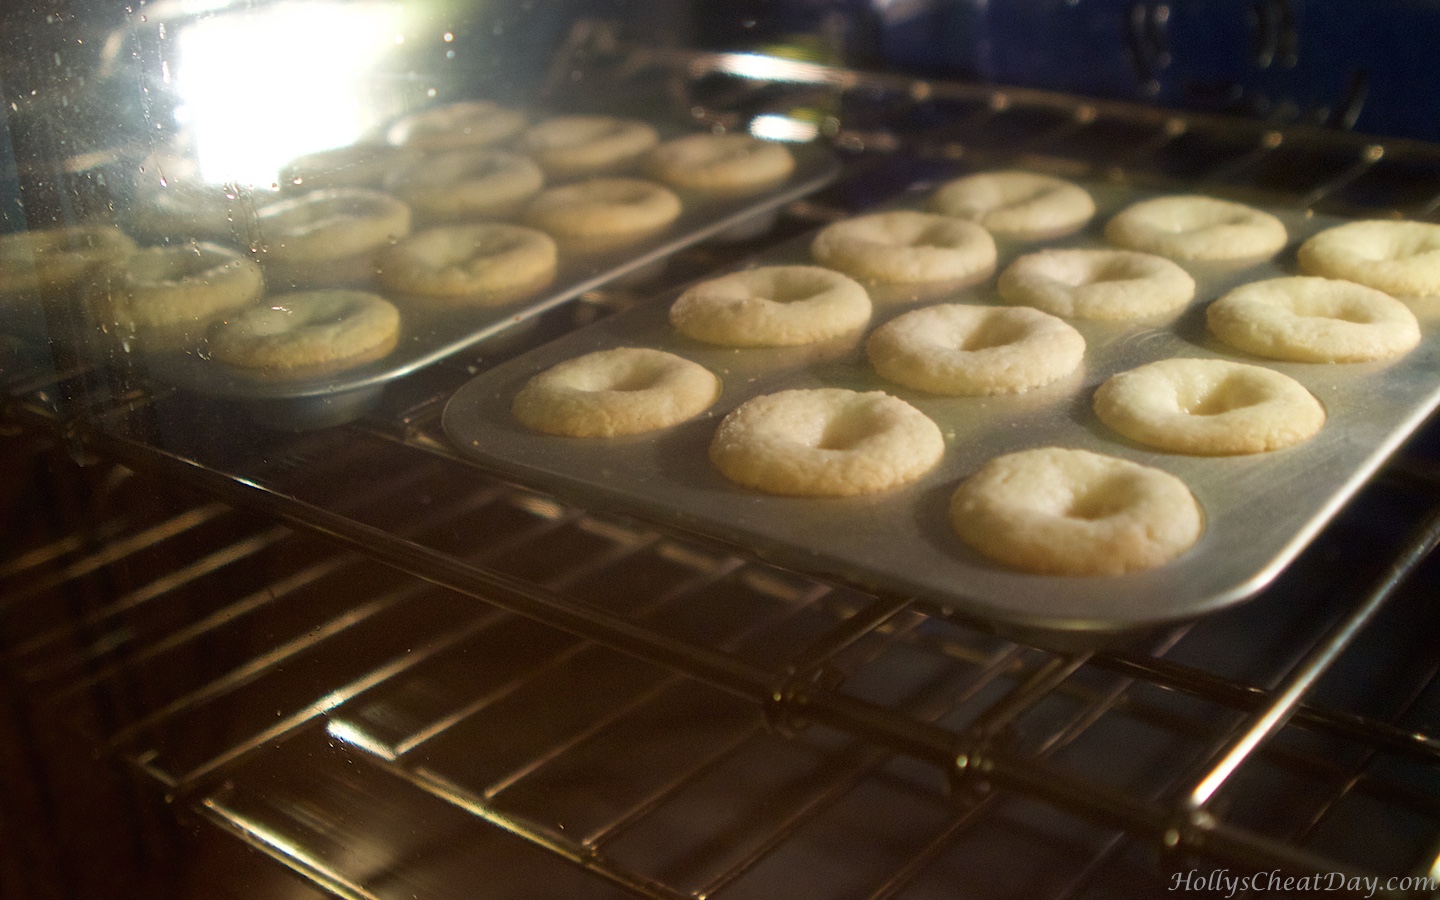
tea-and-cookie-cups| HollysCheatDay.comBake them up…

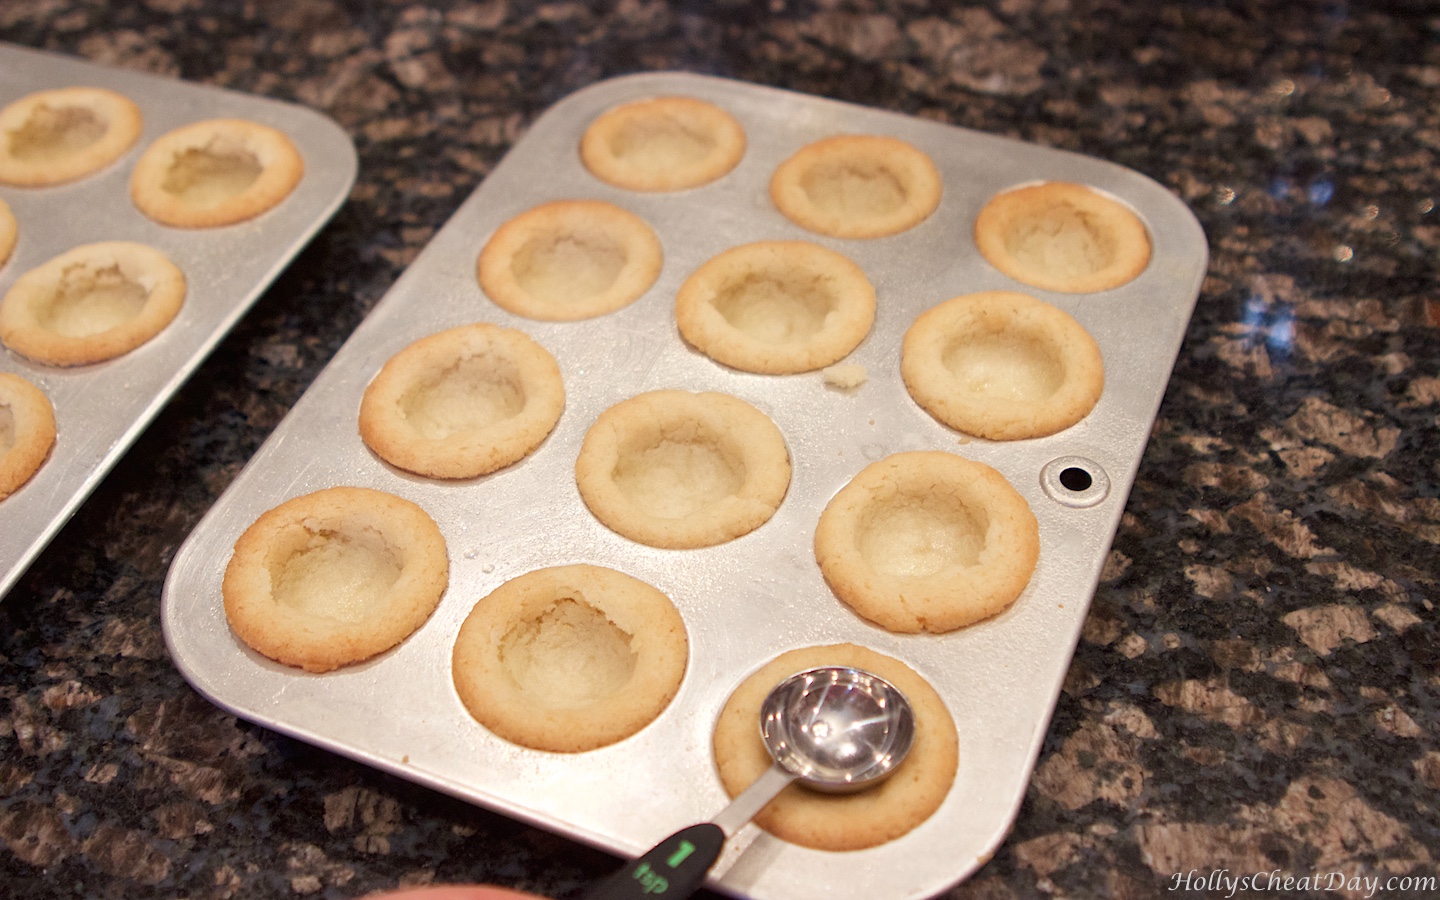
tea-and-cookie-cups| HollysCheatDay.comWhile they are still warm press them with your teaspoon…

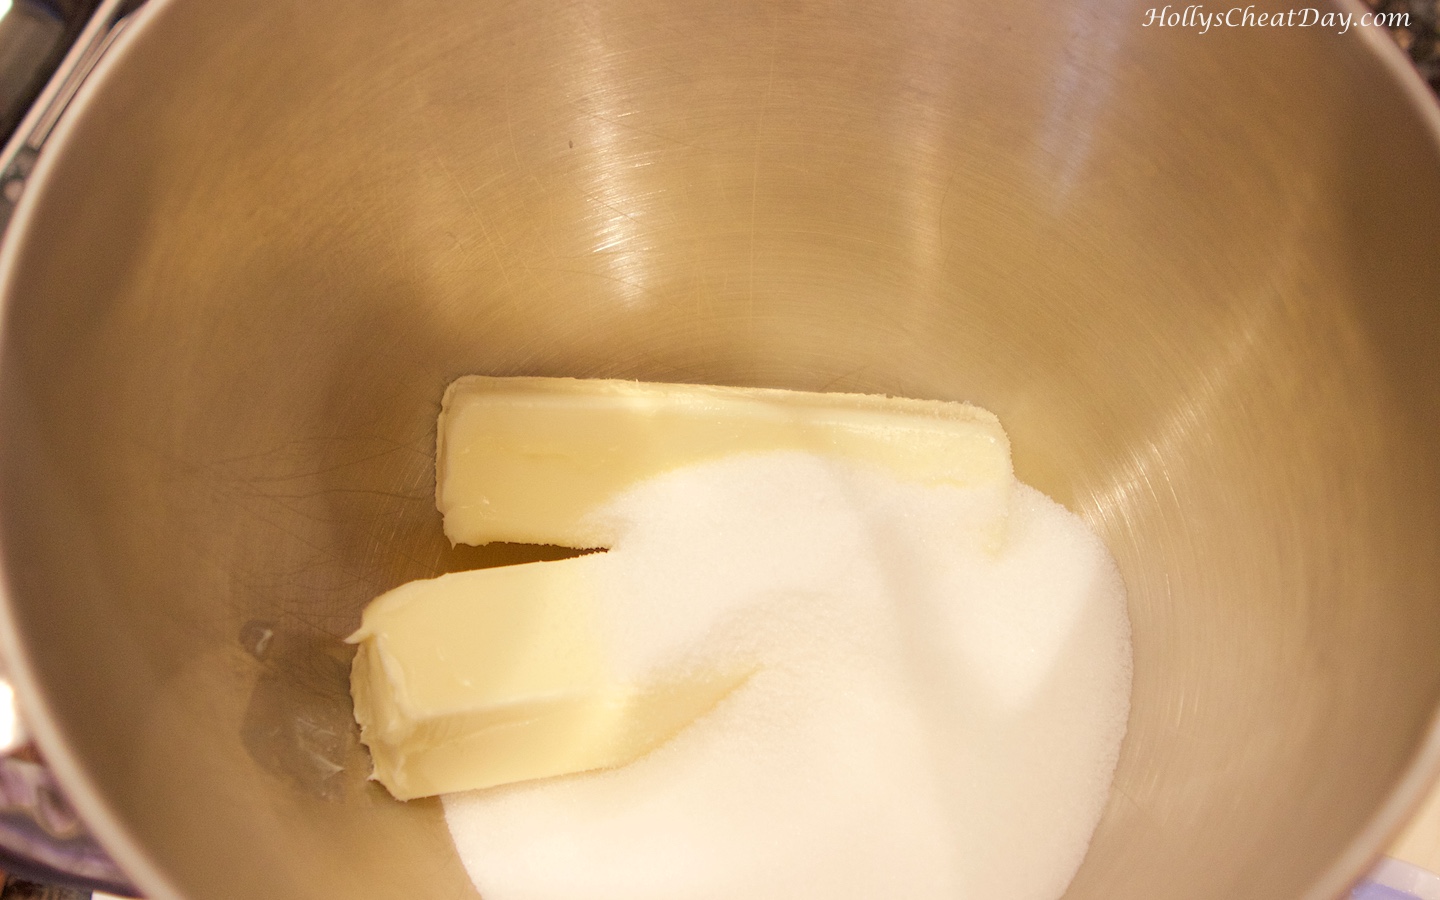
tea-and-cookie-cups | HollysCheatDay.comAfter your milk/flour mixture has cooled, take your butter and sugar…

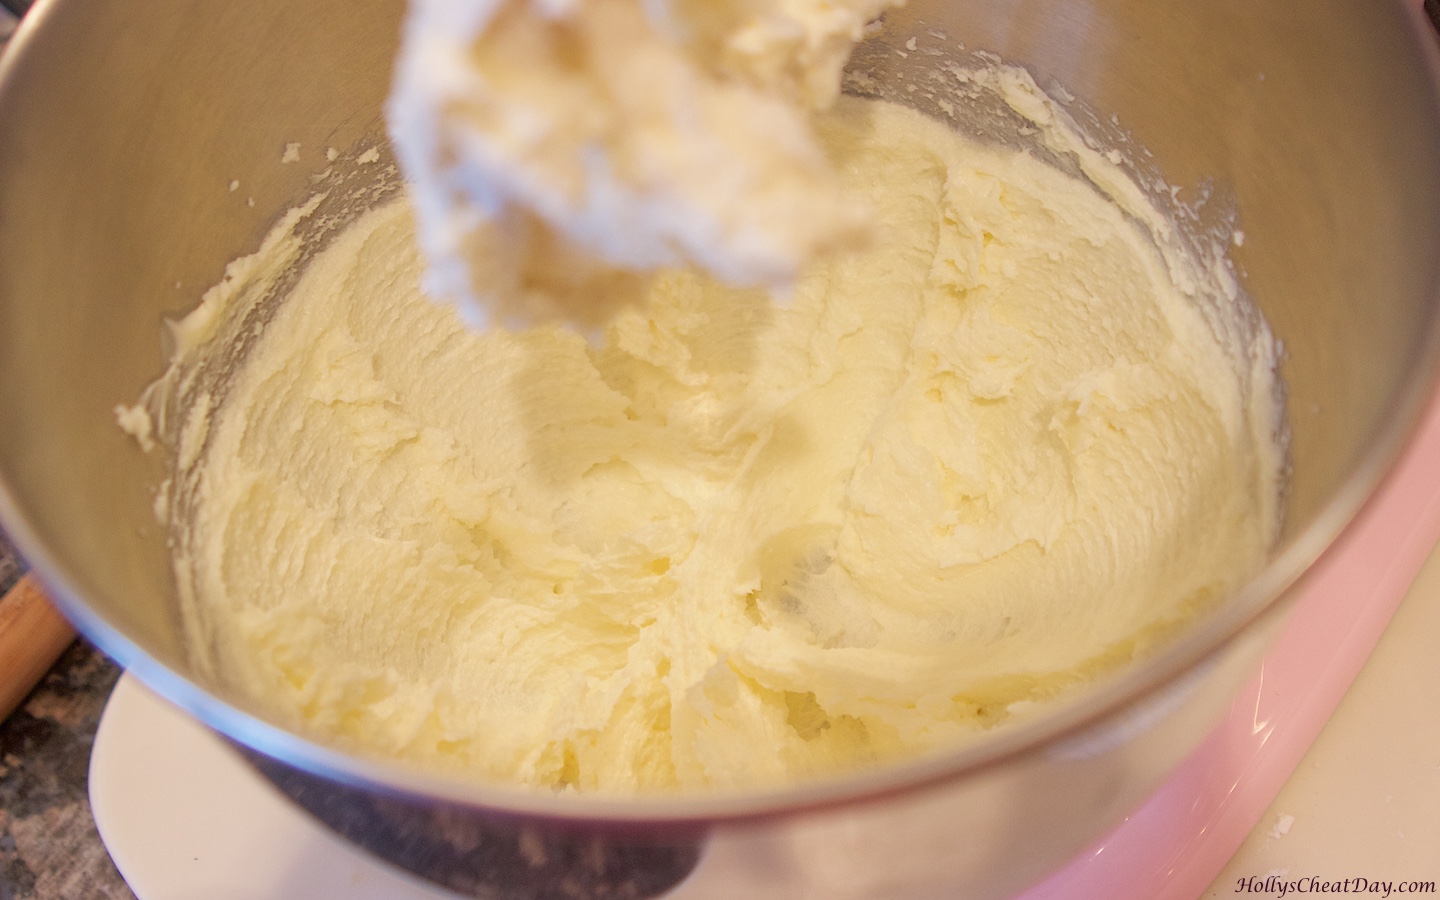
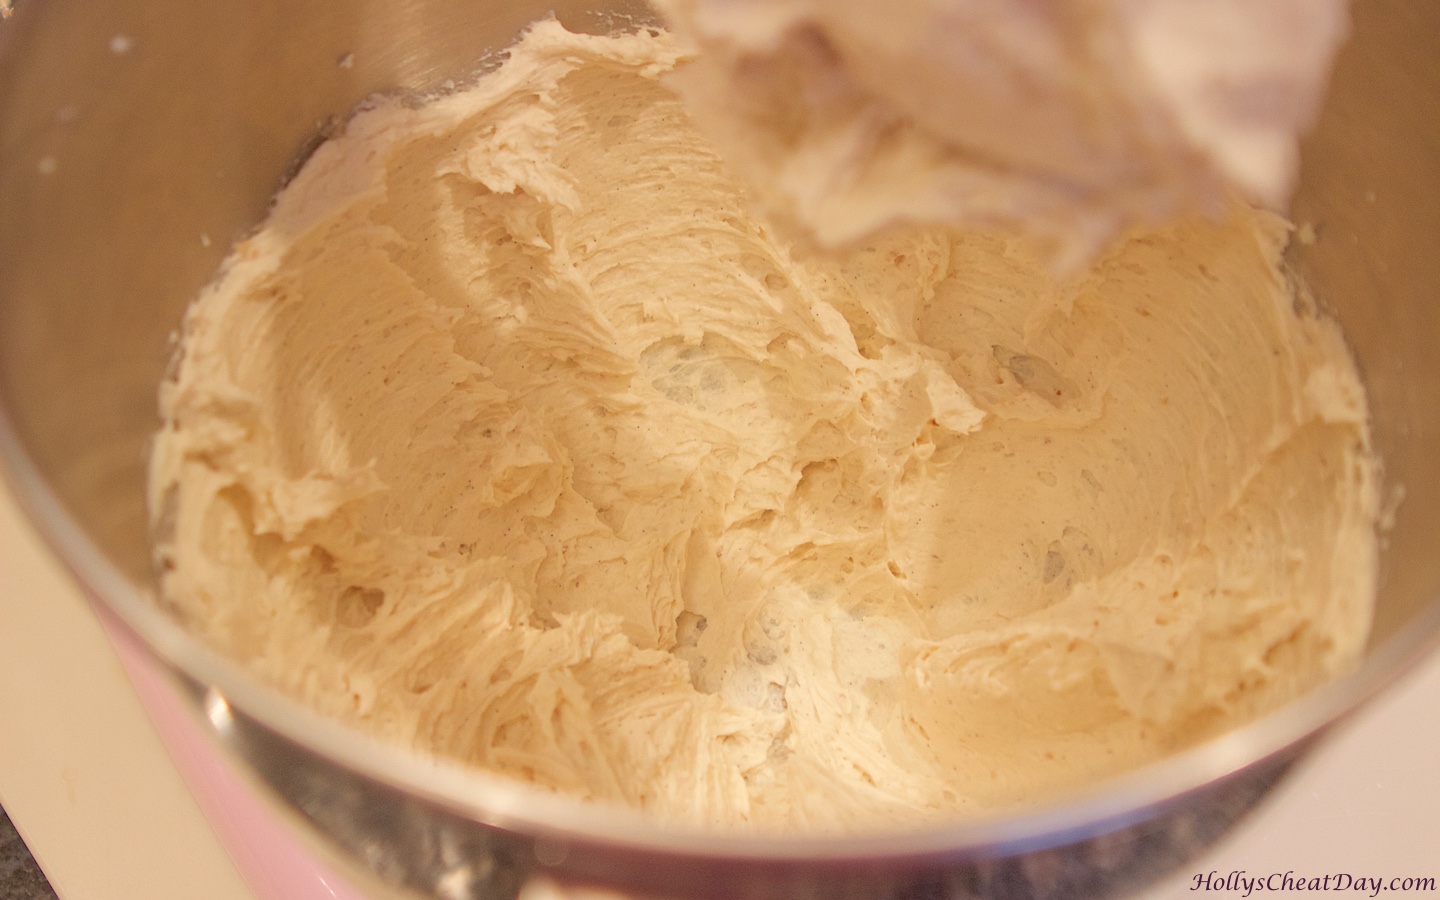
tea-and-cookie-cups| HollysCheatDay.comMix together until light and fluffy…

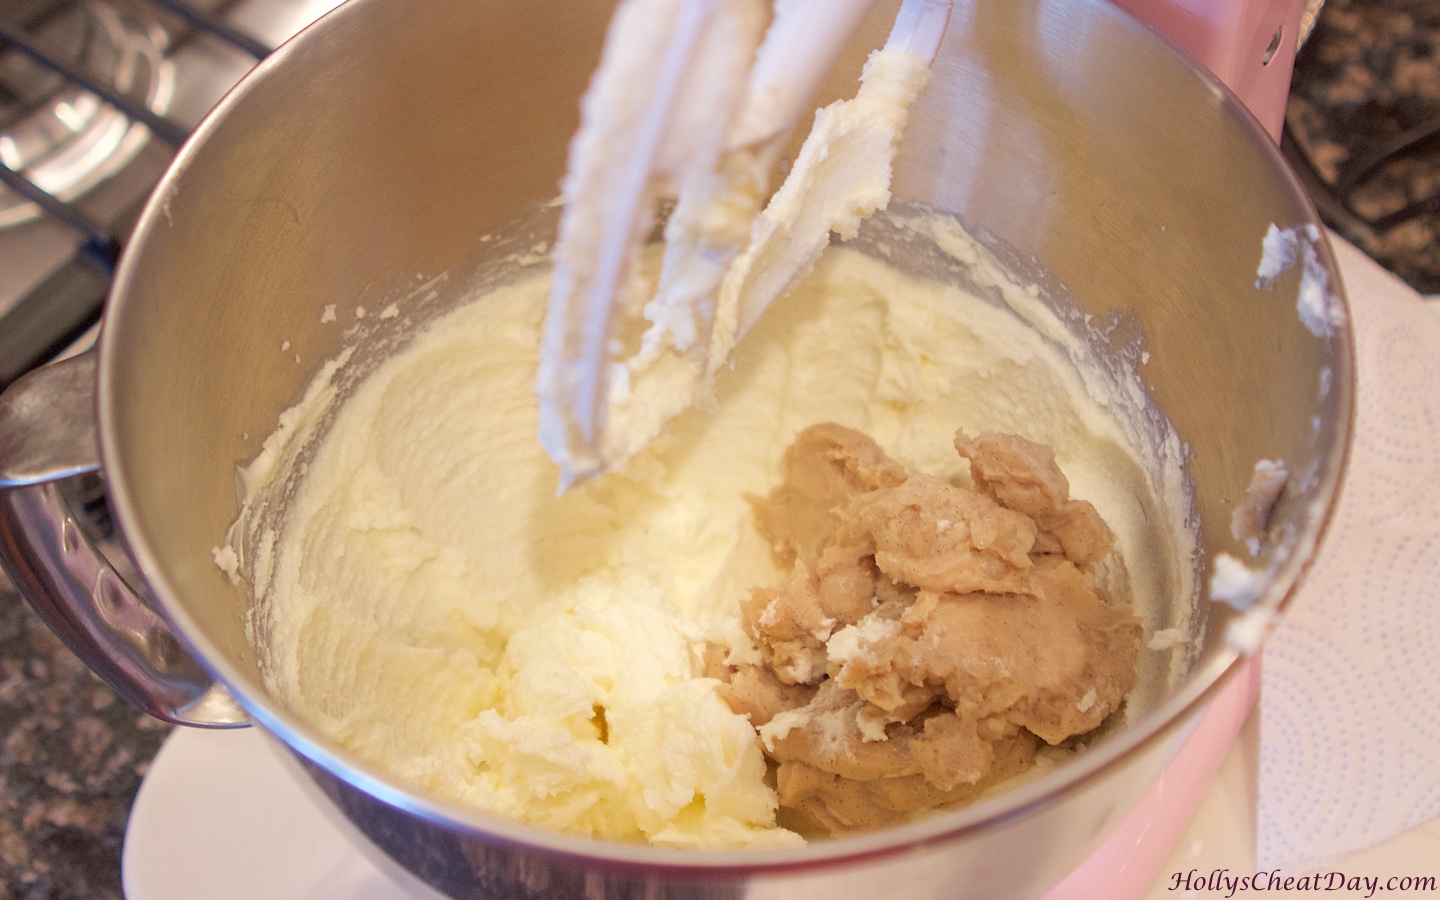
tea-and-cookie-cups | HollysCheatDay.comAdd your milk/flour mixture in…

tea-and-cookie-cups| HollysCheatDay.comThen mix, mix and mix…

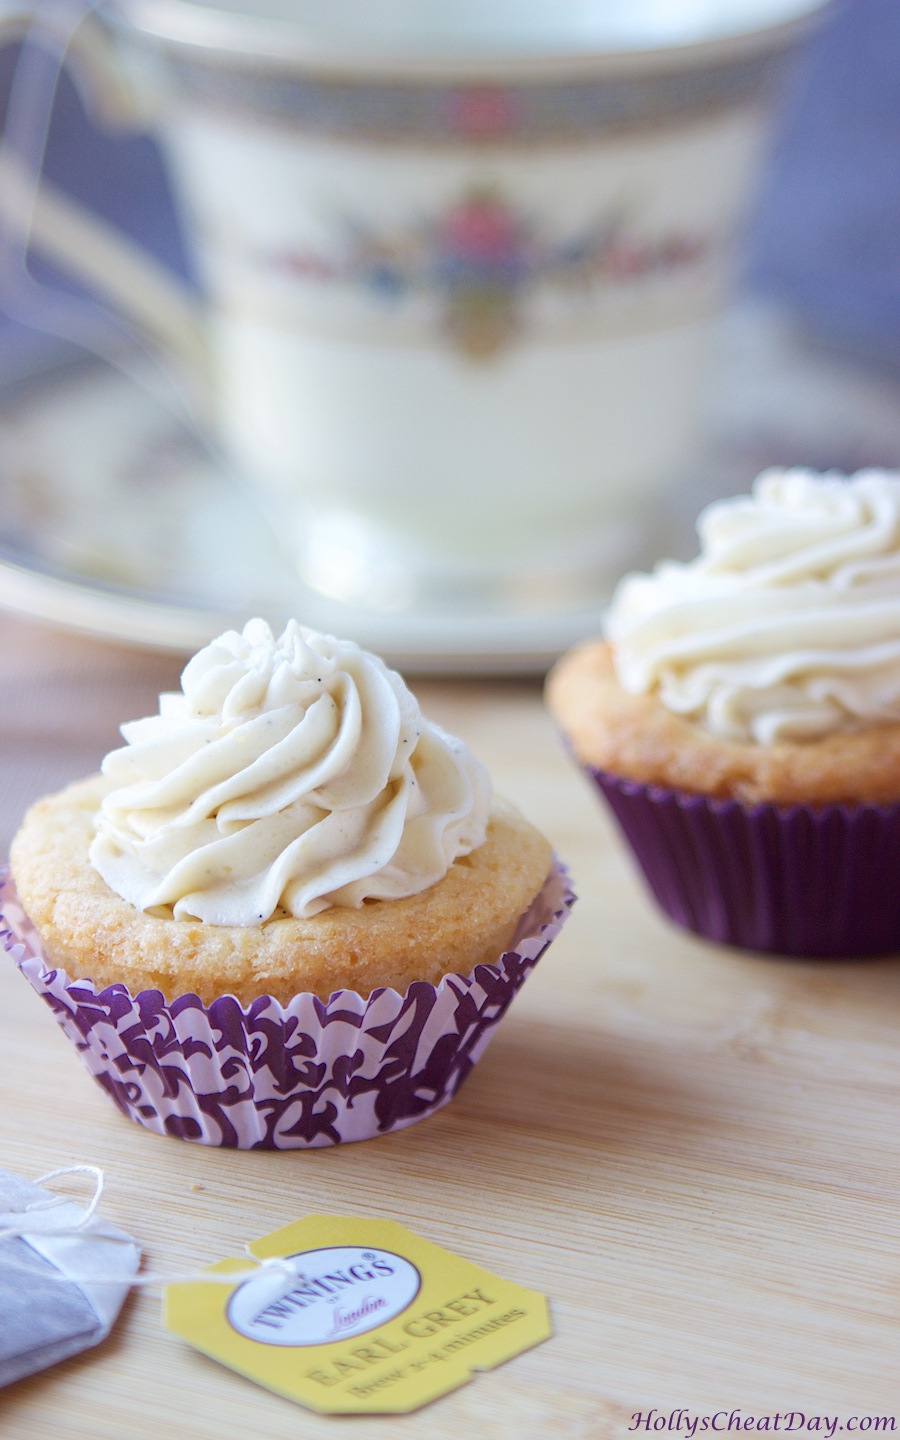
tea-and-cookie-cups | HollysCheatDay.comThen pipe your frosting and enjoy!!

tea-and-cookie-cups | HollysCheatDay.comSo good…

tea-and-cookie-cups | HollysCheatDay.com

tea-and-cookie-cups| HollysCheatDay.com

Mini Tea and Cookie Cups
2014-12-27 19:06:07
Yields 28
Mini sugar cookie cups filled with Earl Grey Tea infused whipped frosting.
Write a review
Save Recipe
Print
FOR THE COOKIE CUPS
  1. Sugar Cookie Mix (I Used The Betty Crocker 17.5 Ounce Bag).
  2. 1 Stick of Butter, Softened.
  3. 1 Egg
FOR THE FROSTING FILLING
  1. 1 Cup of Milk, Warmed.
  2. 4 Twinings Earl Grey Tea Bags.
  3. 5 Tablespoons of All Purpose Flour.
  4. 1 Vanilla Bean (or 1 Tablespoon of Vanilla Extract).
  5. 1 Cup of Granulated Sugar
  6. 1 Cup (2 Sticks) of Butter, ***Room Temperature.
THE FROSTING FILLING
  1. Warm your milk slightly in the microwave and steep your tea bags in the milk for at least 10 minutes.
  2. In a saucepan place your earl grey tea infused milk along with the flour, and on medium heat continuously stir your milk and flour together until it becomes the consistency of thin mashed potatoes and remove from heat.
  3. Place your scraped vanilla bean or vanilla extract into your flour/milk mixture and stir until well combined.
  4. You must let this mixture come to room temperature or it will not whip properly later, for reals, you have to :-).
  5. Once this mixture has cooled, in a bowl with a handheld or stand mixer with paddle attachment whip your butter and sugar together until super light and fluffy.
  6. Now add your flour/milk mixture and whip, whip, whip together until it has the consistency of whipped cream, it is not done until it looks like whipped cream.
THE SUGAR COOKIE CUPS
  1. Preheat your oven to 375 degrees F.
  2. In a bowl with a handheld or stand mixer with paddle attachment place your sugar cookie mix, softened butter, egg and mix until the dough comes together.
  3. Using Baker's Spray, spray your mini muffin pans.
  4. Roll your dough into 1" balls and place into the pans, pressing the dough down with your finger to form a crevice and push slightly up the sides.
  5. Bake them for 8 minutes, and while still warm, with a 1 teaspoon sized measuring spoon press the cups down to form perfect cup holes.
  6. Let cool completely and remove your cups and pipe in your frosting.
Notes
  1. ***Your butter really must be room temperature for it to whip properly, don't microwave it either to speed up the process.
  2. If you are an overachiever or feeling quite grand you could totally make your own favorite sugar cookie dough, but the cookie mix I used was easy and delicious, and did I mention easy?
  3. To pipe the frosting I used a Wilton disposable bag and the Wilton 22 tip.
By Holly
HOLLY'S CHEAT DAY https://www.hollyscheatday.com/

Filed Under: All Recipes, Cookies

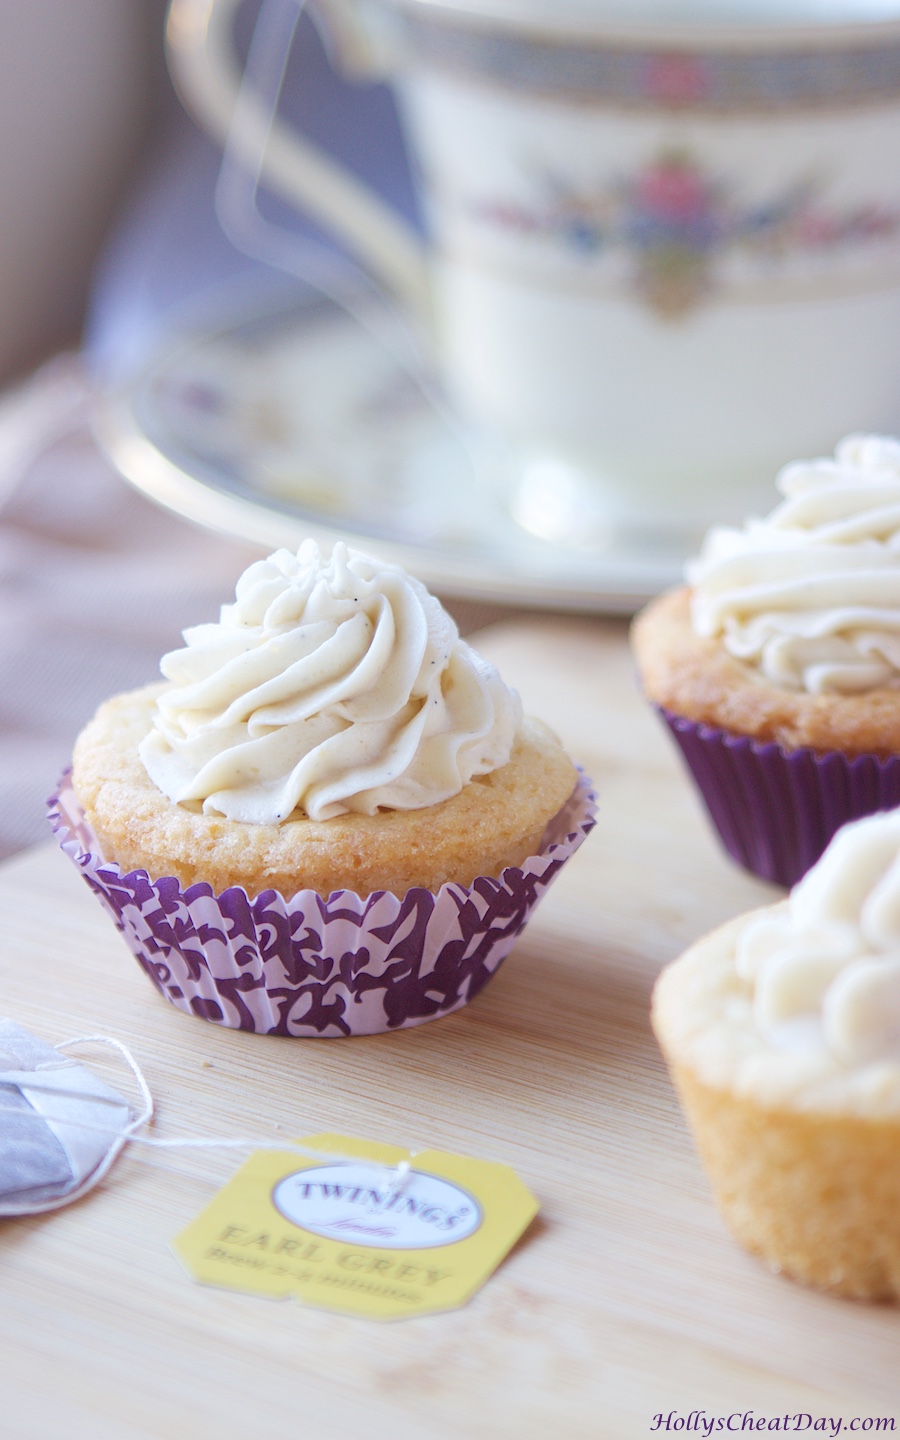
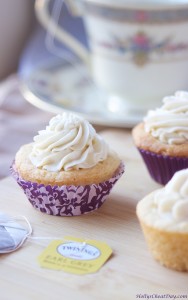
REPOST–Earl Grey Tea and Cookie Cupcakes

May 16, 2018 By Holly

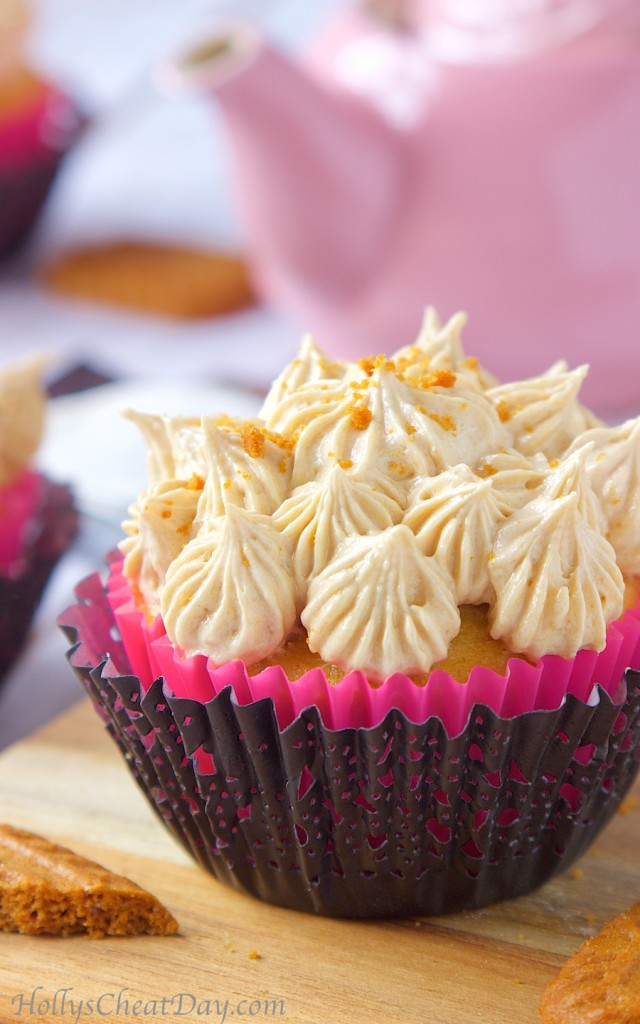
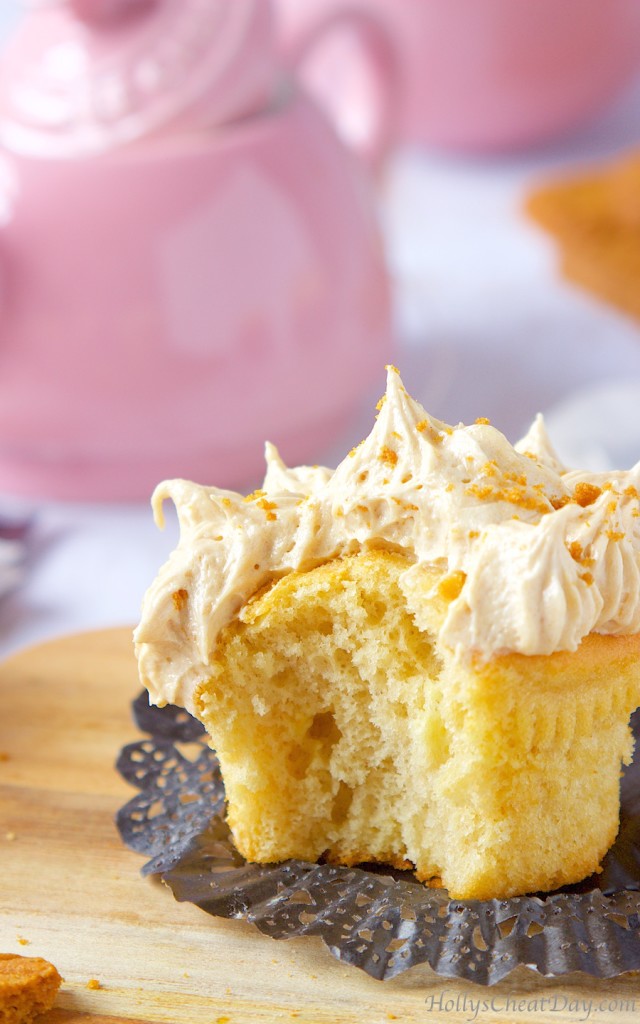
With the upcoming nuptials of Prince Harry and Meghan Markle this weekend, I thought it would be appropriate to share these wonderful Earl Grey Tea and Cookie Cupcakes.  Will I be waking up early on Saturday to watch? You dang right I will! I totally got my love of all things British and the British Monarchy from my mom, so I really have no choice in the matter, especially since my invitation was apparently lost in the mail.  Just FYI, this frosting is where it’s at.  It’s a delectable whipped frosting filled with Biscoff Cookie Butter, drrooool, so y’all need to get on making some of this πŸ˜€  Thanks so much for stopping by and have a wonderful day!

Happy Wednesday everybody! I seriously have been so excited to share this recipe with y’all, for reals.  It’s probably gonna sound silly,  but when I have a totally awesome idea (or what I think is totally awesome) for a recipe zap into my head & it sooo comes together perfectly and tastes ridiculously good to boot, I can’t wait to share. 

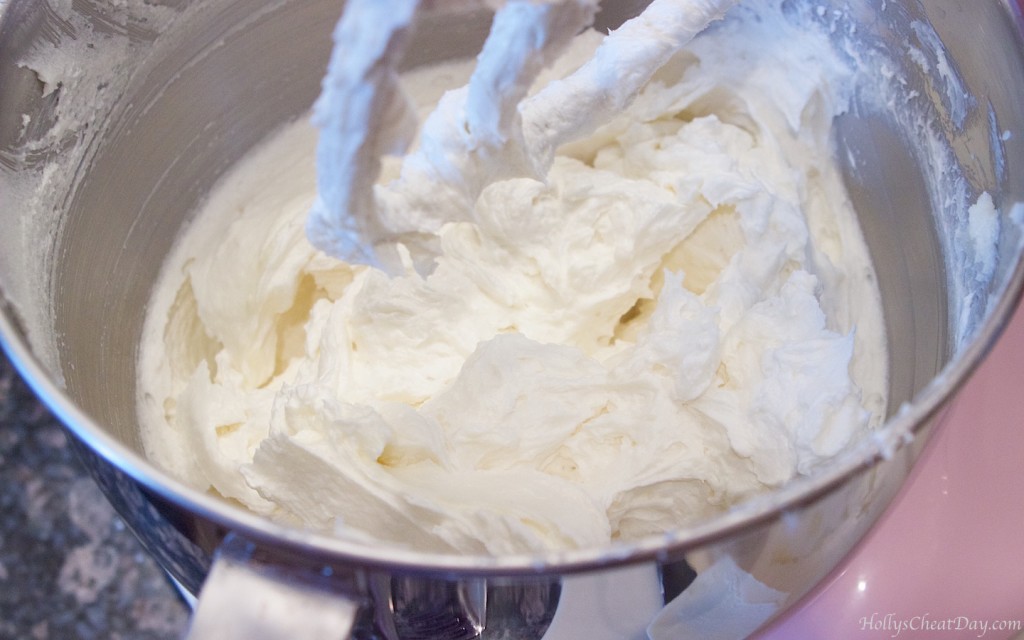
tea-and-cookie-cupcakes| HollysCheatDay.comI knew I wanted to make Earl Grey cupcakes due to my love of the Mini Tea & Cookie Cups that I made a while back, but I hadn’t decided yet what kind of frosting would go best…well, I just happened to be watching an interview with Tom Hiddleston for research, obviously and he mentioned drinking tea with a biscuit (silly Brits, they’re cookies) and that’s when it hit me…biscuit cookie frosting! 

tea-and-cookie-cupcakes| HollysCheatDay.comOh yes, cookie frosting, and it had to be Biscoff cookies because apparently they’re  ‘Europe’s favorite cookie with coffee’ (tea in my opinion haha) and also,  if you’ve ever had Biscoff cookie spread, you’ll totally understand, drooool it’s beyond delicious, like, beyond y’all. 

tea-and-cookie-cupcakes| HollysCheatDay.comSeriously, just go out and buy some today-I had to order mine on Amazon, it seems to be hard to find in stores for some reason-so my obvious enthusiasm for this stuff made it a no brainer to make a frosting out of it.  These cupcakes are moist but light and fluffy with just the right amount of the tea flavor, and the little bit of heaven that is the frosting on top, yeah, just go out and make these as soon as possible πŸ™‚ Have a wonderful day and as always thank you so much for stopping by. 

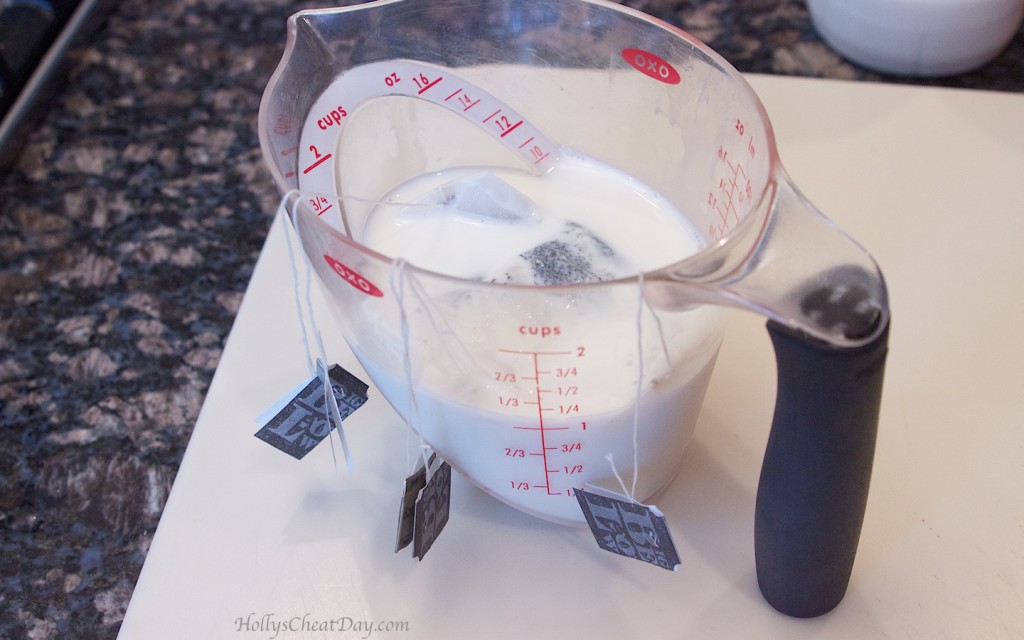
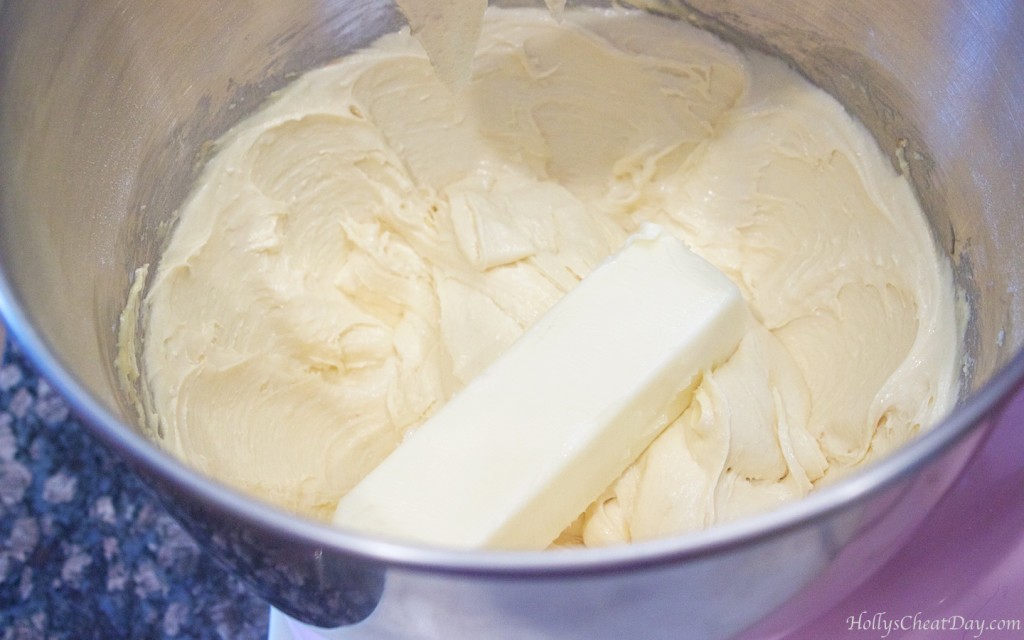
Start by steeping your tea bags into your whole milk for a hot second (at least 30 minutes)…

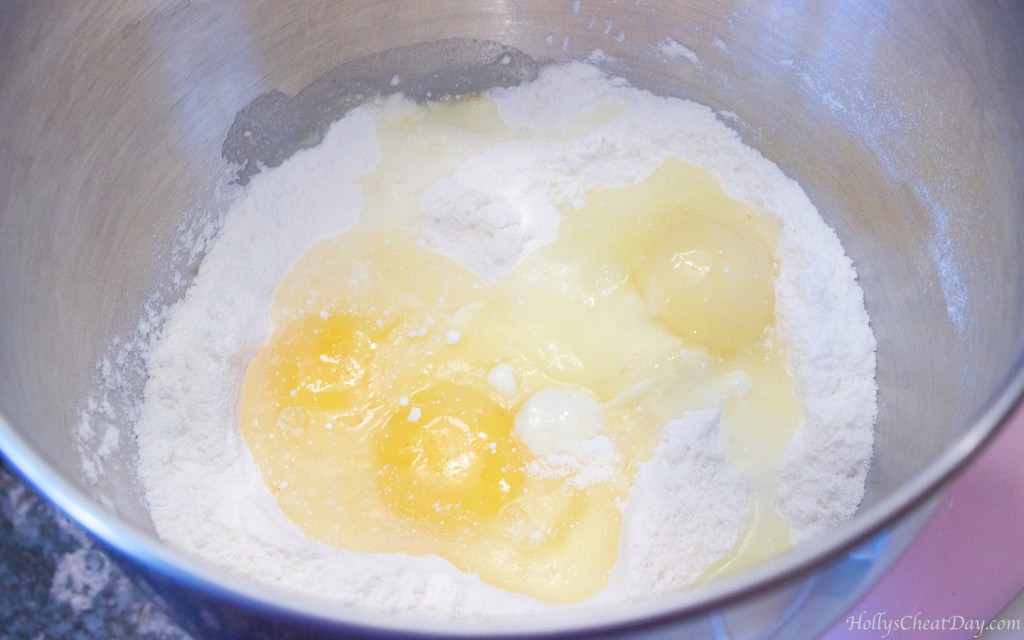
tea-and-cookie-cupcakes| HollysCheatDay.comnow, cake mix & eggs into your mixing bowl…

tea-and-cookie-cupcakes| HollysCheatDay.commix, mix, mix, now butter…

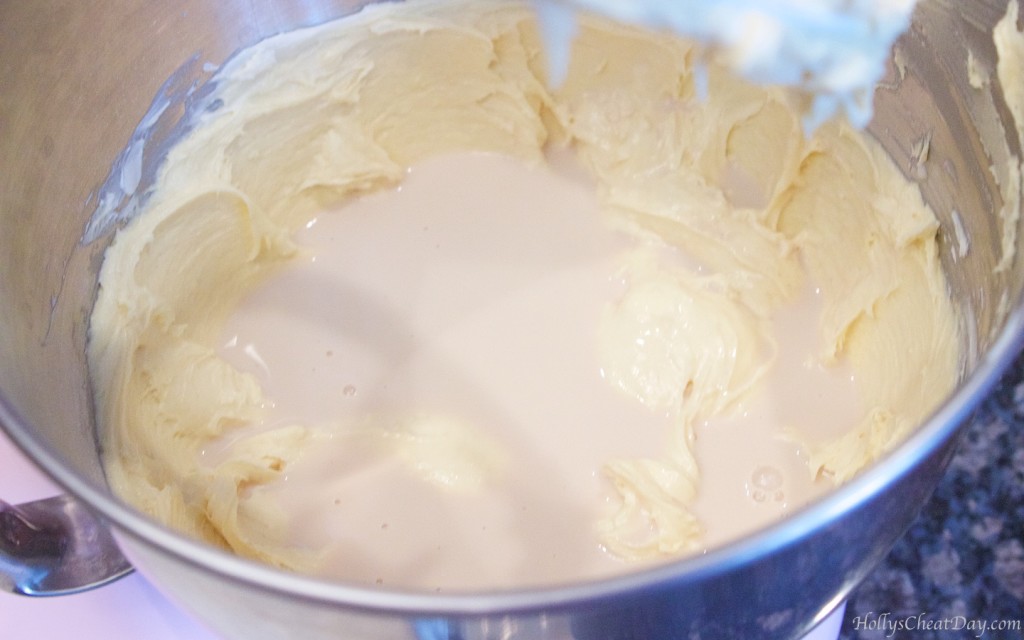
tea-and-cookie-cupcakes| HollysCheatDay.commix, mix, mix & now time for the tea steeped milk…

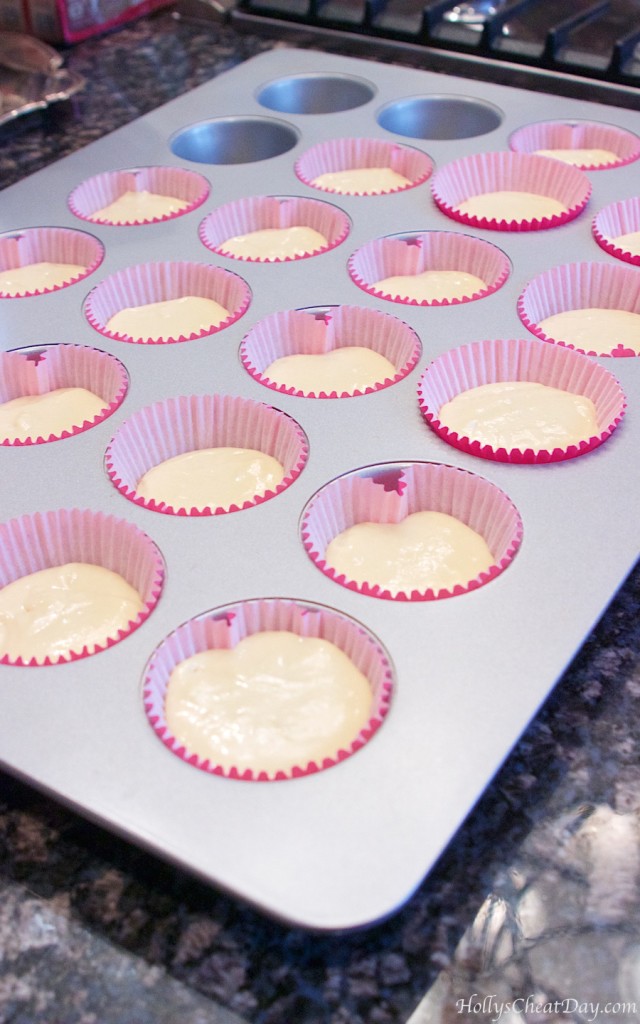
tea-and-cookie-cupcakes| HollysCheatDay.comnice and mixed, then into your cupcake liners…

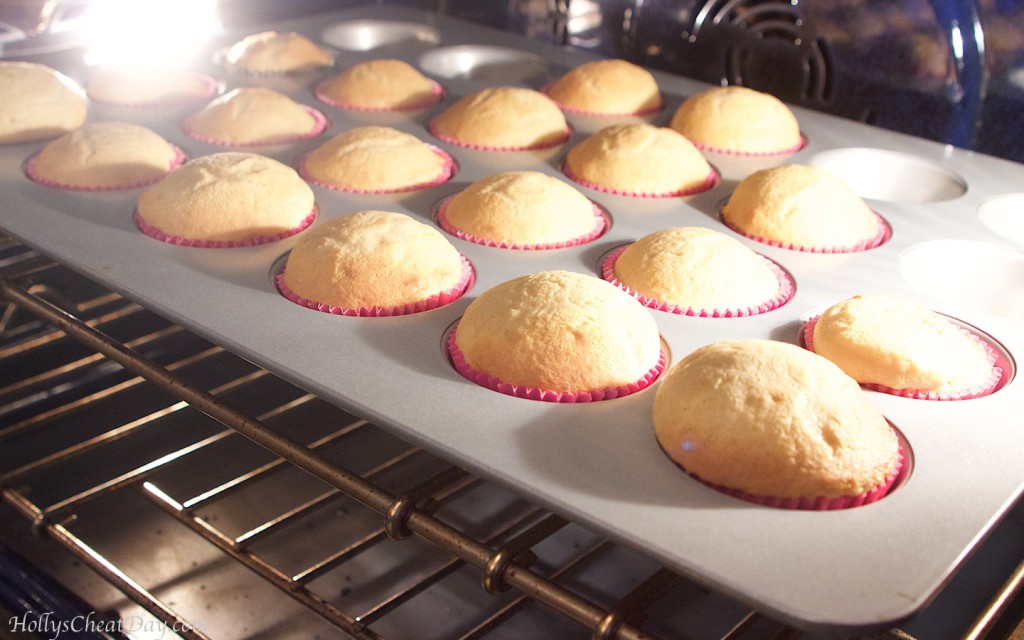
tea-and-cookie-cupcakes| HollysCheatDay.combake, bake, bake…

tea-and-cookie-cupcakes | HollysCheatDay.comnow, time for frosting…flour & milk into your pan…

tea-and-cookie-cupcakes| HollysCheatDay.comheat and mix, mix, mix…

tea-and-cookie-cupcakes| HollysCheatDay.com

after the flour/milk mixture cools, place butter into your bowl…

tea-and-cookie-cupcakes| HollysCheatDay.com now sugar…

tea-and-cookie-cupcakes| HollysCheatDay.com whip, whip & I then put in the milk/flour mix & forgot to photo, then whip it like crazy …

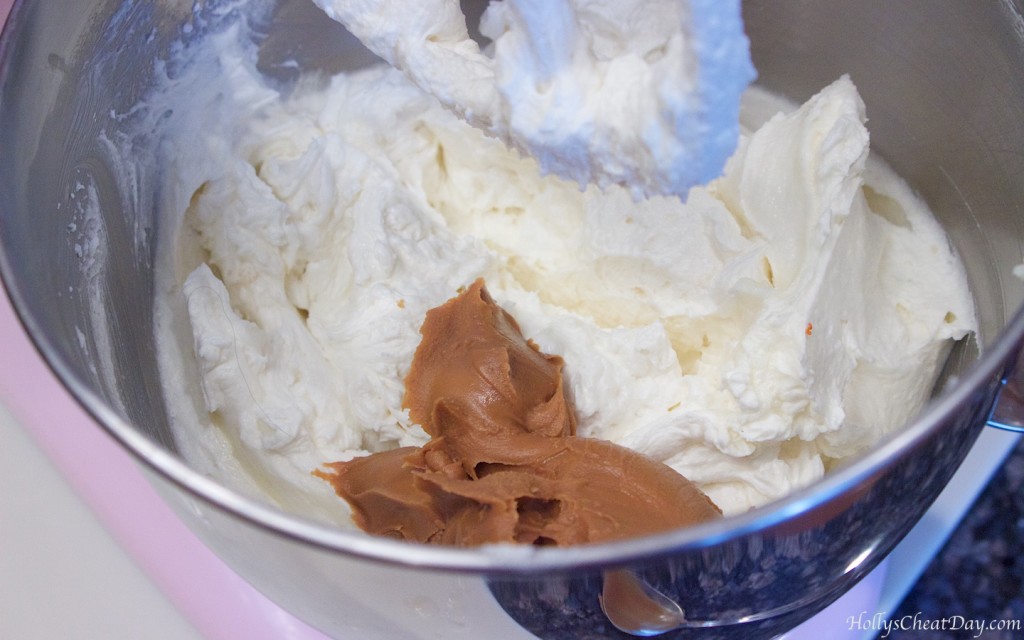
tea-and-cookie-cupcakes| HollysCheatDay.comnow for the good stuff, the Biscoff spread…

tea-and-cookie-cupcakes| HollysCheatDay.commix until evenly distributed & may I just say, mmmmm…

tea-and-cookie-cupcakes| HollysCheatDay.com then enjoy!!

tea-and-cookie-cups| HollysCheatDay.com 

Tea and Cookie Cupcakes
2016-03-21 14:20:03
Yields 18
Write a review
Save Recipe
Print
THE TEA CUPCAKES
  1. 1 Butter Yellow Cake Mix (I Used Betty Crocker).
  2. 1 Cup of Whole Milk.
  3. 5 Earl Grey Tea Bags.
  4. 1 Stick (1/2 Cup) of Unsalted Butter, Softened.
  5. 3 Eggs.
THE BISCOFF COOKIE FROSTING
  1. 10 Tablespoons of All-Purpose Flour.
  2. 2 Cups of Milk.
  3. 4 Sticks (2 Cups) of Unsalted Butter, Softened.
  4. 2 Cups of Granulated Sugar.
  5. 1 1/2 Cups of Biscoff Cookie Spread.
FOR THE TEA CUPCAKES
  1. Slightly warm your whole milk in the microwave for about 30 seconds, place your tea bags into your whole milk for at least 30 minutes--you really want that flavor concentrated in the milk--after steeping, squeeze the bags into your milk & throw them away.
  2. Preheat your oven to 350 degrees F.
  3. Place 18-20 paper cupcake liners into your cupcake tins, set aside.
  4. With a handheld or stand mixer with paddle attachment place your cake mix, butter and eggs into your bowl, mix until just mixed.
  5. Now add your tea concentrated milk to your batter, and slowly mix in (you don't want it to splash everywhere) until smooth.
  6. Now fill your cupcake liners half full to 3/4 full (they do puff up really well) and bake for 15 minutes or until they spring back to the touch.
  7. Let cool completely.
FOR THE BISCOFF COOKIE FROSTING
  1. In a medium saucepan, place your flour and milk, and place on medium heat.
  2. Stir constantly until the texture becomes the consistency of thin mashed potatoes.
  3. Let this mixture cool completely, and I mean completely otherwise it won't whip up properly.
  4. Once the flour/milk mixture has cooled, with a handheld or stand mixer with paddle attachment place your butter and sugar into your mixer and whip, whip, whip until light and fluffy.
  5. Now add your flour/milk mixture and whip the ever loving heck out of it in your mixer, it will be done when it's super light and fluffy like whipped cream.
  6. Now add your Biscoff cookie spread (after eating a spoonful or two hehe) to your frosting and whip in until evenly mixed.
  7. Now pipe or spoon your mixture onto your cupcakes and enjoy!
Notes
  1. This recipe might just make 24 cupcakes, but because I have a tendency to overfill my cupcakes this recipe only made 18, I highly recommend filling your liners 1/2 full because these cupcakes puffed up beautifully.
By Holly
HOLLY'S CHEAT DAY https://www.hollyscheatday.com/

Filed Under: All Recipes, Cupcakes

Holly’s Junk Food Review Series: Sweet Apple Donut & Coffee

May 11, 2018 By Holly

Happy Happy Friday y’all!!! So y’all have to know by now, doughnuts are my absolute complete and total favorite junk food ever, sooo I’m always looking for new, local doughnut places to try out.  I kept hearing about this very unassuming place called Sweet Apple Donut & Coffee and how ridiculously good their doughnuts were.  To be honest, I guess you could say this place is in Atlanta, but it’s soo not, it’s about 30 miles north of Atlanta, but I figured, what the heck, even a not great doughnut is probably worth the trek-spoiler alert, these are very worth the trek.

Here are a couple of nice overviews of the whole ding dang box of doughnuts I got, obviously their label here…


mmm…

more mmm…

and here is a close up of their peanut butter banana donut sandwich with a chocolate glaze, that’s not the official name of it, but y’all get the idea…

and a close up of their peanut butter cup donut…

First off, the lovely, lovely people who own and operate Sweet Apple Donut, could not have been any nicer, seriously.  When the sweet woman found out it was my first time there she gave me 2 free food items, one donut (their top selling tofu donut-it wasn’t terrible but not for me) & this incredible pig in a donut blanket thing “for the road.”  I mean, how sweet was that?  Anyways, so the peanut butter banana sandwich donut tasted like my childhood, because PB & banana sandwiches were life as a kid.  There was no way I could finish that donut because it was massive, but crazy decadent and delicious, with neither the PB nor the banana overpowering the other, then the perfect hit of chocolate glaze on top, mmm.  The peanut butter cup donut, is a yeast donut and had the perfect whipped peanut butter frosting on the top and a little in the middle of the donut with a chopped peanut butter cup.  This donut y’all, sheez, soooo rich and wonderful, because they still put a wonderful glaze all over the entire donut.  All of their yeast donuts knocked it out of the park, their cake donuts, which I had 2 of (blueberry & and old fashioned sour cream) were just OK, I felt they may have been just slightly over cooked, but that may have just been that day. I had high hopes for their bacon and cheddar cheese topped donut, but it was just meh, I thought it would be an awesome sweet & salty thing, and it was just kinda chewy.  Their strawberry bar with the whipped cream was phenomenal, with the perfect amount of strawberries and cream, and the bar had just the slightest crunchy bite to the outside, but soft in the middle, sooo good.  Their apple fritter was also pretty good, but I kind of didn’t like the apple pie filling just sitting on top, I much prefer the apples mixed throughout the fritter, not bad, just not spectacular.  They had a Dulce de Leche donut with white chocolate shavings on top as well, and to be completely honest, I was so full by the time I got to it, I took one bite and I don’t even remember what I thought haha.  Overall, Sweet Apple Donut & Coffee make fantastic donuts, especially their yeast ones, and the customer service is what sets this one apart from other places.  If you are ever in the Alpharetta area, make sure you swing by and grab one. 

Thank you all for stopping by & Happy Happy Mother’s Day to all of the moms out there, especially to my mom!  πŸ˜€   

Filed Under: All Recipes, Junk Food Review

Holly’s Junk Food Review Series: Strawberry Flavored Treats

May 3, 2018 By Holly

Happy Happy Thursday y’all!!! Today’s junk food review(s) is sooo random you guys.  Basically, I love strawberry flavored treats, of any variation, and today’s reviews are happening solely because I saw them at the store and I wanted to try them, so there you go. 

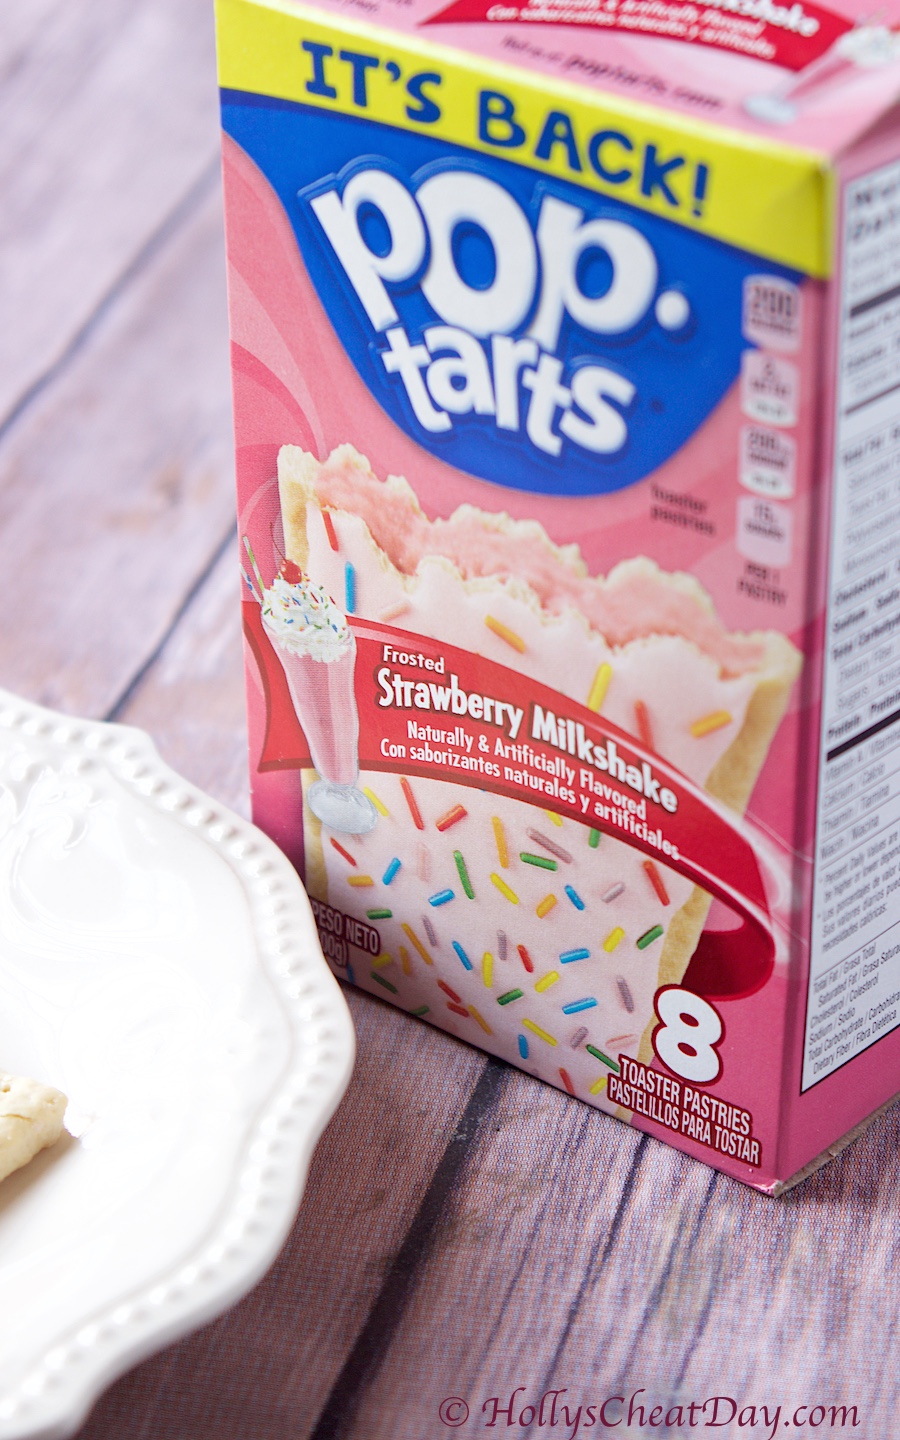
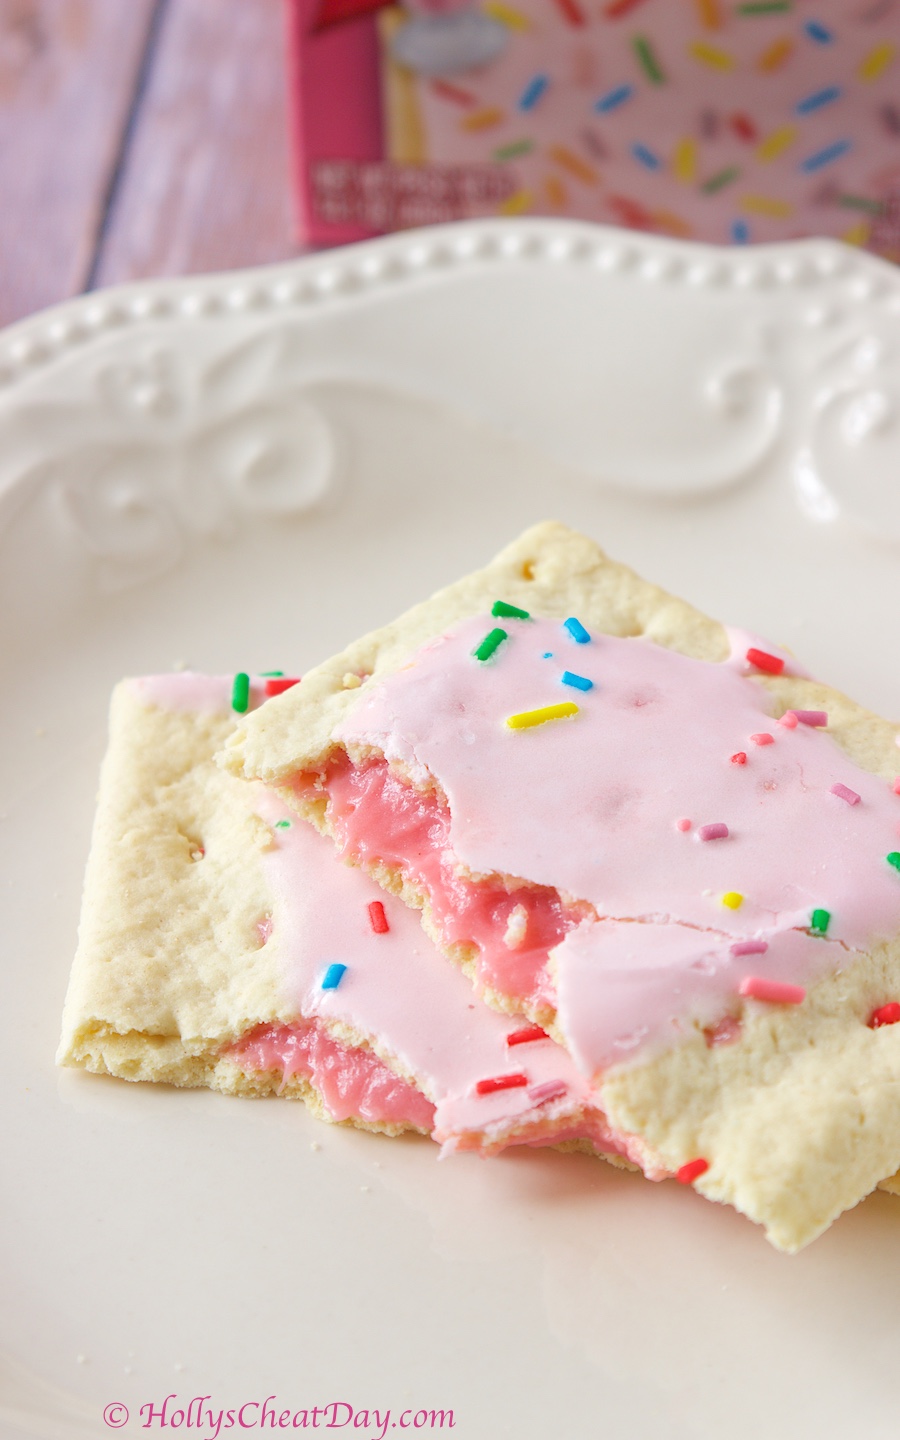
First we have the strawberry milkshake flavored Pop-Tarts, which I have seen for a while on social media with everyone touting how good they are, so obviously I had to give them a try…

First off, I want to say that the frosted strawberry Pop-Tart has always been my OG, so I was very optimistic about these.  The first one that I ate, I toasted, which to be honest, after eating one straight out of it’s little shiny aluminum bag, I realized the toasting kind of took away from the flavor.  So I definitely suggest eating this flavor un-toasted.  Pop-Tart (or whoever the parent company is) was able to capture the strawberry milkshake flavor really well, these are good, pretty darn sweet obviously but good.  I think I still prefer the regular strawberry frosted and S’mores flavors, but these are not bad at all.  I give these a 7 out of 10.

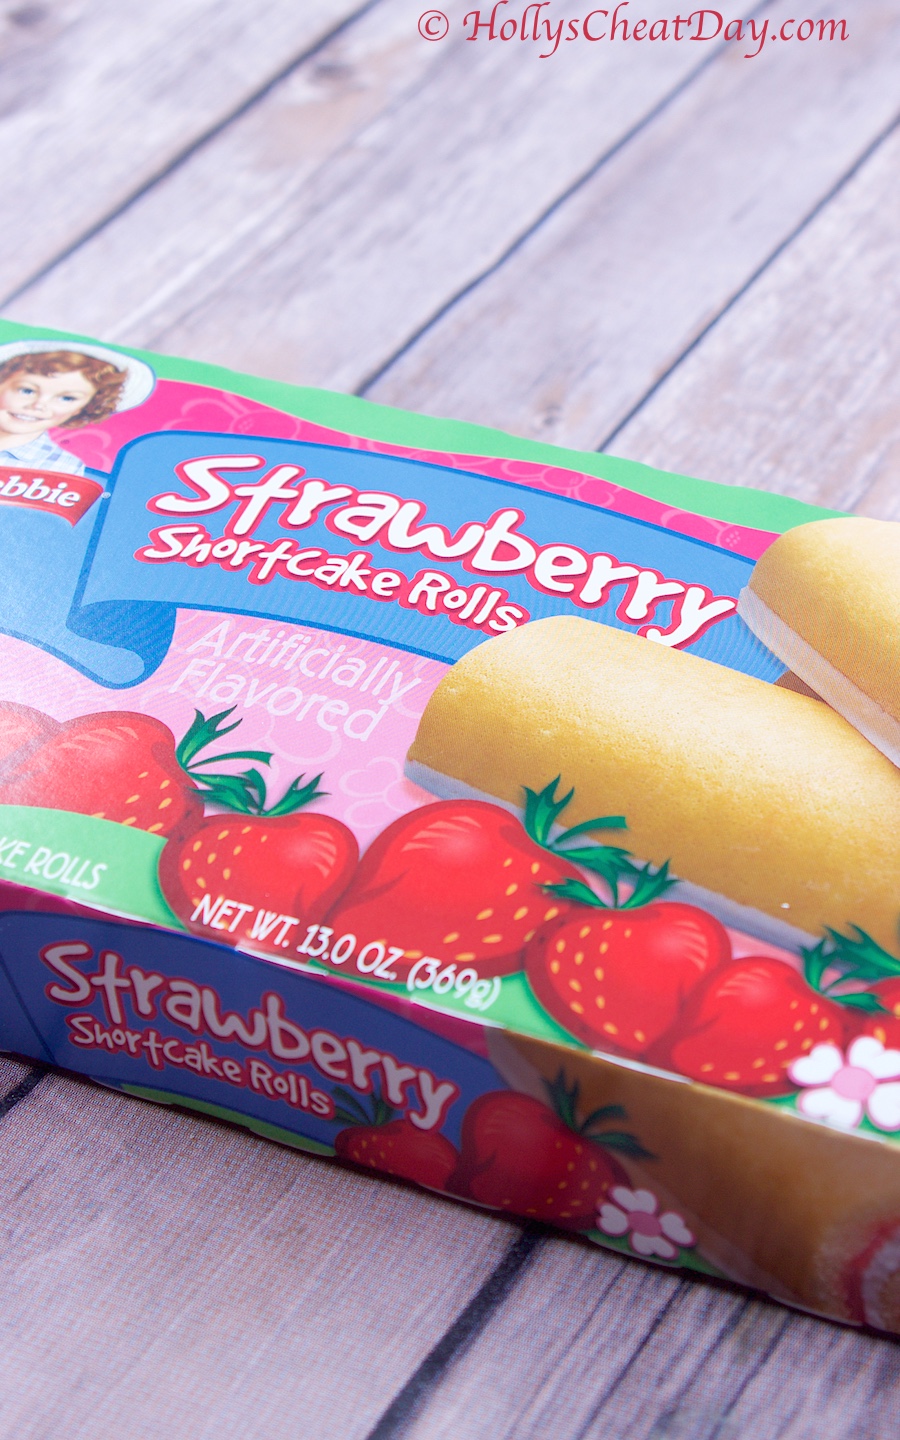
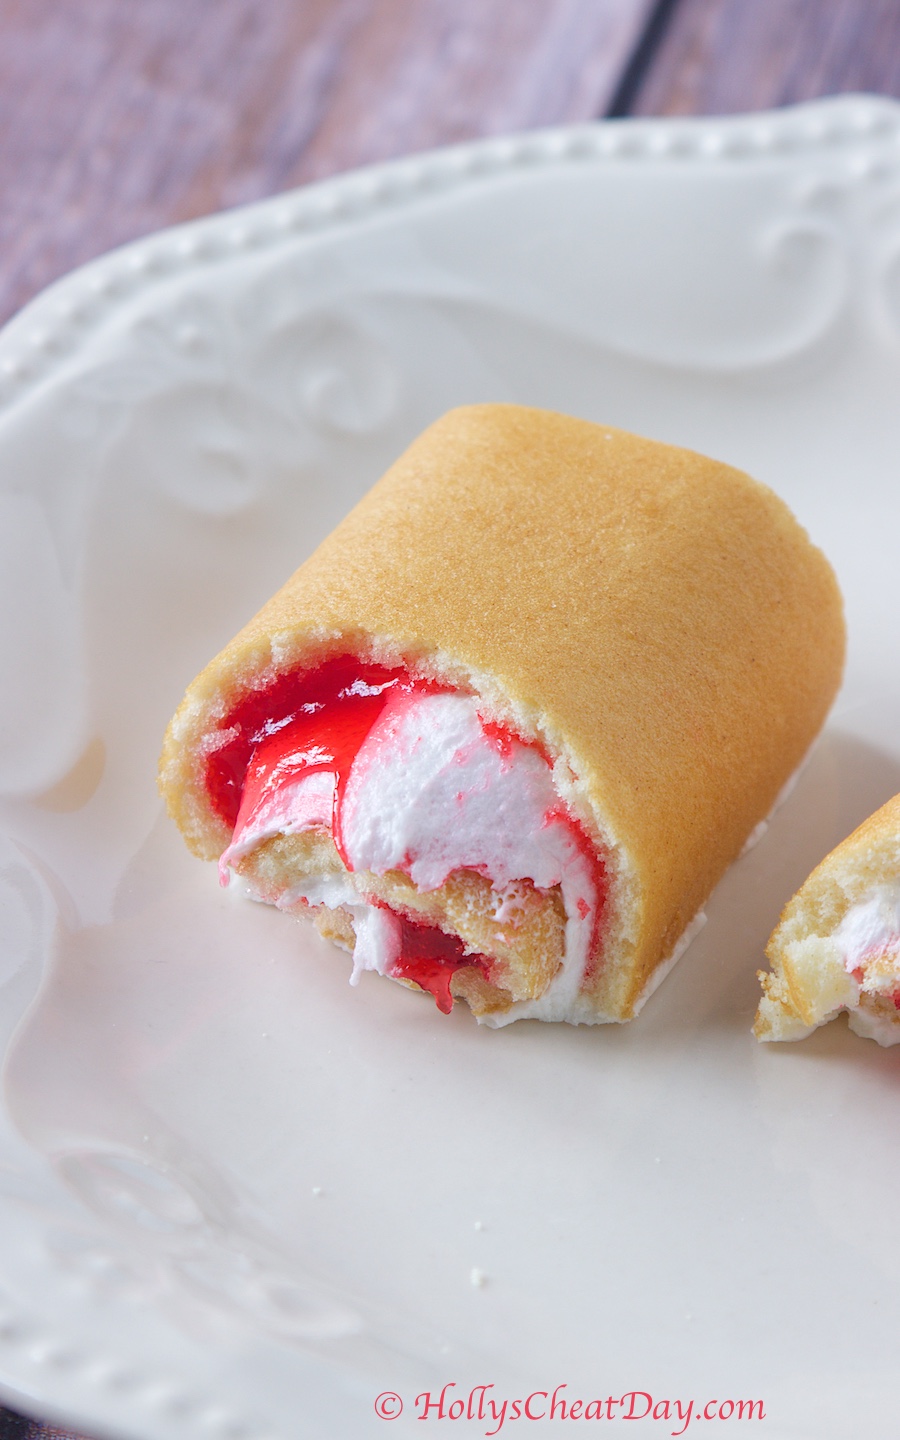
Next we have these strawberry shortcake rolls, which I got a Kroger, and that is the only place I’ve seen these FYI in case you go to look. 

So these Little Debbie strawberry shortcake rolls are pretty much what you would expect from Little Debbie. Moist, lots of strawberry flavor, and that delicious cream filling really blends well with the tart strawberry filling. These are very good, but as I said, these are very typical of Little Debbie, yummy, not mind blowing, just very very edible haha these little cakes get a solid 8 out of 10. Thanks so much for stopping by and I hope y’all have a wonderful day!!!
Filed Under: All Recipes, Junk Food Review

  • « Previous Page
  • 1
  • 2
  • 3
  • 4
  • 5
  • 6
  • …
  • 48
  • Next Page »
logo
Food Advertisements by
Holly's Cheat Day Profile Pic

Hey, y’all! My name is Holly, and welcome to my Cheat Day...where Gluttony and other Delectable Indulgences are celebrated!    Read More...
logo
Food Advertisements by
logo
Food Advertisements by
Copyright © 2017 ❀ Holly's Cheat Day ❀ Privacy Policy