Happy Friday everybody!! Oh my y’all, the countdown is on for Christmas, and I don’t know about you guys, but I am feeling super duper behind this year. I had all shopping and almost all wrapping done last year by this time so wowza here we are.
 Anyways, today I’ll be showing you a step-by-step guide to making brown butter. As I have mentioned in past posts, brown butter is one of my favorite things that adds sooo much flavor to everything you put it in, but at times has the mystique (first time ever mystique has been used in reference to butter?) of being difficult to make.
 When I first started looking into how to make brown butter, I felt like I kept reading over and over again how easily it was to burn it and how it would be a terrible mess if you did etc, etc. Yes, butter can burn, and yes it could be a mess if you did, but I’m thinking some folks were being a bit dramatic because I think you would have to walk away from your pan of butter to burn it that easily. Soo…here it is….
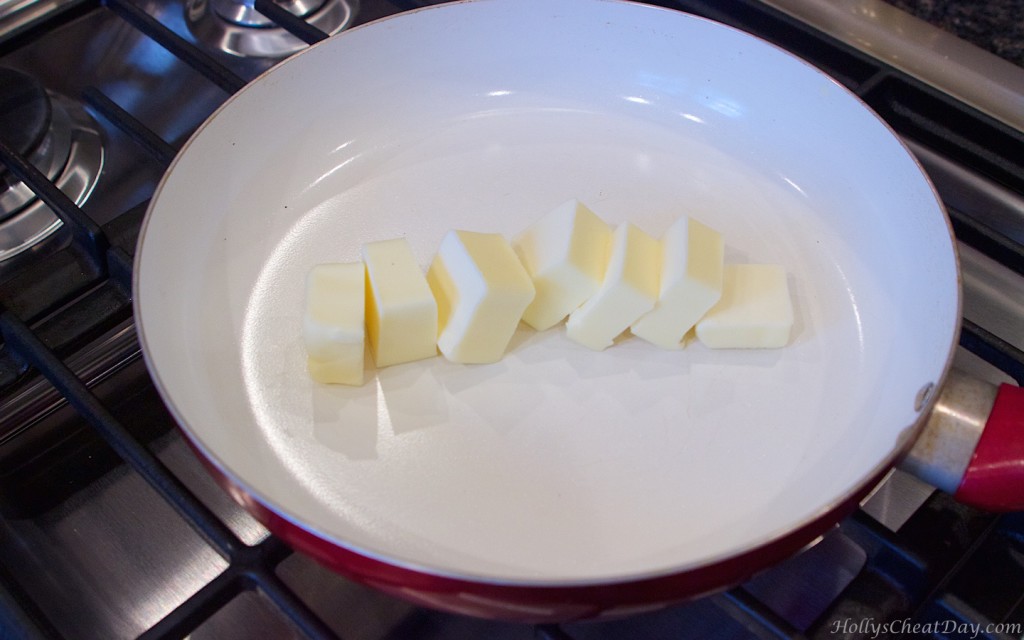
I always cut up the butter so it will melt more quickly & evenly…
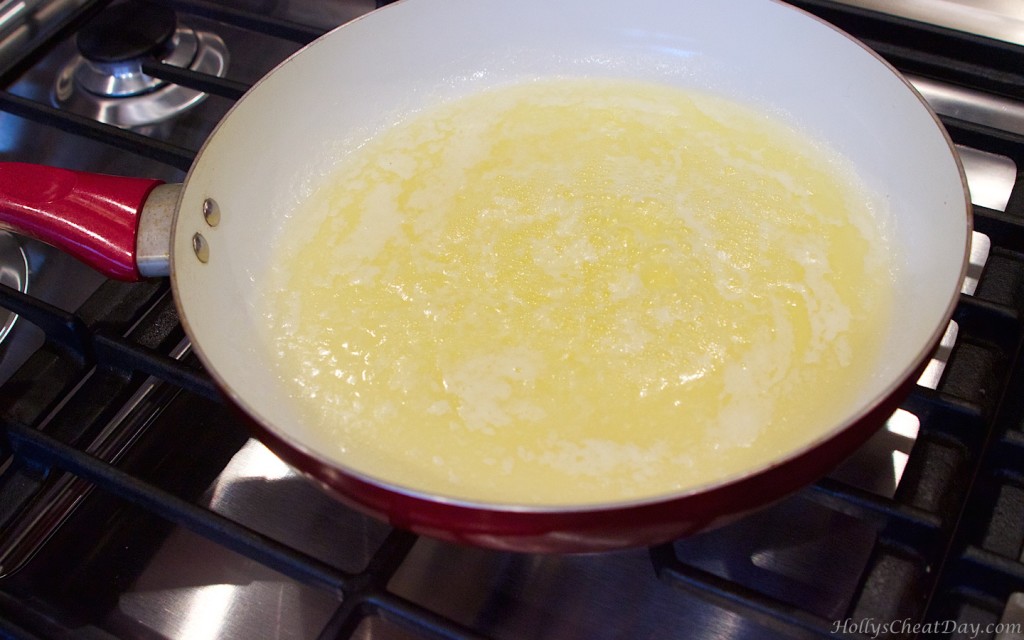
 nice & melted…
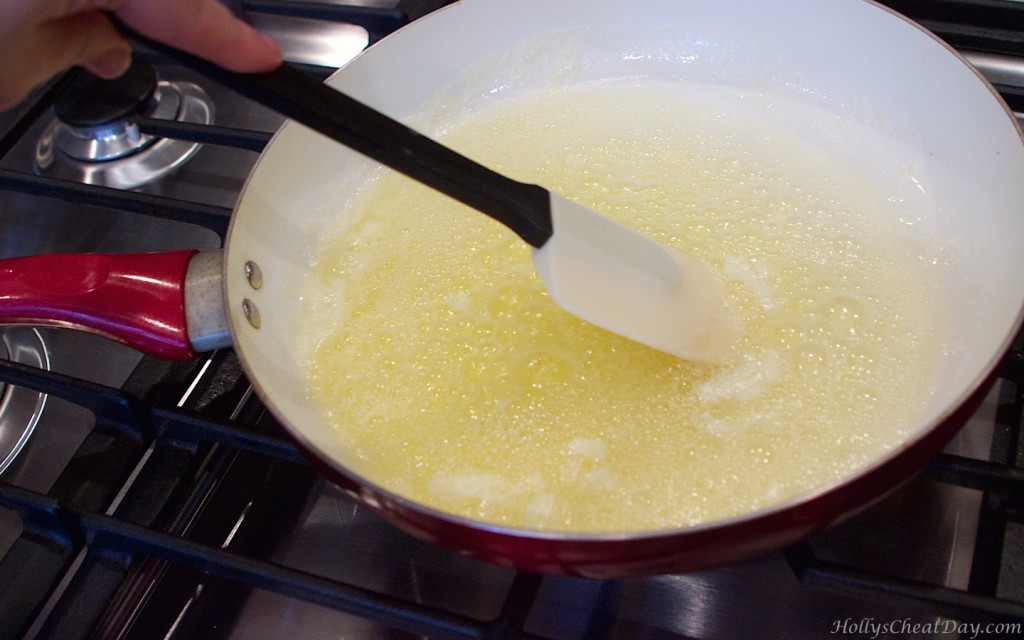
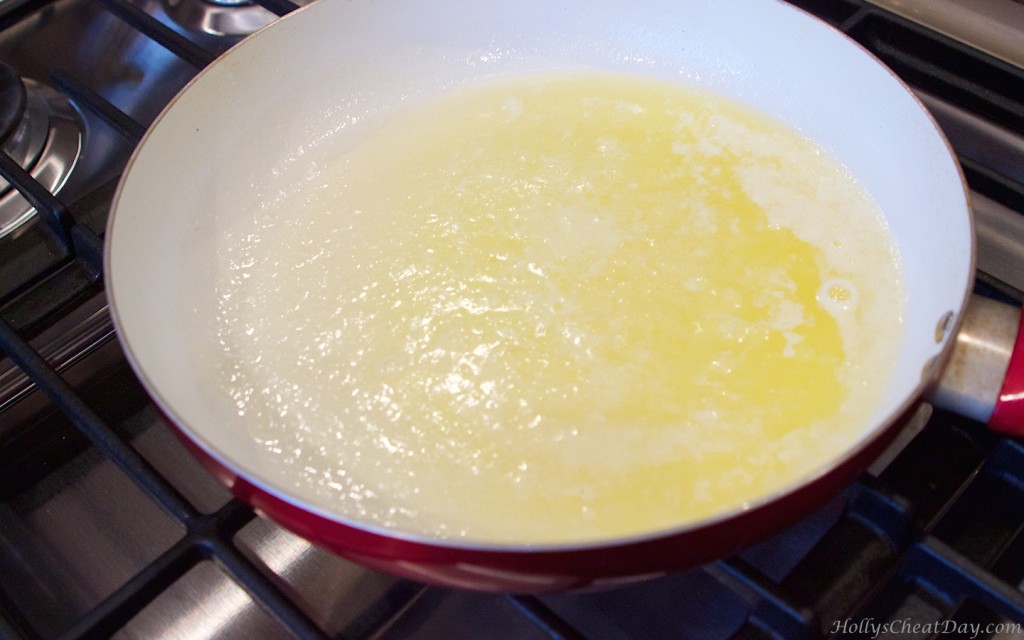 starting to bubble a little…
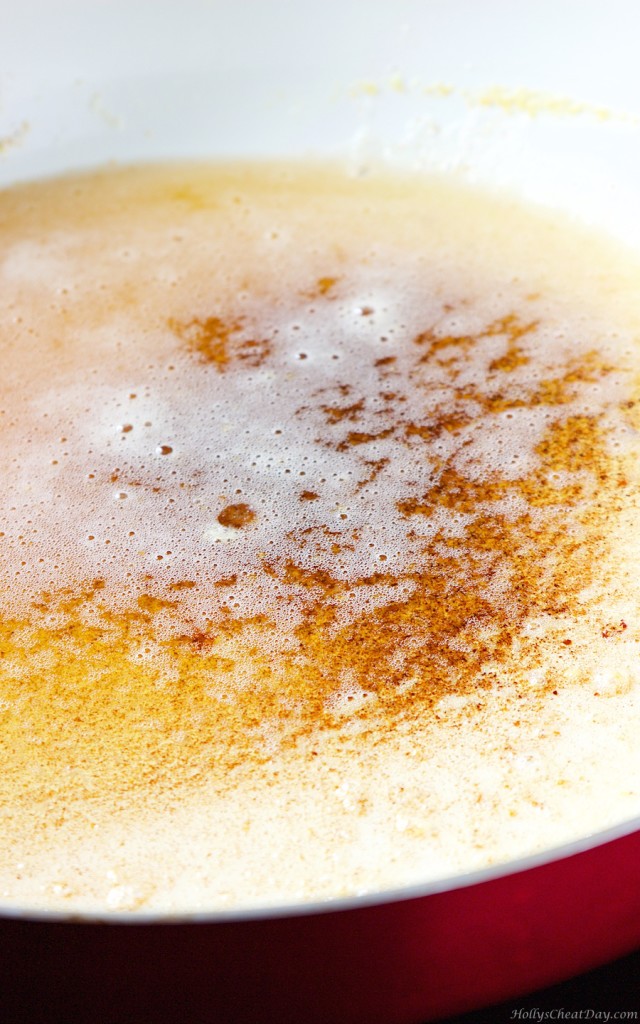
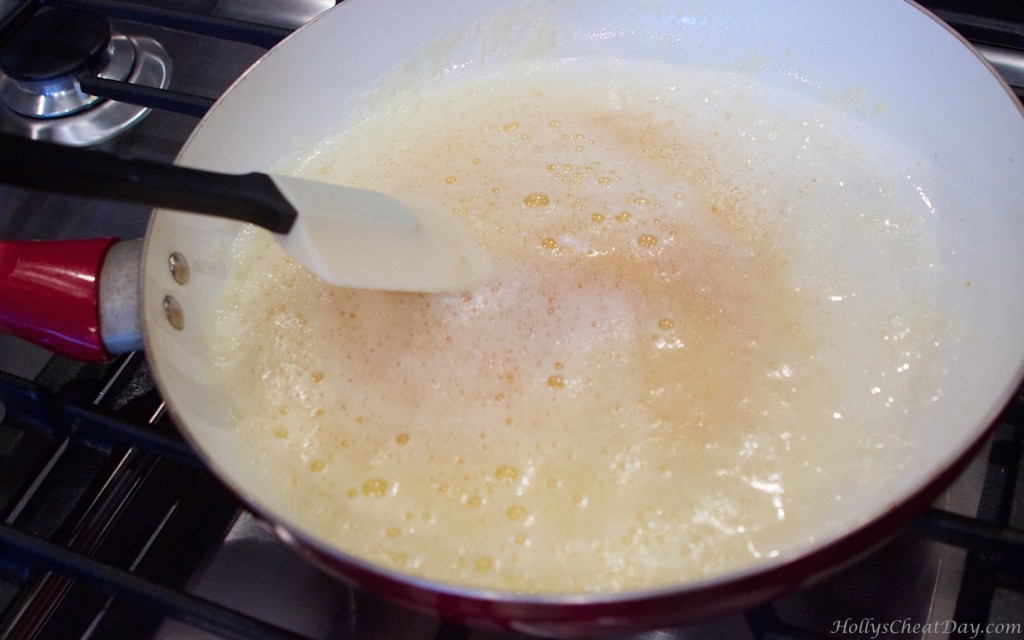
 remember to constantly stir, starting to kind of foam up and bubble more now…
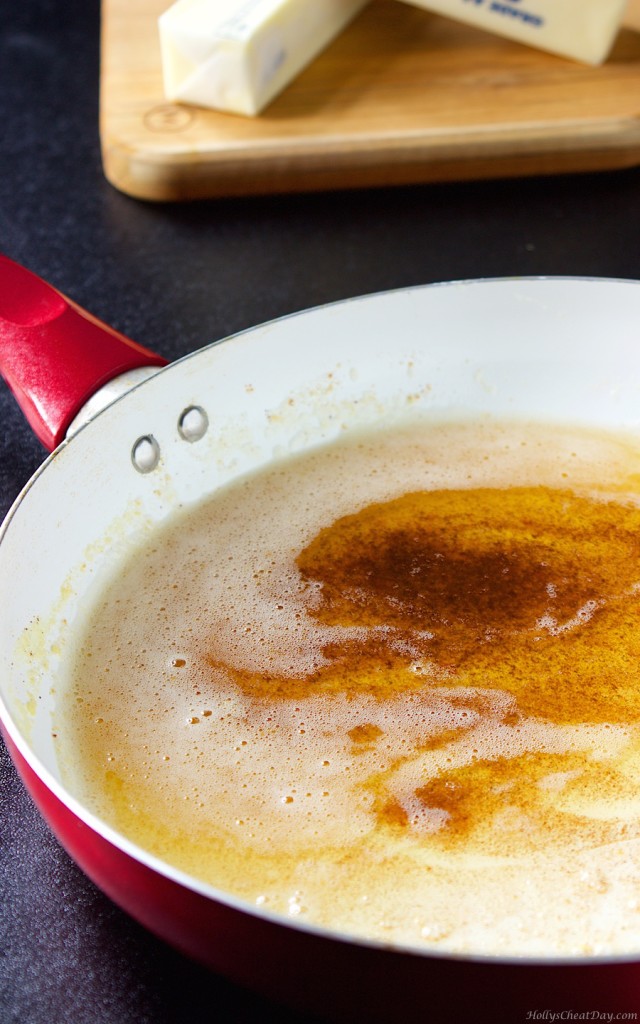
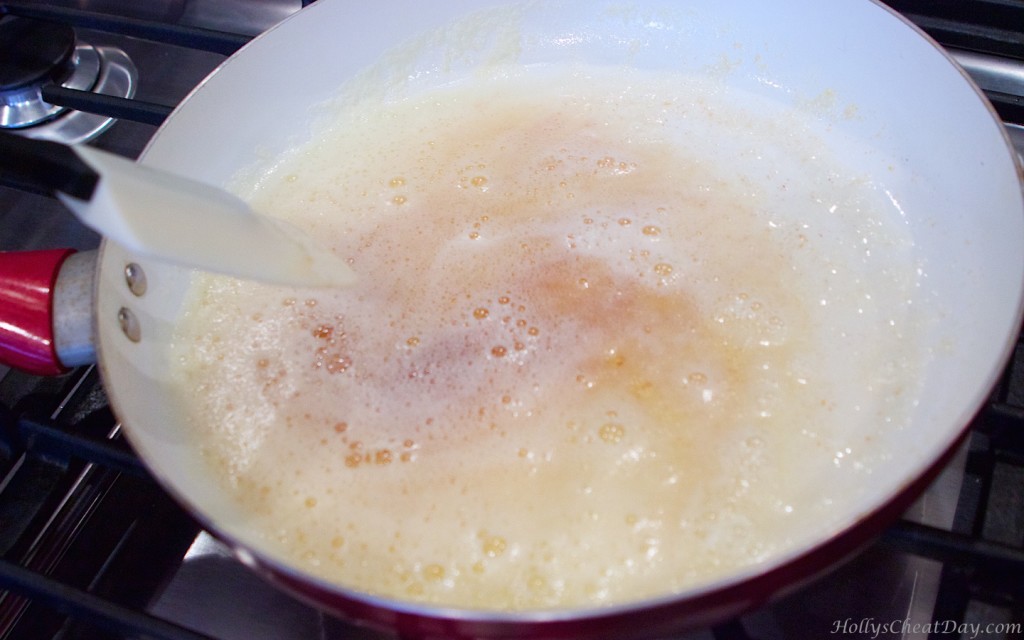
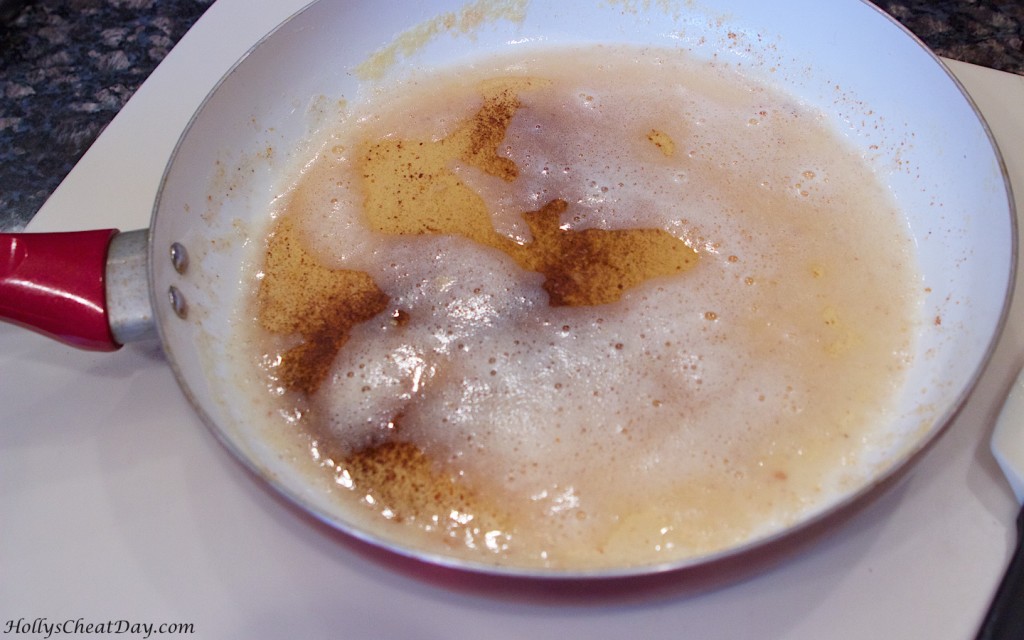
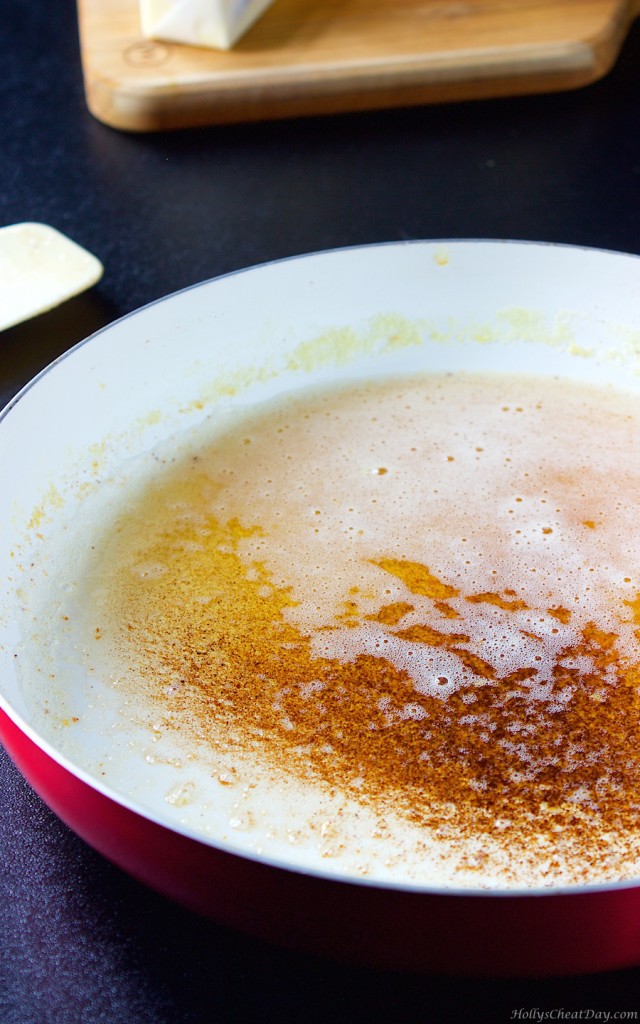
 starting to see some brown-ness & it will start to smell nutty and delicious at this point…
 really nice and brown in the bottom, now is a good time to remove from the heat, but continue stirring…
 after taking off the heat and cooling for just a bit…
 and you can enjoy this in just about everything!!!

Everything like what? Suggestions? Can it be cooled again? What kind of lovely pan is that?
Hey Andi! I’ve substituted brown butter for tons of recipes that have called for regular butter, from baked goods to savory. Yes, I have had no problem letting it cool (where it will start to harden a bit again if in the fridge) but you can pop in the microwave to soften it. Haha, that is a cheap non stick pan I bought at Wal-Mart 🙂