HOLLY'S CHEAT DAY

...because one day a week I have to be bad

  • Home
  • About
    • Who Is Holly?
    • FAQ
    • Contact
  • Recipes
    • Bars/Brownies
    • Breakfast
    • Cake
    • Candy
    • Cheesecake
    • Cookies
    • Cupcakes
    • Dessert
    • Dip
    • Drinks
    • How To
    • Junk Food Review
    • Lighter Side
    • Pie
    • Savory

It’s Been A Year…

September 13, 2018 By Holly

…Boy, have I debated writing this blog post for weeks now, I’m still not even really sure what I’m going to say.  This might end up sounding like the ramblings of an idiot, but luckily for me, that wouldn’t be the first time ha…

 I debated so long on writing this because, this is a food blog (a silly one at that) and deep down I was just hoping to pretend like today was just a normal day…I would love to pretend that today is a normal day, not a day that I remember every single horrible detail of, but unfortunately that’s just not the case.  It’s been a year exactly that you left us so very unexpectedly.  A year of trying to begin to even comprehend you not being here, a year of sooo many ups and downs of emotions, a year of expecting you to walk through the door any minute, a year of almost buying something for you that I know you would love or almost sending you a text message of something I know you would find hilarious.  A year of putting off going through your personal things because it feels like an invasion of your privacy.  

A year of a ‘new normal’ or that’s at least what everyone keeps saying to me.  It won’t ever feel like normal, or a new normal, it just feels weird.  It’s the first Halloween, Thanksgiving and Christmas I just couldn’t wait to be over, because it just felt so sad.  No amount of Christmas lights, decorations and beloved Christmas movies could mask the emptiness.  Your place setting was still put at the table with a candle, and your stocking was still hung but it was even more glaringly obvious you weren’t there.  We all felt overwhelming guilt not buying you anything for your birthday or Christmas, but I suppose that’s ‘normal’.

Grief is a very strange thing, you never know how you’re going to deal with it until you’re thrown into the pit of it.  You can go from one spectrum of, ‘wow life is so much shorter than we think, I must go on great adventures’ to ‘eff everything, I’m not going to take care of myself at all, I’ll just eat this tub of butter because what does it matter in the end?’  As you might imagine I have been at both ends of the spectrum.  One day everything feels OK, then with no forewarning, grief pops up and smacks you right in the face…grief is a real b-hole like that. 

Overwhelming feelings of guilt is something else unexpected.  Feeling guilty because it’s a good, happy, fun day and you’re not here to enjoy it, or like you’re being left out.  Tremendous guilt that I was super duper sick in 2010, hospitalized for a week with more things wrong with me than right, ultimately being diagnosed with Lupus Erythematosus and I made a 100% recovery.  You even had some of the same symptoms I did at the time, and I kept assuring you, and Mom and Dad that they would figure out what it was and they would fix you right up. 

What can I say? It really sucks you left so soon and were so young.  It sucks that Mom and Dad have had to live what I assume is a parents’ worst nightmare.  It just plain sucks, but you’re not in pain anymore, and you are remembered and will always be remembered and loved by so many. 
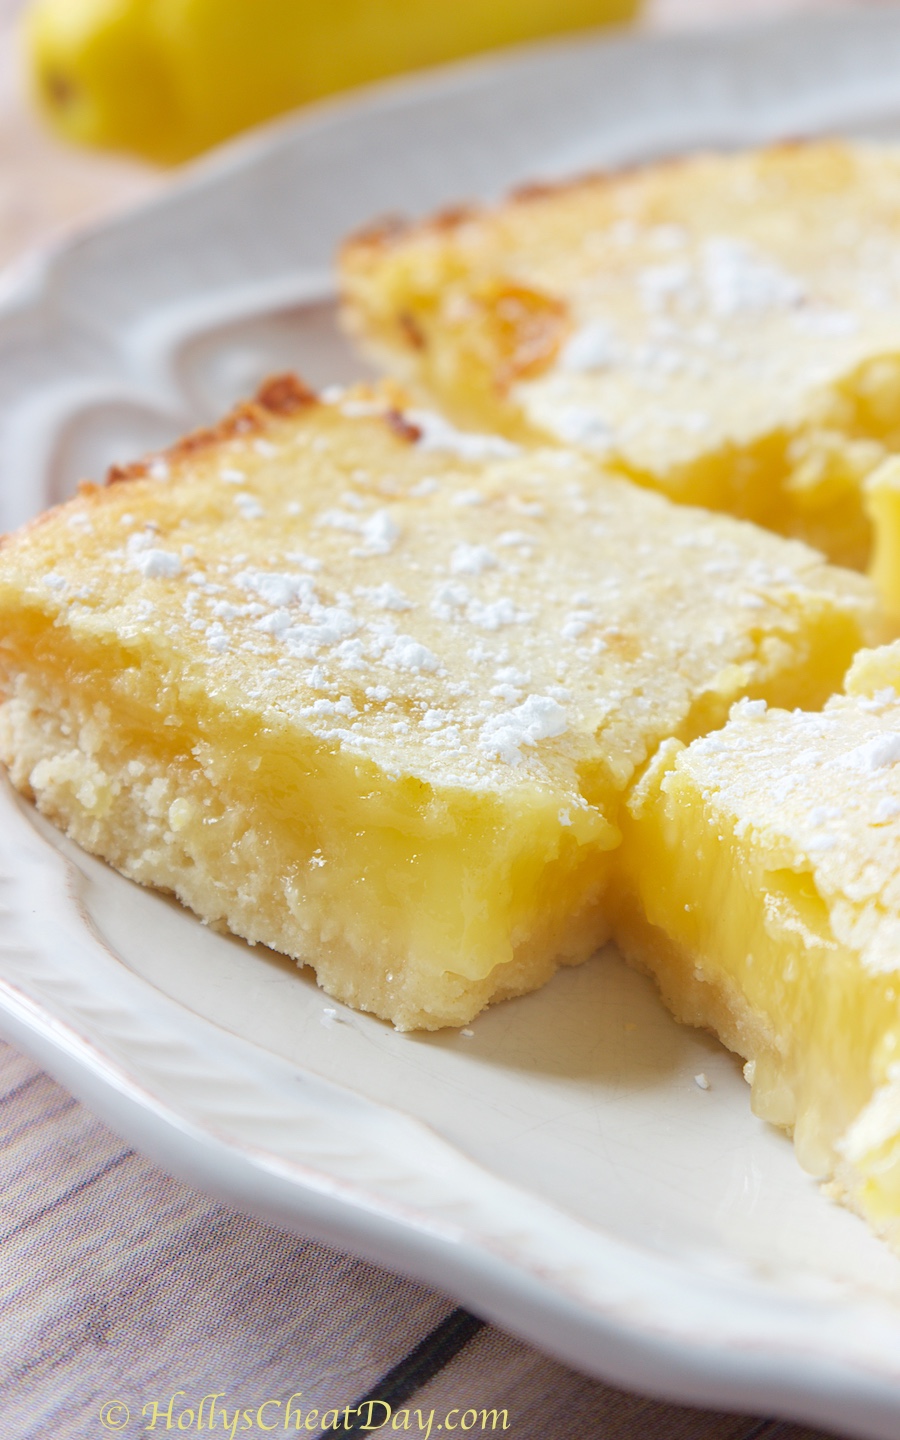
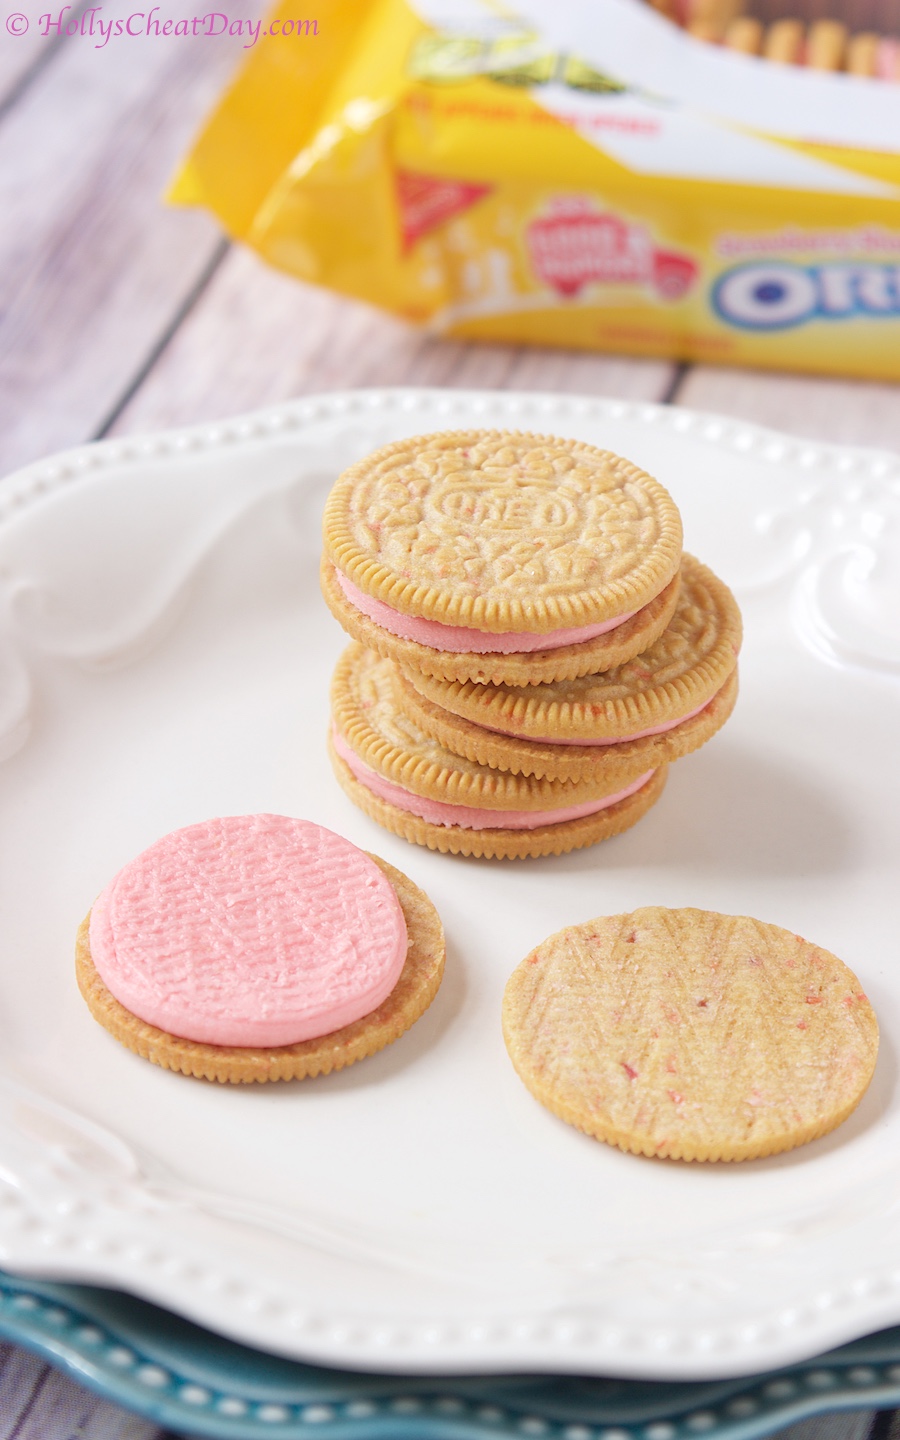
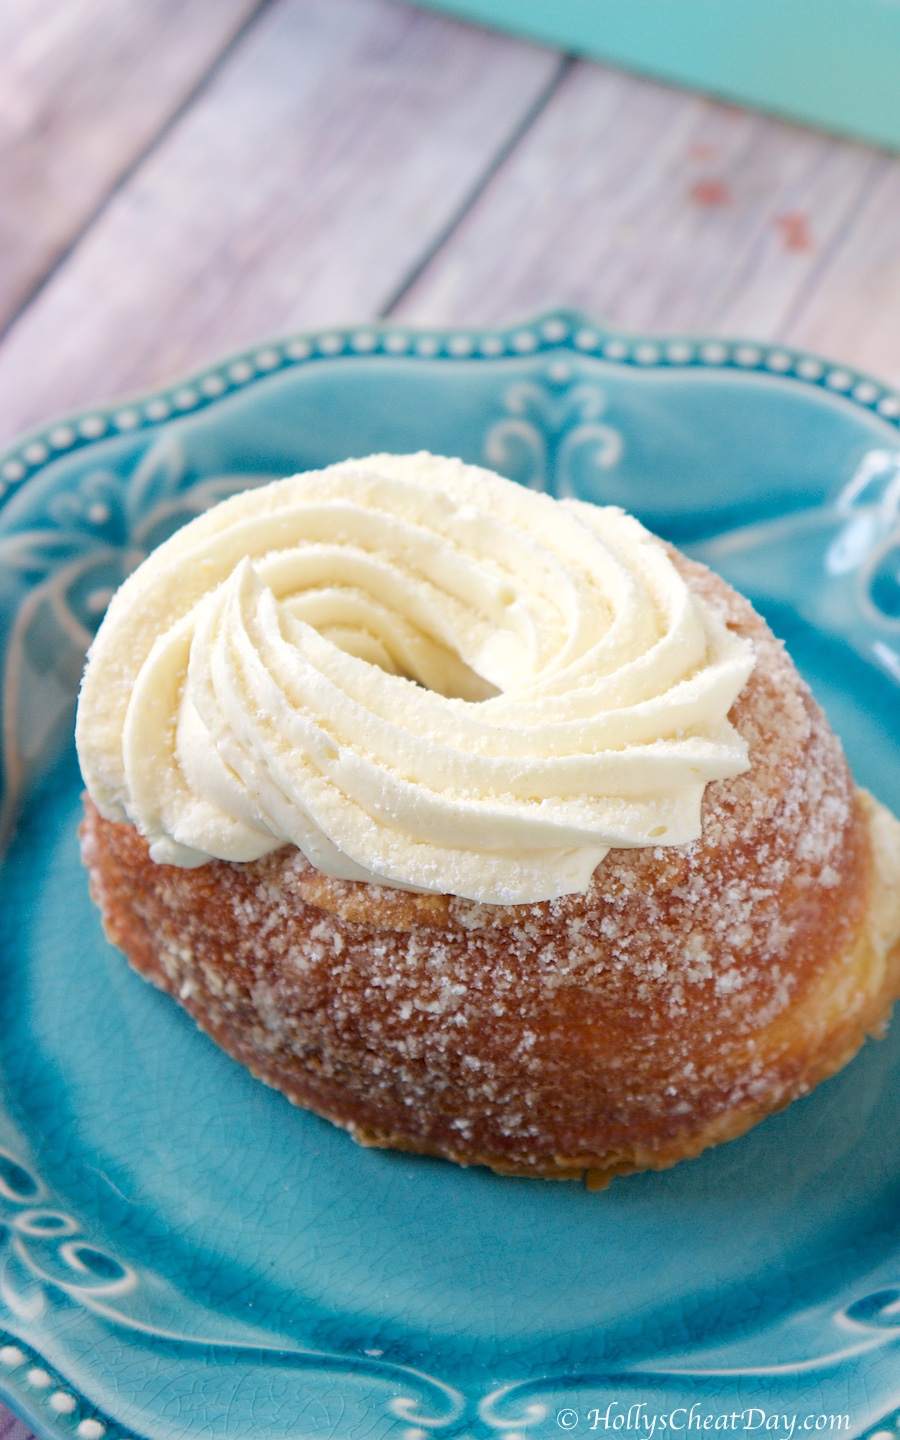
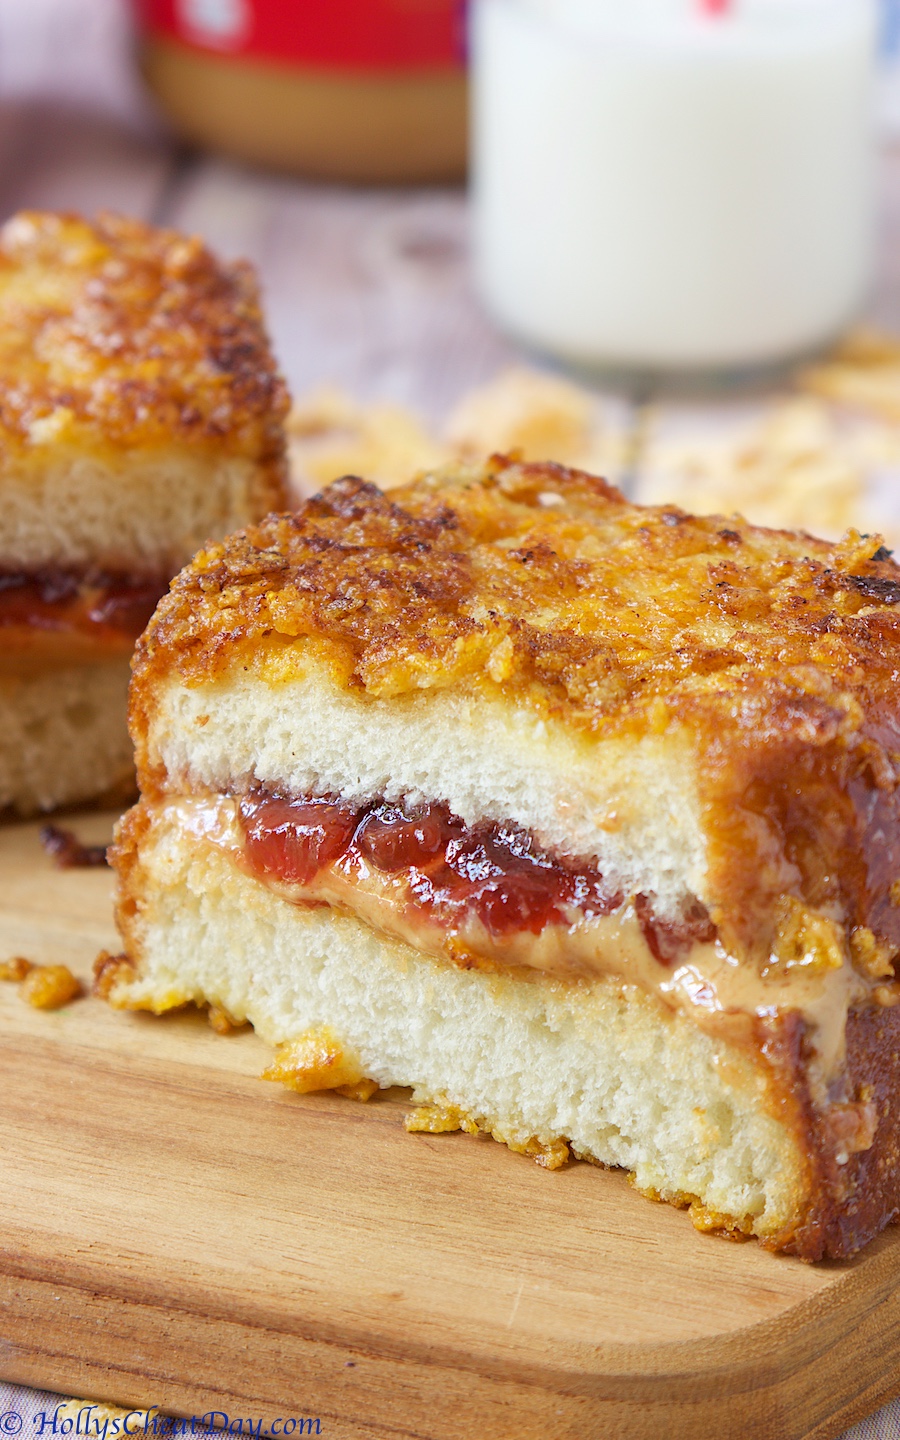
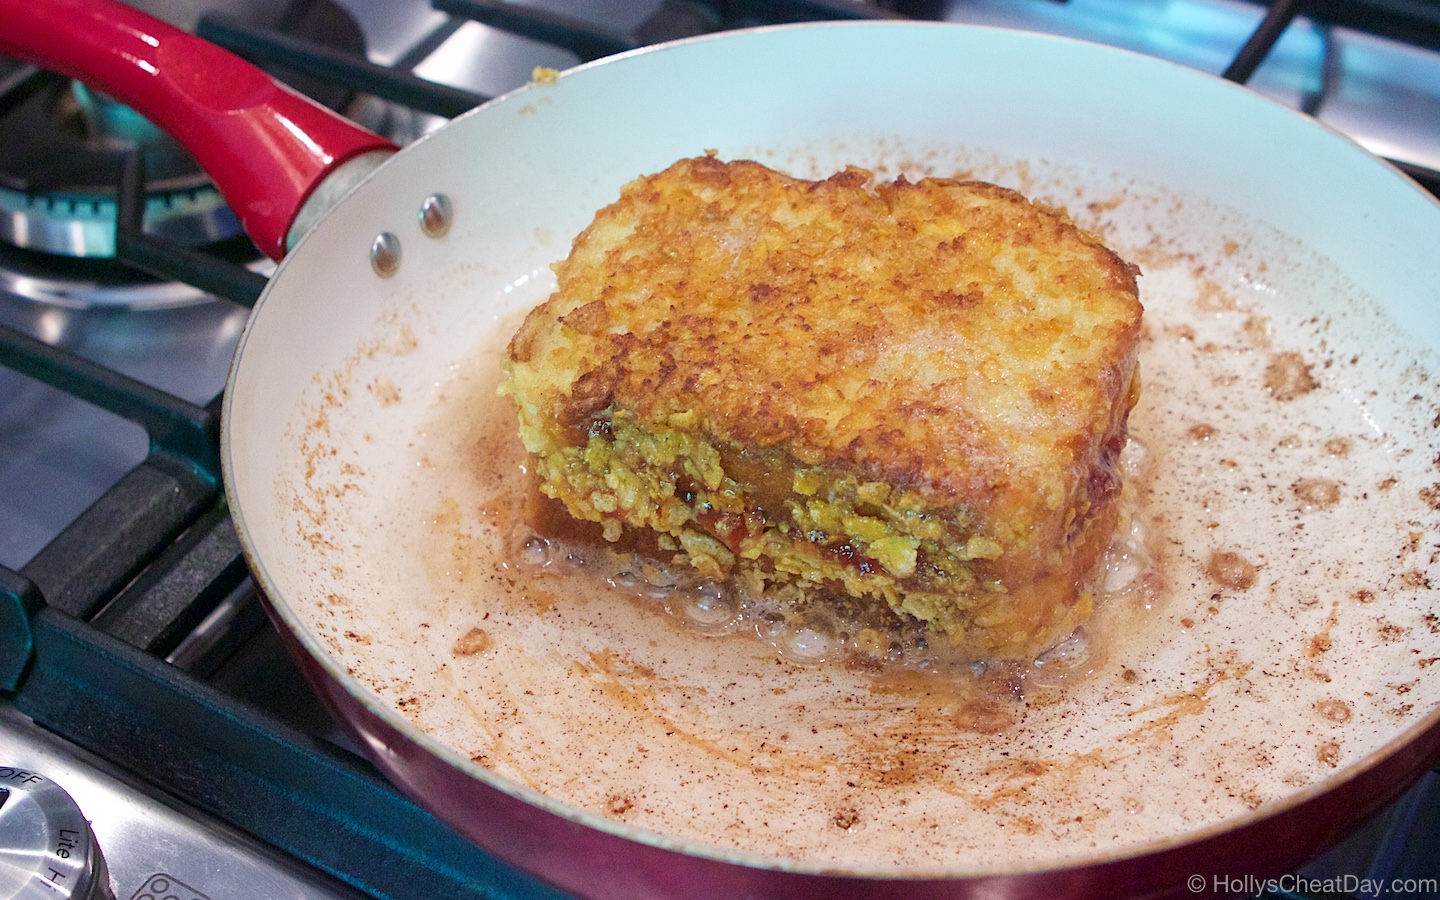
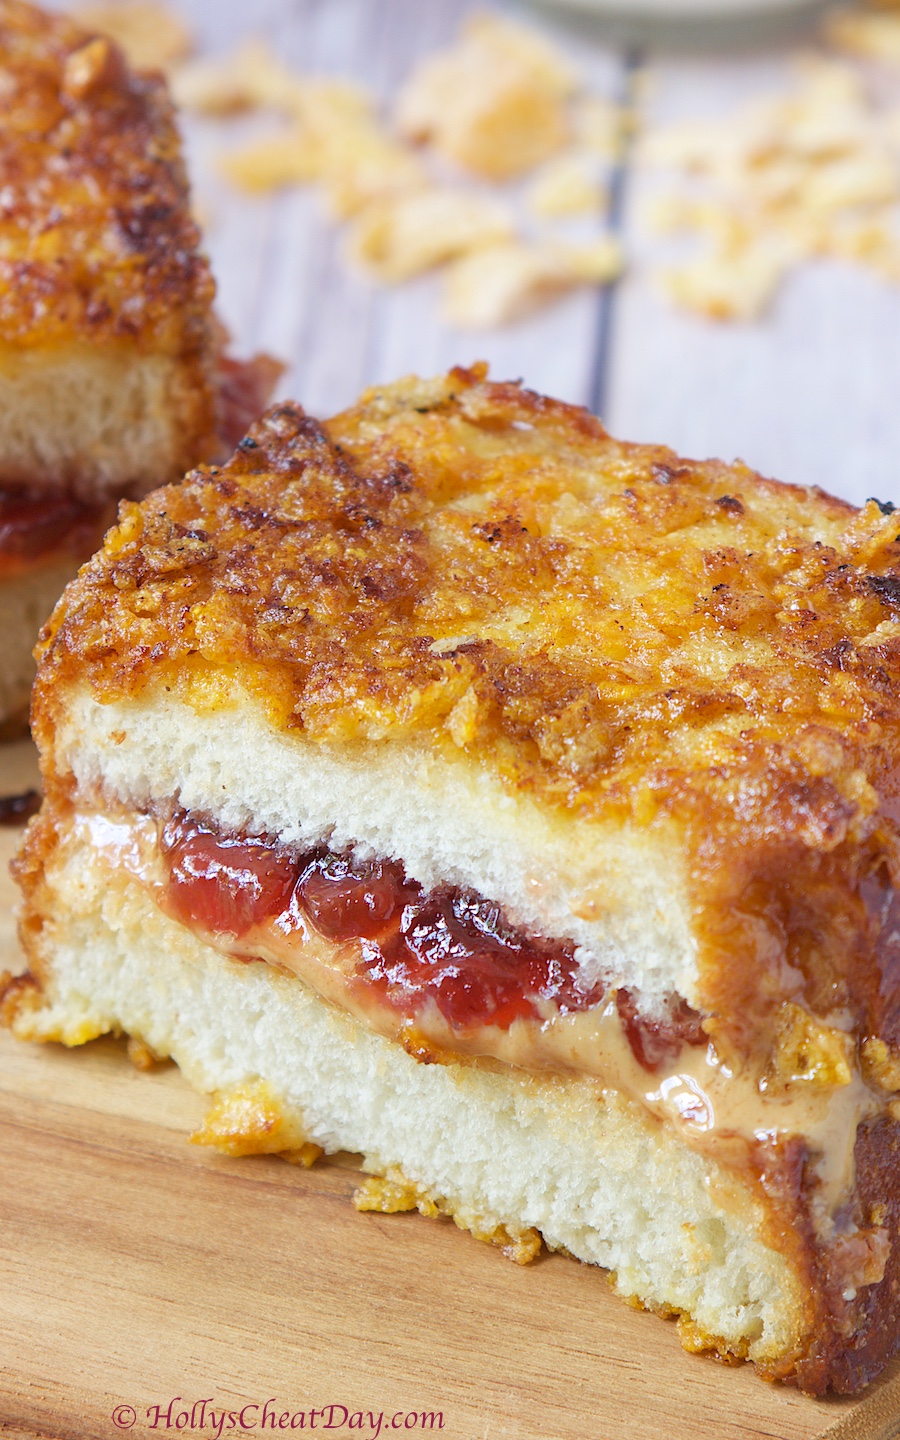
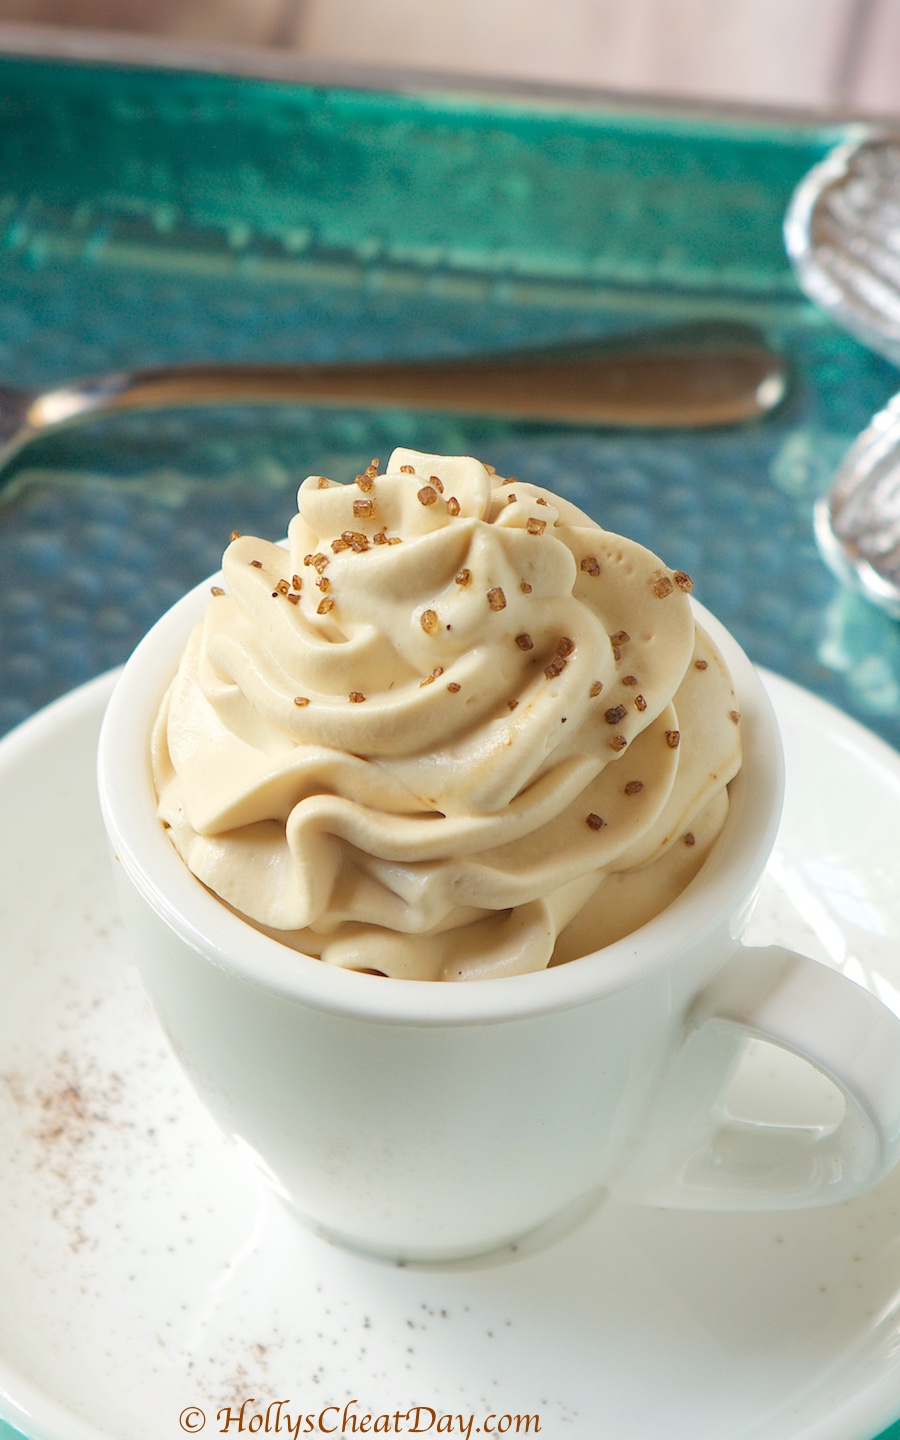
 

Filed Under: All Recipes

Holly’s Junk Food Review Series: More High Road Craft Ice Cream

September 7, 2018 By Holly

Happy Happy Friday y’all!!! It may technically be Fall time (which I’m all about btw), but it still feels like the surface of the sun here, so ice cream is still an absolutely, positively must have cheat day treat. 

Now, I have already done some reviews of High Road Craft products, and that should tell you something about how fantastic their products are.  Whenever they have some new stuff come out, I immediately run out and get it, and that’s what the following treats are…

First, we have their Cinnamon Crumble Ice Cream…

mmm, look at all of that cinnamon goodness…

So, they pretty much had me at hello when I heard that they were coming out with a cinnamon based ice cream, cinnamon being my favorite spice ever, I was obviously super excited.  Holy cow y’all, they got the perfect amount of cinnamon in this rich decadent ice cream, and biting down on a maple, brown sugar and cinnamon crumble, which I wish there had been just a bit more of in this ice cream, is just heavenly.  Again, High Road knocked it out of the park again, this gets a solid 9 out of 10.

Can I just tell y’all how team ice cream sandwich I am? and how deliriously happy I was when I heard they were making ice cream sandwiches? Ok cool, so here’s the first one, the chocolate ice cream with peanut butter cookies sandwich.


look at all of that goodness…

First off, these bad boys are massive, you’re definitely getting your money’s worth with these guys, and there are 2 in each of their cute little packs.  Definitely let these sit outside of the freezer for at least a few minutes before enjoying, instead of immediately shoving one in your face like I did hehe.  I got brain freeze  and definitely give these delicious cookies a chance to soften up, and btw these are definitely delicious cookies, lots of peanut butter flavor.  The chocolate ice cream is truly chocolate ice cream, very, very rich and on the verge of being dark.  I am not the biggest fan of dark chocolate so that docked a few points but these are still delicious and definitely quality.  These get a 6.5 out of 10.

Next, we have the chocolate chip cookies with malt ice cream sandwich…

yummmm…. 

I maybe a bit meh about the chocolate peanut butter sandwiches, but I am not even a little meh about these chocolate chip malted ice cream sandwiches.  These are delicious chocolate chip cookies, that are sandwiching a very rich and delicious vanilla malt ice cream.  Honestly, these are so good that they are just as great frozen solid as they are slightly thawed.  These are simple, yet decadent, they absolutely get a 9 out of 10. 

Y’all go get some of these 😀  Thanks so much for stopping by, and don’t be afraid to treat yourself this weekend, have an awesome Friday!

Filed Under: All Recipes, Dessert, Junk Food Review

Party Potatoes

September 4, 2018 By Holly

Happy Happy Tuesday y’all!!!  I know that majority of my posts consist of sweet things, more so than savory things, but honestly today’s recipe was just too fantastic of a savory dish not to make and share with all of you. 

I had seen this recipe in different variations bouncing around the Internet for some time, and most of the time this dish is called ‘Funeral Potatoes’ which is an awesome Mormon recipe, but honestly, I just couldn’t call it that, waaay too morbid for me. 

I thought Party Potatoes sounded so much happier haha, and not to mention these are so delicious, that dare I say it’s like a party in your mouth? ey-oh!  Just kidding you guys (kind of) but seriously though, these Party Potatoes are downright addictive.  They’re sooo cheesy and creamy with that incredible buttery & crunchy top of the potato chips and Parmesan… y’all, seriously salivating even thinking about how delicious these are. 

This dish is hearty enough to stand on it’s own, but could absolutely be used as a side dish too.  I don’t want to give my 100% for sure guarantee, but pretty sure people will love you forever and ever if you make them this dish, just saying.  This is also a few more steps, but this is still a very easy and simple recipe, pinky swear.  Anyways, I hope you all had a wonderful long weekend and thank you so much for stopping by. 

butter, onions in your pan...


then add your flour…

then milk, cheese and sour cream after thickening up some…

now, add your hash browns…

mix all together…

then into your pan…

potato chips, parmesan and butter, all ready to be crushed up together…

then the potato, parmesan, and butter mixture on top of your hash brown mixture…

bake, bake, bake and enjoy!!!

Again… the recipe card has been malfunctioning and I have not heard back from the folks who run it, so I’m just going to put it all down below:

Ingredients:
8 tablespoons (1 stick) Unsalted Butter.
1 (28-32 Ounce) Bag of Frozen Hash Brown Potatoes, Shredded.
1 Medium Onion, Diced.
1/4 Cup All-Purpose Flour.
1 Cup of Milk.
2 Cups of Chicken Broth (You can use low-sodium if you like).
Salt & Pepper, to Taste.
1 1/2 Cups Monterey Jack Cheese, Shredded.
1 Cup of Full Fat Sour Cream.
1/2 Cup of Sharp Cheddar Cheese, Shredded.
2 Cups Kettle-Cooked Potato Chips, Crushed.
1/4 Cup Parmesan Cheese, Grated.
9×13 Pan.

Instructions:
Preheat your oven to 350 degrees F.
In a small bowl, crush up your potatoes chips, using your hands or a bag and rolling pin, toss in the Parmesan, mix together and set aside.
Either spray your 9×13 pan with non-stick spray or grease with a tablespoon of butter, set aside.
Go ahead and take your frozen potatoes out of the freezer why you prepare the rest of the ingredients.
In a large, deep pan on medium/high heat, melt 6 tablespoons of butter in it, add in your chopped up onion and stir together with the butter until the onions start to soften, no more than 5 minutes.
Put your flour into the onion/butter mixture and stir to incorporate, cooking for a couple of minutes, just making sure not to burn the flour.
Now whisk in your milk, and then the broth, making sure to get out of all the lumps.
Bring the mixture to a simmer allow to thicken, about 3-4 minutes.
Add your salt and pepper, then turn off the heat, then pour in your Monterey Jack, Sour Cream and Cheddar Cheese.
Now add your hash browns and mix it all together, then pouring that mixture into your 9×13 pan.
Melt the remaining 2 tablespoons of butter in a microwave safe dish, and pour over your crushed potato chips/Parmesan, mix together so the butter coats everything, then sprinkle on top of potatoes.
Cover your pan with aluminum foil and bake for 20 minutes, then remove the foil and continue baking for another 15 minutes or until the top starts to turn golden brown and is bubbling around the edges.
Serve hot and enjoy!!!

Filed Under: All Recipes, Dinner, Savory

Holly’s Junk Food Review Series: More Oreos

August 31, 2018 By Holly

Happy Friday, Happy Junk Food Review & Early Happy Labor Day y’all!!! So one of the lame parts about going to all the trouble of cooking, styling and photographing a bunch of delightful recipes & posts, is when you just don’t have the time to actually post them in a timely manner.  For example, the Oreos I am about to review were brand spanking new almost 2 months ago, and like every other junk food lover I was on the prowl for these things, straight up stalking Target and Publix on an hour by hour basis to get my greedy hands on these things.  Well, now that these Oreos aren’t really a novelty anymore, heck I don’t even know if you can still buy them (I think you can, but don’t quote me) this review may seem silly, but oh well, these were awesome and I want to share with y’all.

First, the pistachio Oreo thin…

these are looking super green…

Ok, so Pistachio is not necessarily a flavor I gravitate towards, I like the nuts that’s what she said but I don’t usually get pistachio flavored anything.  It was too much of a novelty to pass up these Oreos, so I figured what the heck.  Overall, these were fine, I thought they had more of an almond extract taste at first, but then a true pistachio flavor came through after chewing on it a bit, which is pretty impressive considering that these are the thin kind and carry much less filling.  If you love pistachio flavored things, you’ll really like these, if you’re like me and it’s not your favorite I wouldn’t go out of my way to get them. I give these a 6 out of 10.

Next we have the Chocolate Peanut Butter Pie Oreos…

look at that awesome filling…

First, I have to say I got super lucky in finding these, it really was a fluke, because as I mentioned earlier I was stalking all of these like crazy, and nobody had any of these Chocolate Peanut Butter Pie Oreos left.  I just happened to be in the grocery store the day after I officially gave up trying to find these and there it was, one lonesome bag on the shelf.  I literally gasped (I’m so dramatic sometimes) and snatched it off the shelf before anyone’s Oreo radar went off in the store and I was attacked (again, dramatic).  

So, they say these are Chocolate Peanut Butter Pie flavored, and yes I did taste the chocolate and peanut butter but let’s be real, you can’t fake a pie flavor in a cookie.  Overall these are really good, these are more peanut butter flavored than chocolate and peanut butter, and you’re certainly not going to mistake these for a Reese’s Cup or a pie, but these are tasty, I recommend you give these guys a whirl.  These get a 7.5 out of 10.

Now for the Strawberry Shortcake Oreos, and the ones I was most excited about, hence why they popped up in my alerts on Target and they were immediately ordered haha.


Look at all of that goodness…

Obviously, I have saved the best for last with these deliciously pink bites of awesome.  I will preface this with that strawberries since I was a little girl, have not only been one of my favorite fruits, but also one of my favorite cake and candy flavors, so there maybe some strawberry bias in this review.  Y’all these are delicious!!! the moment I opened the bag, the strawberry smell hit me in the face like a ton of bricks and I loved every second of it.  The strawberry filling is perfectly sweet with tons of flavor, and they even put in little flecks of strawberry in the cookie part, droool.  I honestly feel like even if you’re not the biggest fan of strawberry flavored items, you’ll still love these, and I’m beggginnggg Nabisco to make these a permanent flavor.  Trust me this bag of wonderful cookies didn’t last the hour day haha.  These get a 10 out of 10 and for now, are my favorite flavor ever.  

Anyways, thanks so much for stopping by and have a wonderfully fun and safe Labor Day Weekend!

Filed Under: All Recipes, Junk Food Review

A Labor Day Cocktail

August 29, 2018 By Holly

Happy Wednesday y’all!!! So, per usual I’m going to keep things real with y’all and admit that this cocktail was originally supposed to be posted for The Fourth of July, weeelll, I actually moved on The Fourth and I just plum forgot about it, oops. 

Sooo, we can’t let a great recipe, especially a cocktail recipe, go to waste, now can we? As you can see from the photos, the general red, white and blue screams Fourth of July, but hey, Labor Day is an American holiday so it totally works too. 

At the very least you guys, this cocktail contains all of 3 ingredients, so it’s not like there’s a lot of work involved, which obviously is the last thing you should be doing on Labor Day. 

I’m keeping this blog post nice and short today like me, so enjoy some photos of the drink you definitely need in your life this coming long weekend.  Thanks so much for stopping by and I hope you have a fantastic day!

The recipe card for my blog post has decided not to work, so here are the ingredients and instructions:

2 Ounces of Vodka.
4 Ounces of Cranberry Juice.
4-8 Ounces of Ginger Ale.
Lime, for Garnish if you want.

Place your Vodka and cranberry juice in your glass, stir together.

Fill the rest of the glass with Ginger Ale and enjoy!

Feel free to add more vodka for a stronger cocktail.

Filed Under: All Recipes, Drinks

Holly’s Junk Food Review Series: 5 Daughters Bakery Doughnuts

August 23, 2018 By Holly

Happy Happy Thursday y’all!!! and Happy Junk Food Review Day! 😀

It’s no secret that my dessert/cheat day obsession is doughnuts, so obviously I’m always on the prowl lookout for new and exciting doughnut places.  Don’t get me wrong, Krispy Kreme is the OG and they will always be a favorite of mine due to their delicious consistency, but there’s something to be said about a local doughnut shop.

Due to the whole doughnut stalking problem that I just mentioned, I had already heard of 5 Daughters Bakery because they’re known for their ‘100 layer doughnut’ which is basically one big ass giant cronut.  Well, I figured I would give them a try if I was ever back in Nashville again, then low and behold, one day I heard angels sing the totally amazing news that they were opening one at Ponce City Market, right here in the ATL, which ironically is where my gym is haha.  Obviously I knew I had to get there ASAP my next cheat day when they opened. 

Here’s their cute doughnut box, which BTW only holds 6 of these things because they’re so massive…

How glorious do these look?…

Here’s their most popular one, the vanilla cream frosted & vanilla cream infused (oh yes)…

Cut in half (you can’t see it, but this is filled with that awesome cream)…

Alrighty, now to the review…so basically these are absolutely incredible.  You would think that as enormous that these are they would be dry, but they’re totally not.  They’re buttery, fluffy and absolutely decadent with that incredible swiss buttercream frosting on top and bonus, they are filled with it!  I think they may have created the most perfect doughnut (well for me anyway), it takes the best of a croissant, a doughnut and they made the most perfect light and fluffy buttercream (not too sweet at all, I promise) to go with it.  My absolutely only complaint is how dang expensive these are.  Since I knew I wanted to buy enough to share with friends & family, try all of their flavors and do a review of them, I wanted to pre-order them to make sure I got what I wanted because I know they sell out really quickly.  Well, their rule is that pre-orders can only be made if no less than 3 dozen are bought, ok fine, but that was almost $200!!! (seriously, I started to wonder if they’re made by unicorns or something, sheez) I probably looked like the biggest maniac when I left their with 7 boxes and 2 giant bags to carry them haha.  What I do suggest if you are near one of these delectable bakeries, is just get there prior to them opening and pick out some good ones, and trust me, they’re all good.  Aside from being ding dang expensive, they still get a 10 out of 10.

  Thanks so much for stopping by and have a wonderful day!!!

Filed Under: All Recipes, Junk Food Review

Fried Peanut Butter & Jelly Sandwich

August 21, 2018 By Holly

Happy Happy Tuesday!!! I’m back! Again! haha, seriously y’all, I promise I’ll start posting more regularly again, for reals I’ve been the worst food blogger ever, but life has been super duper busy, which I’ll take, because honestly I get bored easily haha. 

Anyways, I believe most kids, and parents are back into the swing of things for the new school year by now and can I just say how happy I am that I’m done with school… even thinking about it sends bouts of anxiety coursing through me haha.  I got to thinking the other day of things I actually miss about being a kid in school, and obviously the whole not being an adult part was pretty great, getting to see your friends everyday was cool, but hands down my daily peanut butter and jelly sandwiches always brought a smile to my face at lunch. 

I still crave peanut butter and jelly sandwiches, and it got me wondering if I could amp up one of my fav time kid foods to be more adult like–no, I didn’t put alcohol in this, but that’s something to think about–and I came up with frying one of these bad boys.  Now you can’t just throw something in a buttery pan and call it fried, I knew it had to be coated in something equally awesome and I figured Frosted Flakes would do the trick–so much for being adult like. 

Y’all, can I just say how incredibly, insanely awesome this fried PB & J turned out? Holy moly, the crunchy outside, the melty soft inside, drooollll.  I also got a little fancy and bought a fresh baked loaf of bread, unsliced so I could cut my own gigantic slices, and I’m so happy I did, because more is usually better with food haha.  Anyways, I hope y’all get to enjoy this soon and thank you so much for stopping by, have a wonderful day!

First, peanut butter and jelly onto your bread…

get your crushed up Frosted Flakes and egg wash ready for dipping…

fully coat your sandwich in the egg wash…

then fully coat in the Frosted Flakes…

get the first side perfectly grilled…

then the other side…

and enjoy!!!

Fried Peanut Butter & Jelly Sandwich
2018-08-20 09:07:16
A new and delicious take on the classic peanut butter and jelly sandwich.
Write a review
Save Recipe
Print
Ingredients
  1. Thickly sliced bread (or a regular bread of your choice).
  2. 1-2 Cups of Frosted Flakes Cereal, Crushed.
  3. 2 Eggs.
  4. 2-3 Tablespoons of Milk.
  5. Peanut Butter.
  6. Jelly.
Instructions
  1. Measure out 1-2 cups of Frosted Flakes and crush them up with your hands, place on a plate and set aside.
  2. In a small bowl, whisk up your eggs and milk until well combined, set aside.
  3. Place a large pan on medium heat, melting a few tablespoons of butter into it.
  4. Take your slices of bread and put your desired amount of peanut butter and jelly on either side, then take the whole sandwich and dip into your egg wash on each side, then dip into the frosted flakes, making sure to heavily coat.
  5. Now place your sandwich into your pan for a couple of minutes on either side (or until desired crispness is reached), slice in half and enjoy!!!
Notes
  1. I bought a fresh baked loaf of bread that wasn't sliced, just so I could control the thickness of the slices, if you can do this as well I highly recommend it, it was ridiculously decadent.
By Holly
HOLLY'S CHEAT DAY https://www.hollyscheatday.com/

Filed Under: All Recipes, Dessert, Dinner

3 Ingredient Espresso Mousse

July 24, 2018 By Holly

Happy Happy Tuesday Y’all!!! With my incredibly long absence from this food blog, you might have surmised that I’ve just been super duper busy, and you would be correct.  Since the last time that I posted, I have wrapped 1 show, started and wrapped another show, and I have just started a new show and to top it all off, I have been moving all at the same time, with no time off… so basically I have been running around like a crazy person for weeks. 

Believe me, I’m not complaining to not having had any time off, when you work in the freelance world, that’s ideal, but I have had little to no time to sleep, let alone write a post haha.  So basically, please forgive my long absence and if any of you too, have been burning the candle at both ends, but have a crazy desire for a homemade dessert, well, you’re in luck. 

As the title says, this is a 3 ingredient recipe, but don’t let that make you think that this will be lacking in flavor, because oh boy, this stuff is phenomenal.  As a coffee and espresso lover, this dessert is so in my wheelhouse.  The small amount of espresso used in this recipe gives just the perfect amount of coffee flavor, and the deliciously whipped cream is soo smooth and decadent, droool y’all. 

A quick heads up, when you cook the espresso with the sweetened condensed milk, it’s going to be ugly as sin, but don’t worry, it’s delicious and the heavy whipping cream will whip the ugly right out of it haha.  Also, since it’s hot as Hades pretty much everywhere, feel free to throw this stuff in the freezer for an easy homemade ice cream, you’re welcome.  I hope y’all are all having a fantastic week so far and thank you so much for stopping by.     

instant espresso placed into saucepan with sweetened condensed milk…

all cooked together and ready to get chilled in the fridge…

the unattractive looking espresso/condensed milk in your mixing bowl…

heavy whipping cream into your bowl too…

then whisk the heck out of it until stiff peaks form…

then enjoy!!!

3 Ingredient Espresso Mousse
2018-07-24 07:40:20
Deliciously easy mousse, made with only 3 ingredients you probably already have.
Write a review
Save Recipe
Print
Ingredients
  1. 1-14 Ounce Can of Sweetened Condensed Milk.
  2. 1 Pint of Heavy Whipping Cream.
  3. 1 Tablespoon of Instant Espresso.
Instructions
  1. In a small saucepan on low-medium heat, cook your sweetened condensed milk with your instant espresso until well combined, less than 5 minutes.
  2. Place your condensed milk/espresso mixture in the fridge for about 30 minutes or until cooled.
  3. Now with a handheld or stand mixer with whisk attachment, (I recommend placing your mixing bowl in the freezer for a few minutes before using) pour your heaving cream into your mixing bowl, along with the espresso/milk mixture and whisk until stiff peaks form.
  4. Serve immediately, or freeze it for a homemade ice cream, and enjoy!!!
HOLLY'S CHEAT DAY https://www.hollyscheatday.com/

Filed Under: All Recipes, Dessert

REPOST-Funfetti Cake Batter Frosting

May 30, 2018 By Holly

Happy Happy Wednesday y’all!!! and I’m going to be super lame and say Happy Birthday to me! Since it’s my birthday I wanted to repost a favorite fun recipe I did last year.  This frosting is so colorful, fun, easy to make and so, so delicious, I mean, you can’t go wrong with lots and lots of sprinkles!!! Anyways, y’all enjoy this wonderful recipe, thank you so much for stopping by and have a fantastic day!!! 

Happy Happy Tuesday everybody!!! Y’all, I’m way excited to share this recipe with you guys today, not just because this is an easy recipe,  but because it’s frosting… just frosting!!  Frosting is one of my absolute favorite things in the whole world to make homemade.  I know, you can totally buy frosting pre-made in those cute little cans, and that stuff is definitely tasty, but let’s face it, not nearly as delicious as the real thing. 

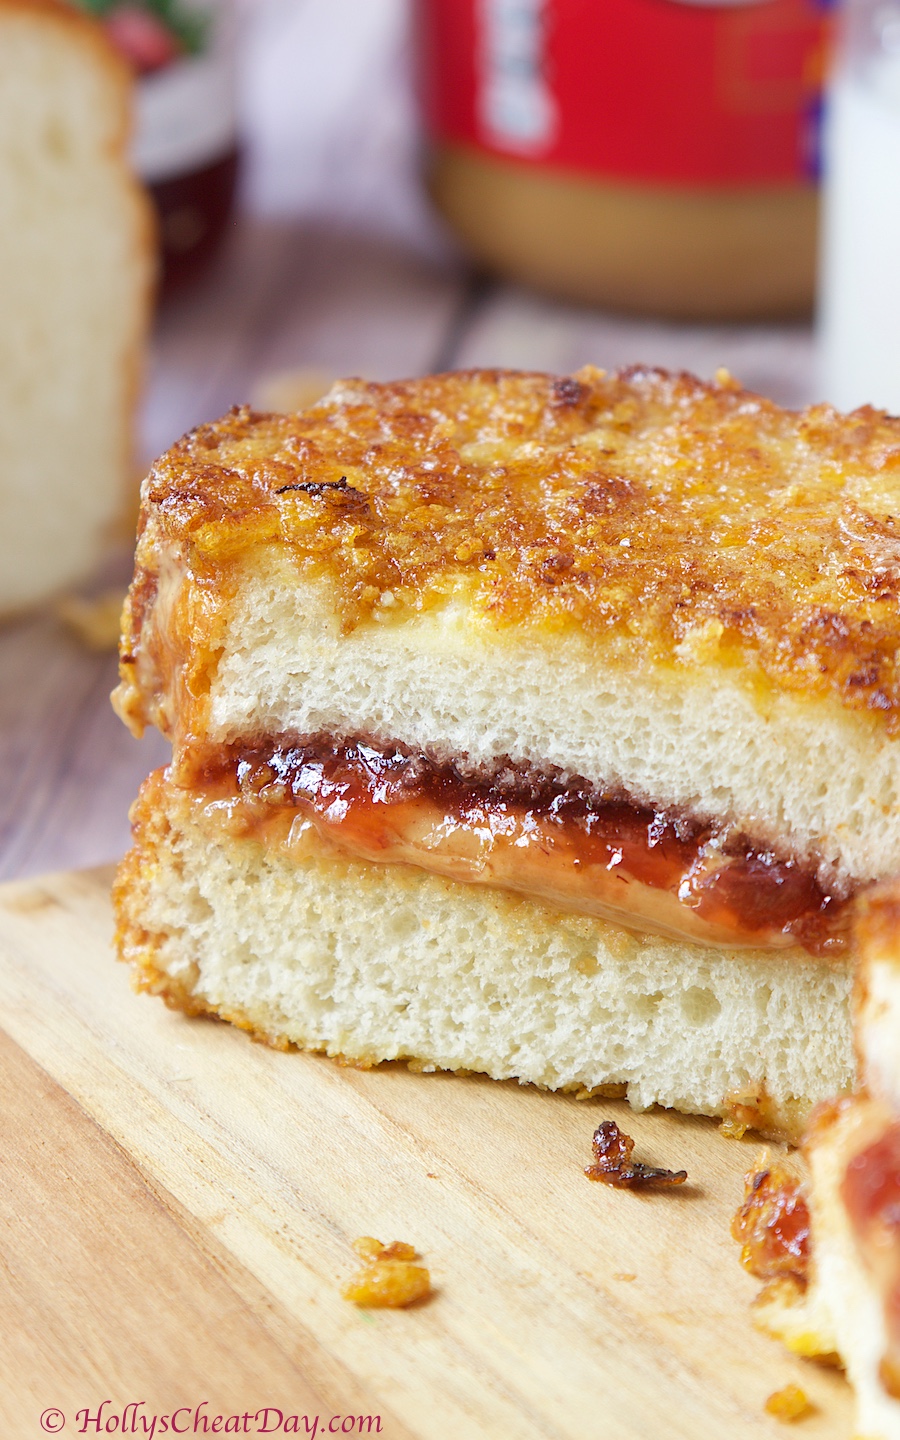
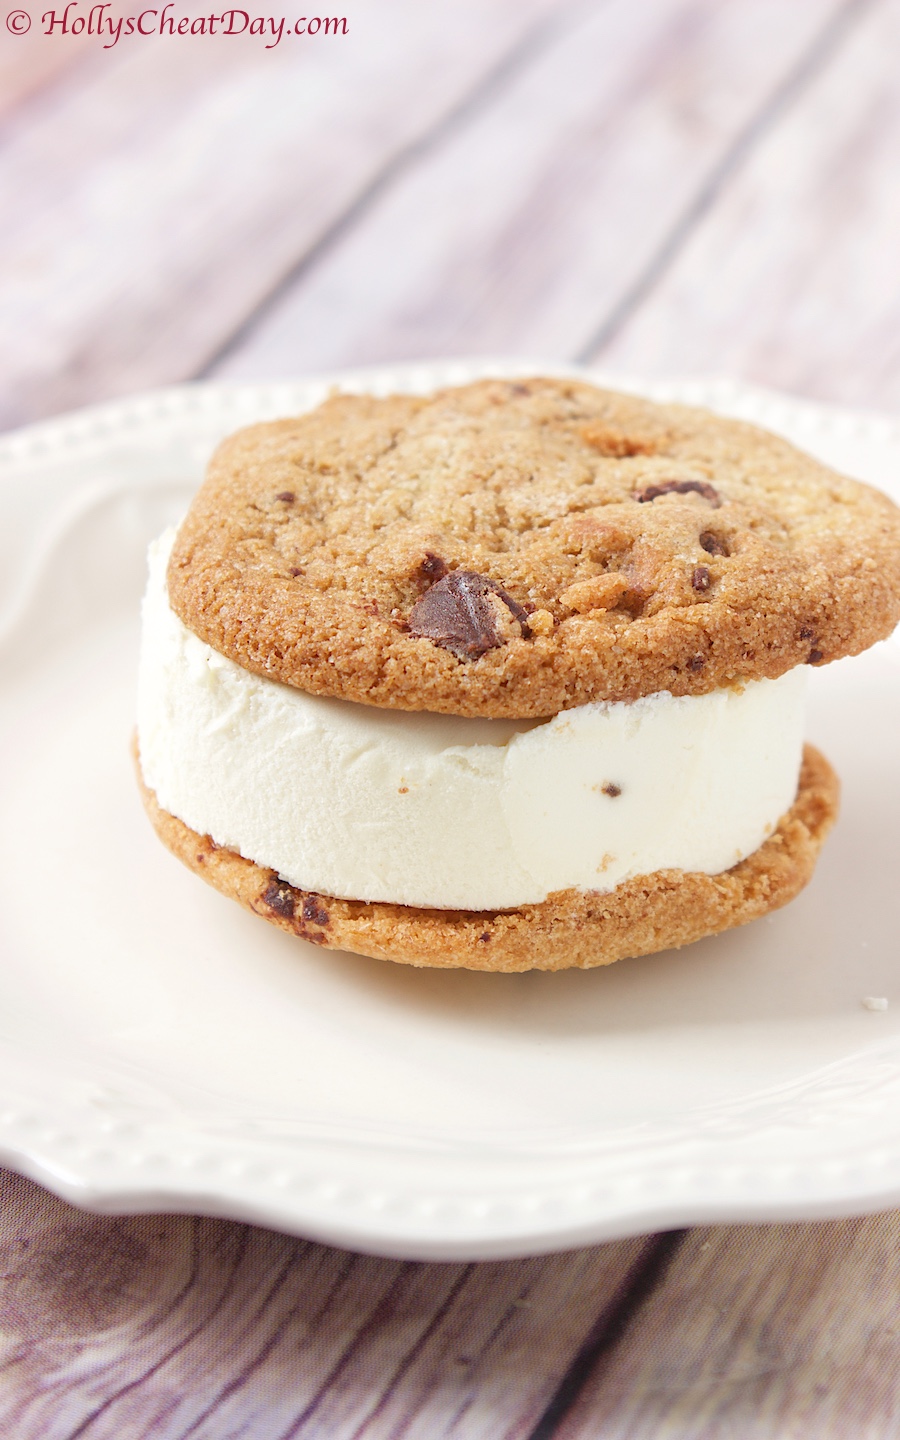
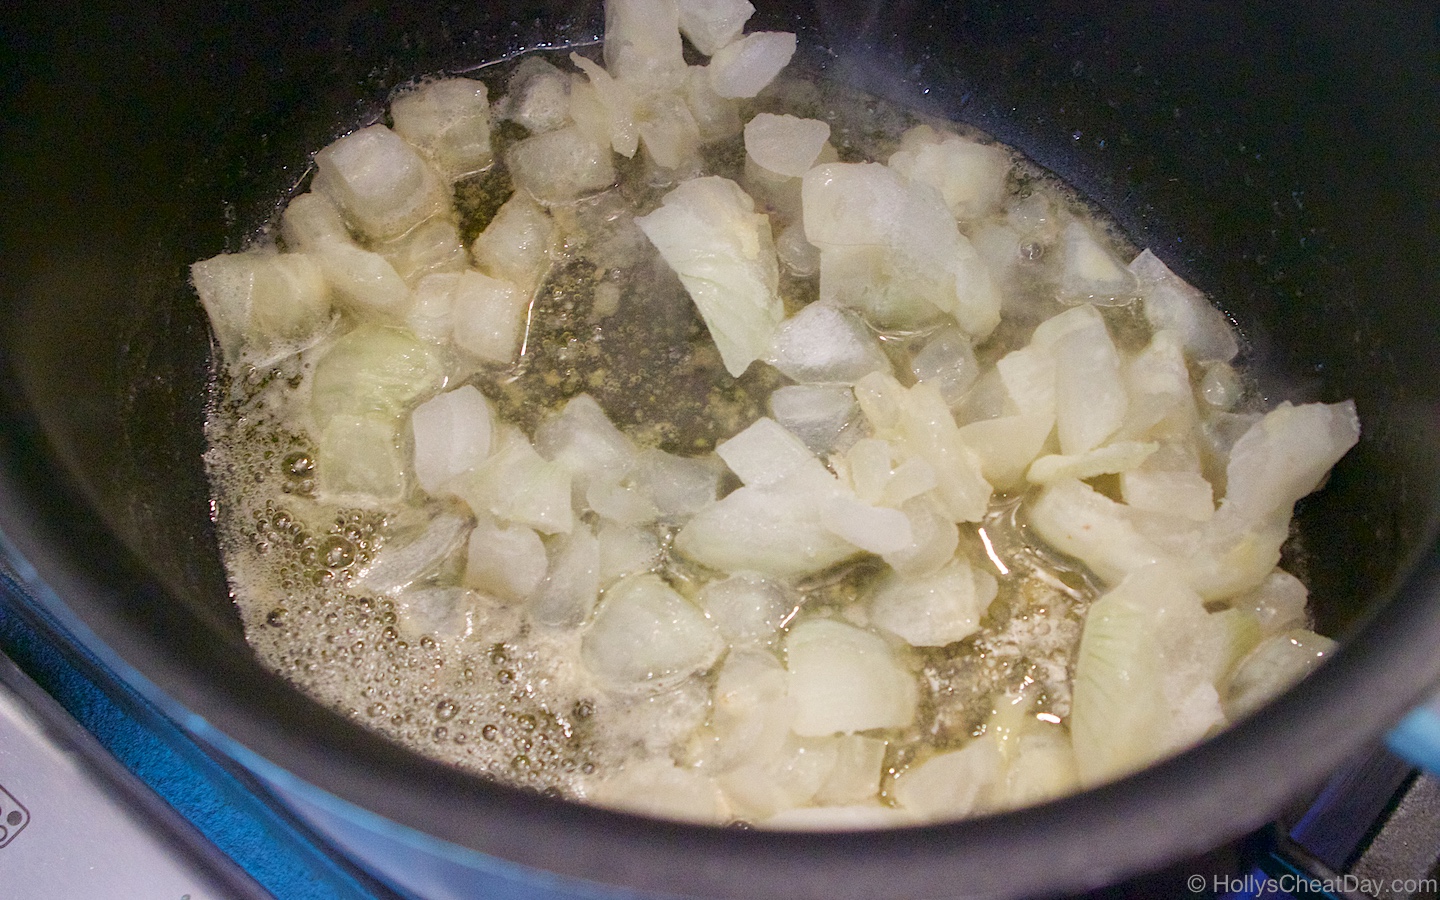
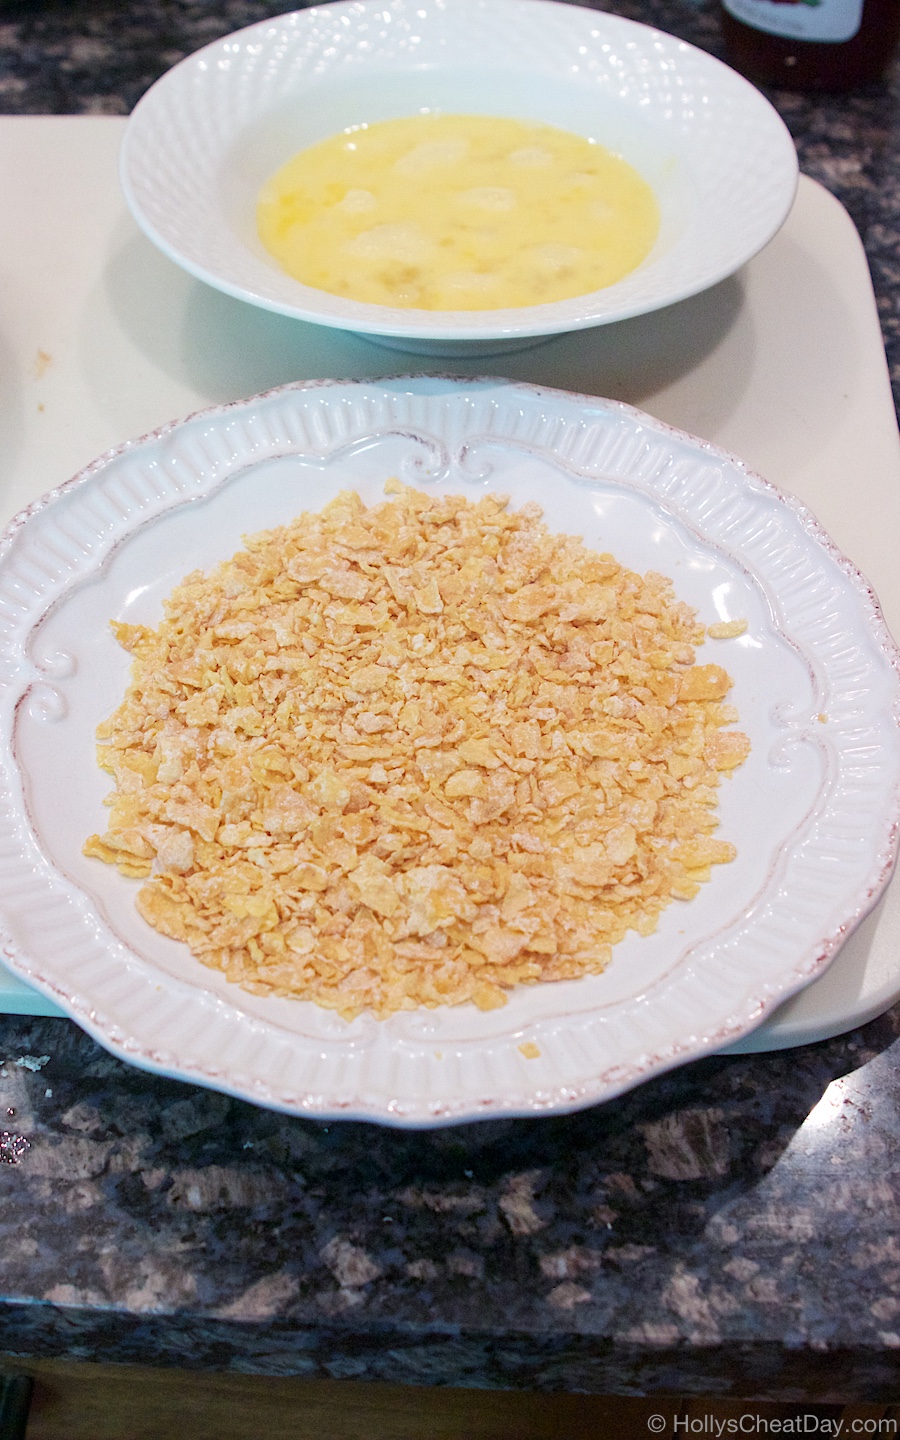
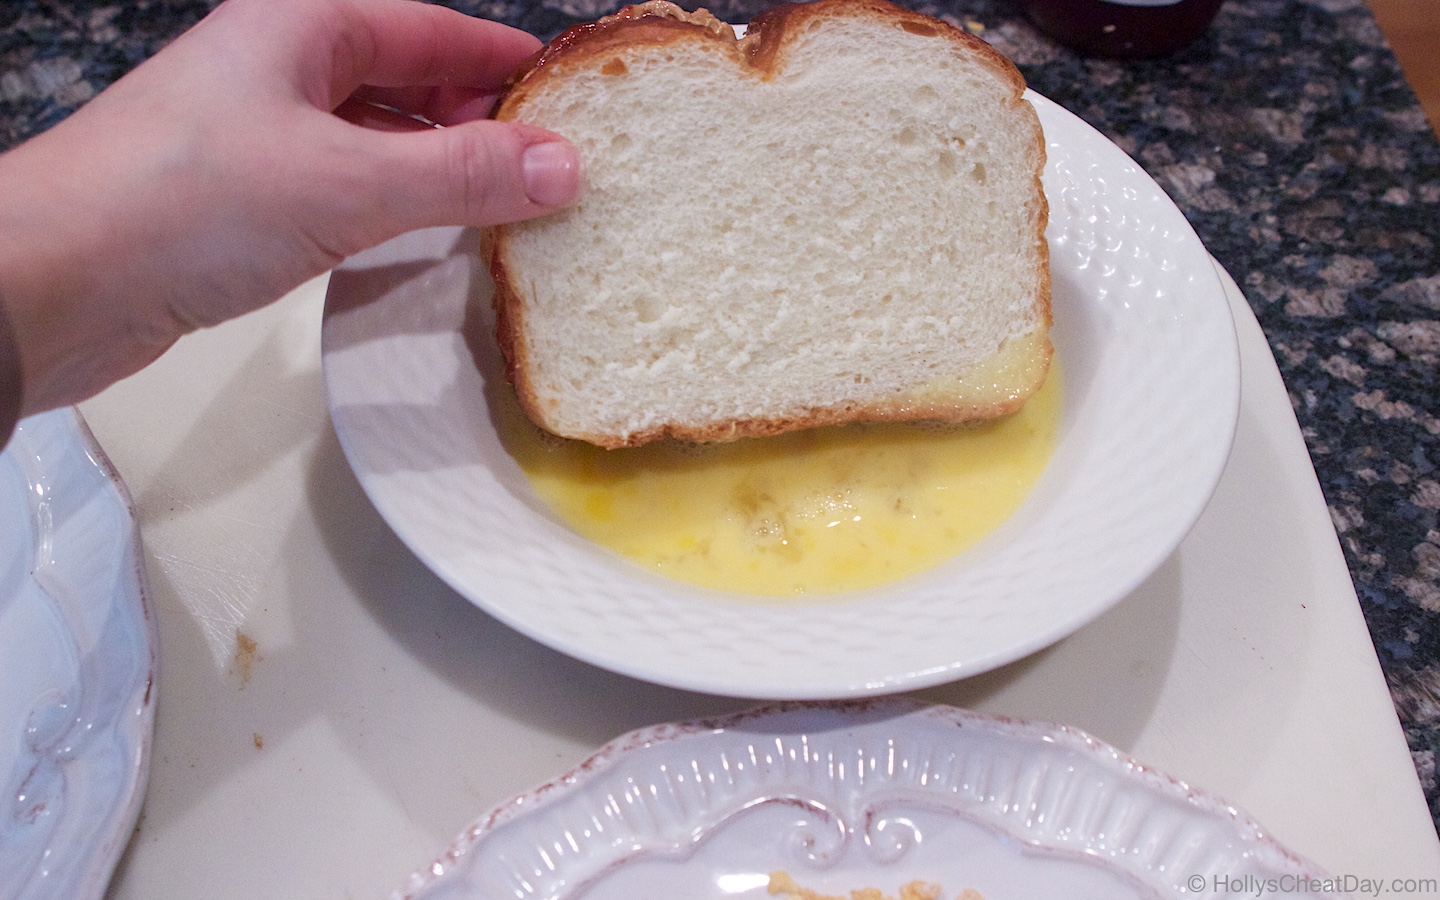
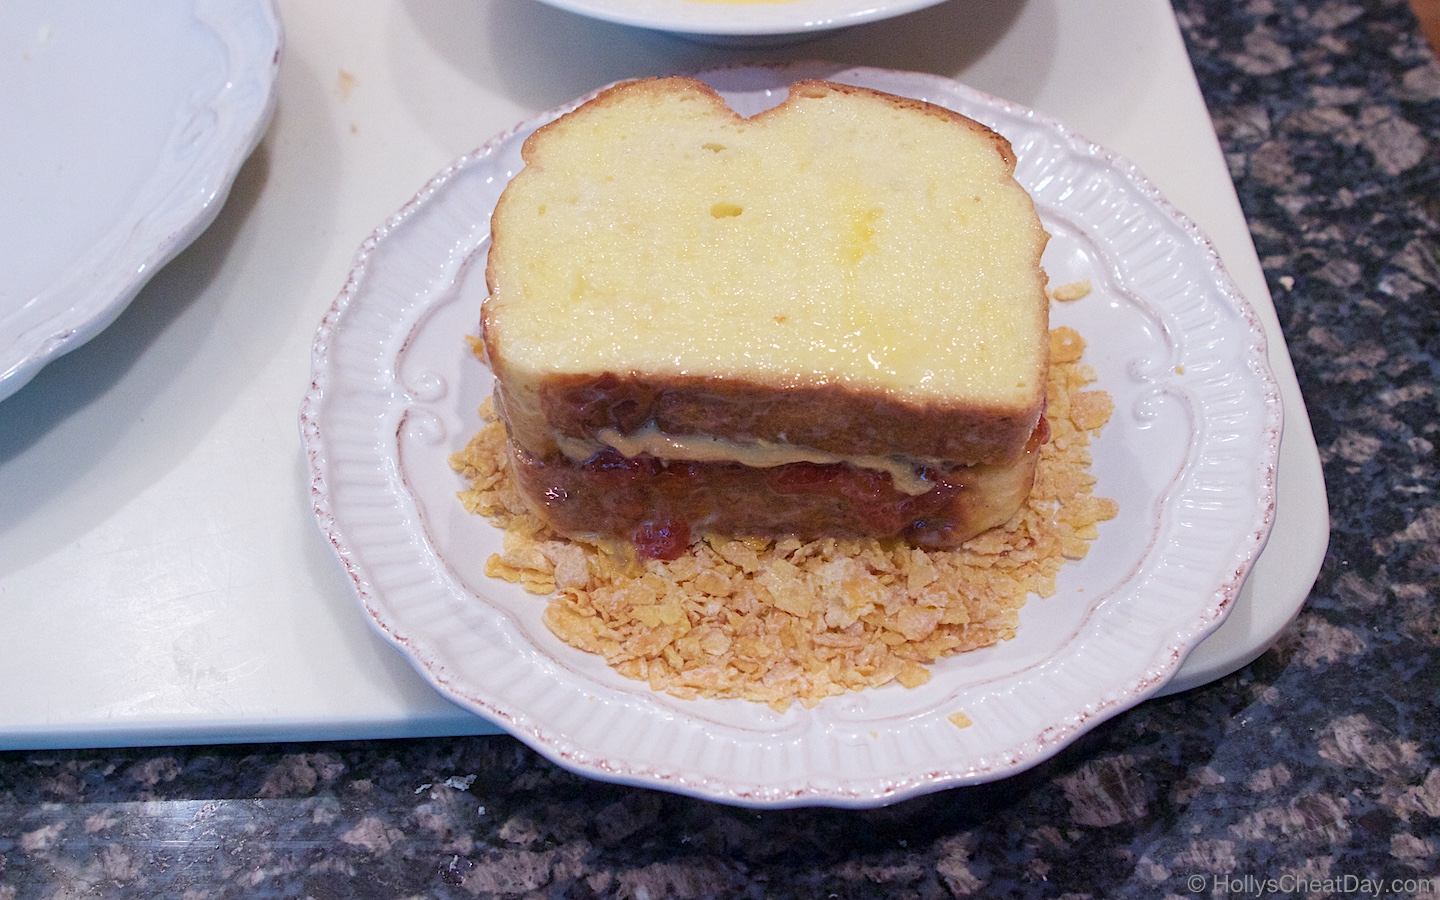
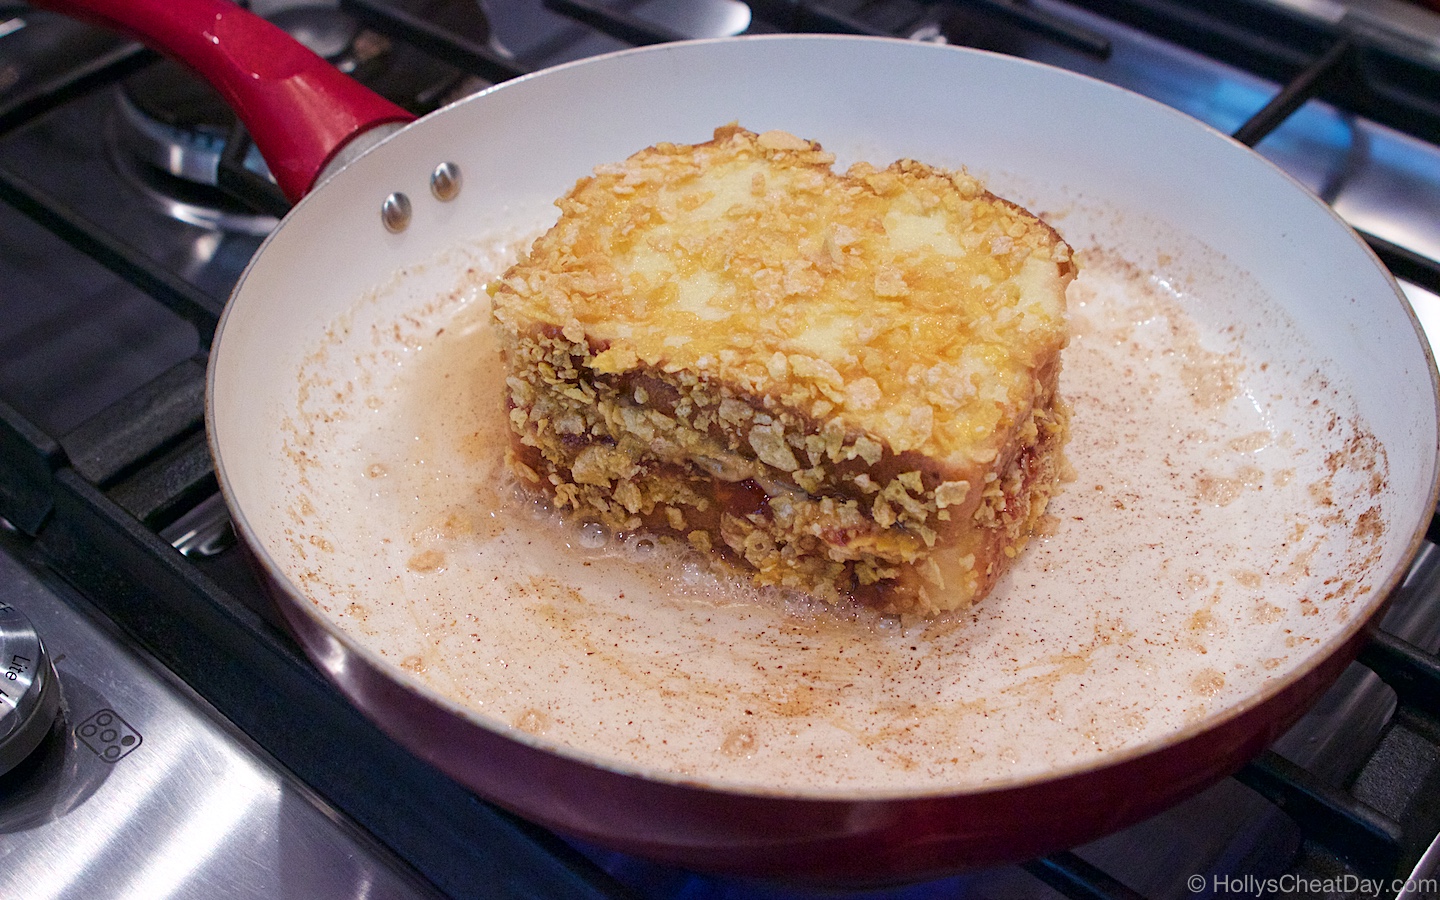
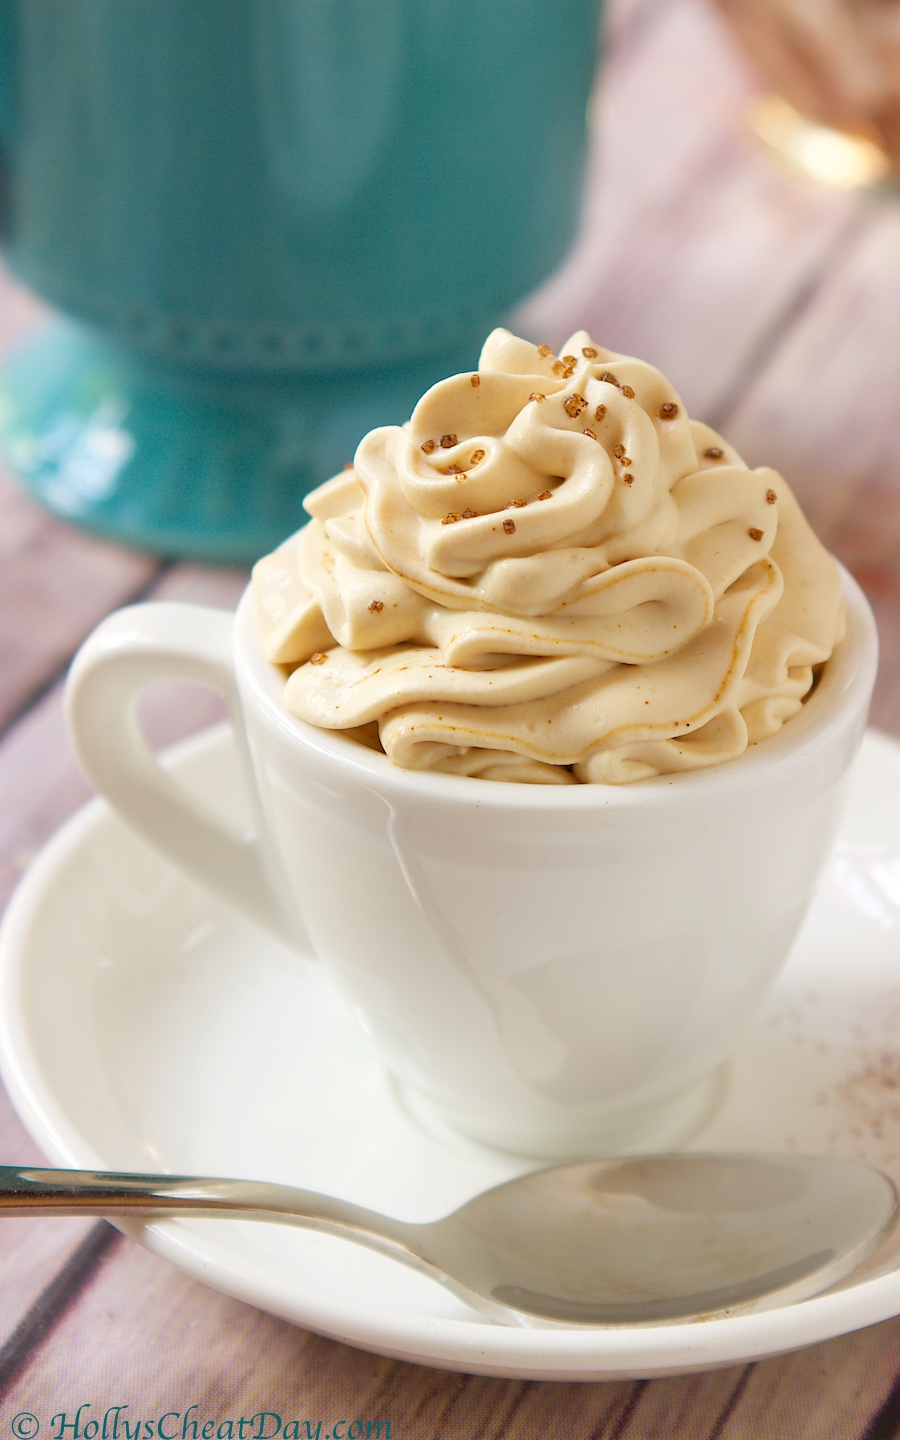
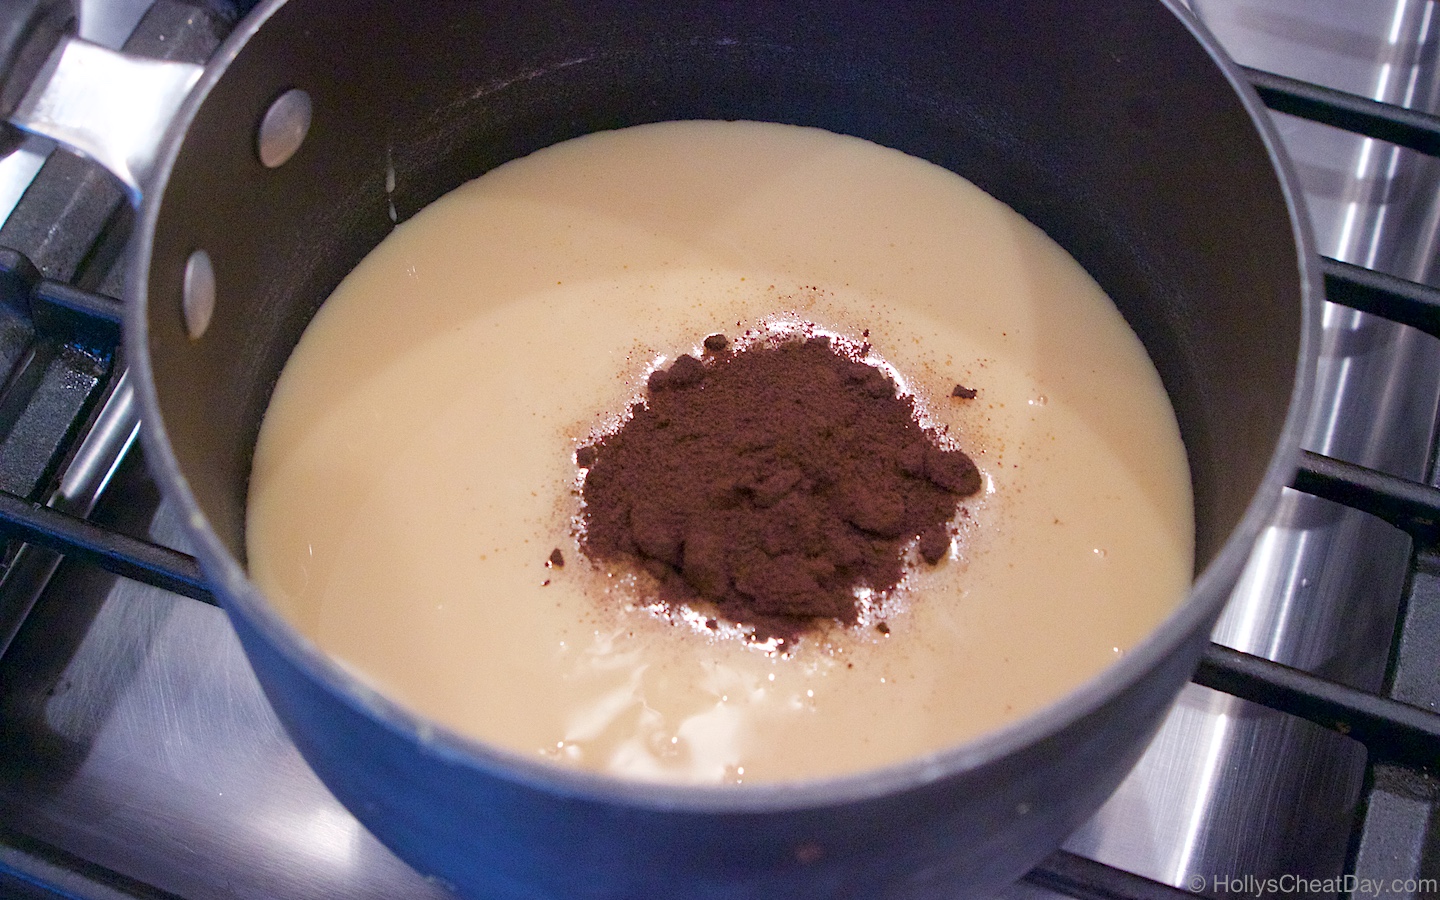
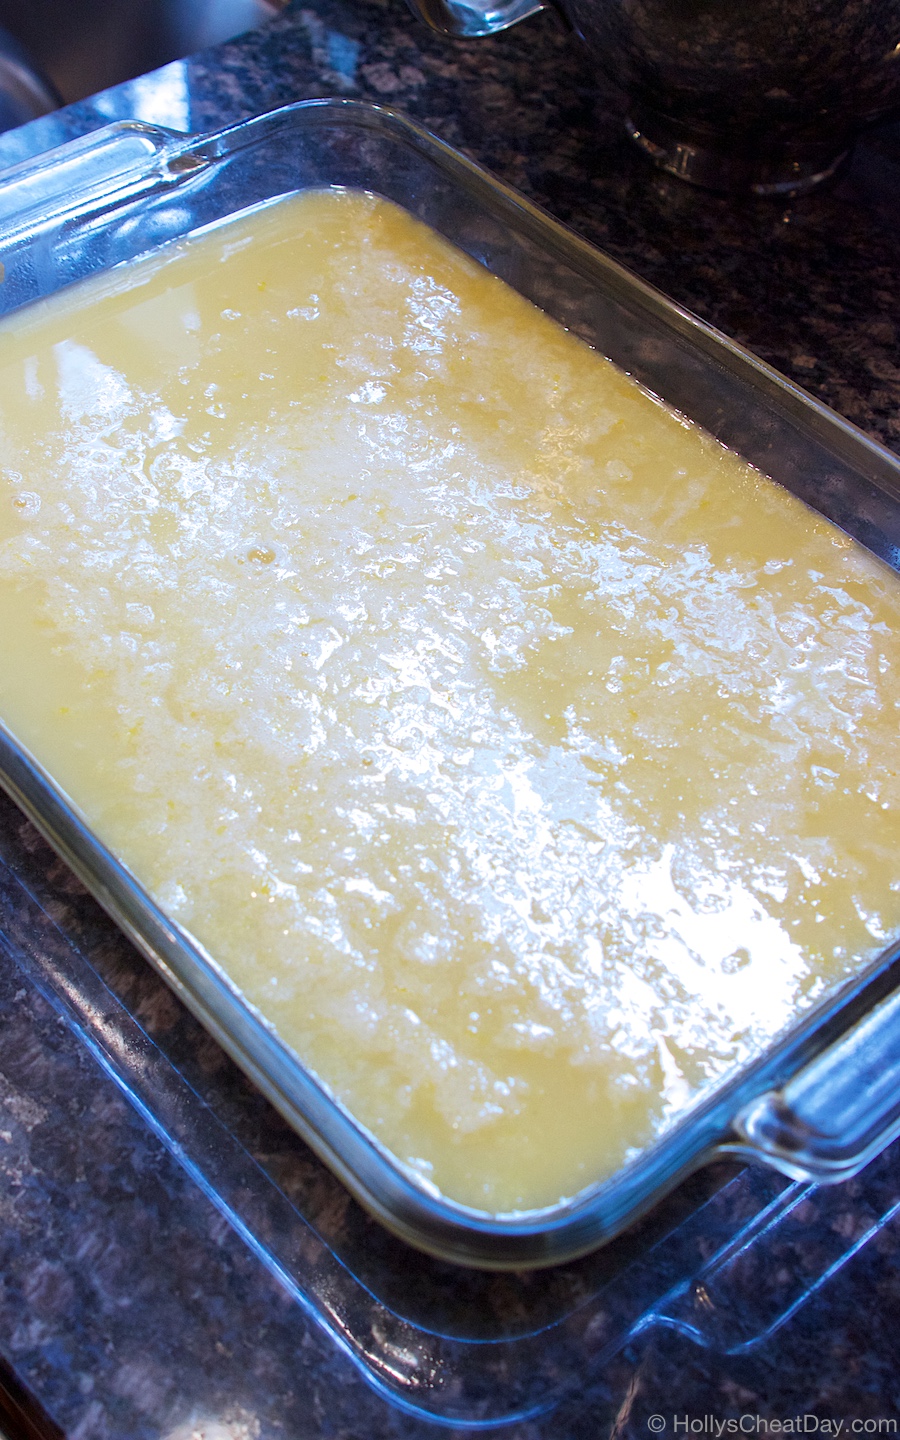
I love that you can easily tweak your frosting recipes with a little this and a little that until you get it juuust right.  That is exactly what I did with this recipe, hence the hodge podge order of my ‘how to’ pictures, I just kept adding to it what it needed to get it to the exact flavor that I wanted (but simplified in the recipe section, don’t worry). 

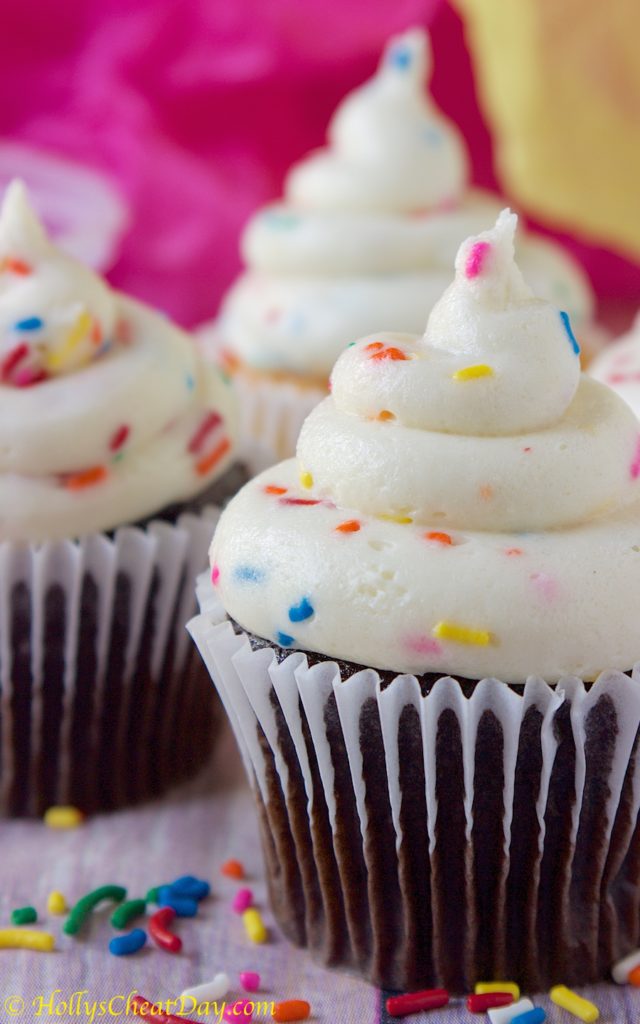
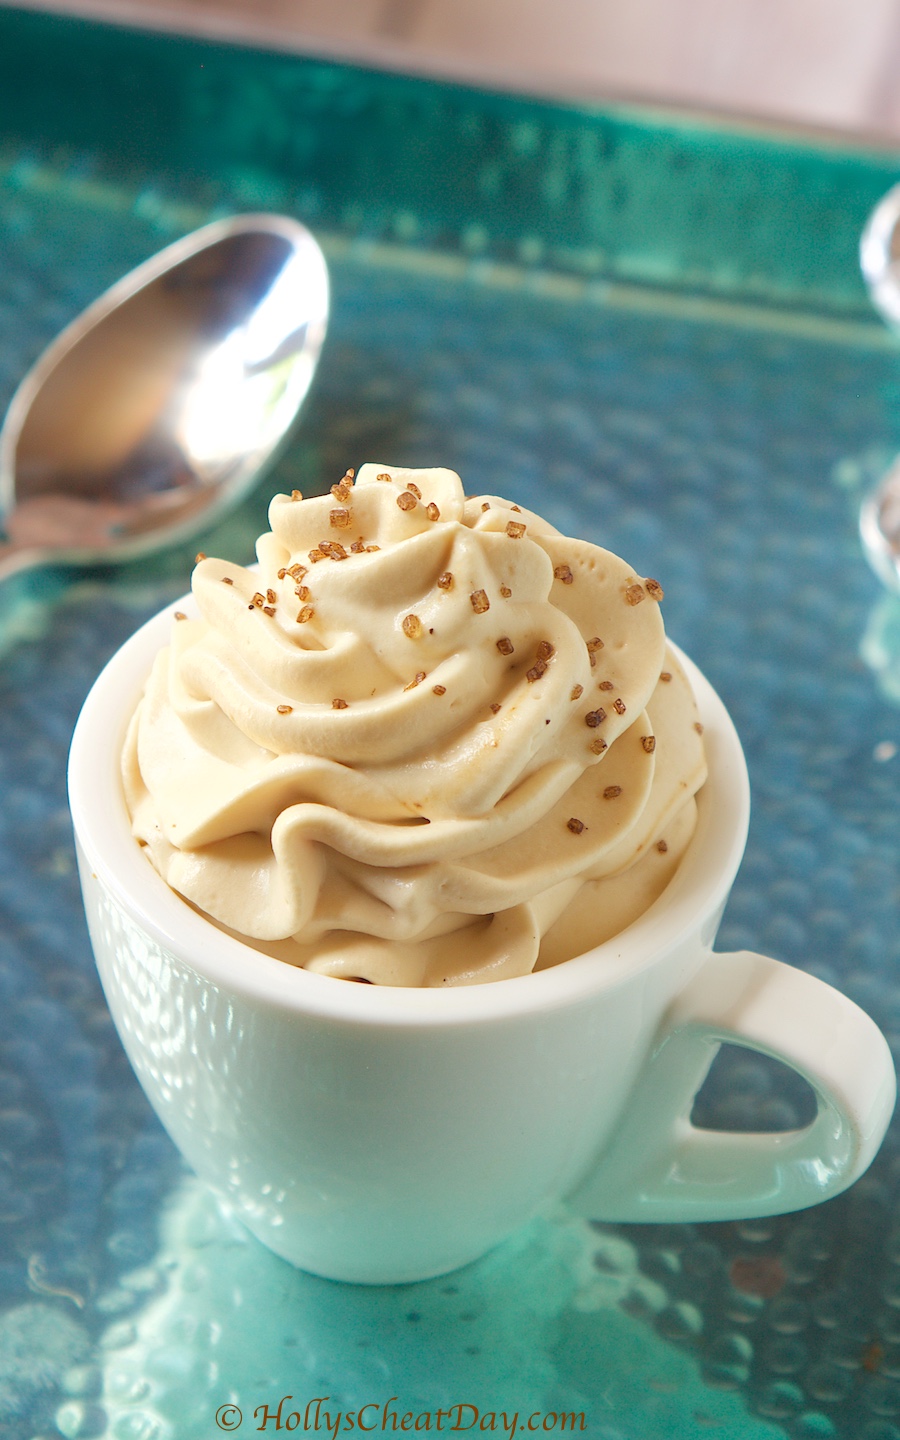
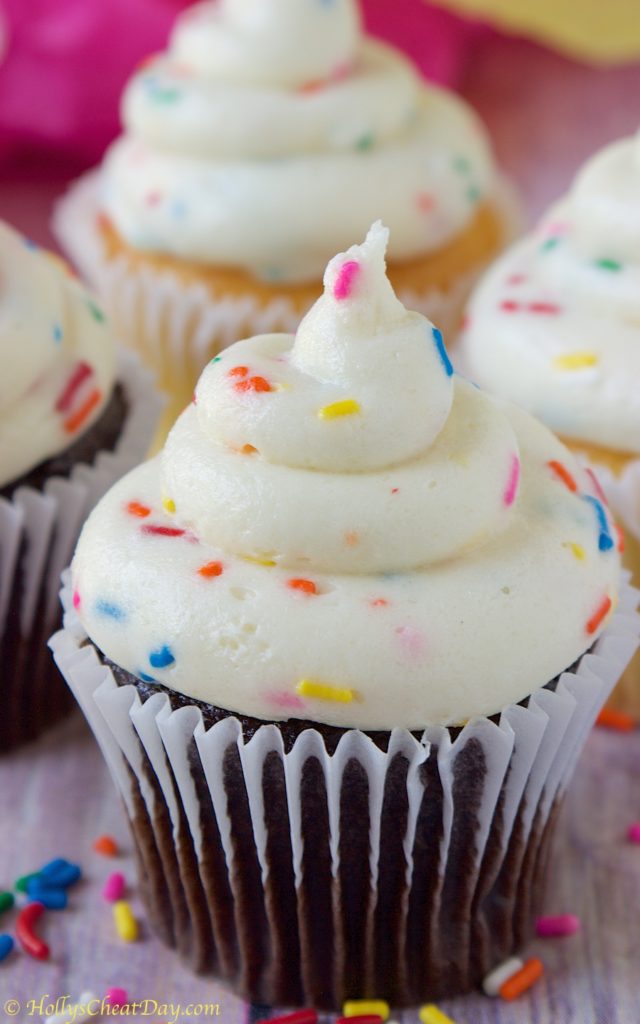
You guys! you don’t even know how amazing this frosting is! OMG it tastes just like funfetti cake batter, if I didn’t think I would go into insulin shock be sick, I would have eaten every freaking bite of this stuff with a spoon, or you know, a shovel.  Publix totally hooked me up with some naughty naked vanilla and chocolate cupcakes, and I piled about a pound of this absolutely incredible frosting on every single one. 

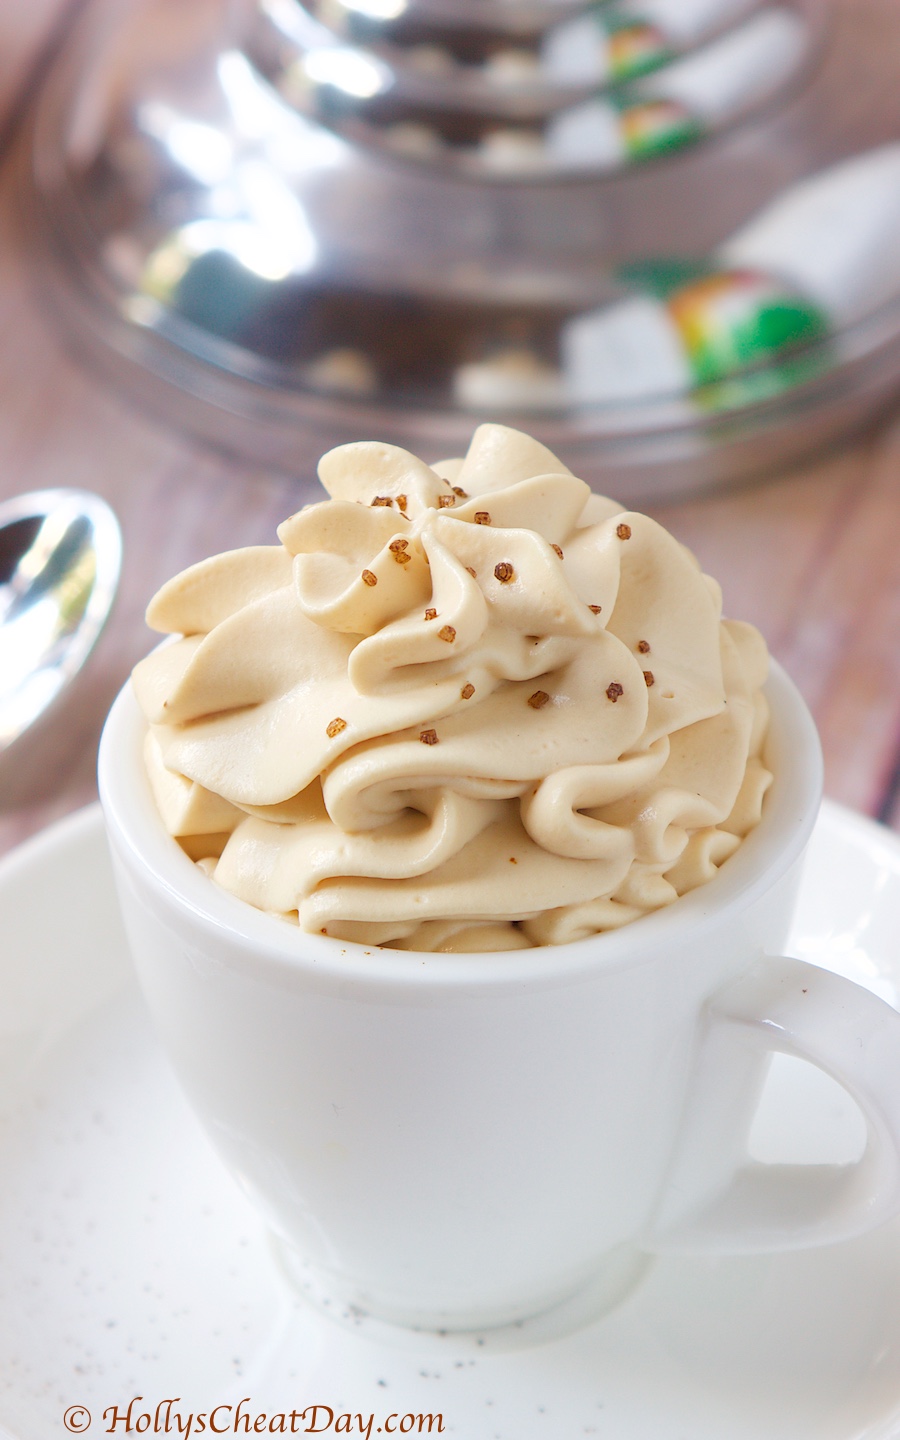
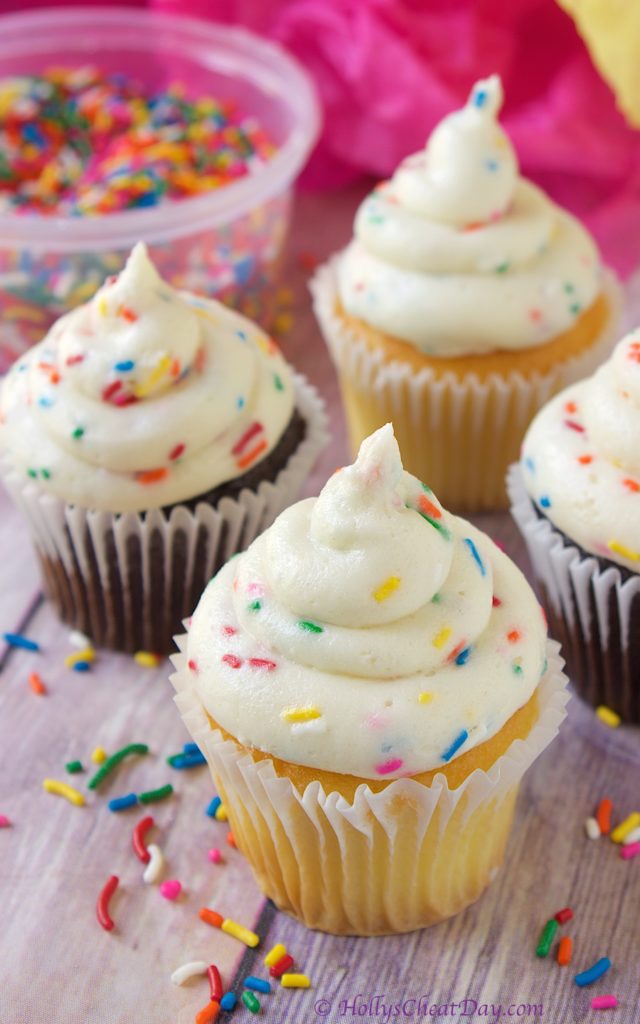
Which one tasted better? That would be like picking my favorite child (you know, if I actually had kids) because this frosting made both vanilla and chocolate cupcakes taste amazing either way.  You totally need this frosting on every single cake item in your life, or just in a spoon.  I promise you will love this.  Thank you so much for stopping by and I hope you have a wonderful day!!!  

but first, butter!

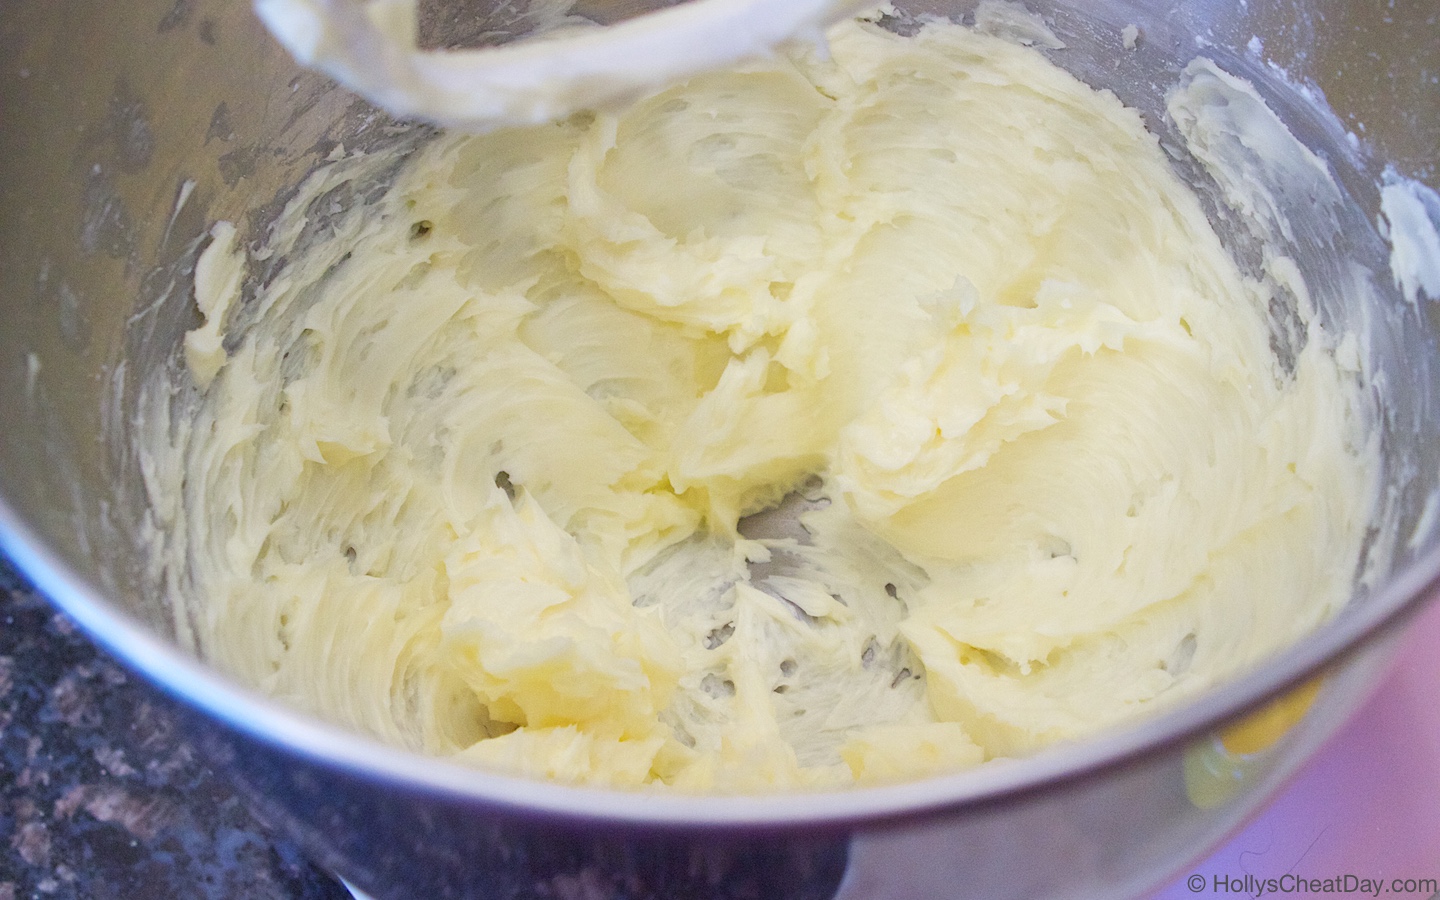
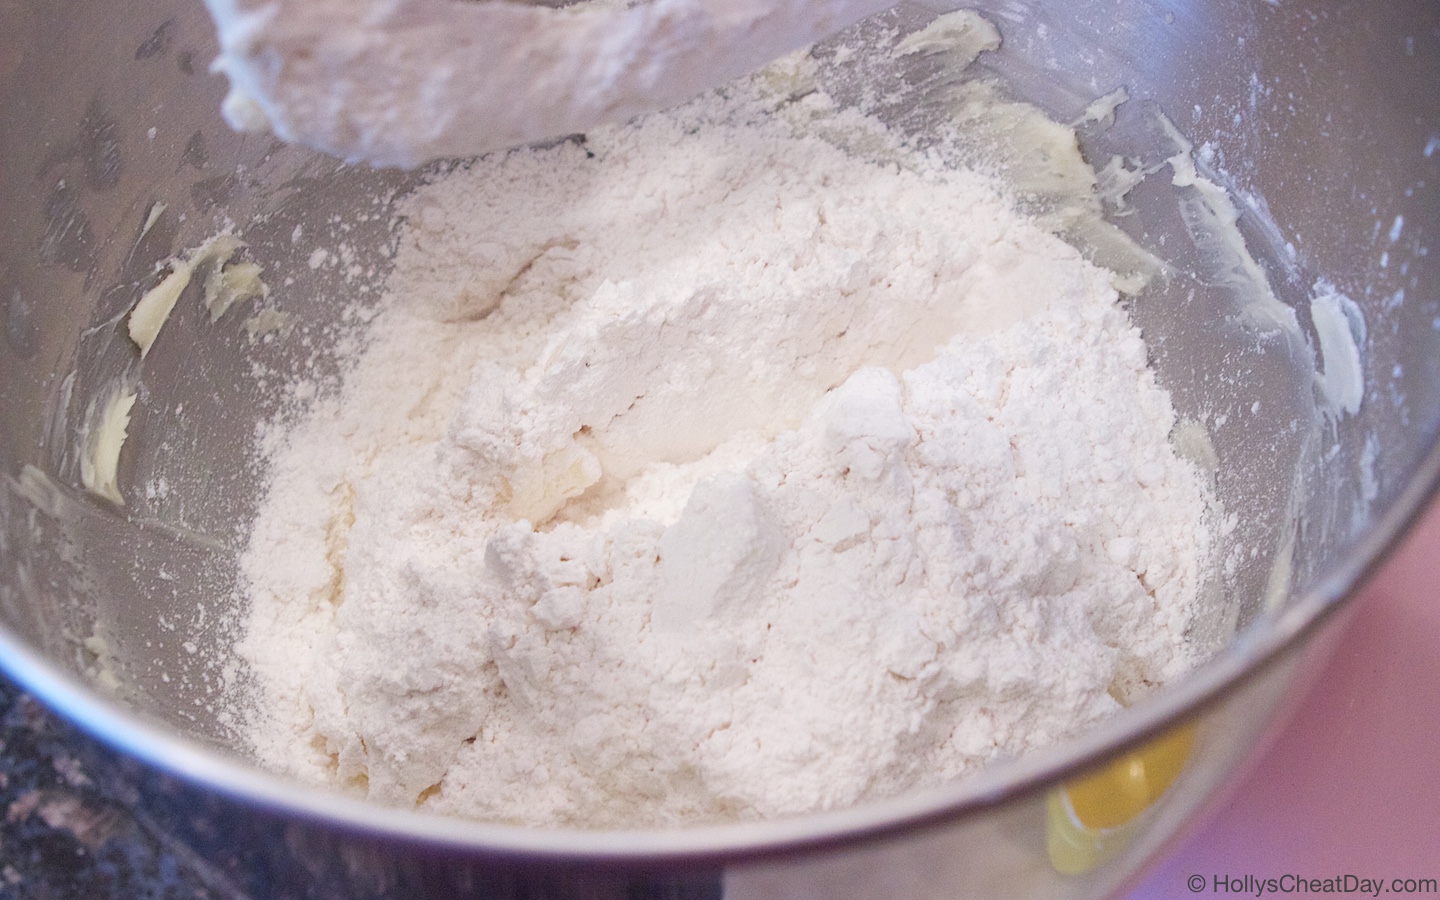
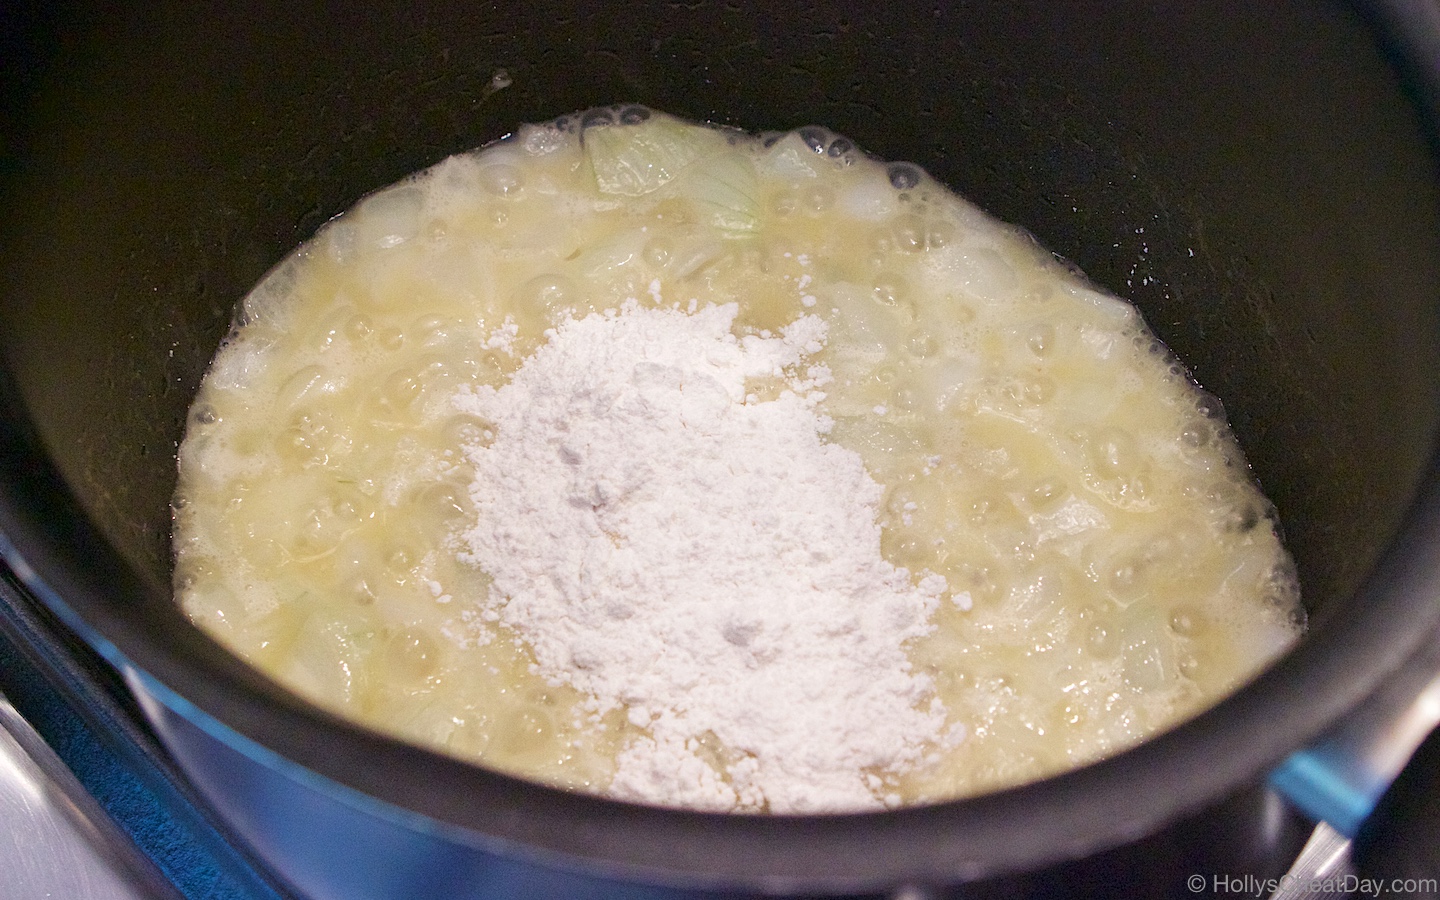
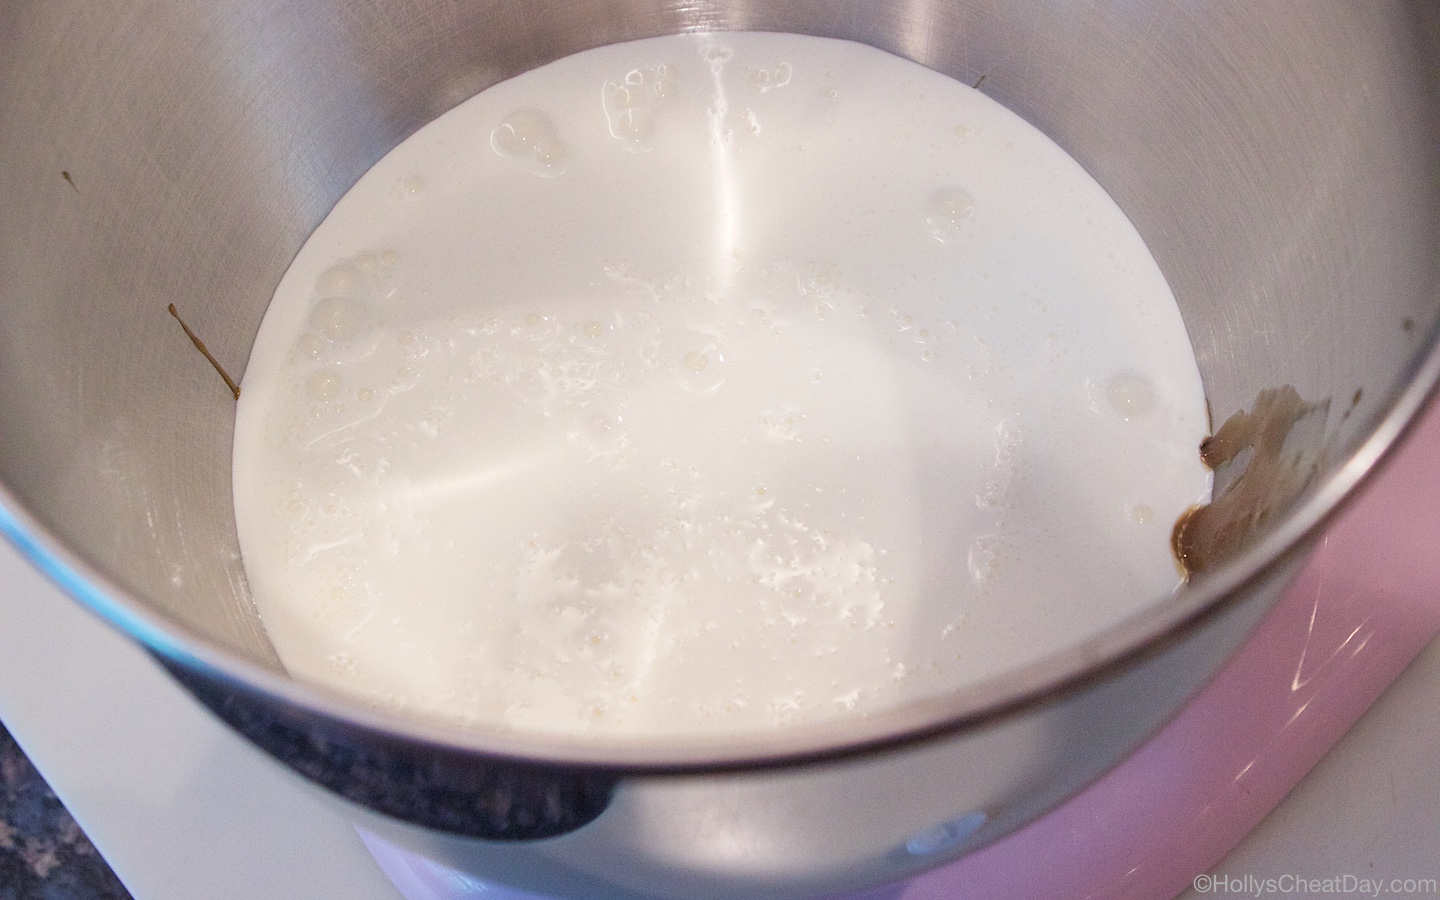
mix up and add your powdered sugar…

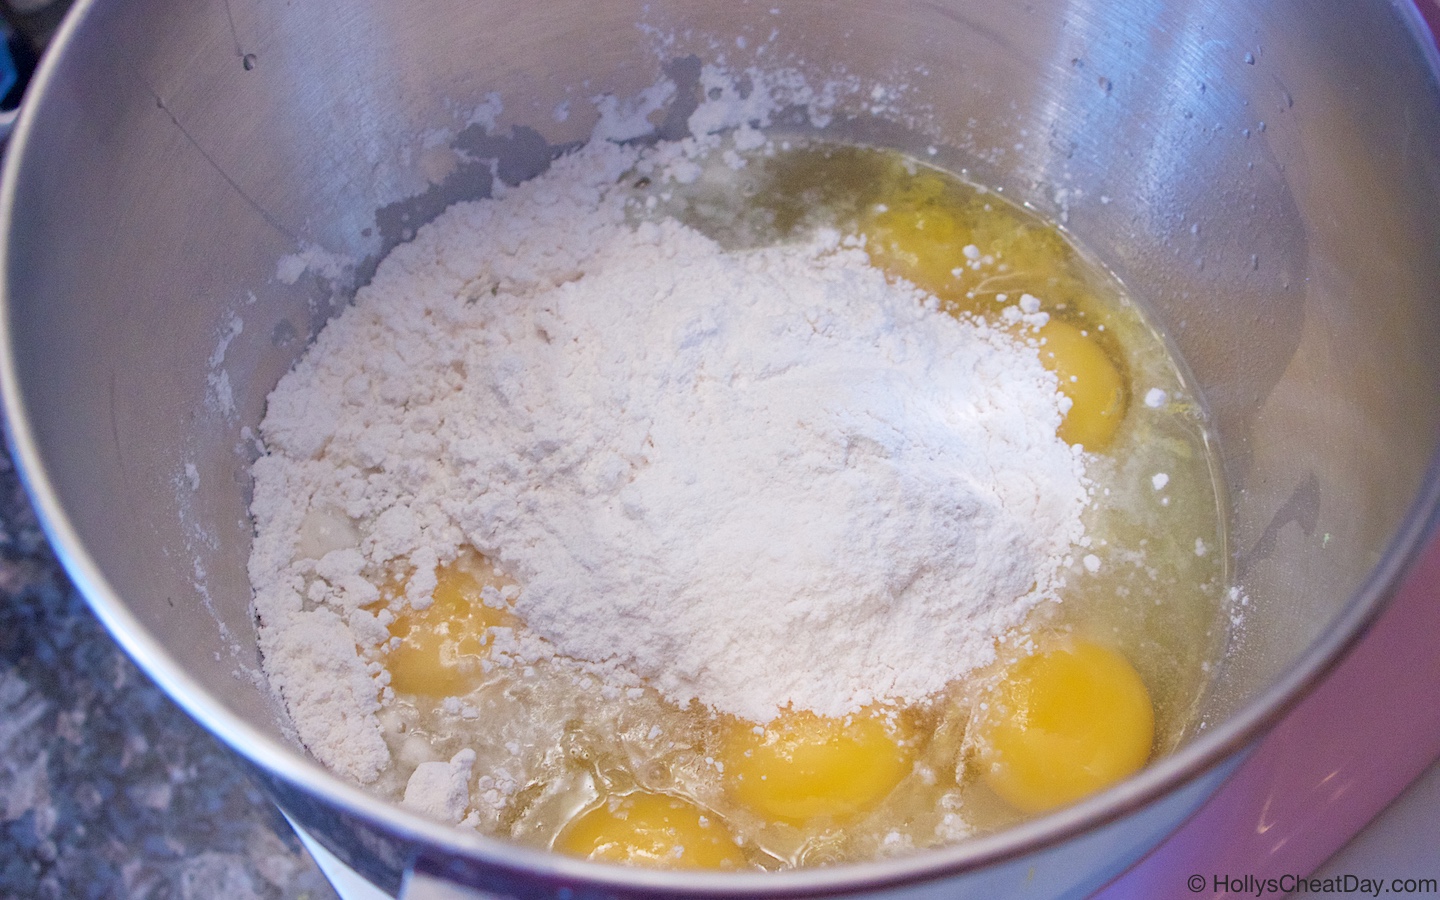
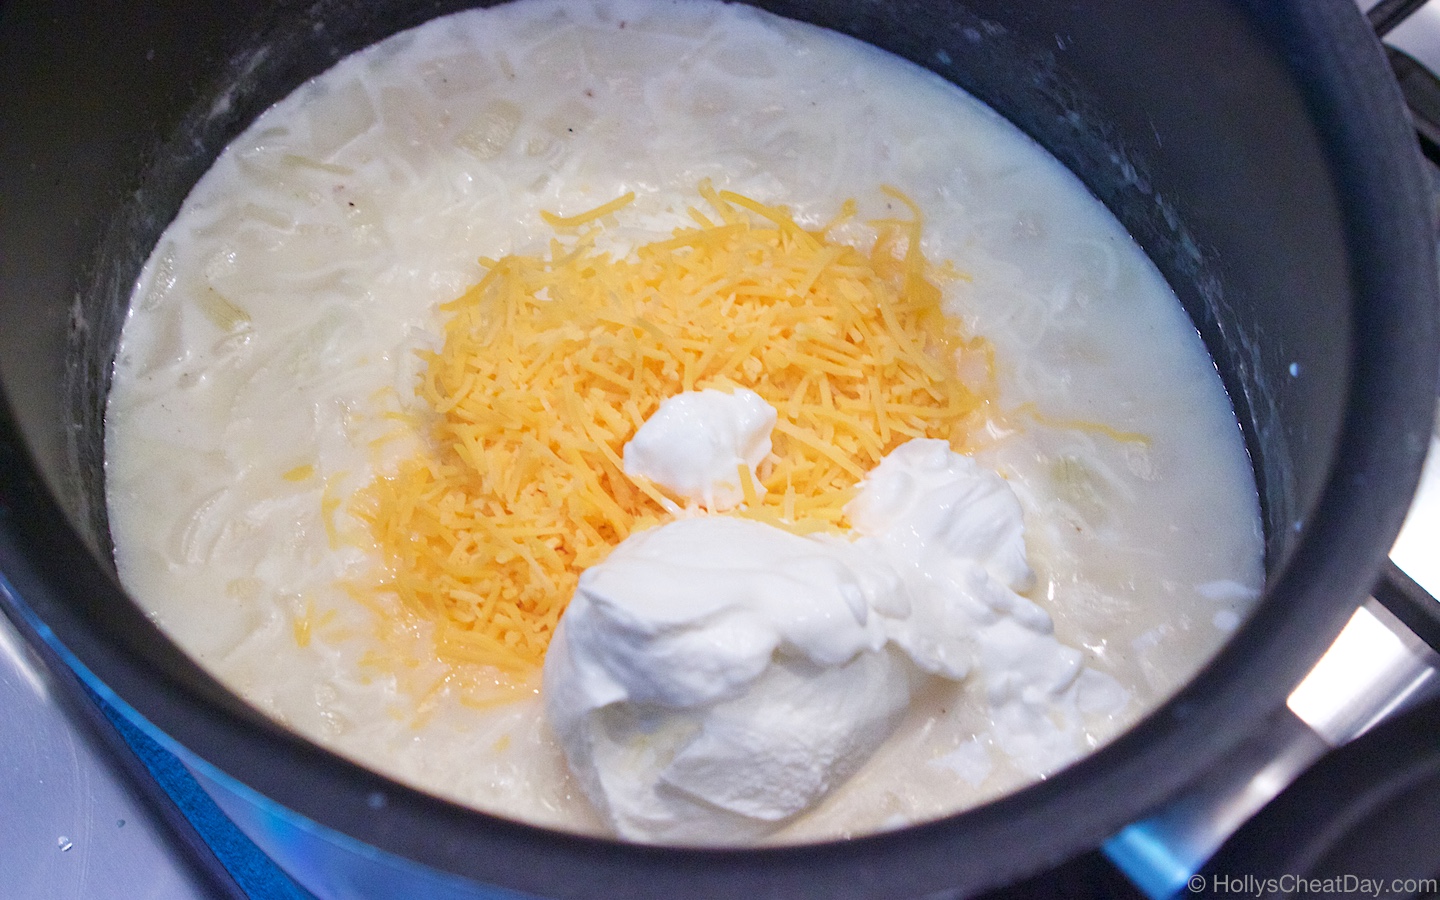
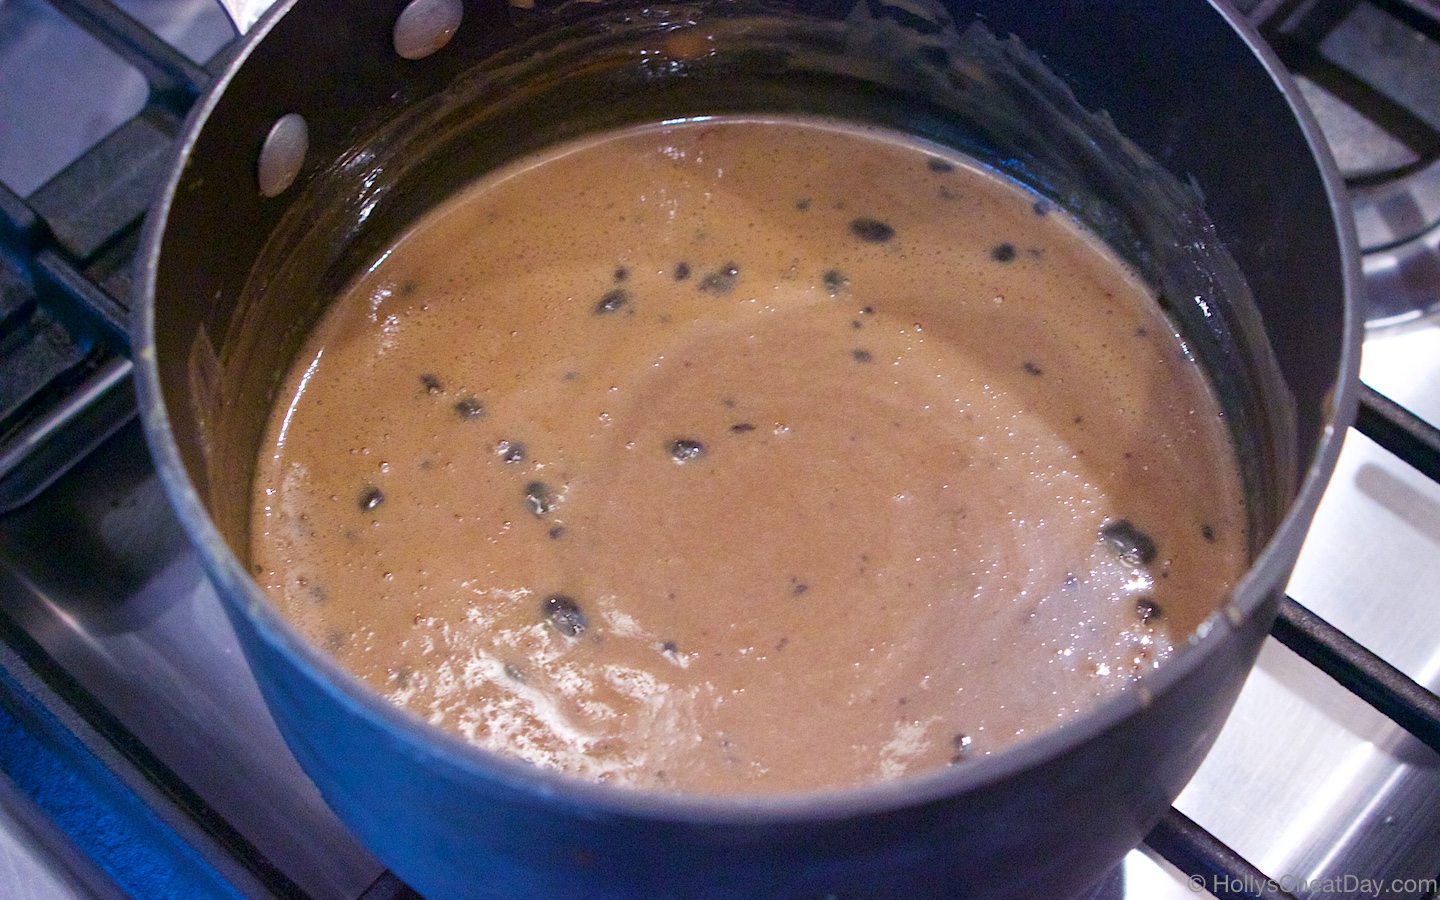
some of the cake mix and cream cheese…

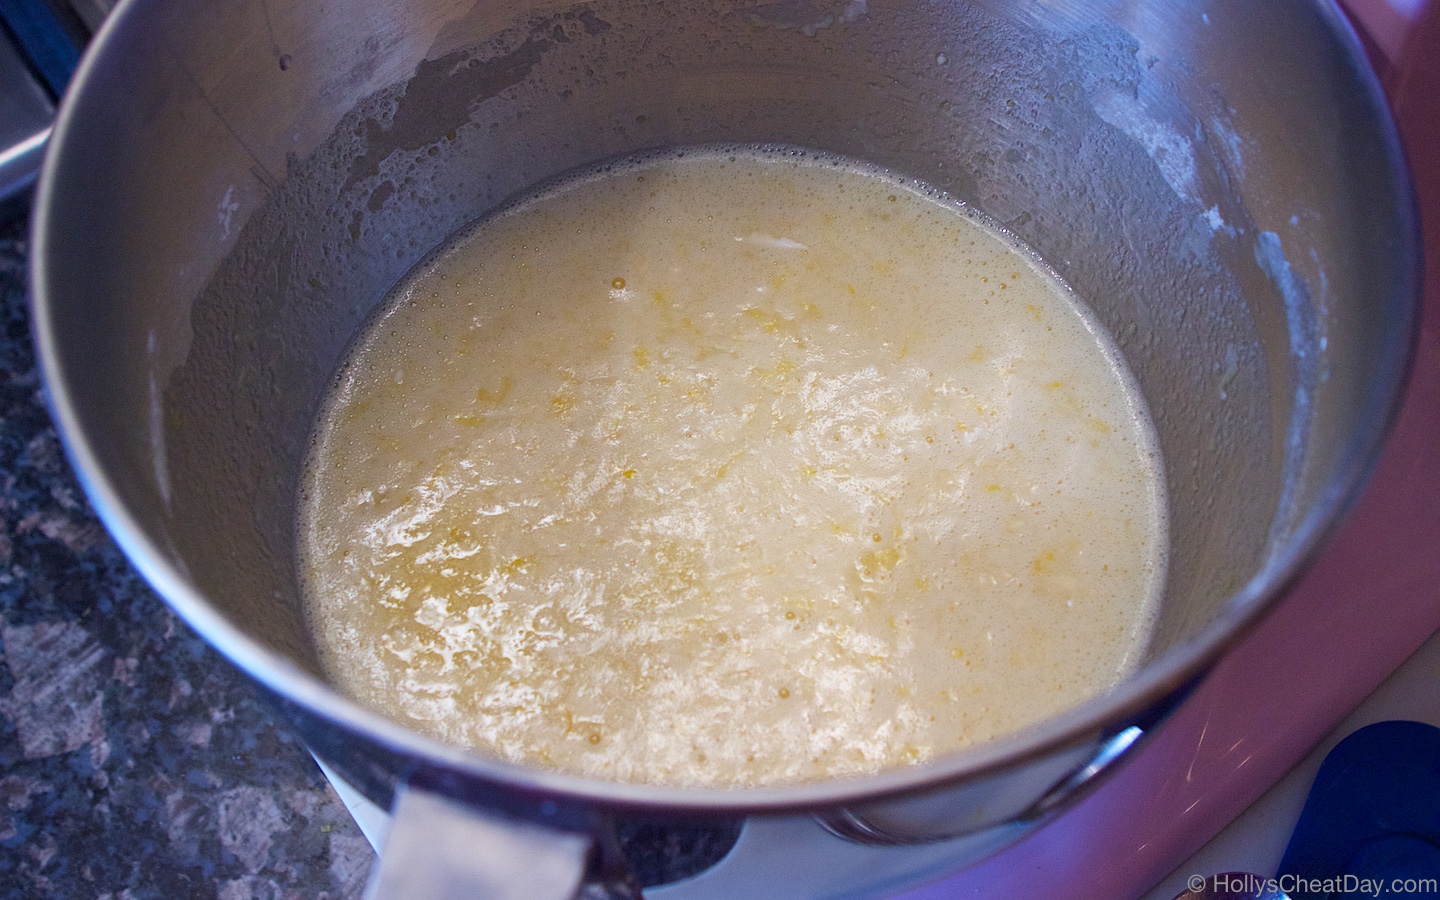
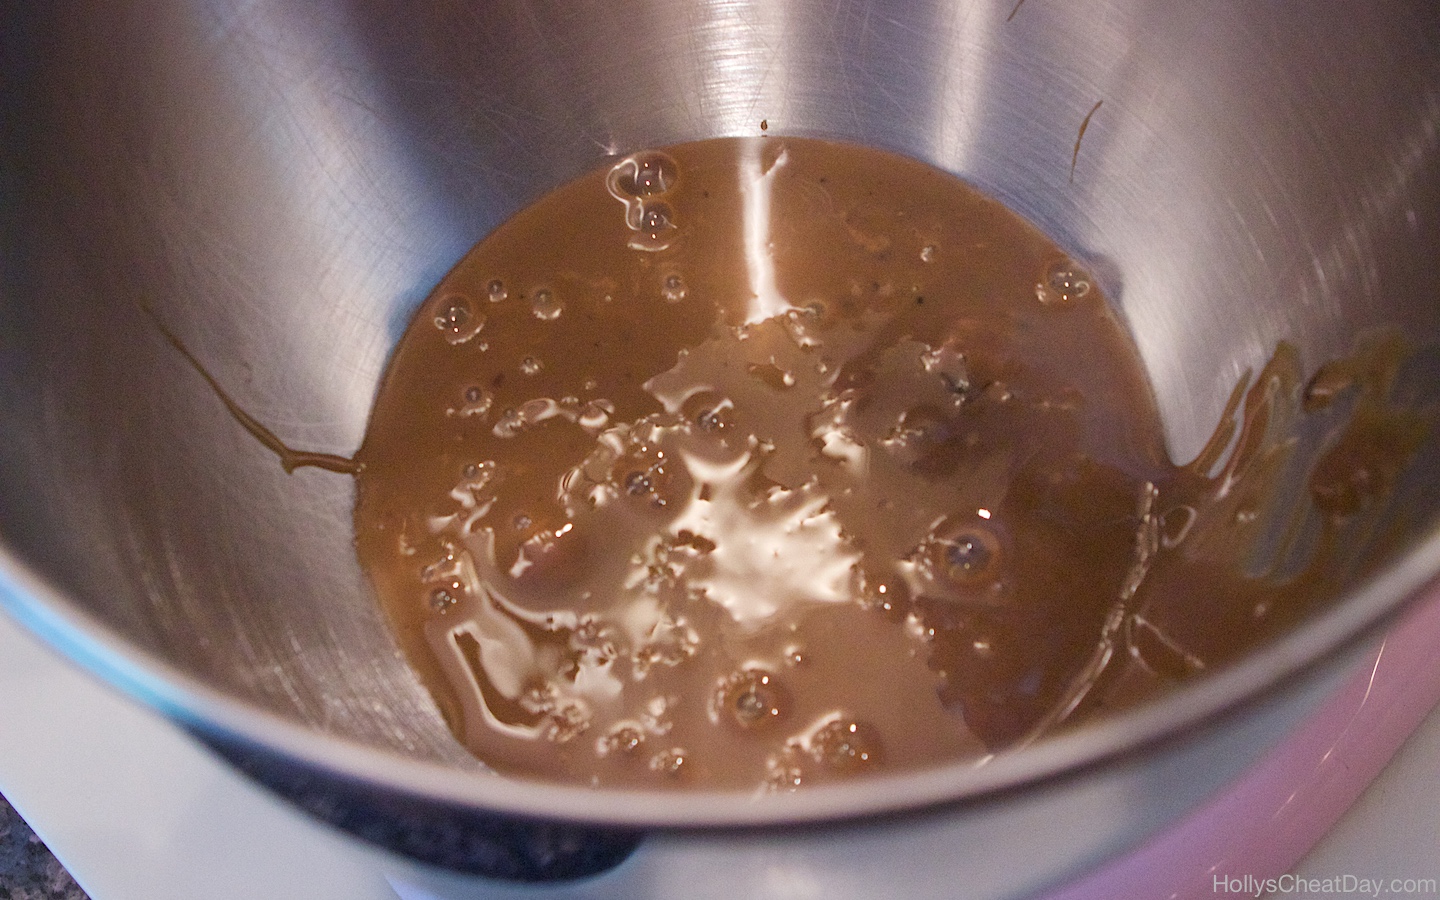
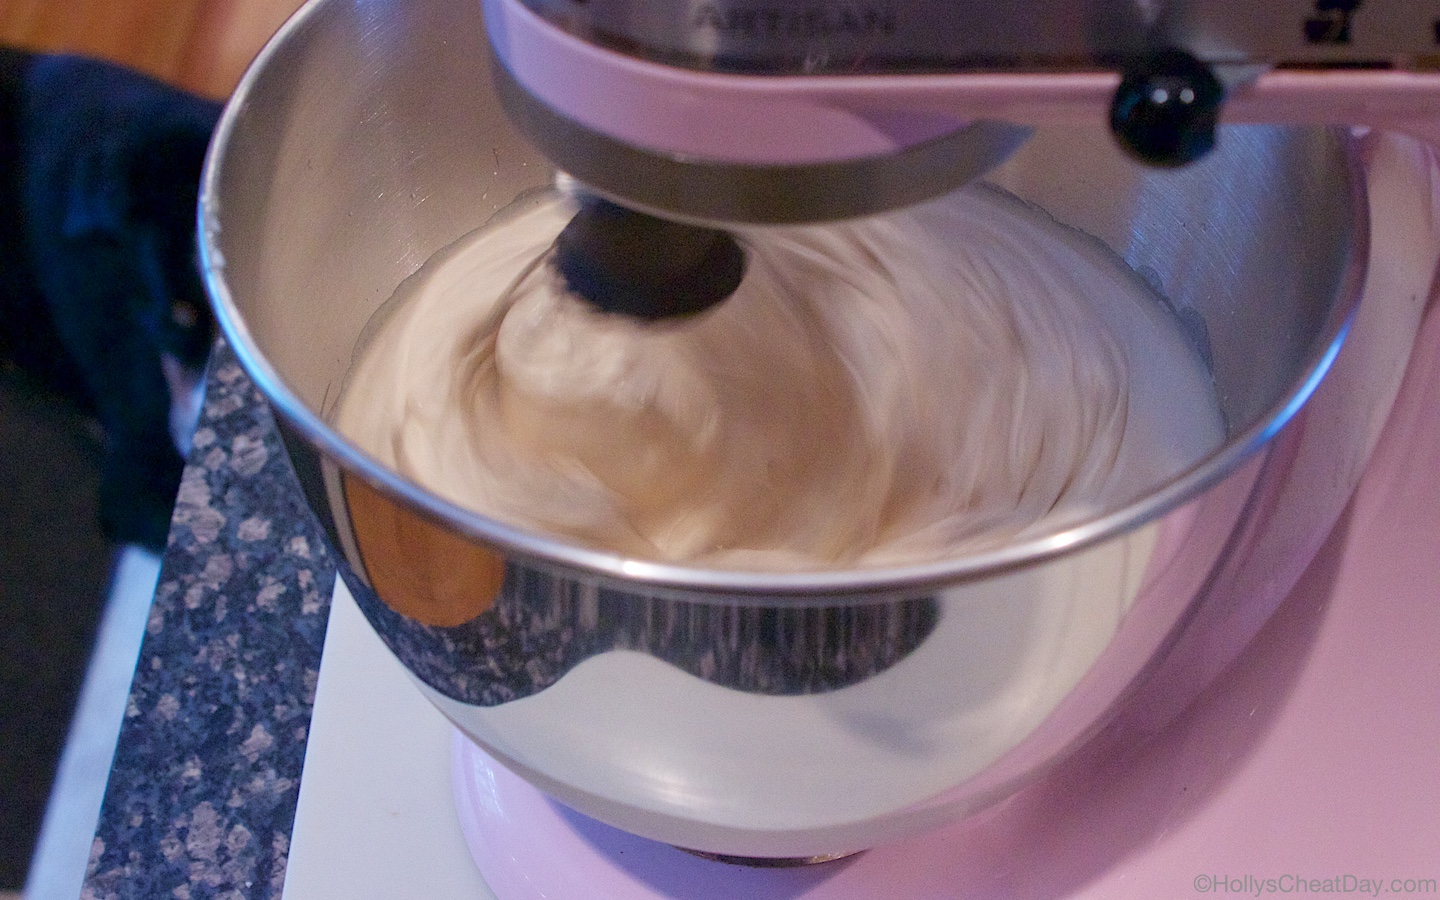
mix, mix , mix and add some heavy cream…

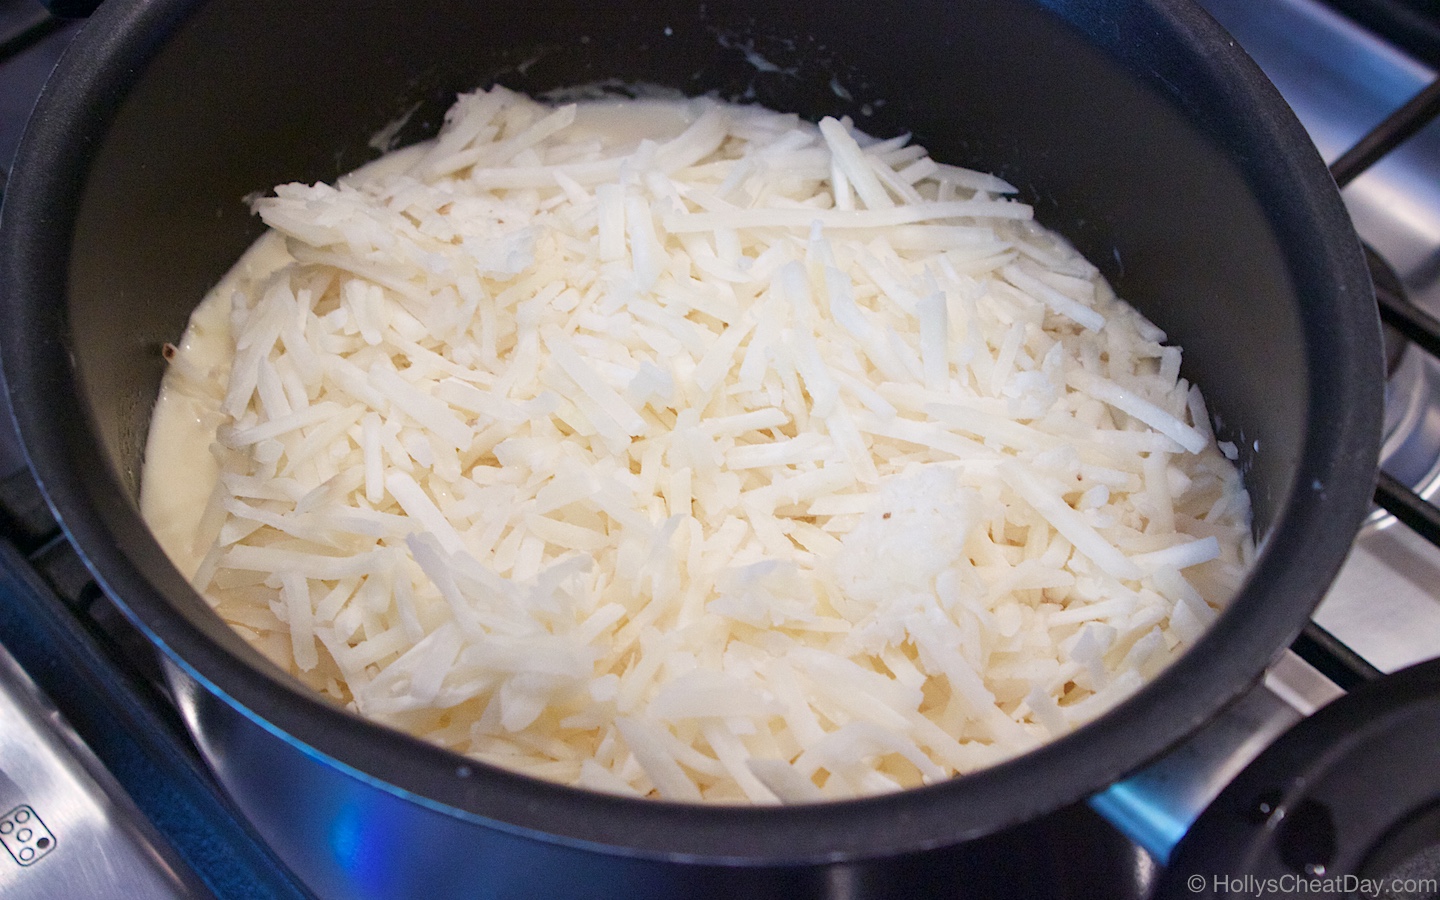
then all of the sprinkles…

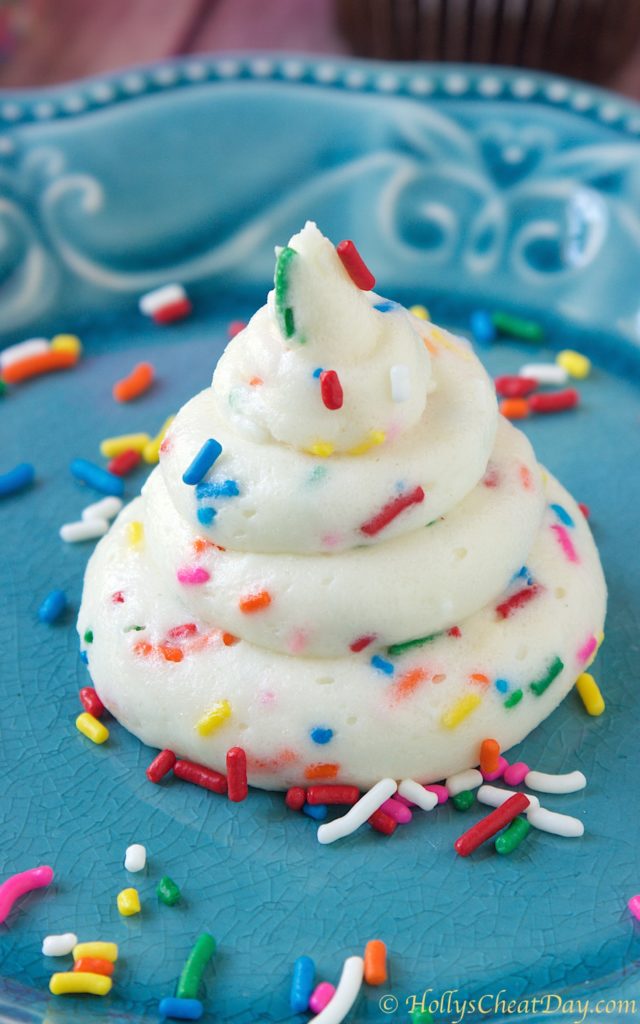
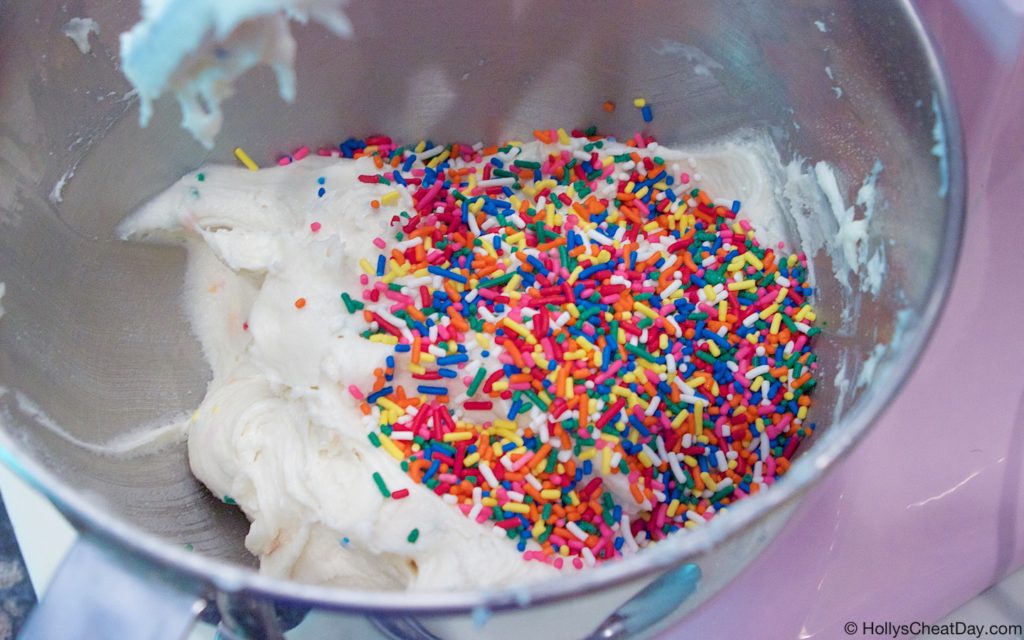
mix, mix, mix and enjoy!!!

and enjoy!!!

Funfetti Cake Batter Frosting
2017-05-22 14:40:20
All the flavor of funfetti cake in every bite of this delicious frosting, you will want to put it on everything.
Write a review
Save Recipe
Print
Ingredients
  1. 3 Cups of Powdered Sugar.
  2. 2 Sticks (1 Cup) of Unsalted Butter, Room Temperature.
  3. 1 (15.25 Ounce) Box of Funfetti Cake Mix.
  4. 4 Ounces of Cream Cheese, Room Temperature.
  5. 2/3 Cup of Heavy Cream.
  6. 1 Tablespoon of Vanilla Extract.
  7. A Dash of Salt.
  8. 1/2-2/3 Cup of Extra Sprinkles (Optional).
Instructions
  1. With a handheld or stand mixer with paddle attachment, place your butter and cream cheese into your bowl and beat until light and fluffy.
  2. Now, 1 cup at a time, beat in your powdered sugar until all is mixed in.
  3. Now add in your heavy cream and vanilla and mix again.
  4. Now add in the whole box of dry funfetti cake mix about a 1/3 at a time until all is mixed in.
  5. Add in your extra sprinkles, and if you would like your frosting thinner, feel free to add in more heavy cream a tablespoon at a time.
  6. Place into a large piping bag or plastic big, snip off the end and pipe on everything in sight and enjoy!
By Holly
HOLLY'S CHEAT DAY https://www.hollyscheatday.com/

Filed Under: All Recipes, Dessert

Classic Lemon Bars

May 23, 2018 By Holly

Happy Happy Wednesday y’all!!!  It’s super freaking hot and humid already here in the ATL, which means hello wonderfully citrus desserts of all shapes and sizes, because I feel like tart treats seems less heavy in this heat…they’re not, but oh well ha!

Y’all, these are just the most perfectly classic lemon bars, and I’m so proud of myself because I wanted to make these 1,000% from scratch.  A lot of times, I have cut corners, i.e., cake mixes, juice from a bottle, etc., which is totally cool,  but this time I was totally set on juicing every bit of the 1 cup of lemon juice that I needed. 

Seven lemons later and maybe a few stinging squirts to the eyes that’s what she said and boom! fresh freaking lemon juice for these delectable bars, which I have to be honest really made all of the difference in these.  Was it a crud ton more work? absolutely! was it worth it? also a big yes on that as well. 

These bars are definitely more work than a lot of recipes I post here, but y’all they weren’t that difficult to make, just a few more steps and sooo dang delicious.  These are fantastically tart and sweet, with the perfect crust accenting these bars.  I hope I’ve sold some of y’all on making these tart treats as soon as possible…may I also add that there is a big holiday weekend coming up and these just might be perfect to serve.  Thanks so much for swinging by and I hope you all have a wonderful day!!!

First, for the crust, butter and sugar…

Mix, Mix, Mix…

Now your flour…

All mixed and ready to go into your pan…

Into your pan…

Bake your crust, and while it’s cooling start with the lemon filling…

All mixed up…

Now onto your crust…

bake, bake, bake and enjoy!!!

Classic Lemon Bars
2018-05-21 14:03:01
Delicious tart bars filled with all the flavor of lemon.
Write a review
Save Recipe
Print
THE CRUST
  1. 1 Cup (16 Tablespoons) of Unsalted Butter, Room Temperature.
  2. 1/2 Cup of Powdered Sugar.
  3. 2 Cups of All Purpose Flour.
  4. 9x13 Pan.
THE LEMON FILLING
  1. 6 Large Eggs, Room Temperature.
  2. 3 Cups of Granulated Sugar.
  3. 1-2 Tablespoons of Lemon Zest.
  4. 1 Cup of Lemon Juice (It took 7 Lemons).
  5. 1 Cup of All Purpose Flour.
FOR THE CRUST
  1. Preheat your oven to 350 degrees F.
  2. With non-stick spray, liberally spray the bottom of your 9x13 pan, set aside.
  3. With a handheld or stand mixer with paddle attachment, beat your butter and 1/2 cup of powdered sugar together until fluffy.
  4. Now, stir in your all purpose flour until just combined.
  5. Press your dough out evenly into the bottom of your 9x13 pan until the crust reaches the edges of your pan, and bake for 15 minutes or until just slightly brown.
  6. Make sure to let this crust cool completely before adding in the filling.
FOR THE LEMON FILLING
  1. In a large bowl with a handheld of stand mixer with whisk attachment, mix together the eggs, granulated sugar, lemon zest, lemon juice and flour.
  2. Pour this mixture onto your cooled crust and bake at 350 degrees F for 30-35 minutes, or just until the filling isn't jiggly anymore.
  3. Let cool, maybe dust with some powdered sugar and enjoy!!!
Notes
  1. Feel free to add more lemon zest if you really want the flavor to pop.
HOLLY'S CHEAT DAY https://www.hollyscheatday.com/

Filed Under: All Recipes, Bars/Brownies

  • « Previous Page
  • 1
  • 2
  • 3
  • 4
  • 5
  • 6
  • …
  • 48
  • Next Page »
logo
Food Advertisements by
Holly's Cheat Day Profile Pic

Hey, y’all! My name is Holly, and welcome to my Cheat Day...where Gluttony and other Delectable Indulgences are celebrated!    Read More...
logo
Food Advertisements by
logo
Food Advertisements by
Copyright © 2017 ❤ Holly's Cheat Day ❤ Privacy Policy