Happy Happy Friday y’all!!! I’m waaaay excited to share today’s post with you guys. I’ve had it on my ‘to make’ list now for at least a month after seeing it on Buzzfeed Food a while back, and I was honestly annoyed at myself for not having thought to make something like this before.
 If I’m being honest (and why wouldn’t I be?) I think I waited so long to make this because I was little intimated to make this, solely based on past attempts at making anything layered and totally botching it up.
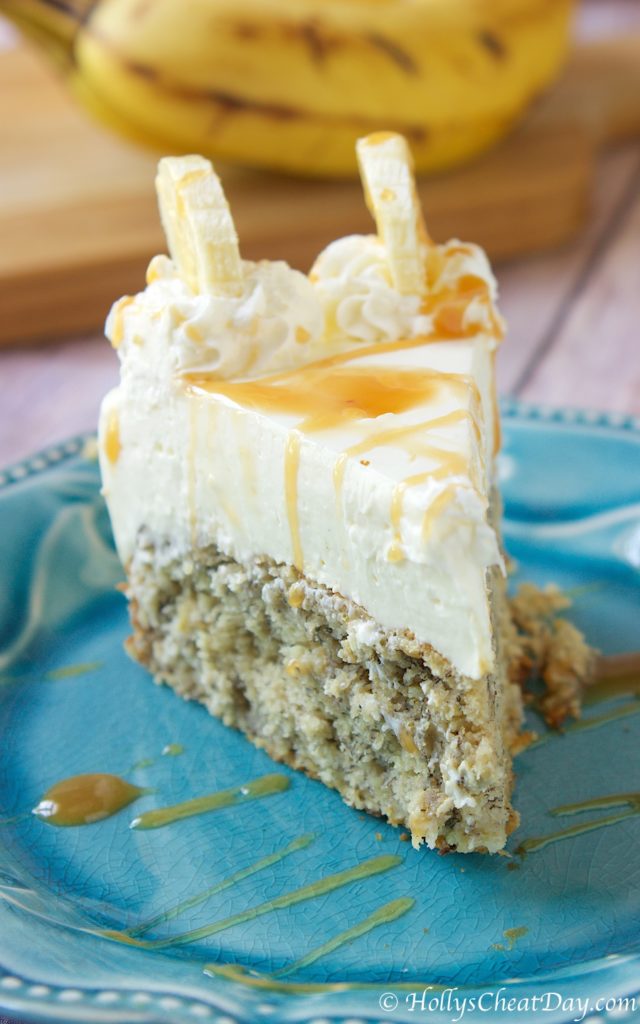 Holy crud, I wish I had made this sooner, it is soo darn easy to make and holy moly is it decadent and rich. The banana bread layer smelled absolutely heavenly baking and turned out sooo moist and delicious, and the cheesecake layer couldn’t have been more creamy or easy to make.
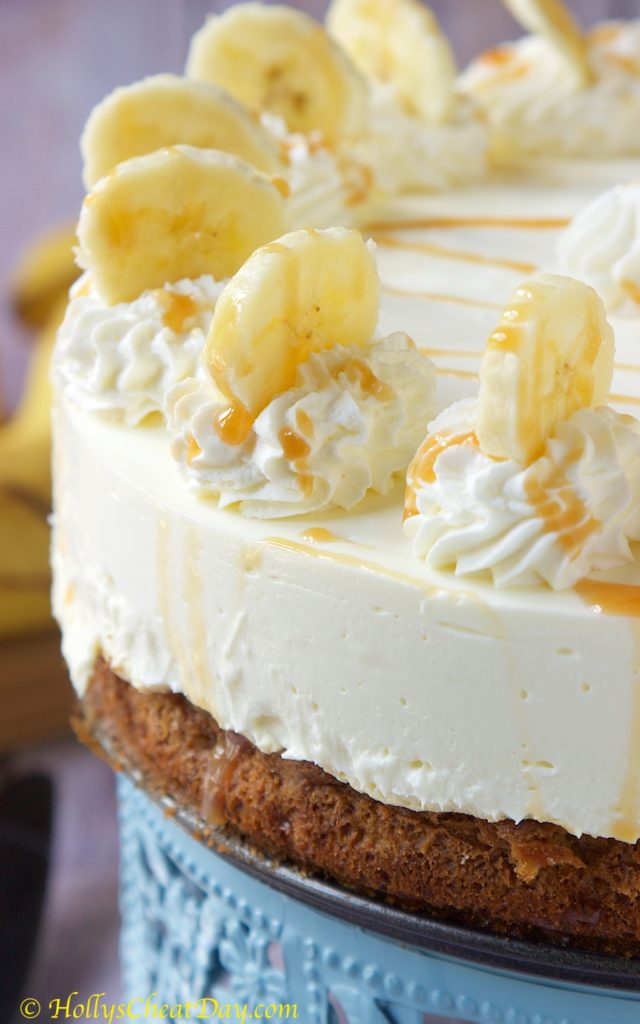
 I seriously need to start putting this no-bake cheesecake layer on top of everything, like today. Banana bread on it’s own is always awesome, but then throw a thick layer of cheesecake on top? wowza, this dessert is a freaking star dessert, if you bring someone this, they will officially love you forever, just saying.
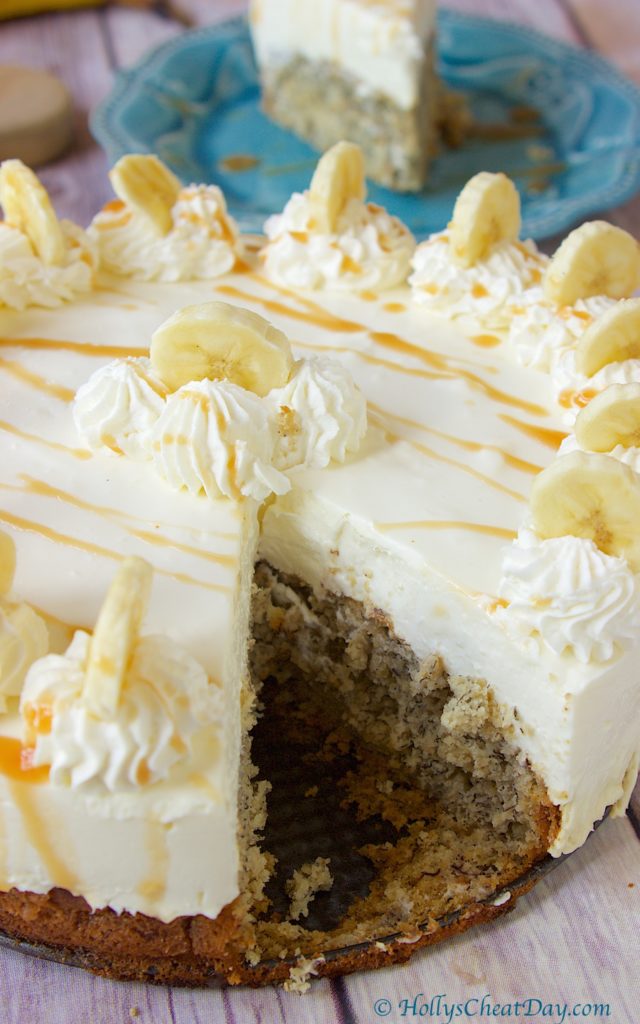 Oh, did I mention that I also made a whipped cream for a topping with just a bit of cream cheese in it to keep it stabilized with just a hint of caramel thrown in? Oh yeah, it’s incredible, then maybe throw some bananas and a dash more caramel on top and this is not only insanely good but also beautiful. I really hope y’all get to enjoy this soon and thank you so much for stopping by! Have a wonderful weekend everybody!!!
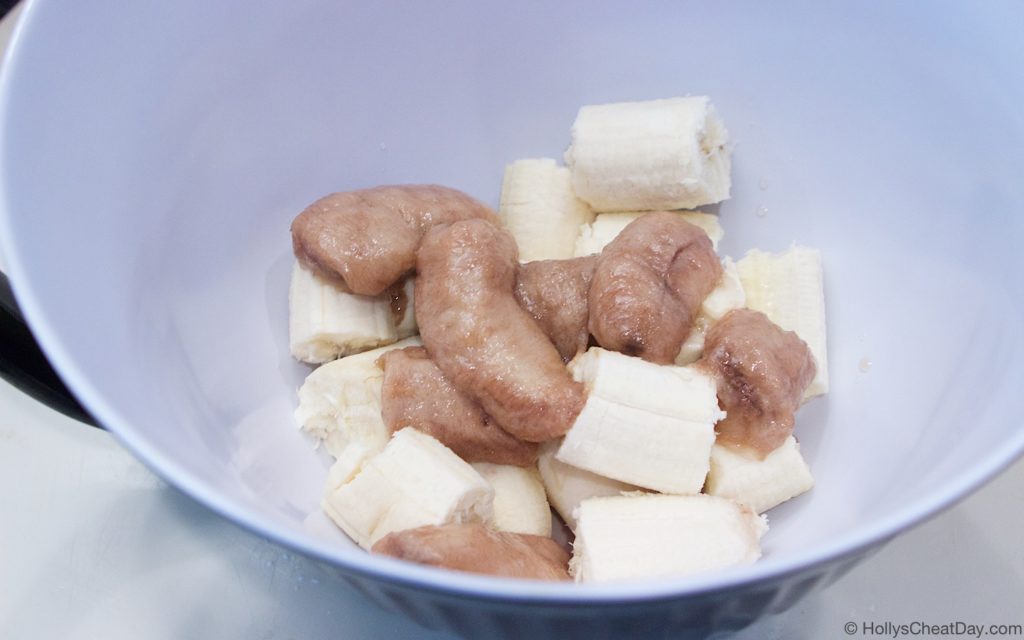
bananas to be smooshed (you’ll see semi-ripe bananas & the 1 previously frozen very ripe banana-forgive it’s ugliness)…
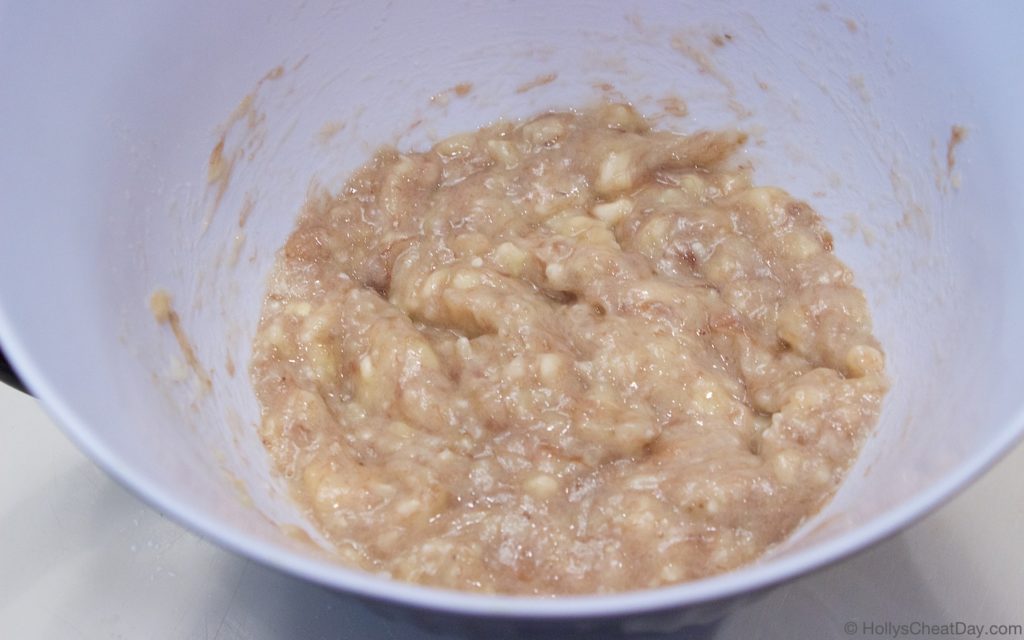
 all smooshed…
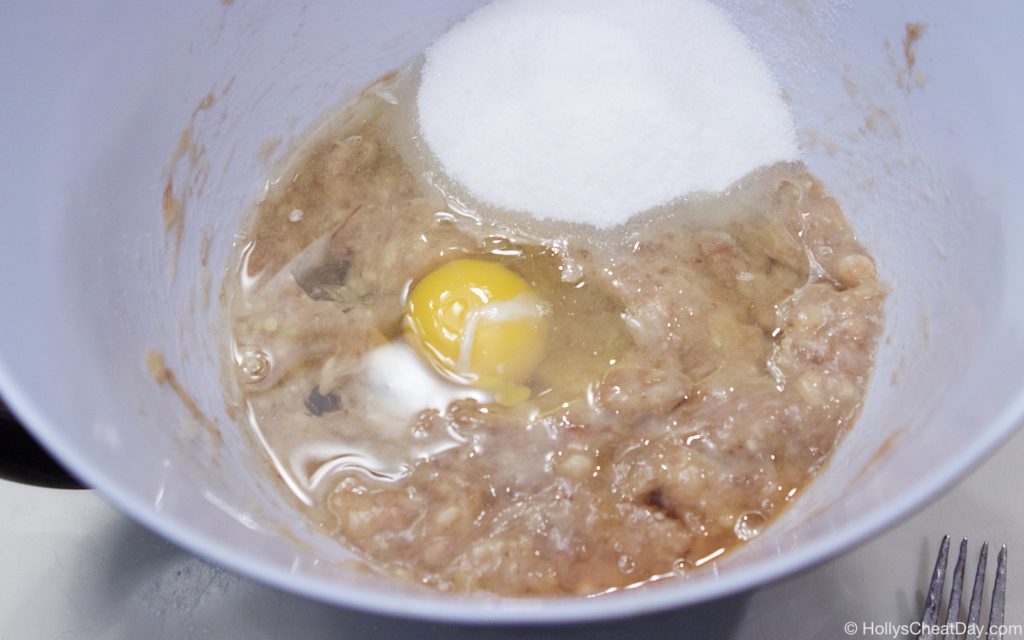
 now add the egg, oil, sugar and vanilla…
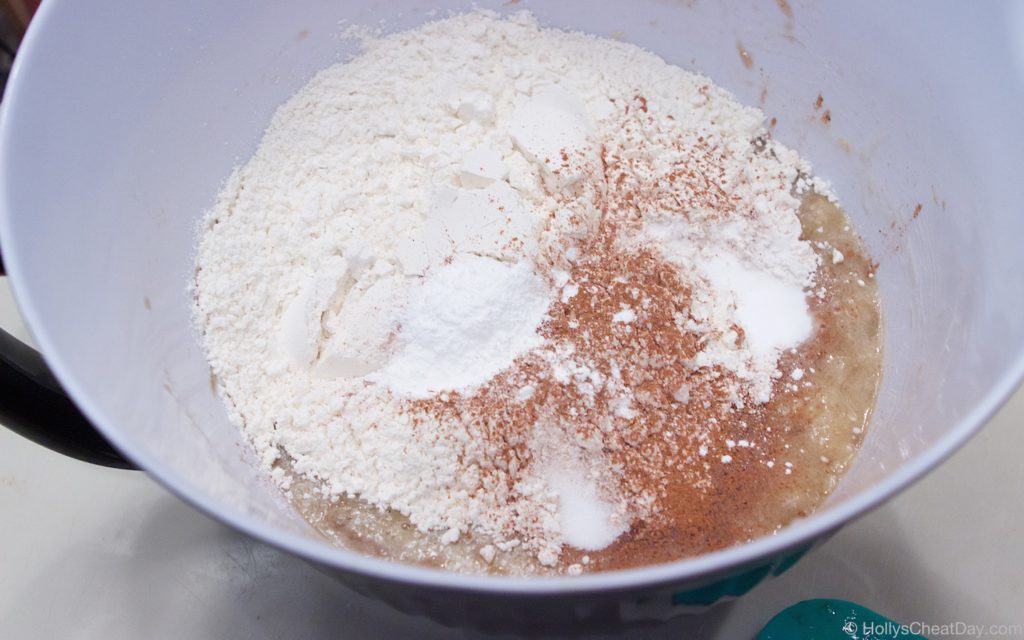
 mix, then add the dry ingredients…
 mix, mix, mix (don’t over mix) then into your pan…
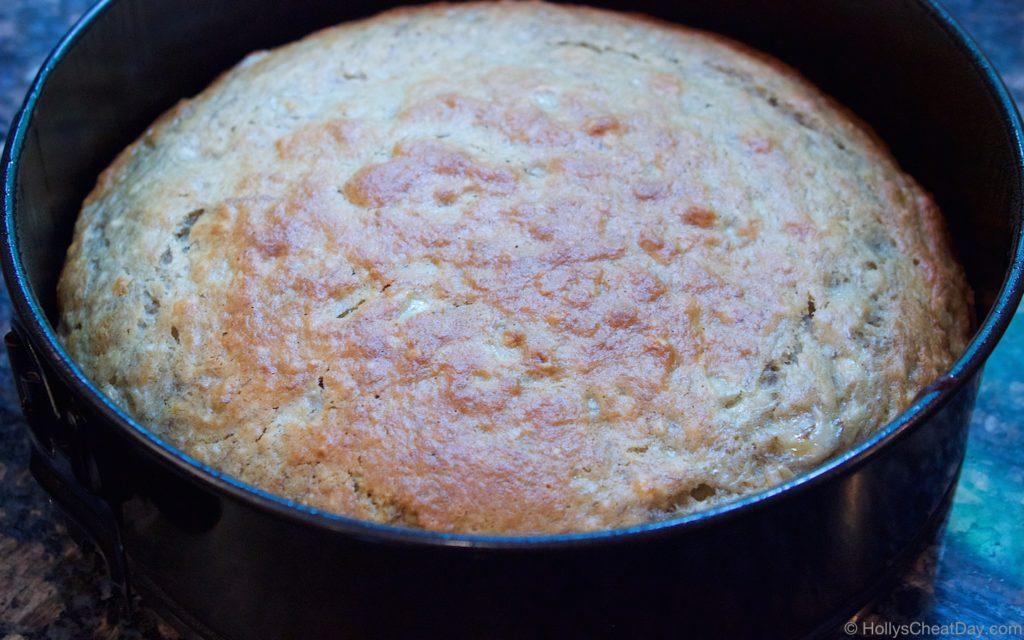
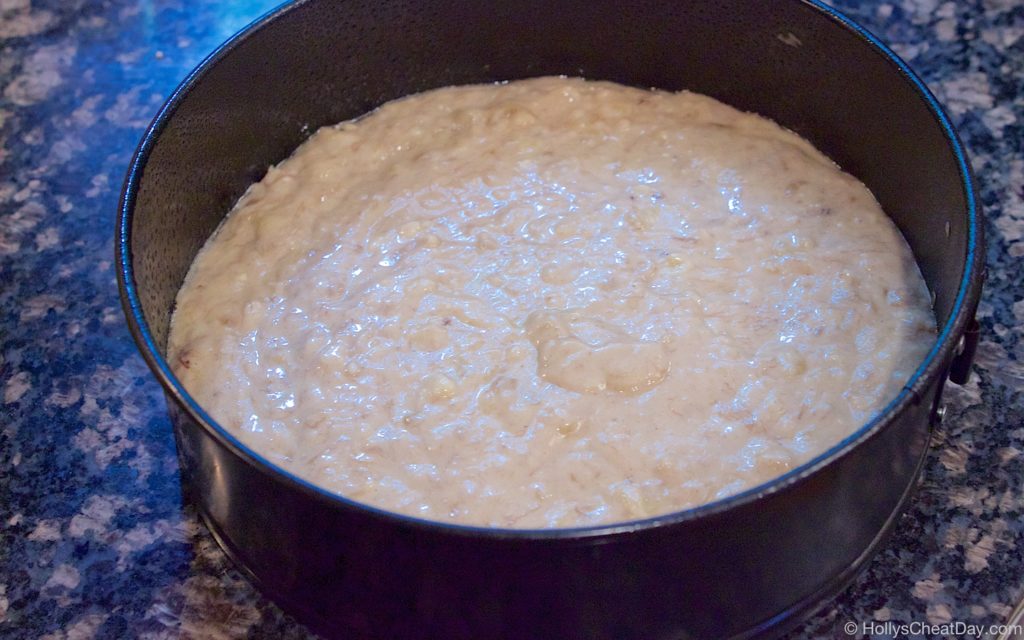 nice and baked…
 now for the cheesecake, cream cheese…
 mix that up, then heat up your milk and put gelatin in it…
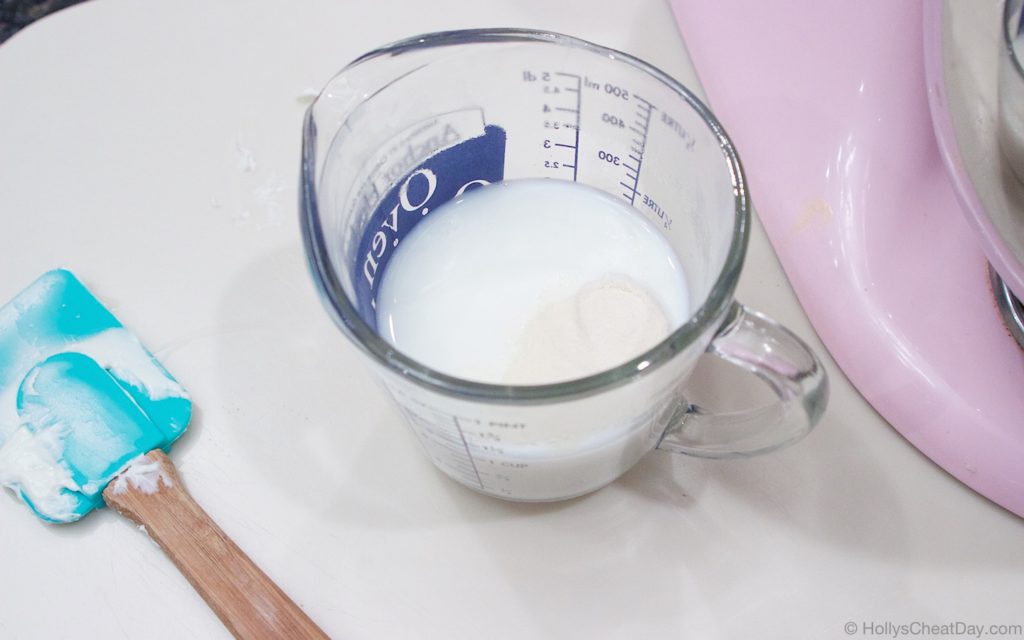 place milk with dissolved gelatin into the cream cheese mixture…
 nice and smooth…
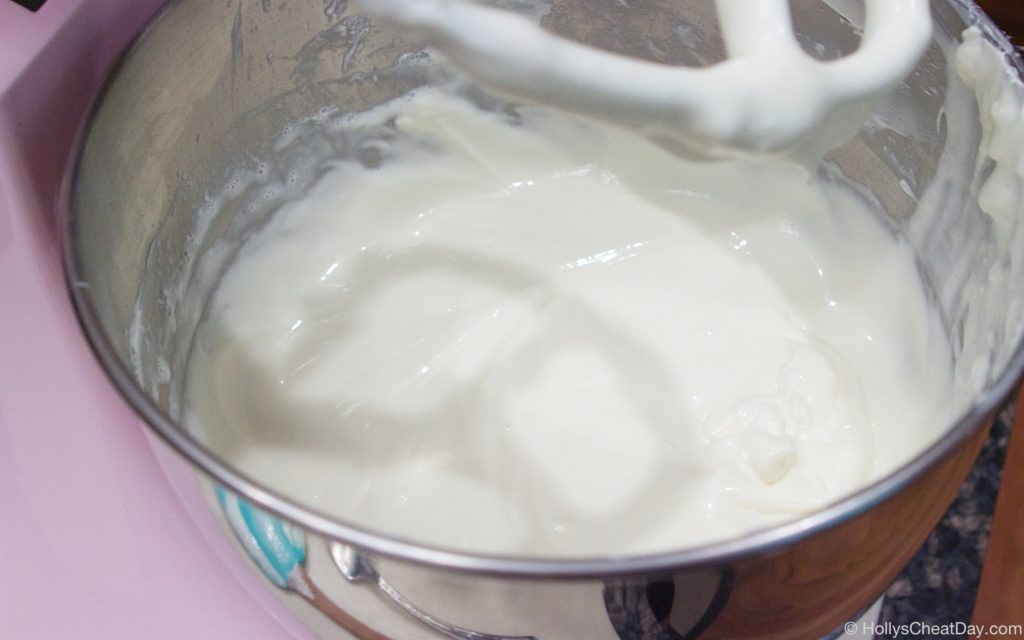 then onto the banana bread…
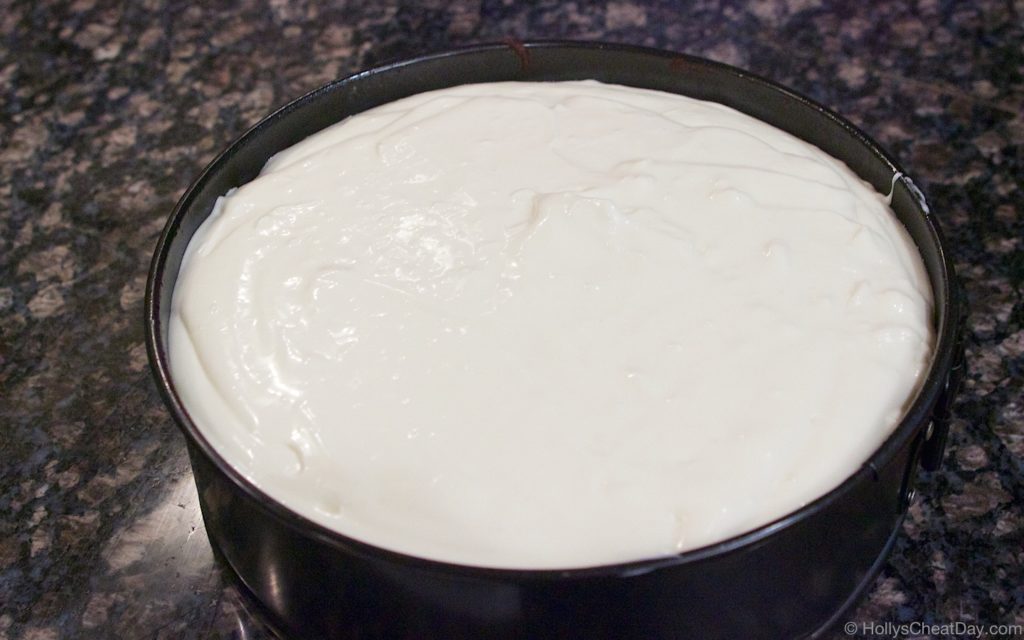 let it cool for a while and enjoy!!!

- 4 Ripe Bananas.
- 4 Tablespoons of Vegetable Oil.
- 1 Egg.
- 1/2 Cup of Sugar.
- 1 Tablespoon of Vanilla Extract.
- 1 1/2 Cups of All-Purpose Flour.
- 1 Teaspoon of Baking Powder.
- 1 Teaspoon of Baking Soda.
- 1/4 Teaspoon of Salt.
- 1 Teaspoon of Cinnamon.
- 9" Springform Pan.
- 4 (8 Ounce) Blocks of Cream Cheese, Softened.
- 1/2 Cup of Sugar.
- 1 Tablespoon of Vanilla Extract.
- 1 Cup of Milk.
- 1 Tablespoon of Gelatin Powder.
- Caramel Topping For Garnish (Optional).
- Bananas For Garnish (Optional).
- 2 Cups of Cold Heavy Whipping Cream.
- 4 Ounces of Cream Cheese, Softened.
- 1/2 Cup of Sugar.
- 3 Tablespoons of Caramel Topping.
- Preheat your oven to 350 degrees F.
- Liberally spray your springform pan with non-stick cooking spray and set aside.
- In a large bowl, mash your bananas with a fork until smooth.
- Now add the oil, egg, and sugar and mix until combined.
- Now add the flour, baking powder, baking soda, salt and cinnamon, mix until just combined, make sure not to over mix.
- Pour banana batter into the pan and bake for 25-30 minutes or until the top is set, remember every oven is different so make sure not to over bake.
- Take out of the oven and make sure to cool completely before putting the cheesecake layer on top, otherwise it might melt off.
- With a handheld or stand mixer with paddle attachment, place your cream cheese into your bowl and beat until smooth.
- Now add the sugar and vanilla and mix again until smooth.
- Microwave your milk until hot, about 2 minutes and add the gelatin powder to the milk.
- Quickly stir until the gelatin is dissolved thoroughly into the milk, then pour this mixture into the cream cheese and mix until smooth.
- Pour the cheesecake mixture over the cooled banana bread and spread evenly.
- Cover and place into the fridge for at least 3 hours or preferably overnight.
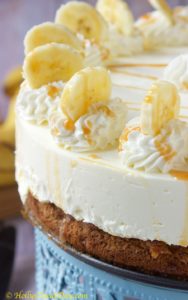
- Top with the whipped cream (optional) banana slices and caramel and enjoy!!!
- With a handheld or stand mixer with whisk attachment, place your cream cheese and sugar into your bowl and beat until smooth.
- Now add the heavy whipping cream and whisk until stiff peaks form.
- Add the caramel topping to the whipped cream, mix until well combined, pipe or spoon this mixture onto the top of your cheesecake with banana slices and more caramel sauce if you choose and enjoy!
- The whipped cream is totally optional but not only was is incredibly delicious but it also looked really pretty on top as well, I used an open star tip and piping bag to pipe on top.
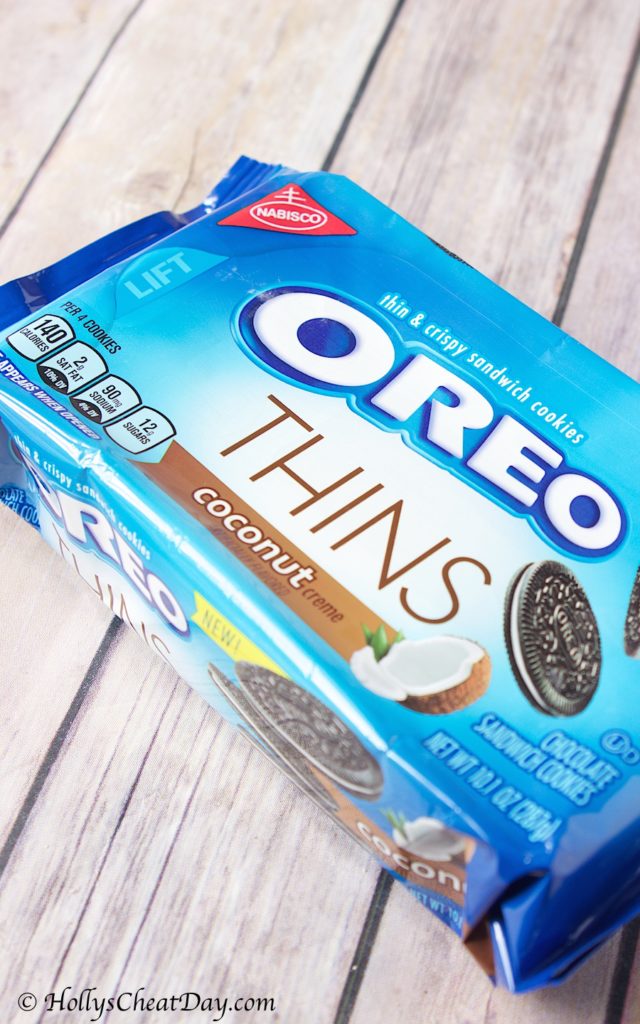
 These are the first Oreo Thins I’ve ever tried, and honestly I have had zero desire to do so because why would less creme filling and thinner cookies be a good thing? I’m seriously regretting having had these be the first thin version I’ve ever eaten because ewww. Y’all, the absolute first thing I thought when I bit into this cookie was, ‘OMG this tastes like Hawaiian Tropic sunscreen!’ To clarify, obviously I have never actually ingested sunscreen but you know when something tastes like the smell of something? Yeah, that is what these Oreos are, a bit of chocolate mixed with tropical smelling sunscreen. Wow these were disappointing, I sooo love coconut but these were a disaster. I’m not sure how they packed so much flavor in so little creme filling, for that I will give them some credit. On the bright side, I did like the thin texture of this cookie and am now considering trying the regular chocolate Oreo thins minus the awful that is this version. These get a 2 out of 10.
 inside of the cookie thins…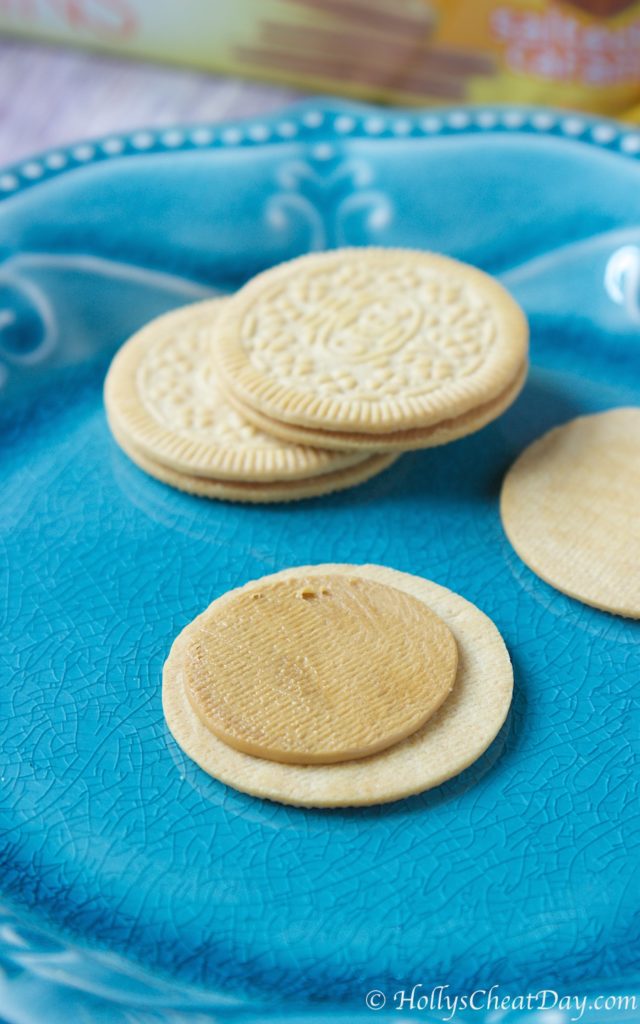


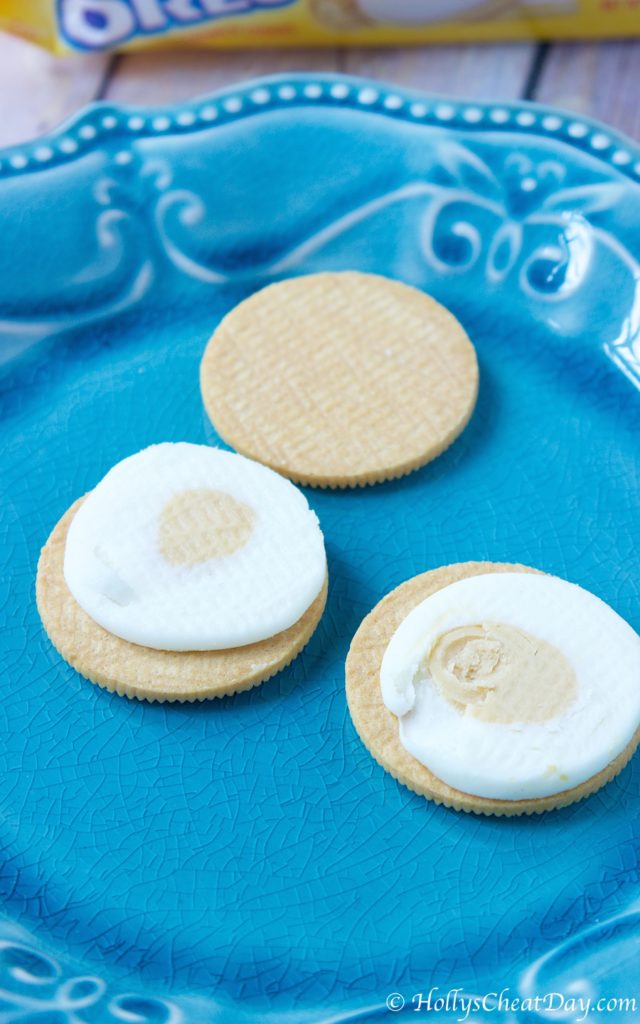 Okay, so in typical Oreo fashion, these are tasty, but I don’t go ‘holy cow are you sure these are really cookies and not real Waffles and Syrup?!’ There is maybe, just maybe a hint of syrup you can taste and if you close your eyes and imagine really hard, they might taste like waffles with syrup. Still, these were still super yummy golden Oreos that were just a little bit different, if you have them in your area, by all means give them a try. These get an 8 out of 10.
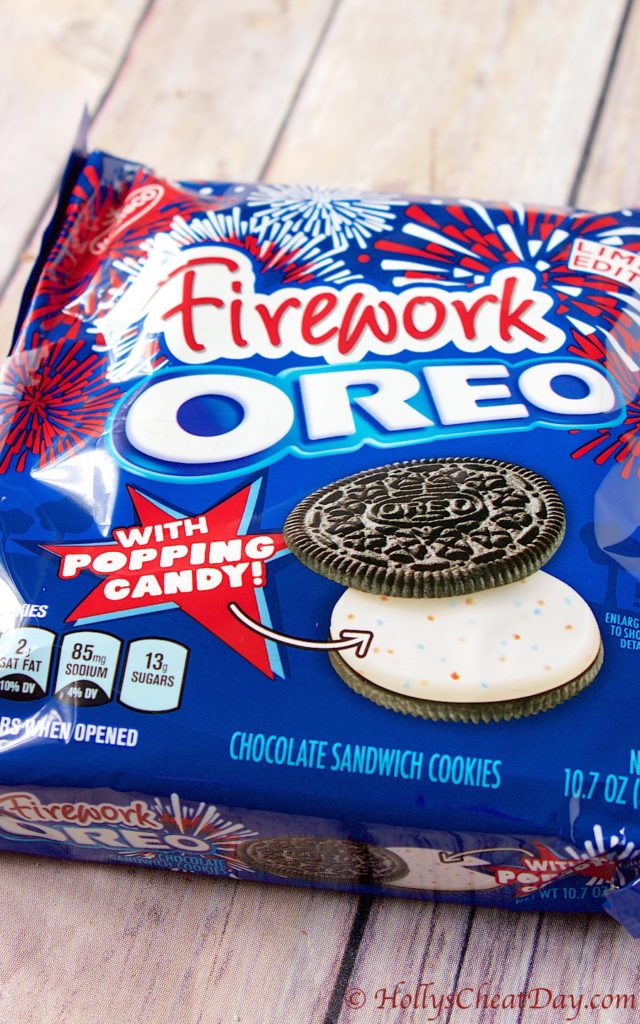 look at those popping candies…
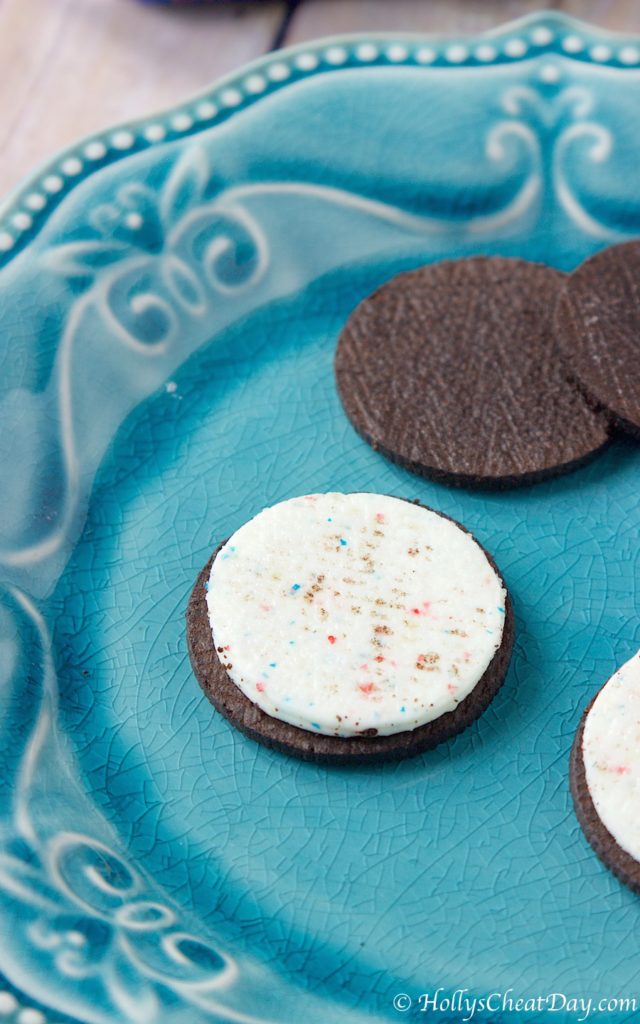 So, my biggest concern was that the popping candy was going to be overly fruity and be a weird mix with the chocolate cookie part, and I totally had nothing to worry about. These cookies are super duper awesome. They taste like a typically delicious classic Oreo cookie except the extra fun of the mild crunch of the candy and a bit of popping. Don’t worry there’s not enough candy in the creme filling to make you look like you’re foaming at the mouth or anything, just a little bit of fun. I like these so much, I just bought more for my next cheat day 🙂 These get a solid 10 out of 10.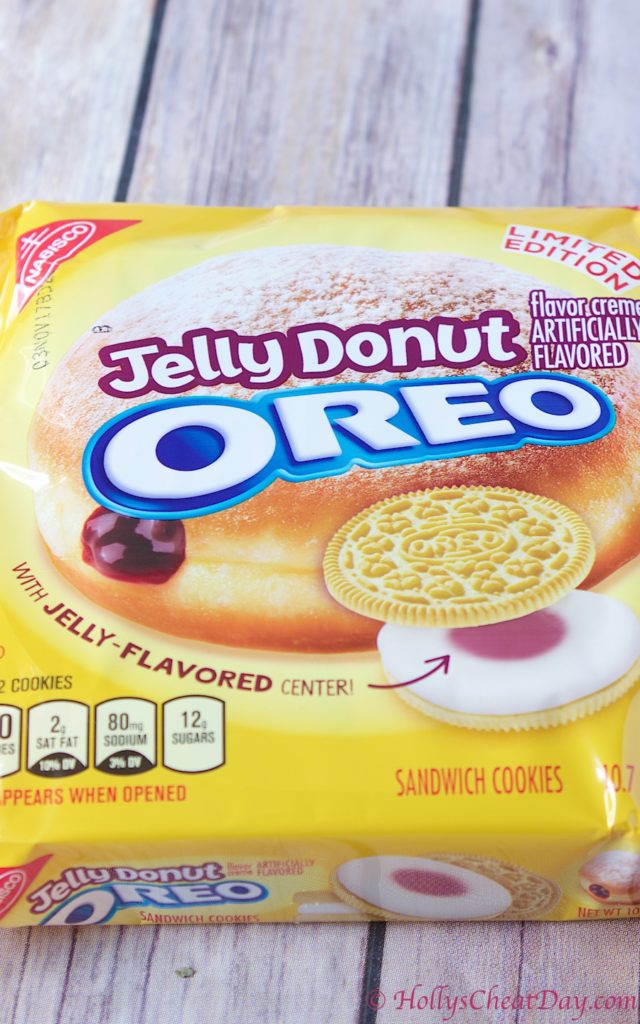
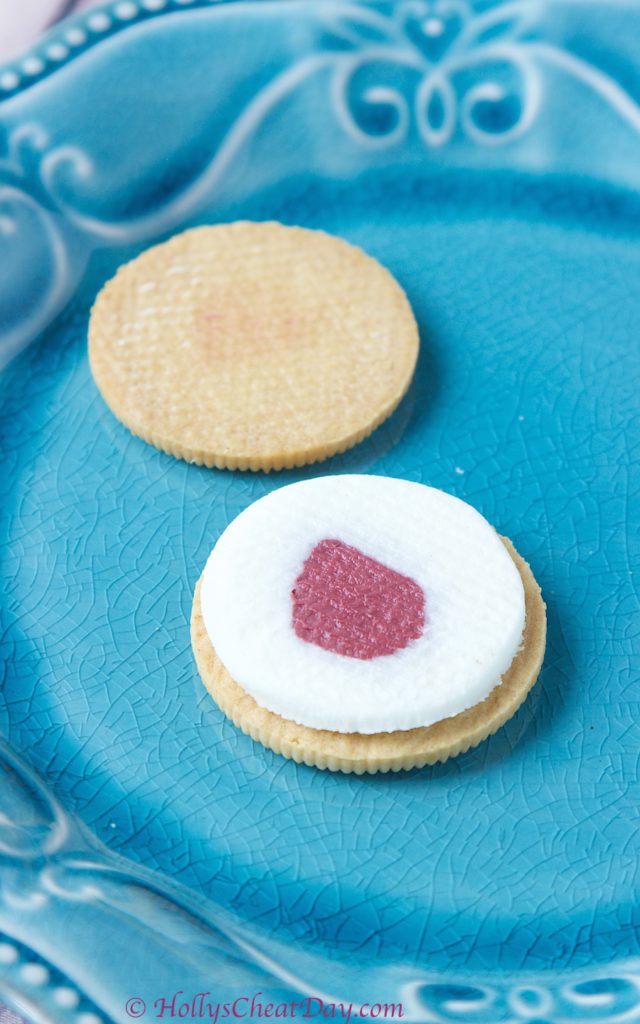

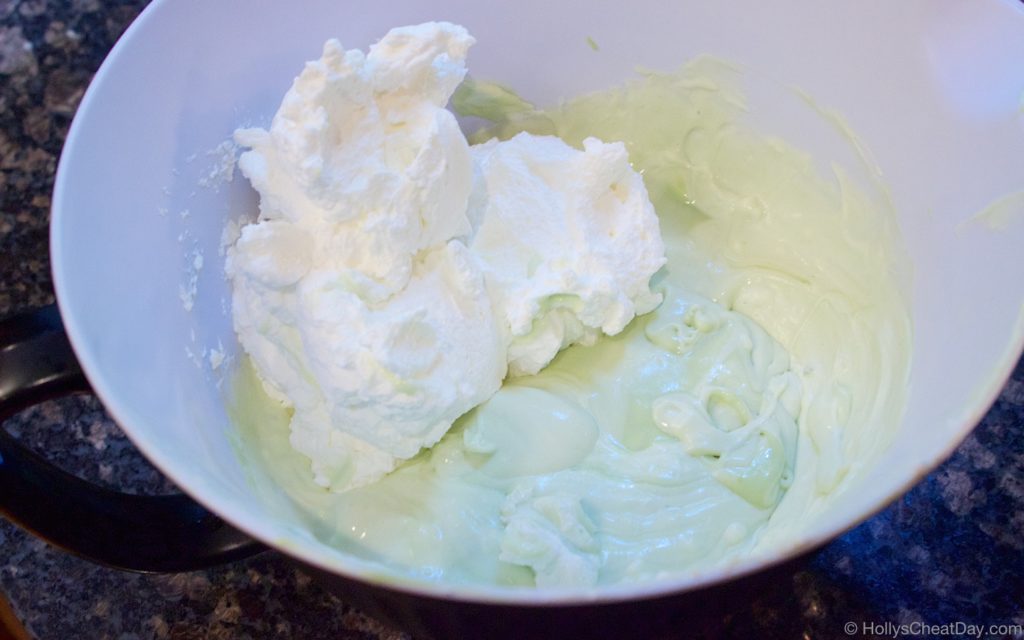
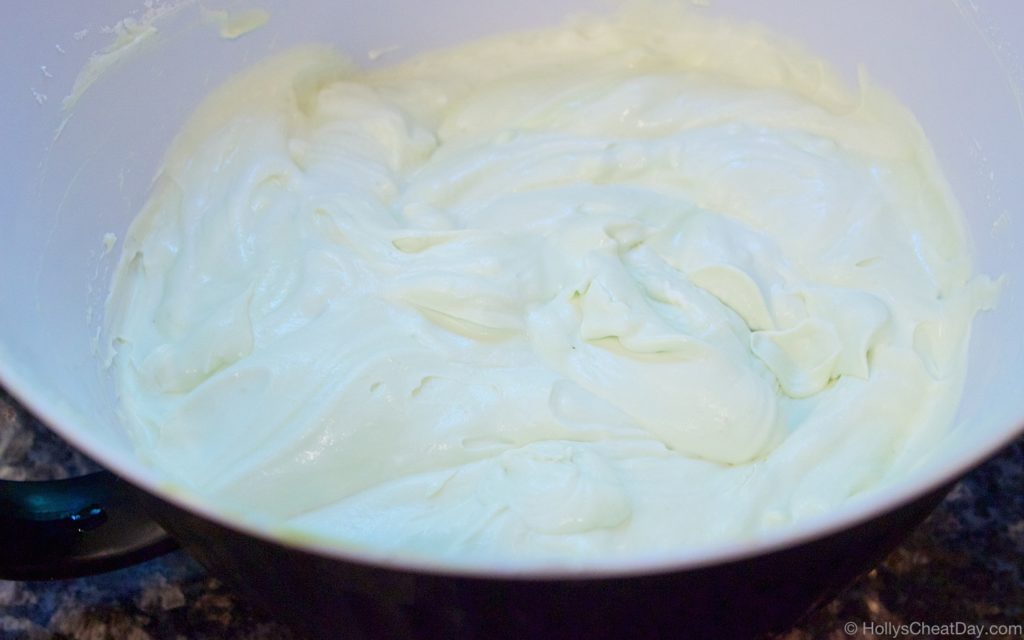
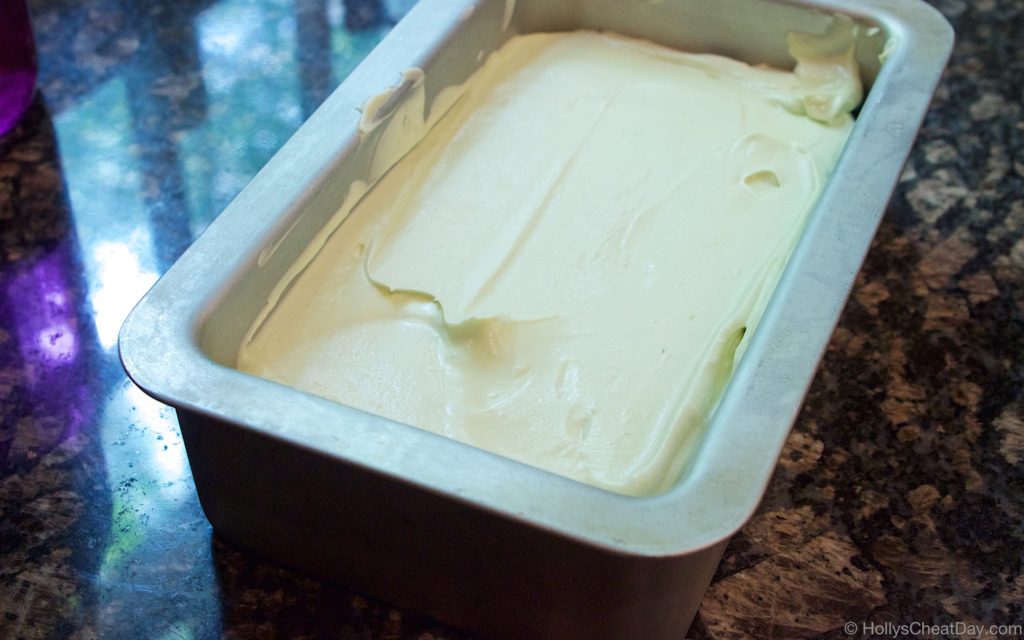
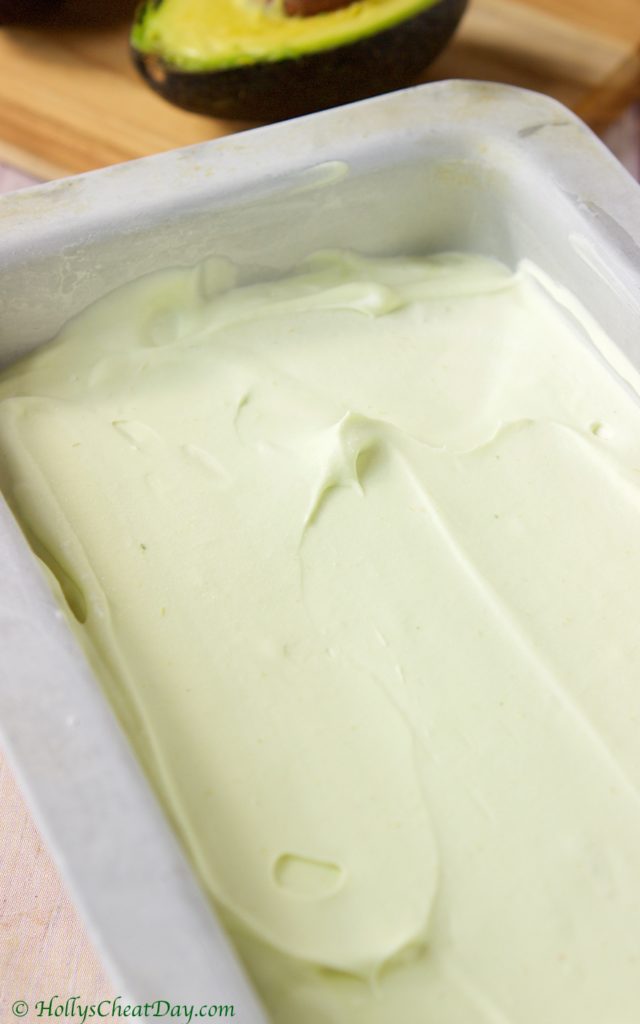
 Anyways, with the whole hot has all get out thing happening, for those of you who are not fans, I have wonderful news, it’s officially ice cream season, yippeee!!! Ice cream is pretty much always a good idea this time of year and it’s the perfect vehicle for cooling you off, well food-wise that is anyway. I am particularly fond of homemade ice cream because I have always found it to taste better, a lot more trouble than going to the freezer section of the store? yes, but definitely super tasty.
 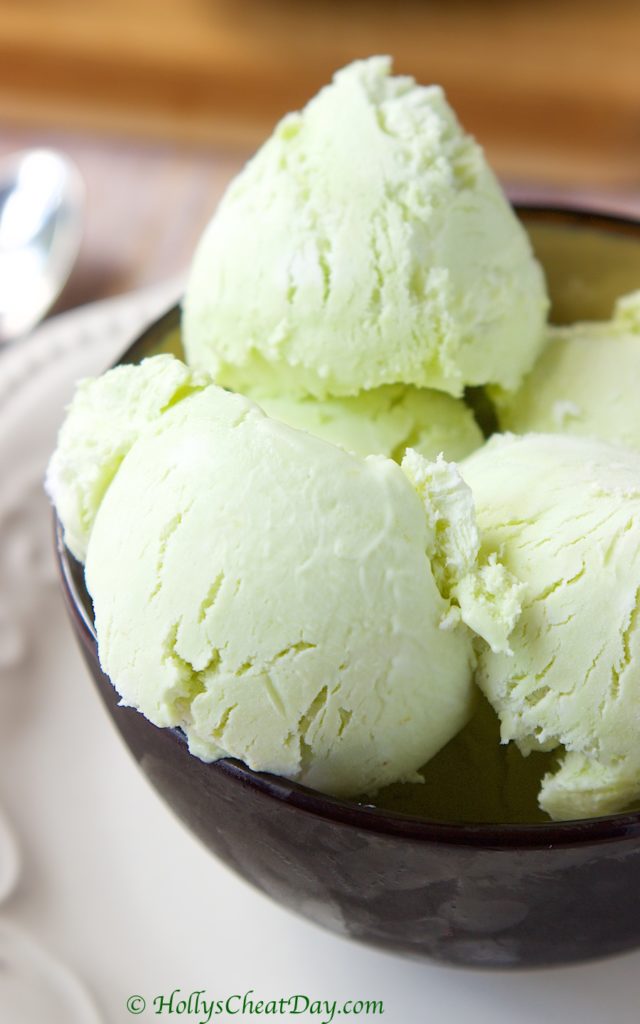 That is why I have had this recipe marked for over a month now to make, because it’s no churn, and the less pieces of kitchen equipment to be
 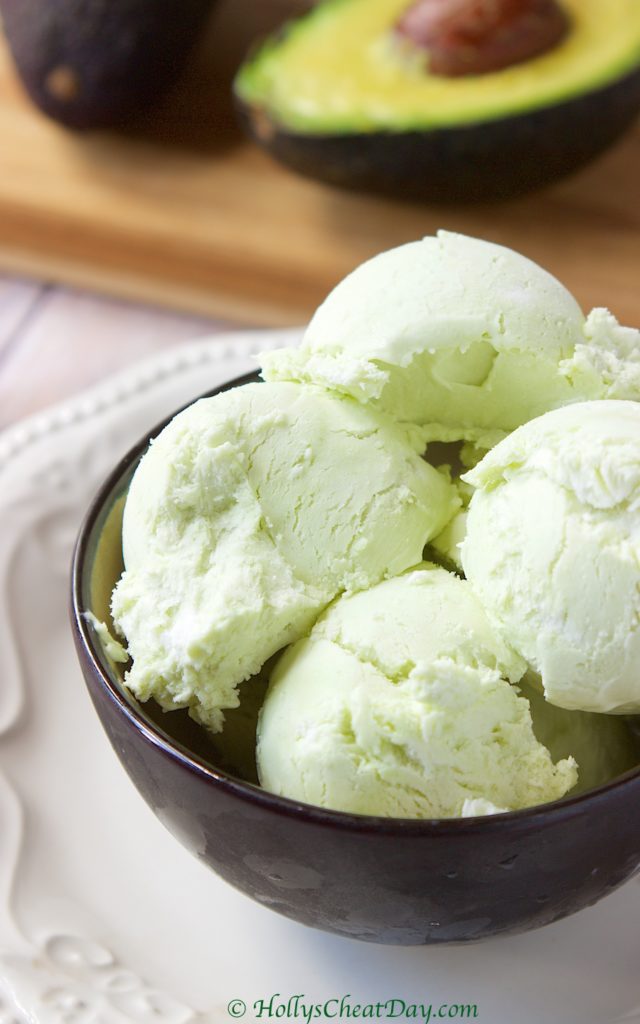 I should not have at all worried about this being funny tasting, because this ended up just being a really uniquely rich ice cream. At first bite, you almost think you taste the slightest hint of avocado, but then it switches to this dreamy homemade ice cream that is just a little bit different. I definitely recommend getting your nosh on with this ice cream. I hope you all have a fantastic day and thank you so much for stopping by!!!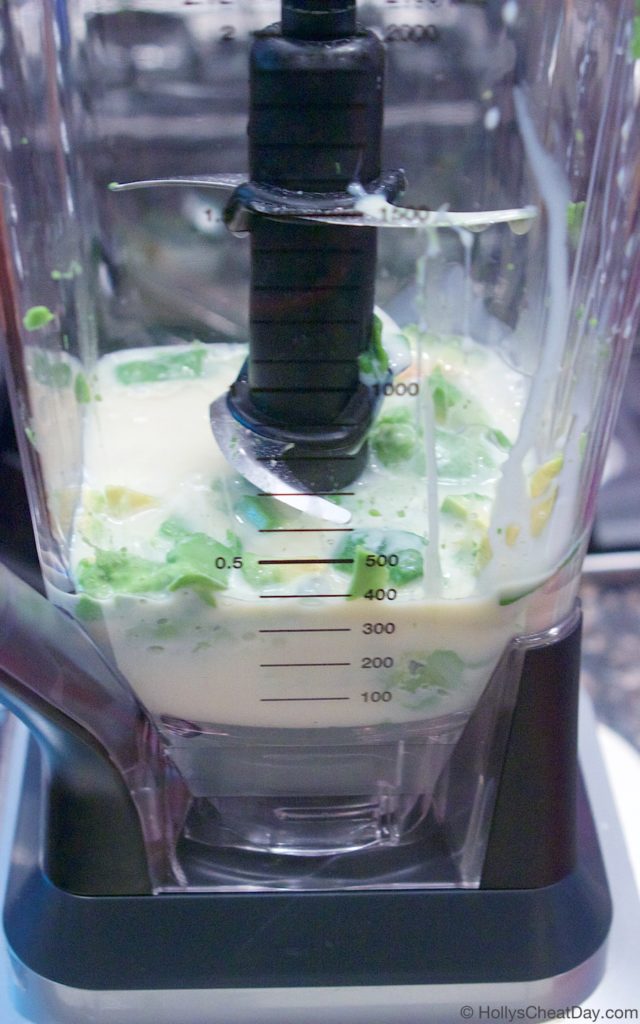




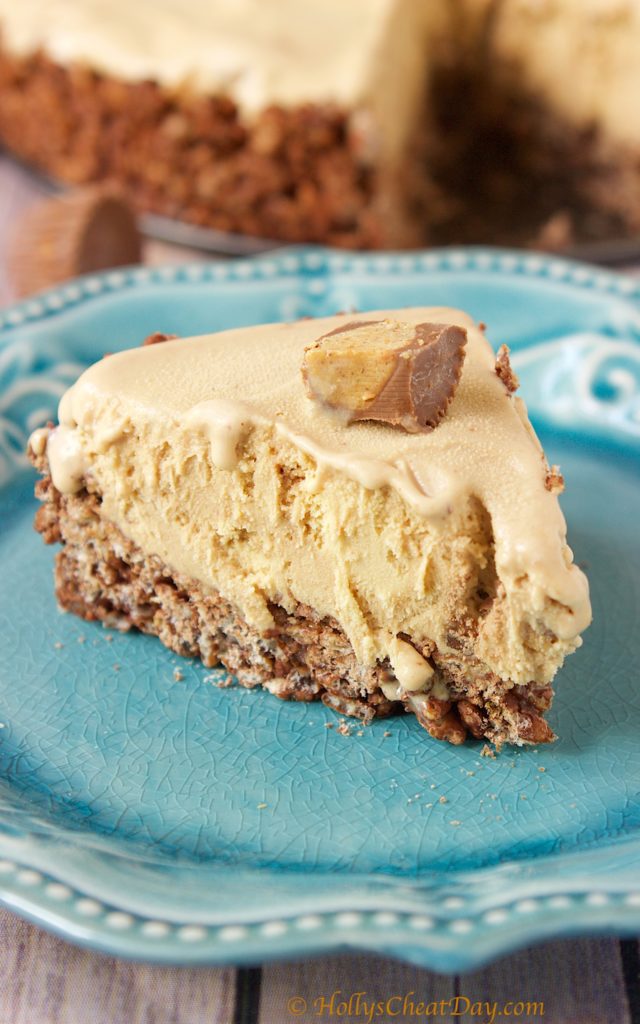 It’s just been one of those weeks, I’ve been super salty since Monday, and then things keep popping up to get on every remaining last nerve…I know #firstworldproblems and all, and I’ll chill out in a couple of days and feel guilty for being so snarky all week…but not today. Luckily, tomorrow is my cheat day and I can feed my feelings with doughnuts and pizza (yeah, I just admitted that on the Internet), oh well, judge all you want, though I’m sure most of you won’t since I assume you love food as much as I do haha.
 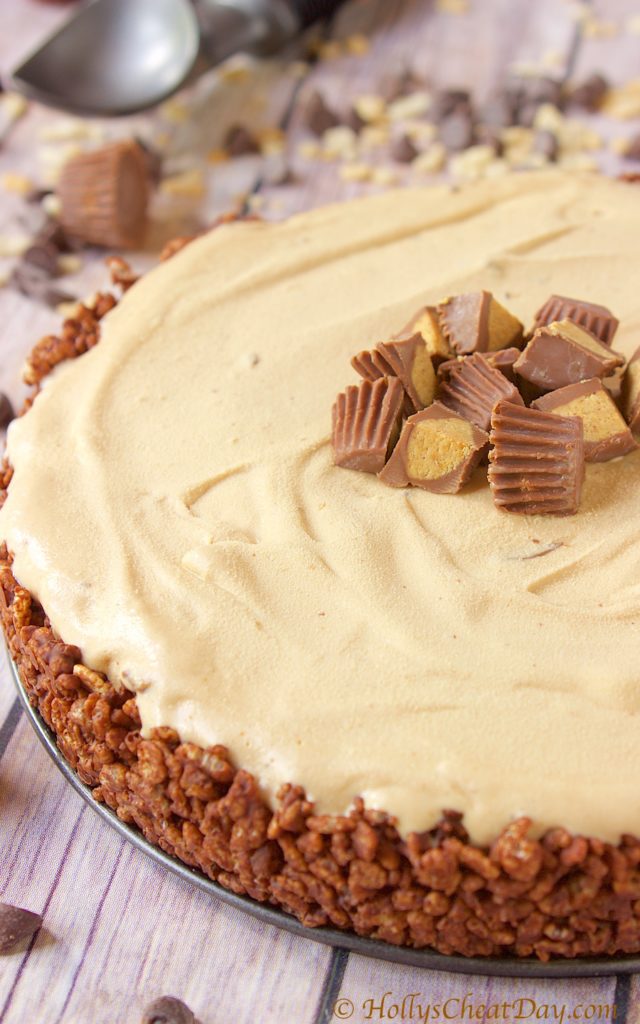 Oh and let’s not forget, I totally have this Peanut Butter Cup Ice Cream Pie to enjoy! I made this on my last cheat day, and honestly was already so full from the day, I was only able to eat one slice and y’all this pie is amazing. So in normal fashion, I wrapped it really really well and stuck it back in the freezer to enjoy this weekend.
  I came across this recipe on Instagram, and I was sooo impressed by the ease of this recipe and not to mention how freaking delicious it looked, I absolutely had to make it. It also doesn’t hurt that I have maybe the biggest box of Rice Krispies in my pantry right now that I had bought for a recipe a couple of weeks ago, and the
 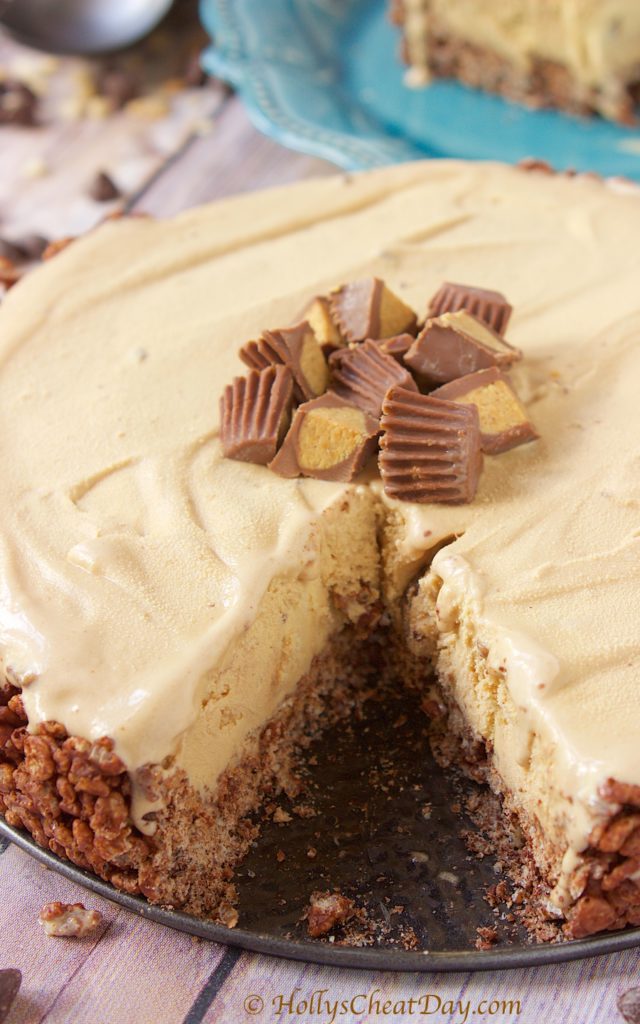 So, I’ve been attempting to put Rice Krispies in everything to use them up, hence another reason why this recipe was so appealing. Feel free to substitute out the peanut butter ice cream with one you may prefer (hello Cookies & Cream), but holy moly, that chocolate Rice Krispy crust filled with all of that peanut buttery goodness, mmmm, peanut butter is life y’all. I hope you get to enjoy this pie soon, I hope you have a wonderful weekend and thank you so much for stopping by and being so nice and putting up with my obviously snarky self this week 😀
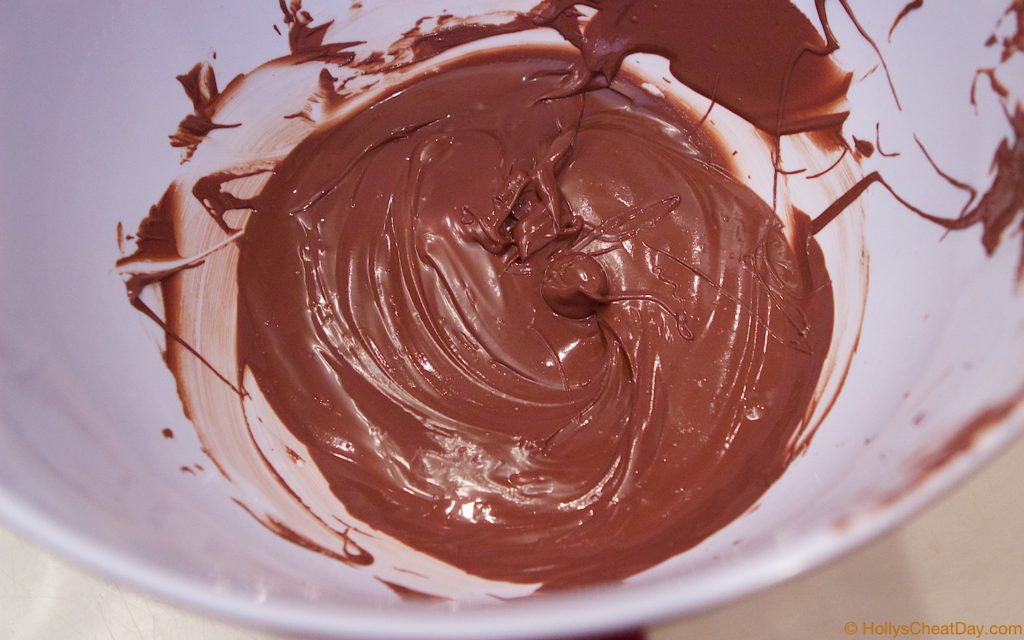
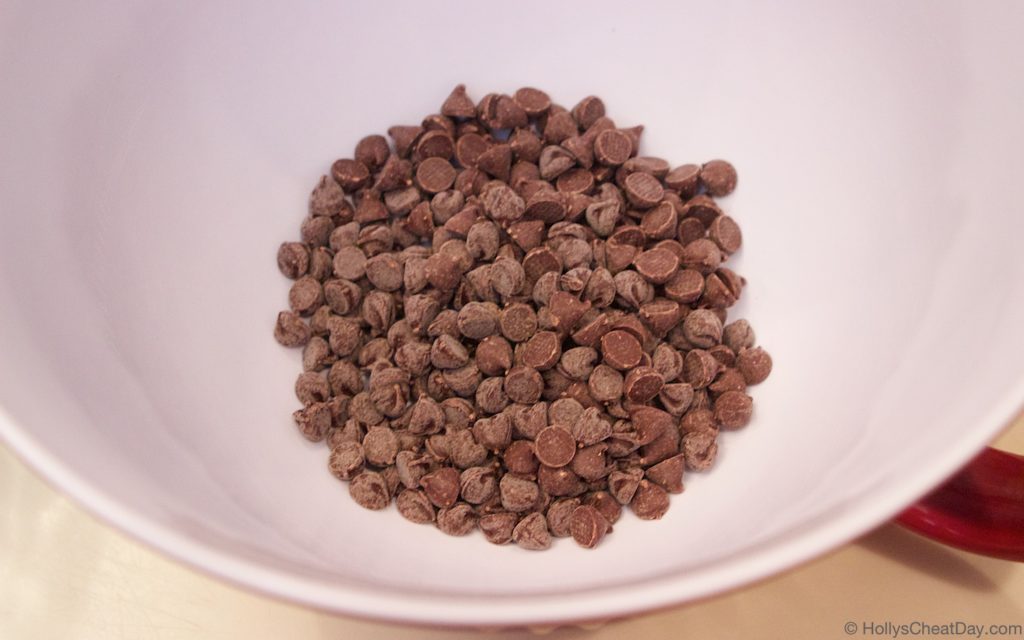 melted…
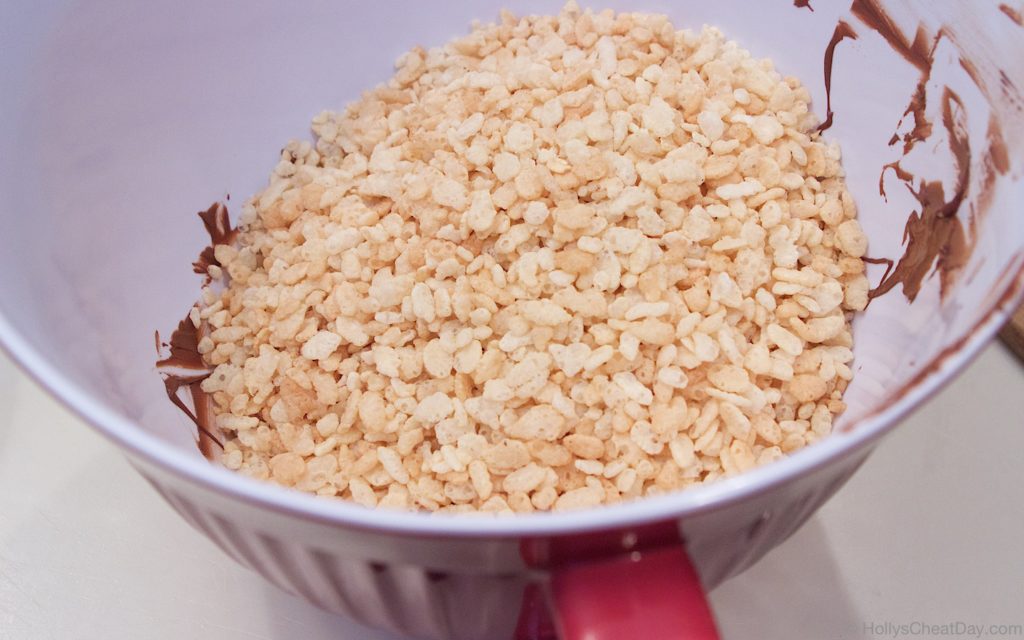
 Rice Krispies into the bowl…
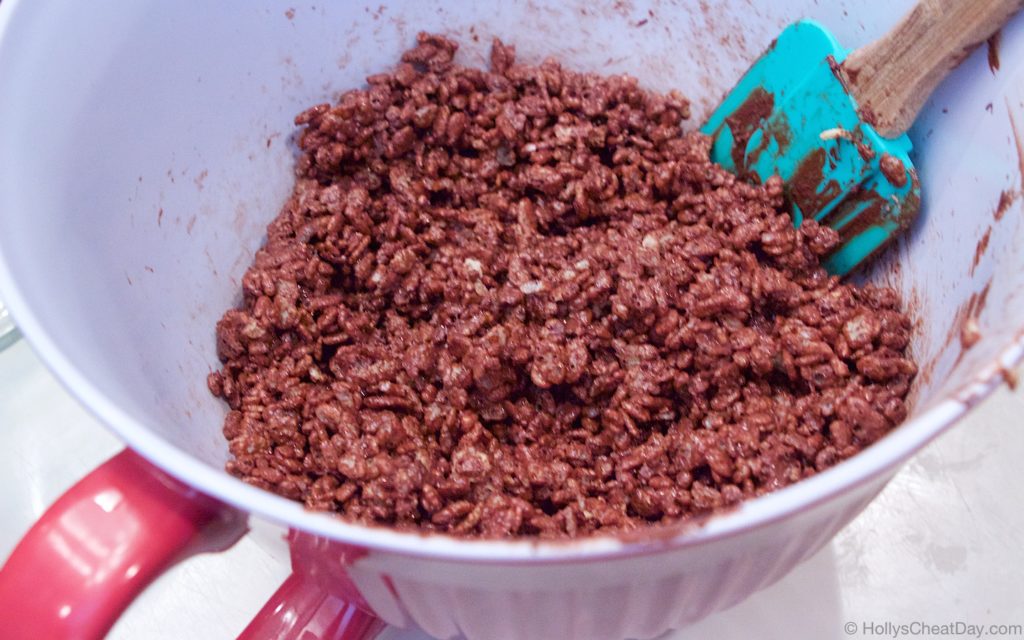
 all mixed in (with a wonderfully blurry photo to go along with it)…
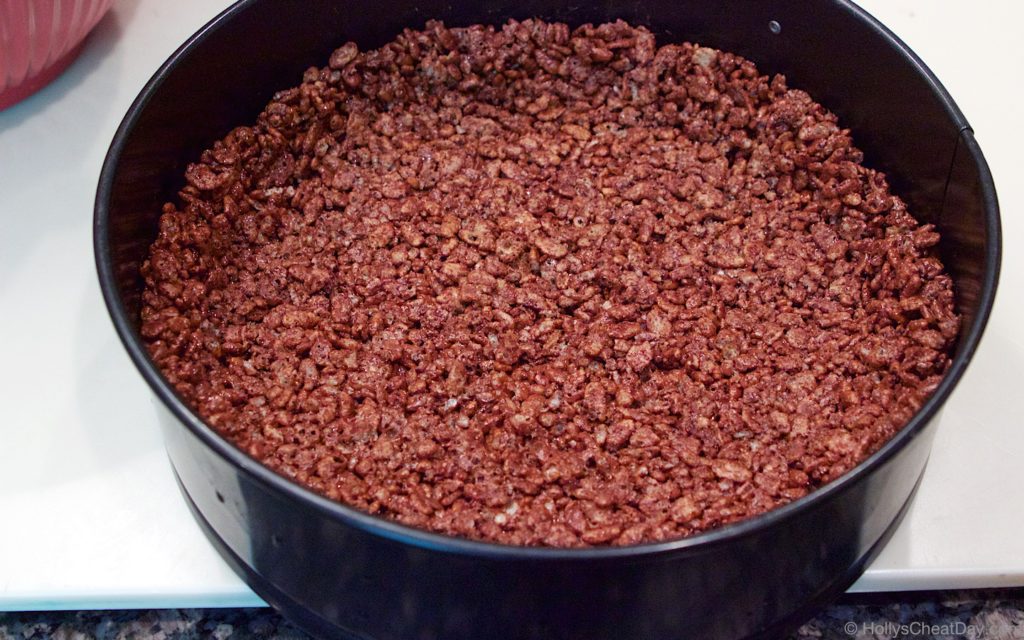
 pressed into the spring form pan
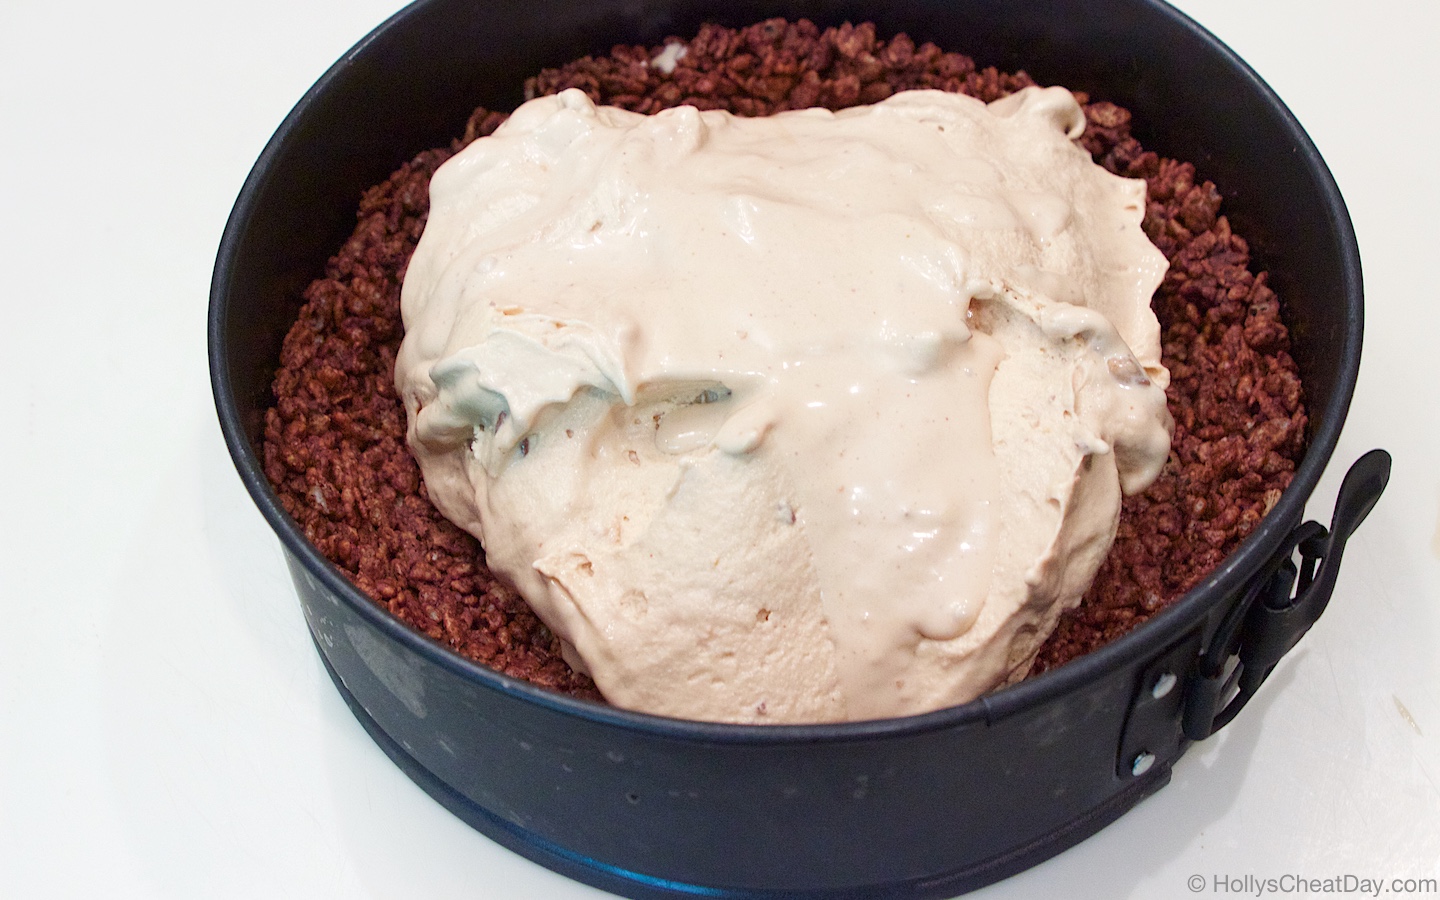
 softened ice cream in…
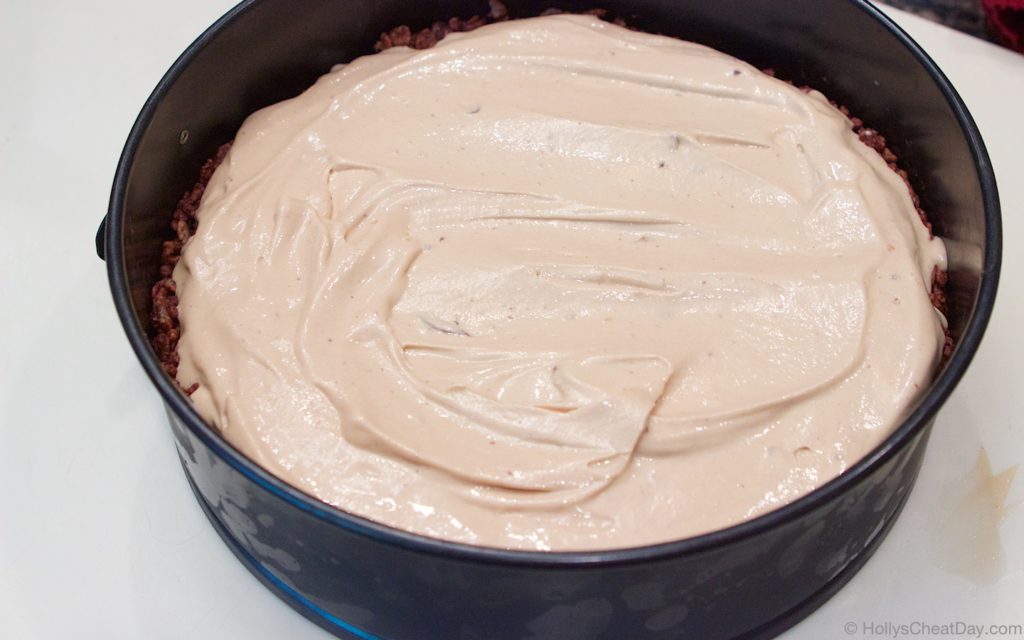
 ready to go into the freezer for a bit…
 and enjoy!!!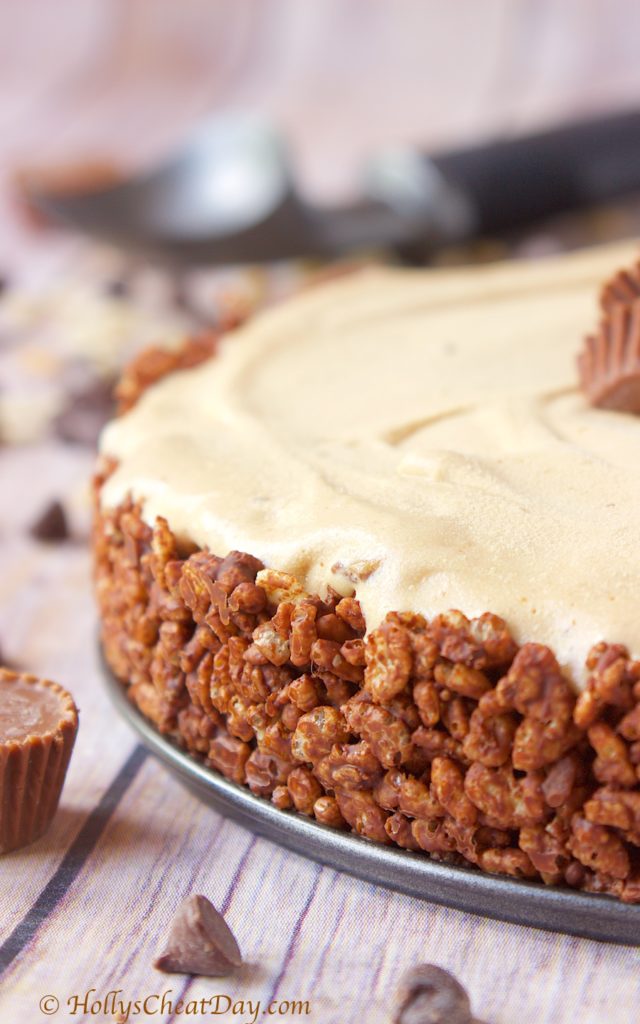

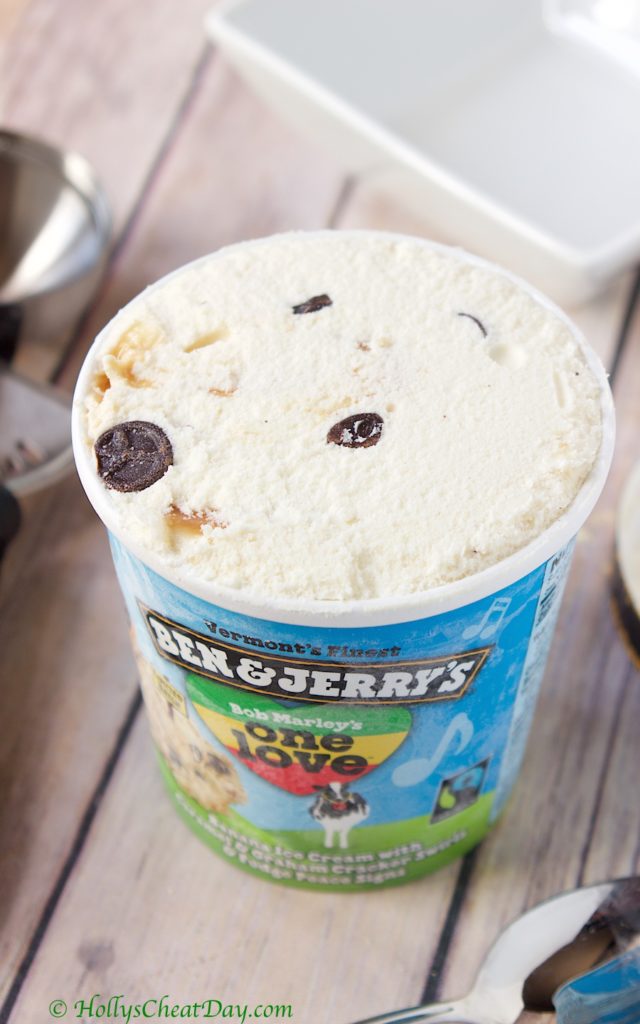
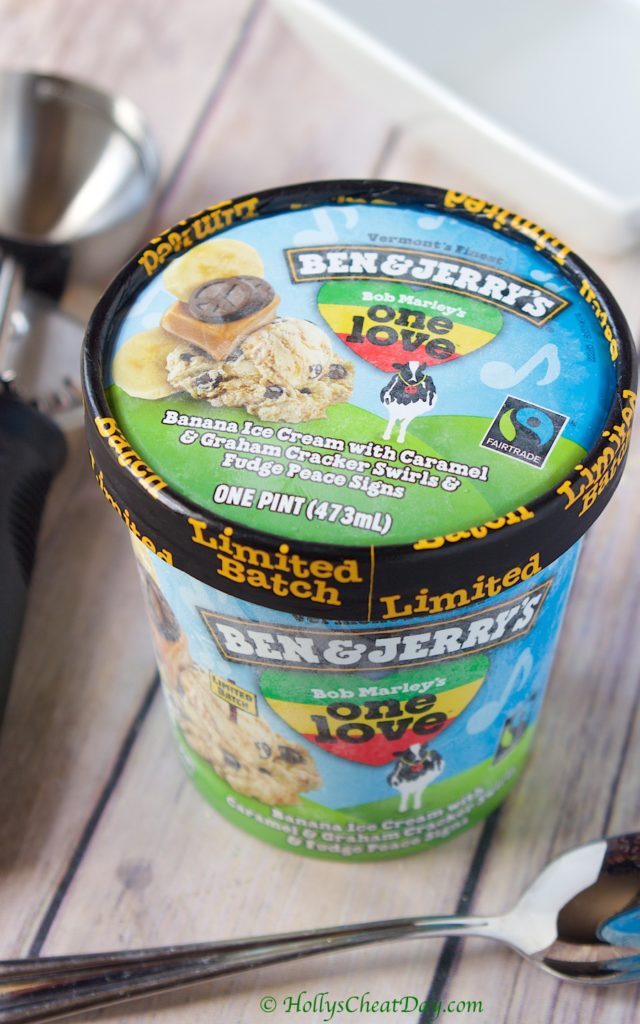 don’t we all like to see what the ice cream looks like when the top is first taken off?…
 all that delicious caramel goodness and just enough chocolate…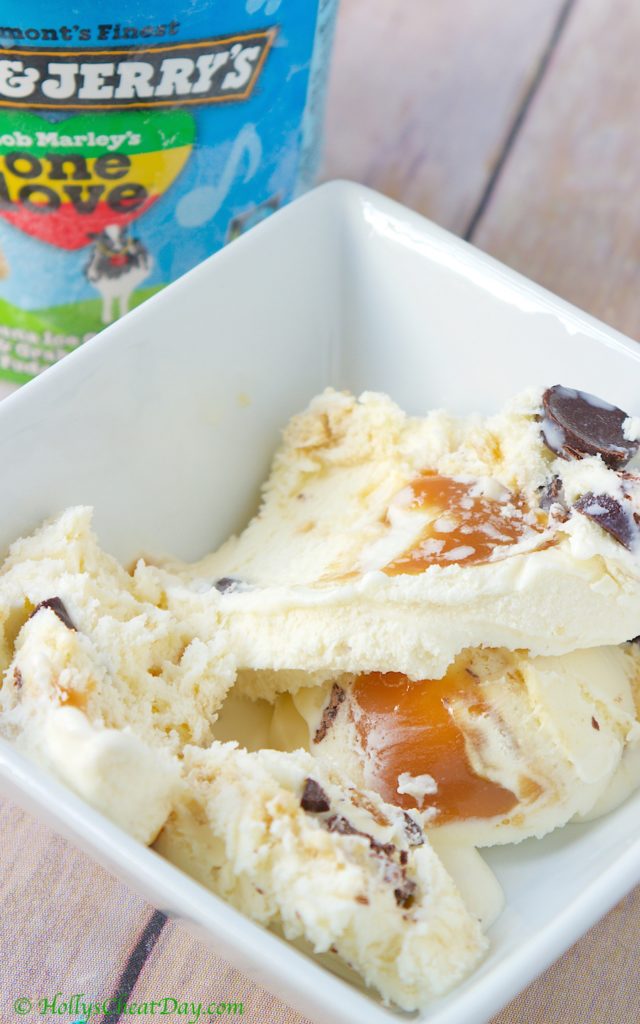
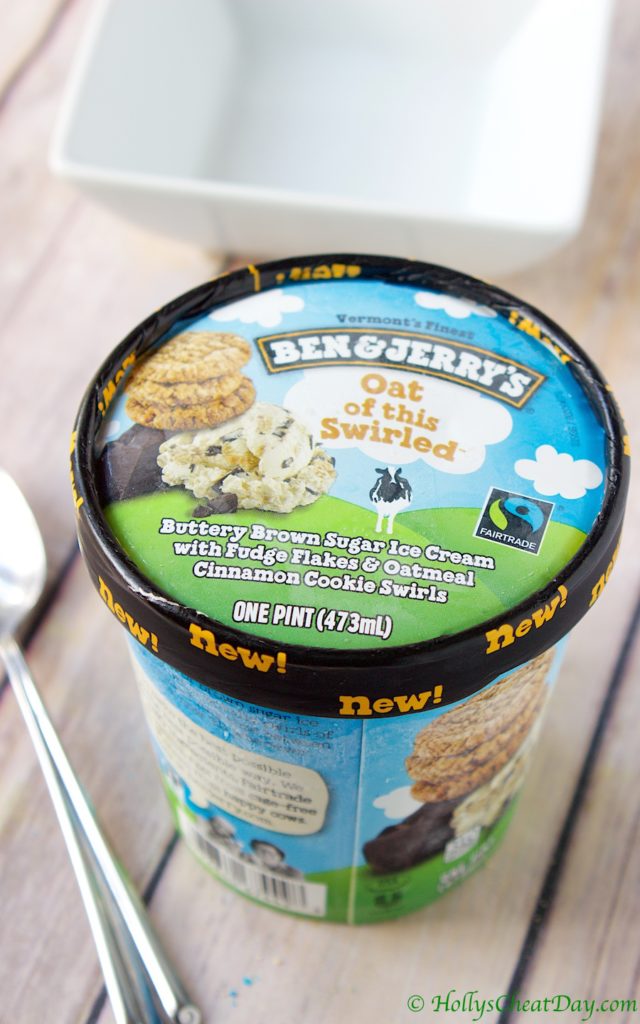 nice and opened…
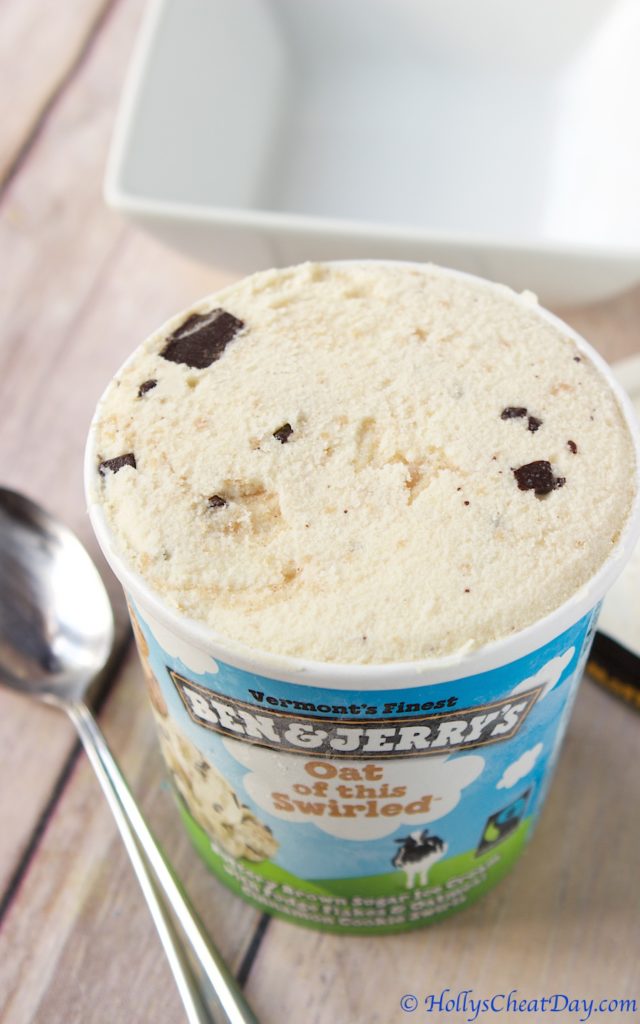 nom…
nom…
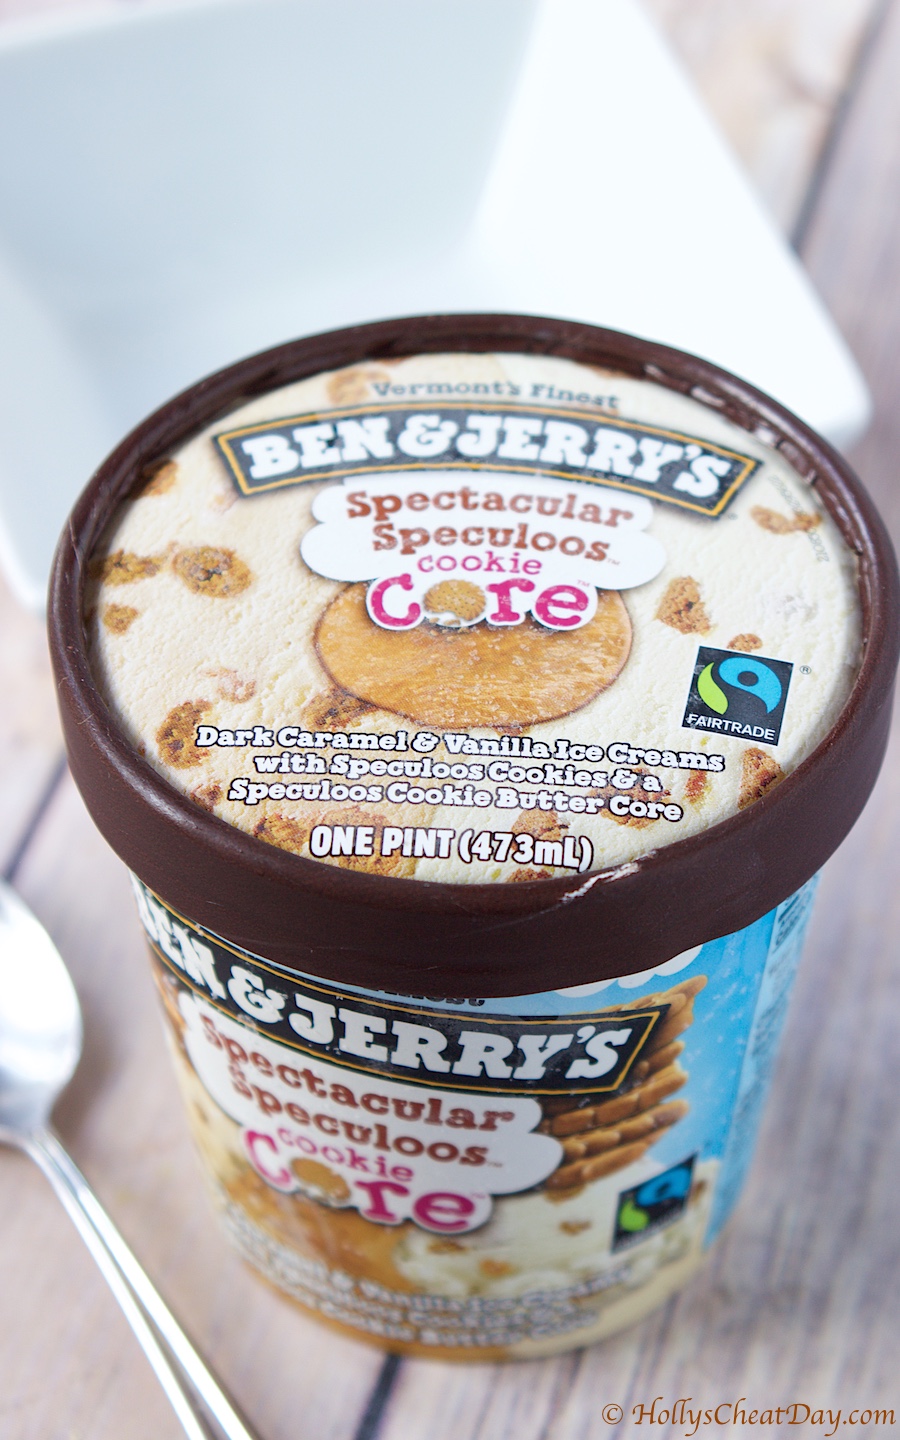 I scooped out some of the ice cream so y’all could see more of the cookie butter core, mmm…
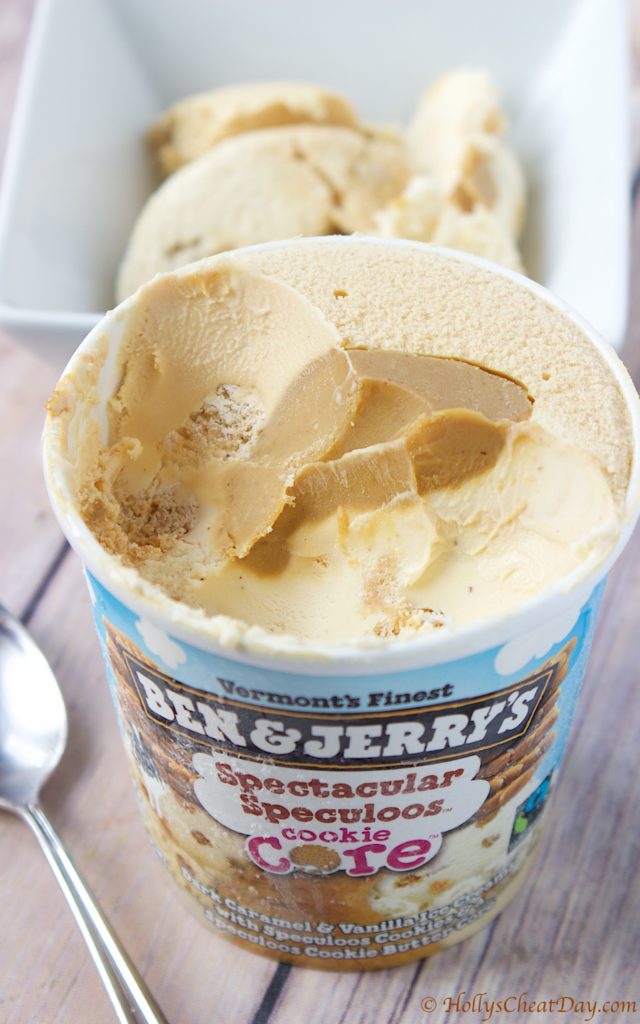 look at all that cookie butter…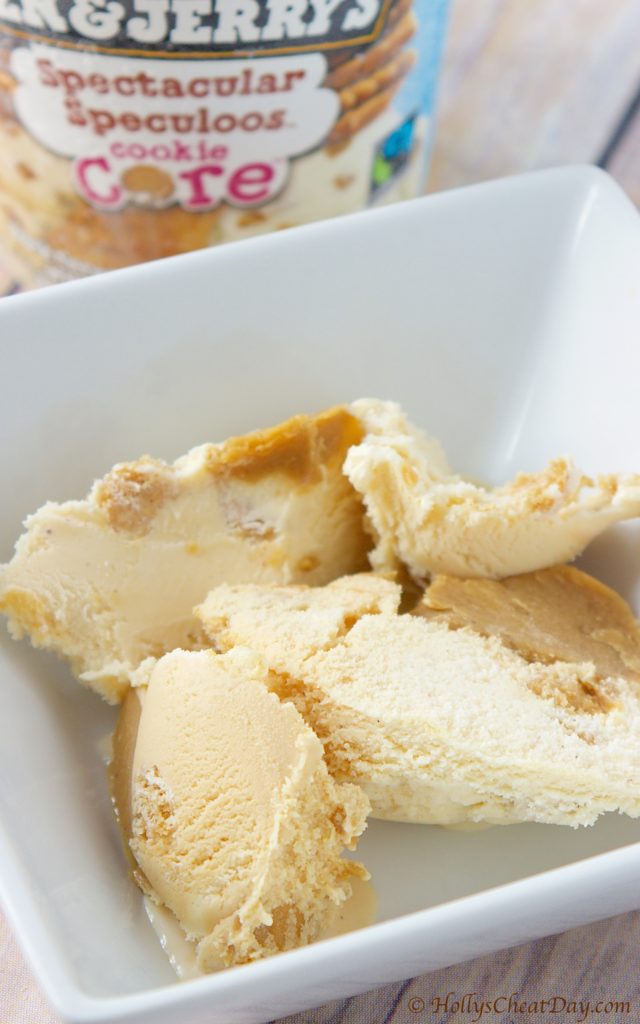
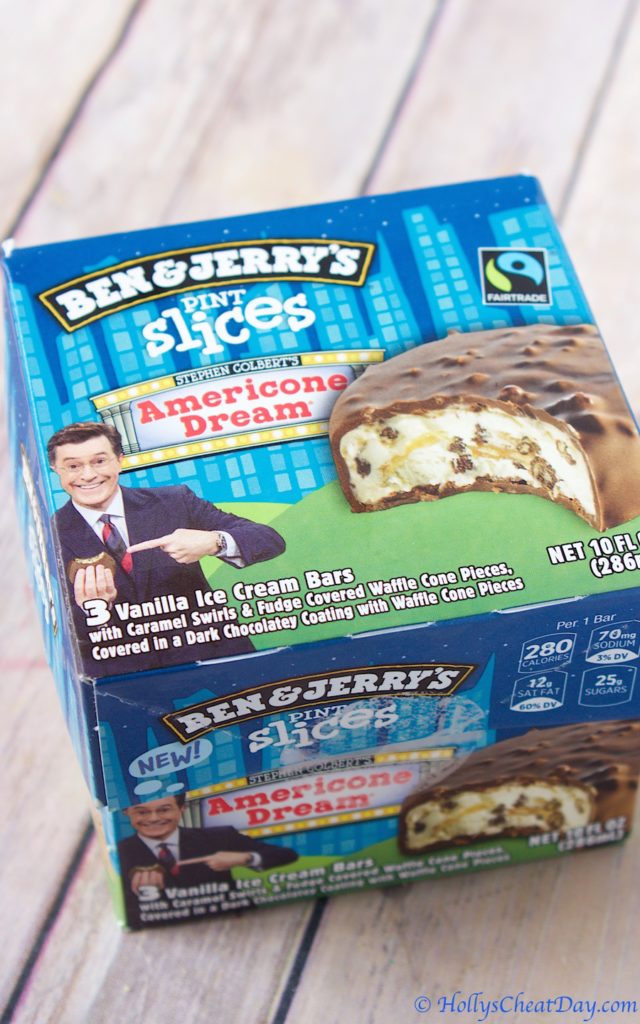 looks promising…
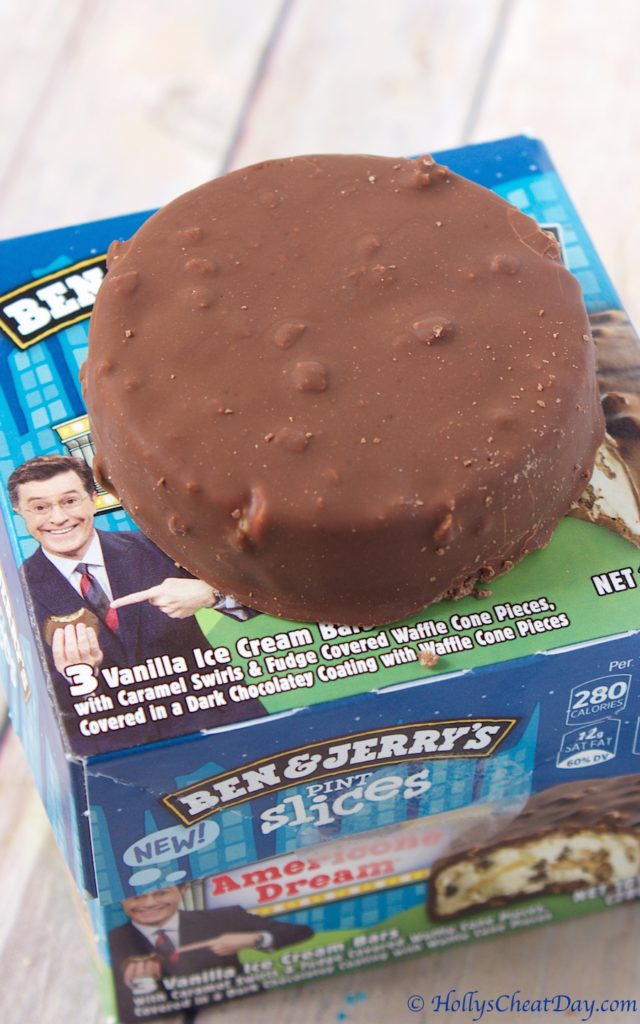 the inside…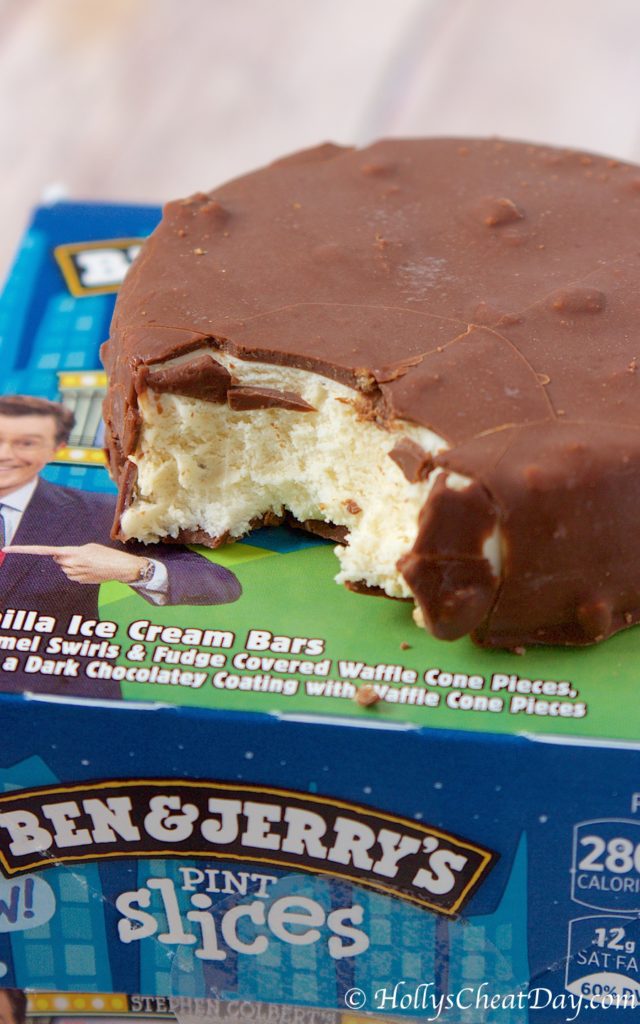

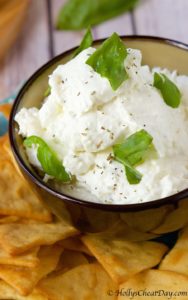
 I know that typically hot dogs, hamburgers, beans, and coleslaw are the normal kinds of foods served, and don’t get me wrong they’re awesome, but there is always, always a place for dips. I will forewarn you that the recipe below is a pretty small portion, but not to worry, this is easily tripled if you have a much larger crowd to feed (or an especially healthy appetite like I do). Also, this is very garlicky, AKA not a great first date food haha…I swear I’m not trying to talk anyone out of making this dip because I freaking love this stuff, I just want to give you a heads up is all.
 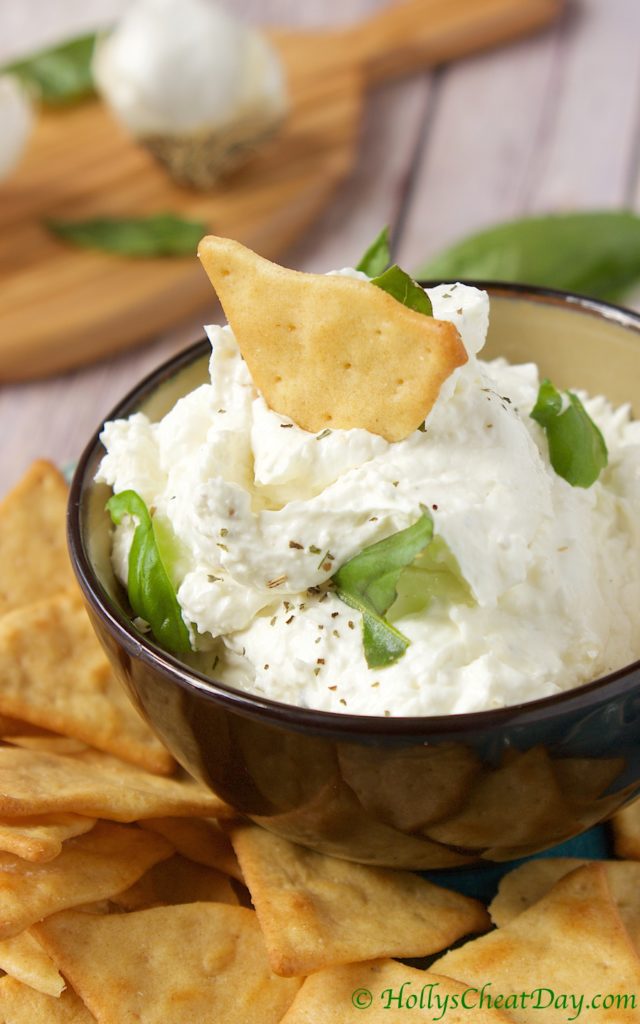 It’s definitely one of those dips that you and everyone else will just keep going back for more. It has tons and tons of garlic flavor (obvi), wonderfully savory and just enough creamy–thank you cream cheese haha. I found pita chips to be the perfect vehicle for this dip into my
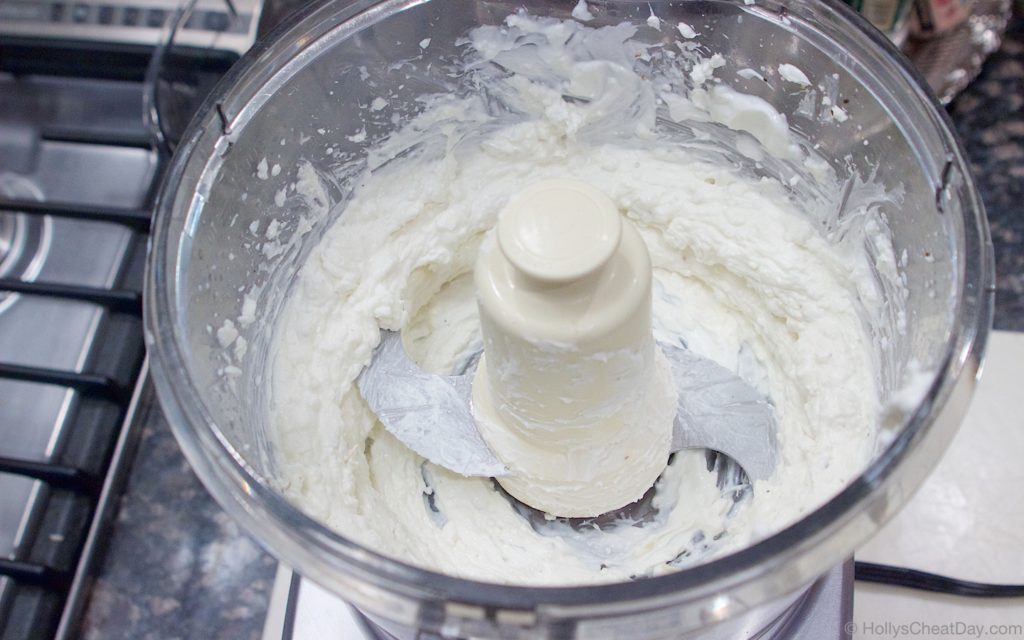
 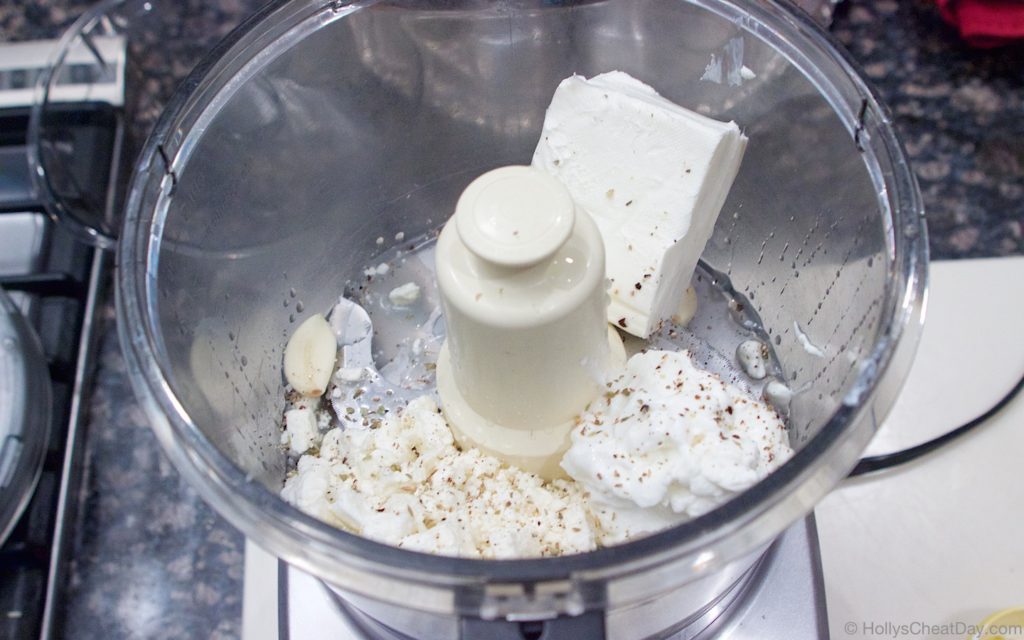 mix, mix, mix…
 and enjoy!!!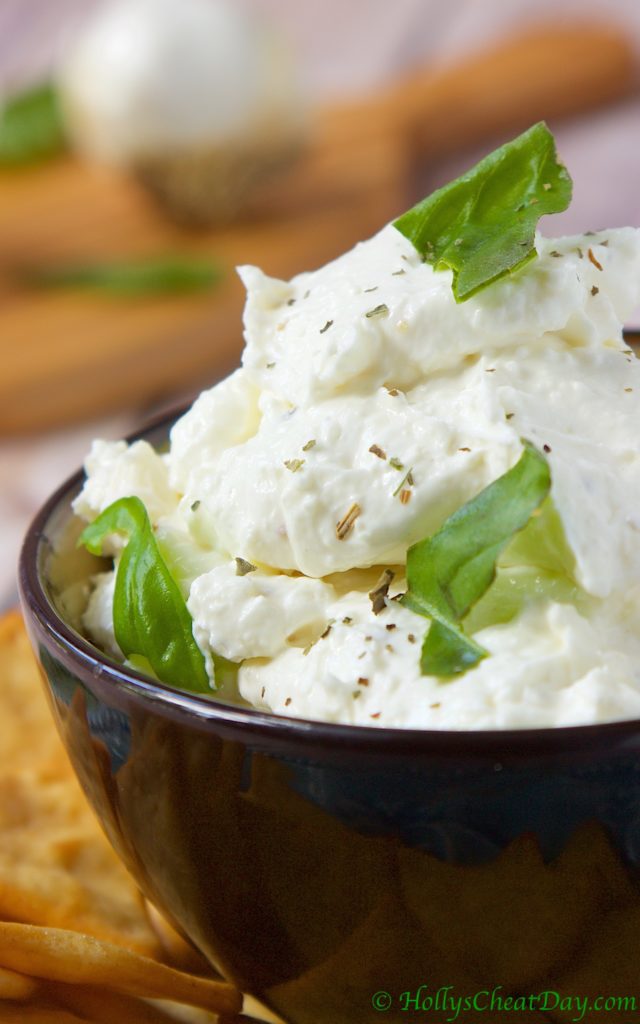

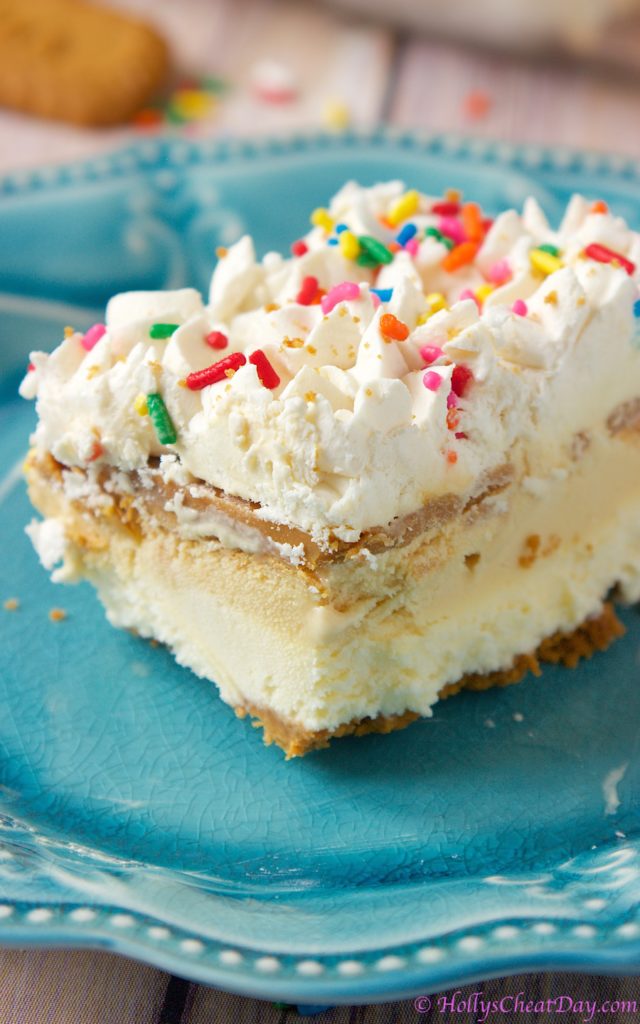 Today I’m sharing one of those recipes. I’ve been a long time follower of Sally’s Baking Addiction and she had recently re-posted
 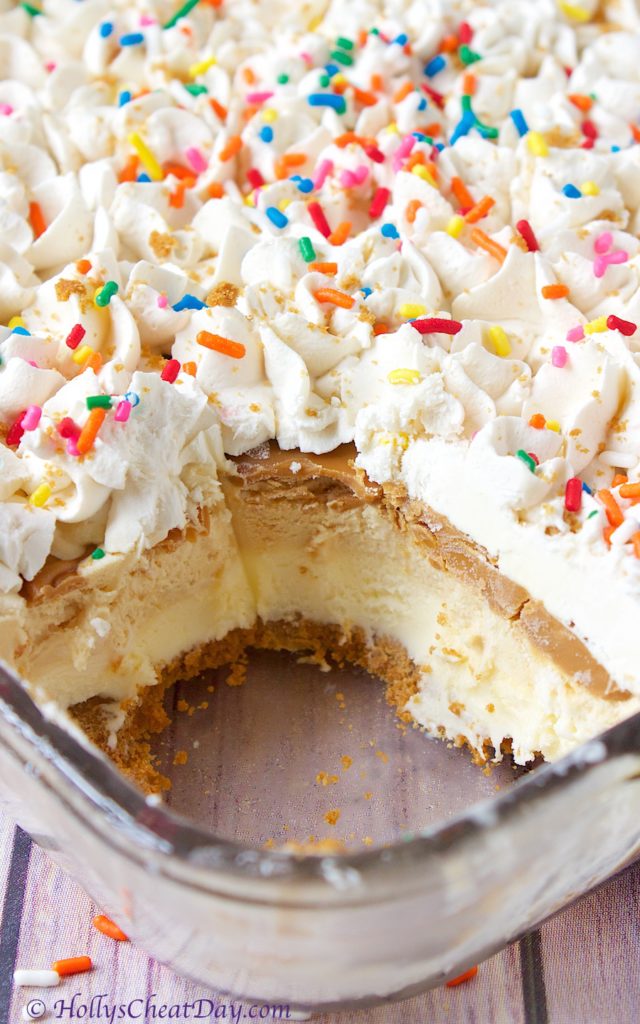 Also, perfect timing, it’s starting to get pretty darn hot around here and it seems like everyone and their mother is having a birthday right now (and not to mention Father’s Day this weekend)…problem solved with this cake. You’ll see that the original recipe used Oreo cookies as the crust, totally different flavors of ice creams, and a different top layer of ‘sauce’ but that’s what’s awesome about this cake.
 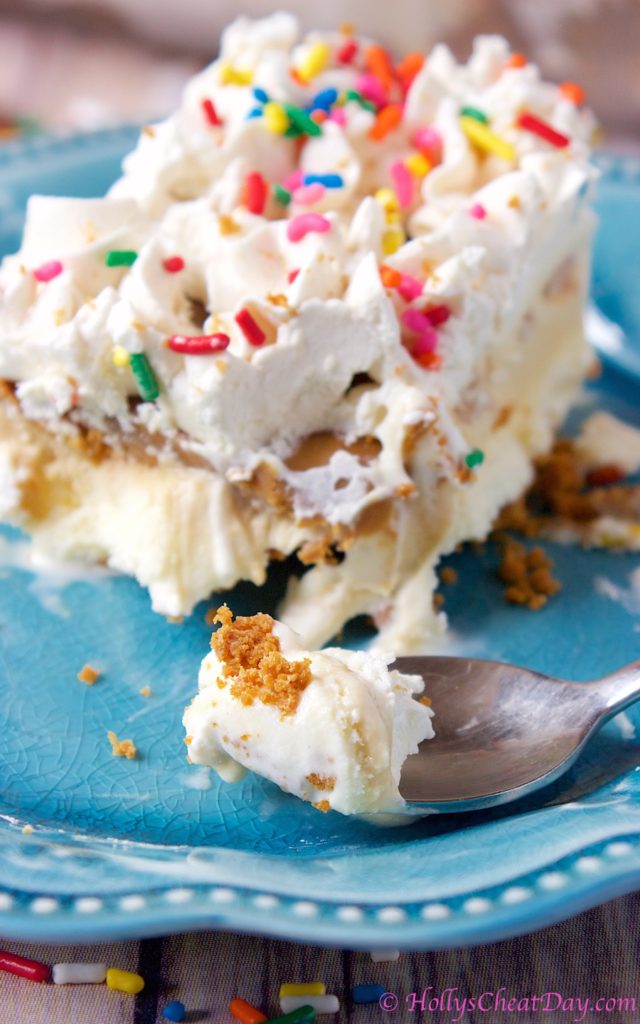 The possibilities are almost endless because you can pick whatever flavors you think would go best together and you can run with it. This cake was a huge hit with everyone I shared it with and of course I loved it too. It was just so decadent and fun with all of the flavor combination layers. I’m already planning out the next one I make and what flavors I want to use, mmmm. I hope you all have a wonderful Friday and a fantastic weekend! Early Happy Father’s Day!!! Thank you so much for stopping by!!!
 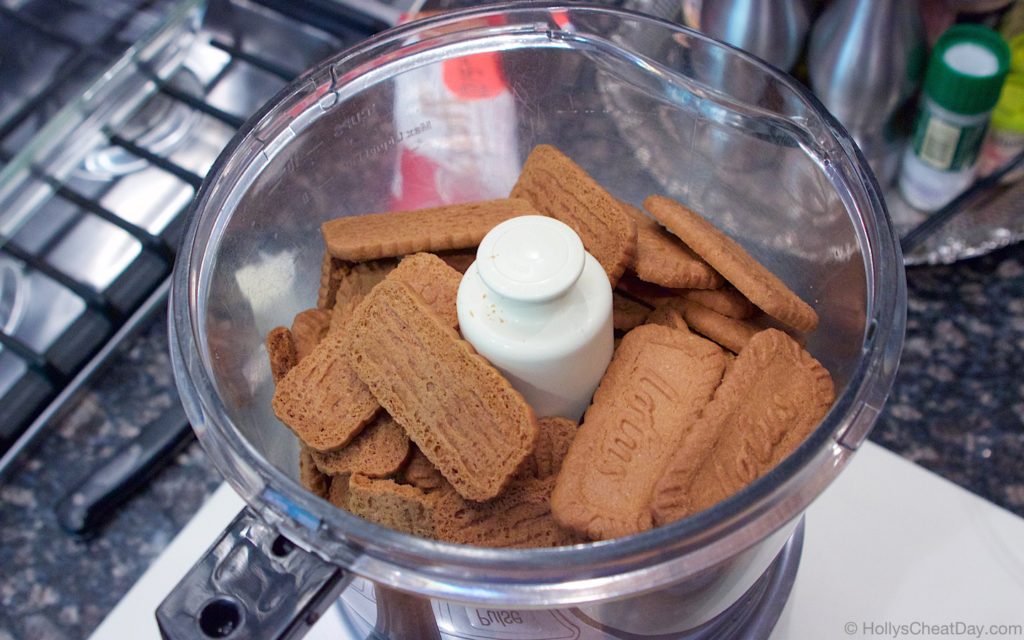 you want them really finely crushed like so…
 then into your bowl with the melted butter…
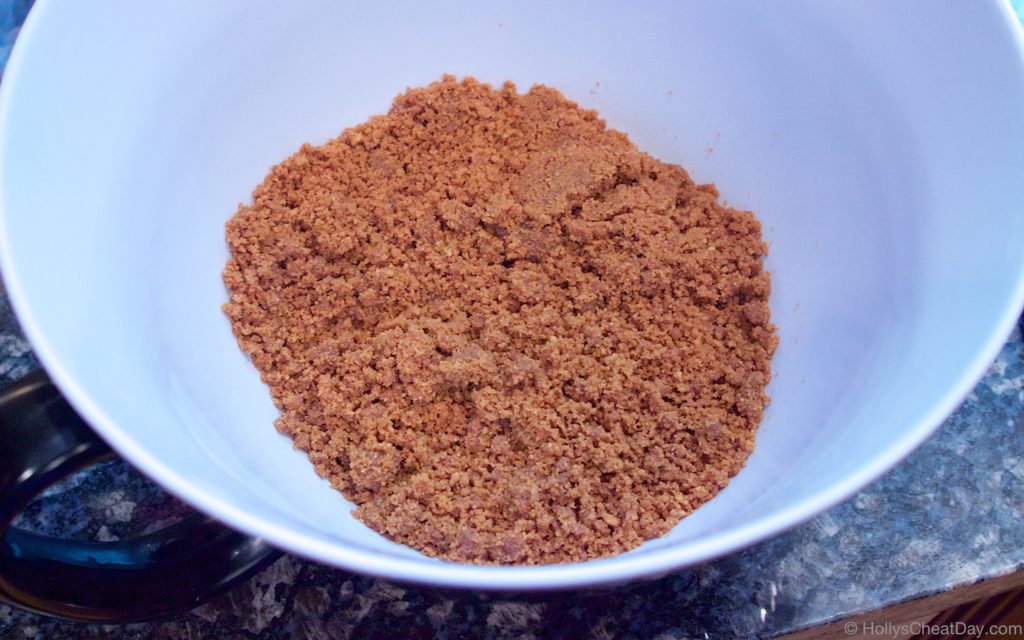
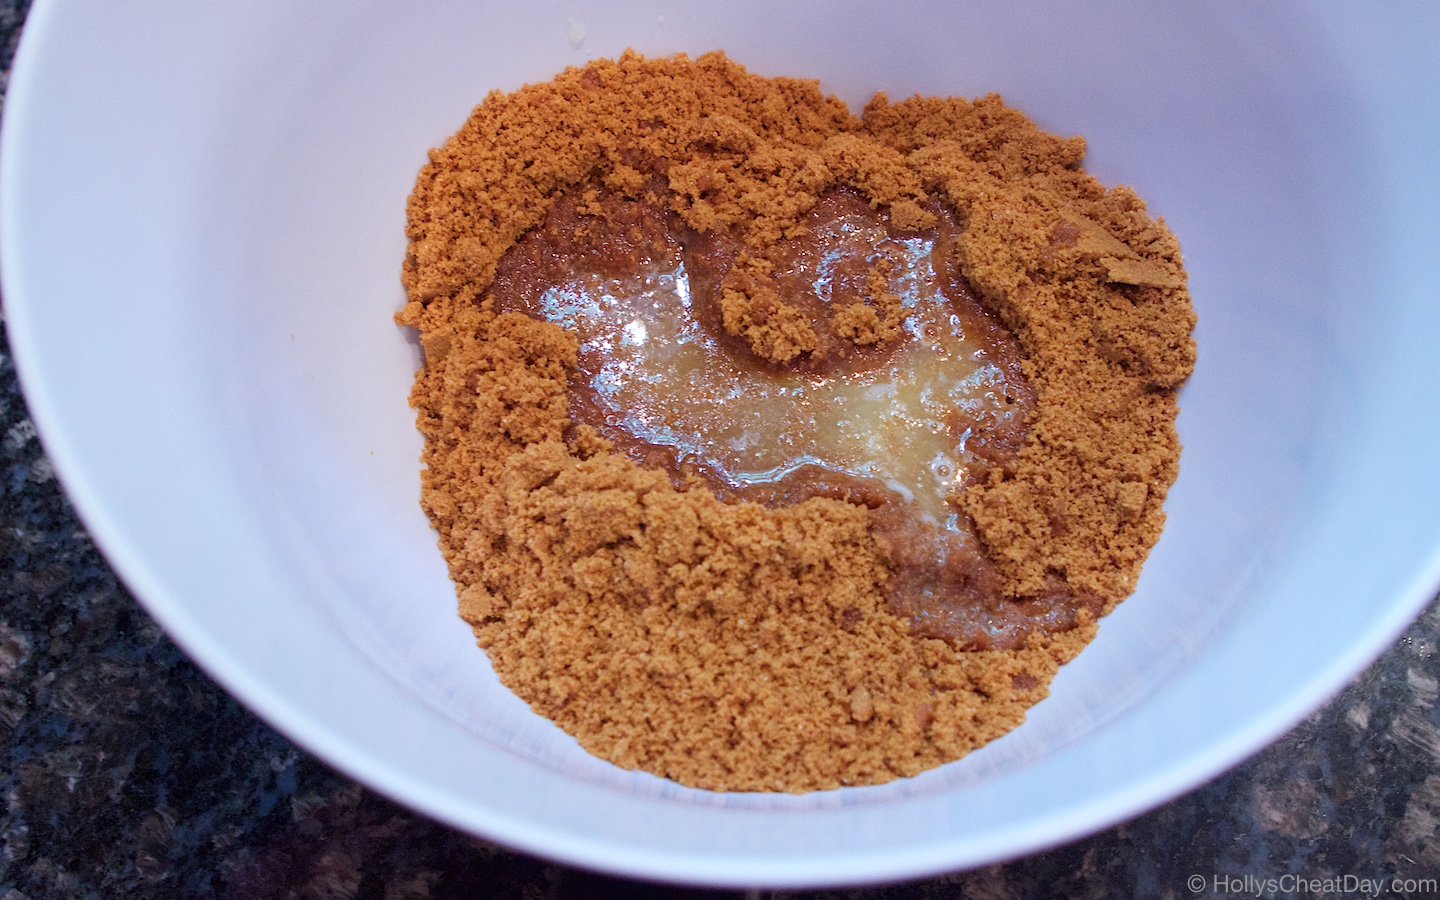 once mixed should look like wet sand…
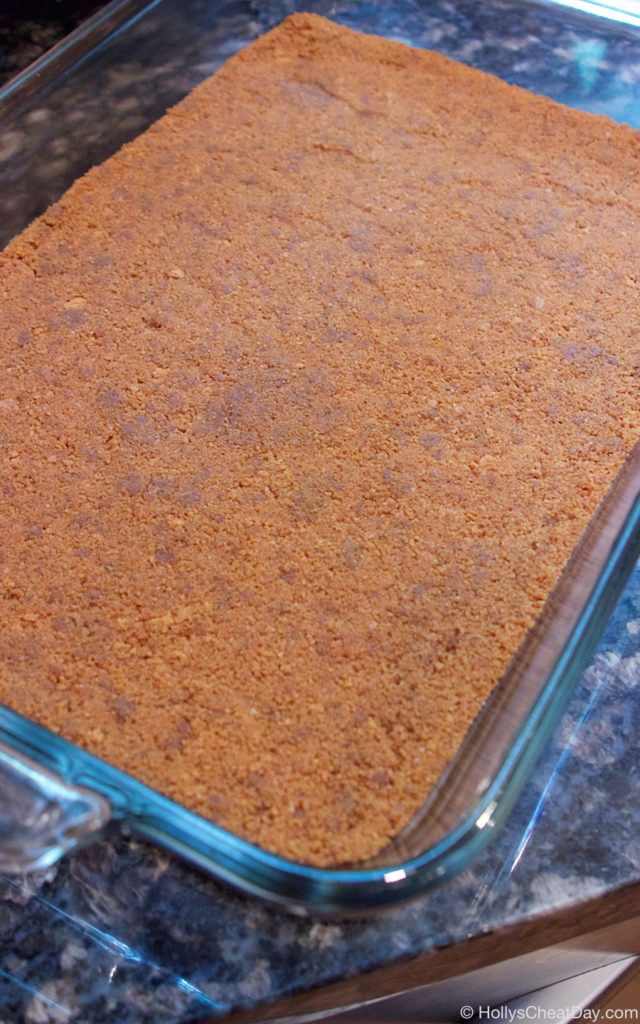
 firmly pressed into your pan…
 once the crust has firmed up in the freezer, put the first layer of ice cream…
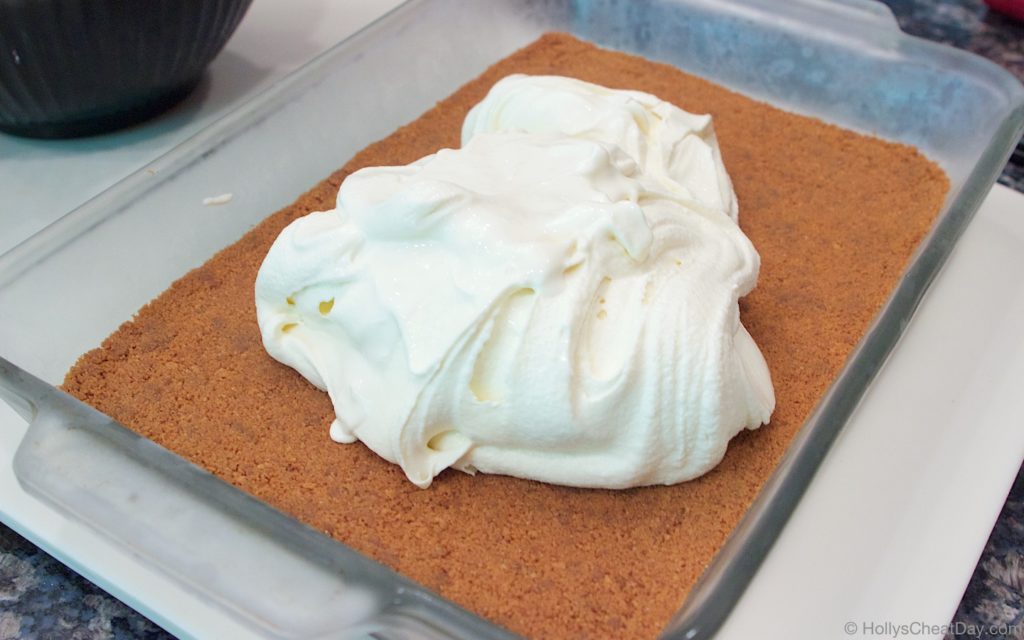 all spread out and re-frozen…
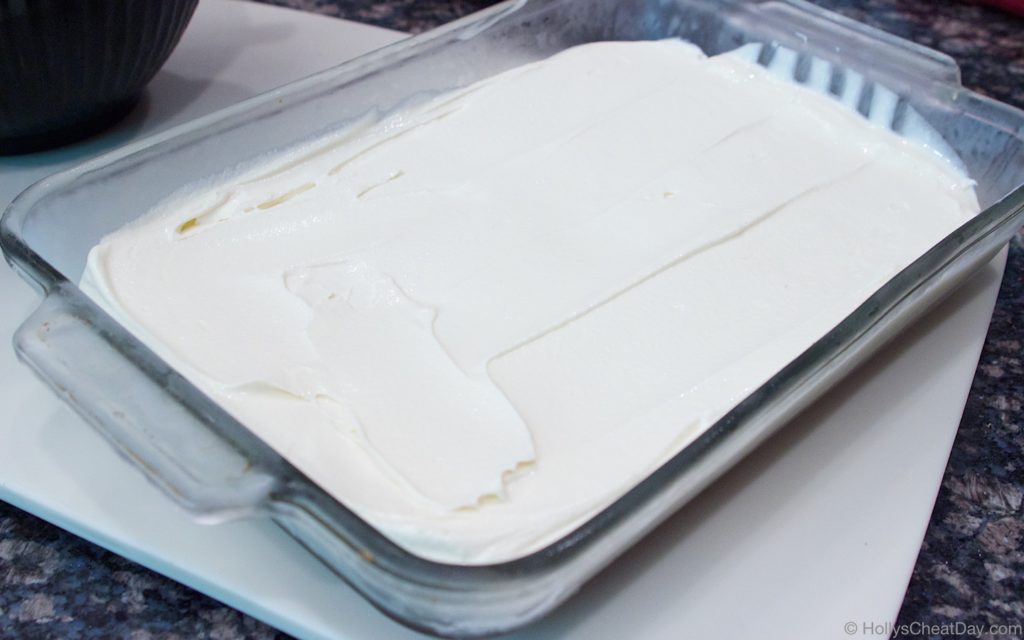 then the second layer of ice cream…
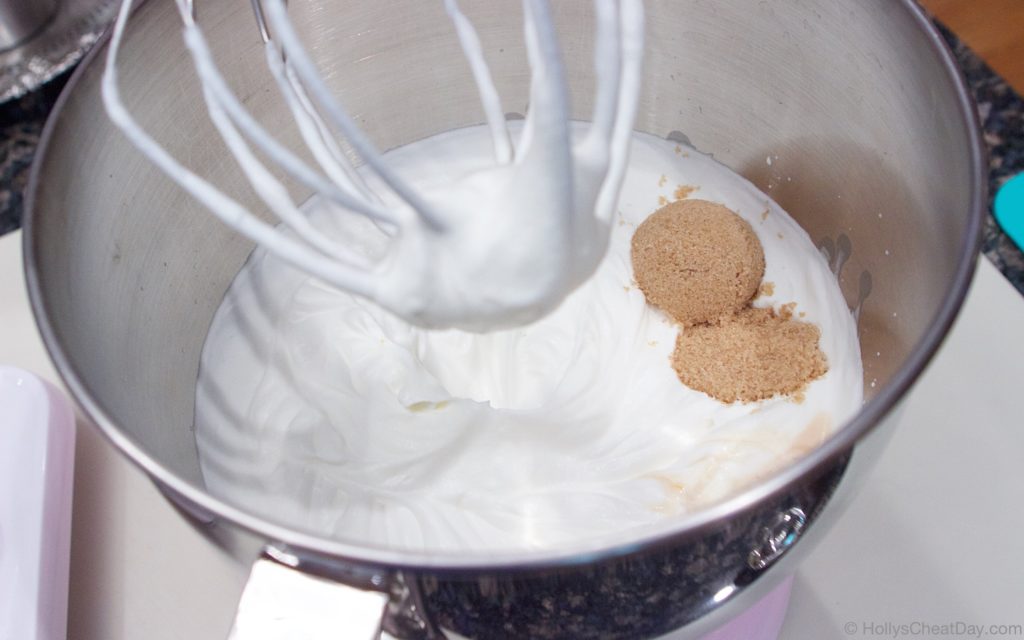
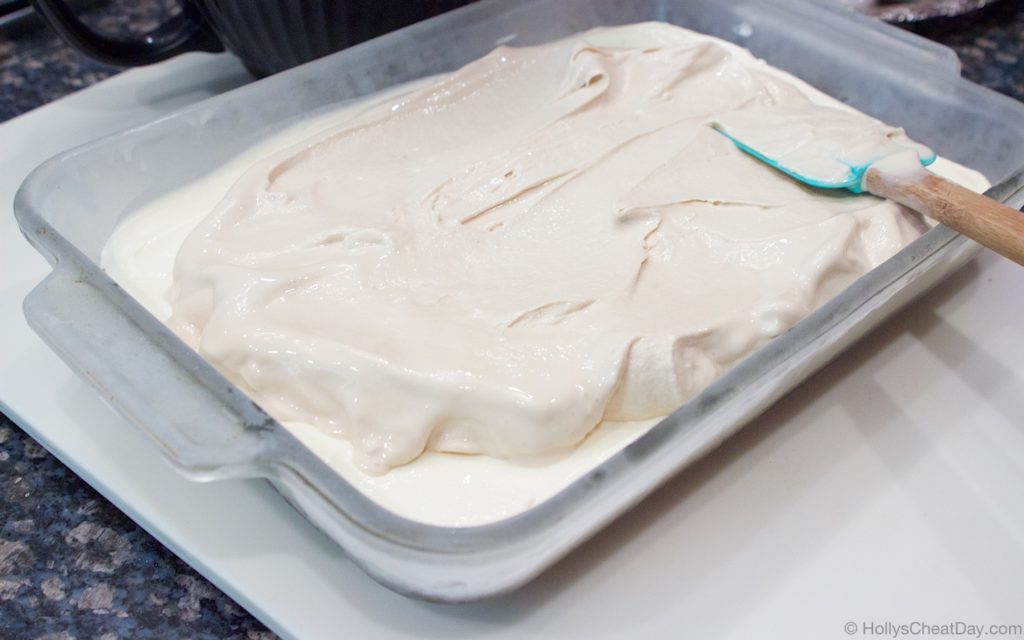 and while that’s re-freezing, heavy whipping cream getting whisked…(as a side note I put the melted Biscoff cookie butter on top of the 2nd layer, I just forgot to take a picture of it)…
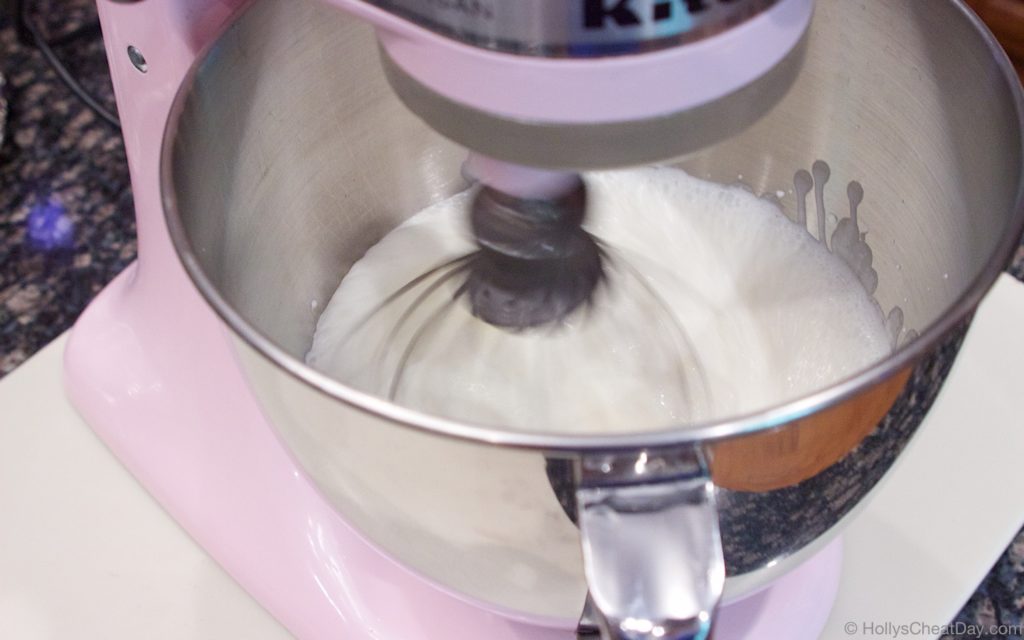 then add the brown sugar…
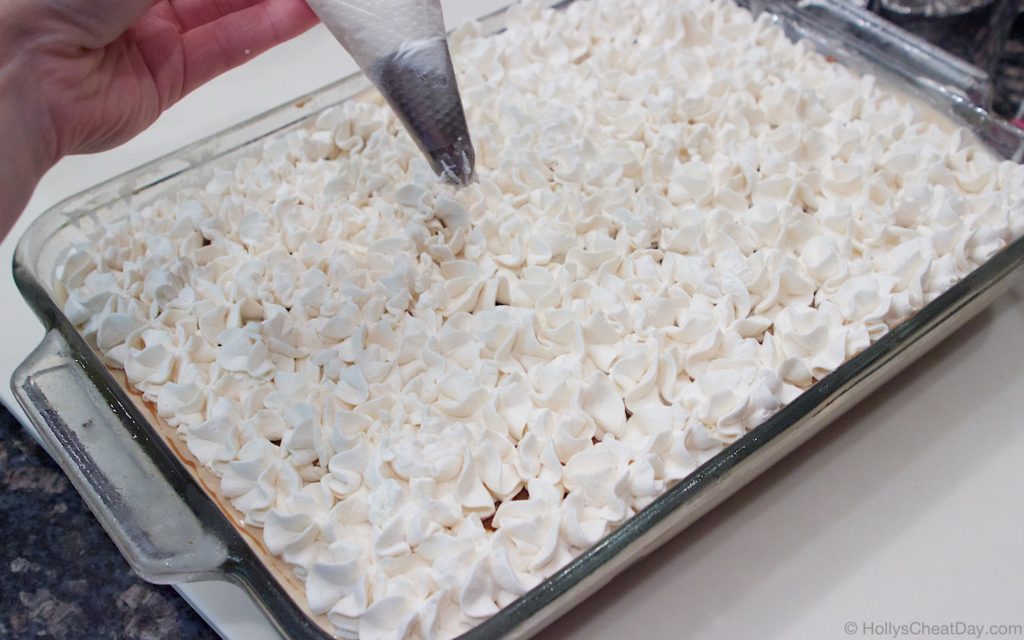
 then I piped the whipped cream on top (you can totally just spread it on, I was just feeling fancy that day)
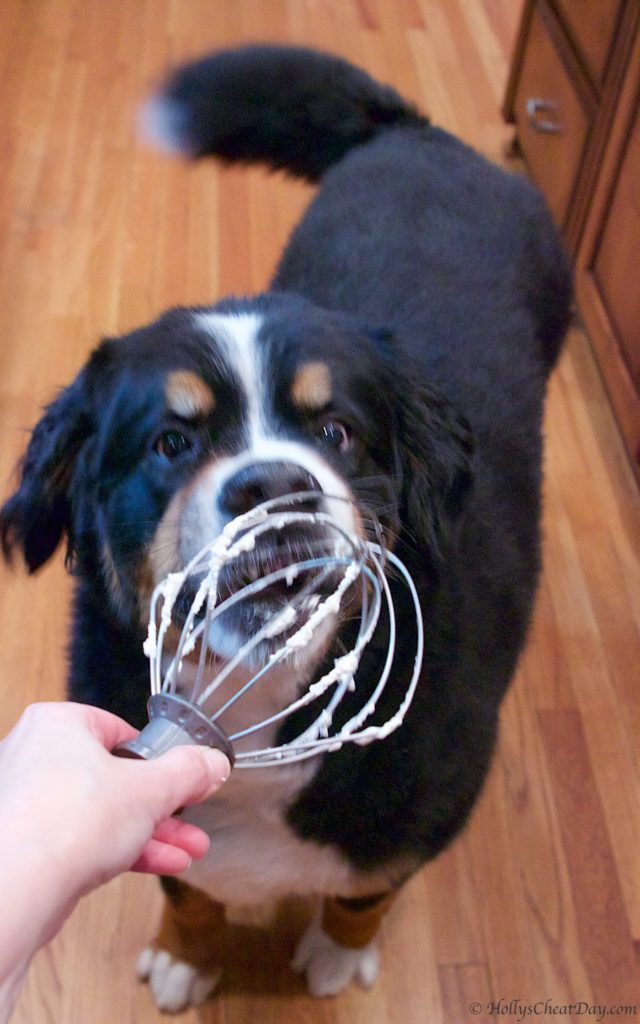
 my sous chef had been having a fit for the whipped cream, so obvi once I was done she got to enjoy this, she was so excited I literally could not get a clear photo of her haha…
 then lots of sprinkles & even a few Biscoff cookie crumbles…
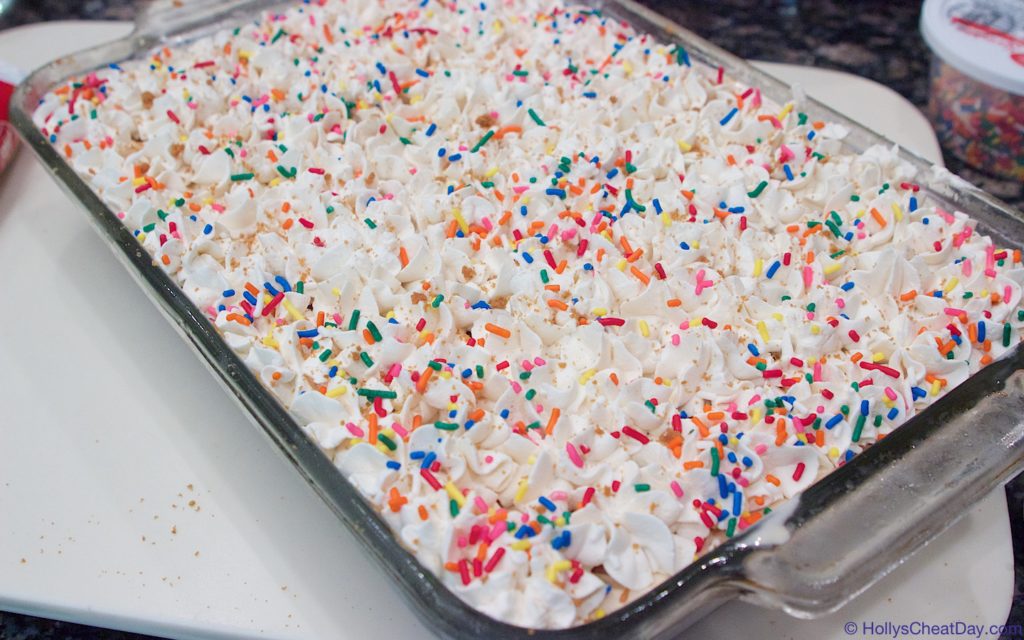 and enjoy!!!
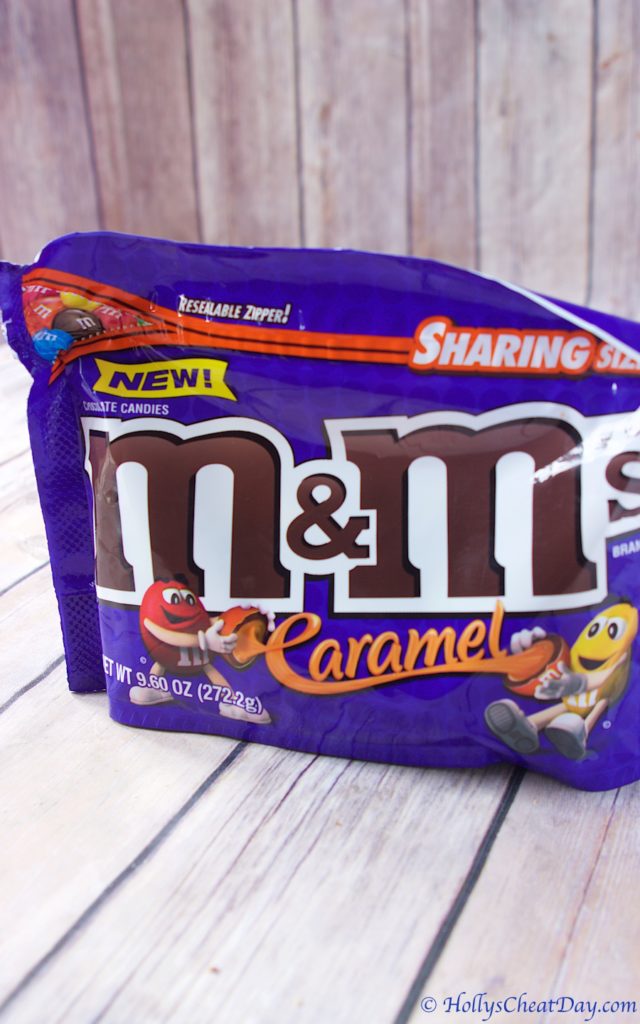 all of the caramel goodness inside…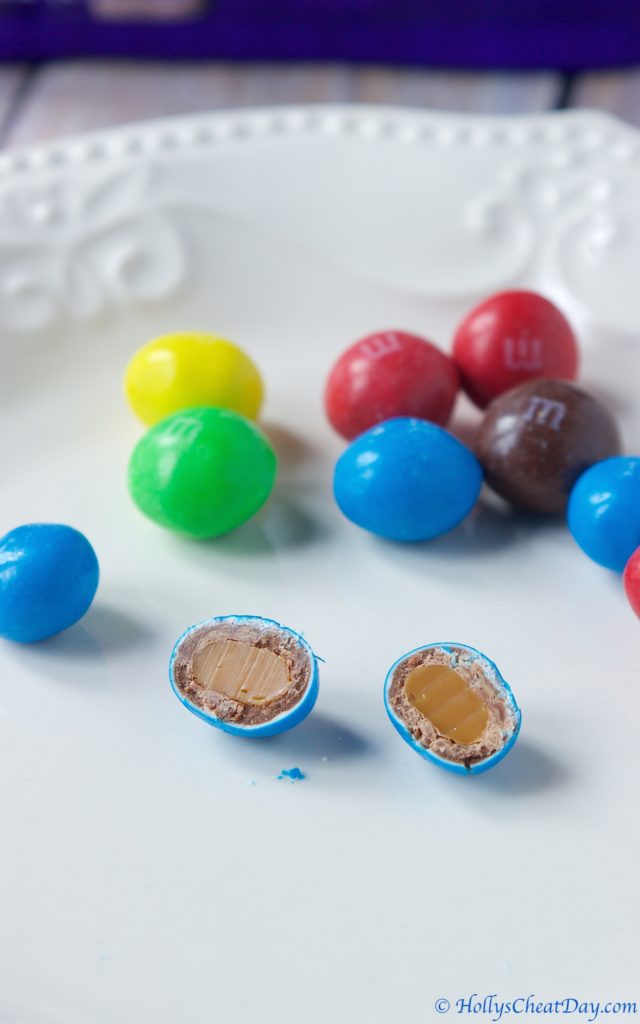
 ready for their closeup…

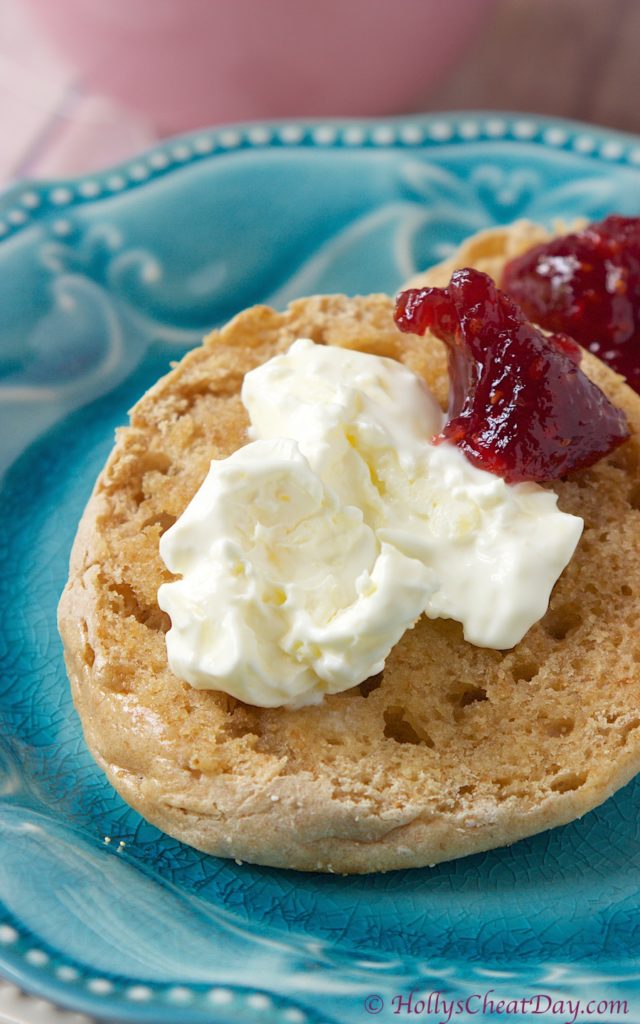 Anyways, so for years I had heard how delicious this cream was, and it wasn’t until about a month ago when I went to the afternoon tea at The Grand Floridian that I actually got to enjoy it, and boy did I. Well, here in the U.S. you can’t just pick this stuff up at the store and I knew I was already completely obsessed, so obviously I was going to have to figure out how to make it. I saw many recipes for it (if you can even call 1 ingredient a recipe) on the interwebs and every. single. one. said under no circumstances use Ultra Pasteurized Heavy Cream.
 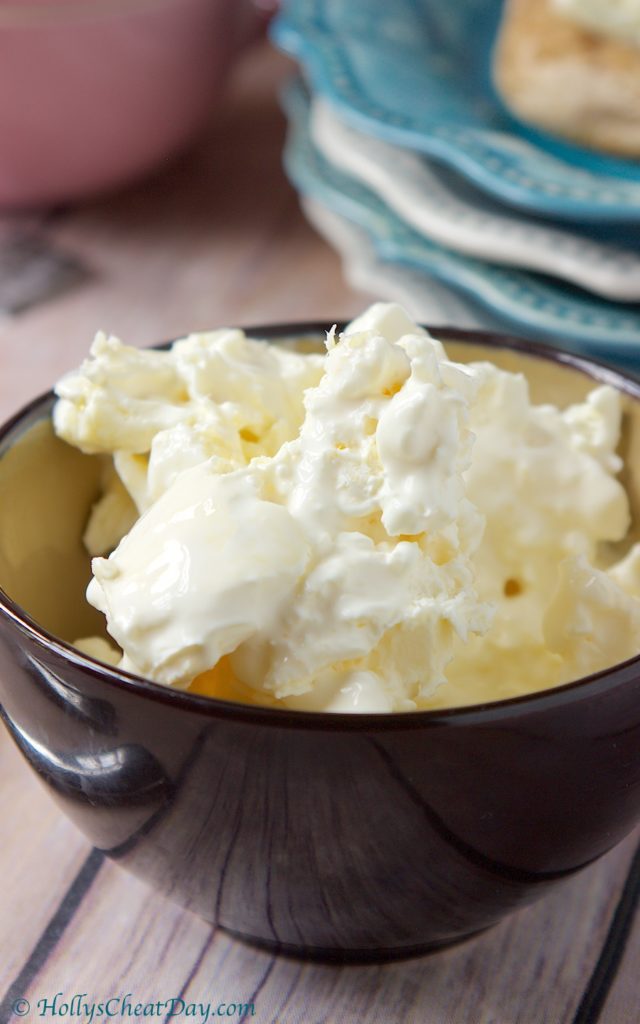 Well, after visiting no less than 6 stores, calling 2 more, and even contacting a few dairies (!!!!), it became apparent that literally nowhere within at least 200 miles of me is there just Pasteurized Heavy Cream (insert my super irritated face here). So after Milkgate, I figured what the heck, if I waste a whole quart and tons of time attempting to make it, then so be it, at least I tried (insert me looking up prices of cows and if my HOA would allow one).
 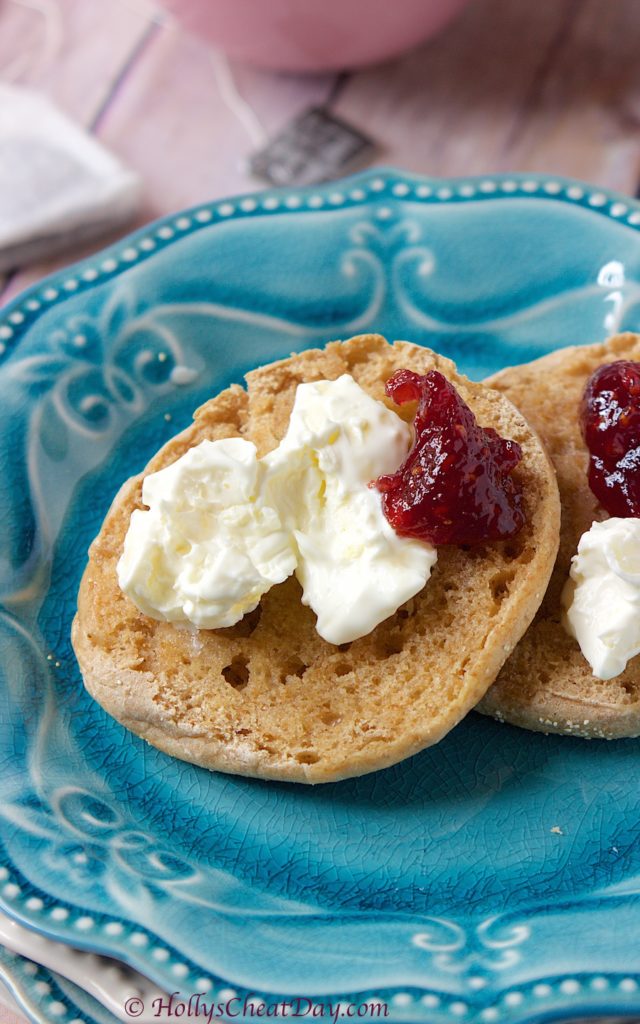 OMG y’all, Ultra Pasteurized worked perfectly!!! I can’t tell you how elated I was when I nervously took my pot out of the fridge the next morning and it was perfectly thick and dreamy on top. If you want to know what Devonshire cream tastes like, just imagine the most perfectly rich butter mixed with the most perfectly rich whipped cream and that’s this incredible stuff. I
 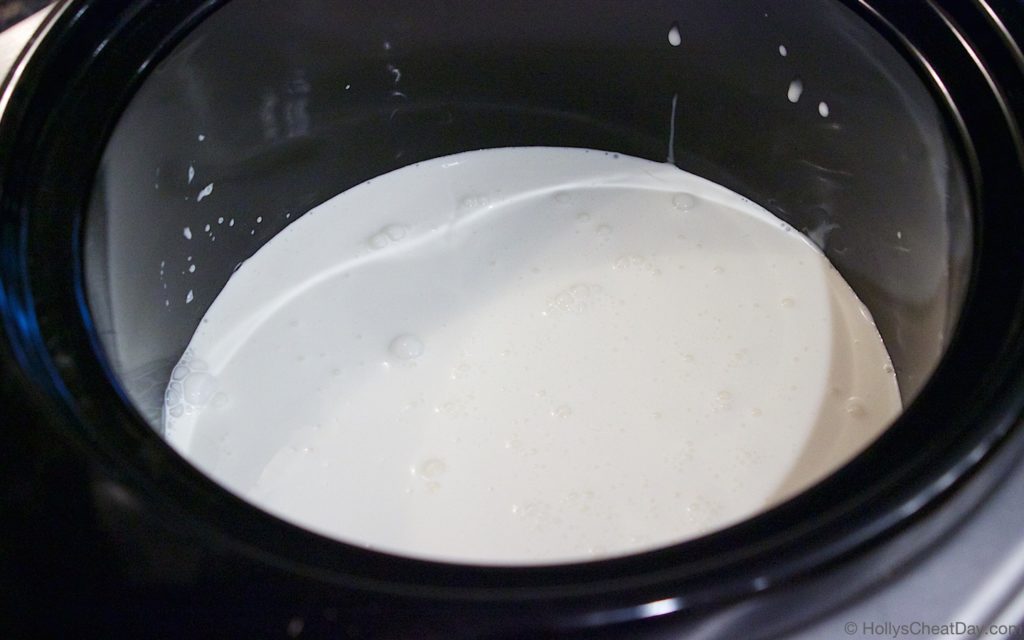 after sitting on ‘warm’ for 12 hours in the crockpot (you can see it’s still really thin but more cooked looking)…
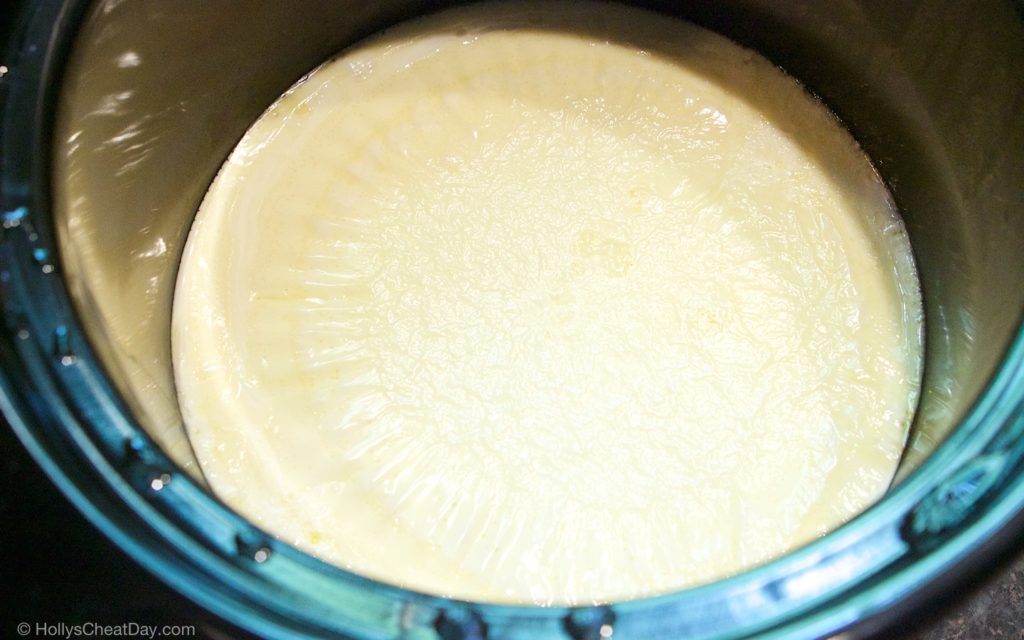 after sitting in the fridge overnight (look how much it’s thickened)…
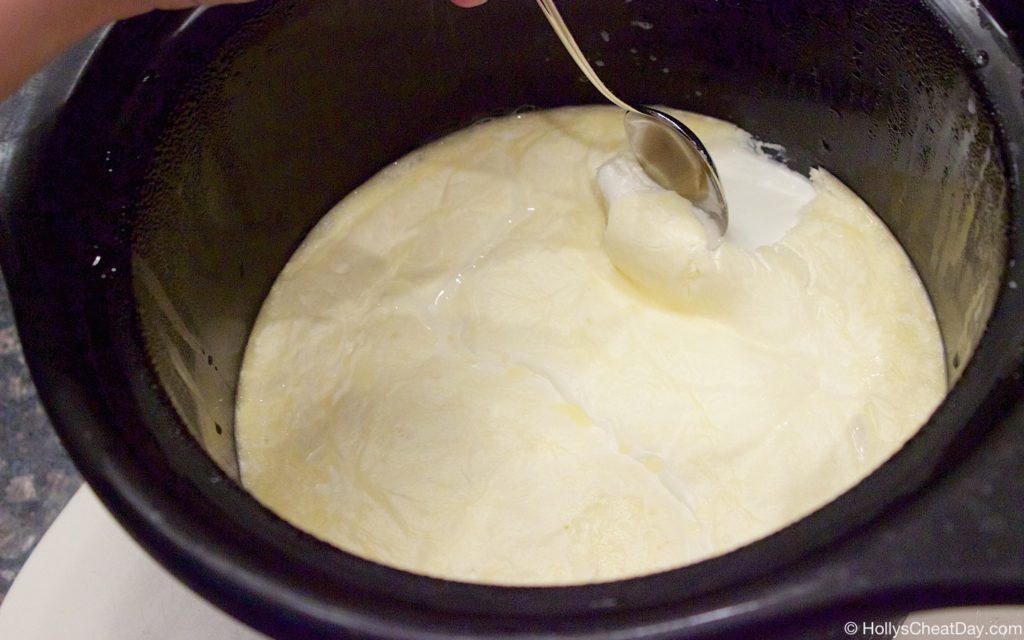
 then, scooping all of that amazing goodness off the top…
 and enjoy!!!!