HOLLY'S CHEAT DAY

...because one day a week I have to be bad

  • Home
  • About
    • Who Is Holly?
    • FAQ
    • Contact
  • Recipes
    • Bars/Brownies
    • Breakfast
    • Cake
    • Candy
    • Cheesecake
    • Cookies
    • Cupcakes
    • Dessert
    • Dip
    • Drinks
    • How To
    • Junk Food Review
    • Lighter Side
    • Pie
    • Savory

Holly’s Junk Food Review Series : Churro Marshmallows

February 15, 2018 By Holly

Happy Happy Thursday y’all !!! Welcome to another junk food review! So a few weeks ago I was wandering around Target, like we all do, and I happen to come across a few bags of these Smashmallows.  I happen to be a big fan of marshmallows, in stuff, on stuff, all by themselves…so I thought these might be fun to try.  I picked up the Cinnamon Churro flavor because it definitely sounded the best of all of them.
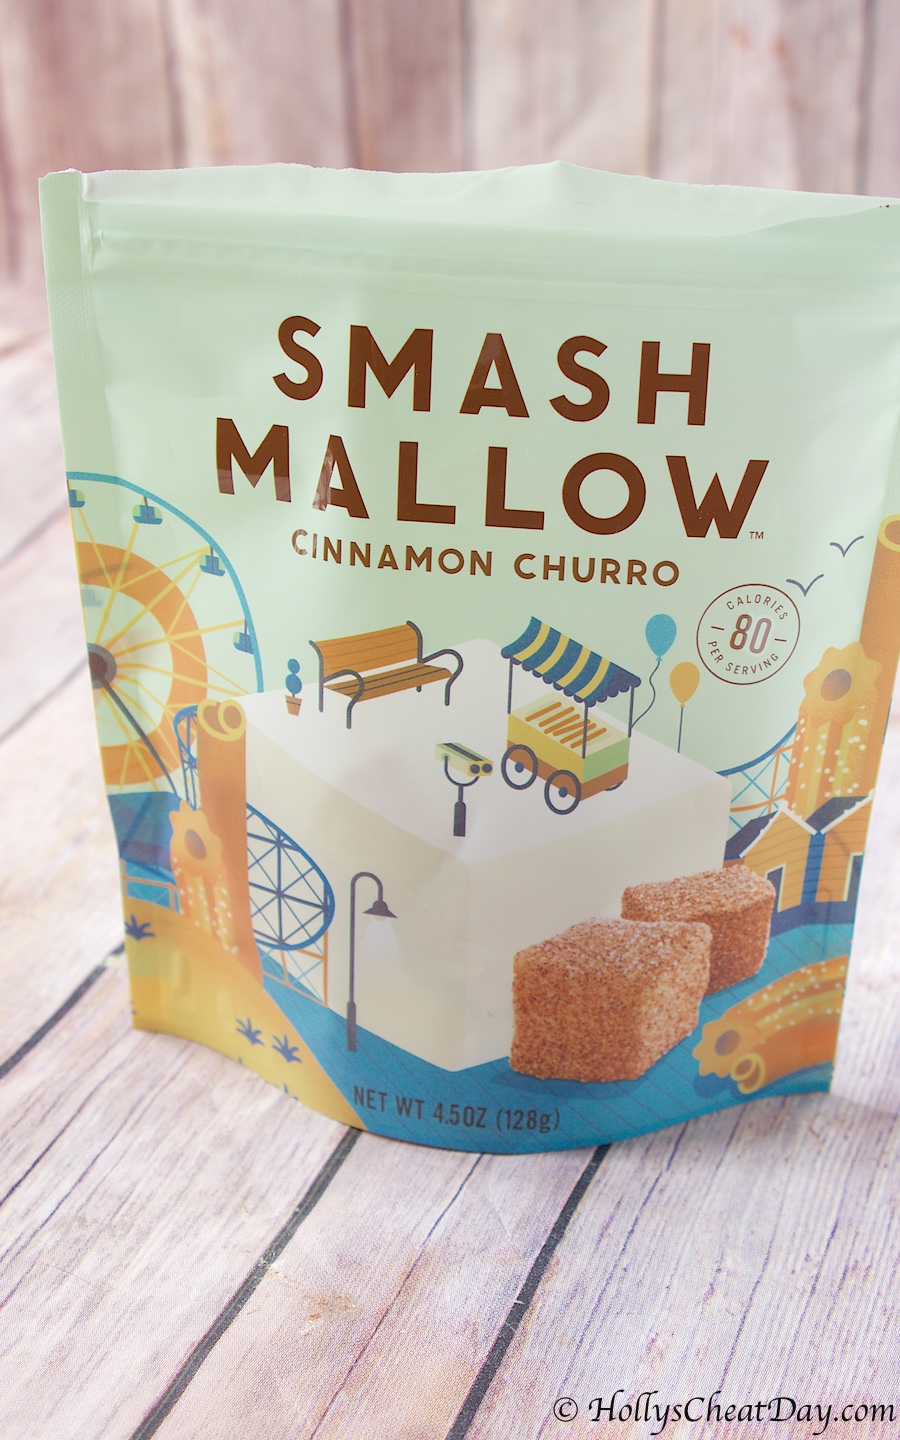
seems promising…
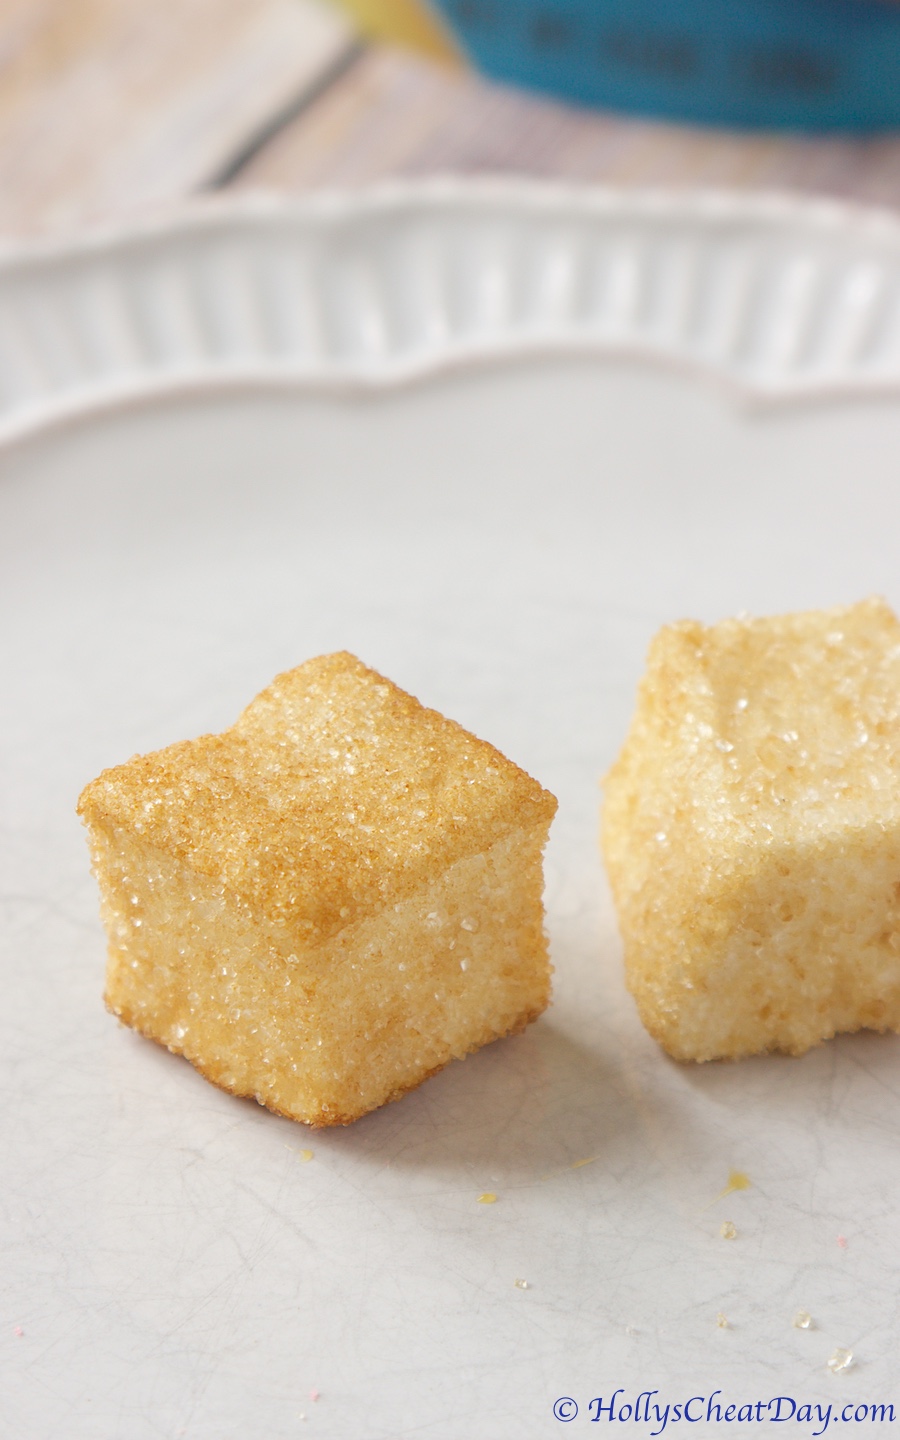
Wow, y’all these were crazy, crazy disappointing.  From the moment that I opened the bag, the smell that came wafting out was not one that I had expected.  I was hoping for delicious cinnamon & sugar and instead the smell that came out was almost medicinal, or like a cleaning product.  Well, despite the off putting smell I still tried one, and though it tasted better than it smelled, it was just not good at all.  I really have no idea how something as seemingly simple as a sugar and cinnamon covered marshmallow could taste so gross and nothing like any of those ingredients is beyond me.  Basically, if you see these guys hanging around Target, just keep walking.  I hope you all are having a wonderful day and thank you so much for stopping by!

Filed Under: All Recipes, Junk Food Review

Easy Peanut Butter Pretzels

February 13, 2018 By Holly

Happy Happy Tuesday y’all!!! I’m way excited to share today’s recipe with you guys. Not only are these little delicious bites of awesome super duper Valentine’s Day themed but also the perfect mixture of sweet and salty, and if y’all need to know anything about me, it’s that I looove sweet & salty, and I’ve never met a doughnut I didn’t love haha. 

Sometimes the most simple recipes are just the best, amiright? and it really doesn’t get much more simple than these guys.  I prepped, prepared and these pretzels were ready to eat in about 30 minutes, and honestly I really think that the sprinkles gave these guys a little extra bit of awesome. 

Really, you could totally change the theme of these pretzels for just about any holiday, pastel sprinkles-Easter, green sprinkles-St. Patrick’s Day, red, white & blue-4th of July, well y’all get the point.  Anyways, these are just the perfect amount of peanut butter taste, with a bit of white chocolate, and the wonderful salty crunch of the pretzel thrown in. 

Not a fan of peanut butter? no problem, maybe consider melting in some cookie butter instead, yummm.  These are really fun, handheld and just yummy, I highly recommend you make a batch of these delights as soon as possible.  Have an absolutely wonderful day & Valentine’s Day and thank you so much for stopping by!!!    

First, the candy melts…

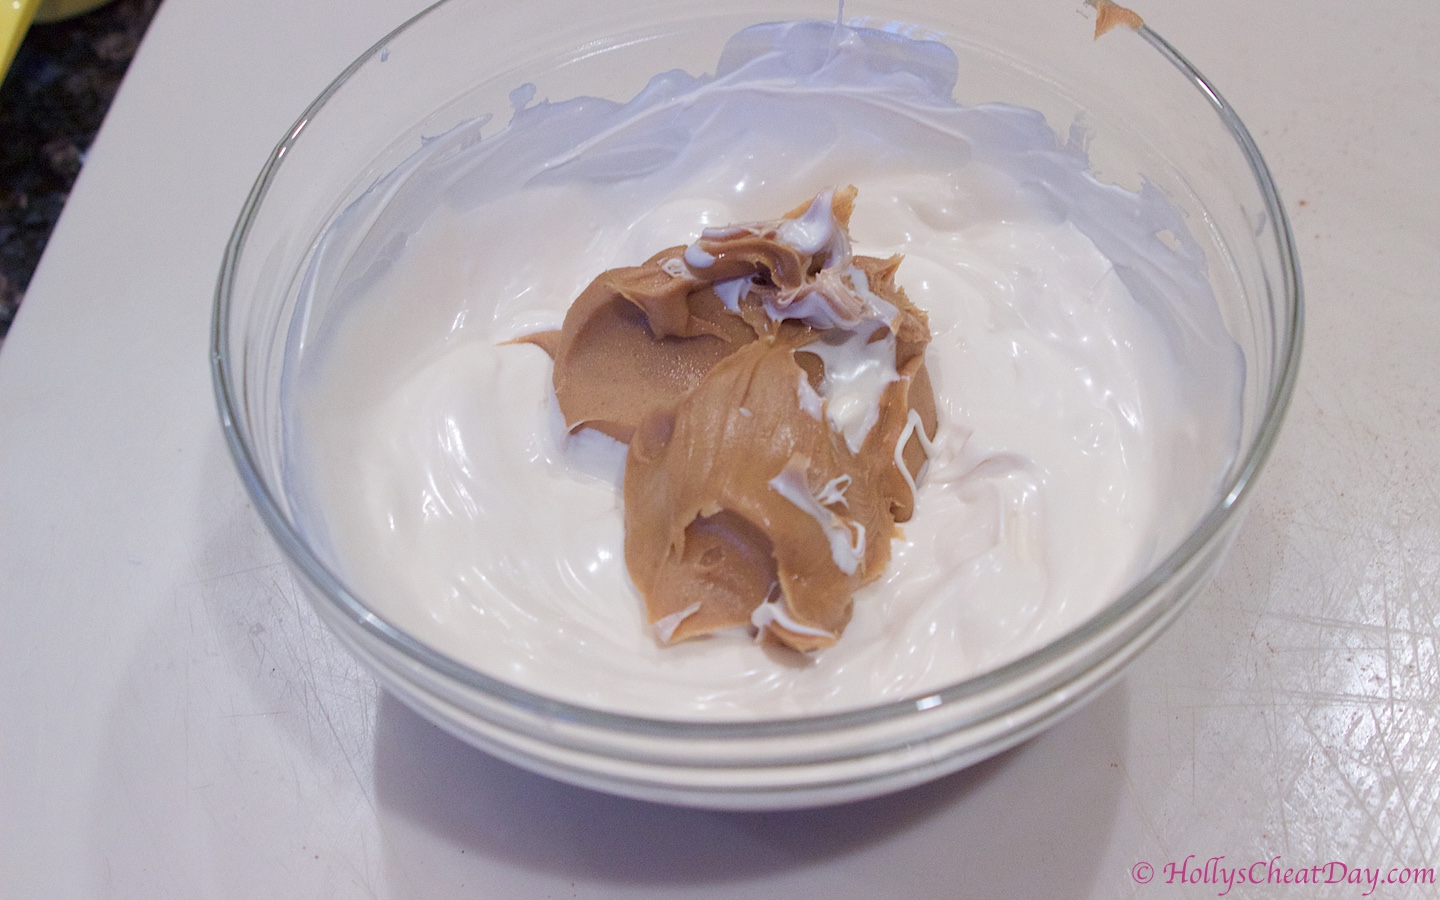
nice and melted & now for the peanut butter to be melted too…

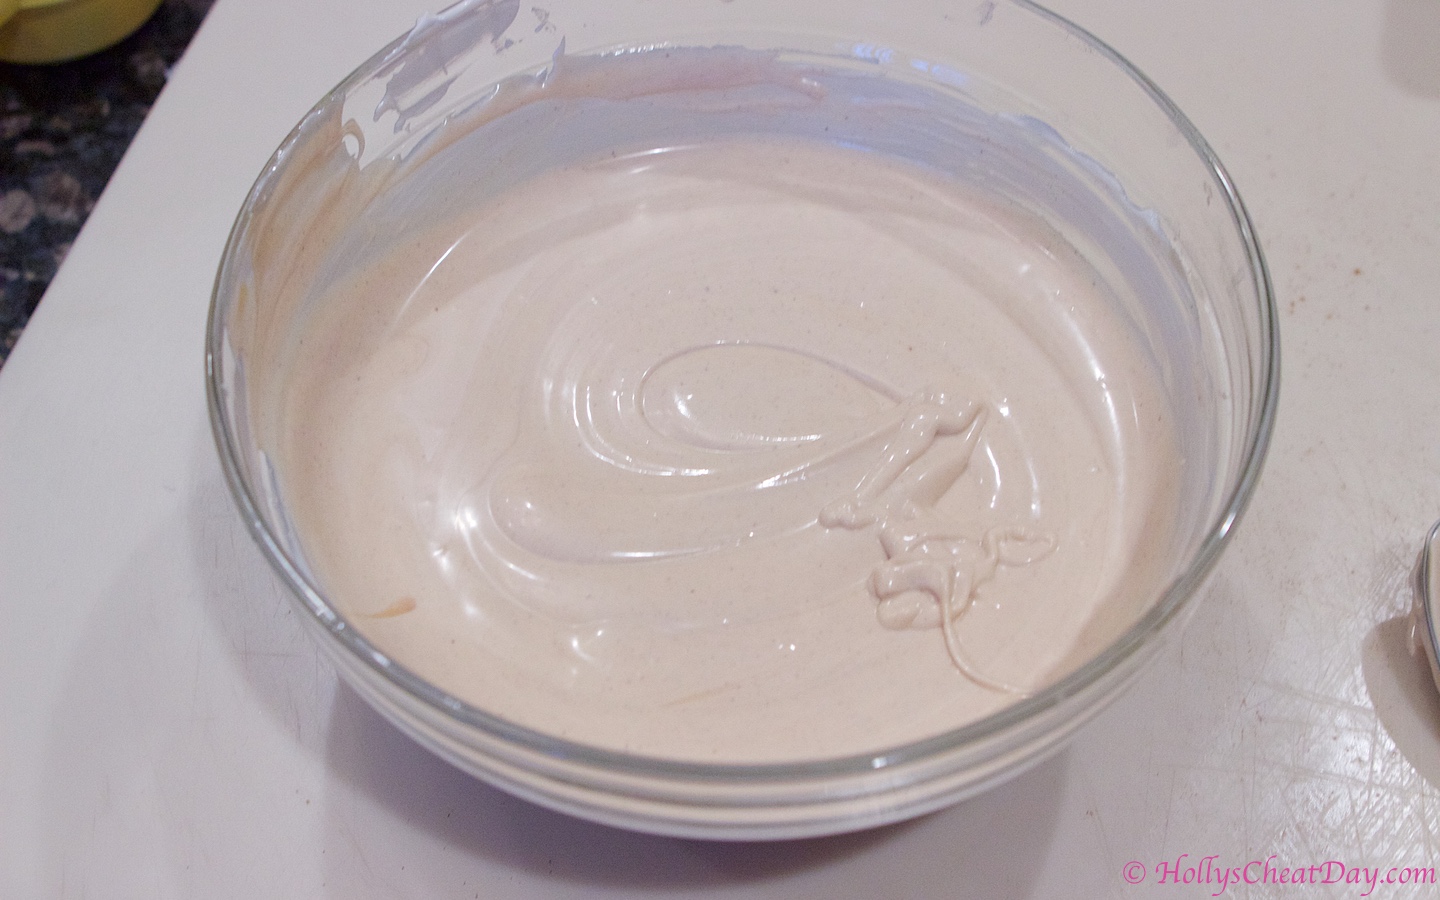
PB officially melted and mixed in…

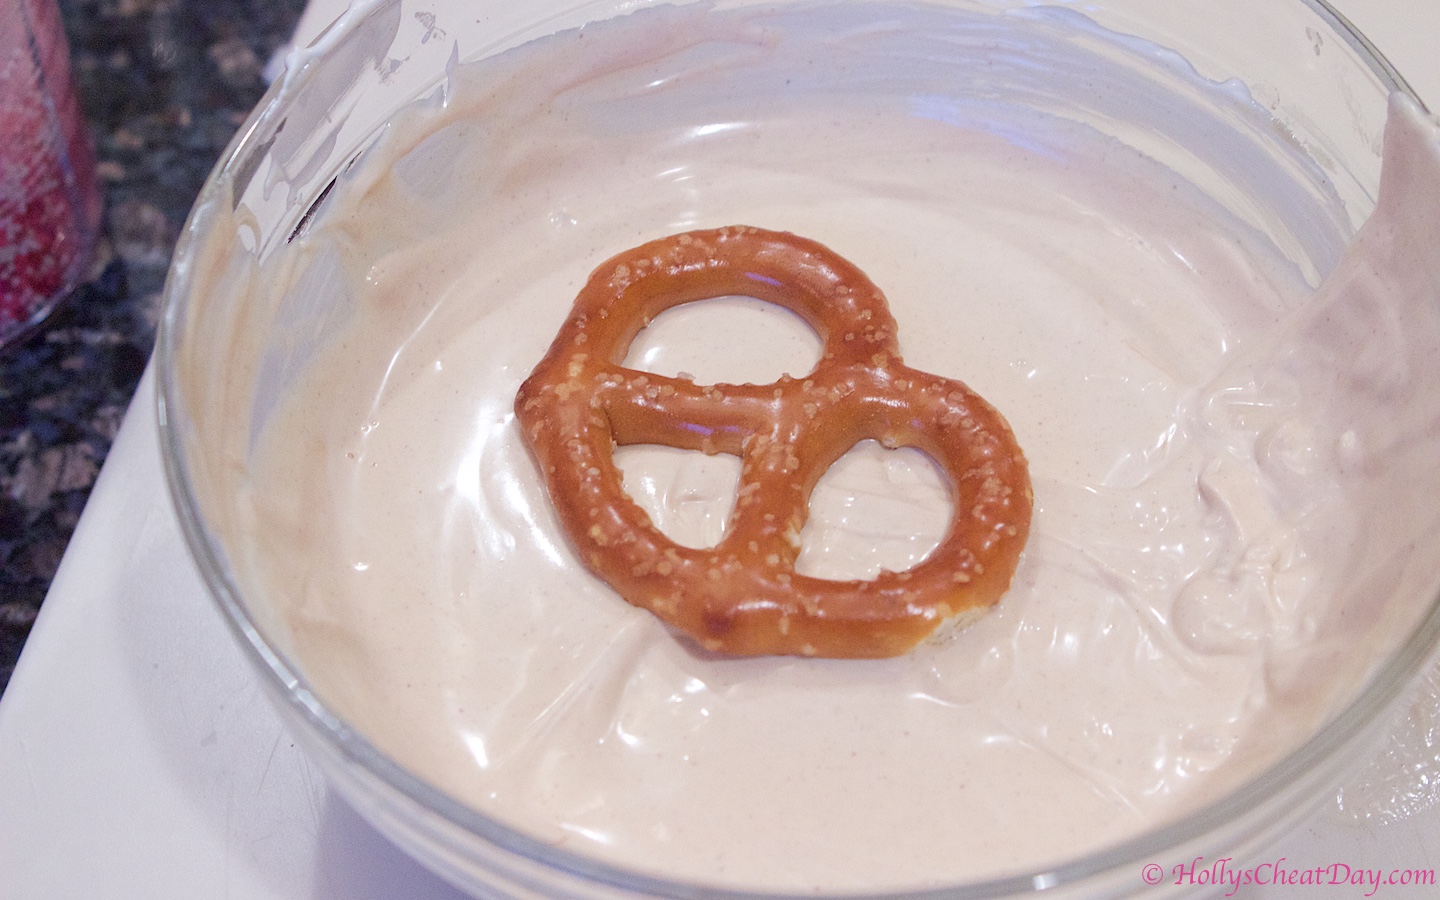
and then time for the pretzel to be coated in this deliciousness…

add some sprinkles and enjoy!!!

Easy Peanut Butter Pretzels
2018-02-11 14:08:43
The perfect sweet and salty treat, pretzels covered in melted white chocolate and peanut butter.
Write a review
Save Recipe
Print
Ingredients
  1. 1-12 Ounce Bag of White Candy Melts or White Bark.
  2. 1/3 Cup of Creamy Peanut Butter.
  3. 2-3 Cups of Jumbo Salted Pretzels.
  4. Sprinkles for Decoration (Optional).
Instructions
  1. Line a large baking sheet with wax paper, set aside.
  2. In a medium glass or microwave safe bowl, place your candy melts in, and microwave for 2 minutes at 50% power, intermittently taking out to stir.
  3. Once melted, place your peanut butter into the melted white chocolate & place back into the microwave for about 30 seconds or until the peanut butter is completely melted and stirs in smoothly.
  4. Now take one pretzel at a time and place into your chocolate, with a fork flip it over to cover the other side.
  5. Lift the pretzel out with the fork, letting the excess chocolate drip off and place onto your wax paper.
  6. If you would like to put sprinkles onto your pretzels, do so now before the chocolate sets.
  7. Let your chocolate set for about 10 minutes and enjoy!
HOLLY'S CHEAT DAY https://www.hollyscheatday.com/

Filed Under: All Recipes, Candy, Dessert

Repost – Red Velvet Cheesecake Bites

February 9, 2018 By Holly

Happy Happy Friday y’all!!! Here we have another repost of a personal favorite of mine.  These are absolutely delicious and not to mention a whole lot of fun.  Have a wonderful day and thanks so much for stopping by!!!

Happy Monday everyone!! I am so excited to share today’s recipe with y’all…because more mini food!  These maybe mini bites of awesome but they’re certainly not lacking in the wow factor in taste or looks. 

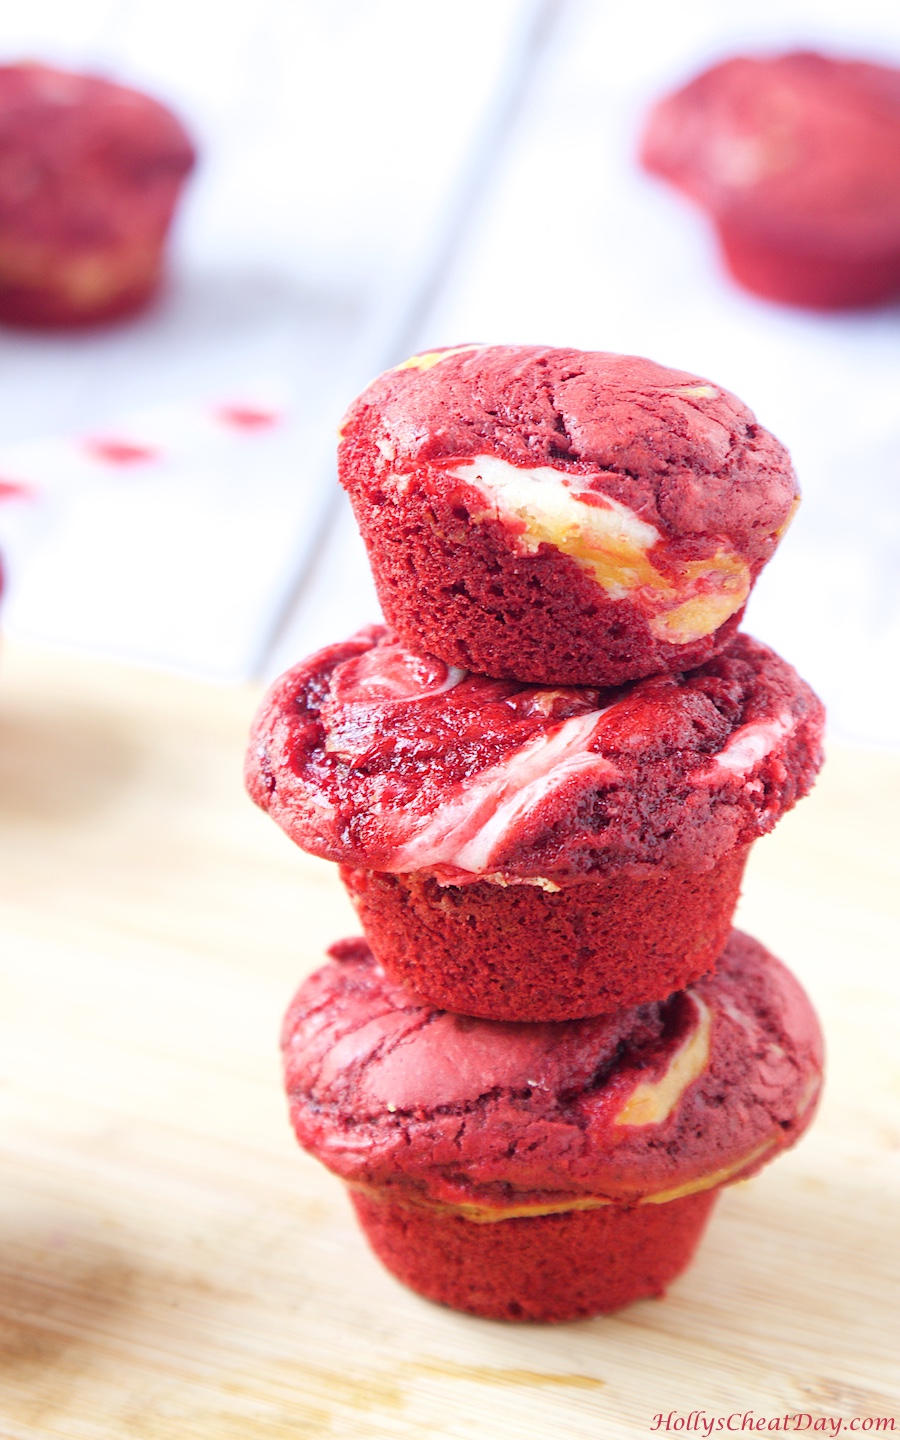
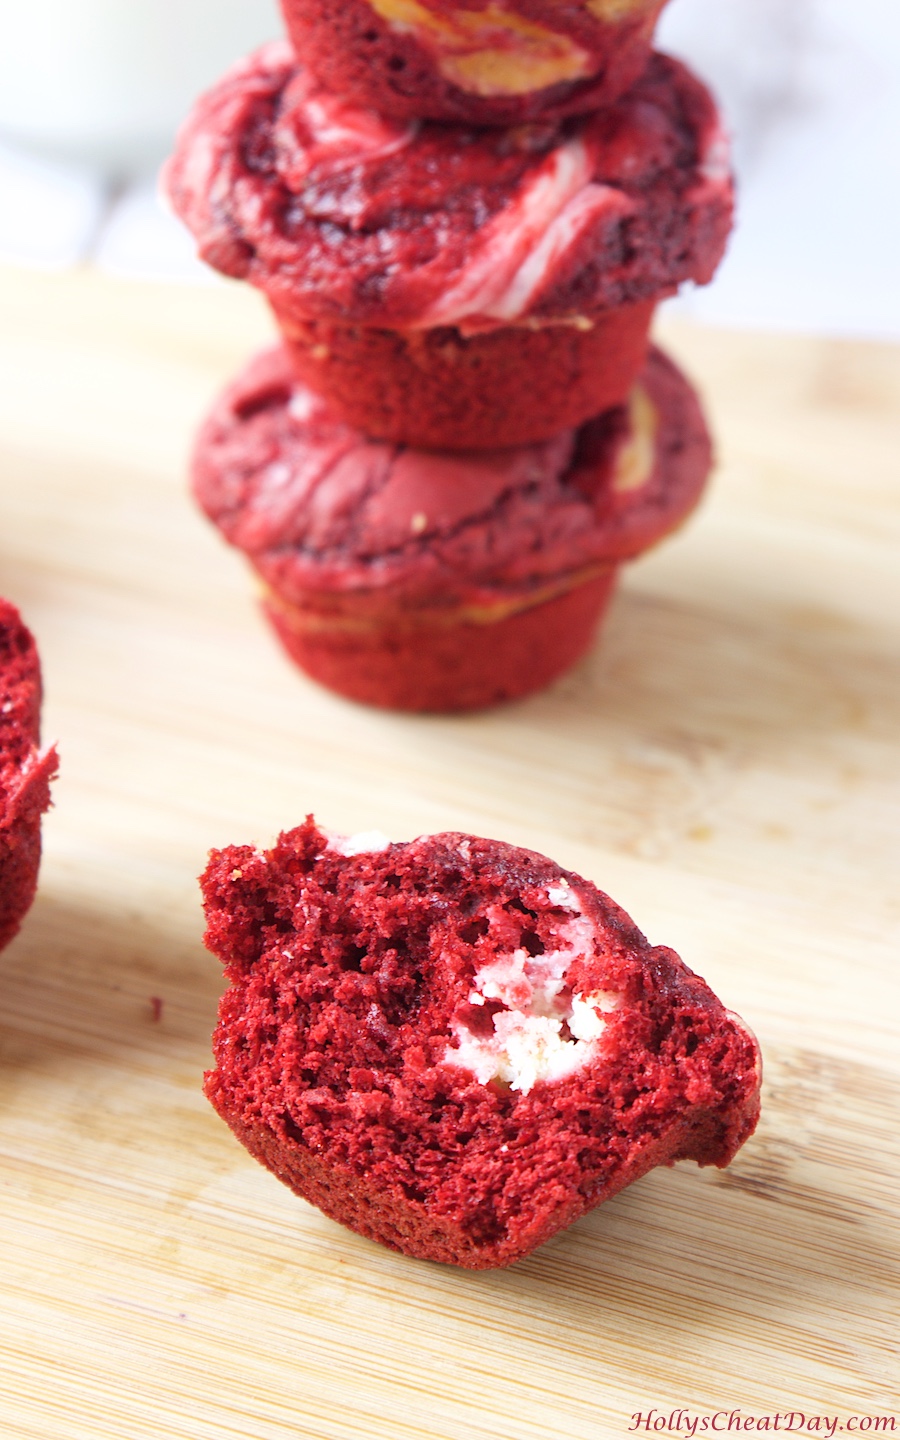
red-velvet-cheesecake-bites-stack| HollysCheatDay.comRed velvet is always such a beautiful deep red color with a subtle chocolaty sweetness, and this time I added a little cheesecake swirl, yum, yum, yummy y’all.  I will say that these delicious little bites were just slightly more time consuming than a plain ole’ sheet cake or cupcakes, but so worth it!

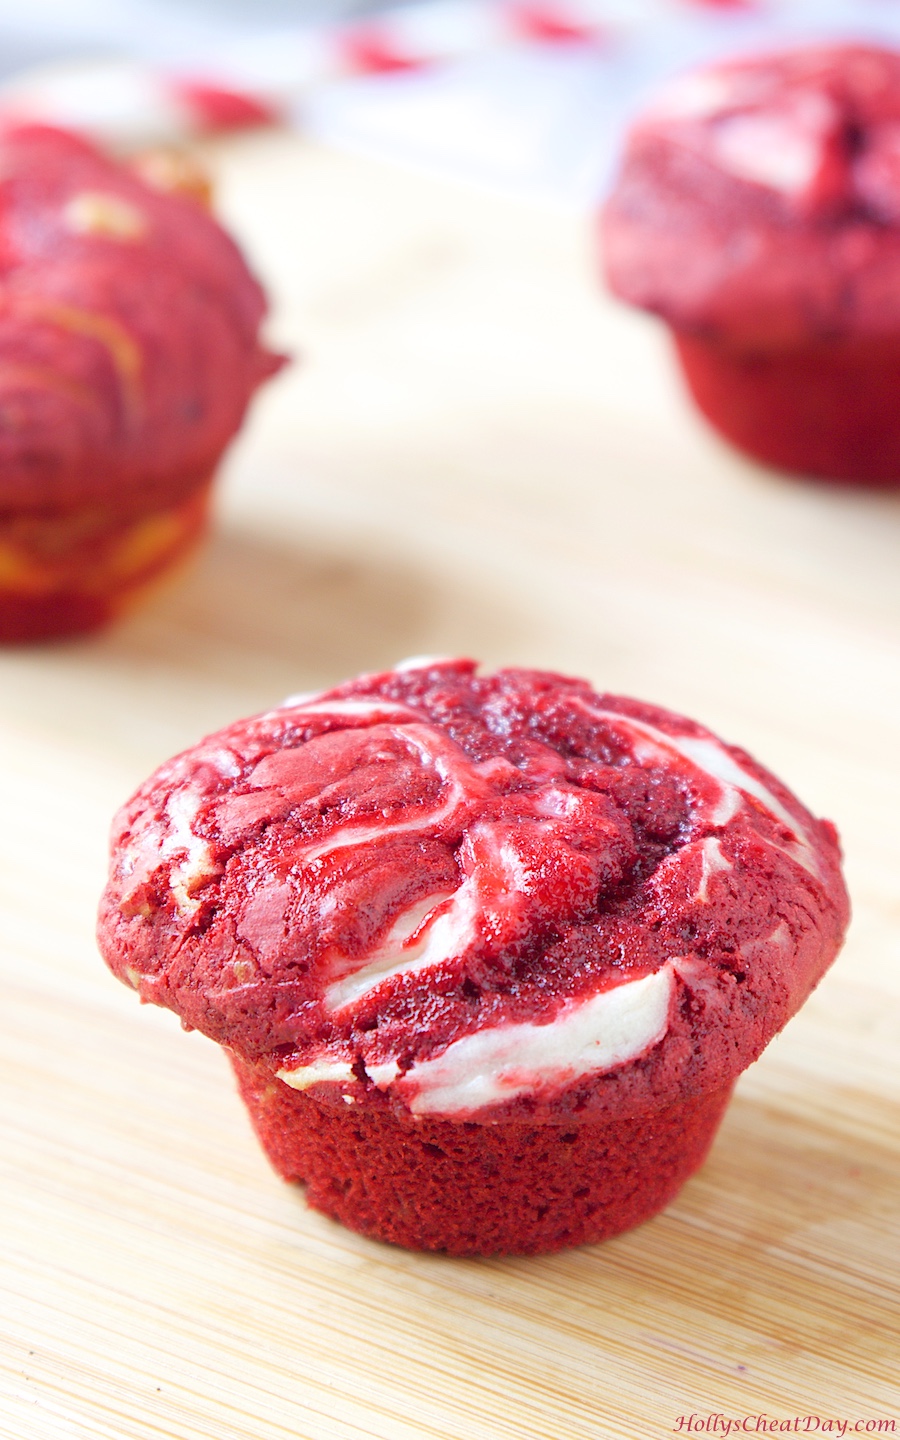
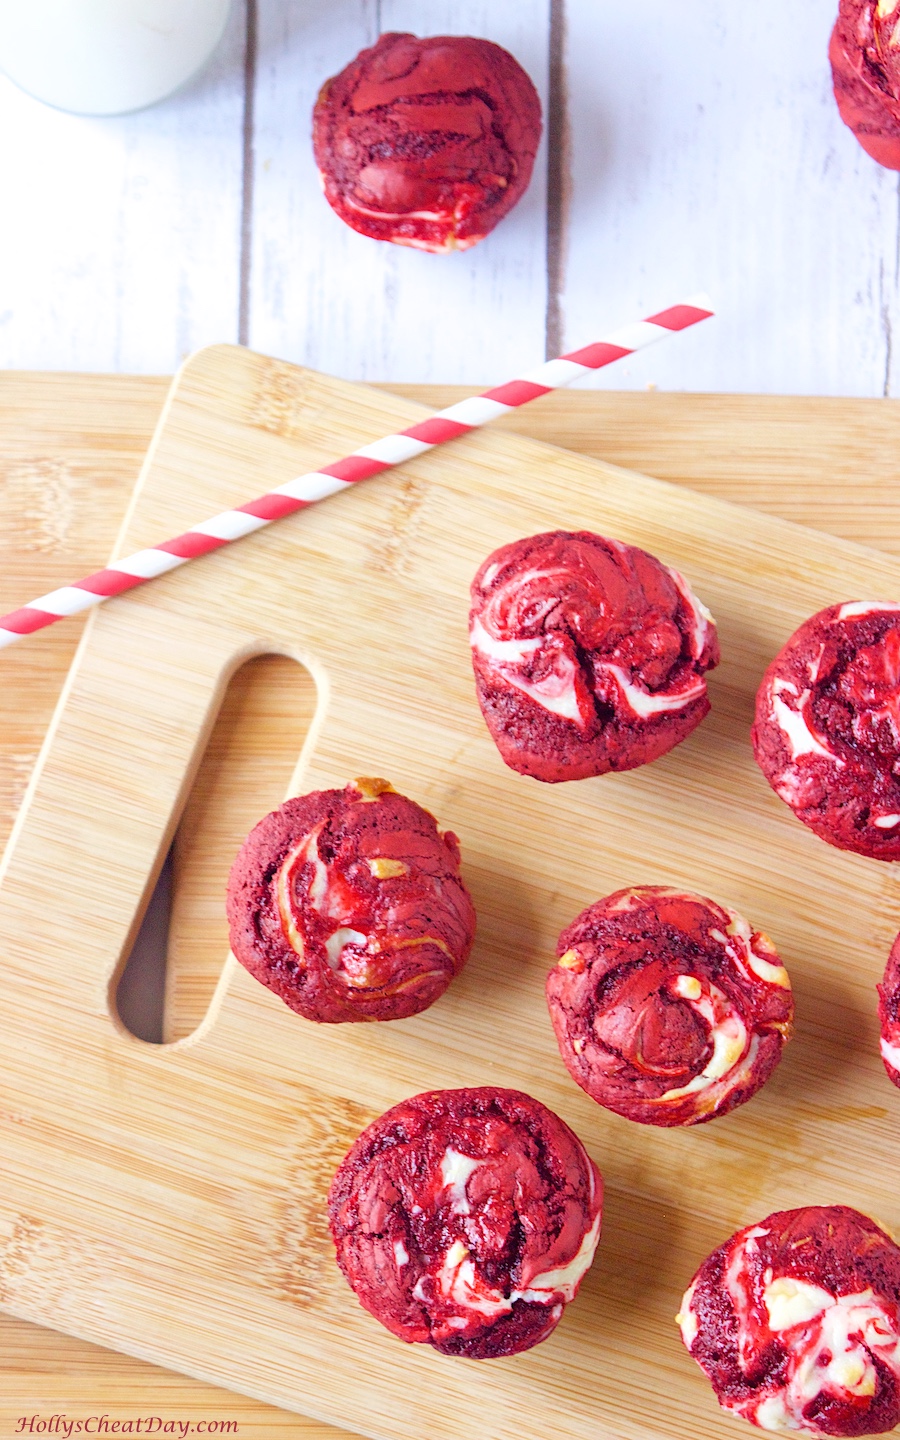
red-velvet-cheesecake-bites| HollysCheatDay.com These are so perfectly hand held and nomable, moist (can we please invent a better word?), soft with just enough sweetness, and sooo pretty. 

red-velvet-cheesecake-bites| HollysCheatDay.comYes, I know, I used a cake mix which is technically cheating, but I think the amount of work it took to make the cheesecake mix that’s dramatic I know and then how I slaved away also, dramatic swirling the red velvet & cheesecake together earned me the right to use a cake mix 🙂  Have a wonderful start to your week, and I hope you get a chance to make these delicious mini bites of Heaven. 

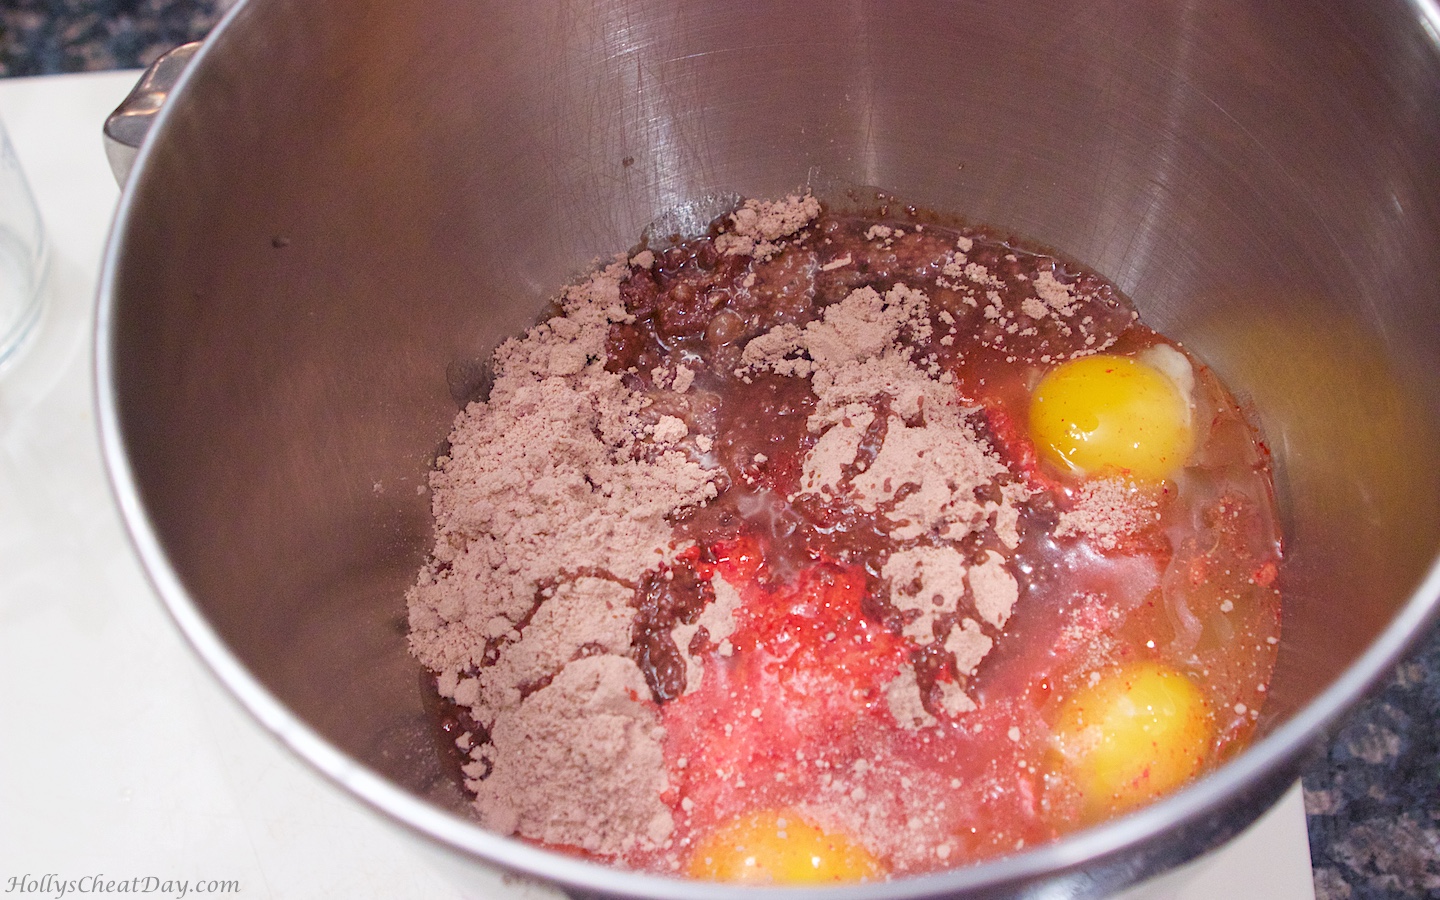
First…cake mix, eggs, water, oil…

red-velvet-cheesecake-bites| HollysCheatDay.comall mixed up, look how yummy…

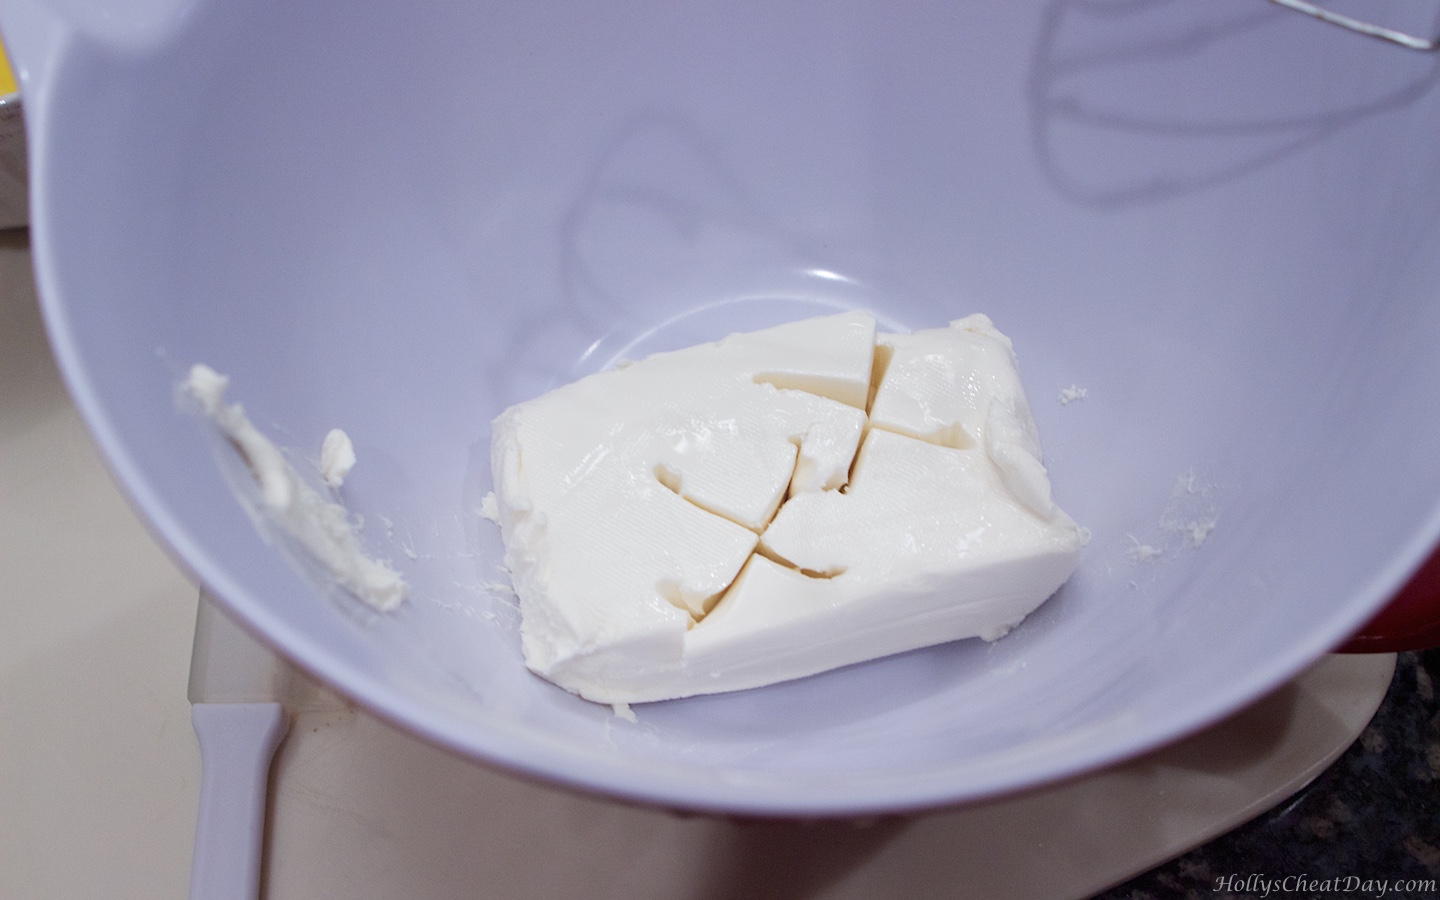
red-velvet-cheesecake-bites| HollysCheatDay.comnow for the cheesecake mix, cream cheese…

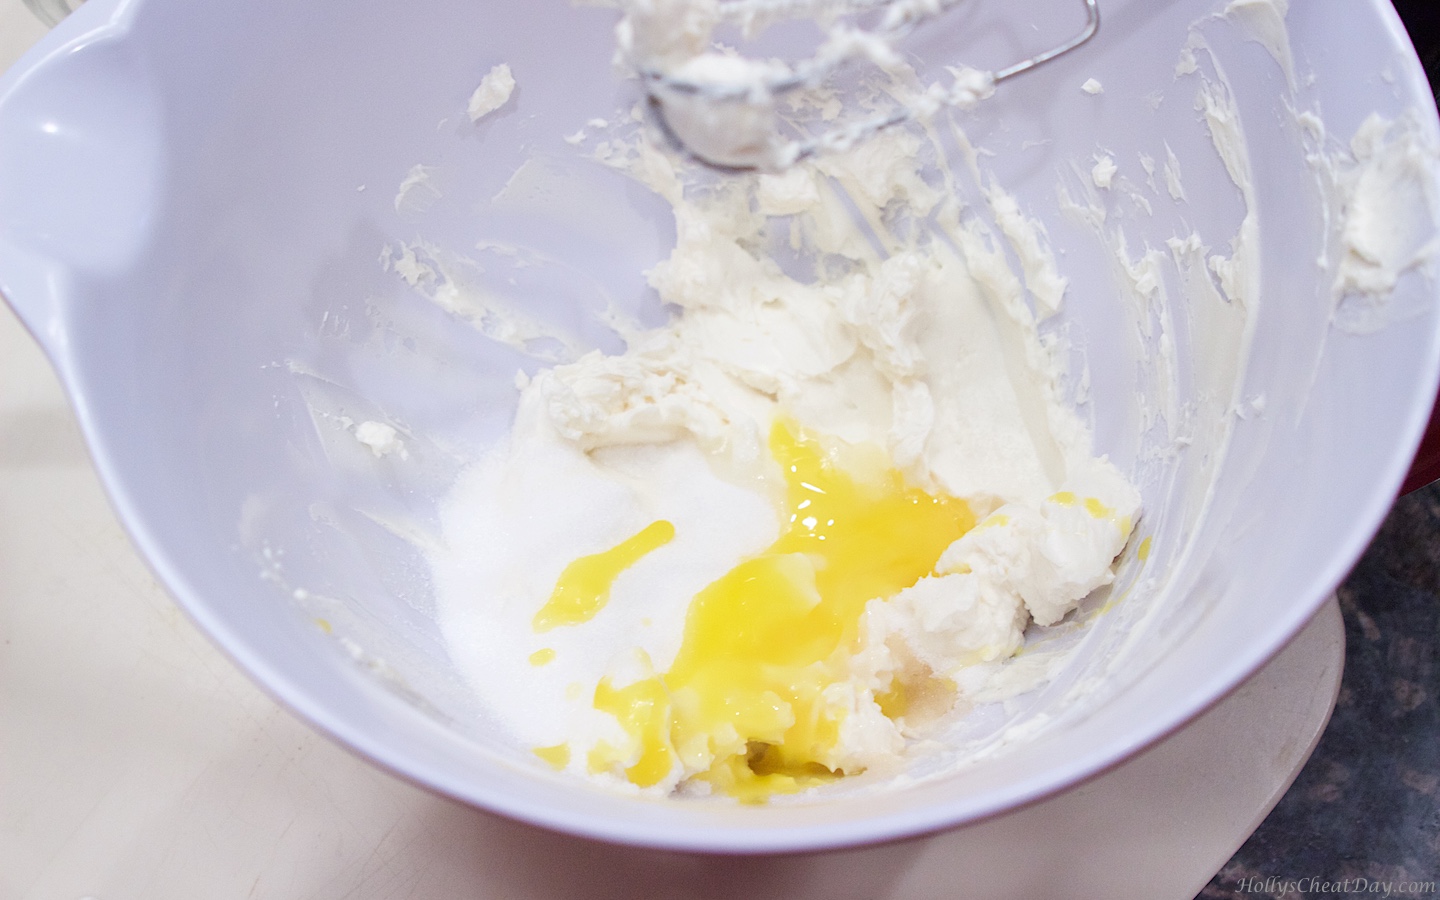
red-velvet-cheesecake-bites| HollysCheatDay.comall whipped up, time for eggs and sugar…

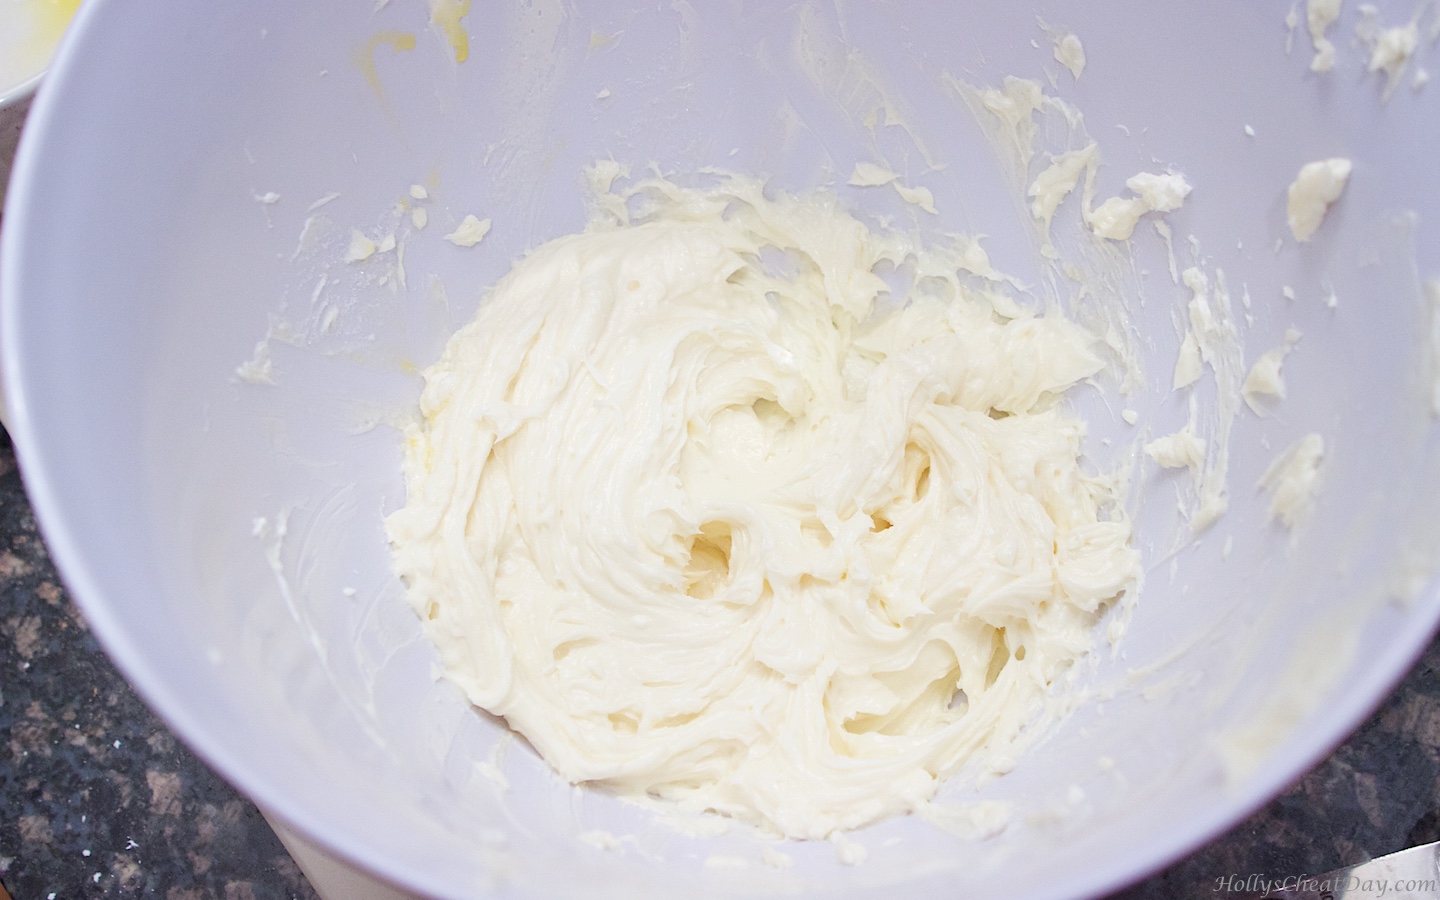
red-velvet-cheesecake-bites| HollysCheatDay.comall mixed up…

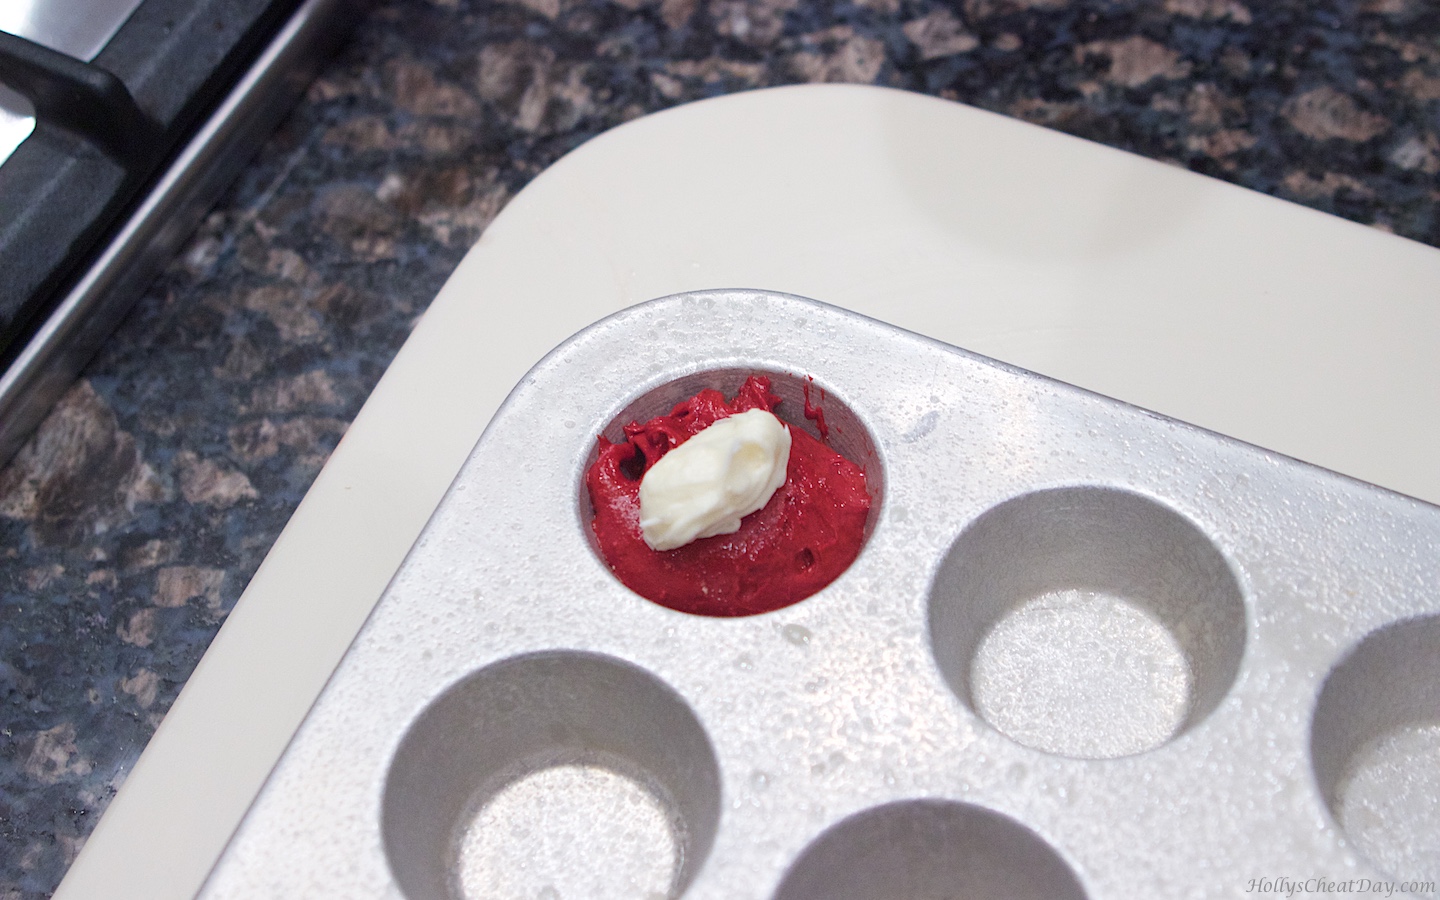
red-velvet-cheesecake-bites| HollysCheatDay.coma little red velvet mix & a little cream cheese mix…

red-velvet-cheesecake-bites| HollysCheatDay.comnow a little more red velvet…

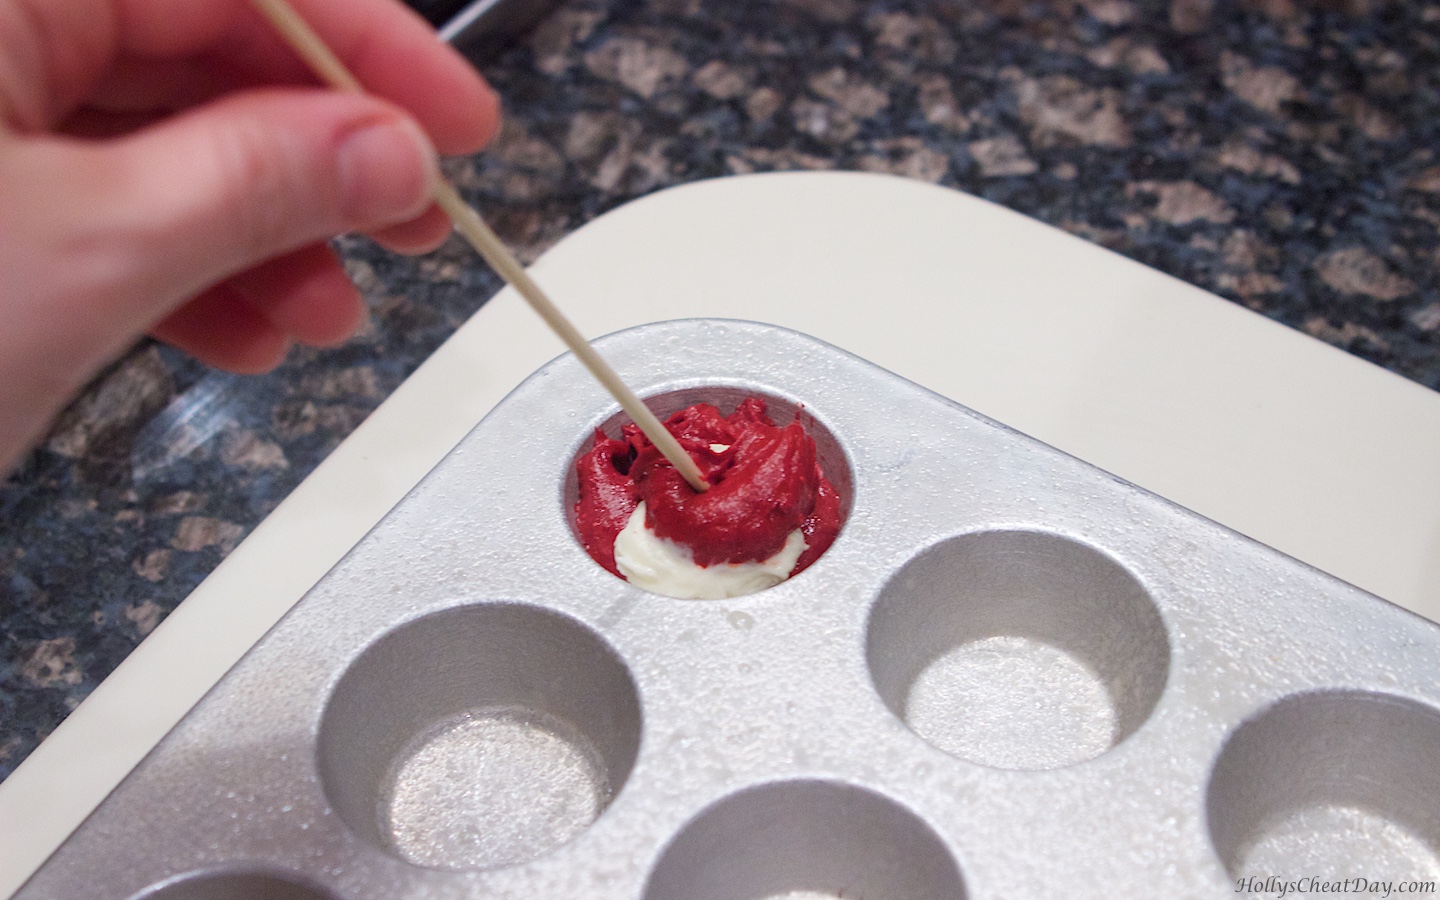
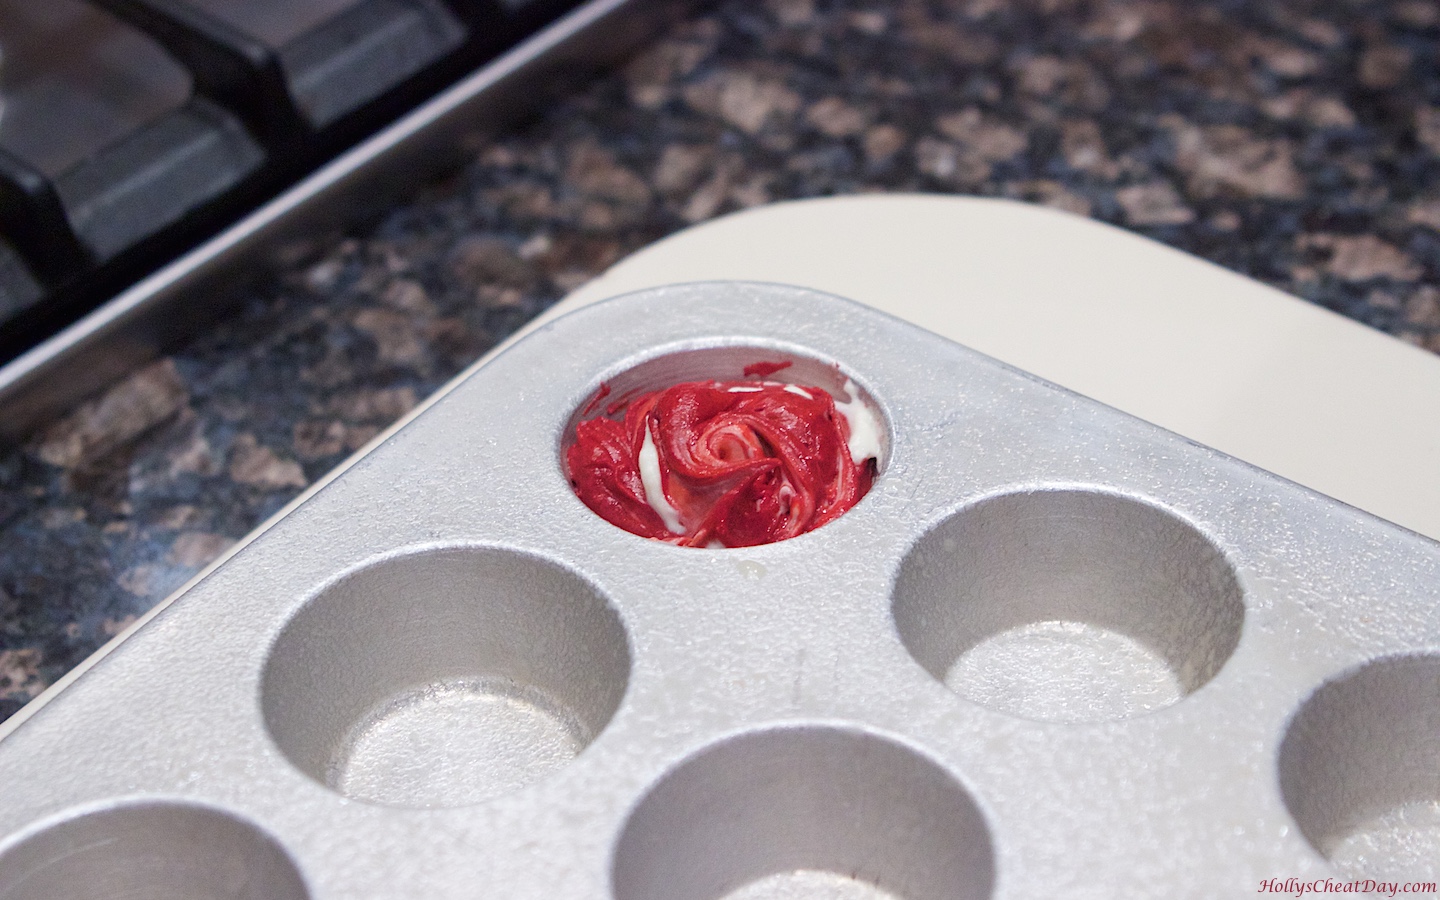
red-velvet-cheesecake-bites| HollysCheatDay.comswirl them all up…

red-velvet-cheesecake-bites| HollysCheatDay.comall swirled…

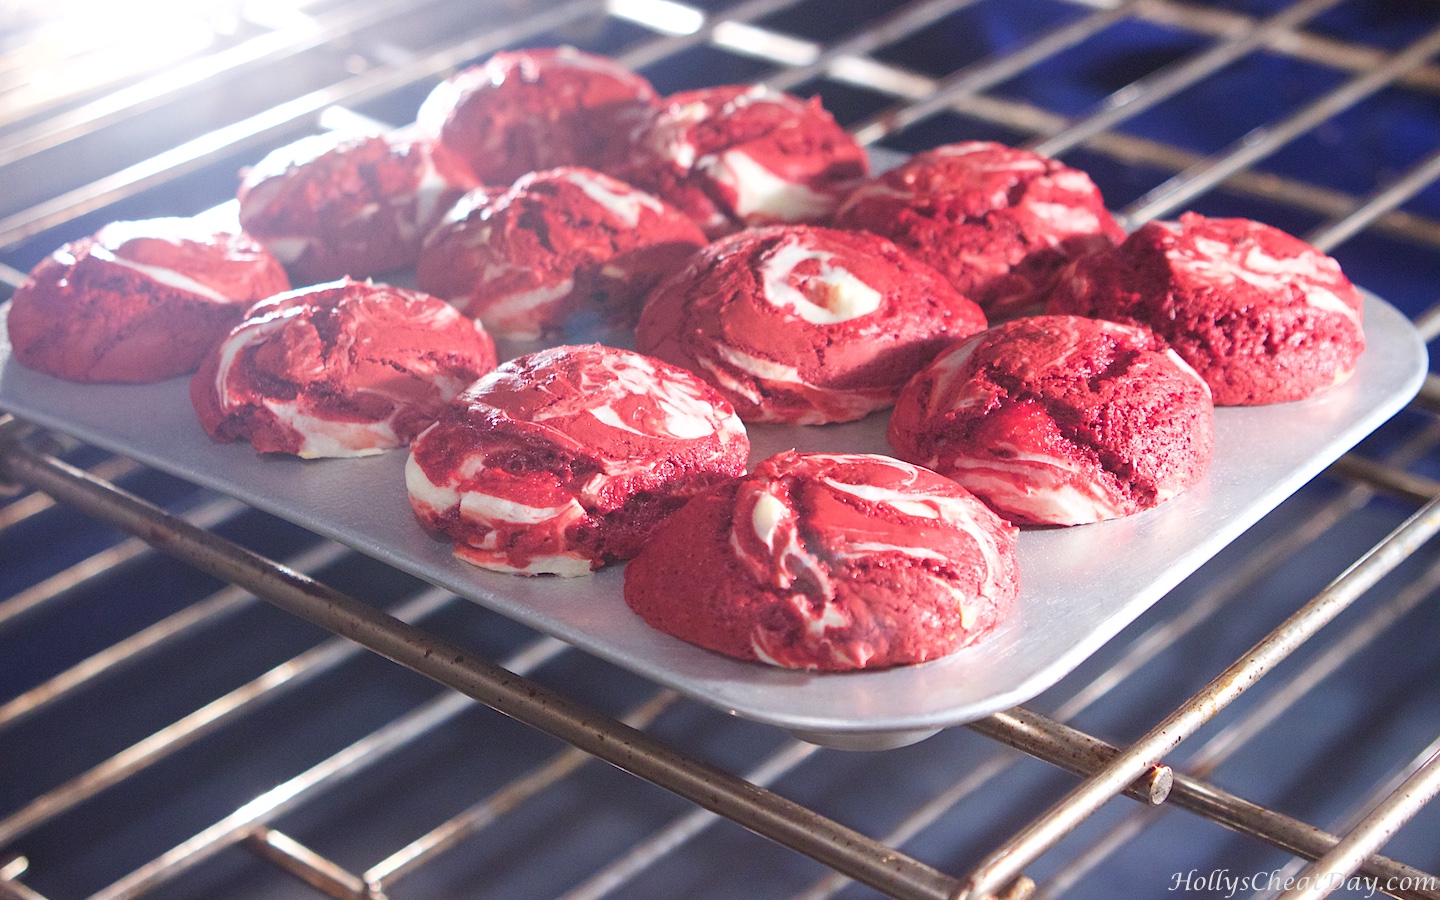
red-velvet-cheesecake-bites| HollysCheatDay.comlook how pretty they bake up…

red-velvet-cheesecake-bites| HollysCheatDay.comyummies!!!

red-velvet-cheesecake-bites| HollysCheatDay.com

Red Velvet Cheesecake Bites
2015-09-11 10:38:42
Yields 24
Mini bites of red velvet cake with a cheesecake swirl.
Write a review
Save Recipe
Print
THE RED VELVET CAKE
  1. 1 Box of Red Velvet Cake Mix
  2. 3 Large Eggs.
  3. 1 Cup of Water.
  4. 1/3 Cup of Vegetable Oil.
  5. 2 (12 Count) Mini Muffin Tins.
THE CHEESECAKE FILLING
  1. 1 (8 Ounce) Package of Cream Cheese, Softened.
  2. 3 Tablespoons of Granulated Sugar.
  3. 1/2 Teaspoon of Vanilla.
  4. 1 Large Egg Yolk.
FOR THE RED VELVET CAKE
  1. Preheat the oven to 350 degrees F.
  2. With a handheld or stand mixer with paddle attachment place your cake mix, eggs, water and vegetable oil in your bowl, mix all ingredients until smooth, set aside.
FOR THE CHEESECAKE FILLING
  1. With a handheld or stand mixer with paddle attachment cream your cream cheese until smooth, then add your sugar, vanilla and egg yolk mixing all ingredients together until well incorporated, set aside.
ASSEMBLY
  1. Spray your mini muffin tins liberally with bakers spray.
  2. Spoon 3/4 of a tablespoon of red velvet batter into your muffin pan.
  3. Then spoon 1 1/2 teaspoons of cheesecake mixture on top of your red velvet batter.
  4. Then place 1 teaspoon of red velvet batter on top of your cheesecake mixture.
  5. Using a toothpick, swirl the red velvet batter and cheesecake batter together.
  6. Bake for 12-14 minutes (I took mine out at 14) or until the cheesecake is fully baked.
  7. Let cool completely.
HOLLY'S CHEAT DAY https://www.hollyscheatday.com/

Filed Under: All Recipes, Cheesecake, Dessert

Holly’s Junk Food Review Series : Little Debbie Strawberry Cakes

February 7, 2018 By Holly

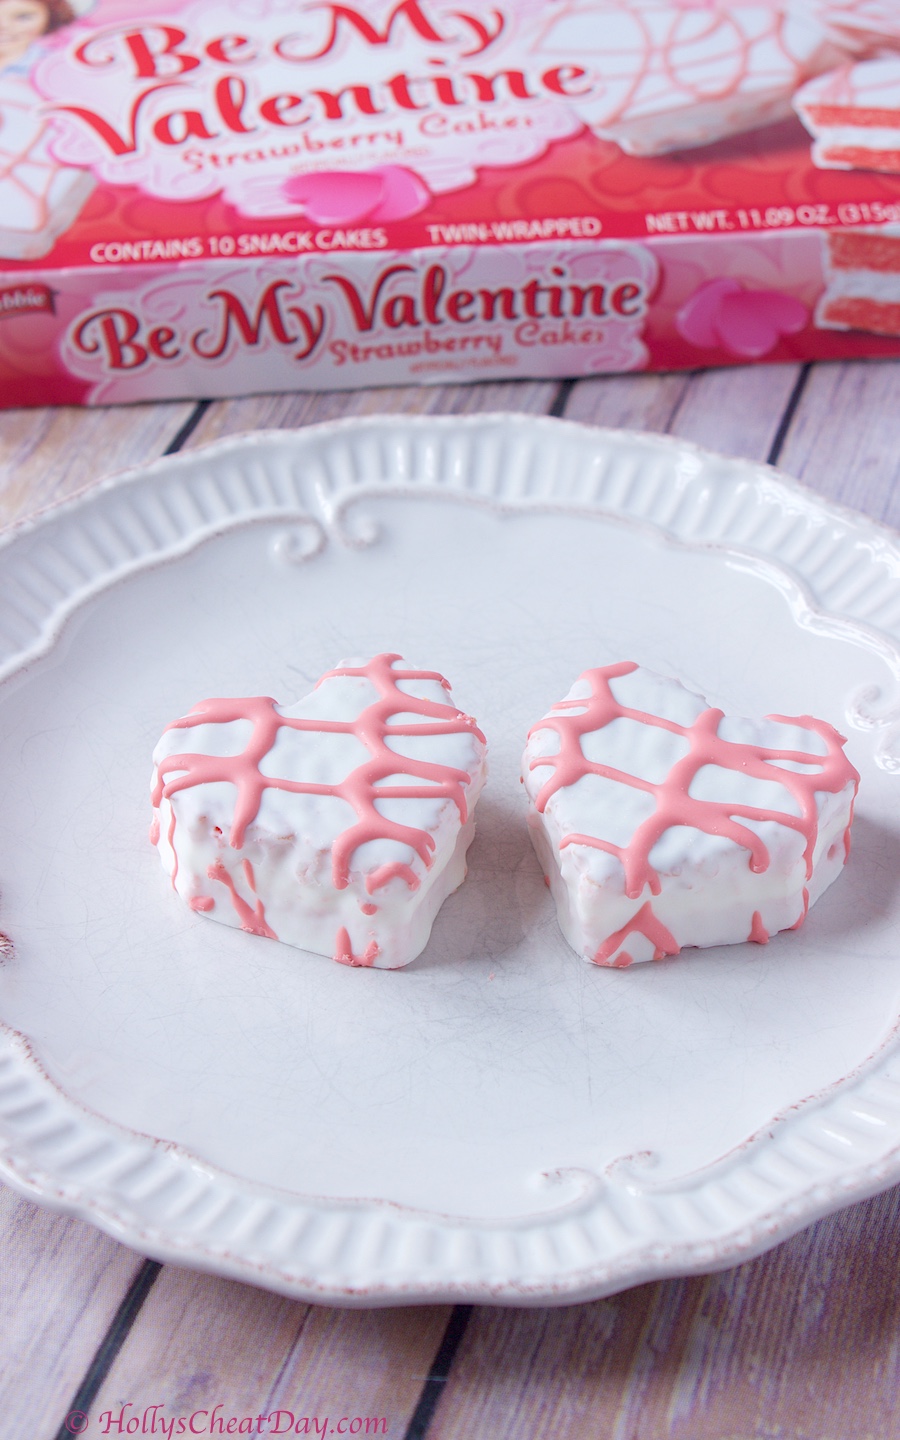
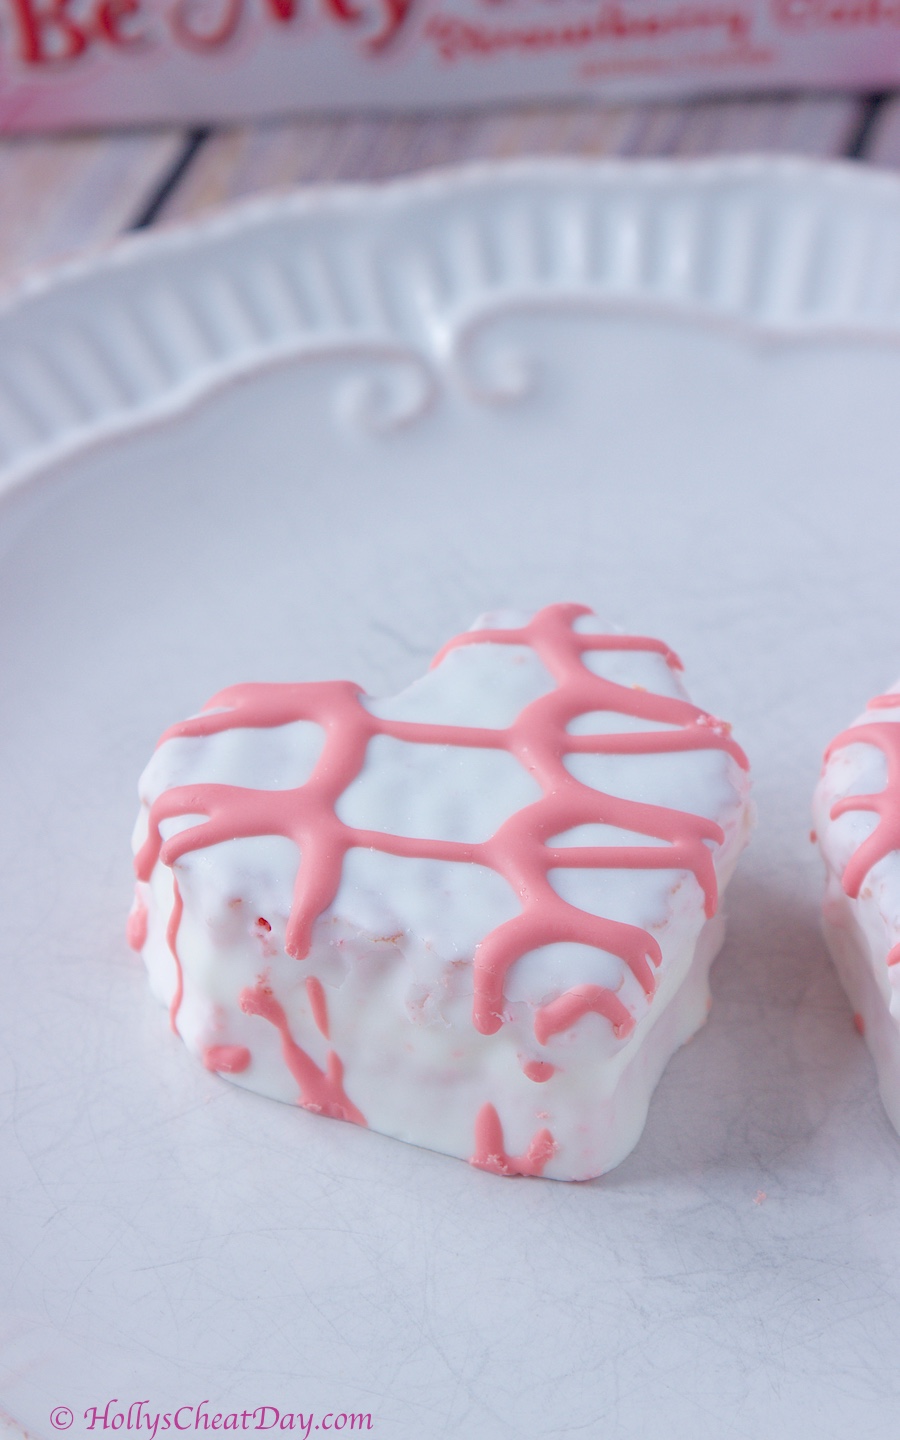
Happy Happy Wednesday y’all!!! Just in case y’all were not aware yet, Valentine’s Day is exactly a week from today.  Like with most holidays, the best part to me is the food.  I personally think that Valentine’s Day has some of the best food items, because everything is chocolate, strawberry and red velvet, mmm.  Also, I happen to think that desserts that are pink and red taste better, pretty sure that’s a scientific fact hehe.  Anyways, I’m going to wave my hillbilly flag a little bit and admit that I love Little Debbie snack cakes, I know, I know, I should only be enjoying fancy, fresh from the bakery desserts, but there’s just something about their little snack cakes.  When I saw these Be My Valentine Strawberry Cakes in the store, there was no hesitation in buying them because for one, they’re heart shaped, omg, and second, they’re strawberry, and I have had a life long love of strawberry cake…

 so cute!

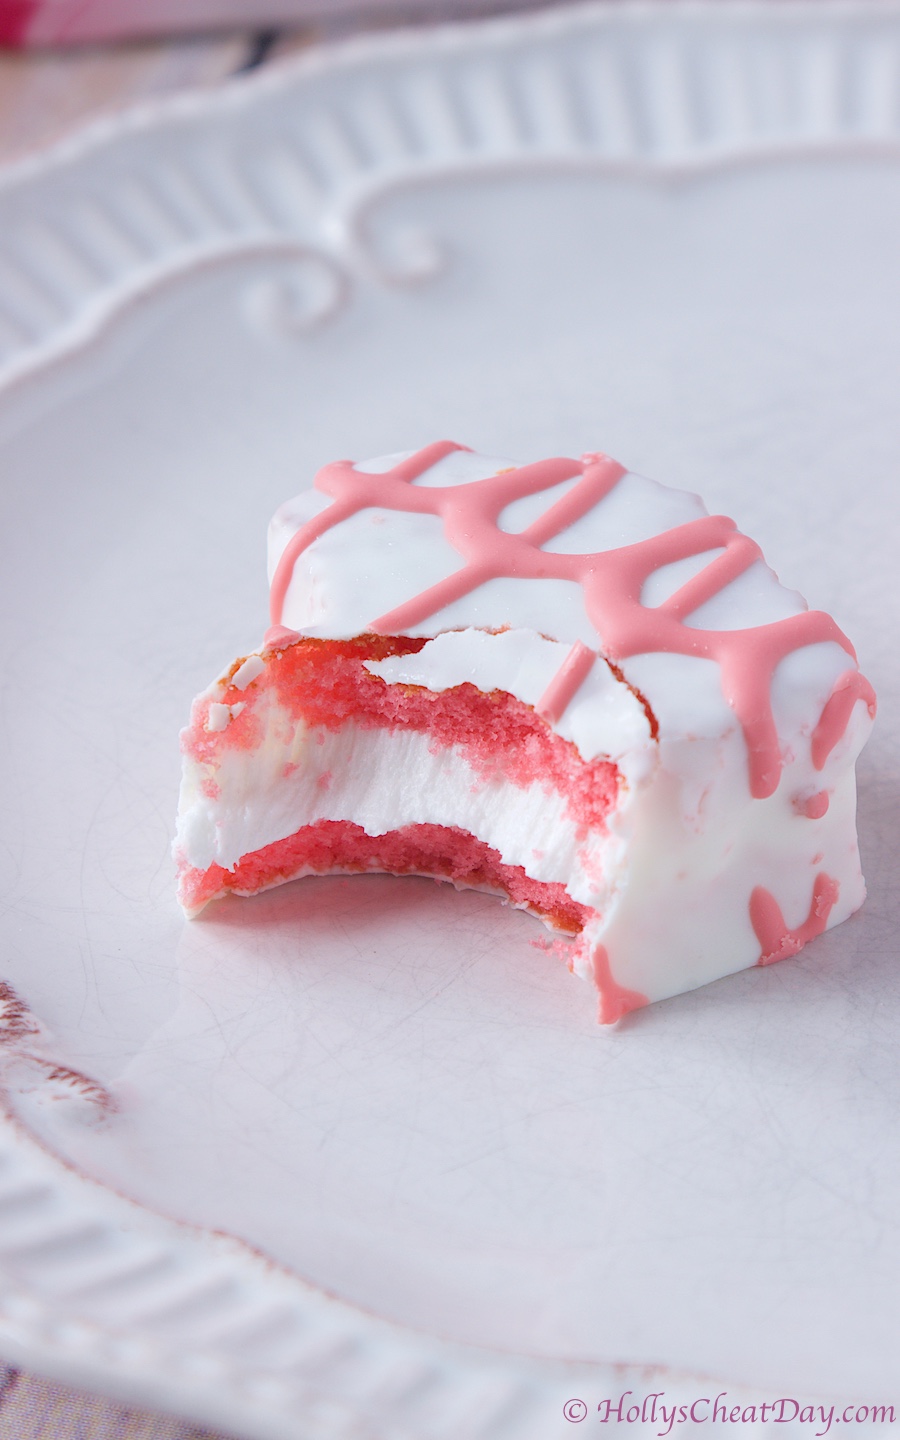
So, first off, these didn’t disappoint even a little, actually they far exceeded my expectations.  In typical Little Debbie fashion these are inexplicably soft and moist.  I don’t know what magic they possess, but really, how do they keep these delectable little cakes so fresh tasting in a little plastic bag?  The strawberry flavor these have is spot on, and the super duper creamy filling pairs perfectly with the flavorful cake.  I thought the frosting on the exterior of the cake might end of being white chocolate, but it’s your standard vanilla which was perfectly delicious.  If you come across these little cakes in your local grocery store, absolutely pick up a box or two, especially since these are limited edition.  I give these a solid 9 out of 10.  Thanks for stopping by and have a wonderful day!!!

Filed Under: All Recipes, Junk Food Review

Repost-Kiss Me Quick Cocktail

February 5, 2018 By Holly

Happy Happy Monday y’all!!! This cocktail is sooo worth a repost, and a must make for your Valentine’s Day! This one is a little more work than the average cocktail, but worth every bit.  Have a wonderful day and thank you so much for stopping by!!!

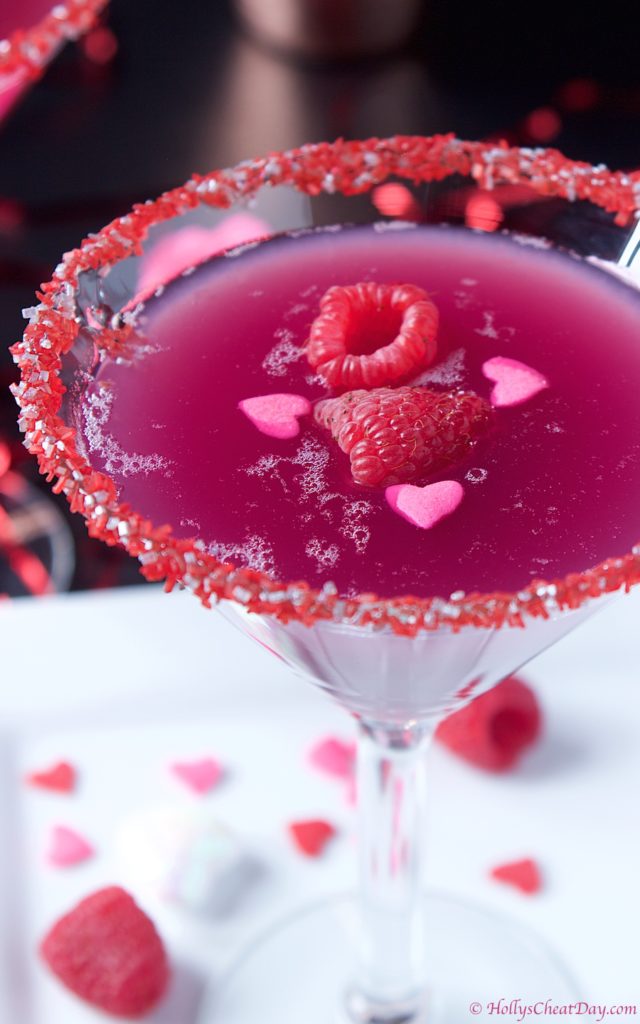
Happy Happy Cocktail Thursday y’all!!!  Ok so I don’t know if you guys have realized yet, but next Tuesday is Valentine’s Day! Can you guys believe it? I can’t, the year is already flying by, but it’s totally worth it because Valentine’s Day is all about red, pink, hearts, themes,  love and fun. 

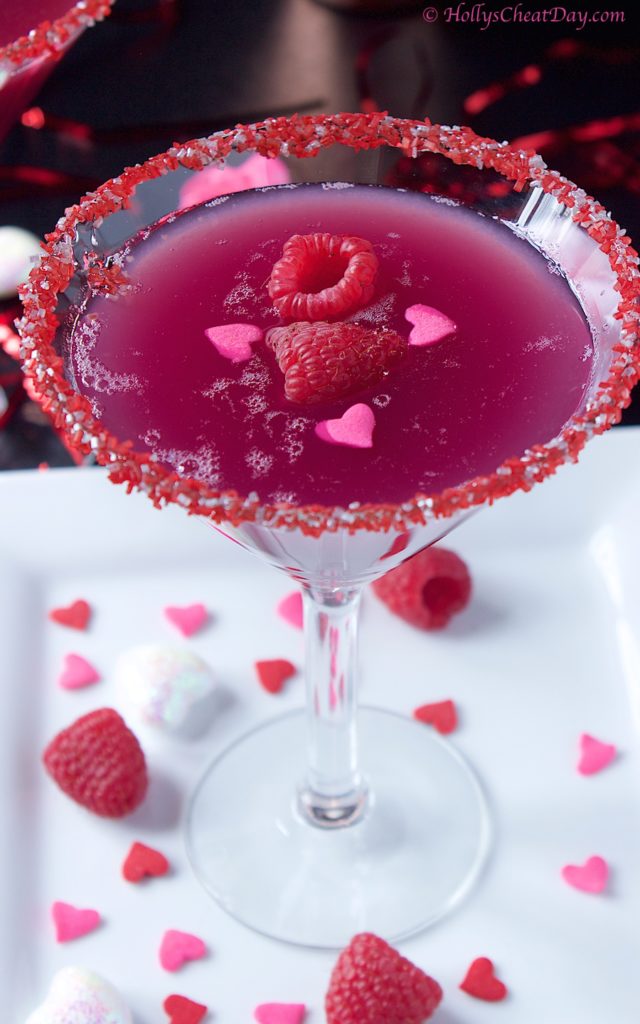
Luckily, today’s cocktail is aaaalll of those things, with a bonus of it being freaking delicious.  This Kiss Me Quick Cocktail (OMG so cute right?) is a bit more work than most cocktails I post here, but I just couldn’t pass up making this lovely and beautiful raspberry sauce to go in it. 
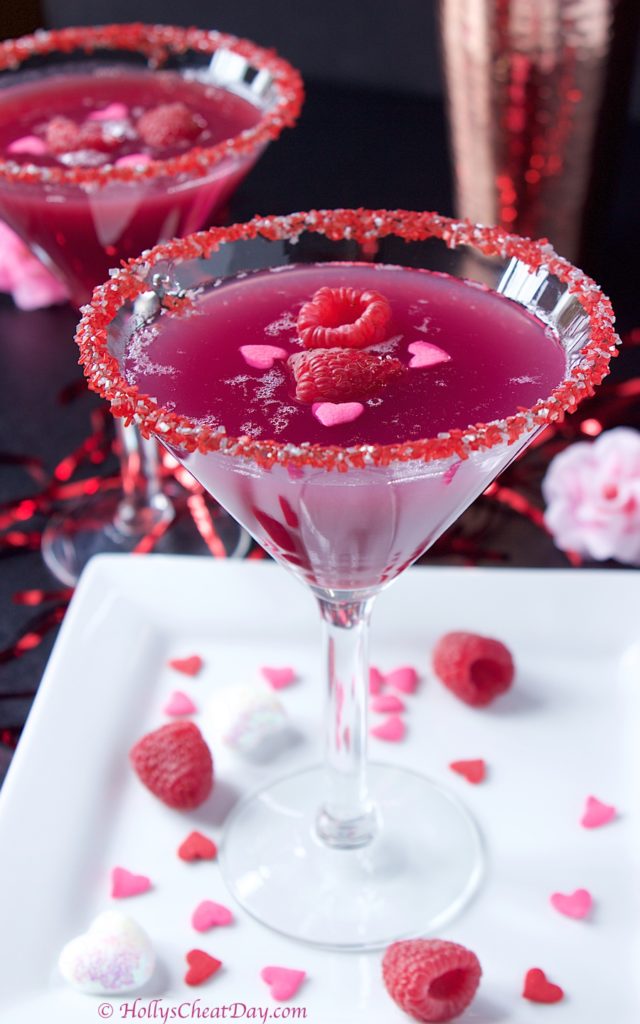
This delicious libation also includes pineapple juice (which IMO makes everything better) and Cake Vodka (also not too shabby haha).  If you want to make this extra Valentine’s-ey then I highly recommend throwing in some cute heart sprinkles like I did for your Valentine.  I think this is such a fun and fruity cocktail and I hope you get to make this too.  Thank you so much for stopping by and I hope you have a wonderful day!!! 
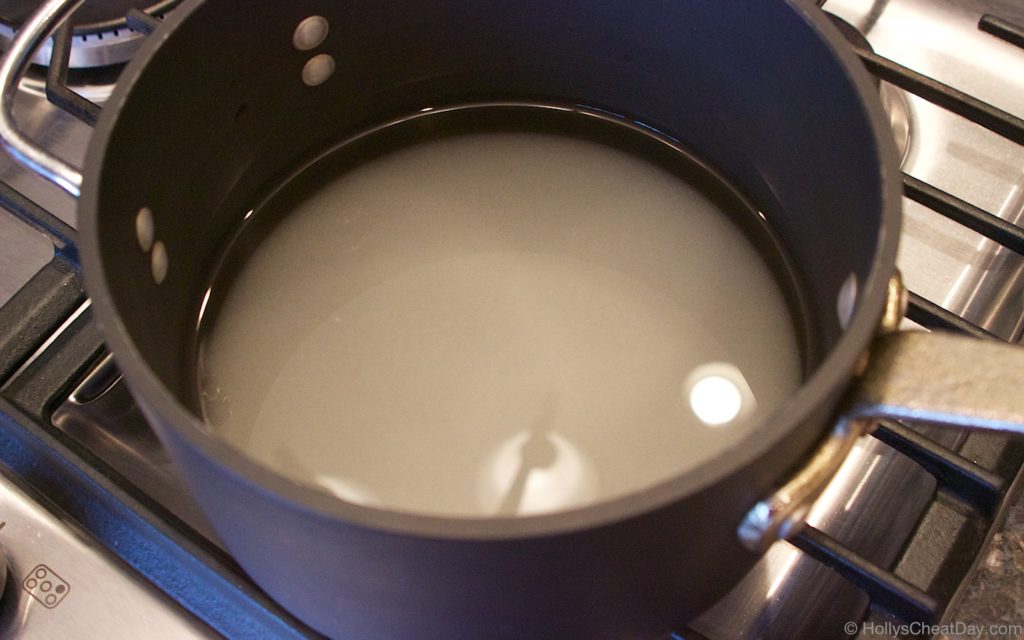
for the raspberry sauce… sugar and water…

then the raspberries…

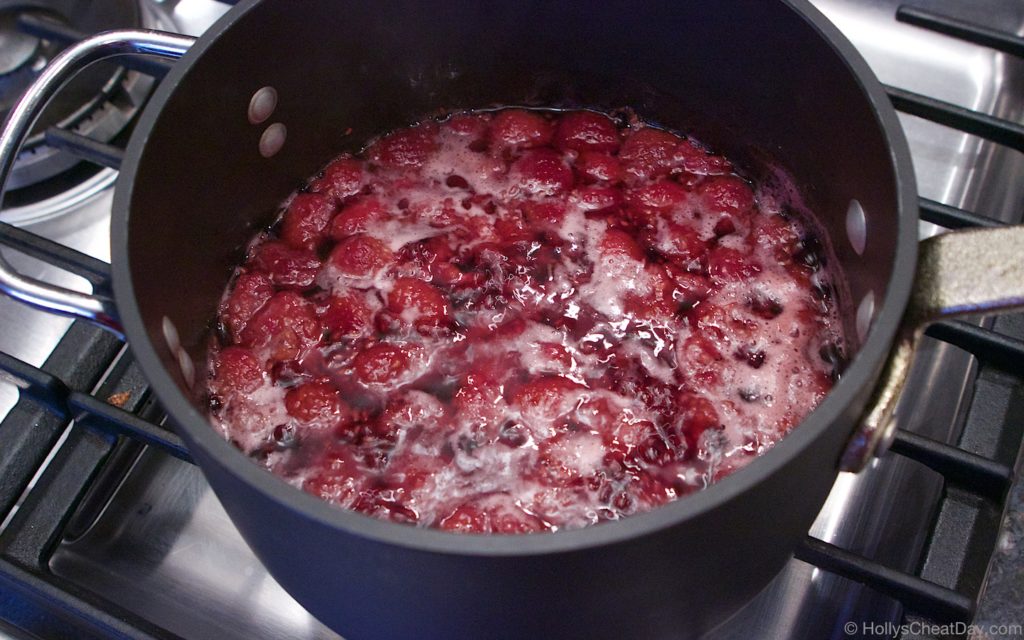
after simmering for a while…

nice and strained (the fruit left over)…
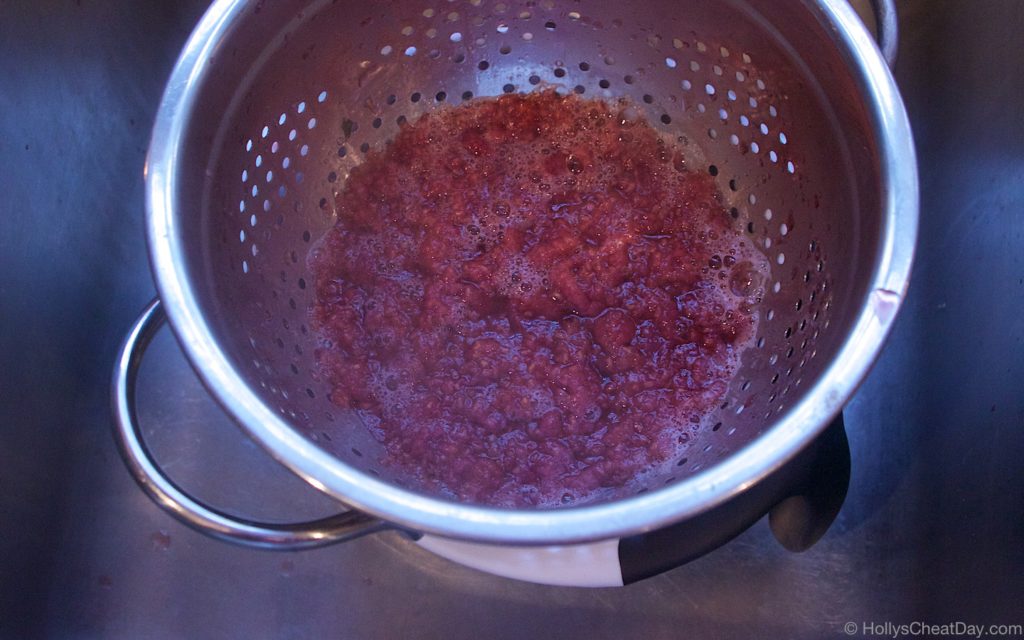
back into your saucepan (minus the fruit leftovers) and cook for a bit longer…
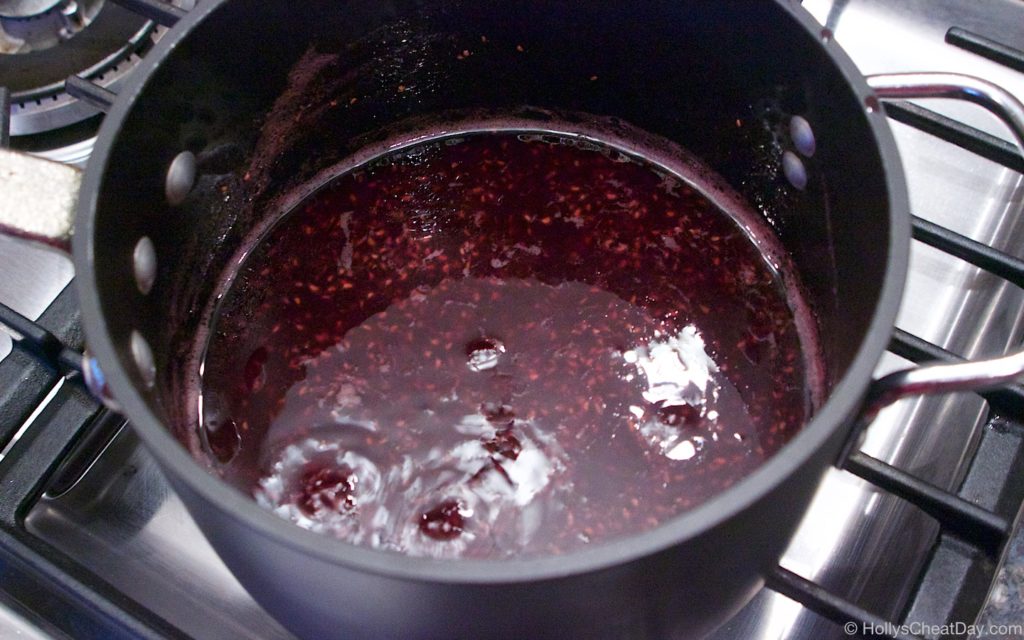
raspberry sauce done…

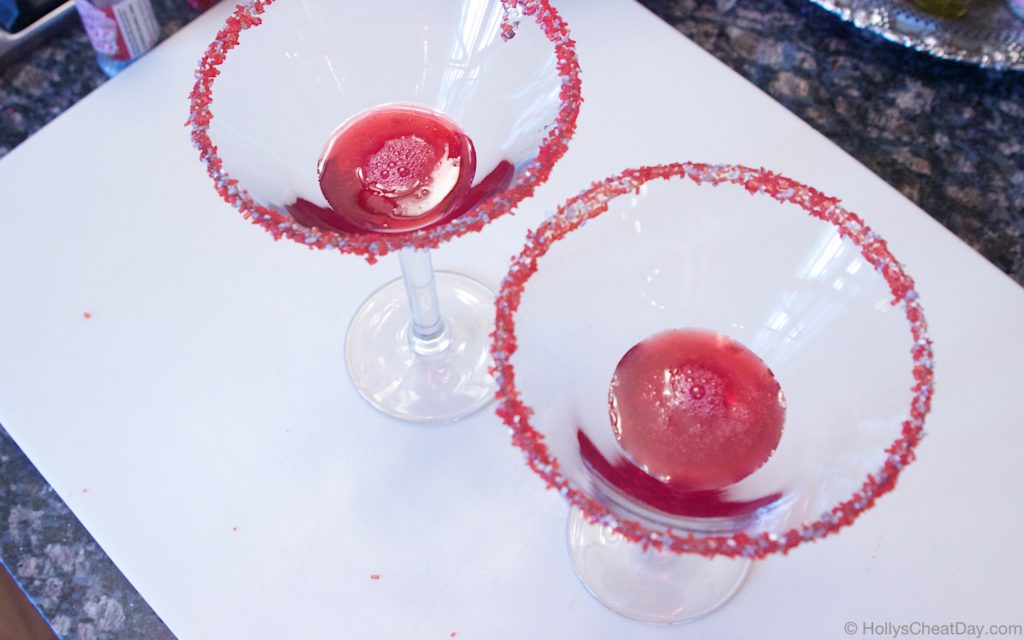
now for the cocktail, raspberry sauce into your glasses…
then the pineapple juice and cake vodka…
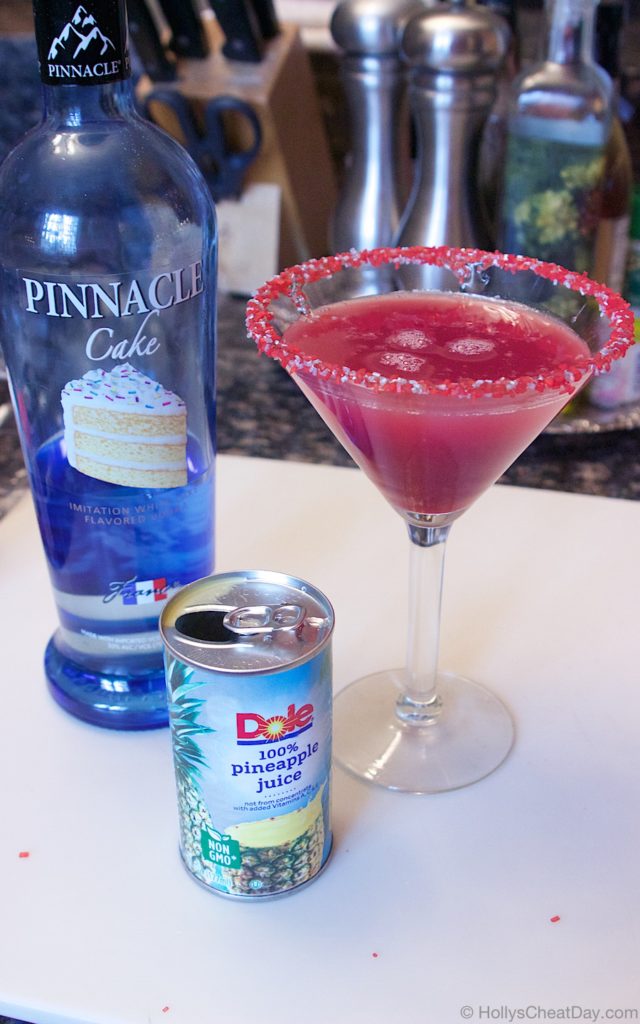
and enjoy!!!
Kiss Me Quick Cocktail
2017-02-08 16:02:15
Yields 2
Delicious and fruity cocktail to enjoy with your Valentine, filled with a fresh raspberry syrup.
Write a review
Save Recipe
Print
KISS ME QUICK COCKTAIL
  1. 8 Ounces of Fresh Raspberry Sauce, Divided.
  2. 4 Ounces of Vanilla Cake Vodka, Divided.
  3. 8 Ounces of Pineapple Juice, Divided.
RASPBERRY SAUCE
  1. 1 Cup of Granulated Sugar.
  2. 2 Cups of Water.
  3. 12 Ounces of Fresh Raspberries.
FOR THE KISS ME QUICK COCKTAIL
  1. Place 4 ounces of the raspberry sauce in each glass, then 2 ounces of the vodka in each glass, then 4 ounces of the pineapple juice in each glass, mix them up and enjoy!
FOR THE RASPBERRY SAUCE
  1. In a medium saucepan, place the water and granulated sugar in it and on medium-high heat mix together until the sugar dissolves.
  2. Now add the raspberries and bring to a boil, then lower the heat and let simmer for 25 minutes.
  3. Remove your saucepan from the heat and strain the raspberry/sugar mixture over a bowl, throw away the fruit from the strainer then place the syrup back into your saucepan.
  4. Simmer the raspberry sauce for 15 more minutes, then strain again, let cool and place into your drink.
HOLLY'S CHEAT DAY https://www.hollyscheatday.com/

Filed Under: All Recipes, Drinks

Holly’s Junk Food Review Series: Ghiradelli Chocolate

February 1, 2018 By Holly

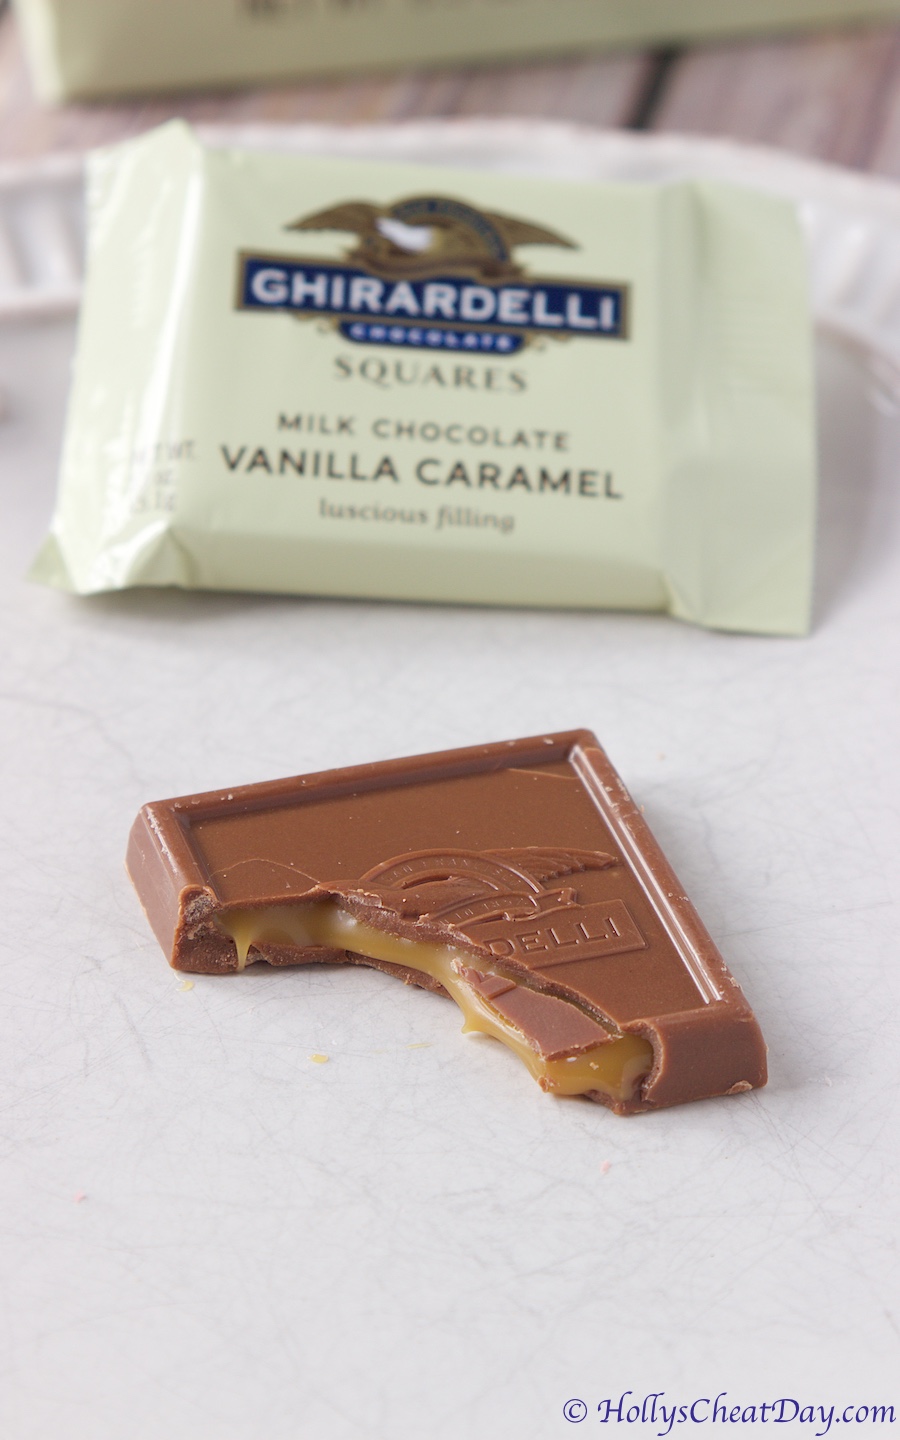
Happy Thursday and Happy 1st day of February! Since it is officially 2 weeks until Valentine’s Day, I thought I might review a new Ghiradelli Chocolate.  Ghiradelli has always been one of my absolute favorite brands of chocolate.  A personal favorite is the milk chocolate with the caramel filling, so I was pretty darn stoked when I saw this new milk chocolate vanilla caramel.

mmm, look at that amazing caramel filling…

Ok, y’all these did not disappoint even a little, holy cow these are delicious. It’s like everything that I looove about the regular milk chocolate with caramel filling is just amplified with the addition with the very potent vanilla flavoring. These chocolates are absolutely delectable, go get them, maybe even 2 bags of these because you’ll eat all of them like I did haha. These absolutely get a 10 out of 10, another great job Ghiradelli! and thank y’all so much for stopping by!!!

Filed Under: All Recipes, Junk Food Review

Easy Cheesy Bean Dip

January 30, 2018 By Holly

Happy Happy Tuesday y’all!!!  I cannot even believe it that Super Bowl Sunday is this coming weekend! It feels like football season just started and here we are, it’s almost over.  Honestly, I’m having a really hard time getting as excited this year for the big game,  because my beloved Falcons aren’t playing in it this year, but oh well, Super Bowl Sunday will still be fun. 

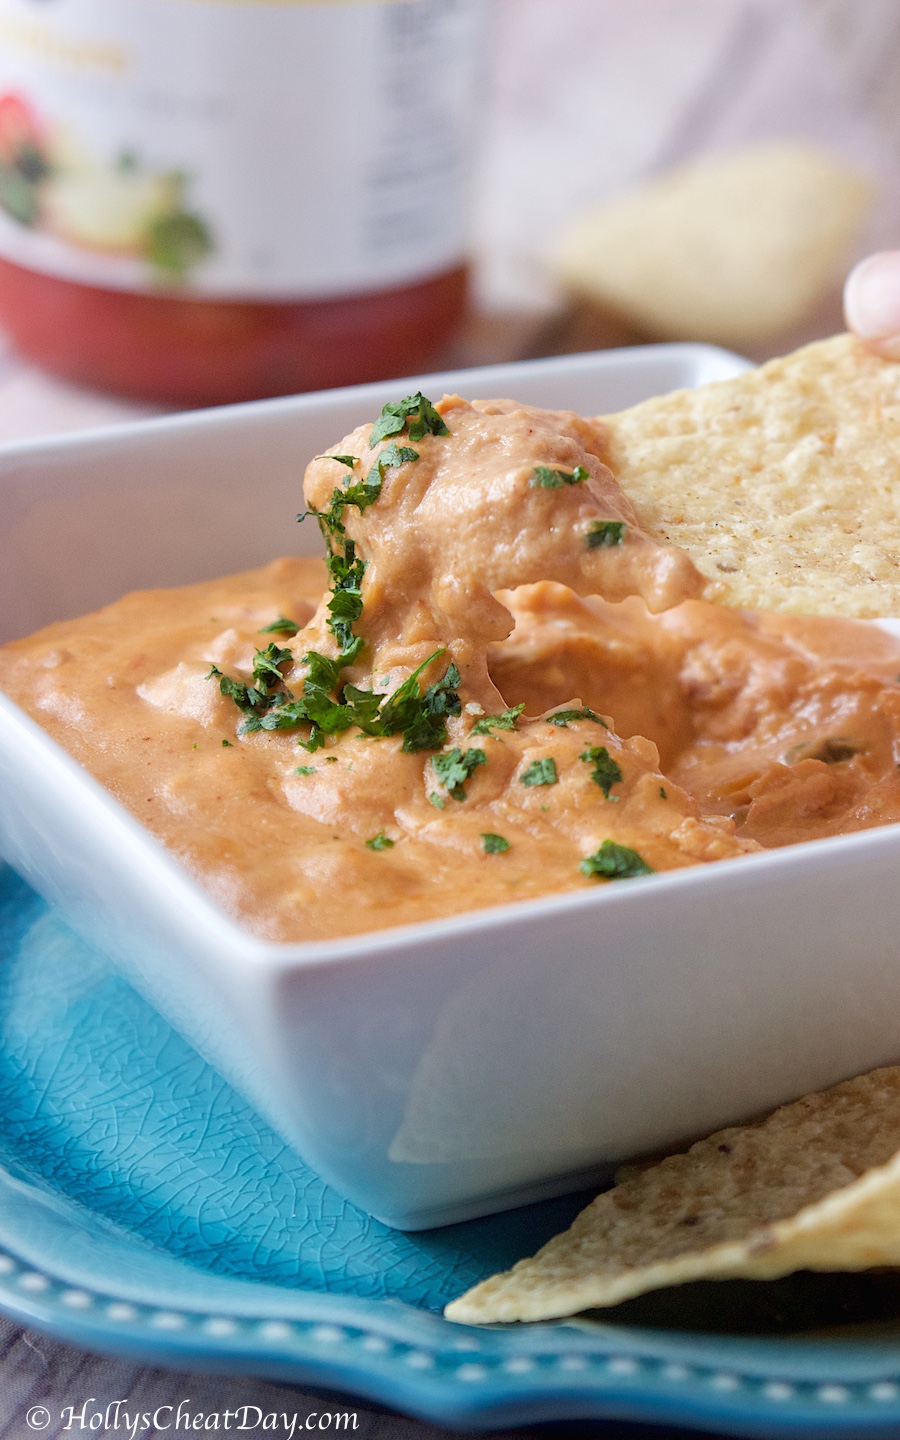
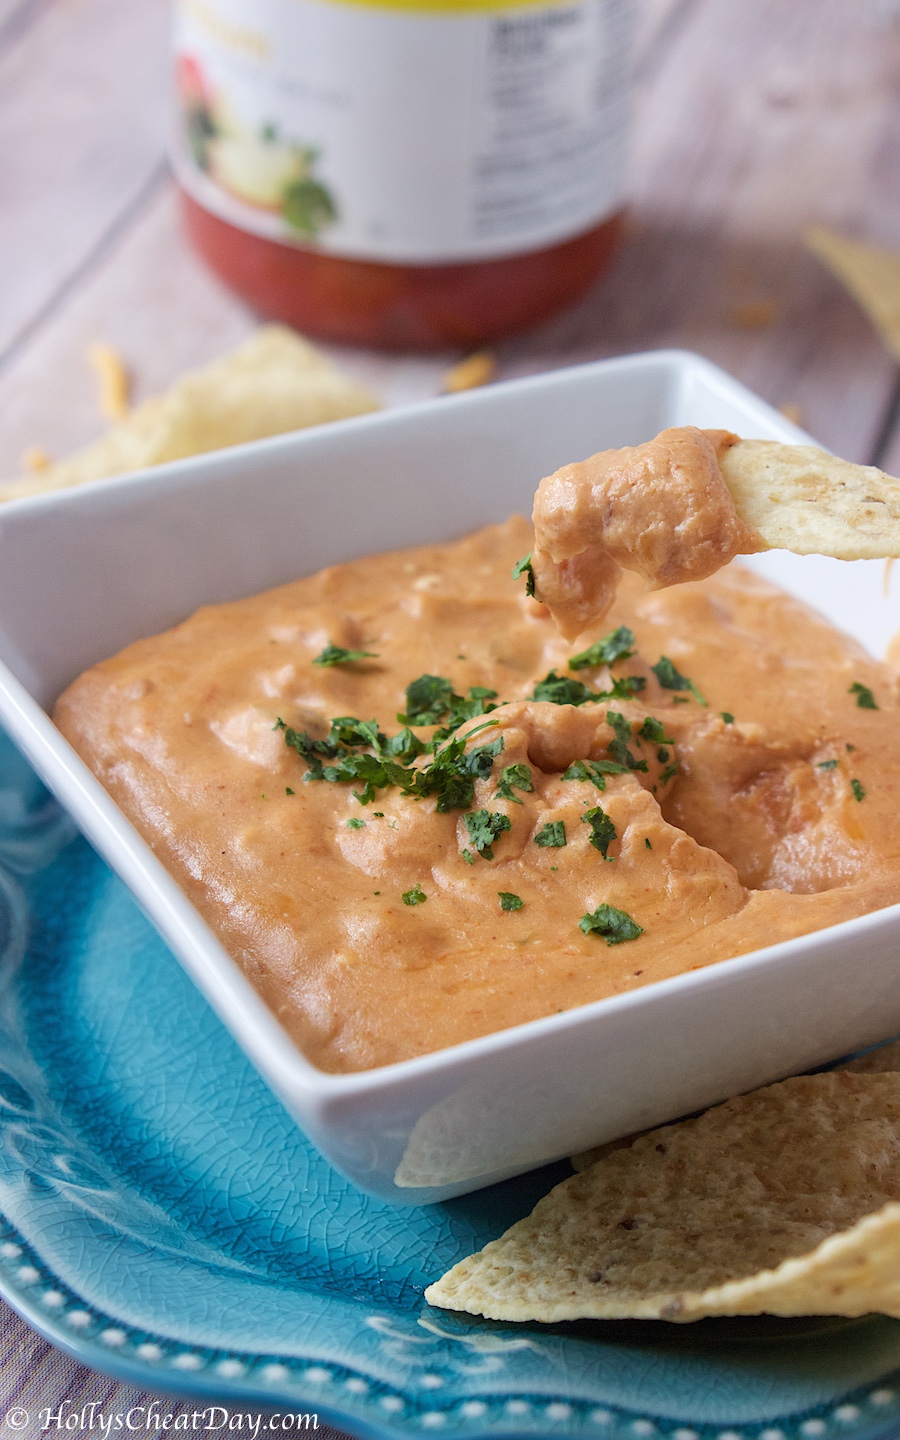
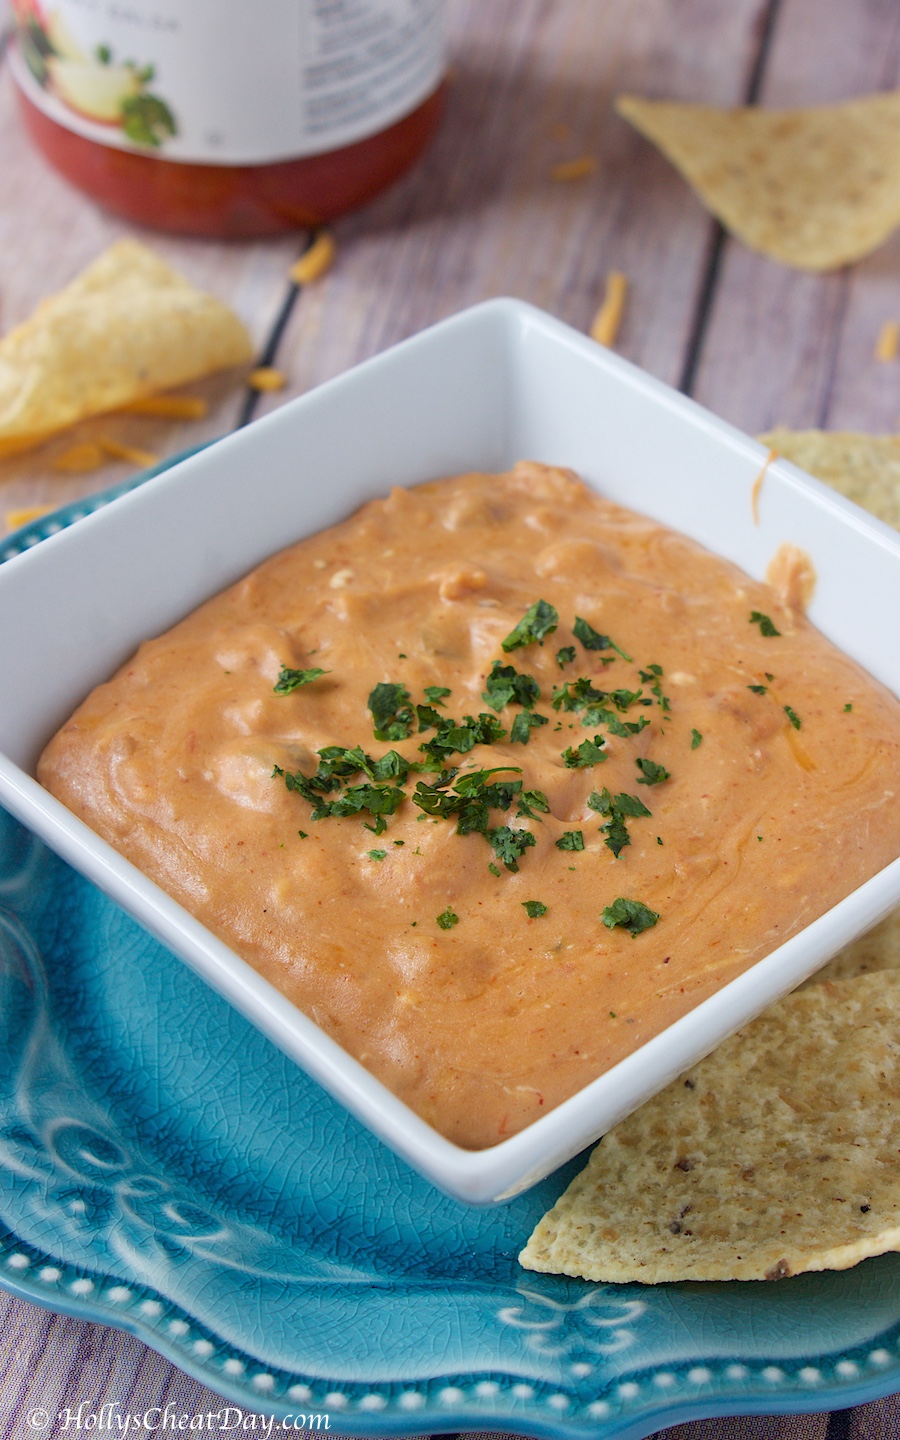
I’m not throwing any big get together this year, but I will still be making this delicious dip for it.  I made this dip for the first time a couple of weekends ago, and it was definitely love at first bite.  It’s soo creamy, so easy to make and chock full of cheese flavor. 

Yes, there is a lot of cheese in this recipe, but seriously I may even add more in when I make it next, because let’s face it, there is almost no such thing as too much cheese.  Also, I used mild salsa, and I will most likely add in medium this next time just to amp up that wonderful heat factor. 

So y’all know, this recipe makes a ton of dip, so it really is perfect to serve at your Super Bowl party–I will probably give away most of it to my neighbors, because not even I can eat that much dip haha.  I hope everyone is having a wonderful week so far, and I hope y’all make this delectable dip for your party too.  Thank y’all so much for stopping by!!!

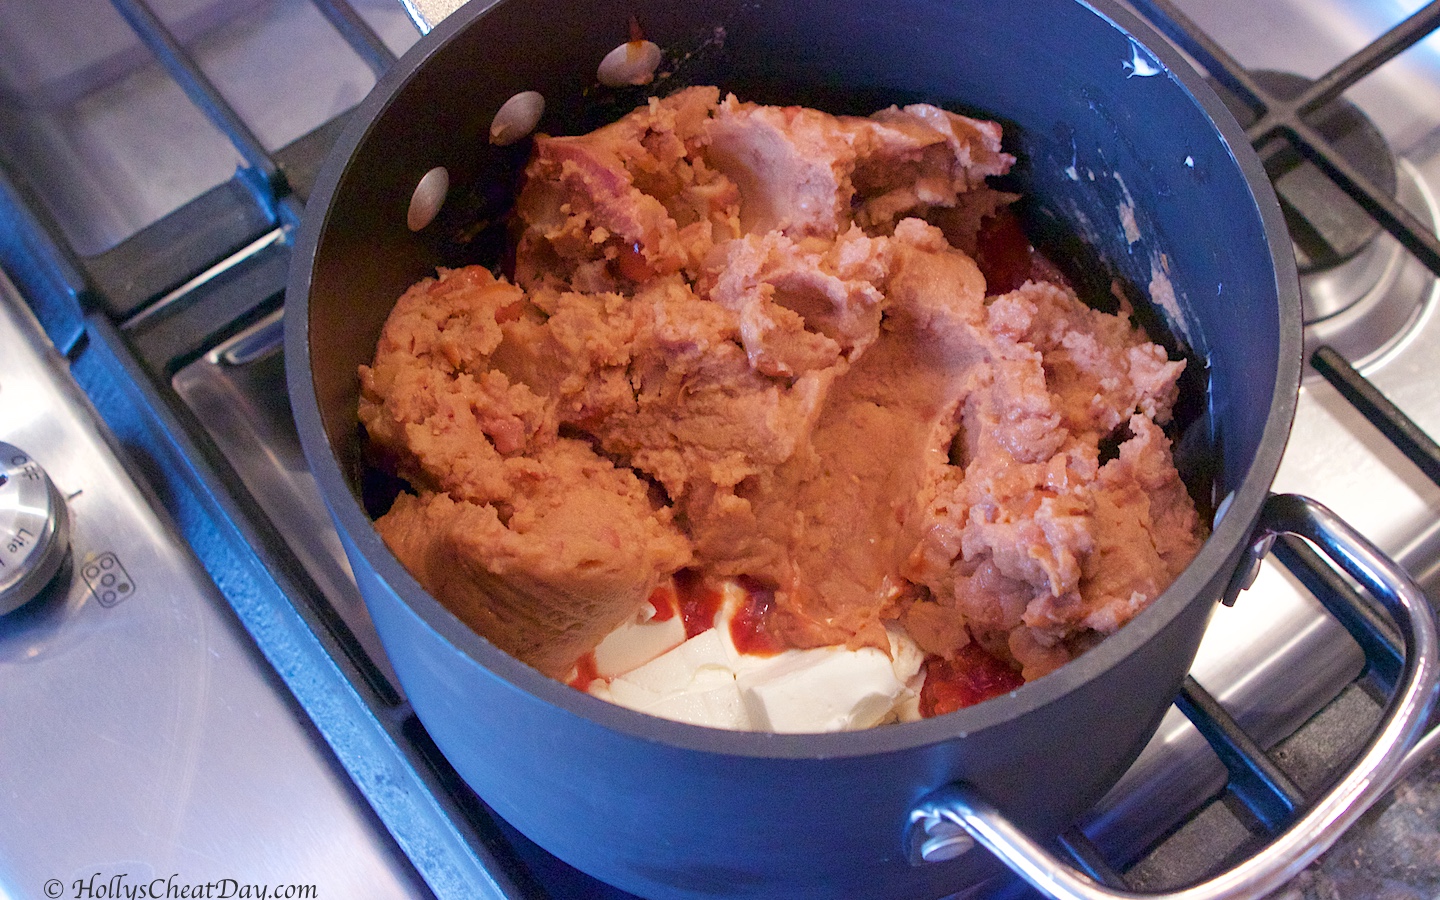
all of your ingredients into your pot…

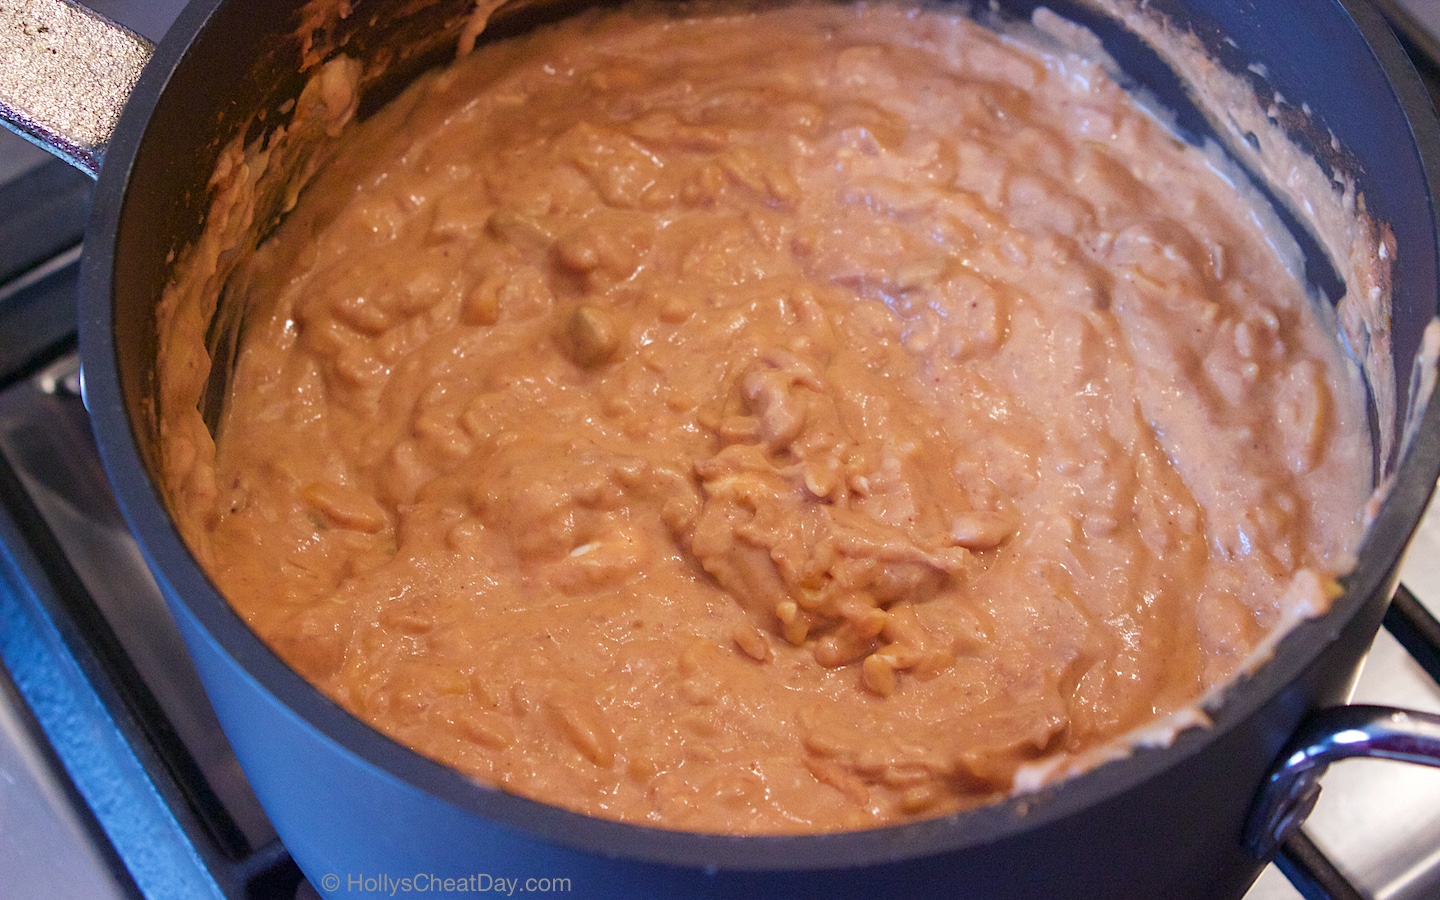
add in your cheese once everything is warmed and blended in…

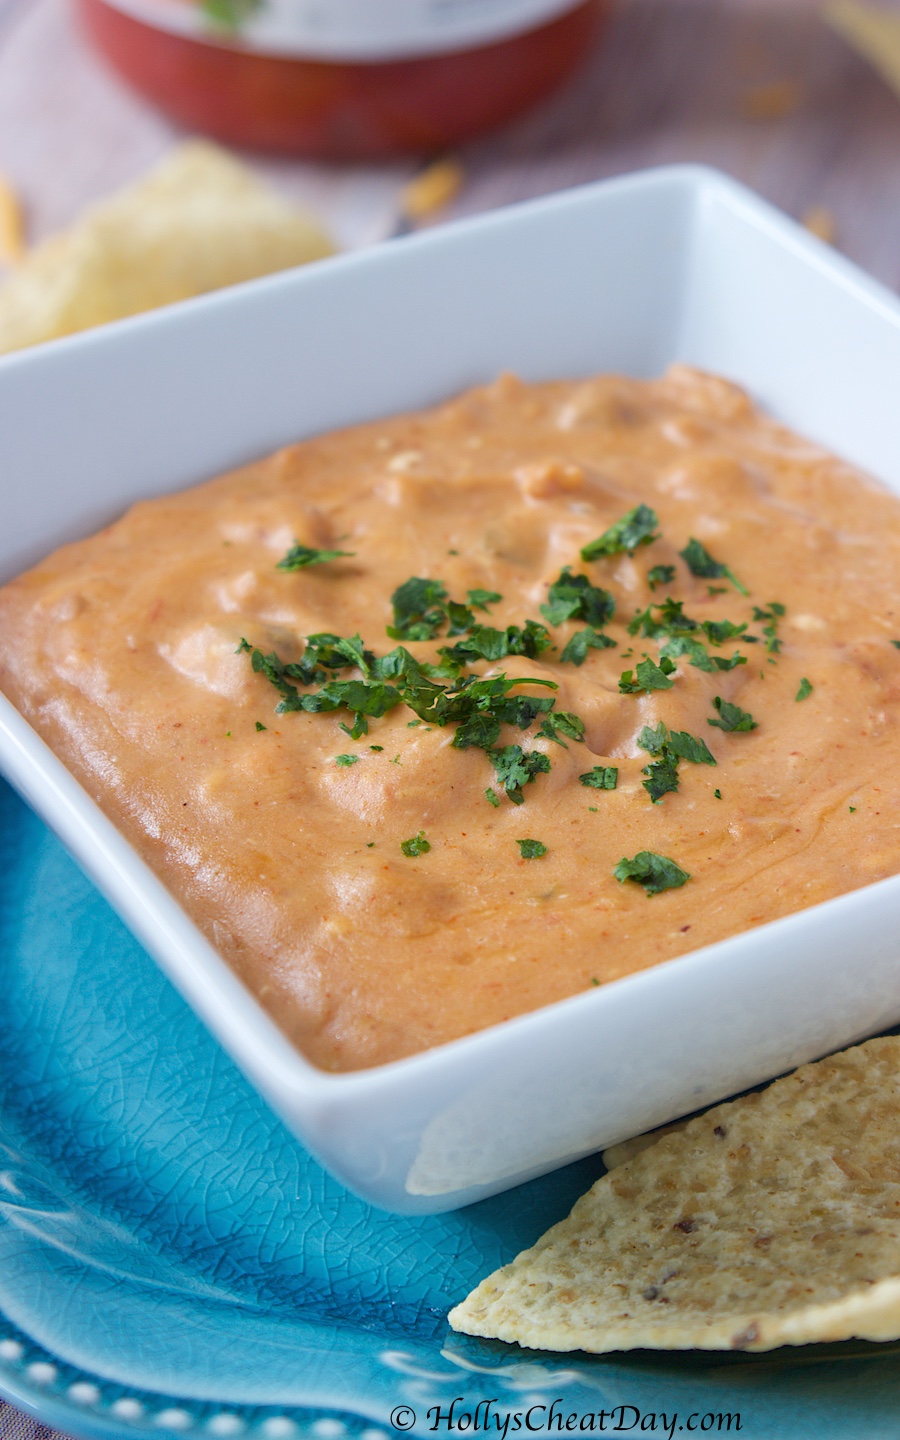
all done and ready to be noshed…

and enjoy!!!

Easy Cheesy Bean Dip
2018-01-28 10:46:36
Easy and flavorful bean dip, perfect for your next party of game day.
Write a review
Save Recipe
Print
Ingredients
  1. 1 (8 Ounce) Block of Cream Cheese, Softened & Cut Into Pieces.
  2. 1 (32 Ounce) Can of Refried Beans.
  3. 3/4 Cup of Salsa (I Used Mild, Feel Free to use Hot or Mild).
  4. 1 Tablespoon of Taco Seasoning.
  5. 2 Cups of Sharp Cheddar Cheese, Grated.
  6. Fresh Cilantro, For Garnish (I used dried).
  7. Tortilla Chips, For Serving.
Instructions
  1. In a medium pot on low/medium heat, place your cream cheese.
  2. Add your refried beans, taco seasoning and salsa, mixing all together until combined.
  3. Stir your dip together making sure not to burn the bottom, and add in your grated cheese and mix until melted into the dip.
  4. Serve warm with tortilla chips and enjoy!!!
Notes
  1. I recommend using a crockpot after it's prepared to keep it warm, because it's best when served warm.
HOLLY'S CHEAT DAY https://www.hollyscheatday.com/

Filed Under: All Recipes, Dip

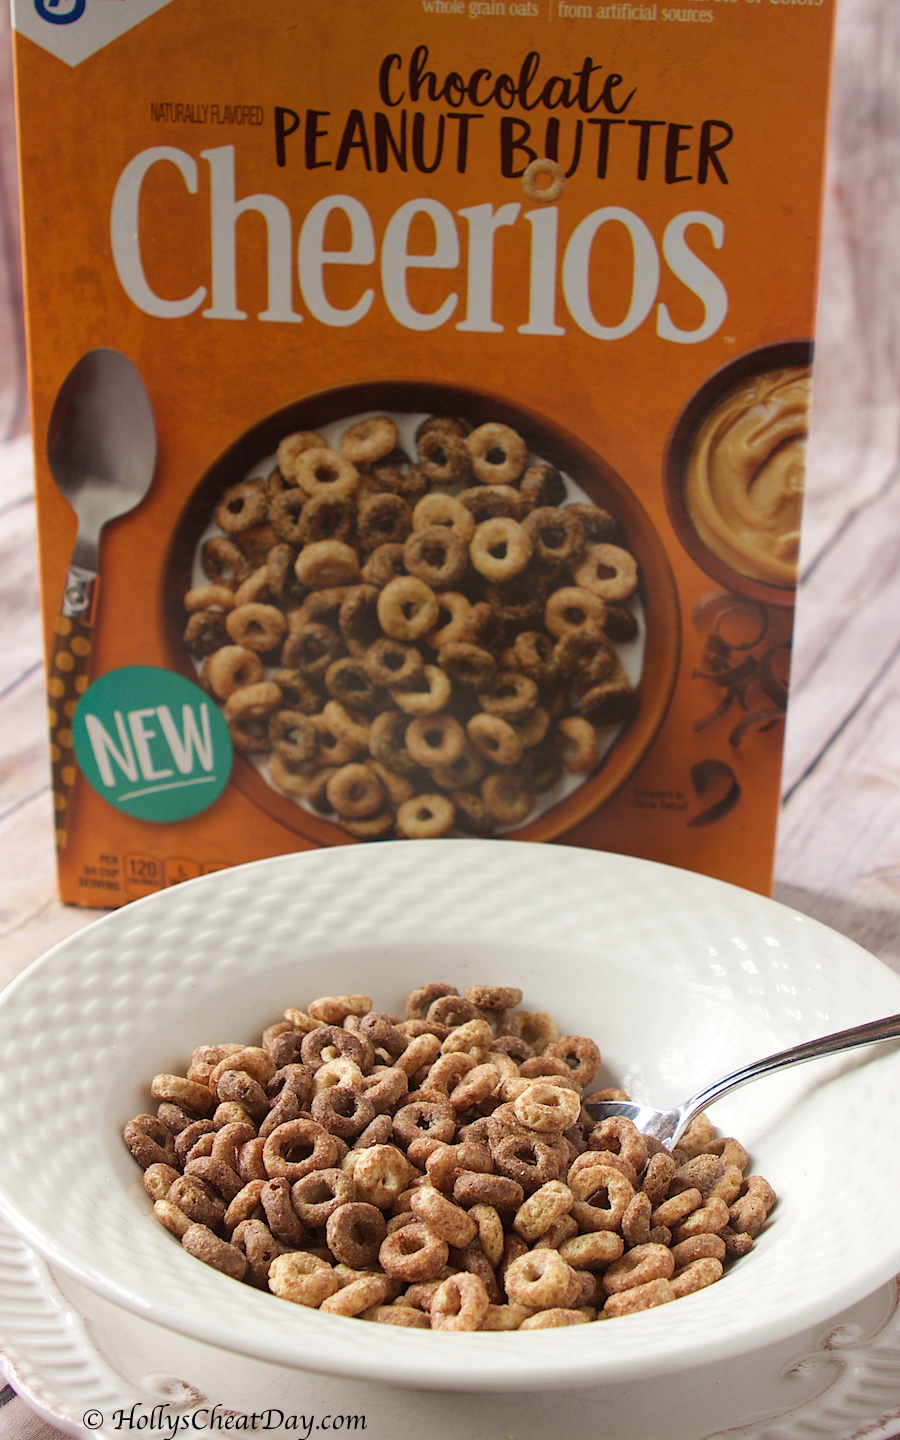
Holly’s Junk Food Review Series: Chocolate Peanut Butter Cheerios

January 25, 2018 By Holly

Happy Happy Thursday and welcome to another junk food review.  I have to say I really love doing these reviews.  My opinion of any of these food items probably matters to no one,  but I figure if I’m already eating all of this delicious stuff on my cheat days, I might as well right?

For anyone who has read even one of my blog posts is probably going to know that I’m obsessed with doughnuts, pretty much any kind imaginable.  What some of y’all may not know is that I’m almost equally as obsessed with cereal, always have been.  I have to save eating cereal for my cheat days, even the healthy kind, because having a serving of cereal just isn’t going to happen, I just love it too much and will continue going back until the entire box is gone, whoops.

When my feed became inundated with this cereal a few weeks ago, I absolutely knew that I had to give it a try because peanut butter and chocolate! yes please!

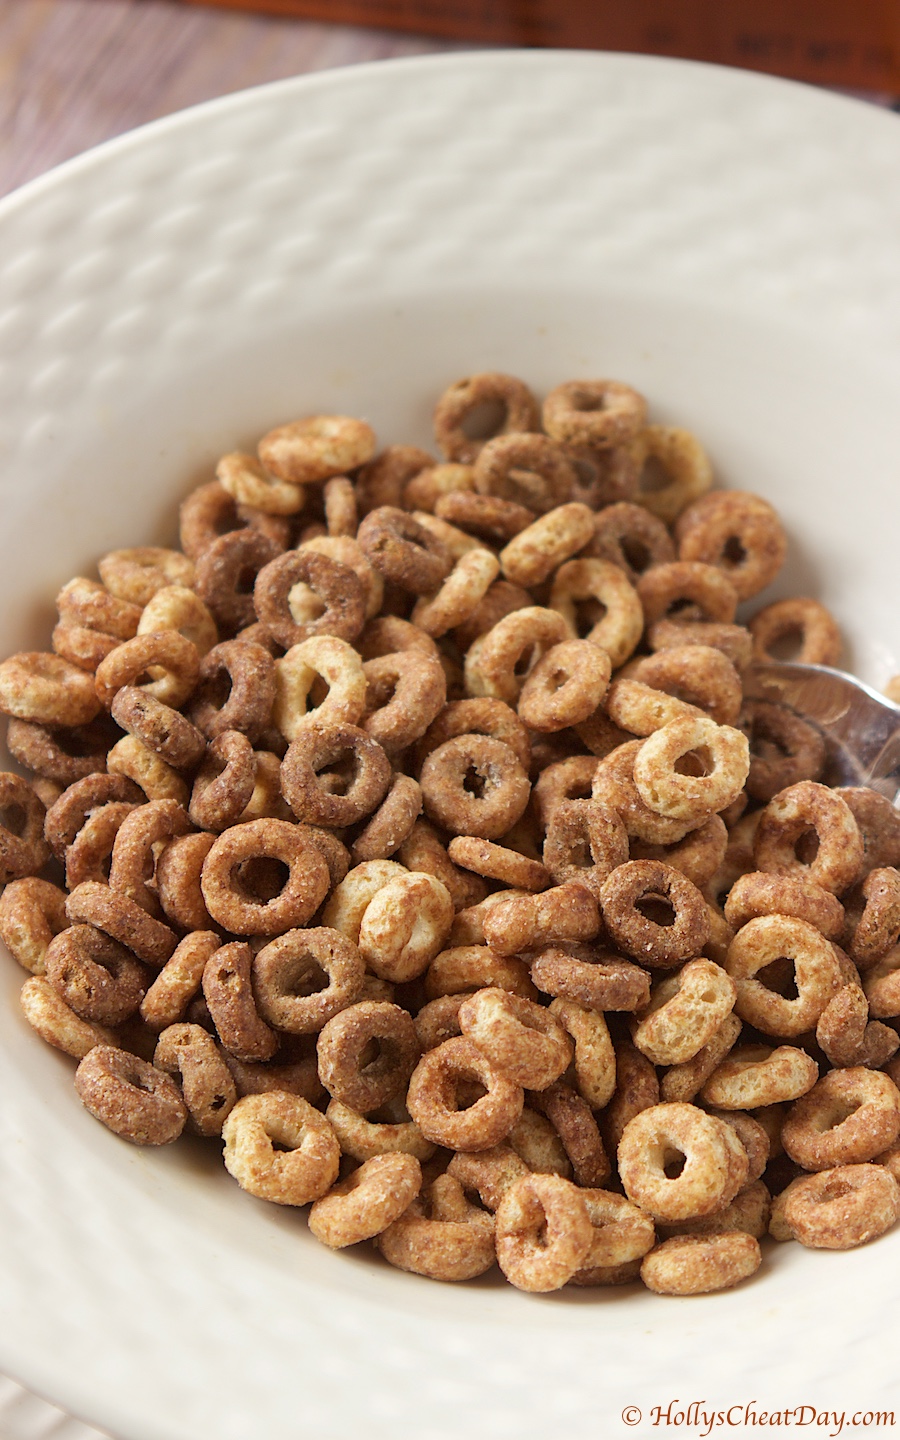
I knew the odds of this being a hit or miss were going to be pretty good on the miss because let’s be real, I love Cheerios but they do have a certain level of Cheerio ‘funk’.  Y’all know what I’m talking about, that Cheerio after burps taste possibly being mixed with peanut butter and chocolate might have just been too much for me.  For reals though, they knocked it out of the park with this cereal.  Truly the perfect blend of peanut butter and chocolate with neither overpowering the other.  Not too sweet, not too bland. I give this a solid 9 out of 10.  I will just go ahead and admit that I did in fact eat this whole box in one cheat day…I told you I have no self control when it comes to cereal haha.  Anyways, thanks for stopping by and listening to the ramblings of a junk food addict haha, hope y’all have a wonderful day!

Filed Under: All Recipes, Junk Food Review

Easy Chocolate Cashew Clusters

January 23, 2018 By Holly

Happy Happy Tuesday y’all!!!  I hope everyone had a nice weekend and is back into the groove of things.  If not, I’m bringing y’all a wonderfully easy and delicious sweet and salty treat today.  Sooo, I really must preface this recipe with the confession that I totally botched this recipe the first go round. 

This is far from being the first time I’ve done this and certainly not the last.  You maybe sitting there wondering, ‘Holly, how could you botch such a simple recipe?’ well in all honesty, it really stemmed from just absolutely not wanting to go back to the store again, AKA lazy.  Ok, not really lazy, but when you realize you don’t have an ingredient you thought you had and have literally just gotten back from the store, sigh, seriously I just didn’t want to go back. 

So, I convinced myself that I knew enough about cooking to swap out an ingredient…I really should know better, I’m not really good at going off of the recipe, like ever.  Anyways, the deal is, almond bark was needed for this recipe, instead I used melted milk chocolate.  Y’all, there’s a reason that almond bark is used instead, it hardens sooo much better, and contrary to the opinion of a very well known candy ad, chocolate does in fact melt in your hand. 

My first batch ended up fine except that holding one for more than 3 seconds resulted in it completely melting all over my hands.  I wanted these so badly to turn out just like one of my favorites, Easy Peanut Chocolate Thingies, which I made about 4 billion of during the holidays this year for people because they were so popular and then with the added bonus of the caramel.  That’s something else, the caramel hardened waaay too much, like stuck in my teeth so bad that I thought my jaw might be fused like that forever haha.  Sooo, I kept the caramel in the recipe because I still think it would be sooo delicious, I’m just going to have to find a caramel that stays a whole lot softer.  Anyways, other than the huge mess I originally made of these, they really are an easy and super delicious recipe–when you use the correct ingredients obvi–.  Hope y’all have a wonderful day and thank you so much for stopping by!!! 

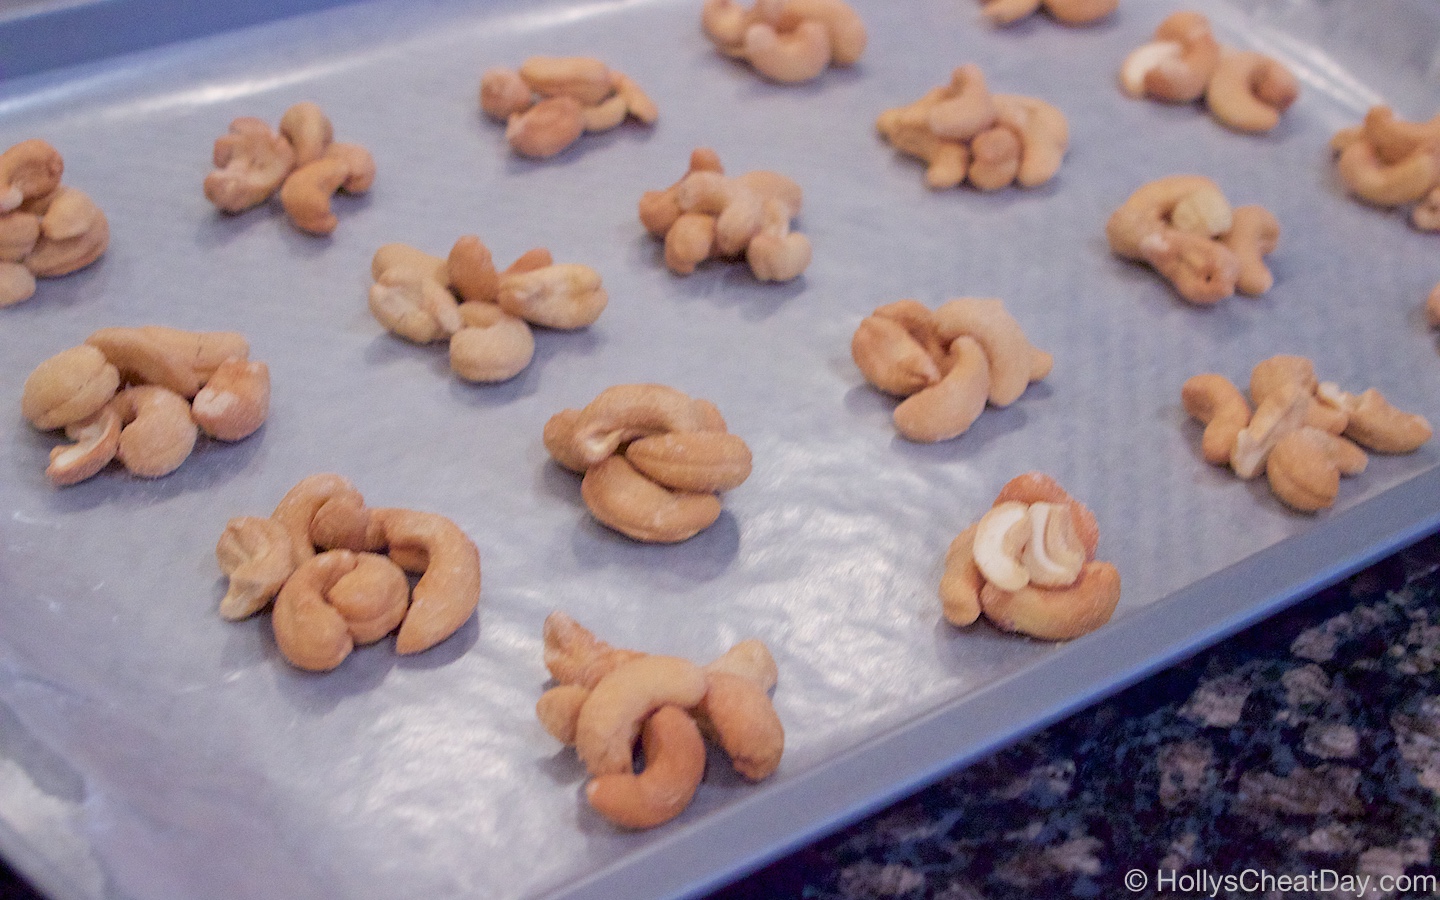
Cashew Clusters…

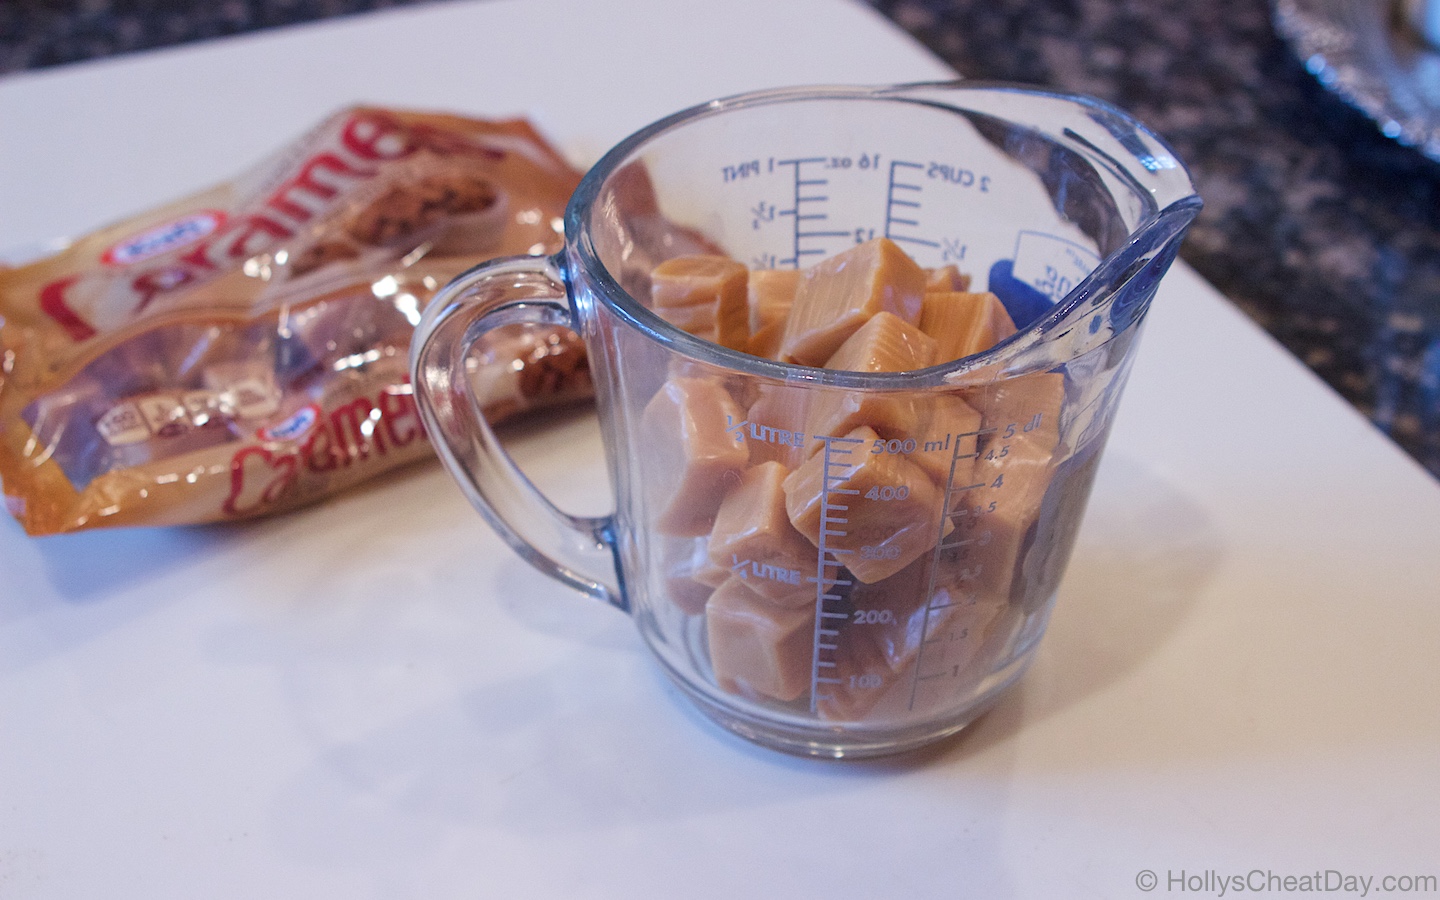
caramels ready to be melted…

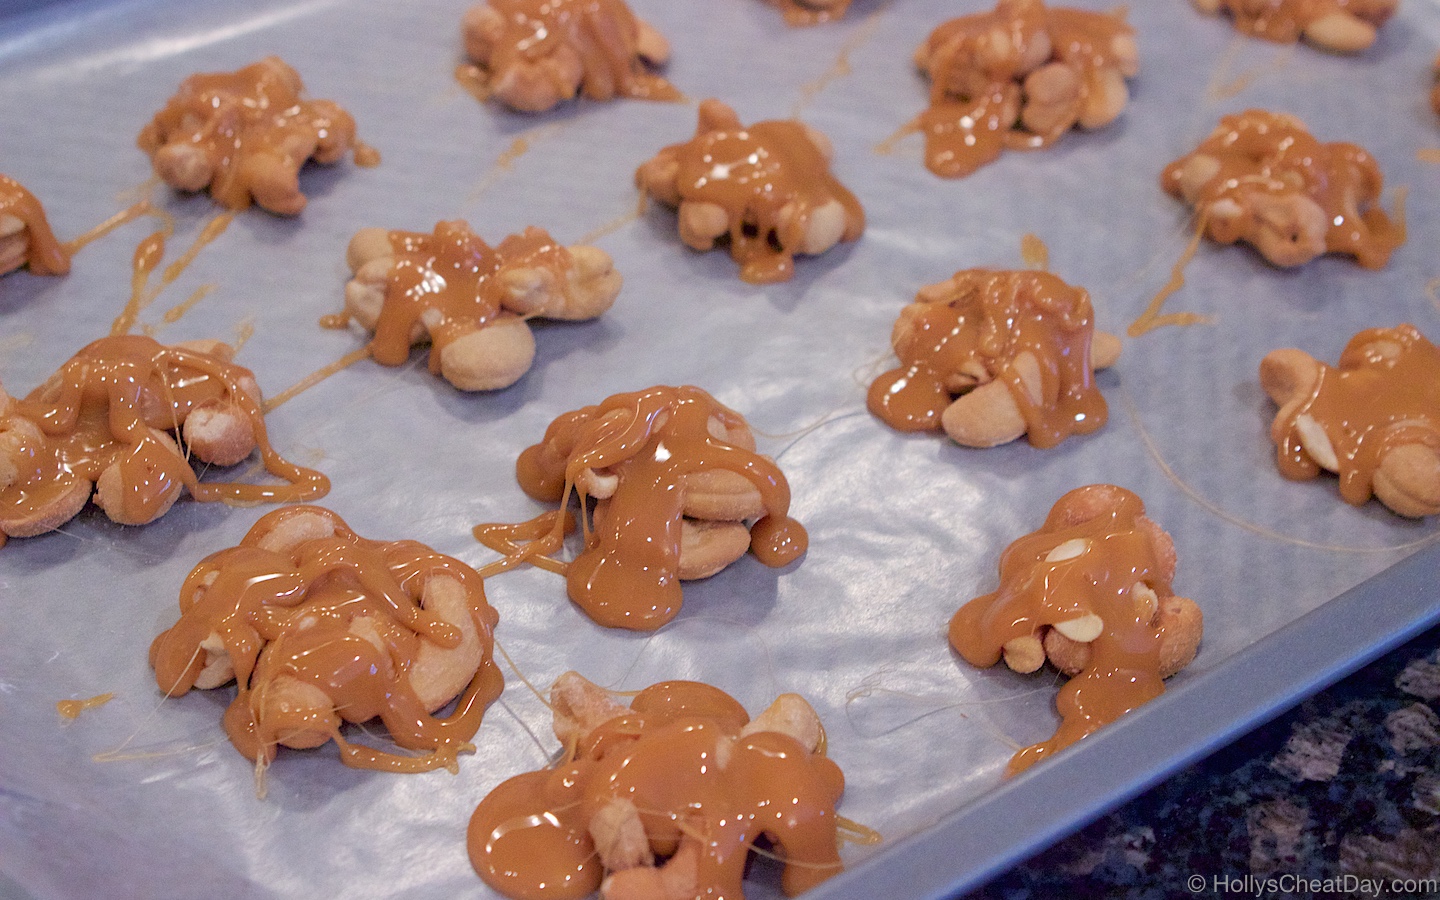
melted caramel on top of the clusters…

then nice and covered in chocolate…

Enjoy!!!

Chocolate Cashew Clusters
2018-01-22 13:59:29
Delicious lightly salted cashews covered in caramel and chocolate, an easy no-bake recipe.
Write a review
Save Recipe
Print
Ingredients
  1. 2 Cups Salted Cashews.
  2. 1 Bag of Kraft Caramels or about 2 Cups (Optional).
  3. 24 Ounces of Almond Bark.
  4. Wax Paper.
Instructions
  1. Line a large baking sheet with wax paper, and spray with cooking spray to keep the caramel from sticking.
  2. Make little piles of cashews (about 6-7 in each pile).
  3. Place your caramels in a microwave safe dish and microwave on high for 2-3 minutes making sure to stir every 45 seconds, just keep an eye on it so it doesn't boil over.
  4. With a spoon, drip caramel over each cluster then place the tray in the refrigerator until the caramel has hardened.
  5. Cut your almond bark into pieces and place into a microwave safe bowl and microwave on high for about 4 minutes stirring every minute or so.
  6. Now, you can either spoon the melted bark over your clusters, or dip them whole into the chocolate, whichever you find easier.
  7. Refrigerate until the chocolate sets and enjoy!
Notes
  1. The caramel is optional due to how hard the caramel becomes, if you can find one that will stay really soft and pliable absolutely use that, these are still amazing without the caramel.
HOLLY'S CHEAT DAY https://www.hollyscheatday.com/

Filed Under: All Recipes, Candy

Gin Buck

January 19, 2018 By Holly

Happy Happy Cocktail Friday y’all!! I know, long time no posts from me, but I’m back and ready to roll into the New Year with some new stuff.  Forgive my absence but for obvious personal reasons I’ve been very MIA, so anyways let’s good to the good stuff. 

It’s been kind of crazy week y’all, the show I’m working on has come off of hiatus and we’re steam rolling ahead.  Throw in Atlanta’s bananas weather this week with all of the ice and snow covering up the roads it’s been pretty hectic.  I find weeks like this call for a really really good cheat day cocktail. 

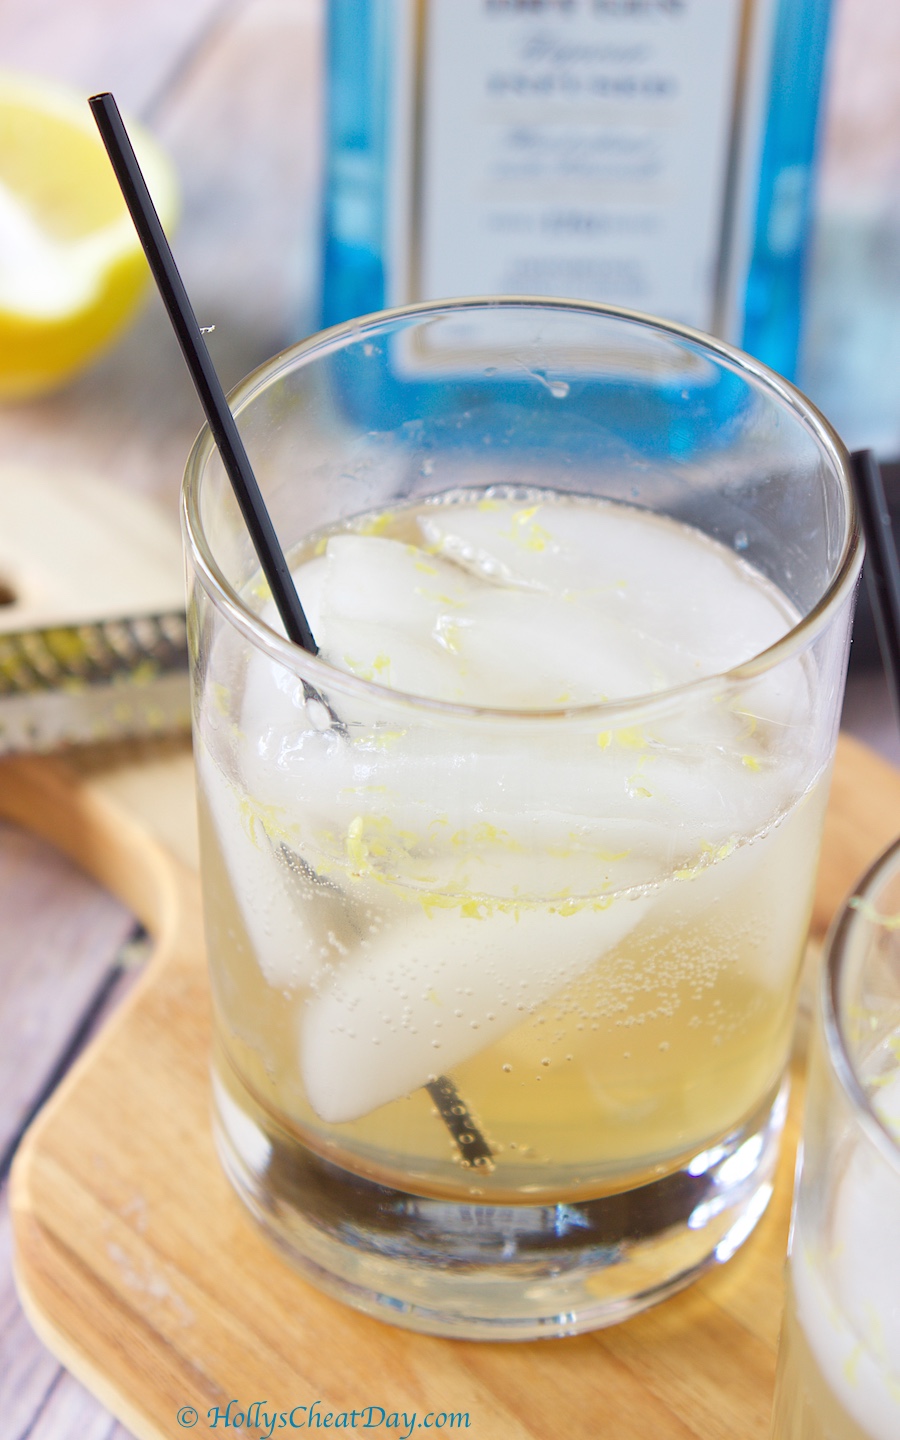
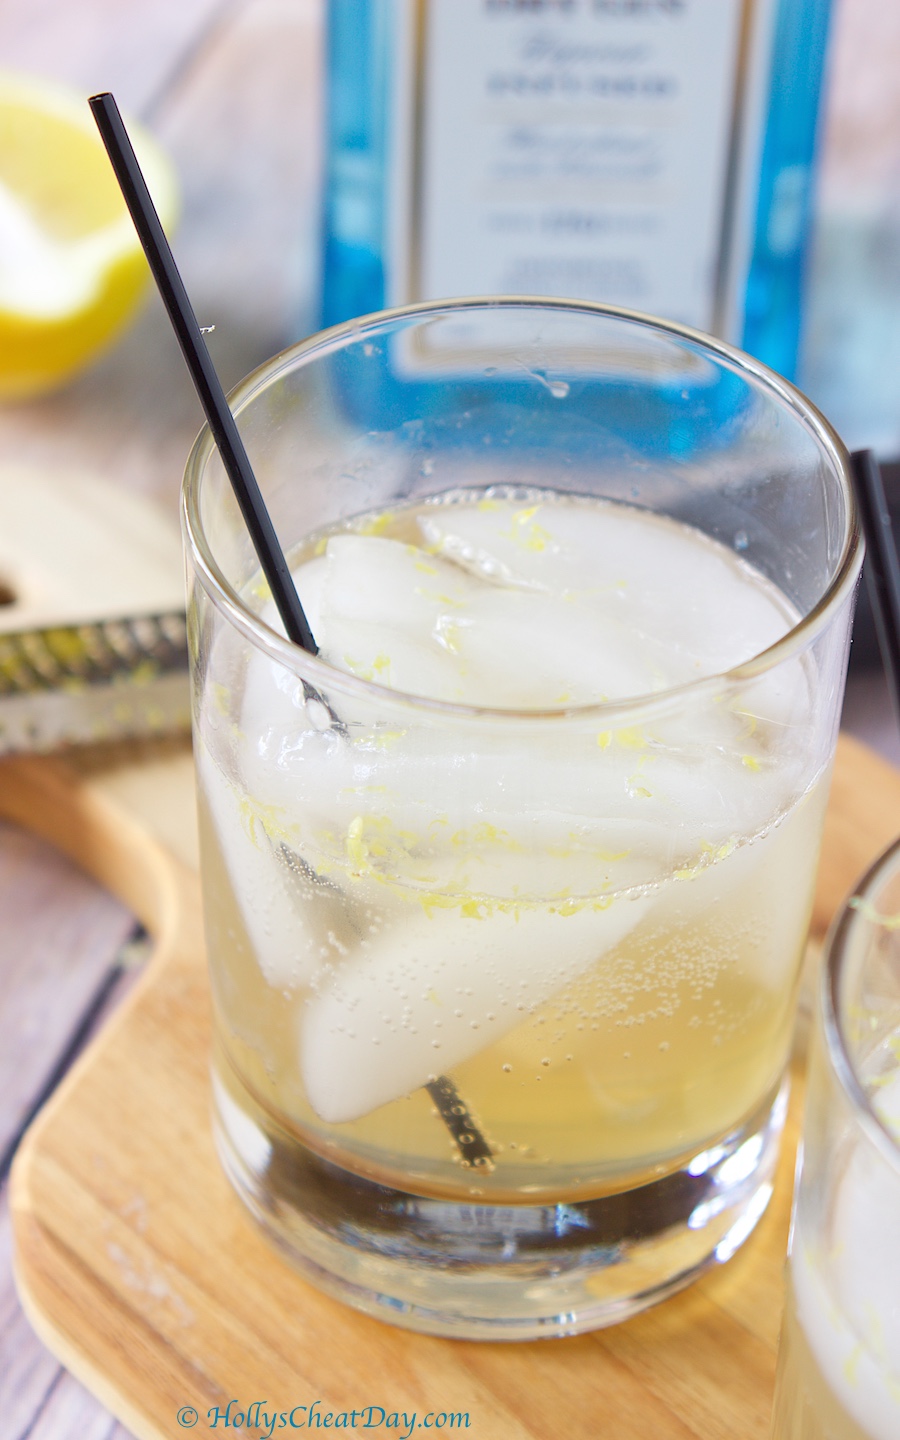
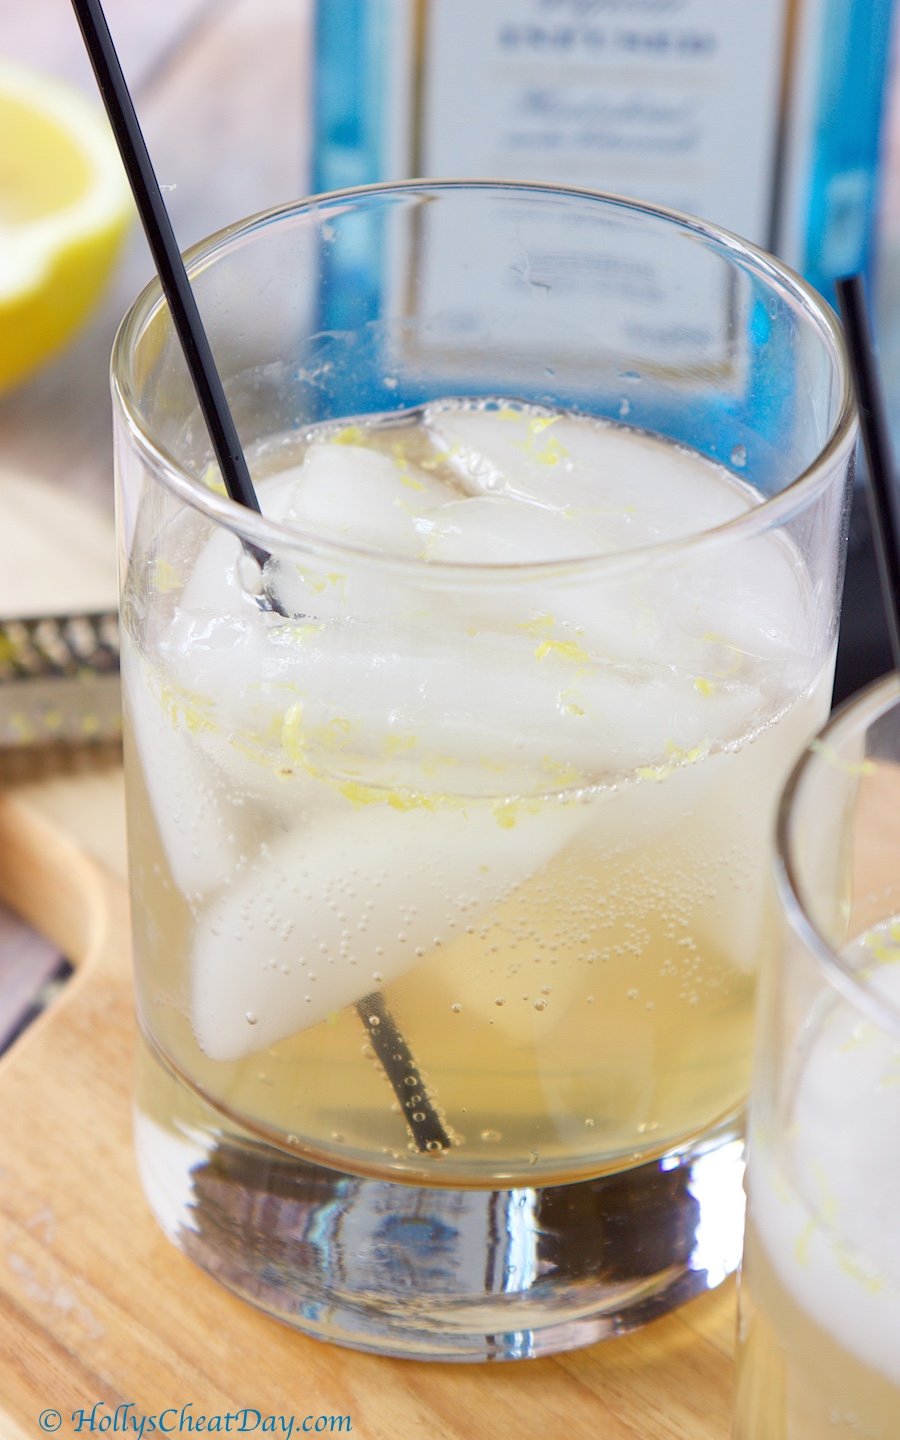
If you have followed me at all, you will know that a Gin and Tonic is my go-to cocktail and really any drink that Gin is the main component is going to be on my list.  Y’all I gotta be honest, this cocktail is exceptional, and may just replace my Gin and Tonic (that’s a maybe haha).  This cocktail is so darn light and fresh with the real lemon juice and Ginger Ale in it.  I think this drink will be even better once warmer temperatures roll around.  If y’all are looking for a really lovely cocktail to enjoy this weekend (or if you’re stuck at home due to weather too) definitely give this one a try.  Thank you so much for stopping by and have a wonderful weekend! 

Gin Buck
2018-01-18 11:27:09
Deliciously fresh cocktail with a minimum amount of ingredients.
Write a review
Save Recipe
Print
Ingredients
  1. 1-5 Ounces of Blue Sapphire Gin.
  2. 1-3 Lemons, Juiced and Zested.
  3. 1-2 Cans of Ginger Ale.
Instructions
  1. Place ice in your glass(es) and squeeze half of a lemon into your glass, then fill the rest of the glass with ginger ale.
  2. Pour 1-3 Ounces of the Gin (totally up to you) into each glass.
  3. Zest part of the lemon over your drink(s) if desired, slightly stir and enjoy!
HOLLY'S CHEAT DAY https://www.hollyscheatday.com/

Filed Under: All Recipes, Drinks

  • « Previous Page
  • 1
  • …
  • 5
  • 6
  • 7
  • 8
  • 9
  • …
  • 48
  • Next Page »
logo
Food Advertisements by
Holly's Cheat Day Profile Pic

Hey, y’all! My name is Holly, and welcome to my Cheat Day...where Gluttony and other Delectable Indulgences are celebrated!    Read More...
logo
Food Advertisements by
logo
Food Advertisements by
Copyright © 2017 ❤ Holly's Cheat Day ❤ Privacy Policy