Happy Wednesday everybody! and welcome to another installment of my Junk Food Review Series. Recently I mentioned my lifelong love of cereal, and that it is always a staple on my cheat days because having just one measly serving is just not going to happen. I have my favorites (hello Golden Grahams & Lucky Charms) but I’m always on the lookout for new ones to try.
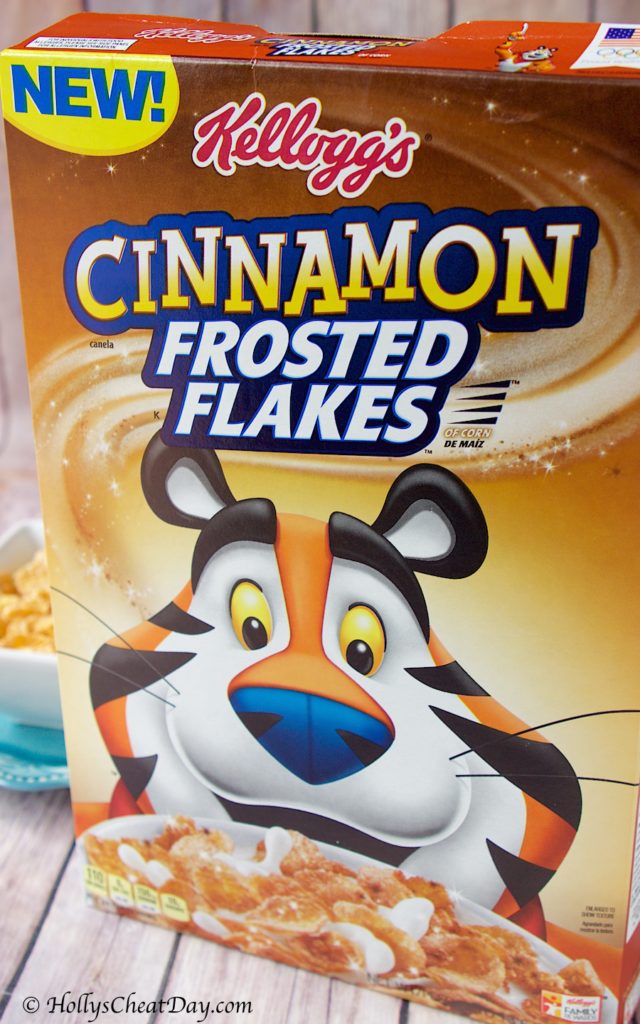
First up, we have the new Cinnamon Frosted Flakes…
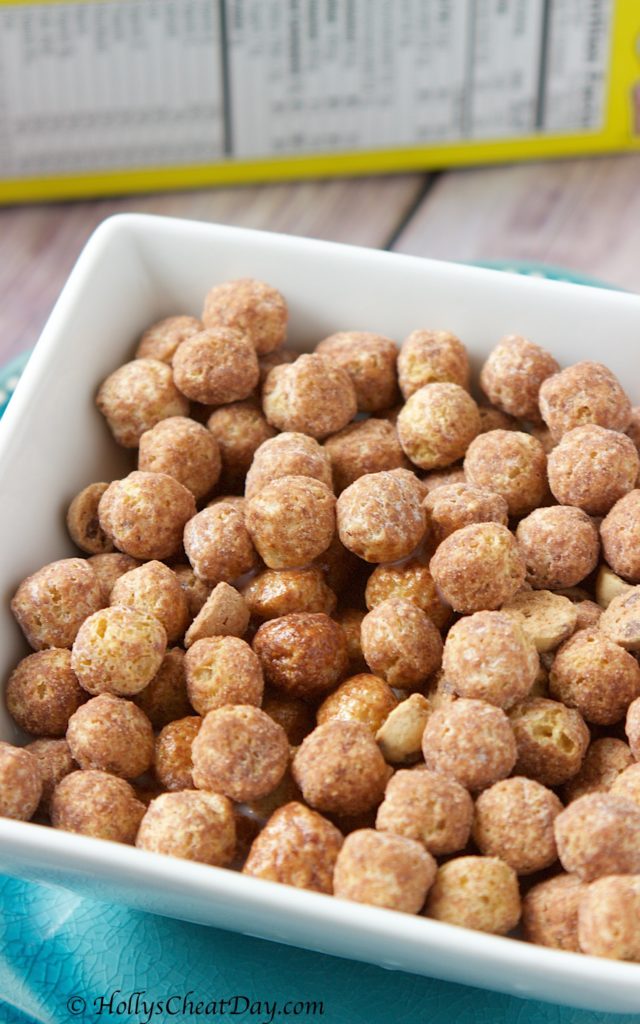
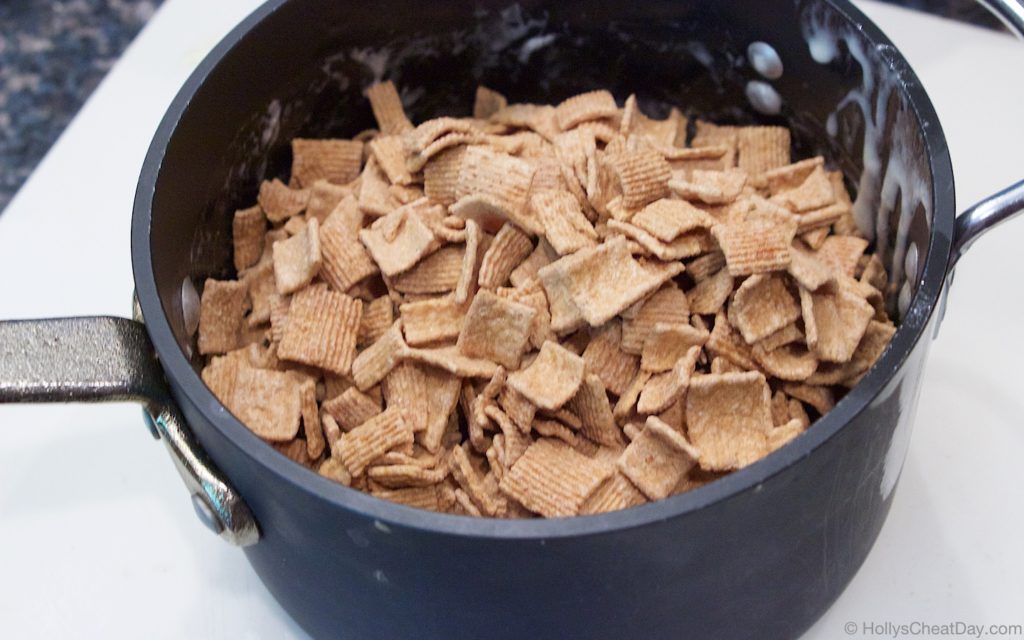
look at all of that cinnamon goodness…
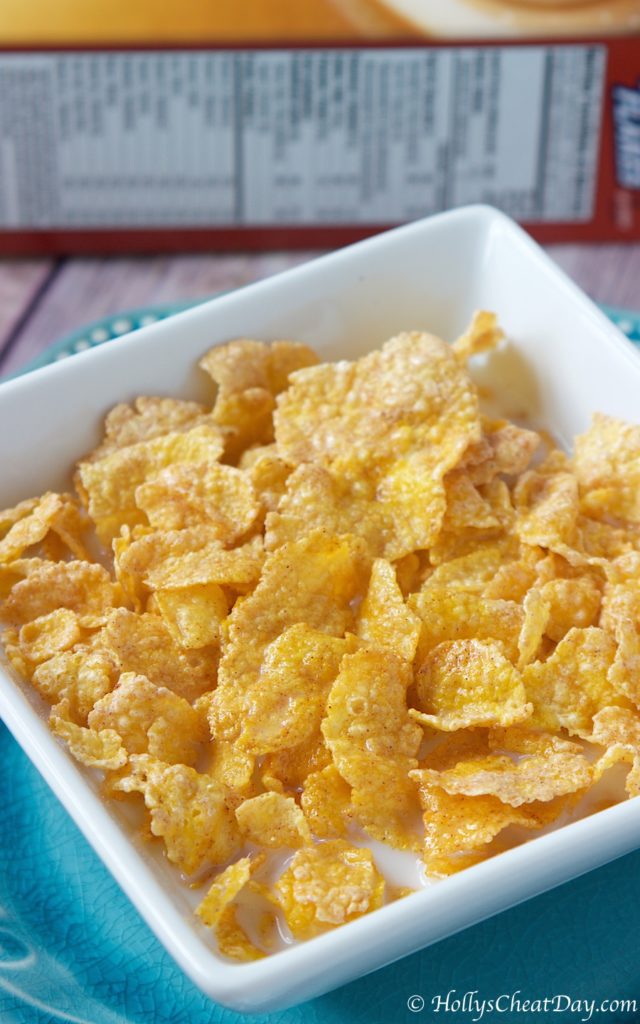
I have to preface this review with the fact that I absolutely love Frosted Flakes, so I really had high hopes for this one. From the moment I opened the box I could totally smell the cinnamon, which is a good thing because, yum. This cereal has all of the awesome sweet crunch of regular Frosted Flakes but the addition of the cinnamon totally gives this such a wonderful warm toasty taste, and it totally stays crunchy. This cereal is a new favorite and it definitely gets a 10 out of 10, I absolutely love this cereal!
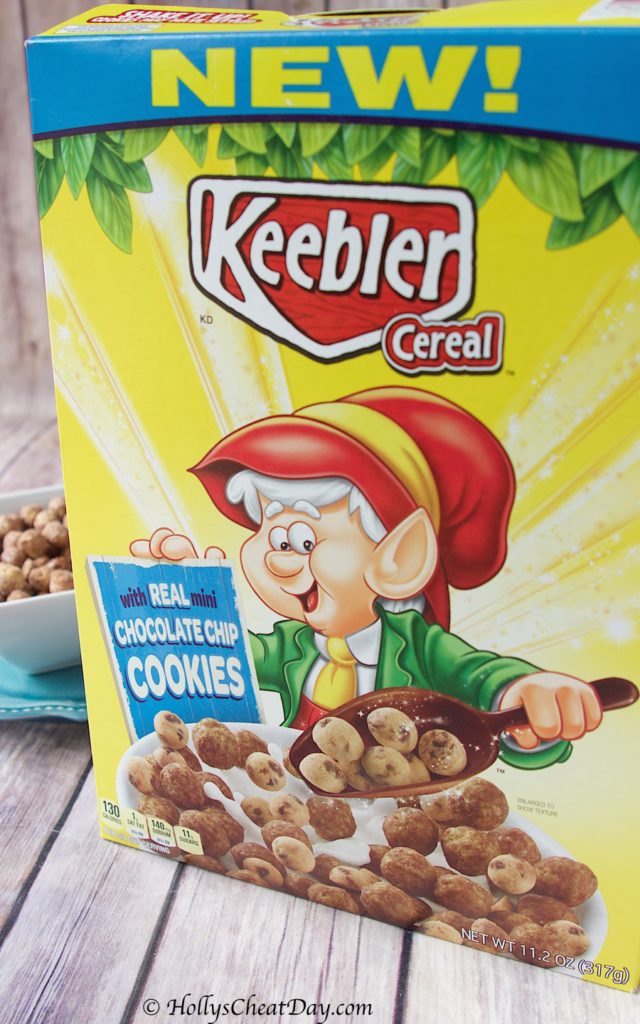
Next up we have a cereal with apparently no real name, just Keebler Cereal, which should have given me an idea at the quality of this particular item.
seems promising…
Alrighty, I was initially intrigued by the whole cookie and chocolate thing, and there really wasn’t much of that to be found in this cereal, like at all. When I say that this was basically mildly chocolate flavored cardboard with milk on it, I’m really not exaggerating. This is hands down one of the worst cereals I’ve ever had. I really didn’t think something that was supposed to be cookie and chocolate flavored could taste so bad. Y’all, I didn’t even finish the bowl if that tells you anything, this cereal gets a 1 out of 10, womp, womp.
Thank you so much for stopping by and I hope you all have a wonderful day!

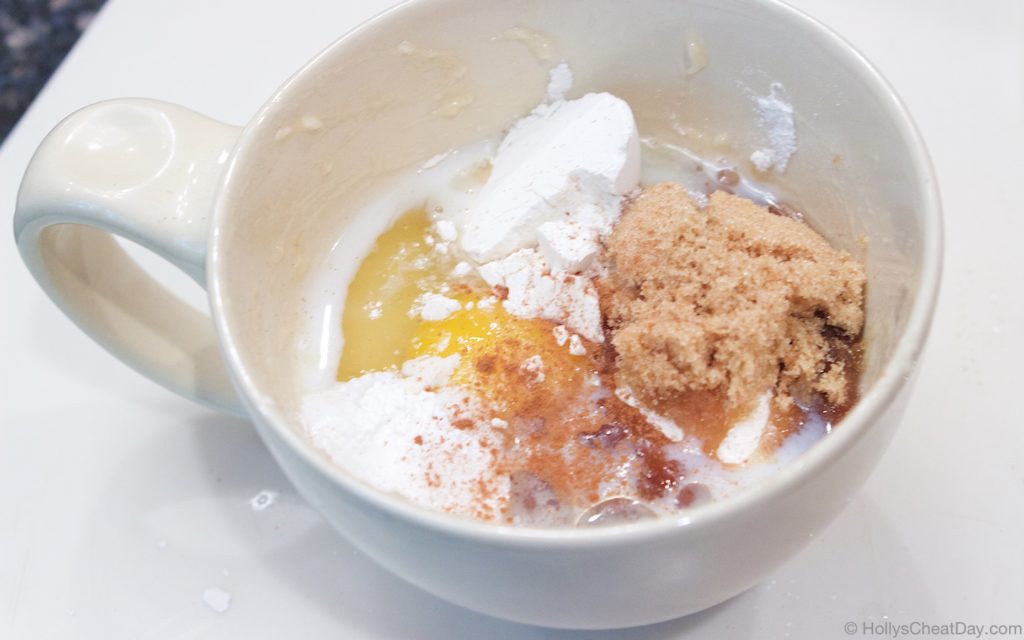
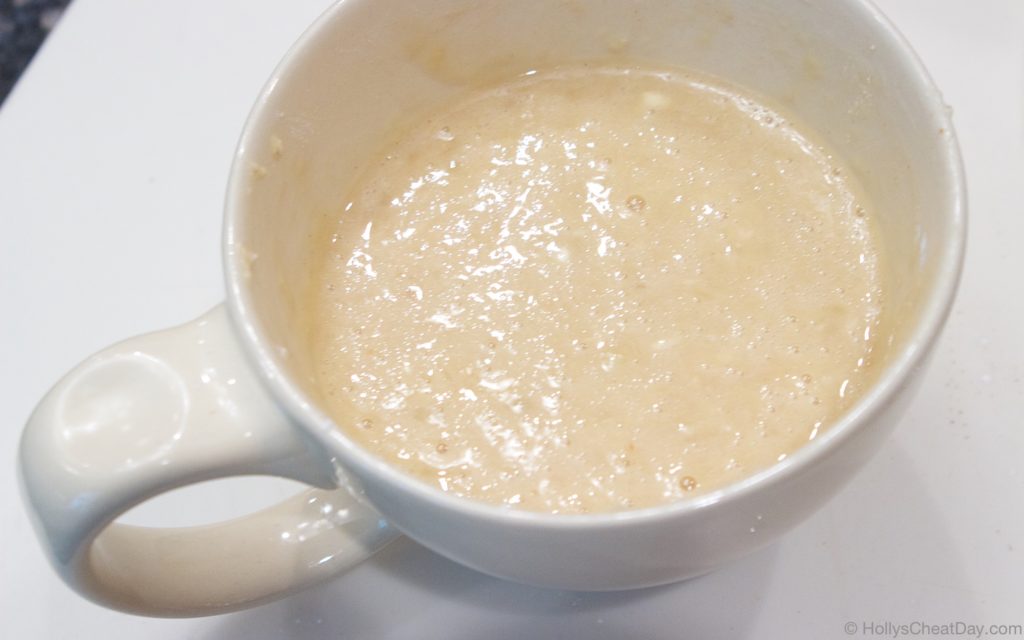
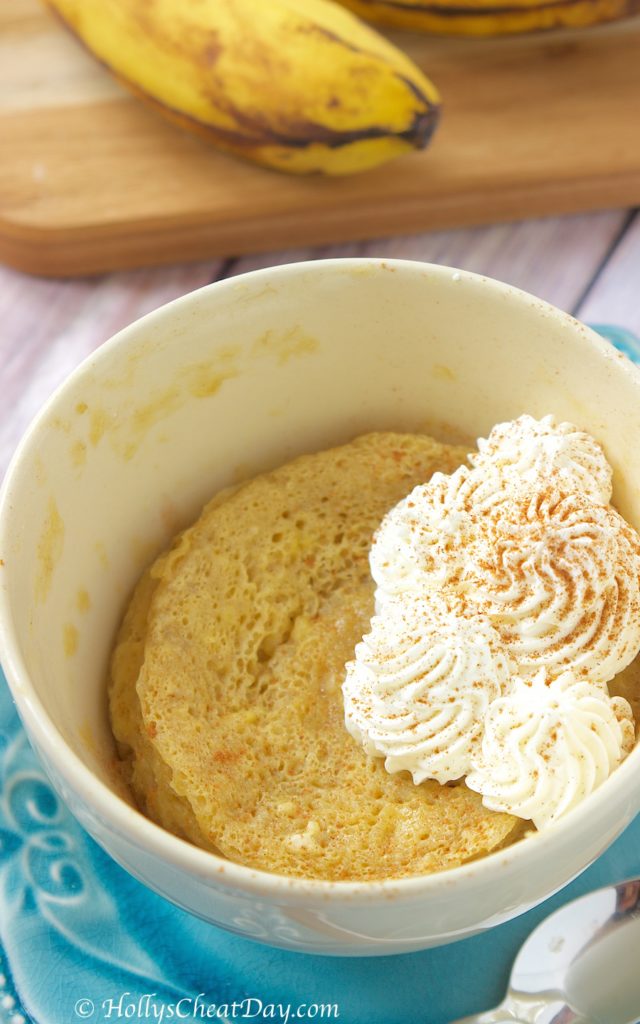
 You’re at hour number
 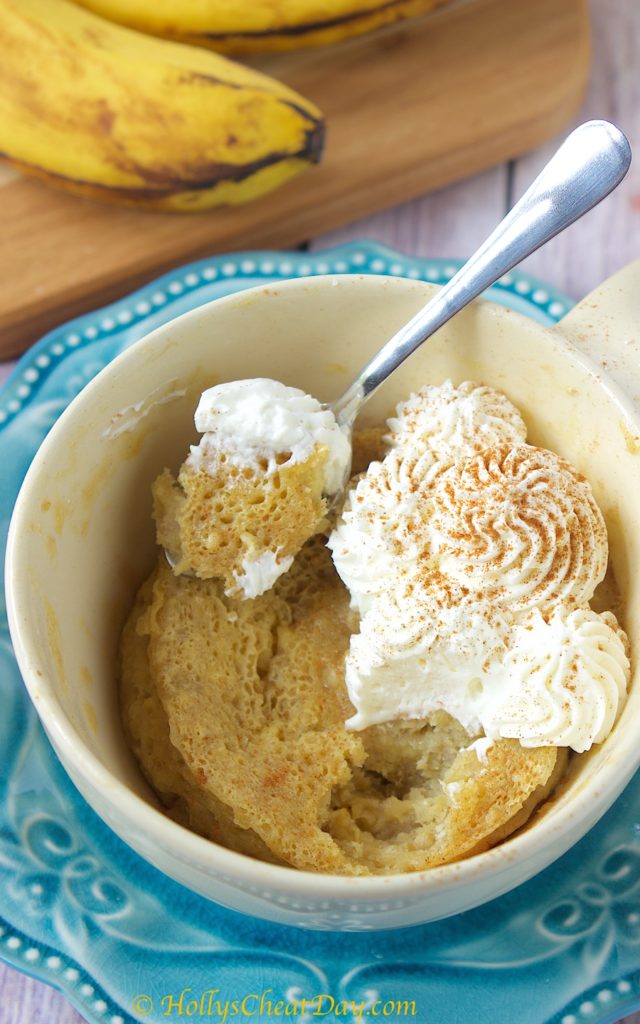 Very specific, but yes, I’m sure daydreaming about my
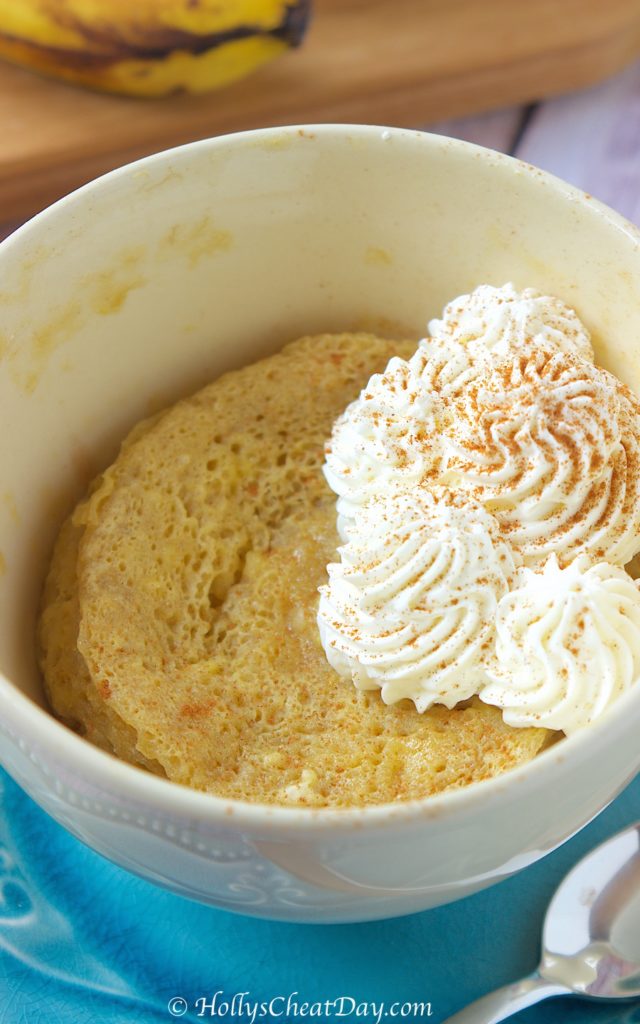
 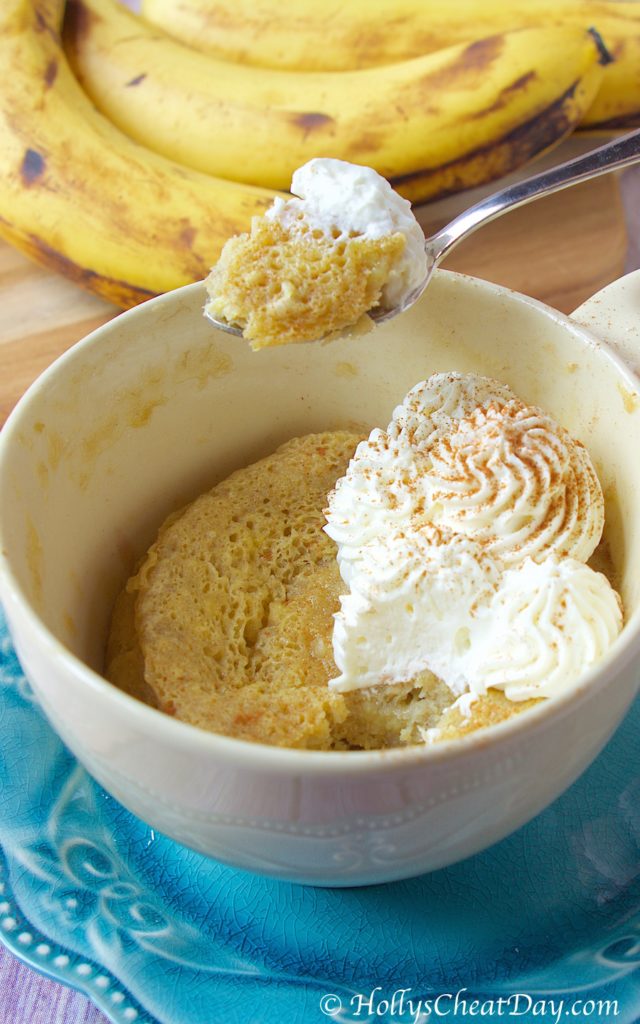 Seriously, this stuff was basically the texture of banana bread pudding, sooo moist, so rich and just a really lovely banana bread. I put whipped cream on mine, but I think a big giant scoop of vanilla ice cream would also be amazing. If you’re looking for a super quick and super easy dessert, this is the one for you. Thank you so much for stopping by and I hope you have a wonderful day!
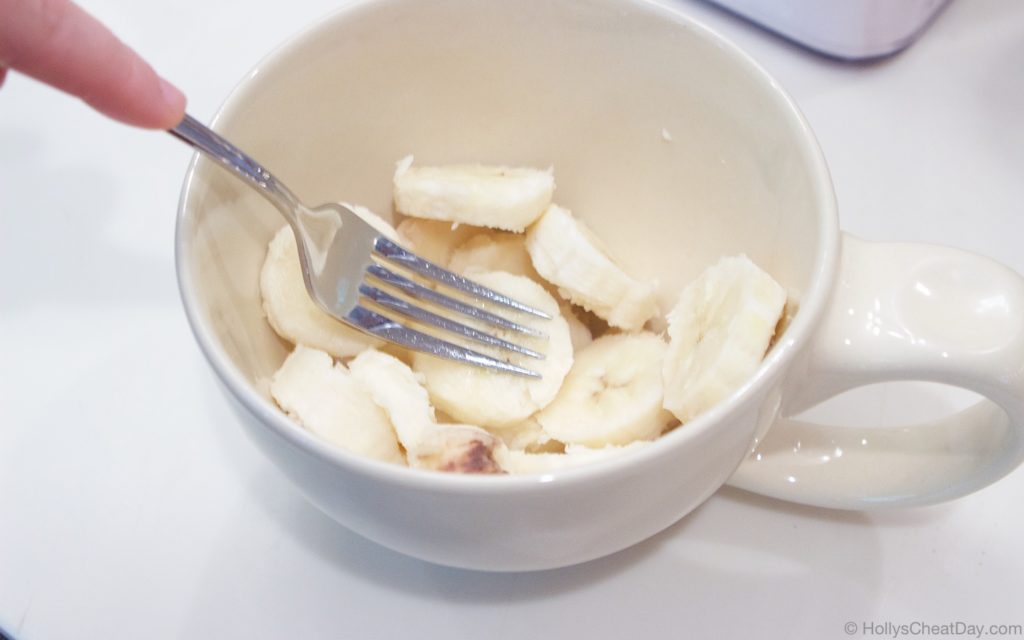


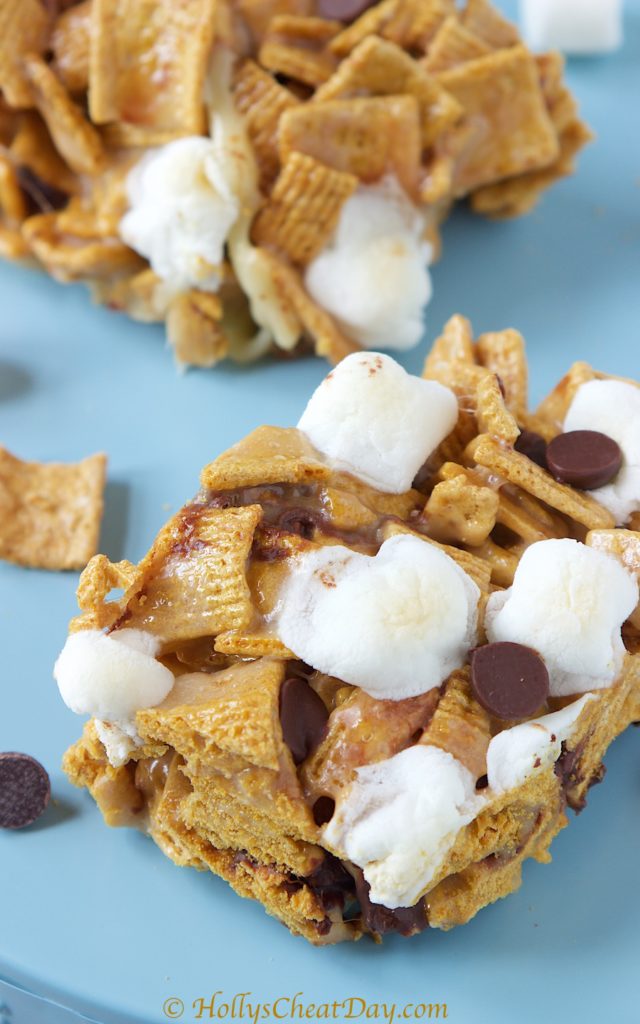 Apparently “Smummer” is in full swing which is obviously 100% A-OK with me. Just in case you hadn’t heard, Smummer is basically S’mores everything for the summertime which makes me sooo happy because I pretty much practice “Smear,” …that sounds weird, scratch that, let’s just say that S’mores are never in season for me, they are enjoyed all year round, I love them that much.
 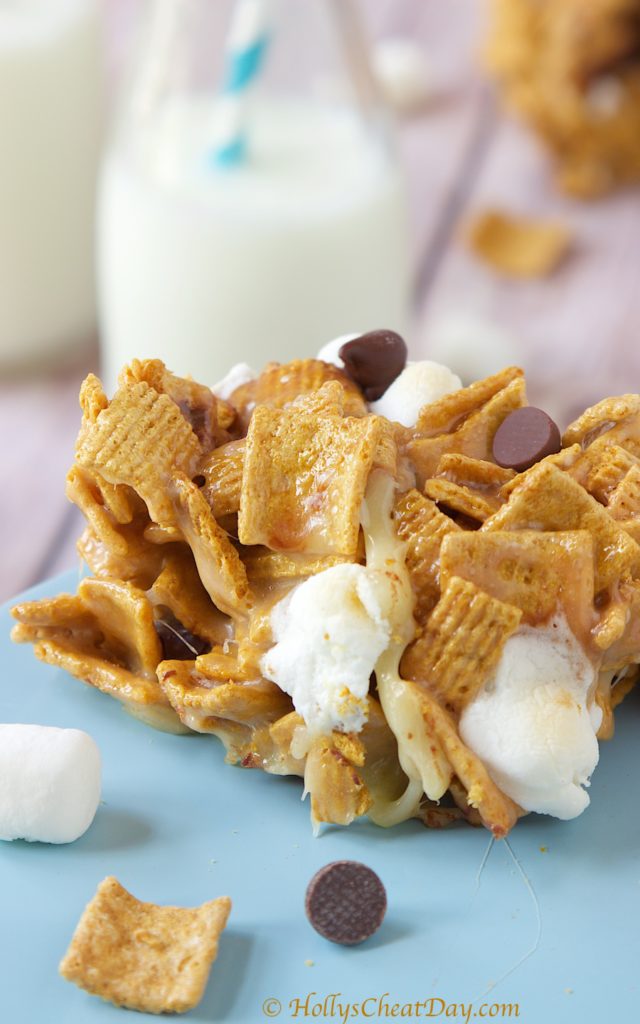 Also, Golden Grahams just happen to be hands down one of my favorite cereals ever too. Just so y’all know, I literally keep zero cereal in the house on non cheat days, and yes that includes “healthy” cereals too, because I have no self control, cereal is definitely my drug of choice (next to doughnuts, obvi). So, a favorite cereal like Golden Grahams is definitely a fixture on my cheat days.
  I was feeling especially
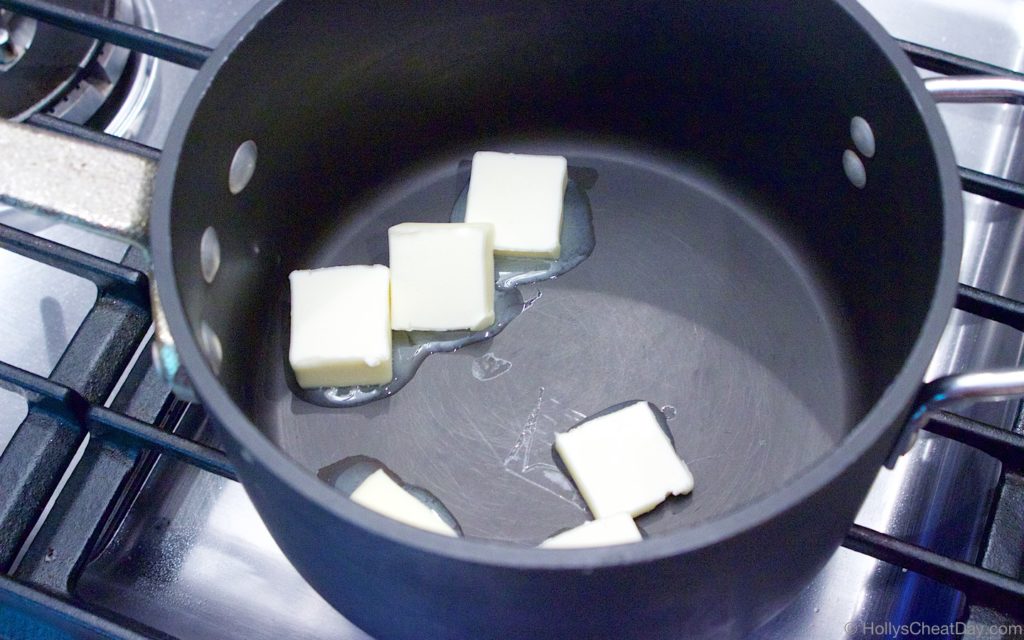


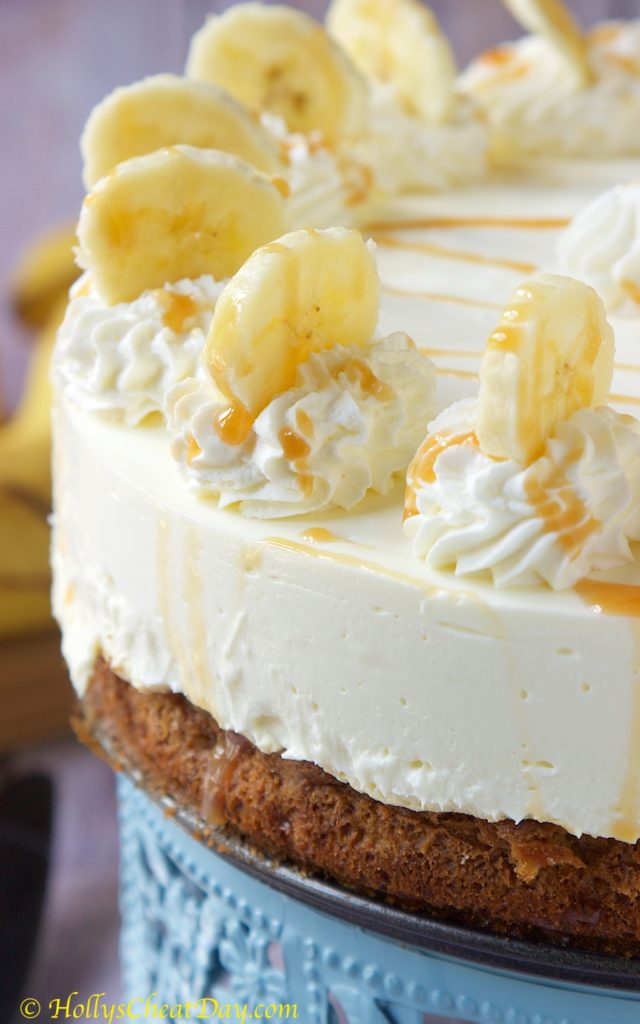 If I’m being honest (and why wouldn’t I be?) I think I waited so long to make this because I was little intimated to make this, solely based on past attempts at making anything layered and totally botching it up.
 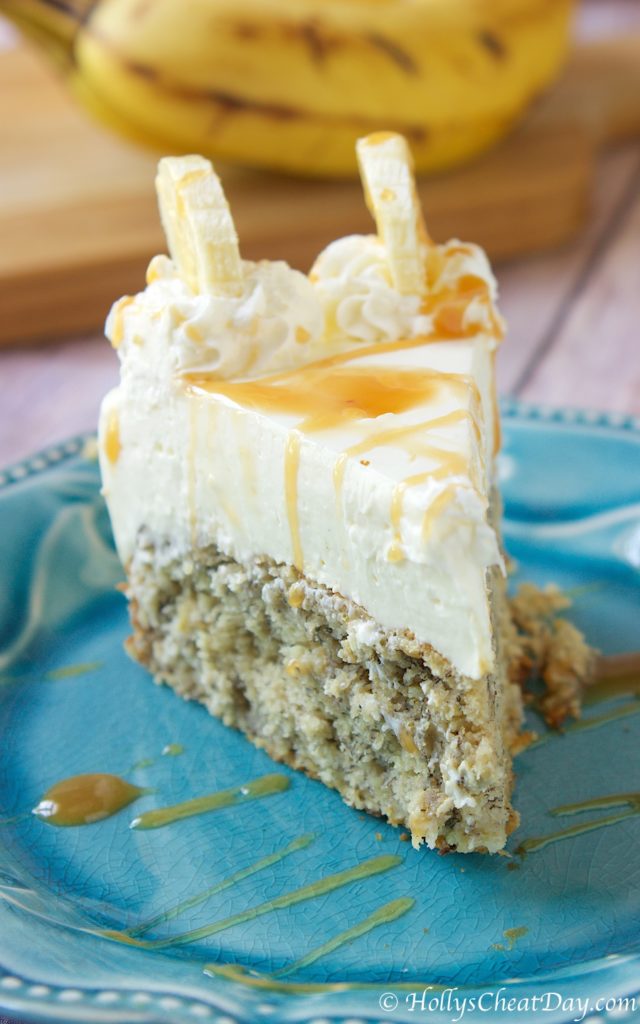 Holy crud, I wish I had made this sooner, it is soo darn easy to make and holy moly is it decadent and rich. The banana bread layer smelled absolutely heavenly baking and turned out sooo moist and delicious, and the cheesecake layer couldn’t have been more creamy or easy to make.
  I seriously need to start putting this no-bake cheesecake layer on top of everything, like today. Banana bread on it’s own is always awesome, but then throw a thick layer of cheesecake on top? wowza, this dessert is a freaking star dessert, if you bring someone this, they will officially love you forever, just saying.
 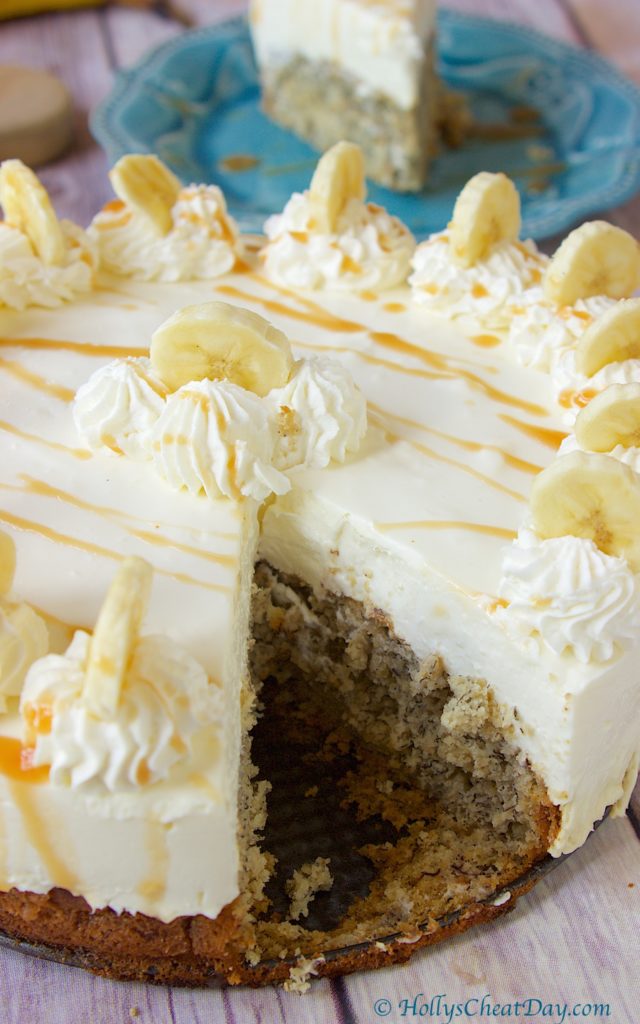 Oh, did I mention that I also made a whipped cream for a topping with just a bit of cream cheese in it to keep it stabilized with just a hint of caramel thrown in? Oh yeah, it’s incredible, then maybe throw some bananas and a dash more caramel on top and this is not only insanely good but also beautiful. I really hope y’all get to enjoy this soon and thank you so much for stopping by! Have a wonderful weekend everybody!!!
 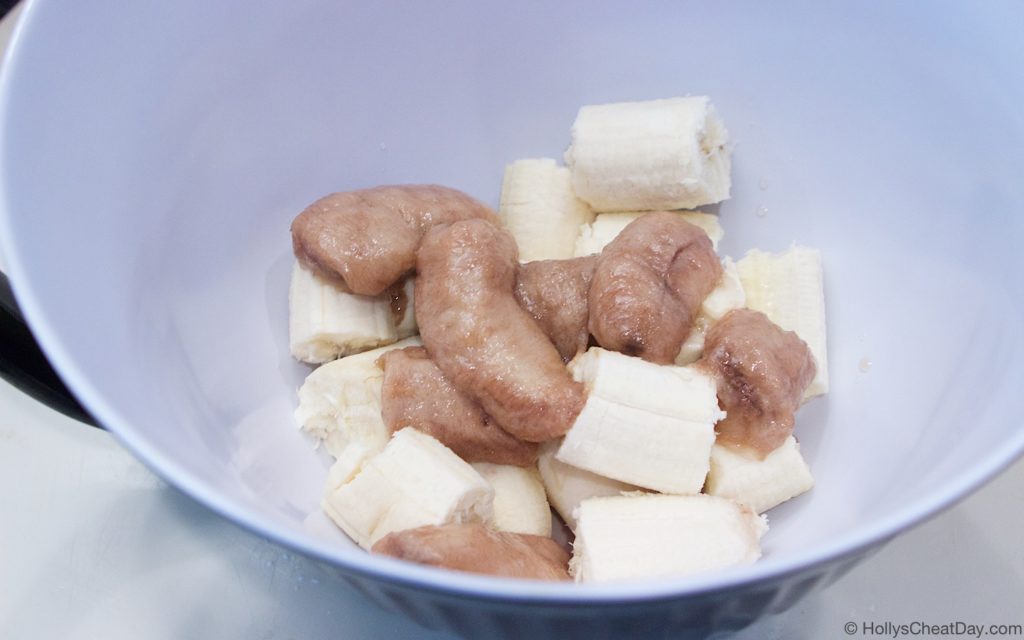 all smooshed…
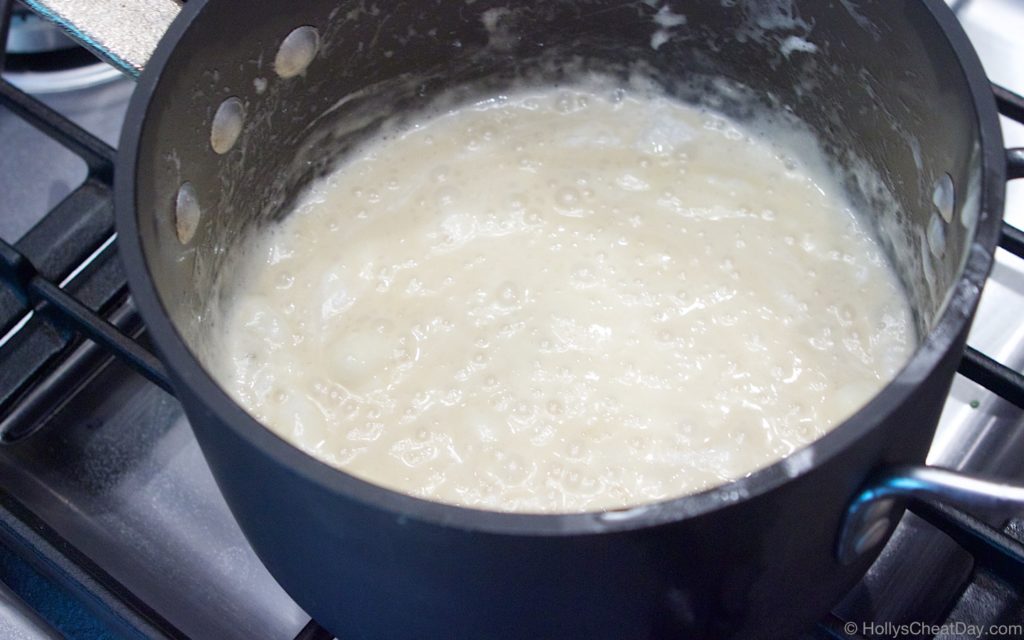
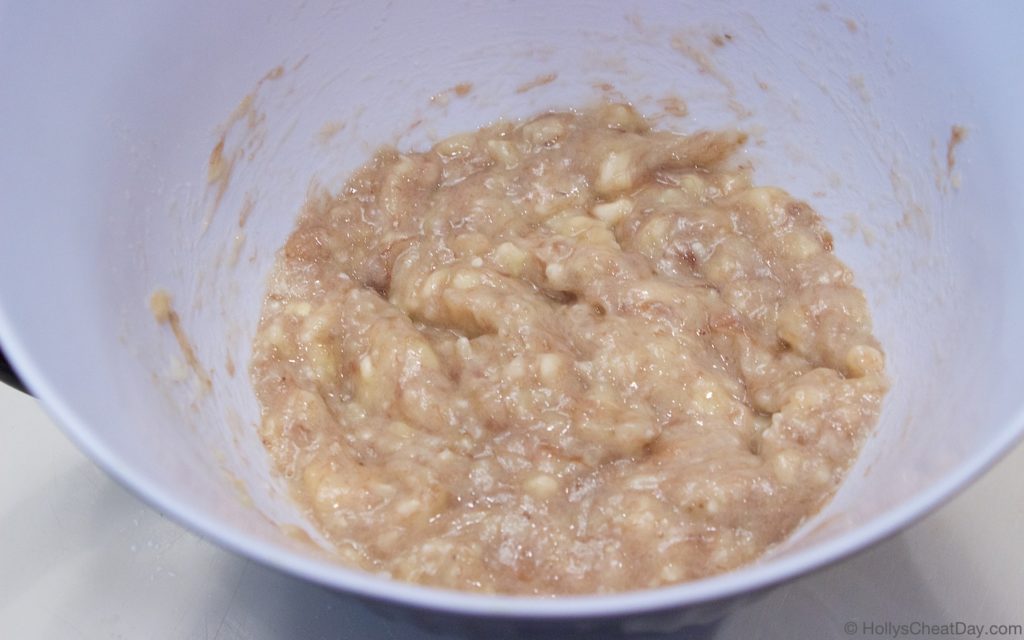 now add the egg, oil, sugar and vanilla…
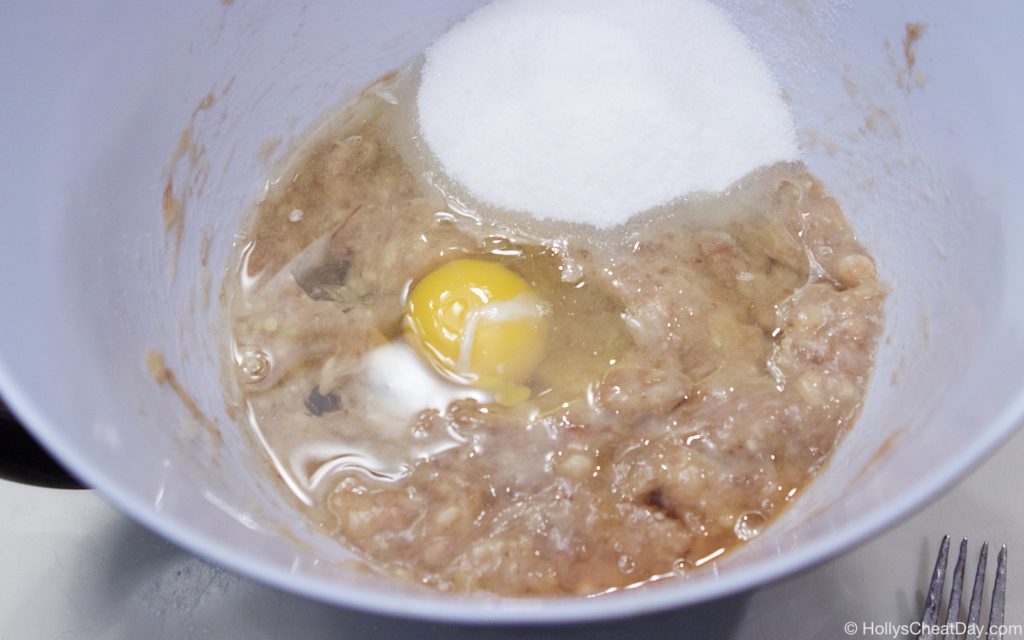 mix, then add the dry ingredients…
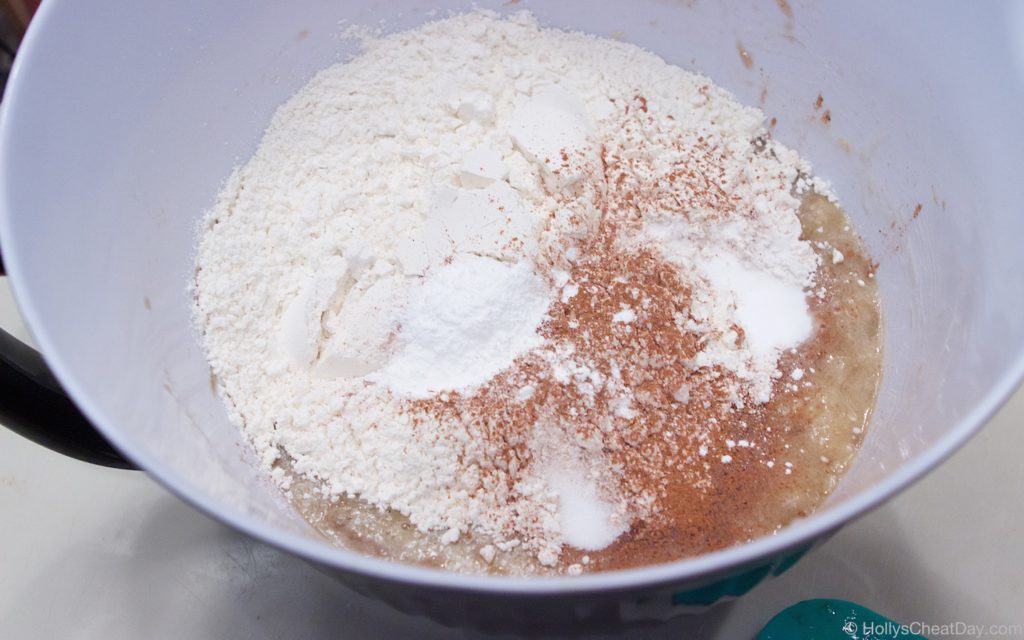 mix, mix, mix (don’t over mix) then into your pan…
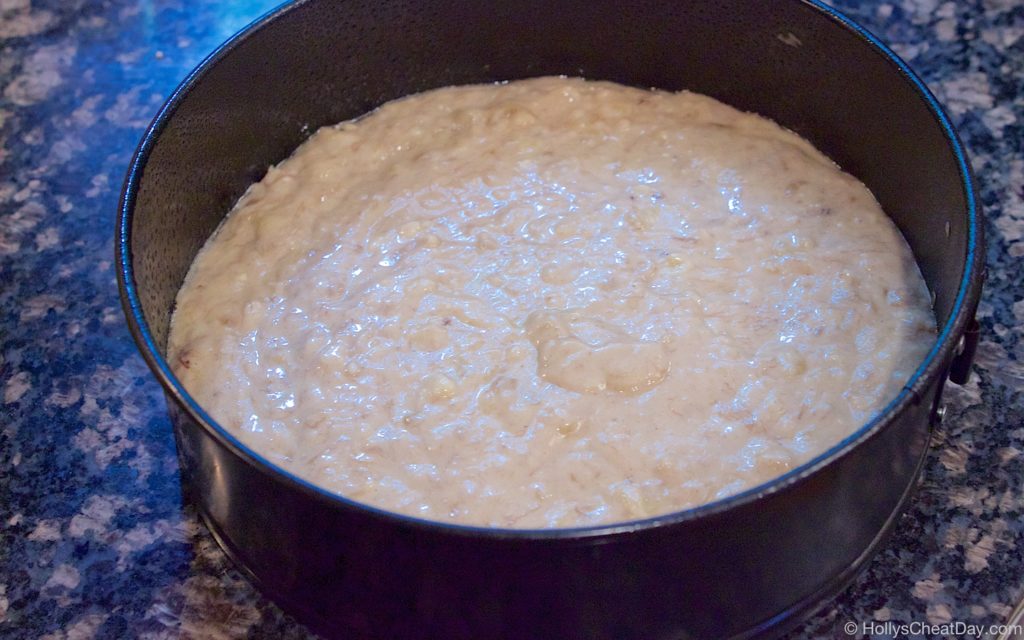 nice and baked…
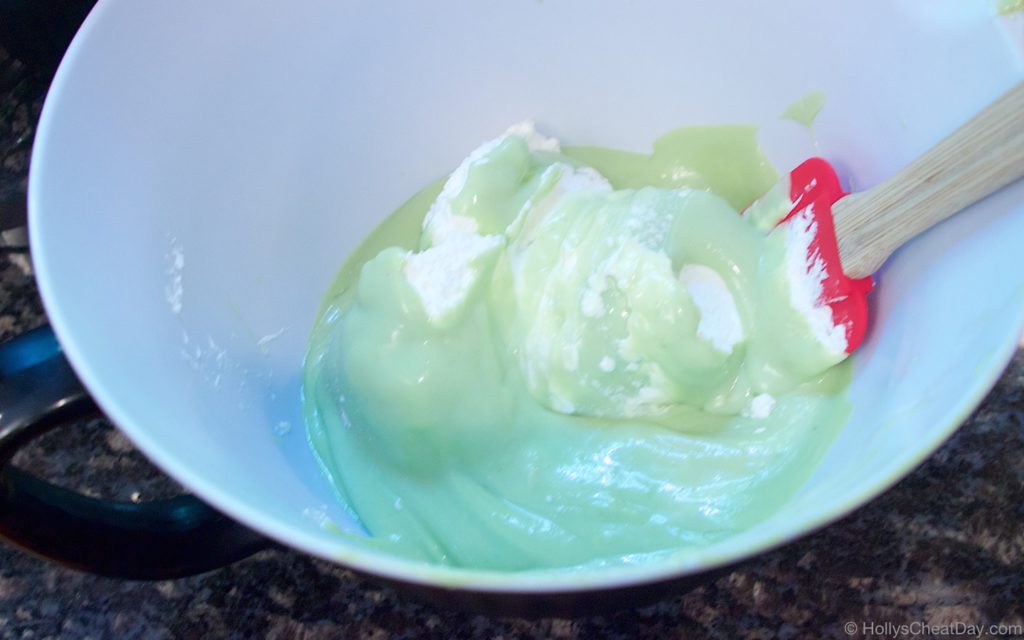
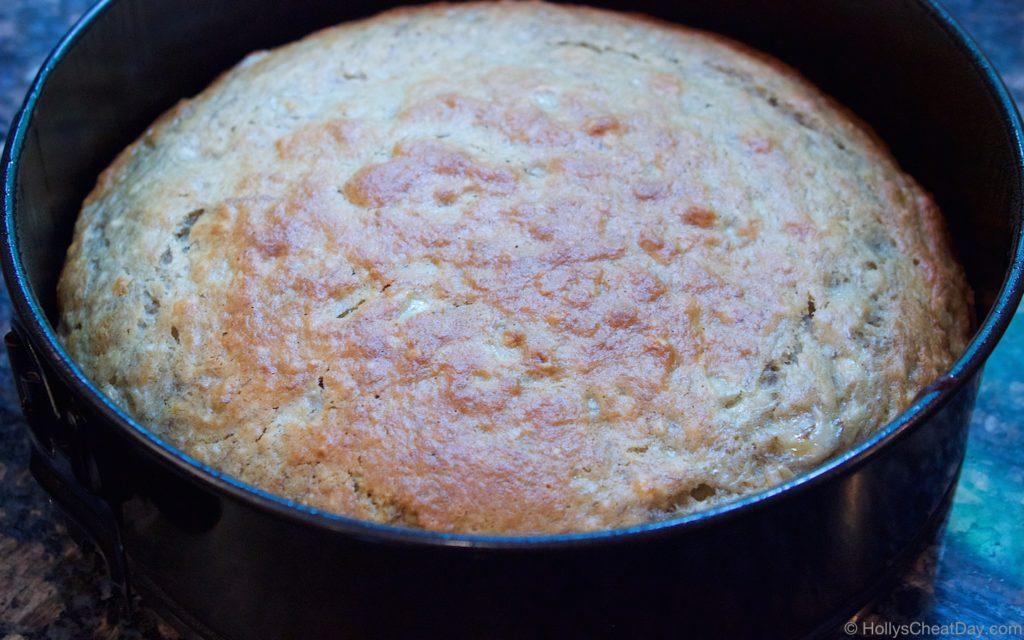 now for the cheesecake, cream cheese…
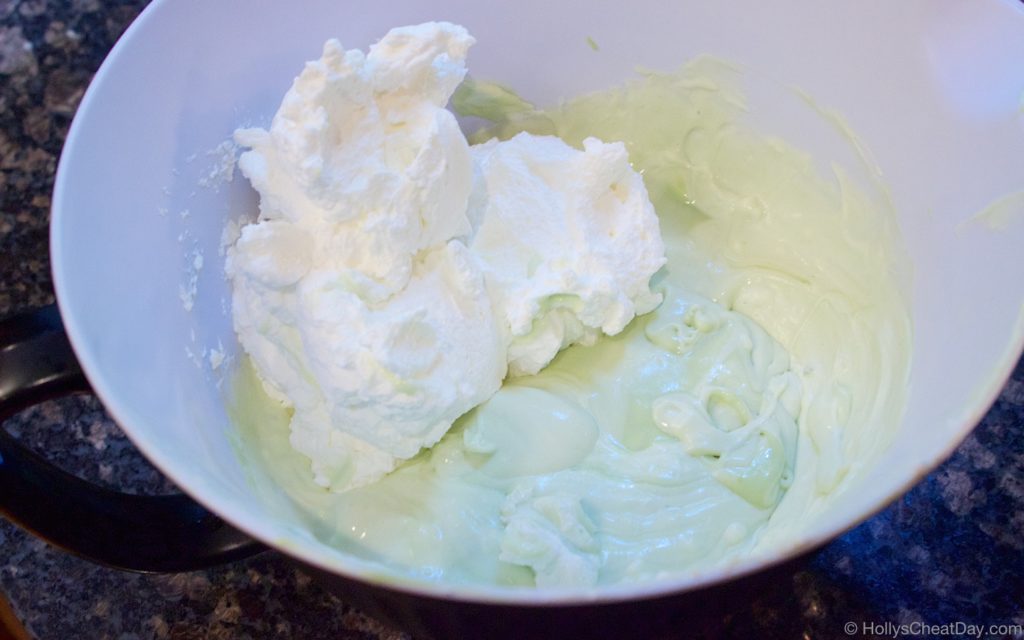
 mix that up, then heat up your milk and put gelatin in it…
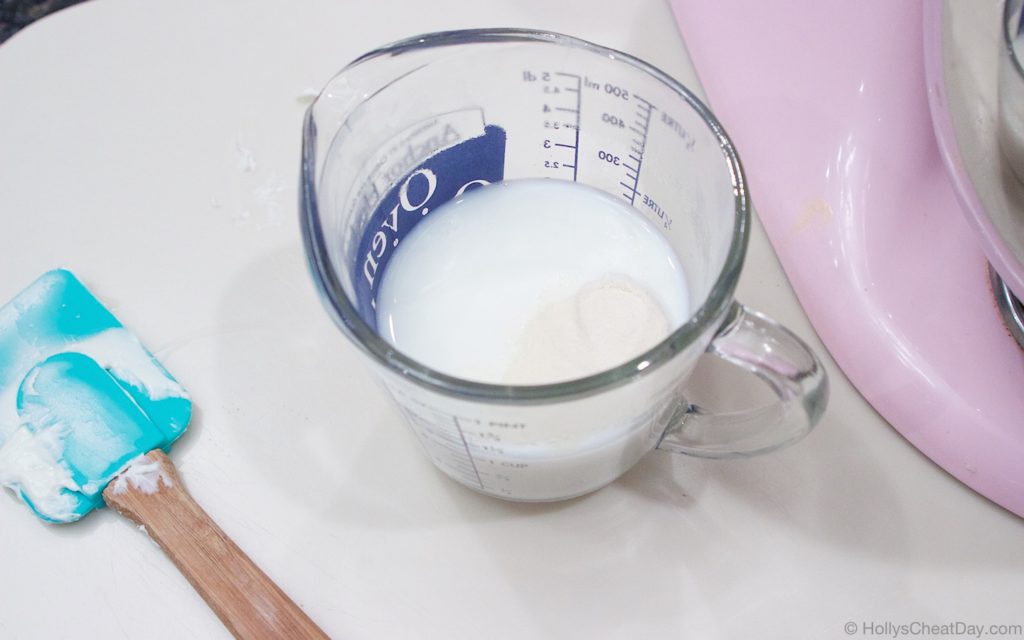 place milk with dissolved gelatin into the cream cheese mixture…
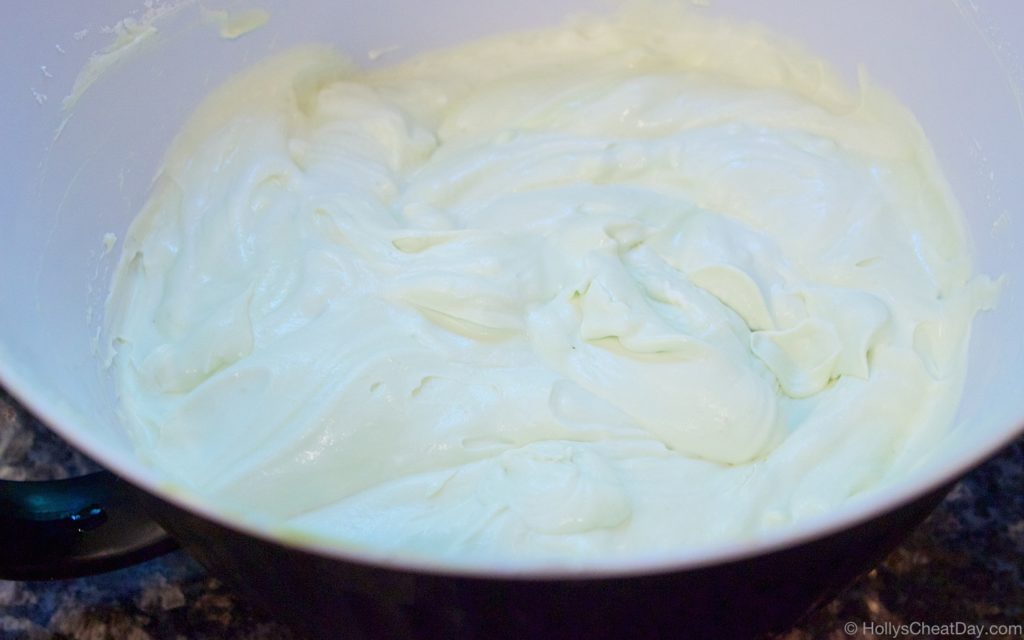
 nice and smooth…
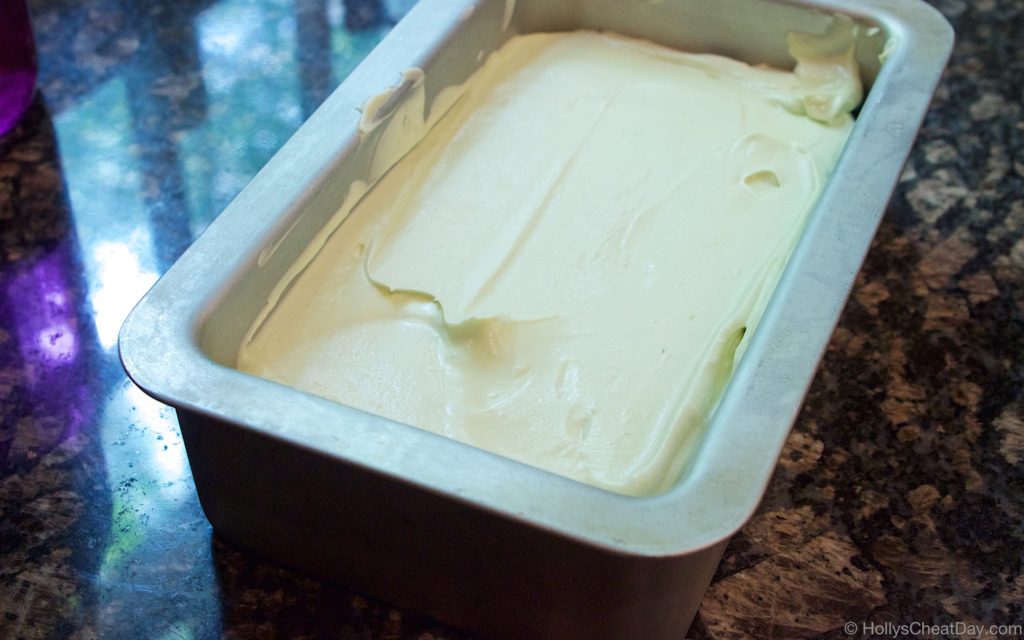
 then onto the banana bread…
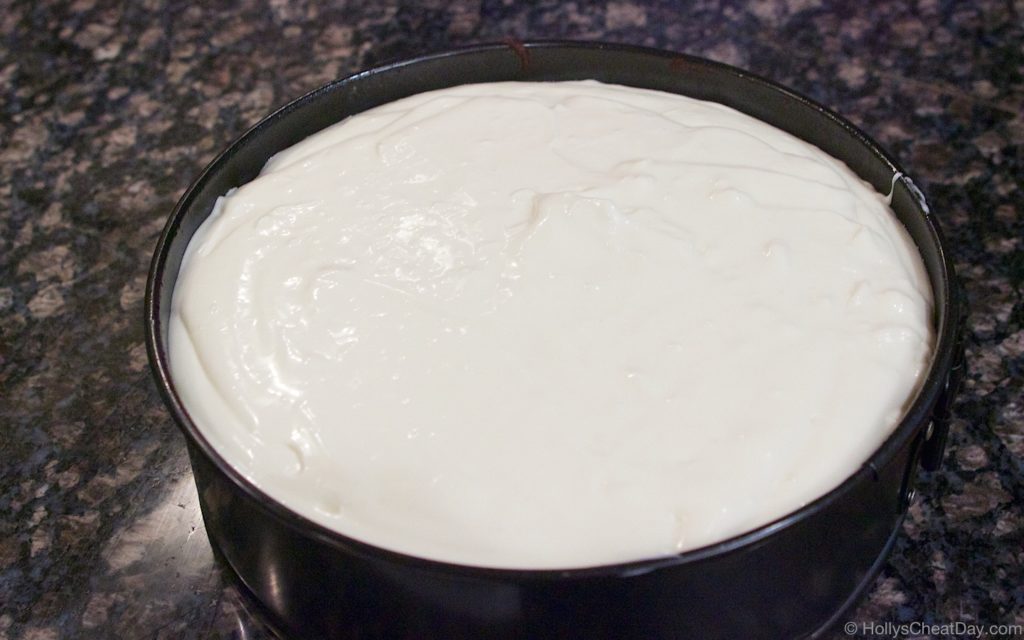 let it cool for a while and enjoy!!!

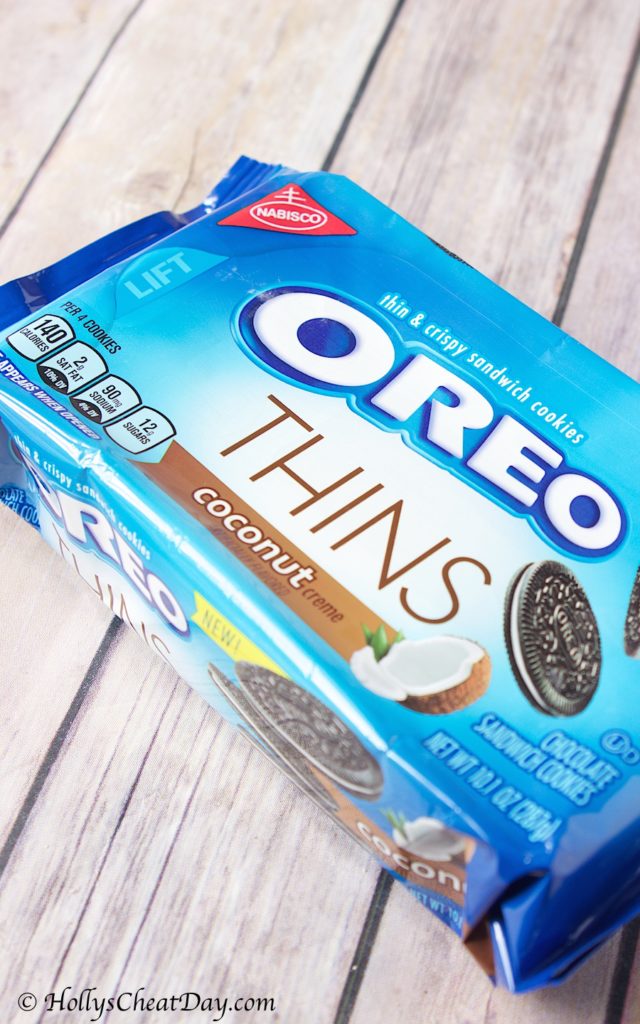
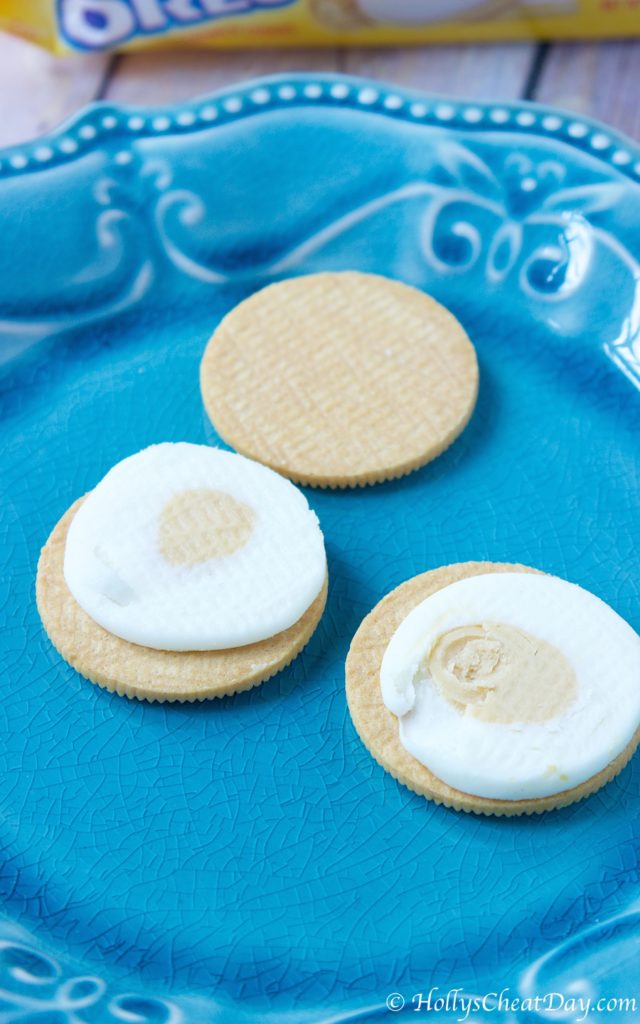
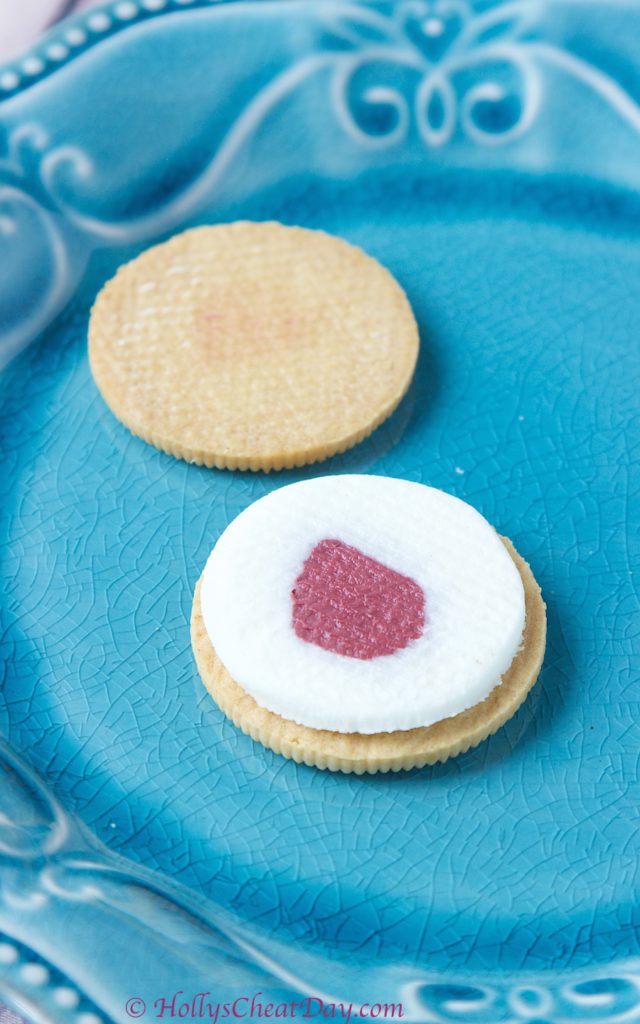
 These are the first Oreo Thins I’ve ever tried, and honestly I have had zero desire to do so because why would less creme filling and thinner cookies be a good thing? I’m seriously regretting having had these be the first thin version I’ve ever eaten because ewww. Y’all, the absolute first thing I thought when I bit into this cookie was, ‘OMG this tastes like Hawaiian Tropic sunscreen!’ To clarify, obviously I have never actually ingested sunscreen but you know when something tastes like the smell of something? Yeah, that is what these Oreos are, a bit of chocolate mixed with tropical smelling sunscreen. Wow these were disappointing, I sooo love coconut but these were a disaster. I’m not sure how they packed so much flavor in so little creme filling, for that I will give them some credit. On the bright side, I did like the thin texture of this cookie and am now considering trying the regular chocolate Oreo thins minus the awful that is this version. These get a 2 out of 10.
 inside of the cookie thins…
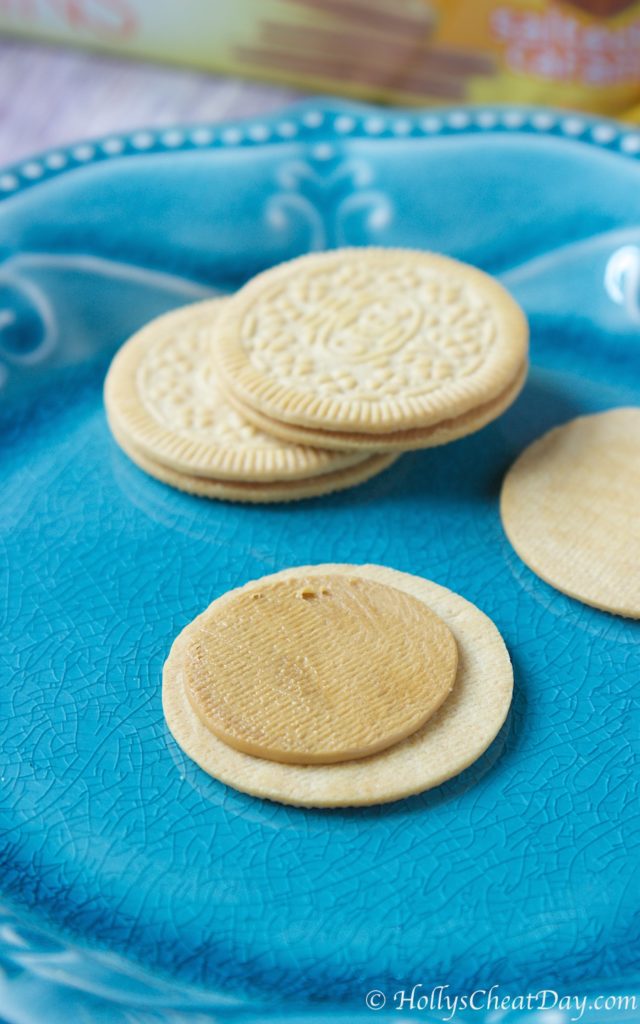


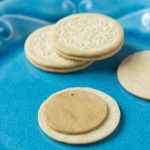
 Okay, so in typical Oreo fashion, these are tasty, but I don’t go ‘holy cow are you sure these are really cookies and not real Waffles and Syrup?!’ There is maybe, just maybe a hint of syrup you can taste and if you close your eyes and imagine really hard, they might taste like waffles with syrup. Still, these were still super yummy golden Oreos that were just a little bit different, if you have them in your area, by all means give them a try. These get an 8 out of 10.
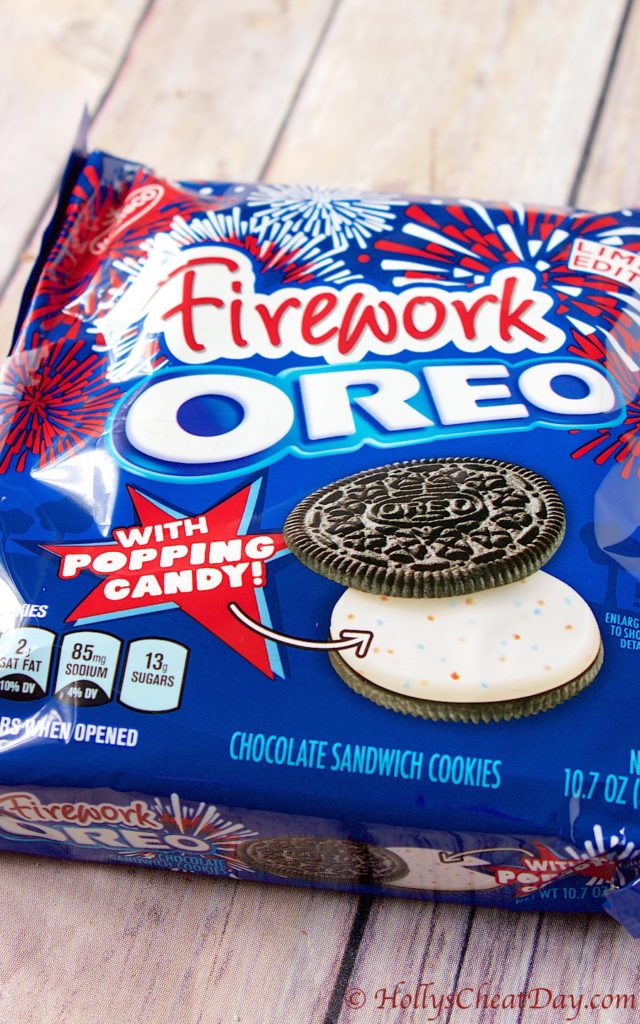 look at those popping candies…
 So, my biggest concern was that the popping candy was going to be overly fruity and be a weird mix with the chocolate cookie part, and I totally had nothing to worry about. These cookies are super duper awesome. They taste like a typically delicious classic Oreo cookie except the extra fun of the mild crunch of the candy and a bit of popping. Don’t worry there’s not enough candy in the creme filling to make you look like you’re foaming at the mouth or anything, just a little bit of fun. I like these so much, I just bought more for my next cheat day 🙂 These get a solid 10 out of 10.
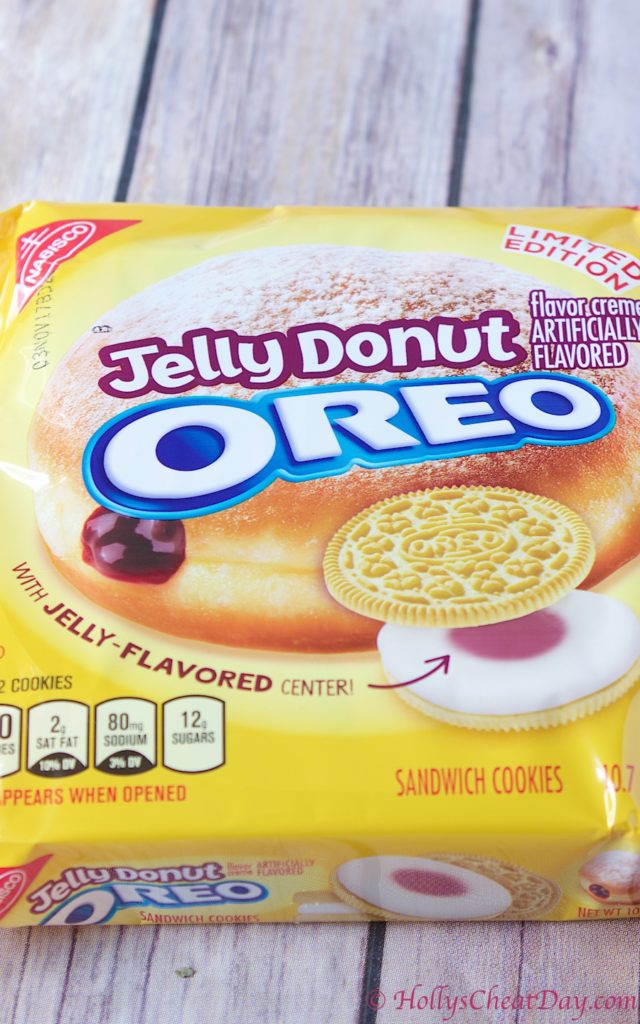

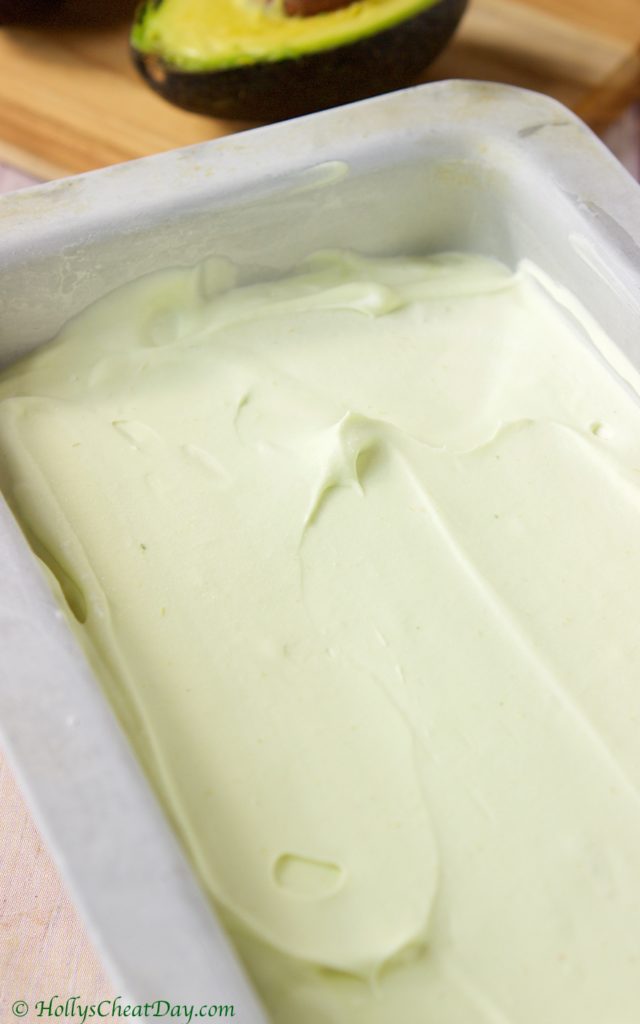
 Anyways, with the whole hot has all get out thing happening, for those of you who are not fans, I have wonderful news, it’s officially ice cream season, yippeee!!! Ice cream is pretty much always a good idea this time of year and it’s the perfect vehicle for cooling you off, well food-wise that is anyway. I am particularly fond of homemade ice cream because I have always found it to taste better, a lot more trouble than going to the freezer section of the store? yes, but definitely super tasty.
 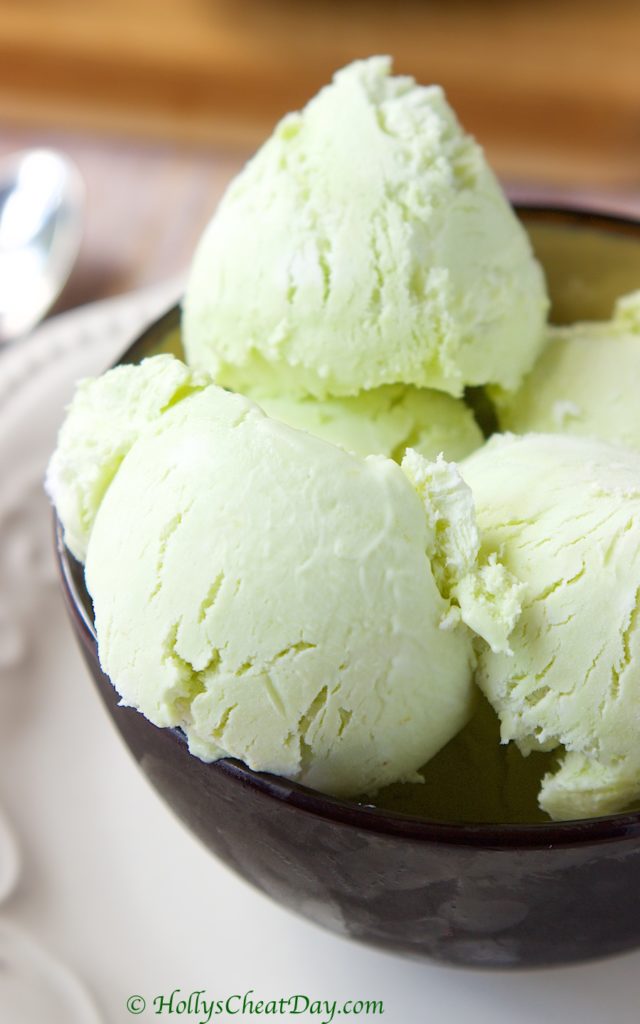 That is why I have had this recipe marked for over a month now to make, because it’s no churn, and the less pieces of kitchen equipment to be
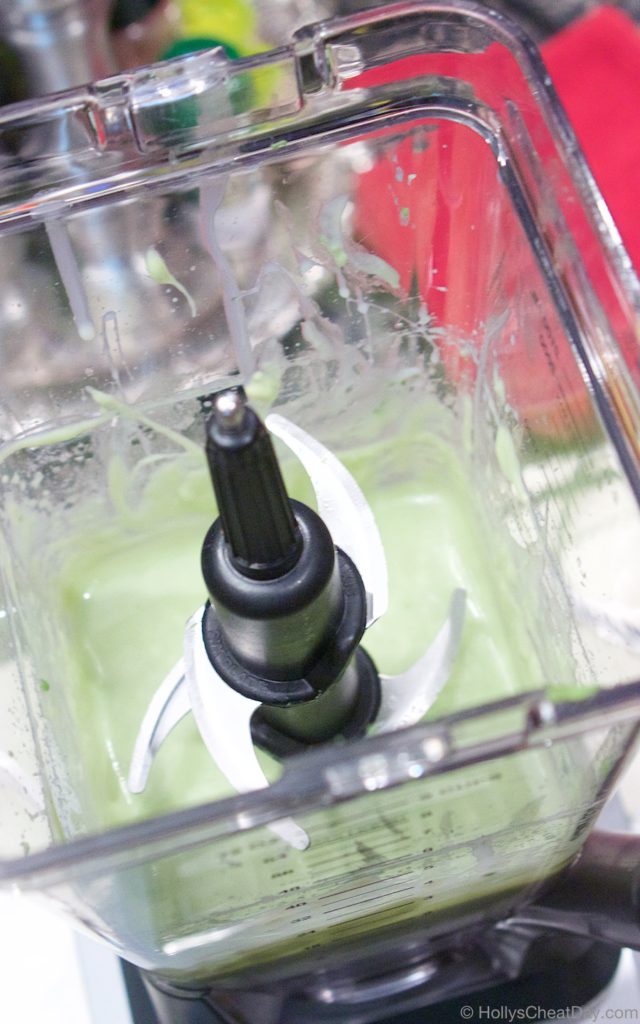
 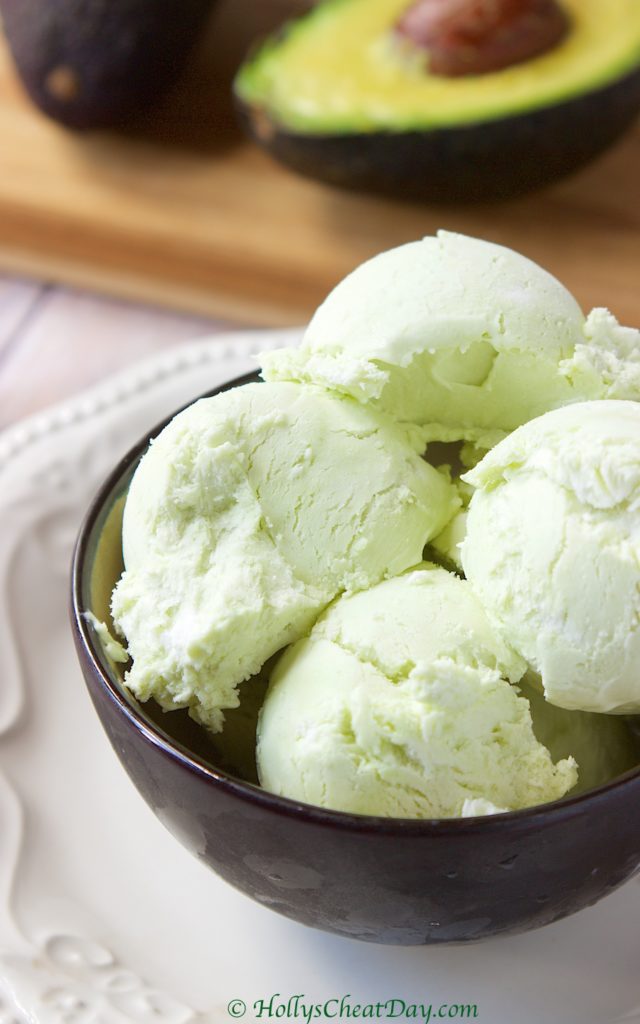 I should not have at all worried about this being funny tasting, because this ended up just being a really uniquely rich ice cream. At first bite, you almost think you taste the slightest hint of avocado, but then it switches to this dreamy homemade ice cream that is just a little bit different. I definitely recommend getting your nosh on with this ice cream. I hope you all have a fantastic day and thank you so much for stopping by!!!
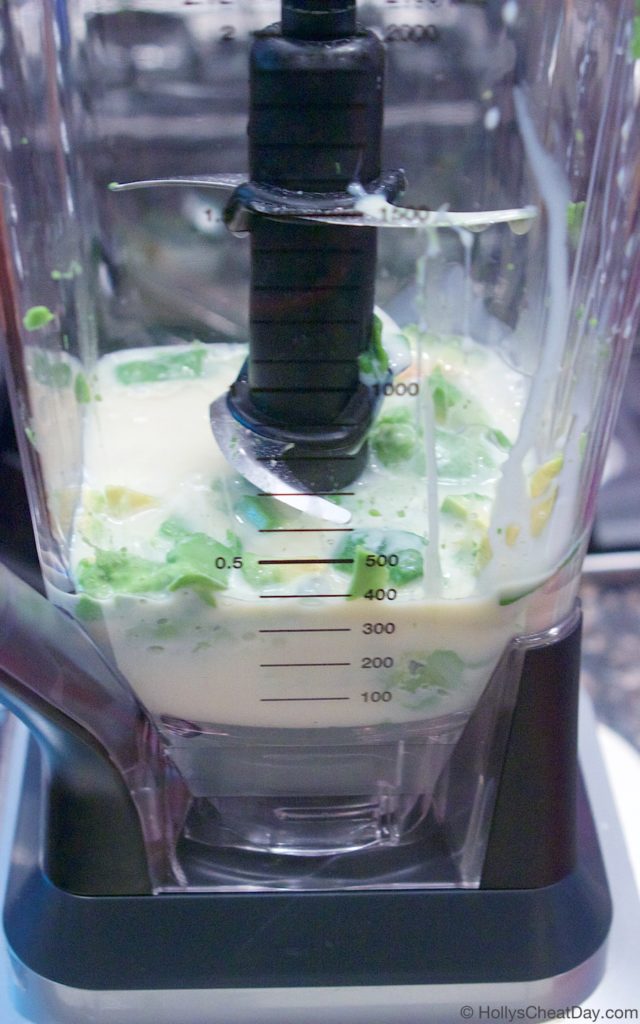


 It’s just been one of those weeks, I’ve been super salty since Monday, and then things keep popping up to get on every remaining last nerve…I know #firstworldproblems and all, and I’ll chill out in a couple of days and feel guilty for being so snarky all week…but not today. Luckily, tomorrow is my cheat day and I can feed my feelings with doughnuts and pizza (yeah, I just admitted that on the Internet), oh well, judge all you want, though I’m sure most of you won’t since I assume you love food as much as I do haha.
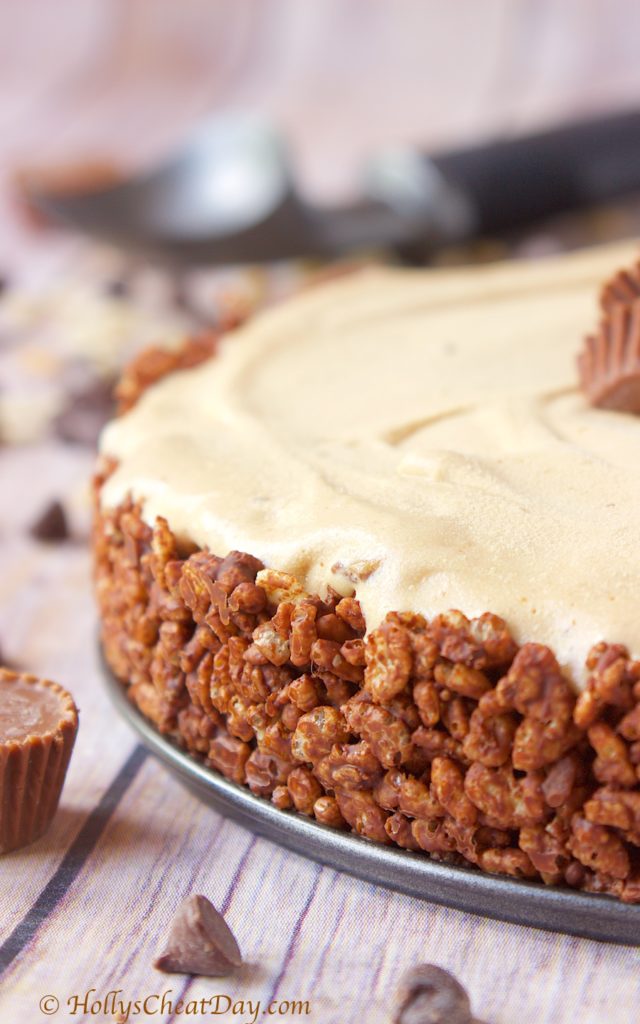
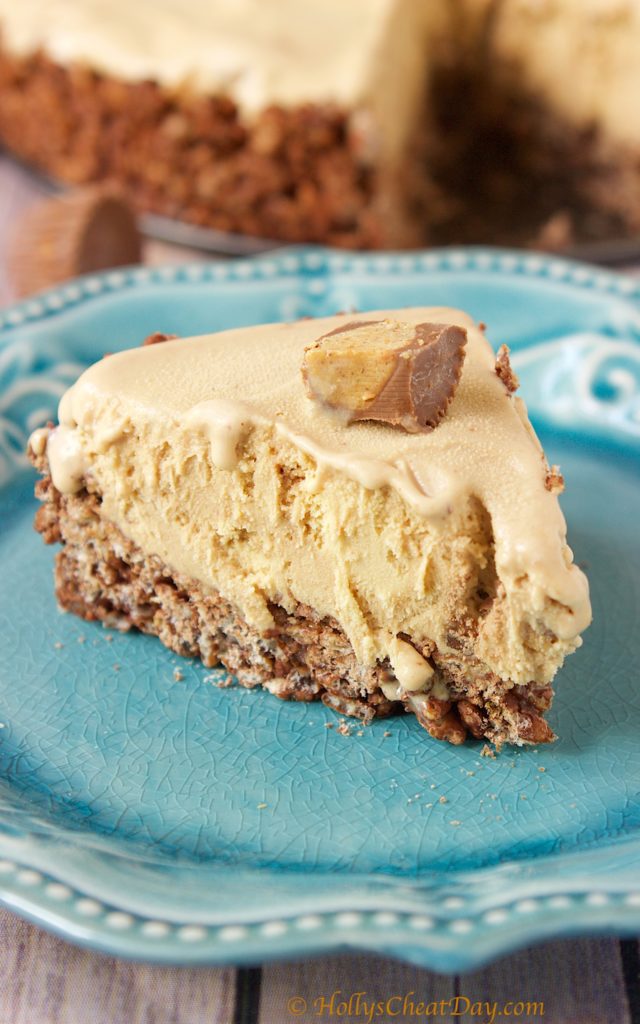
 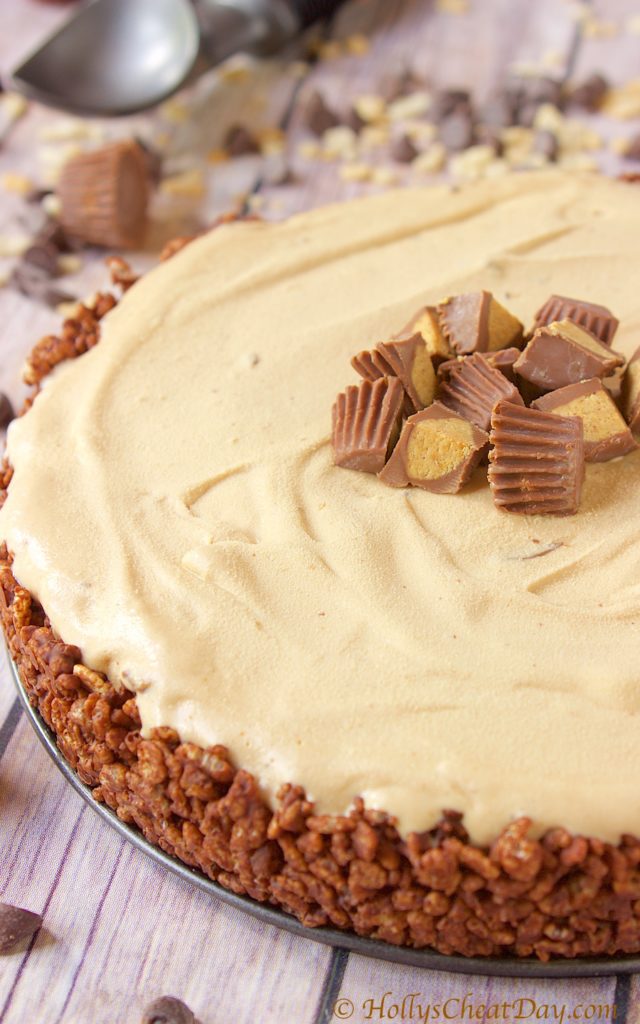 Oh and let’s not forget, I totally have this Peanut Butter Cup Ice Cream Pie to enjoy! I made this on my last cheat day, and honestly was already so full from the day, I was only able to eat one slice and y’all this pie is amazing. So in normal fashion, I wrapped it really really well and stuck it back in the freezer to enjoy this weekend.
  I came across this recipe on Instagram, and I was sooo impressed by the ease of this recipe and not to mention how freaking delicious it looked, I absolutely had to make it. It also doesn’t hurt that I have maybe the biggest box of Rice Krispies in my pantry right now that I had bought for a recipe a couple of weeks ago, and the
 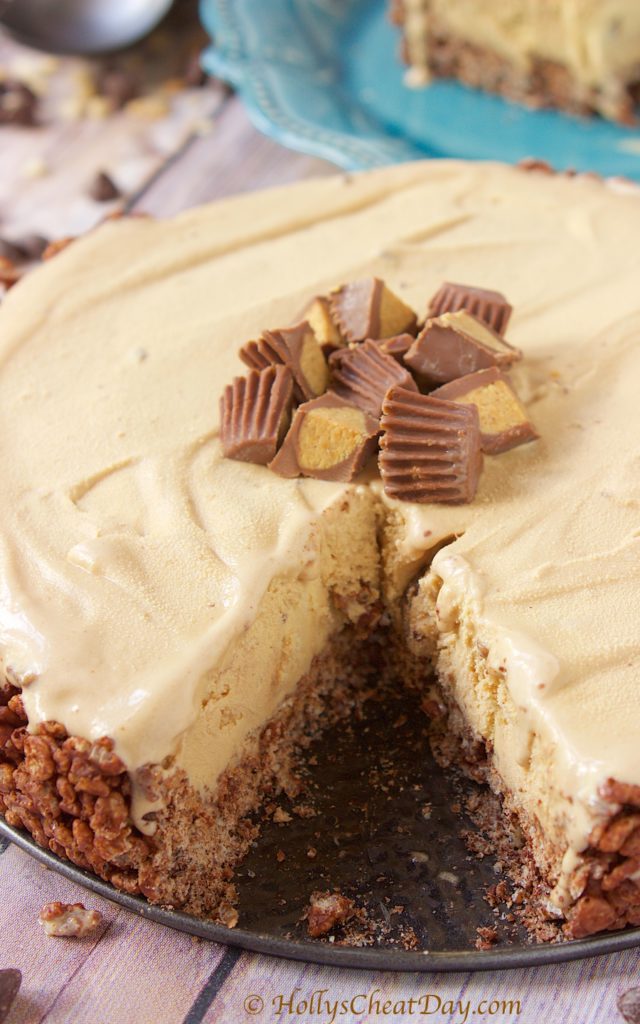 So, I’ve been attempting to put Rice Krispies in everything to use them up, hence another reason why this recipe was so appealing. Feel free to substitute out the peanut butter ice cream with one you may prefer (hello Cookies & Cream), but holy moly, that chocolate Rice Krispy crust filled with all of that peanut buttery goodness, mmmm, peanut butter is life y’all. I hope you get to enjoy this pie soon, I hope you have a wonderful weekend and thank you so much for stopping by and being so nice and putting up with my obviously snarky self this week 😀
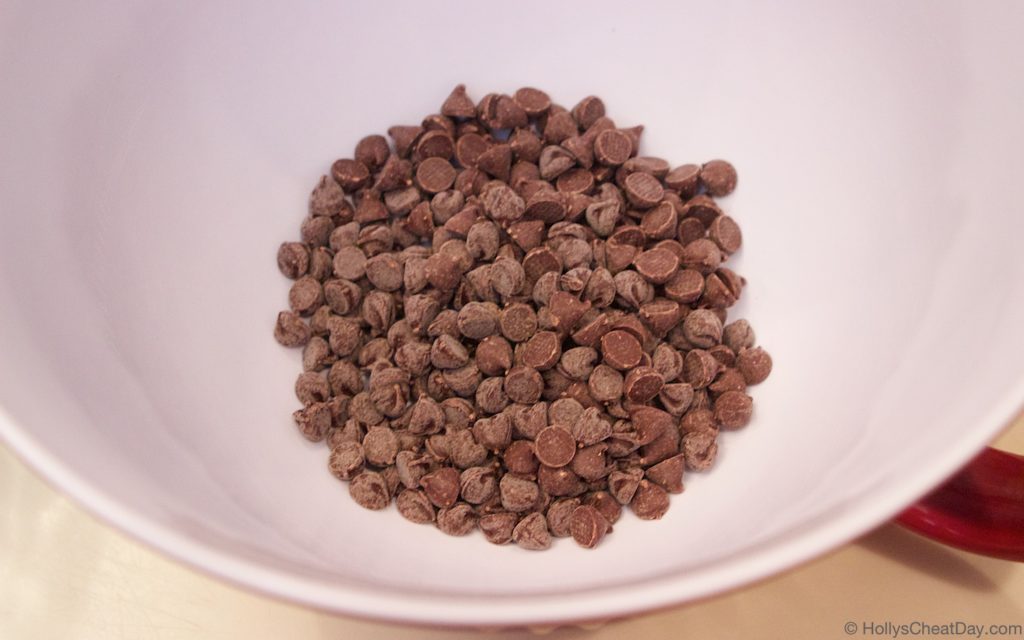 melted…
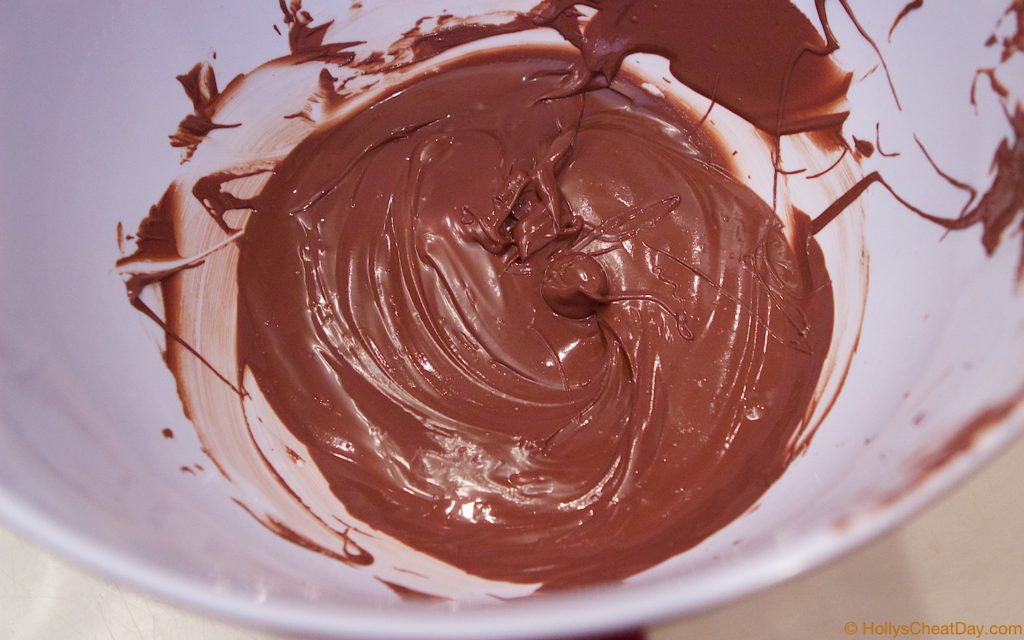 Rice Krispies into the bowl…
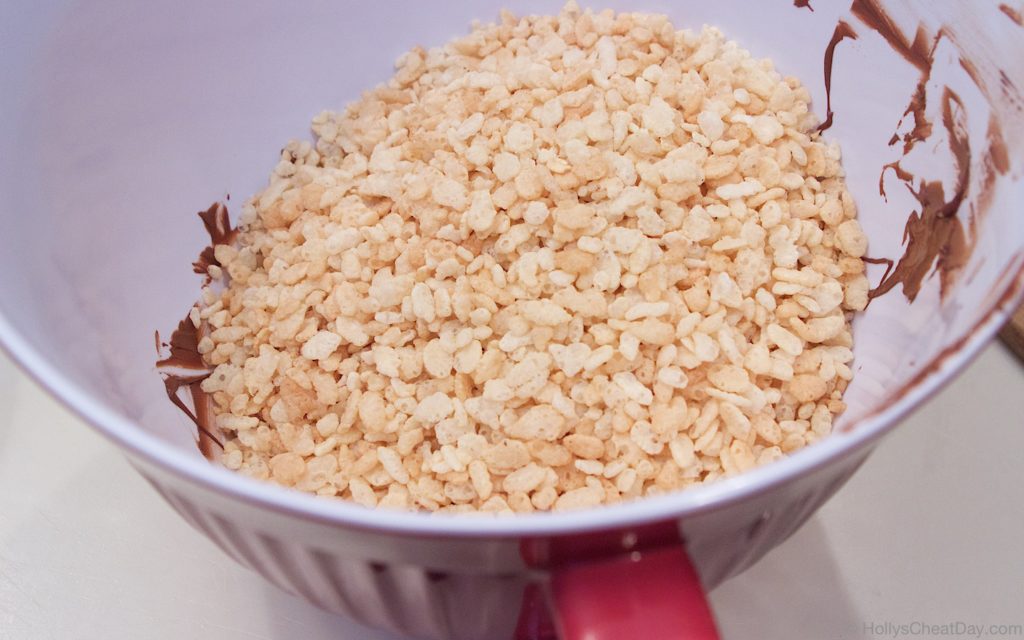 all mixed in (with a wonderfully blurry photo to go along with it)…
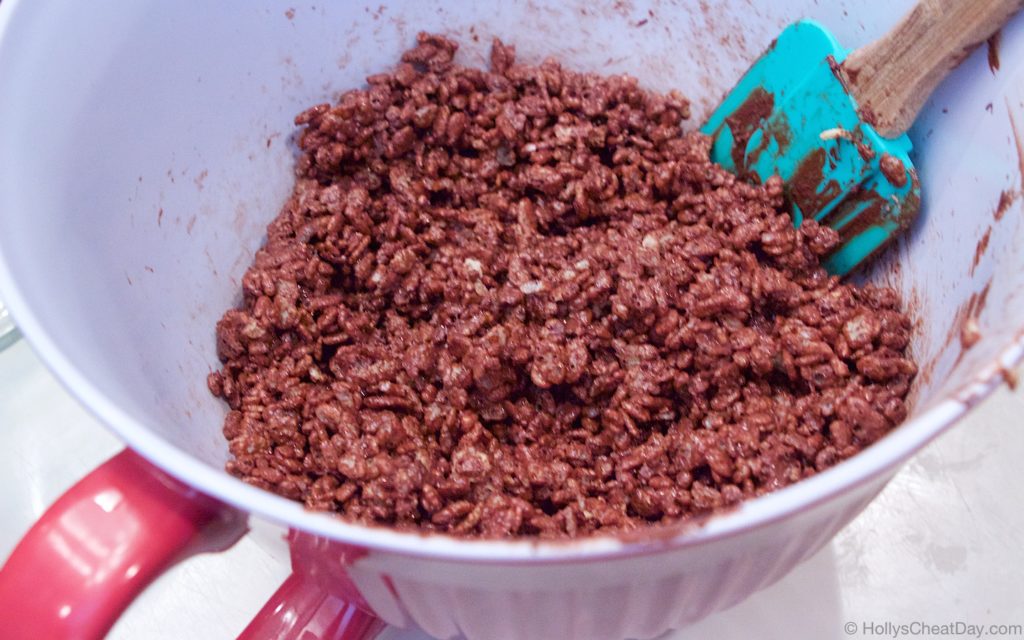 pressed into the spring form pan
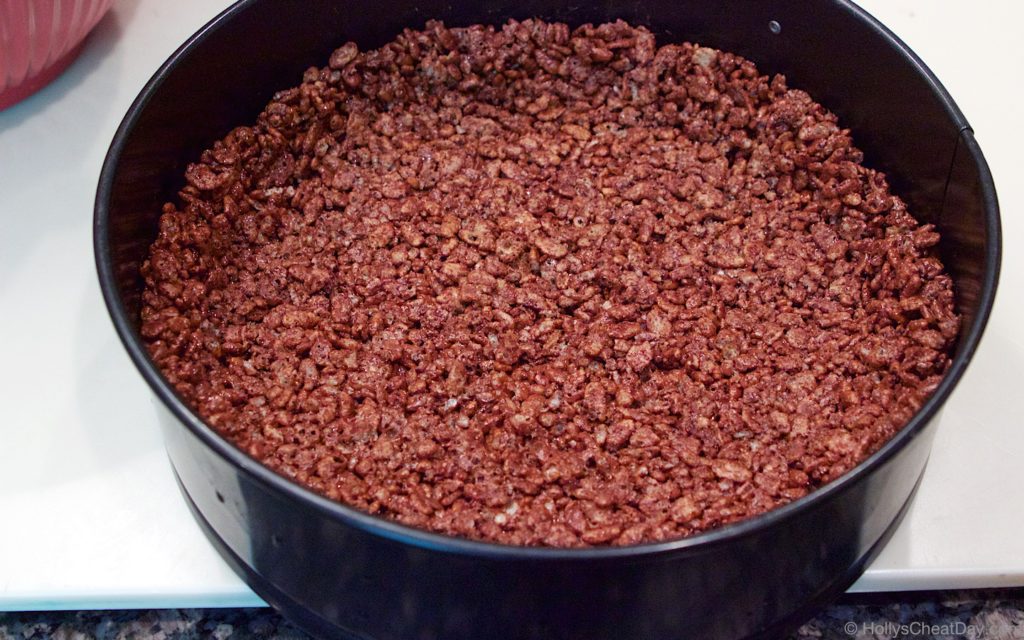 softened ice cream in…
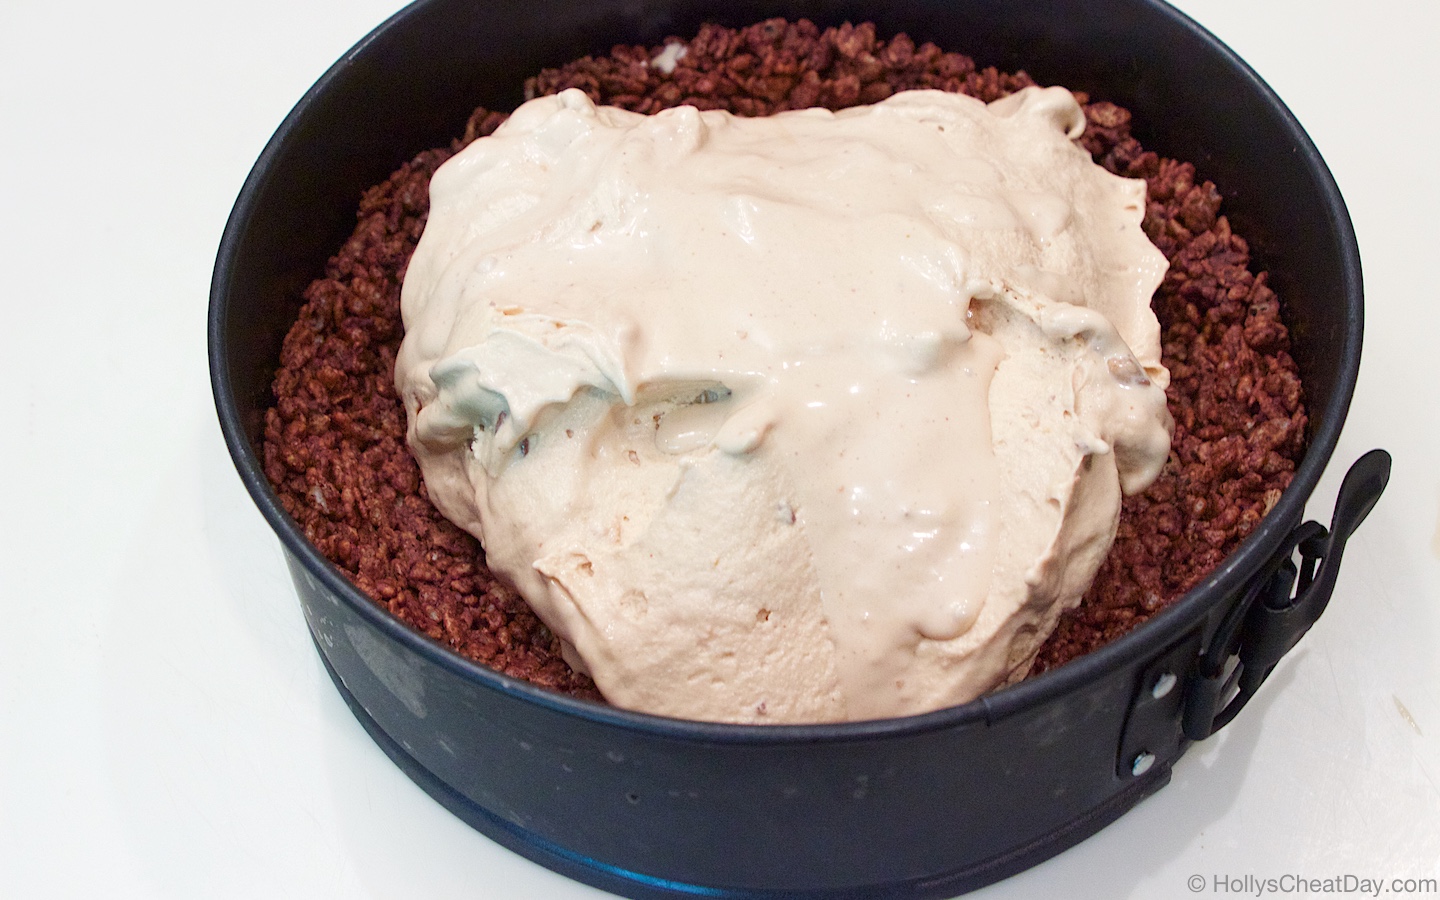 ready to go into the freezer for a bit…
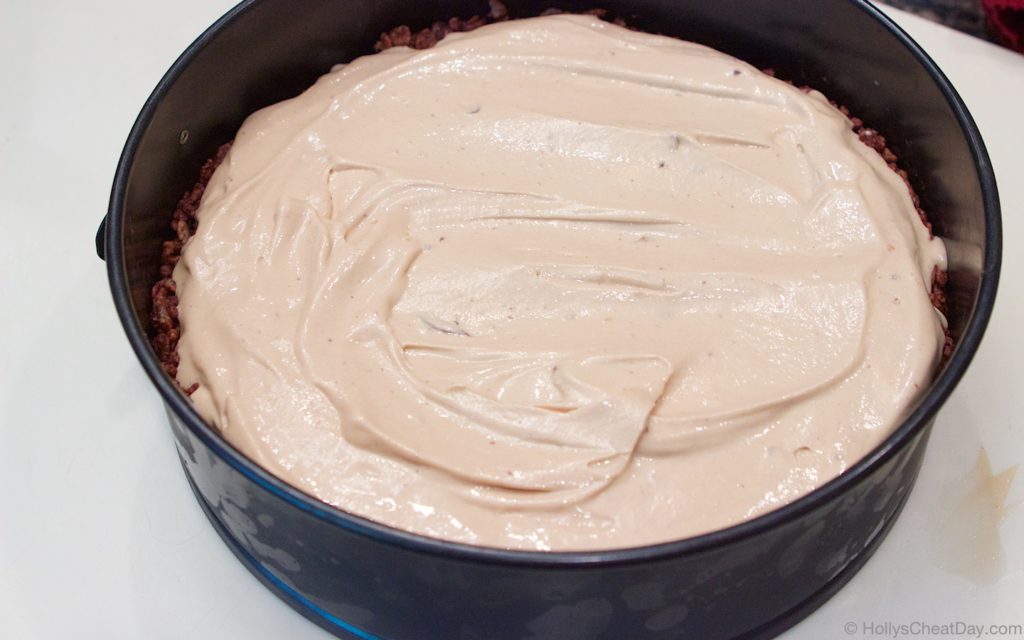 and enjoy!!!